- A Complete Guide to Windows 10 Media Creation Tool: How to Use [Clone Disk]
- Summary :
- Quick Navigation :
- What Is Windows 10 Media Creation Tool
- Use Windows Media Creation Tool to Upgrade Your PC
- Create an Installation Media or Download ISO file
- How to Upgrade or Get Windows 10 without Installation
- Bottom Line
- Download Windows 10
- Windows 10 October 2020 Update
- Create Windows 10 installation media
A Complete Guide to Windows 10 Media Creation Tool: How to Use [Clone Disk]
By Irene | Follow | Last Updated March 05, 2021
Summary :
Windows 10 Media Creation Tool is a very useful tool for users to upgrade Windows 10 or reinstall Windows 10. In this article, I will show you how to use Windows 10 Media Creation Tool to make Windows installation media or to download ISO file with detailed steps and screenshots.
Quick Navigation :
When you want to install or upgrade Windows 10, you will need a Windows 10 installation media like a bootable USB drive or CD/DVD disc. And Windows 10 Media Creation Tool enables you to create an installation USB drive or download its ISO file so that you can burn on to a DVD to install the operating system on a different computer.
It sounds that using Media Creation Tool to upgrade or install windows 10 is very convenient. However, some users don’t know what it is and how to make use of this utility.
What Is Windows 10 Media Creation Tool
The free Windows 10 Media Creation Tool is a very popular utility developed by Microsoft. With this marvelous Windows 10 creation tool, you can upgrade Windows 10 to its latest version without a hassle and create a Windows 10 installation USB drive/DVD disc to perform a clean install or to repair a problematic PC.
Use Windows Media Creation Tool to Upgrade Your PC
Windows Media Creation Tool is also a Windows upgrade tool as it can upgrade your PC to the latest Windows 10 version. According to many Windows 10 users, using Windows Update to upgrade Windows 10 may encounter some errors like the common Windows 10 update error 0x8007007e, leading to upgrade failure.
In this case, it is highly recommended to utilize Windows 10 Media Creation Tool to upgrade Windows 10. With this Windows upgrade tool, you can quickly upgrade your computer to the latest version of Windows 10. Here are detailed steps and screenshots.
Step 1. Download Windows 10 Media Creation Tool from Microsoft’s official website.
Step 2. Run the Media Creation Tool. To run this tool, you need to be an administrator.
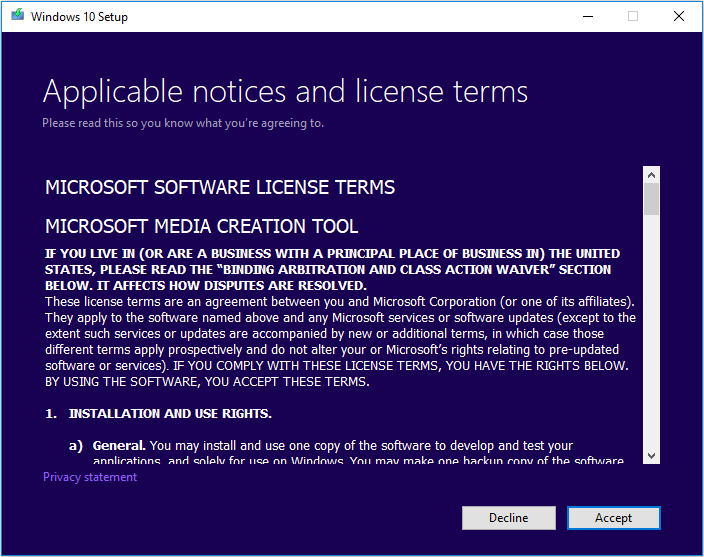
Step 3. On this page, select Accept.
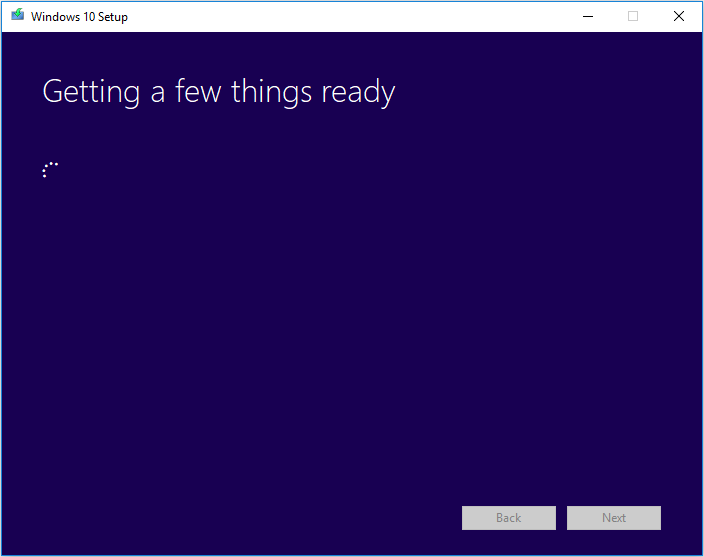
Step 4. Wait patiently for Media Creation Tool to get a few things ready. When it’s done, you can continue.
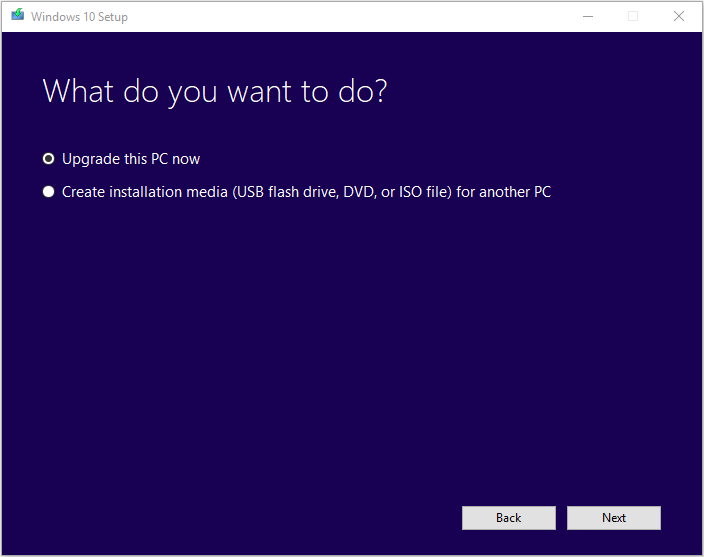
Step 5. On the What do you want to do page, select Upgrade this PC now, and then click Next.
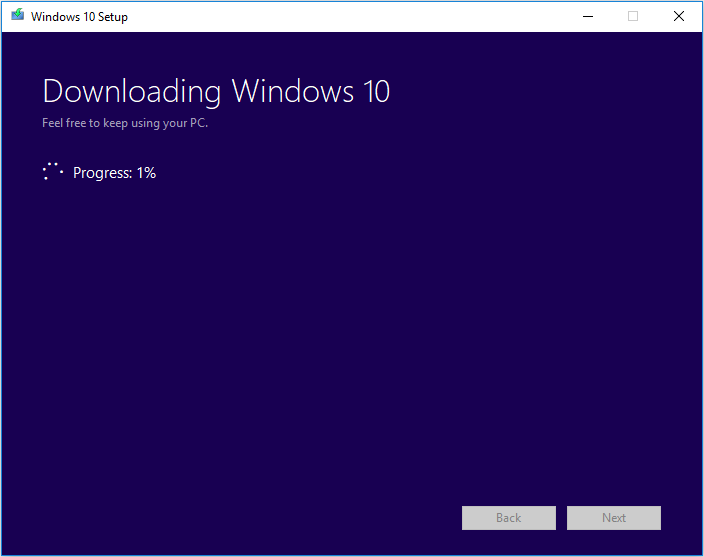
Step 6. At this time, Media Creation Tool will download some files for updates and then check your PC. This process may take some time. Just wait patiently and it won’t be too long.
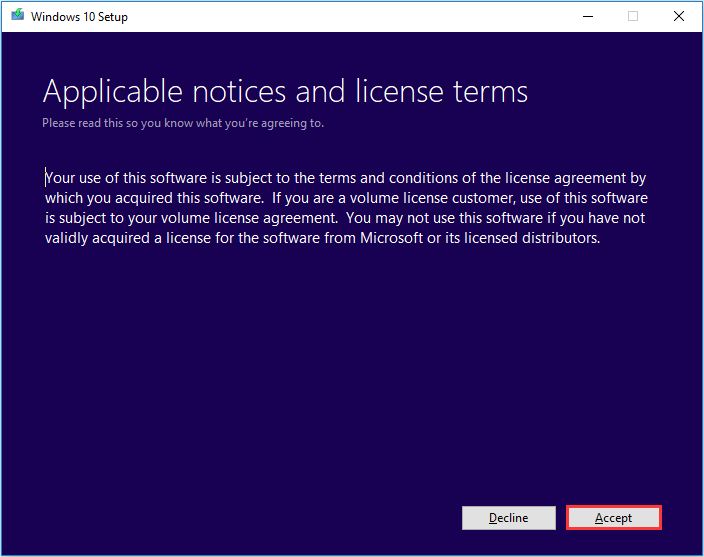
Step 7. Read the license terms and click Accept.
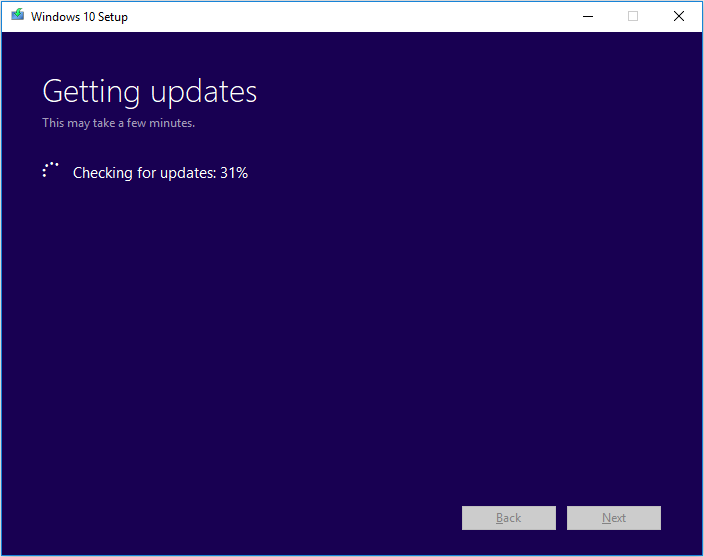
Step 8. Wait for Media Creation Tool to check for updates.
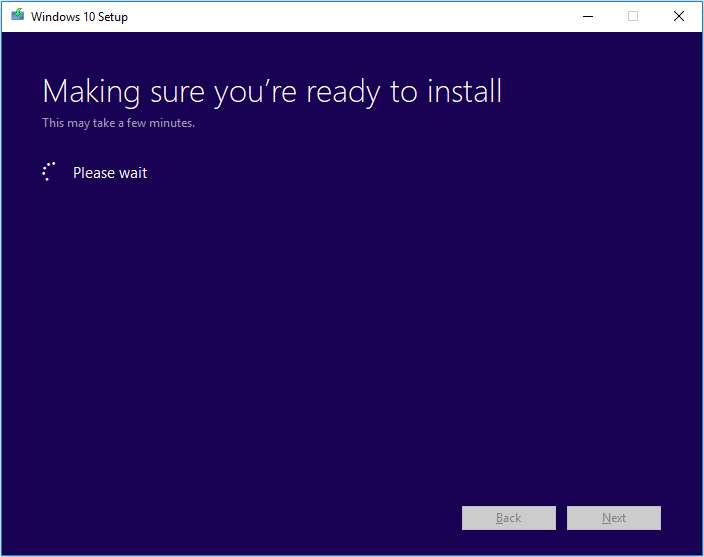
Step 9. Windows 10 Media Creation Tool will check for your PC again and make sure you are ready to install.
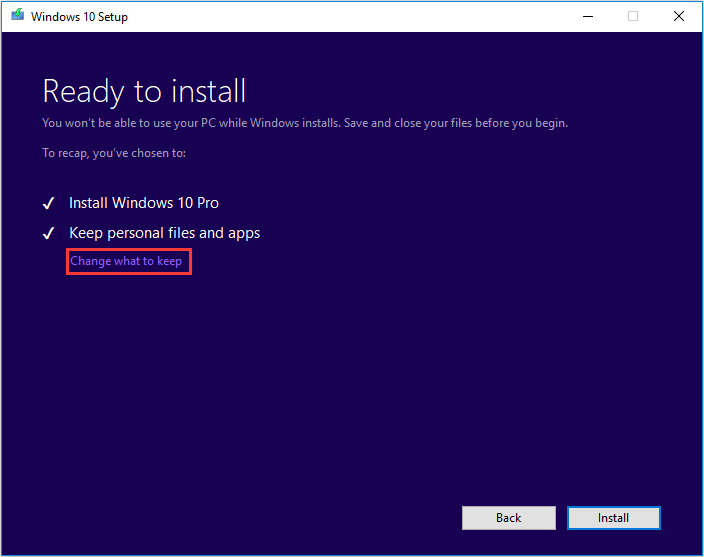
Step 10. When you get this page, you’ll see a recap of what you’ve chosen, and what will be kept through the upgrade. Choose Change what to keep, you can select what to keep by yourself.
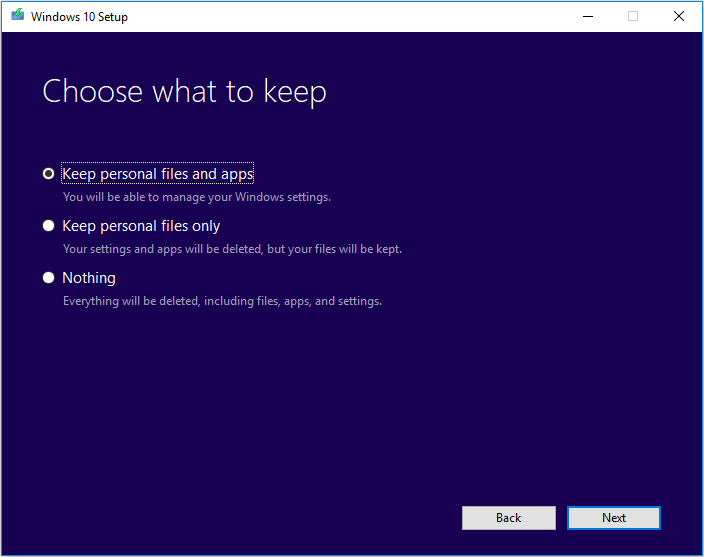
Step 11. Choose whether you would like to Keep personal files and apps, Keep personal files only, or keep Nothing during the upgrade. After selection, then click Next to continue.
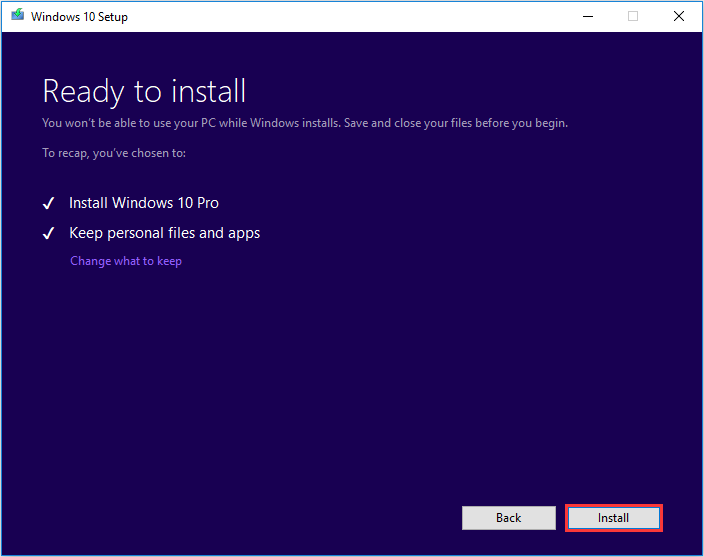
Step 12. Close any running applications and when you’re ready, select Install. During the installation, your PC will restart for a few times. Please don’t turn off your PC.
Create an Installation Media or Download ISO file
Another function of Window 10 Media Creation Tool is that it can help you create an installation media for another PC or download ISO file. And all Windows 10 editions are available when you select Windows 10, except for Enterprise edition. When finished, you can use the bootable USB drive or DVD disc to install Windows 10.
Before you download Windows 10 Media Creation tool, make sure you have:
- A PC with a working Internet connection
- A blank USB flash drive or DVD with at least 8 GB of available storage space
- A product key if you’ve not installed Windows 10 before or if you want to perform a clean install
Now you can follow the steps as below to create Windows 10 installation media (USB flash drive or DVD) and use it to install a new copy of Windows 10, perform a clean installation, or reinstall Windows 10.
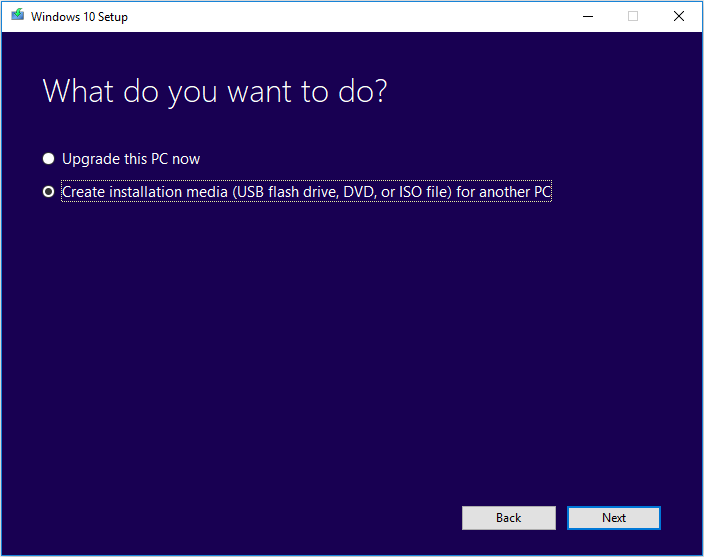
Step 1. Download Windows 10 Media Creation Tool and follow the instruction to get the following page. Then, check the second option Create installation media (USB flash drive, DVD, or ISO file) for another PC and click Next.
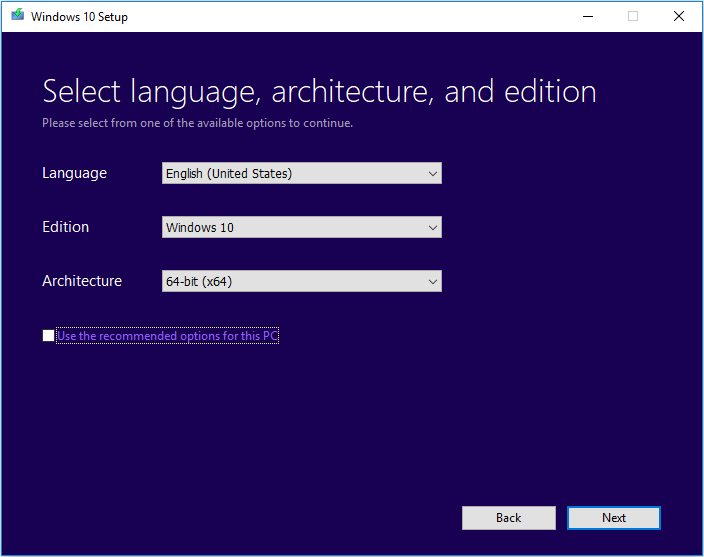
Step 2. Choose the Language, Windows Edition, and Architecture that you want to use for creating the installation media. After selection, then click Next to continue.
You can also choose to Use the recommended options for this PC, which automatically selects the language, edition, and architecture that match the PC that you are using right now.
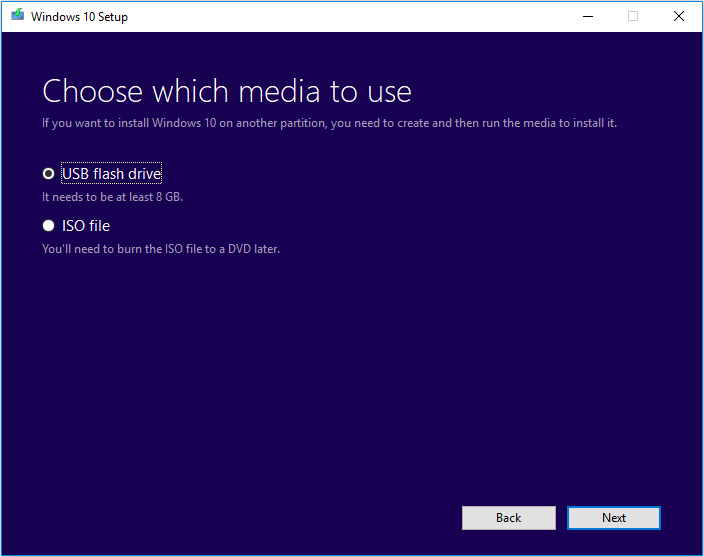
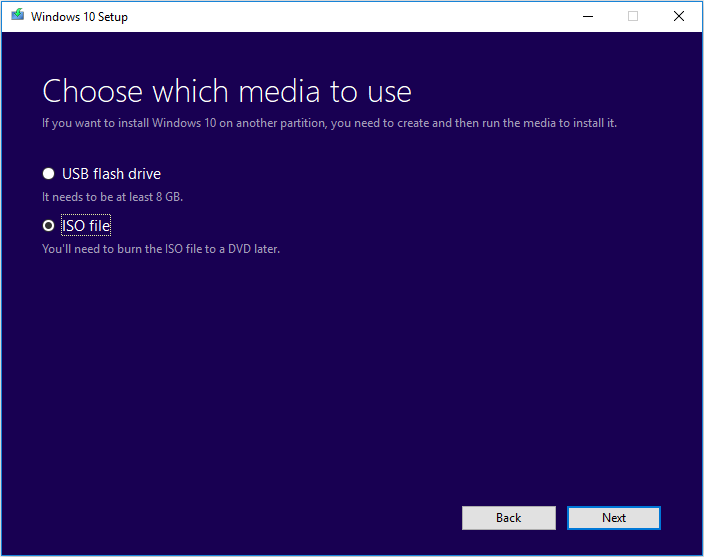
Step 3. Choose what kind of media storage device you want to use. Here I take USB flash drive as an example. Choose USB flash drive and press Next.
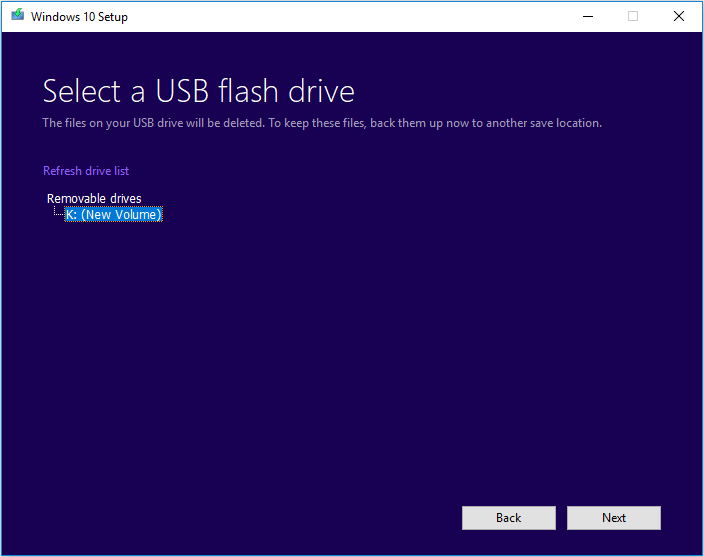
Step 4. Select the USB drive you want to use for creating Windows 10 installation media and click Next.
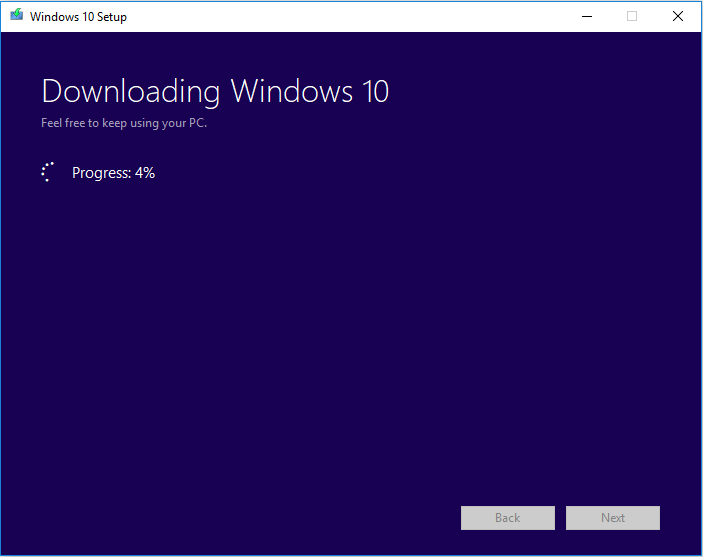
Step 5. Then Microsoft Media Creation Tool starts to download the latest Windows 10 installation files on your computer or device.
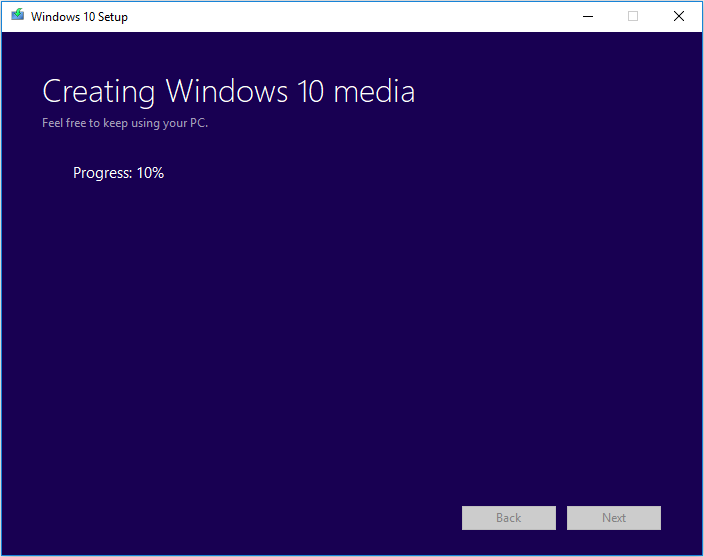
Step 6. When the download is completed, it will start to create Windows 10 media.
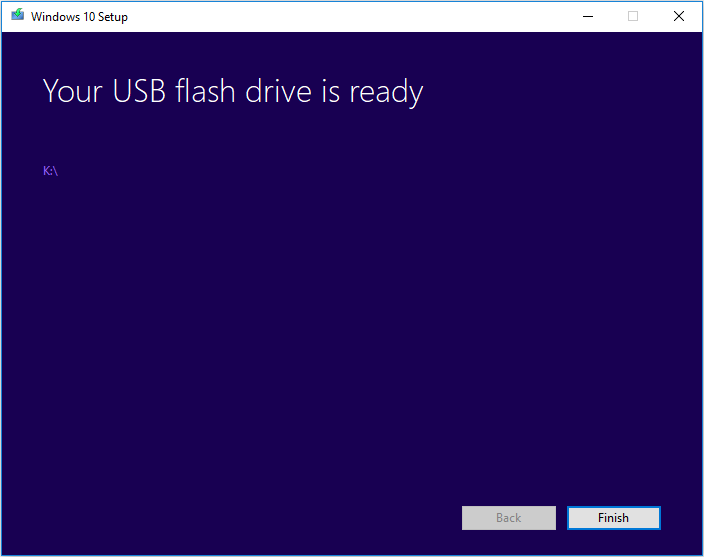
Step 7. When it is done, click Finish and then you can use that drive to boot up your computer and install Windows 10.
If the computer that you want to install Windows 10 has a DVD player, you can also select ISO file to burn the ISO file to a DVD later.
Just follow the step-by-step prompts on the Media Creation Tool to download Windows 10 installation files and save the ISO file to a specific location. When it is finished, you can burn the ISO file to a DVD.
How to Upgrade or Get Windows 10 without Installation
After reading the above, some users may find, even Windows Media Creation Tool is easy to use, it will still take you much time to upgrade or install Windows 10. Is there any much simpler way on Windows installation?
Actually, there is a method that can make Windows 10 installation as a breeze — migrate Windows 10 from another healthy PC to your PC with a Windows migration tool. If your friends or family are using the latest Windows 10, you can just use the Windows migration tool to migrate their Windows OS to your PC without reinstallation.
In this way, you do not need to create an installation media with Windows 10 Media Creation Tool and then use it to install Windows 10 as the whole process is time-consuming.
Well then, how to migrate Windows 10 with a reliable Windows migration tool? Here it is recommended to use MiniTool Partition Wizard Pro Ultimate Edition to migrate Windows 10.
MiniTool Partition Wizard is a reliable Windows migration tool as well as a professional partition manager trusted by tens of millions of people. It helps users to repartition hard drive, extend partition, convert FAT to NTFS, check files system, convert MBR to GPT without data loss, wipe disk, copy partition and migrate OS to SSD/HD, etc.
With MiniTool Partition Wizard, you can use Windows 10 operating system without installation.
Step 1. Shut down your computer and take out your system disk. Connect the HDD/SSD to another PC of your family or friends who are using the latest Windows 10 via a SATA-to-USB cable.
Step 2. Get the system cloning software to computer by clicking the following button. And run it to get the main interface.
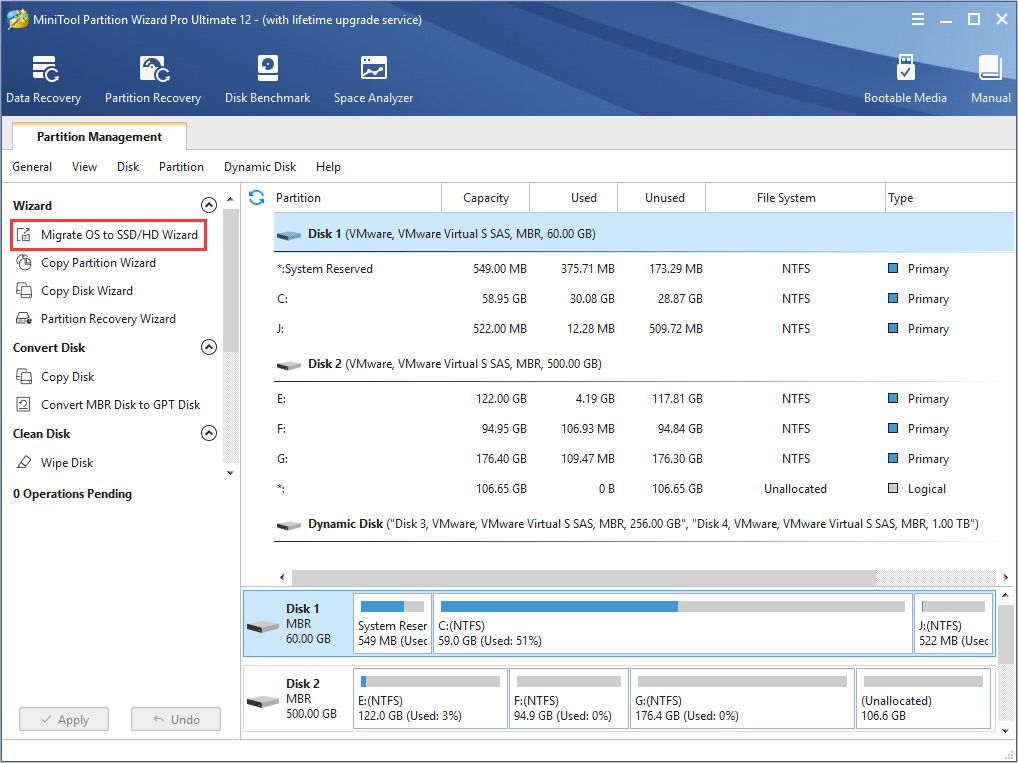
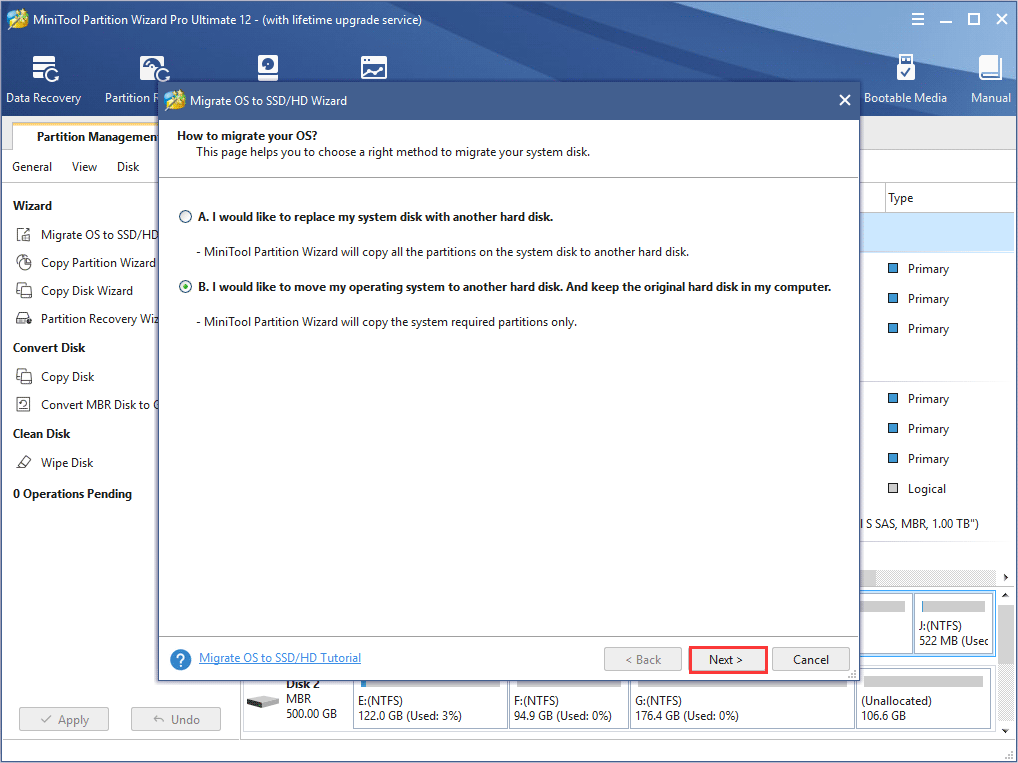
Step 3. Select the function Migrate OS to SSD/HD Wizard on the top toolbar.
Step 4. Choose option B to move operating system to another hard disk, as the following picture shows.
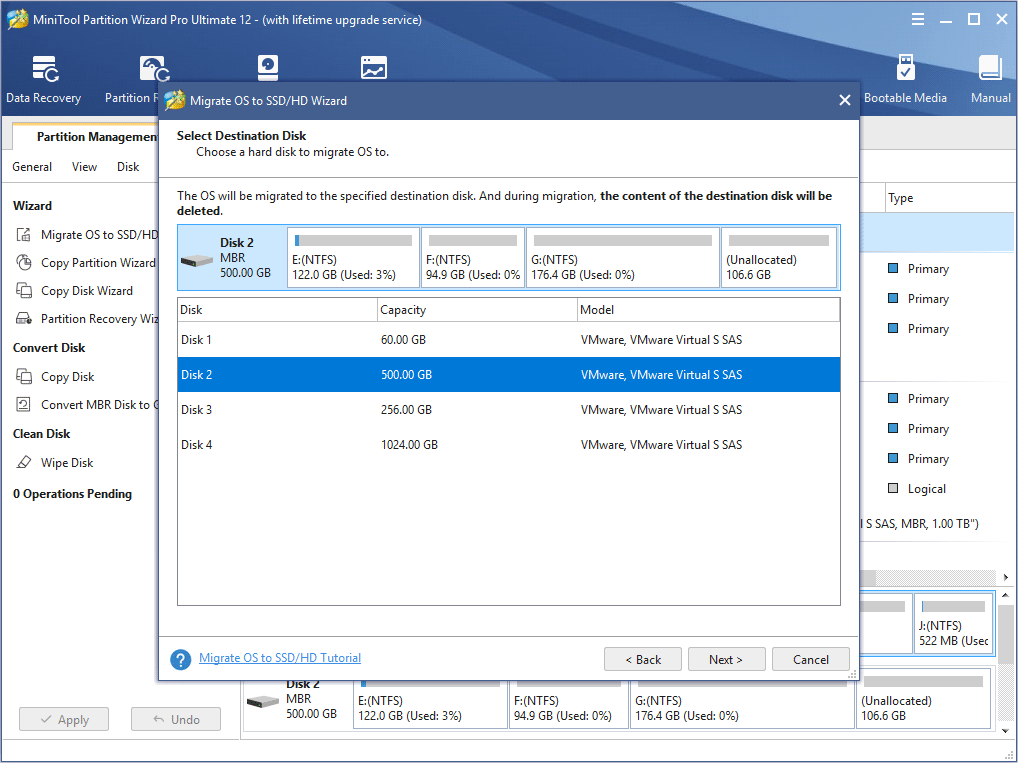
Step 5. Then, choose your HDD/SSD to migrate OS to and click Next.
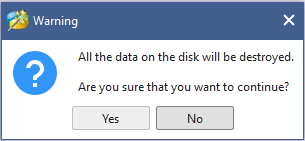
Step 6. All data saved on your HDD/SSD will be destroyed, so please make sure there is no important file and data on the SSD or backup significant ones in advance. Then click Yes on the pop-up Window.
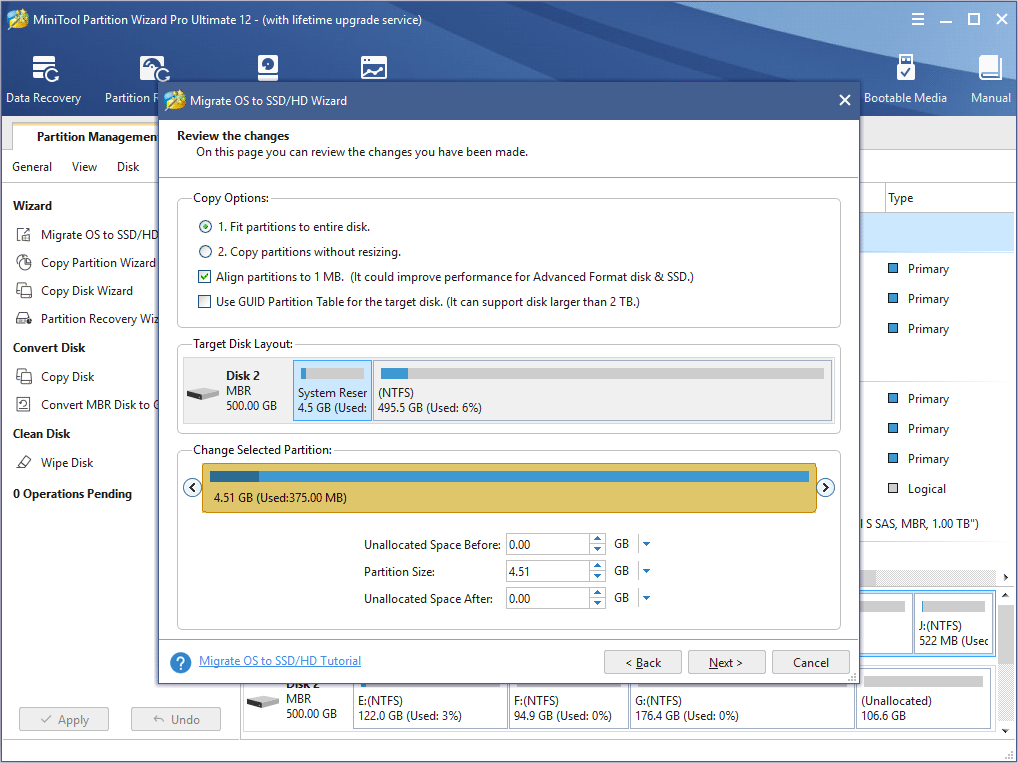
Step 7. Choose a copy method and click Next. If you choose the first one, system partition and boot partition will be enlarged to take up all space of the SSD. If you choose the second one, partitions will be cloned with the same partition size, but you can adjust partition size and location according to actual demands by dragging the handle.
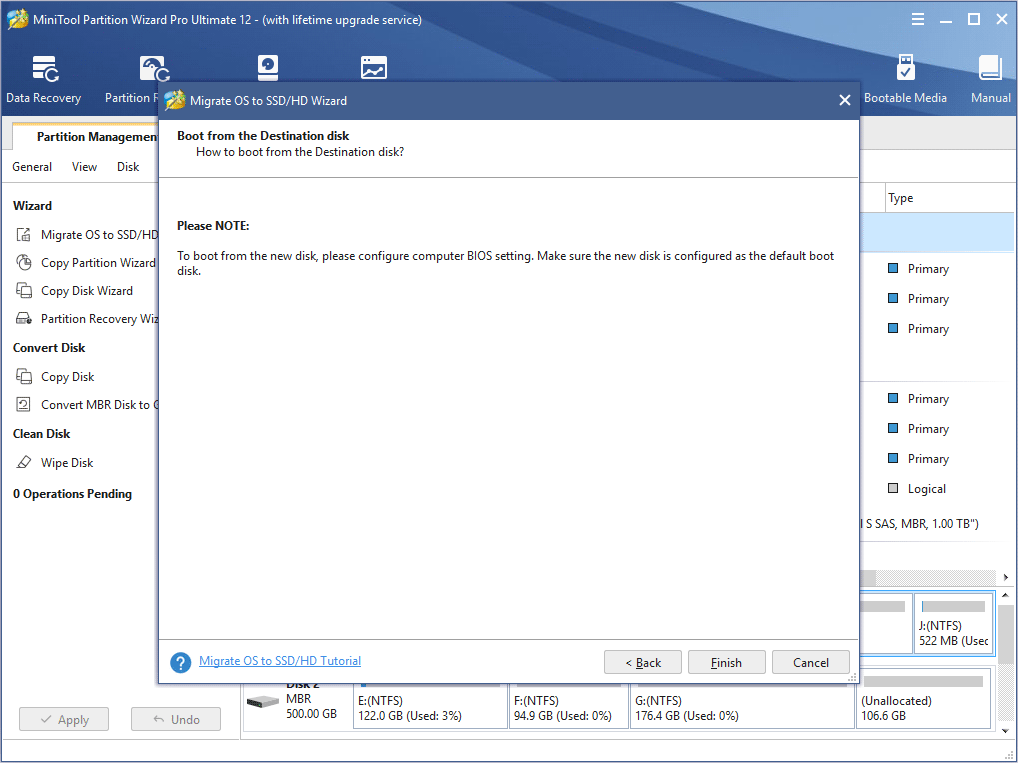
Step 8. This page will remind you to reset BIOS order, giving the new SSD boot priority, so your computer can boot from the new system disk successfully. Then click Finish.
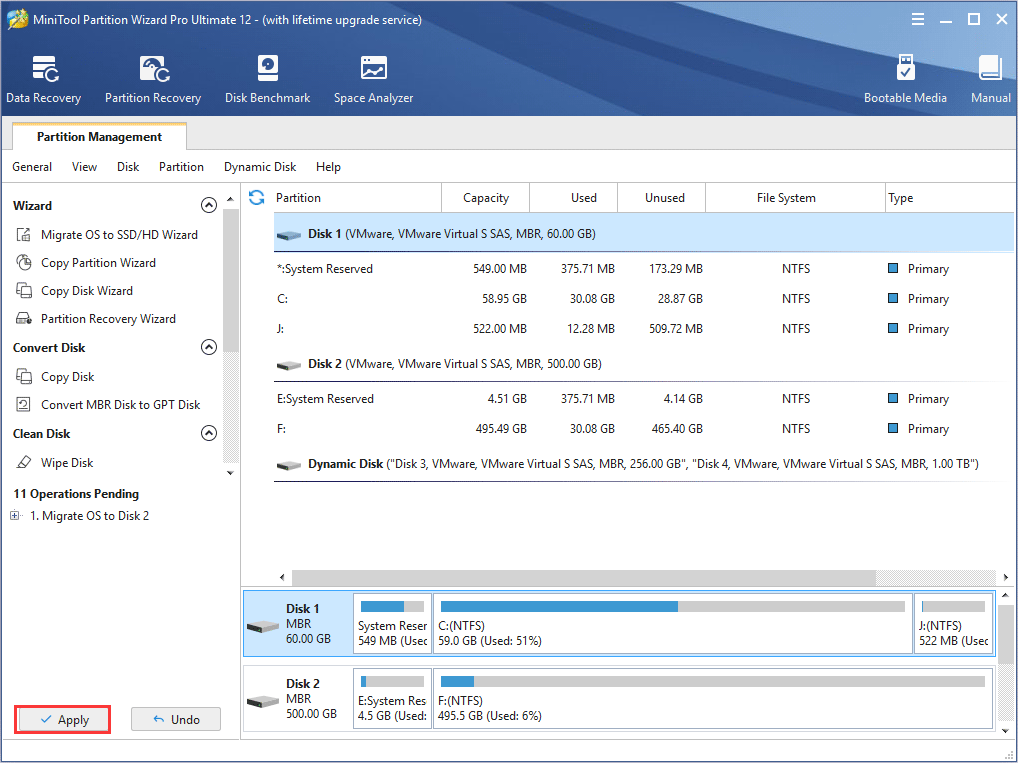
Step 9. At last, please click Apply button on the top to apply all these pending operations.
Since the Windows OS is still running, MiniTool Partition Wizard will ask you to restart the computer for data protection.
You see, it is very convenient to migrate OS to another disk with this Windows migration tool. If you find Windows reinstallation is troublesome and time-consuming, you can try using MiniTool Partition Wizard, which can be a big help.
Bottom Line
After reading this post, have you learned how to use Windows 10 creation tool or how to migrate Windows 10 with MiniTool Partition Wizard Edition? If you do, now try these methods to get the latest Windows 10 now!
If you have any question about how to clone Windows 10 to SSD/HD with MiniTool Partition Wizard, you can leave a message in the following comment zone and we will reply as soon as possible. If you need any help when using MiniTool software, you can contact us via [email protected] .
Download Windows 10
Before updating, please refer to the Windows release information status for known issues to confirm your device is not impacted.
Windows 10 October 2020 Update
The Update Assistant can help you update to the latest version of Windows 10. To get started, click Update now.
Create Windows 10 installation media
To get started, you will first need to have a licence to install Windows 10. You can then download and run the media creation tool. For more information on how to use the tool, see the instructions below.

Here’s when to use these instructions:
- You have a license to install Windows 10 and are upgrading this PC from Windows 7 or Windows 8.1.
- You need to reinstall Windows 10 on a PC you’ve already successfully activated Windows 10.
If you are installing Windows 10 on a PC running Windows XP or Windows Vista, or if you need to create installation media to install Windows 10 on a different PC, see Using the tool to create installation media (USB flash drive, DVD, or ISO file) to install Windows 10 on a different PC section below.
Note: Before you install Windows 10, check to make sure your PC meets the system requirements for Windows 10. We also recommend going to the PC manufacturer’s website for any additional info about updated drivers and hardware compatibility.
- Select Download tool, and select Run. You need to be an administrator to run this tool.
- On the License terms page, if you accept the license terms, select Accept.
- On the What do you want to do? page, select Upgrade this PC now, and then select Next.
- After downloading and installing, the tool will walk you through how to set up Windows 10 on your PC. All Windows 10 editions are available when you select Windows 10, except for Enterprise edition. For more information on Enterprise edition, go to the Volume Licensing Service Center.
- If you don’t have a license to install Windows 10 and have not yet previously upgraded to it, you can purchase a copy here: https://www.microsoft.com/en-us/windows/get-windows-10.
- If you previously upgraded to Windows 10 on this PC and you’re reinstalling it, you don’t need to enter a product key. Your copy of Windows 10 will automatically activate later using your digital license.
- When Windows 10 is ready to install, you’ll see a recap of what you’ve chosen, and what will be kept through the upgrade. Select Change what to keep to set whether you would like to Keep personal files and apps, or Keep personal files only, or choose to keep Nothing during the upgrade.
- Save and close any open apps and files you may be running, and when you’re ready, select Install.
- It might take some time to install Windows 10, and your PC will restart a few times. Make sure you don’t turn off your PC.
Follow these steps to create installation media (USB flash drive or DVD) you can use to install a new copy of Windows 10, perform a clean installation, or reinstall Windows 10.
Before you download the tool make sure you have:
- An internet connection (internet service provider fees may apply).
- Sufficient data storage available on a computer, USB or external drive for the download.
- A blank USB flash drive with at least 8GB of space or blank DVD (and DVD burner) if you want to create media. We recommend using a blank USB or blank DVD, because any content on it will be deleted.
- When burning a DVD from an ISO file, if you are told the disc image file is too large you will need to use Dual Layer (DL) DVD Media.
Check a few things on the PC where you want to install Windows 10:
- 64-bit or 32-bit processor (CPU). You’ll create either a 64-bit or 32-bit version of Windows 10. To check this on your PC, go to PC info in PC settings or System in Control Panel, and look for System type.
- System requirements. Make sure the PC meets the system requirements for Windows 10. We also recommend going to the PC manufacturer’s website for additional info about updated drivers and hardware compatibility.
- Language in Windows. You’ll need to choose the same language when you install Windows 10. To see what language you’re currently using, go to Time and language in PC settings or Region in Control Panel.
- Edition of Windows. You should also choose the same edition of Windows. To check what edition you’re currently running, go to PC info in PC settings or System in Control Panel, and look for Windows edition. Windows 10 Enterprise isn’t available in the media creation tool. For more info, go to the Volume Licensing Service Center.
- Microsoft Office products. If you just purchased a new device that includes Office 365, we recommend redeeming (installing) Office before upgrading to Windows 10. To redeem your copy of Office, please see Download and install Office 365 Home, Personal, or University on your PC. For more information, check How to upgrade to Windows 10 on new devices that include Office 365.
If you have Office 2010 or earlier and choose to perform a clean install of Windows 10, you will need to locate your Office product key. For tips on locating your product key, check Find your Office 2010 product key or Enter the product key for your Office 2007 program.
Using the tool to create installation media:
- Select Download tool now, and select Run. You need to be an administrator to run this tool.
- If you agree to the license terms, select Accept.
- On the What do you want to do? page, select Create installation media for another PC, and then select Next.
Select the language, edition, and architecture (64-bit or 32-bit) for Windows 10. This table will help you decide which edition of Windows 10 you’ll choose:
| Your current edition of Windows | Windows 10 edition |
|---|---|
| Windows 7 Starter Windows 7 Home Basic Windows 7 Home Premium Windows 7 Professional Windows 7 Ultimate Windows 8/8.1 Windows 8.1 with Bing Windows 8 Pro Windows 8.1 Pro Windows 8/8.1 Professional with Media Center Windows 8/8.1 Single Language Windows 8 Single Language with Bing Windows 10 Home Windows 10 Pro | Windows 10 |
| Windows 8/8.1 Chinese Language Edition Windows 8 Chinese Language Edition with Bing | Windows 10 Home China |
- USB flash drive. Attach a blank USB flash drive with at least 8GB of space. Any content on the flash drive will be deleted.
- ISO file. Save an ISO file to your PC, which you can use to create a DVD. After the file is downloaded, you can go to location where the file is saved, or select Open DVD burner, and follow the instructions to burn the file to a DVD. For more info about using an ISO file, see Additional methods for using the ISO file to install Windows 10 section below.
After completing the steps to install Windows 10, please check that you have all the necessary device drivers installed. To check for updates now, select the Start button, and then go to Settings > Update & Security > Windows Update, and select Check for updates. You may also wish to visit your device manufacturer’s support site for any additional drivers that may be needed.
Note: Drivers for Surface devices may be found on the Download drivers and firmware for Surface page.
Before you install Windows 10, it’s a good idea to save any work and back up your PC before you start. If you used the media creation tool to download an ISO file for Windows 10, you’ll need to burn it to a DVD before following these steps.
- Attach the USB flash drive or insert the DVD on the PC where you want to install Windows 10.
- Restart your PC.
If your PC does not automatically boot to the USB or DVD media, you might have to open a boot menu or change the boot order in your PC’s BIOS or UEFI settings. To open a boot menu or change the boot order, you’ll typically need to press a key (such as F2, F12, Delete, or Esc) immediately after you turn on your PC. For instructions on accessing the boot menu or changing the boot order for your PC, check the documentation that came with your PC or go to the manufacturer’s website. If you do not see the USB or DVD media device listed within the boot options, you may need to reach out to the PC manufacturer for instructions for temporarily disabling Secure Boot in your BIOS settings.
If changing the boot menu or order doesn’t work, and your PC immediately boots into the OS you want to replace, it is possible the PC had not fully shut down. To ensure the PC fully shuts down, select the power button on the sign-in screen or on the Start menu and select Shut down.
If you downloaded an ISO file for Windows 10, the file is saved locally at the location you selected. If you have a third-party DVD burning program installed on your computer that you prefer to use for creating the installation DVD, that program might open by going to the location where the file is saved and double-clicking the ISO file, or right-click the ISO file, select Open with and choose your preferred DVD burning software.
If you want to use the Windows Disk Image Burner to create an installation DVD, go to the location where the ISO file is saved. Right-click the ISO file and select Properties. On the General tab, click Change and select Windows Explorer for the program you would like to use to open ISO files and select Apply. Then right-click the ISO file and select Burn disc image.
If you want to install Windows 10 directly from the ISO file without using a DVD or flash drive, you can do so by mounting the ISO file. This will perform an upgrade of your current operating system to Windows 10.


