- Установка кодеков в дистрибутиве Ubuntu 20.04
- Установка кодеков в Ubuntu – Xubuntu
- Установка кодеков в Kubuntu
- Установка кодеков в Lubuntu
- Заключение
- Install All Essential Media Codecs in Ubuntu With This Single Command [Beginner’s Tip]
- What is Ubuntu Restricted Extras?
- How to install Ubuntu Restricted Extras?
- Installing restricted extra package on Kubuntu, Lubuntu, Xubuntu
- Мультимедиа кодеки
- Содержание
- Установка мультимедиа кодеков
- Выборочная установка мультимедиа кодеков
- Просмотр информации о медиафайлах
- Решение проблем
- How to install Multimedia Codecs in Linux
- 1) Installing Multimedia Codecs on Ubuntu
- 2) Installing Multimedia Codecs on openSUSE
- 3) Installing Multimedia Codecs on Fedora
- Closing Notes
- Install Multimedia Codecs Ubuntu 20.04 LTS
- Enabling Package Repositories:
- Updating Package Repository Cache:
- Installing Multimedia Codecs:
- Installing VLC Media Player:
- Installing Clementine Music Player:
- Set Default Video and Music Player on Ubuntu 20.04 LTS:
Установка кодеков в дистрибутиве Ubuntu 20.04
Когда вы только что установили свежий выпуск дистрибутива Ubuntu, настроили, установили при необходимости драйвера, и решили посмотреть какое нибудь видео. В этот момент возможно, вы сталкнетесь с тем, что видео попросту не запустится, или как вариант, не будет звука. То же самое касается и некоторых аудио форматов. Это связано с тем, что по умолчанию в дистрибутиве не установлены необходимые кодеки. Так как некоторые из них могут быть проприетарные, в результате чего они и могут отсутствовать в системе. В данной статье мы разберемся как установить данные кодеки в Ubuntu и ее производных, таких как Kubuntu, Xubuntu и Lubuntu.
Установка кодеков в Ubuntu – Xubuntu
И так, начнем мы с главного дистрибутива – Ubuntu, не будем затягивать и сразу же для установки кодеков переходим в терминал и выполняем команду:

При установки кодеков так же будут установлены шрифты, для их установки нажмите клавишу “tab”, а затем когда подсветиться кнопка “OK” нажмите “Enter”:

После чего появиться лицензионное соглашение, выберите кнопку “Да” для продолжения установки:

Установка кодеков в Kubuntu
Установка кодеков в производном дистрибутиве Kubuntu по сути своей похожа на предыдущую, с одной лишь разницей в начале команды. Не стану заострять внимания на этом, да и на самой установке, так как она практически не отличается, вводим команду:
Установка кодеков в Lubuntu
Установка кодеков в Lubuntu так же мало чем отличается от установки, разве что вначале команды стоит название самого дистрибутива “Lubuntu”. Соответственно, вводим команду:
Заключение
Как видите, установка кодеков довольно таки простое занятие, их не нужно искать в сети, все они имеются в репозиториях. После установки кодеков вы сможете просмативать видео и слушать музыку. А вот отсутствие данных кодеков может сказаться так же и на просмотре видео в интернете. Стоит отметить, что в некоторых дистрибутивах так же основанных на Ubuntu, эти кодеки уже имеются в системе, к примеру тот же Linux Mint.
А на этом сегодня все. Надеюсь данная статья будет вам полезна.
Журнал Cyber-X
Источник
Install All Essential Media Codecs in Ubuntu With This Single Command [Beginner’s Tip]
Last updated February 9, 2020 By Abhishek Prakash 85 Comments
If you have just installed Ubuntu or some other Ubuntu flavors like Kubuntu, Lubuntu etc, you’ll notice that your system doesn’t play some audio or video file.
For video files, you can install VLC on Ubuntu. VLC one of the best video players for Linux and can play almost any video file format. But you’ll still have troubles with audio media files and flash player.
The good thing is that Ubuntu provides a single package to install all the essential media codecs: ubuntu-restricted-extras.

What is Ubuntu Restricted Extras?
The ubuntu-restricted-extras is a software package that consists various essential software like flash plugin, unrar, gstreamer, mp4, codecs for Chromium browser in Ubuntu etc.
Since these software are not open source and some of them involve software patents, Ubuntu doesn’t install them by default. You’ll have to use multiverse repository, the software repository specifically created by Ubuntu to provide non-open source software to its users.
How to install Ubuntu Restricted Extras?
I find it surprising that the software center doesn’t list Ubuntu Restricted Extras. In any case, you can install the package using command line and it’s very simple.
Open a terminal by searching for it in the menu or using the terminal keyboard shortcut Ctrl+Alt+T.
Since ubuntu-restrcited-extras package is available in the multiverse repository, you should verify that the multiverse repository is enabled on your system:
And then you can install it in Ubuntu default edition using this command:
When you enter the command, you’ll be asked to enter your password. When you type the password, nothing is displayed on the screen. That’s normal. Type your password and press enter.
It will show a huge list of packages to be installed. Press enter to confirm your selection when it asks.
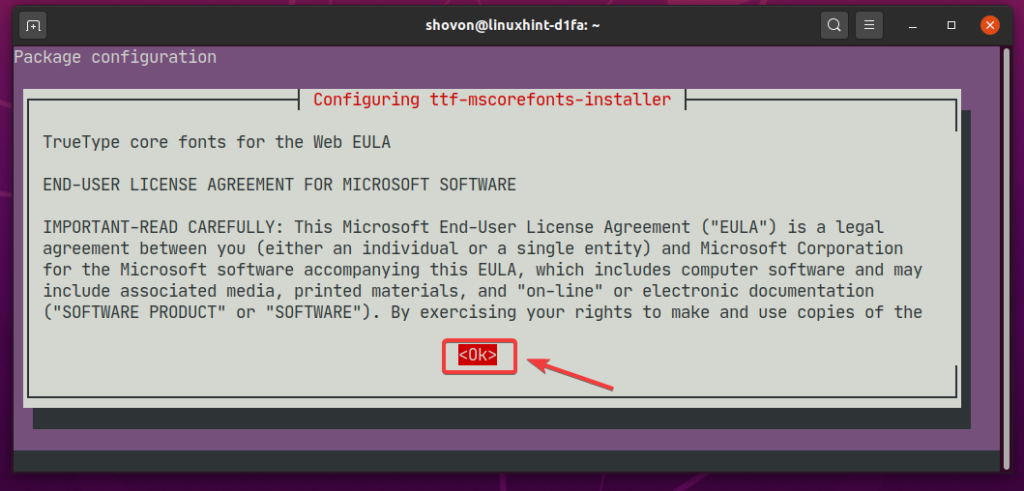
You’ll also encounter an EULA (End User License Agreement) screen like this:
It could be overwhelming to navigate this screen but don’t worry. Just press tab and it will highlight the options. When the correct options are highlighted, press enter to confirm your selection.
Once the process finishes, you should be able to play MP3 and other media formats thanks to newly installed media codecs.
Installing restricted extra package on Kubuntu, Lubuntu, Xubuntu
Do keep in mind that Kubuntu, Lubuntu and Xubuntu has this package available with their own respective names. They should have just used the same name but they don’t unfortunately.
On Kubuntu, use this command:
On Xubuntu, you should use:
I always recommend getting ubuntu-restricted-extras as one of the essential things to do after installing Ubuntu. It’s good to have a single command to install multiple codecs in Ubuntu.
I hope you like this quick tip in the Ubuntu beginner series. I’ll share more such tips in the future.
Like what you read? Please share it with others.
Источник
Мультимедиа кодеки
Содержание
Для воспроизведения и изменения мультимедиа файлов в систему необходимо установить кодеки, демуксеры и другие библиотеки…
Как это сделать рассмотрим ниже.
Кодеки — мини программы, которые преобразуют звук и изображение в компьютерный код, и наоборот когда нужно воспроизвести или изменить. Пример кодеков: x264, xvid, faac, faad, lame, vorbis.
Демуксеры — мини программы, которые упаковывают мультимедиа данные в контейнер, и распаковывают когда нужно воспроизвести или изменить. Пример медиаконтейнеров, сформированных демуксерами: avi, mp4, mp3, mkv, flv, webm, 3gp.
Установка мультимедиа кодеков
ubuntu-restricted-extras — мультимедиа кодеки, флеш плеер, шрифты от Microsoft, распаковщик rar архивов.
libdvdcss2 — библиотека для просмотра видео с лицензионных DVD дисков.
Выборочная установка мультимедиа кодеков
Выше описан метод как проще установить множество кодеков, но для некоторых случаев пригодится выборочная установка кодеков.
libavcodec-extra-53 — кодеки от проекта libav
libavformat-extra-53 — демуксеры от проекта libav
Кодеки для программ на основе Gstreamer, в этих пакетах находятся кодеки из состава libavcodec, они разделены по видам лицензий и др. параметрам:
gstreamer0.10-plugins-base
gstreamer0.10-plugins-good
gstreamer0.10-plugins-ugly
gstreamer0.10-plugins-bad
gstreamer0.10-plugins-bad-multiverse
libdvdread4 — библиотека для чтения DVD
libdvdnav4 — библиотека для навигации по DVD
libdvdcss2 — библиотека для расшифровки данных с лицензионных DVD дисков.
Просмотр информации о медиафайлах
В плеерах можно посмотреть информацию о файле, например кодеки, размер видео, бирейт
Файловый менеджер Naulilus показывает медиаданные в свойствах файла, если установлены плееры Totem или Gnome-mplayer
mediainfo — показывает подробную информацию о мультимедиа файле
avconv -i /путь/до/файла — конвертер, который может показать информацию о мультимедиа файле
ffmpeg -i /путь/до/файла — конвертер, который может показать информацию о мультимедиа файле
Решение проблем
Если плеер не может воспроизвести какой-либо мультимедиа файл, тогда запустите плеер из терминала и посмотрите сообщение об ошибке, и обратитесь на форум.
Если у вас в программах на основе Gstreamer есть проблемы с mp4 и m4a, тогда выполните команду
Источник
How to install Multimedia Codecs in Linux
By default, the Linux system cannot play most video files that are in encrypted formats (proprietary media formats) if you do not have the required Media Codecs installed on your system.
It contains lots of packages like flash plugin, gstreamer, mp4, libavcodec, etc (especially decoder), which are not open source and some of them involve copyright patent or legal issues. Hence, these are not installed by default nor shipped with official repository.
If you try to play proprietary media formats without installing media codecs, you will see the following error message “Unable to play the file”.
In this brief tutorial, we’ll show you how to install Media Codes on Ubuntu, Fedora and openSUSE systems.
1) Installing Multimedia Codecs on Ubuntu
Essential multimedia codecs can be installed in Ubuntu and their derivatives using “ubuntu-restricted-extras” package. It is a software package that contains various multimedia packages.
In order to install the multimedia codecs, you need to enable multiverse repository, which is created by Ubuntu to provide non-open source software to its users.
Run the following commands to enable multiverse and restricted repository:
To enable ‘multiverse’ repository, run:
To enable ‘restricted’ repository, run:
To update the repository index, run:
Finally, install multimedia codecs by running the below command. It prompts you to confirm twice as part of this package installation, so confirm it by hitting the “Enter” button.
2) Installing Multimedia Codecs on openSUSE
Multimedia codecs can be installed in openSUSE by enabling the third-party Packman repository.
Packman is the largest external repository that offers various additional packages for openSUSE, which is not limited to multimedia related applications and libraries and offer other applications too.
Use the following commands to enable Packman repository on openSUSE.
On Tumbleweed:
On openSUSE Leap:
To refresh the local repository database, run:
Finally, install the required multimedia codecs by running the below commands:
3) Installing Multimedia Codecs on Fedora
You can install multimedia codecs on Fedora system by enabling the RPM Fusion repository.
The RPM Fusion repository is community-maintained software repository providing additional packages that cannot be shipped in Fedora for legal reasons.
Run the following command to enable RPM Fusion repositories (Free & Non-Free):
For RPM Fusion free repository, run:
For RPM Fusion Non-free repository, run:
Use the dnf command to install packages that provide multimedia libraries:
Closing Notes
In this guide, we’ve shown you how to install essential multimedia codecs on Ubuntu, Fedora and openSUSE systems.
If you have any questions or feedback, feel free to comment below. Happy learning!
Источник
Install Multimedia Codecs Ubuntu 20.04 LTS
Enabling Package Repositories:
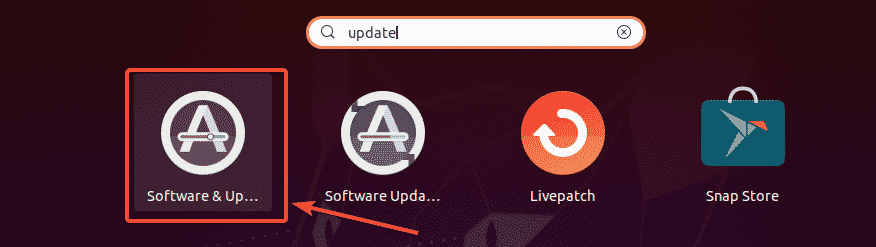
To do that, open the Software & Updates app from the Application Menu of Ubuntu 20.04 LTS.
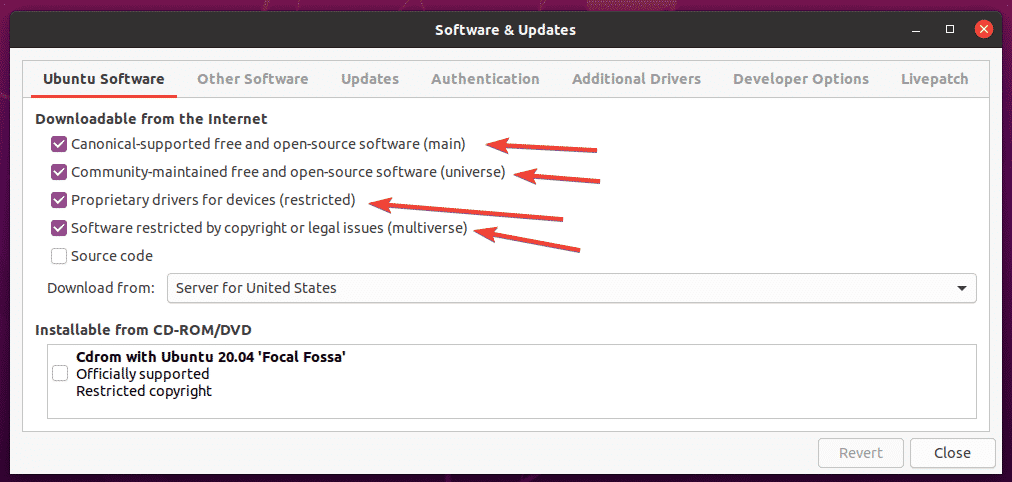
Now, in the Ubuntu Software tab, make sure the marked check boxes are checked.
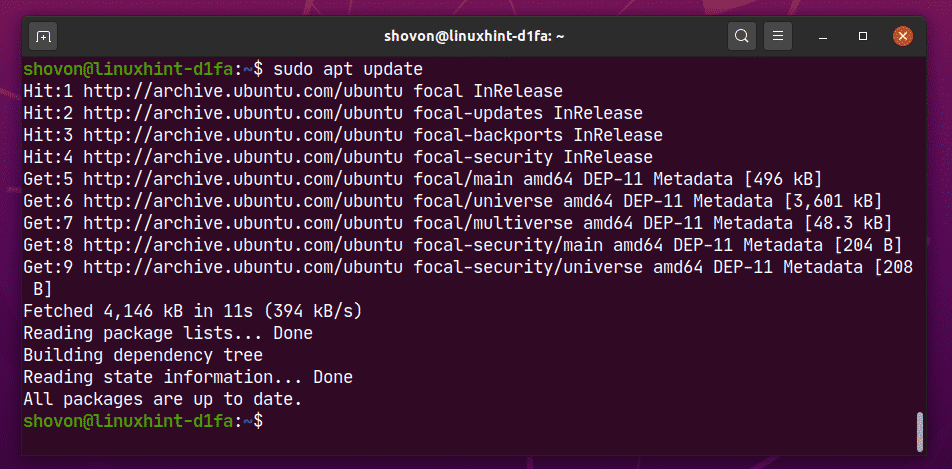
Updating Package Repository Cache:
Now, update the package repository cache with the following command:

The APT package repository cache should be updated.
Installing Multimedia Codecs:
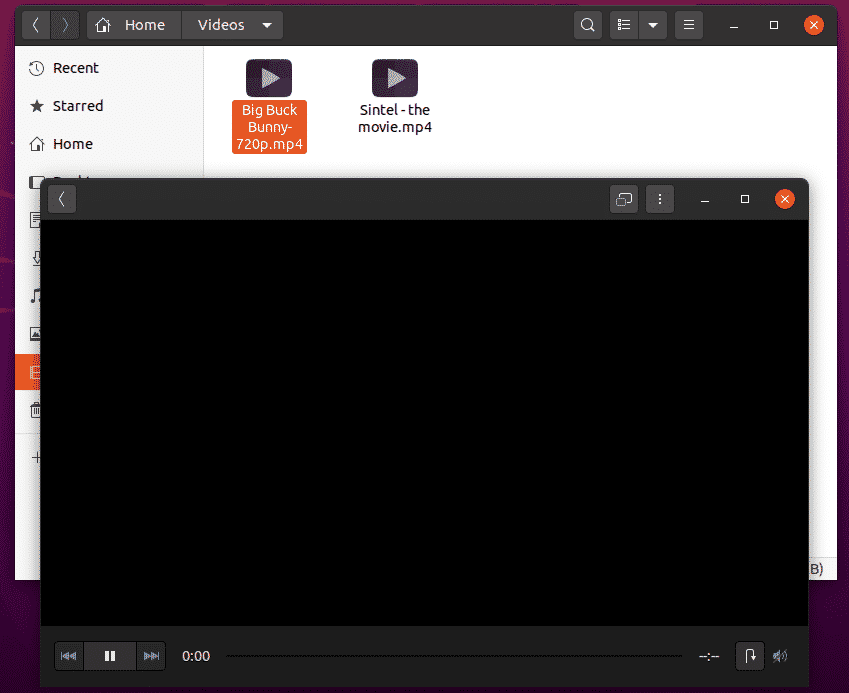
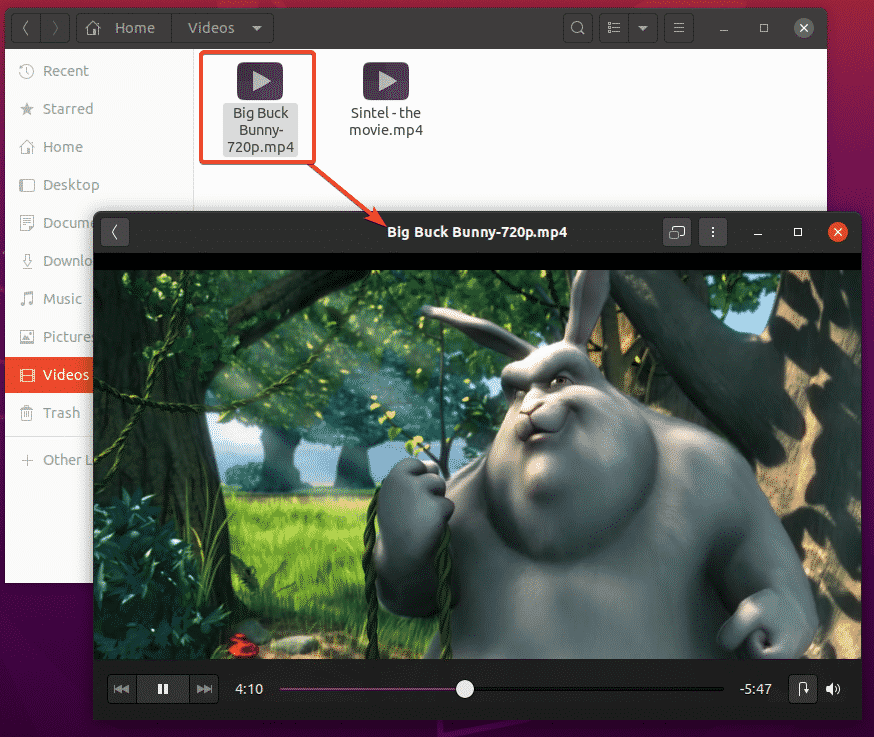
Multimedia codecs are essential for playing audio and video files. By default, multimedia codecs are not installed on Ubuntu 20.04 LTS.
As you can see, I am not able to play the video file Big Buck Bunny-720.mp4 with the default Ubuntu 20.04 LTS Videos app. Once you install the multimedia codecs, you will be able to play any videos/audios with any video/audio player on Ubuntu 20.04 LTS.
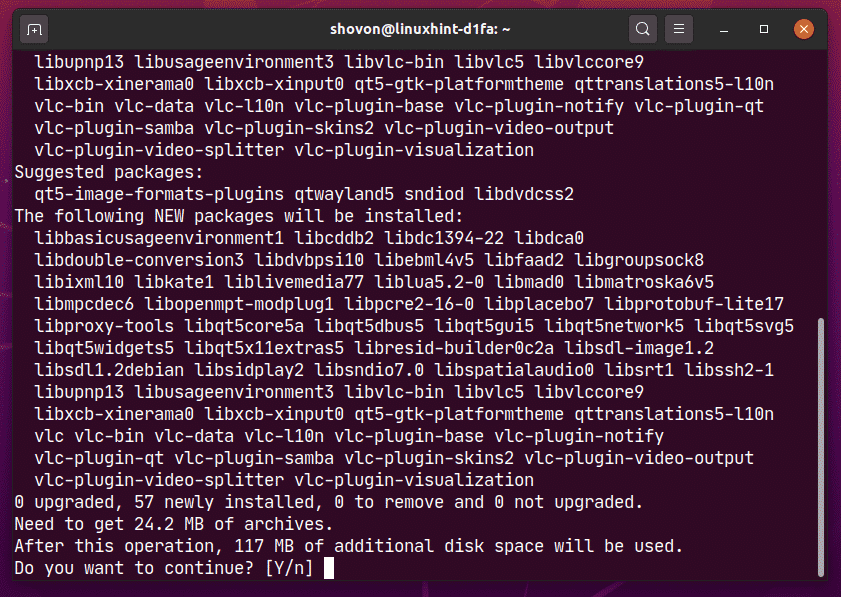
You can install all the available multimedia codecs at once with the following command:

Now, to confirm the installation, press Y and then press .

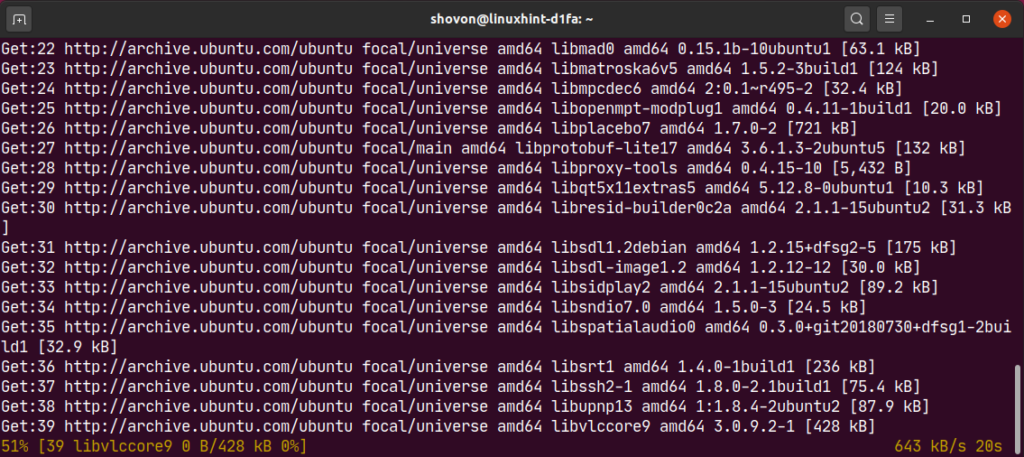
Ubuntu should download all the required packages from the internet.
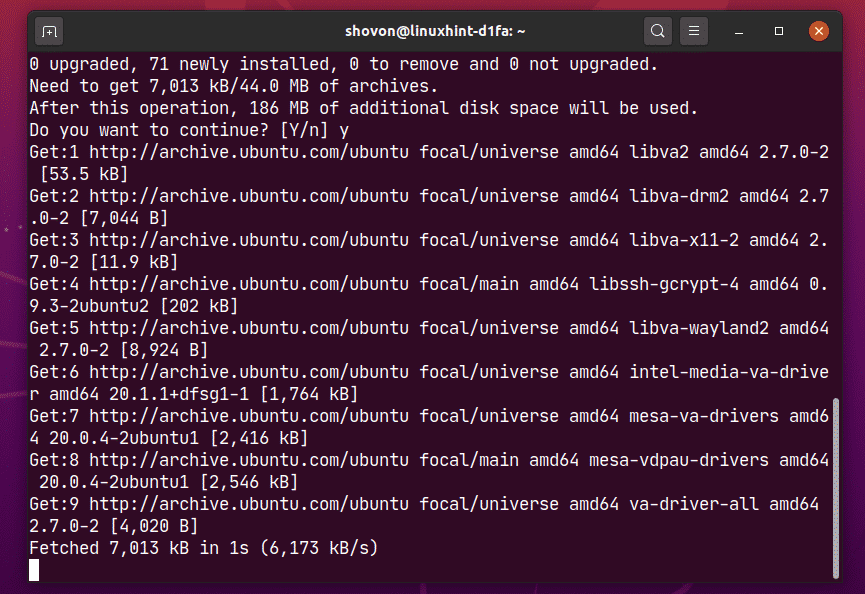
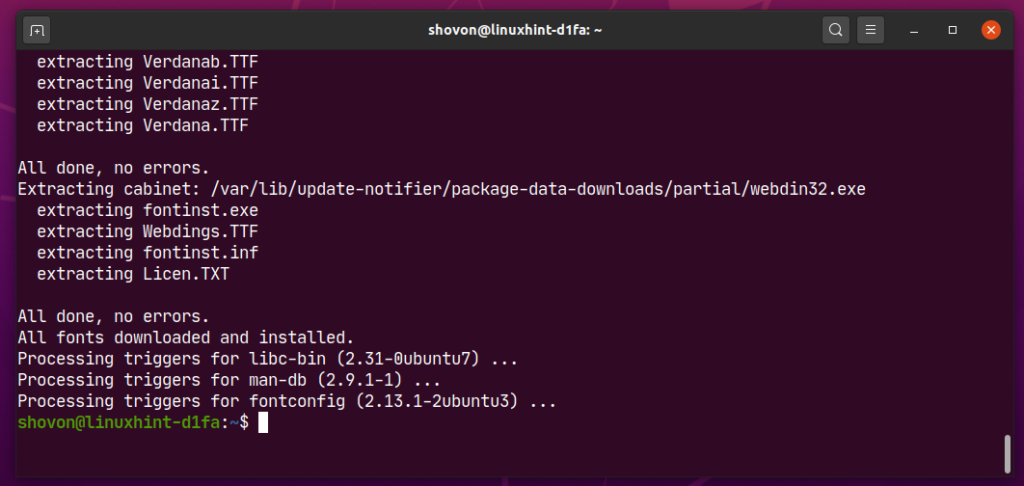
Ubuntu 20.04 LTS will install Microsoft fonts along with the multimedia codecs.
You have to accept the EULA (End User License Agreement) of Microsoft if you want to install Microsoft fonts on Ubuntu 20.04.
Select and press .
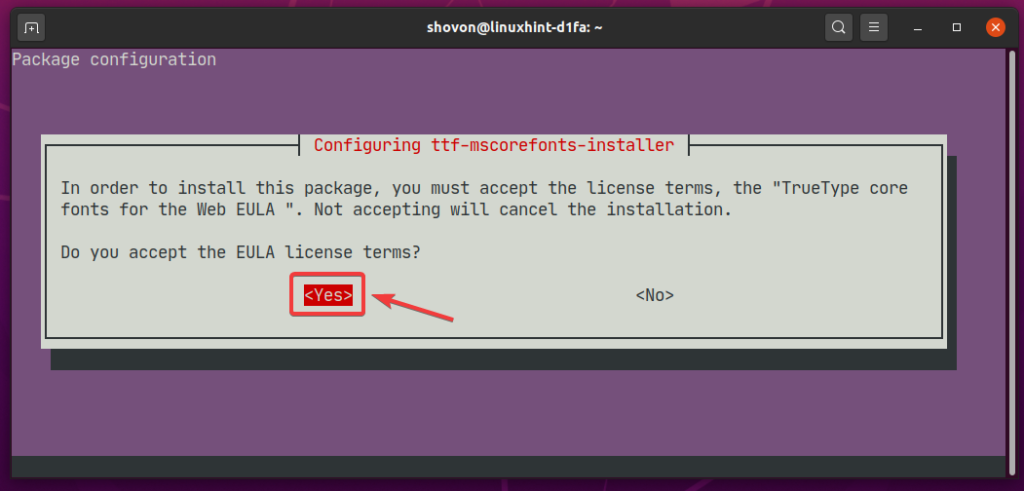
Now, select and press to accept the Microsoft EULA.
NOTE: If you don’t want to install Microsoft fonts, don’t accept the Microsoft EULA. Just select and press .
The installer should continue.
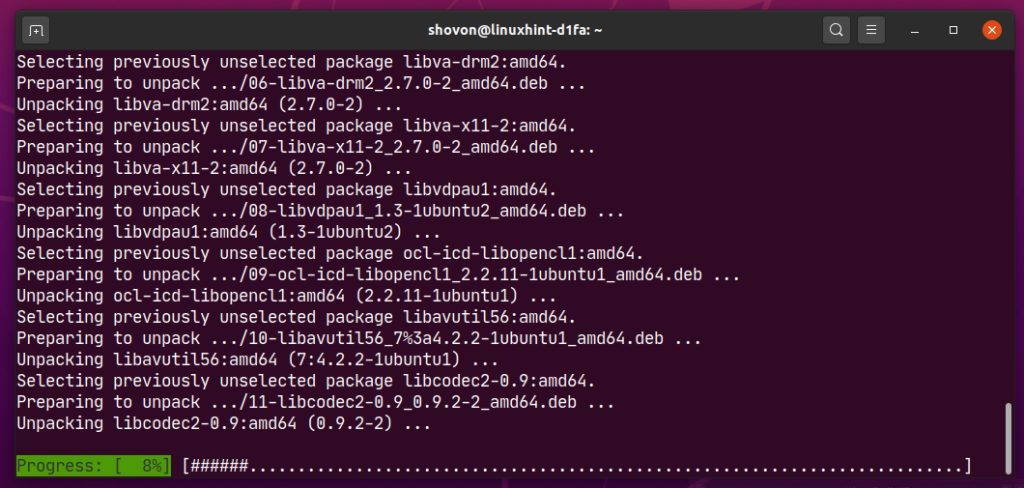
At this point, all the multimedia codecs should be installed.
Once the multimedia codecs are installed, you should be able to play any video/audio file on Ubuntu 20.04 LTS as you can see in the screenshot below.
Installing VLC Media Player:
You can install VLC media player on Ubuntu 20.04 LTS. VLC media player is one of the best video and audio player out there. It can play almost any type of media files. There is a saying that if VLC can’t play a media file, no other player can. I personally like VLC media player a lot.
You can install VLC media player with the following command:

Now, to confirm the installation, press Y and then press .
All the required packages are being downloaded from the internet.
At this point, VLC should be installed.

Now, to play a media file with VLC, right click (mouse) on the file and click on Open With Other Application.

Select VLC media player from the list and click on Select.

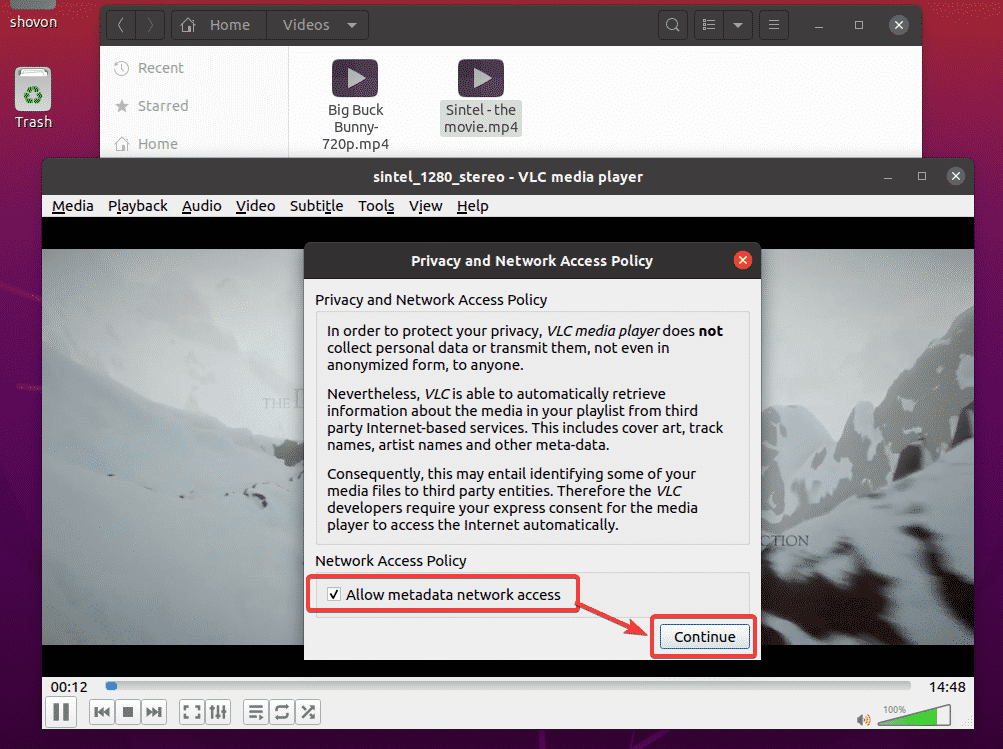
As you’re running VLC media player for the first time, you will see the following window.
Check Allow metadata network access and click on Continue. This way, VLC will automatically download information about the media file being played (i.e. album covers) from the internet.
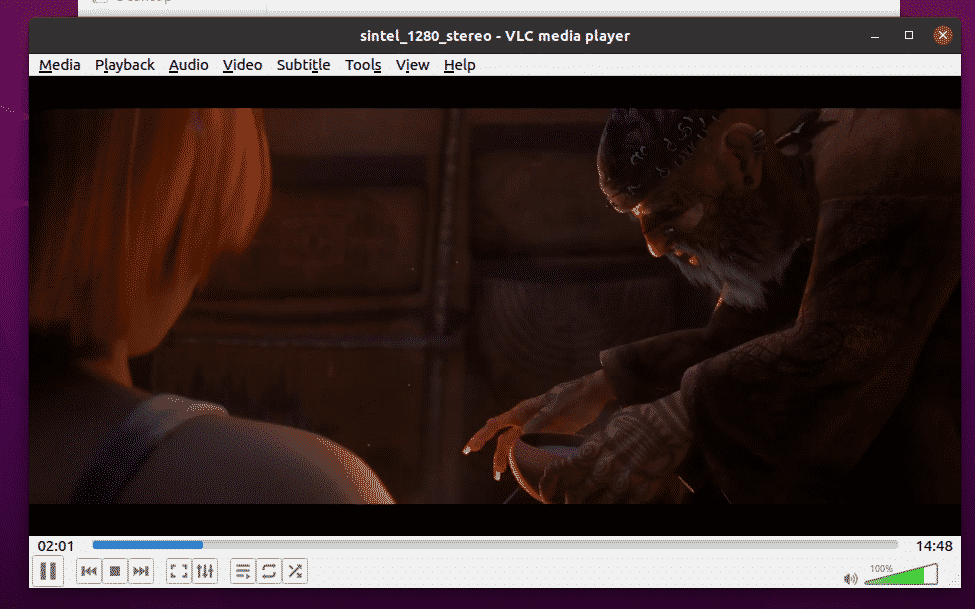
VLC is playing Sintel – the movie.mp4 file as you can see in the screenshot below.
Installing Clementine Music Player:
If you don’t like Rhythmbox, the default music player of Ubuntu 20.04 LTS, you can try Clementine. It is like Rhythmbox, but it has a better user interface and more features. Clementine can also download the lyrics, album cover, artist information etc. of the music you’re playing automatically.
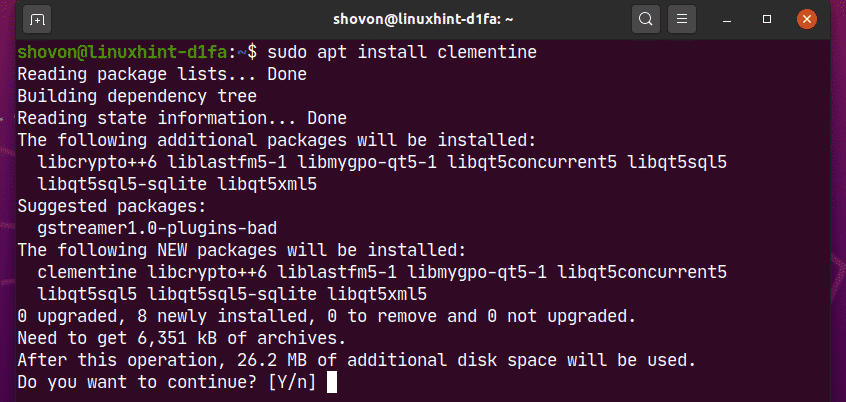
You can install Clementine with the following command:

To confirm the installation, press Y and then press .
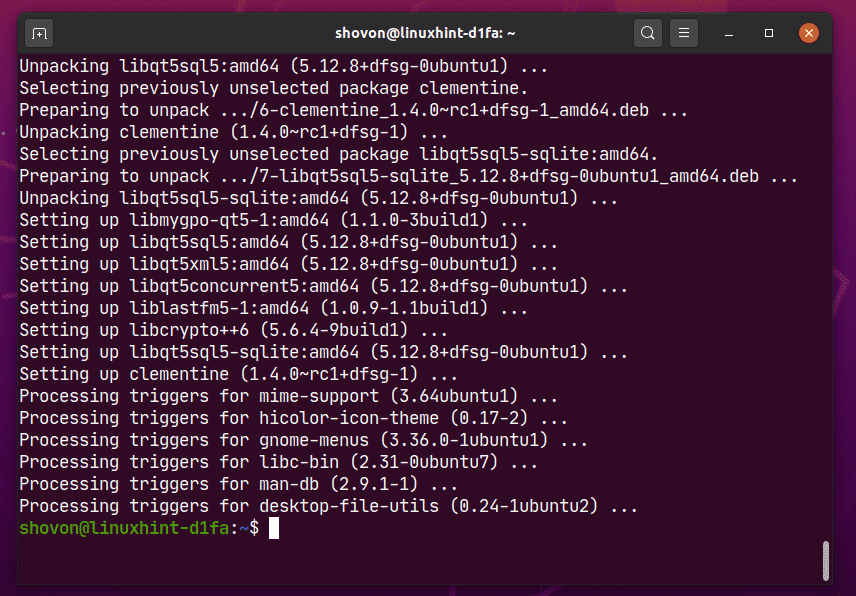
Clementine should be installed.
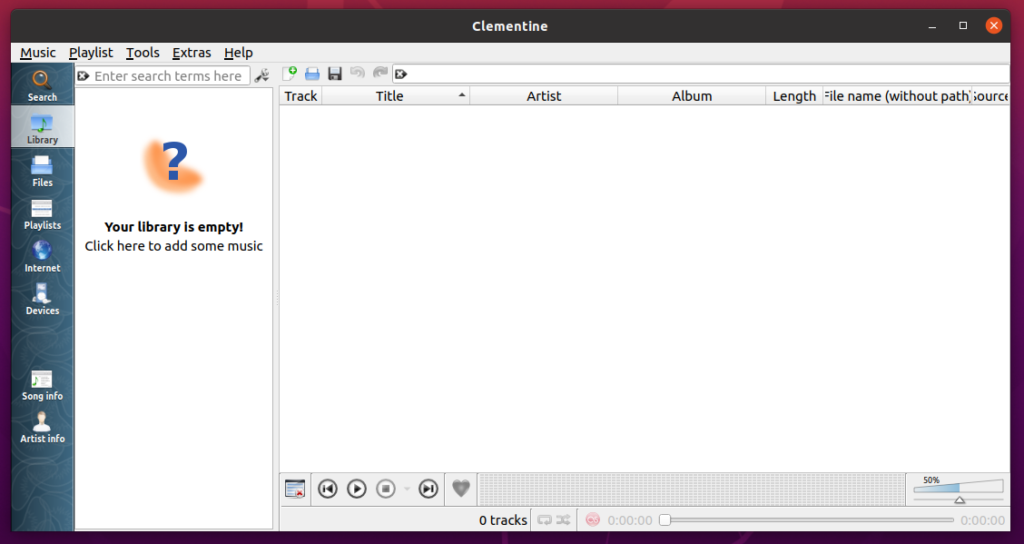
Once you have installed Clementine, you can start Clementine from the Application Menu of Ubuntu 20.04 LTS.

Clementine music player should start.
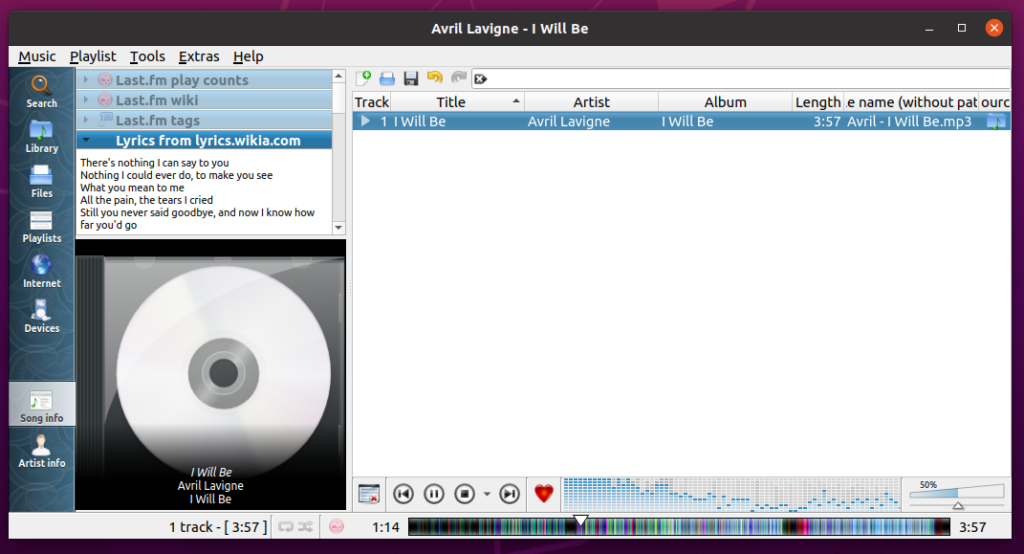
As you can see, Clementine is playing a music. On the right, the lyrics of the music is being displayed.
Set Default Video and Music Player on Ubuntu 20.04 LTS:
If you want to change the default video and music player on Ubuntu 20.04 LTS, this section is for you.
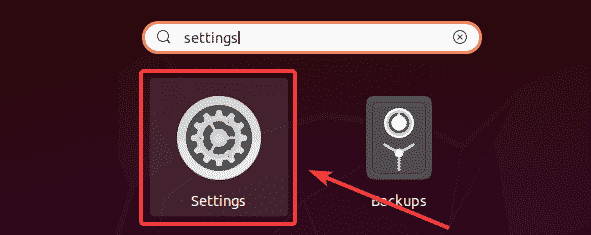
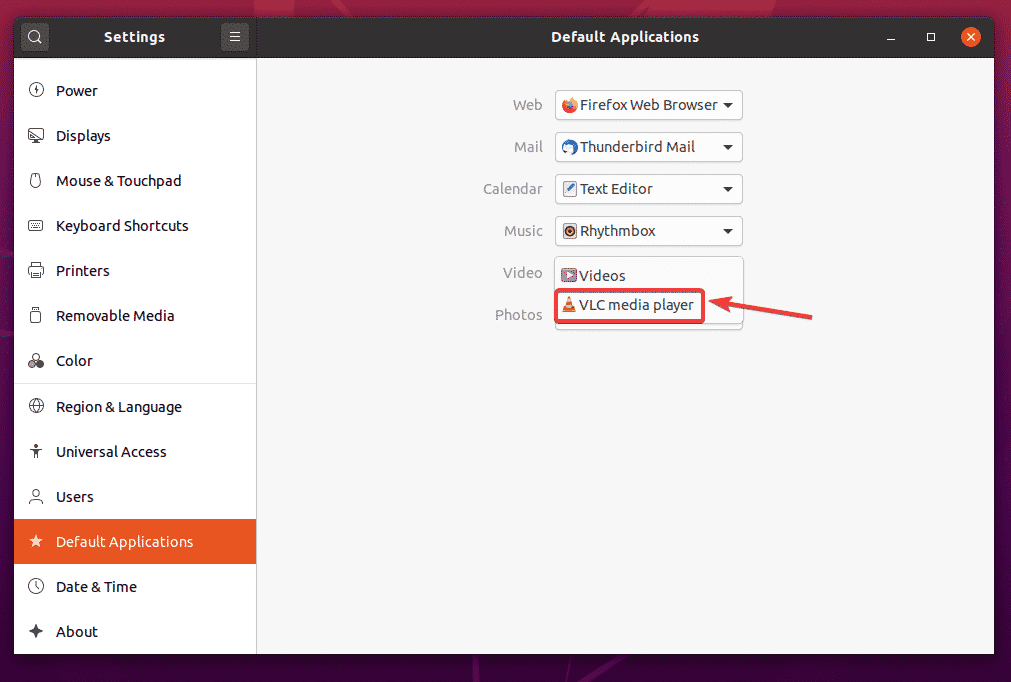
First, open the Settings app from the Application Menu of Ubuntu 20.04 LTS.
Now, go to the Default Applications tab from the Settings app. As you can see, Rhythmbox is set as the default Music player and Videos is set as the default Video player on Ubuntu 20.04 LTS.
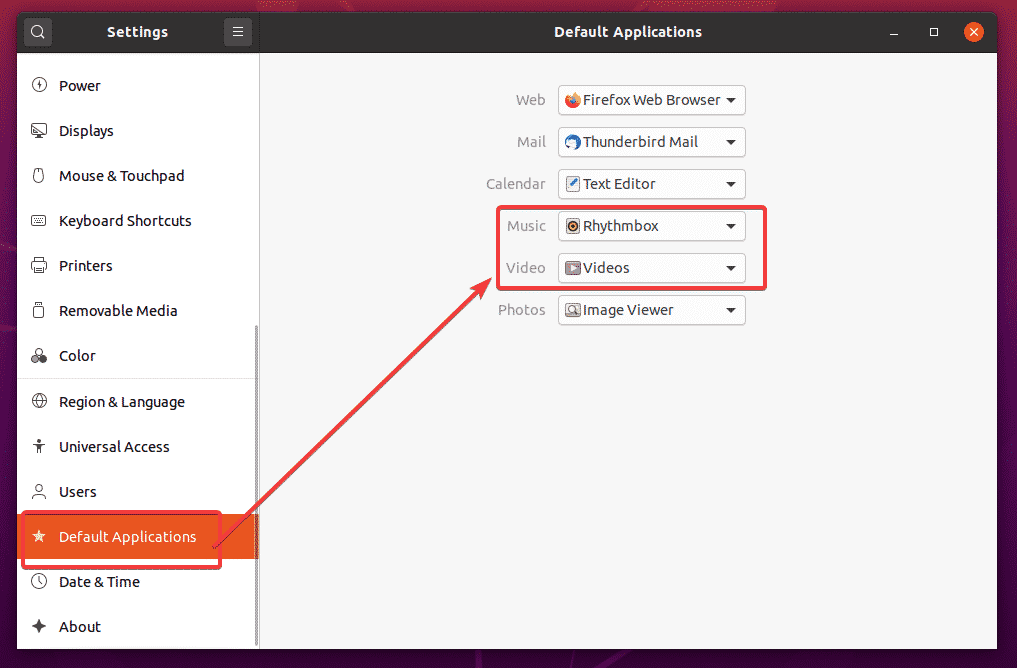
To change the default Video player to VLC media player, click on the Video dropdown menu and select VLC media player form the list.
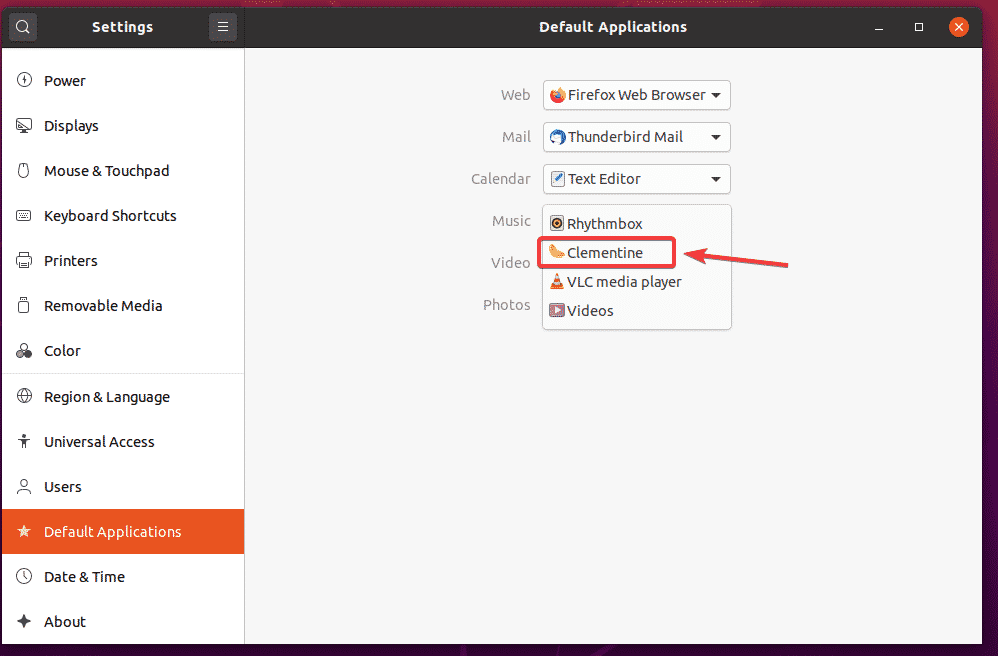
The same way, click on the Music dropdown menu and select your default music player from the list.
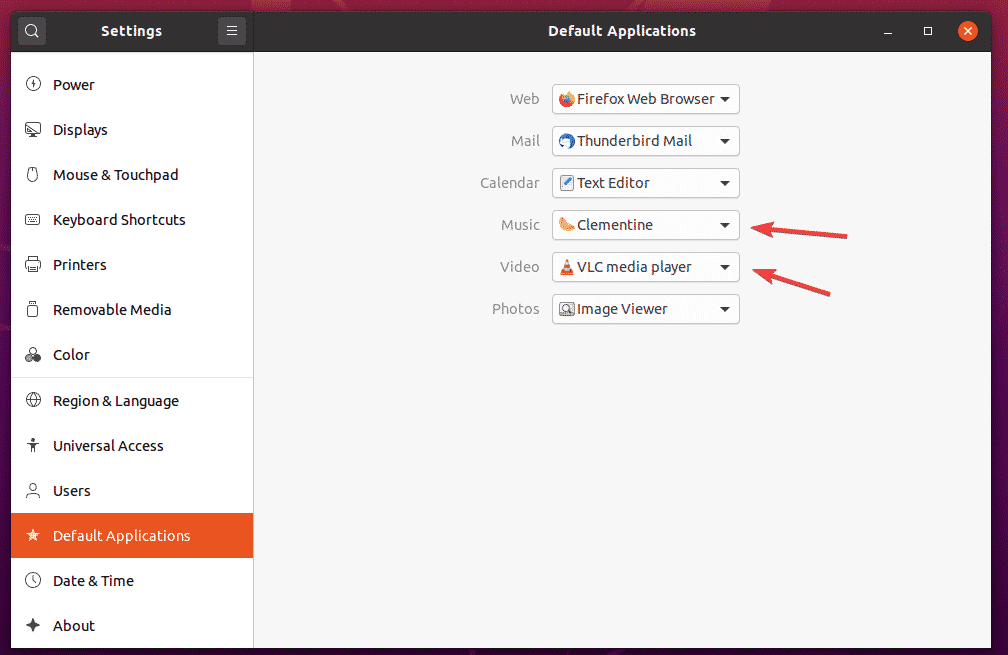
As you can see, VLC media player is set as the default Video player and Clementine music player is set as the default Music player.
So, that is how you install multimedia codecs on Ubuntu 20.04 LTS. Thanks for reading this article.
Источник


