You are among the 240,000 merchants worldwide who put their trust in our eCommerce software. We have gathered some information to help you get started with Magento and with your Magento installation.
We have some resources here to help get you started using the eCommerce platform of the future—Magento 2.
How to get the Magento software
Check the availability of exciting new features and releases, and learn how you can obtain them, on our Magento product availability page.
Consult the following table for getting started with installing Magento Open Source or Magento Commerce.
User needs
Description
High-level installation and upgrade steps
Get started link
Wants full control over all components installed, has access to the Magento server, highly technical, might repackage Magento Open Source with other components.
Creates a Composer project that contains the list of components to use.
Uses Composer to update package dependencies; uses composer create-project to get the Magento metapackage.
Installs the Magento software using the command line.
Upgrades the Magento application and extensions using the command line.
Contributes to the Magento codebase, files bugs, and customizes the Magento software. Highly technical, has their own Magento development server, understands Composer and GitHub.
You cannot use Magento in a production environment.
Clones the Magento 2 GitHub repository.
Uses Composer to update package dependencies.
Installs the Magento software using command line.
Upgrades the Magento software using Composer and Git commands.
Customizes code under the app/code directory.
Useful information
At any time during your installation, take advantage of our installation roadmap (reference). The roadmap provides links to common tasks throughout the guide.
Use the links on the left side of the page to navigate topics in each part of the installation.
Required server permissions
UNIX systems require root privileges to install and configure software like a web server, PHP, and so on. If you need to install this software, make sure you have root access.
You should not install the Magento software in the web server docroot as the root user because the web server might not be able to interact with those files.
You’ll also need root privileges to create the Magento file system owner and add that owner to the web server’s group. You’ll use the Magento file system owner to run any commands from the command line and to set up the Magento cron job, which schedules tasks for you.
4 Steps to Install Magento 2 on XAMPP Windows
You are looking for Install Magento 2 latest version on Windows from Magento repo or Github with Apache/NginX, MySQL/MariaDB and PHP 7.x, this guide is best place for you. In this post, I will show you how to install Magento 2.3 on an Ubuntu latest with Apache2, MariaDB. In previous posts, I talked about Install Magento 2 on Ubuntu, Centos or Windows.
Magento 2 Requirements
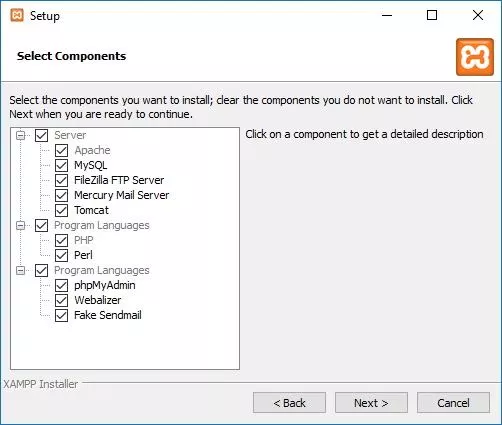
Step 1: Install XAMPP
XAMPP is the most popular local web development solution for Windows. It is free and includes Apache or NginX, PHP or Python, Perl or Ruby.
To download latest version here.
Open and install XAMPP for your Windows: Install it in C drive. We suppose that the path is: c:\xampp\
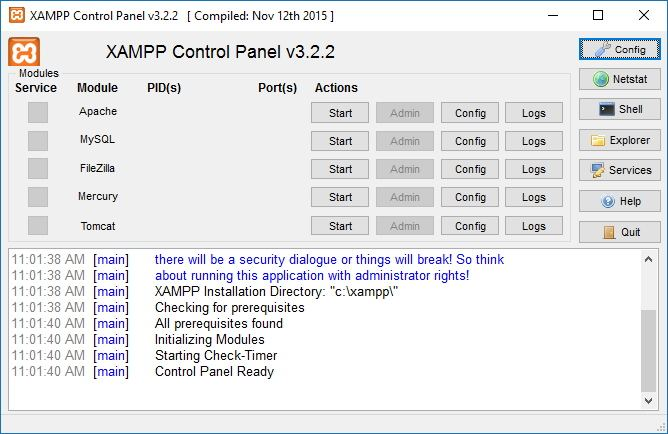
Open XAMPP Controller in XAMPP folder
Now you have already setup XAMPP succesfully on your Windows.
Step 2: Install Composer (optional)
Download Composer and install for windows
Direct download composer: Composer stable version
or you can use command line to install Composer:
Step 3: Download Magento 2 Pack
You can download from one of the folling resources:
After donwload, you should extract the pack to c:\xampp\htdocs\magento2 . E.g you have a folder call: magento2 in c:\xampp\htdocs\
Step 4: Install Magento 2
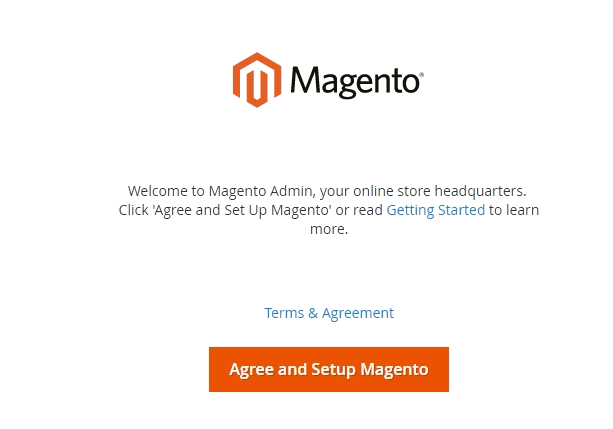
Access to this address http://localhost/magento2 , you will get this Magento Setup Wizard as the following:
Step 4.3: Start Installing
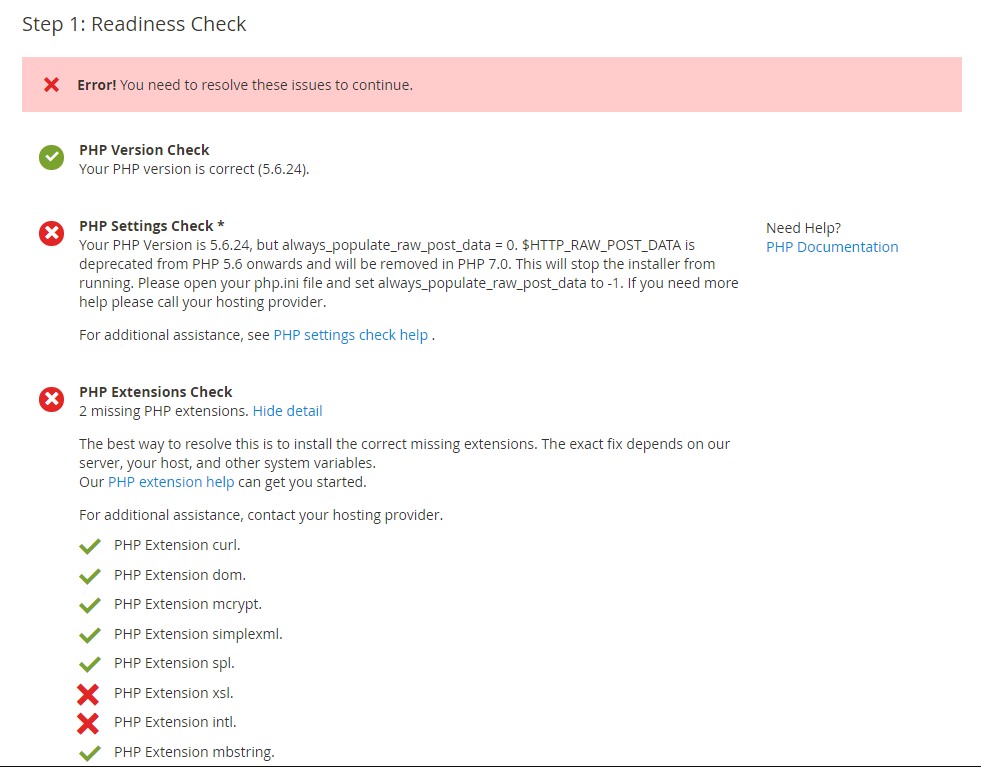
Click Start Readiness Check . If any errors are displayed, you must resolve them before you continue. Click More detail if available to see more information about each check.
Click Next
Step 4.2 Add a Database
Fill database information then click Next
Step 4.3 Web Configuration
Enter the following information:
Your Store Address: http://localhost
Magento Admin Address: Enter the relative URL by which to access the Magento Admin. e.g: secret, backend
Then click Next
Step 4.4. Customize Your Store
From the Store Default Time Zone list, click the name of your store’s time zone.
From the Store Default Currency list, click the default currency to use in your store.
From the Store Default Language list, click the default language to use in your store.
Expand Advanced Modules Configuration to optionally enable or disable modules before you install the Magento software.
You can choose install Sample Data or not in this step.
Important!: Use Skip dependency check for individual modules with caution. We recommend against it because a typical reason for this error is you manually edited the deployment configuration. Editing the deployment configuration is not recommended because future Magento software updates can undo your changes.
Step 4.5. Create Admin Account
Now enter admin information such as
New Username
New E-Mail
New Password
Confirm Password
Then click Next
Step 4.6. Install
After completing all previous steps in the Setup Wizard, click Install Now .
Installation Success The message Success will be displayed to indicate a successful installation.
Step 4.7: Check the result
Now go to the frontend and backend to see the result
Quick start install
We use Composer to manage Magento components and their dependencies. Using Composer to get the Magento software metapackage provides the following advantages:
Reuse third-party libraries without bundling them with source code
Reduce extension conflicts and compatibility issues by using a component-based architecture with robust dependency management
Adhere to PHP-Framework Interoperability Group (FIG) standards
Repackage Magento Open Source with other components
Use the Magento software in a production environment
You can also download an archive file for a specific version of Magento in either ZIP or TAR format. Installing Magento from an archive lacks the advantages of using Composer. Contributing developers should use the git-based installation method.
Prerequisites
Before you continue, you must do the following:
Log in as file system owner
Learn about ownership, permissions, and the Magento file system owner in our Overview of ownership and permissions topic.
To switch to the Magento file system owner:
Log in to the Magento server as, or switch to, a user with permissions to write to the Magento file system. See switch to the Magento file system owner.
If you use the bash shell, you can use the following syntax to switch to the Magento file system owner and enter the command at the same time:
If the Magento file system owner does not allow logins, you can do the following:
To run Magento commands from any directory, add /bin to your system PATH .
Because shells have differing syntax, consult a reference like unix.stackexchange.com.
Sample bash shell for CentOS:
Optionally, you can run the commands in the following ways:
cd /bin and run them as ./magento
/bin/magento
is a subdirectory of your web server docroot.
In addition to the command arguments discussed here, see Common arguments.
Get the metapackage
To get the Magento metapackage:
Log in to your Magento server as, or switch to, the Magento file system owner.
Change to the web server docroot directory or a directory that you have configured as a virtual host docroot.
Create a new Composer project using the Magento Open Source or Magento Commerce metapackage.
Magento Open Source
Magento Commerce
When prompted, enter your Magento authentication keys. Public and private keys are created and configured in your Magento Marketplace.
If you encounter errors, such as Could not find package. or . no matching package found , make sure there are no typos in your command. If you still encounter errors, you may not be authorized to download Magento Commerce. Contact Magento support for help.
See Troubleshooting for help with more errors.
Magento Commerce customers can access 2.4.x and 2.3.x patches two weeks before the General Availability (GA) date. Pre-release packages are available through Composer only. You cannot access pre-releases on the Magento Portal or GitHub until GA. If you cannot find these packages in Composer, contact Magento Support.
Example — Minor release
Minor releases contain new features, quality fixes, and security fixes. Use Composer to specify a minor release. For example, to specify the Magento Commerce 2.4.0 metapackage:
Example — Quality patch
Quality patches primarily contain functional and security fixes. However, they can also sometimes contain new, backward-compatible features. Use Composer to download a quality patch. For example, to specify the Magento Commerce 2.3.4 metapackage:
Example — Security patch
Security patches contain security fixes only. They are designed to make the upgrade process faster and easier.
Security patches use the Composer naming convention 2.3.2-px . Use Composer to specify a patch. For example, to download the Magento Commerce 2.3.2-p1 metapackage:
Set file permissions
You must set read-write permissions for the web server group before you install the Magento software. This is necessary so that the command line can write files to the Magento file system.
Install Magento
You must use the command line to install Magento.
This example assumes that the Magento install directory is named magento2ee , the db-host is on the same machine ( localhost ), and that the db-name , db-user , and db-password are all magento :
You can customize the Admin URI with the —backend-frontname option. However, we recommend omitting this option and allowing the installation command to automatically generate a random URI. A random URI is harder for hackers or malicious software to exploit. The URI displays in your console when installation is complete.
For a full description of the CLI install options, refer to Install the Magento software from the command line.
Command summary
To display a complete list of commands, enter:
To get help for a particular command, enter:
The following table summarizes the available commands. Commands are shown in summary form only. For more information about a command, click the link in the Command column.
Command
Description
Prerequisites
magento setup:install
Installs the Magento software
None
magento setup:uninstall
Removes the Magento software.
Magento software installed
magento setup:upgrade
Updates the Magento software.
Deployment configuration
magento maintenance:
Enables or disables maintenance mode (in maintenance mode, only exempt IP addresses can access the Magento Admin or storefront).
Magento software installed
magento setup:config:set
Creates or updates the deployment configuration.
None
magento module:
Enable or disable modules.
None
magento setup:store-config:set
Sets storefront-related options, such as base URL, language, timezone, and so on.
Deployment configuration
Database (simplest way is to use magento setup:upgrade)
В
В
magento setup:db-schema:upgrade
Updates the Magento database schema.
Deployment configuration
magento setup:db-data:upgrade
Updates the Magento database data.
Deployment configuration
magento setup:db:status
Checks if the database is up-to-date with the code.
Deployment configuration
magento admin:user:create
Creates a Magento administrator.
All of the following:
Enable at minimum the Magento_User and Magento_Authorization modules
Database (simplest way is to use magento setup:upgrade)
magento list
Lists all available commands.
None
magento help
Provides help for the specified command.
None
Common arguments
The following arguments are common to all commands. These commands can be run either before or after the Magento software is installed:
Long version
Short version
Meaning
—help
-h
Get help for any command. For example, ./magento help setup:install or ./magento help setup:config:set .
—quiet
-q
Quiet mode; no output.
—no-interaction
-n
No interactive questions.
—verbose=1,2,3
-v, -vv, -vvv
Verbosity level. For example, —verbose=3 or -vvv displays debug verbosity, which is the most verbose output. Default is —verbose=1 or -v .
—version
-V
Display this application version
—ansi
n/a
Force ANSI output
—no-ansi
n/a
Disable ANSI output
Hooray! You’ve completed the quick install. Need more advanced help? Check out our Advanced install guide.
 Install it in C drive. We suppose that the path is: c:\xampp\