- Установка Windows 10 с жесткого диска
- Шаг 1: Подготовка логического тома
- Шаг 2: Подготовка ISO-образа
- Шаг 3: Создание загрузочной записи
- Шаг 4: Установка Windows 10 с жесткого диска
- Install windows from hard drive to another hard drive
- Replies (3)
- Install Windows 10/8.1 From External Hard Drive
- Make external hard drive bootable to install Windows 10/8.1
- Related Articles
- Comments
Установка Windows 10 с жесткого диска
У некоторых пользователей отсутствует возможность создать загрузочную флешку или диск, чтобы произвести инсталляцию операционной системы Windows 10 при помощи таких носителей. Из-за этого они сталкиваются с задачей настройки раздела жесткого диска, который будет задействован в качестве загрузочного с заранее помещенными туда файлами. Изначально функциональность ОС не предназначена для произведения подобной инсталляции, поэтому придется выполнить несколько подготовительных действий, о чем и пойдет речь далее.
Шаг 1: Подготовка логического тома
Все начинается с подготовки отдельного логического тома, на который в дальнейшем и будут записаны файлы инсталлятора операционной системы. Осуществляется это стандартными функциями любой версии Windows и выглядит так:
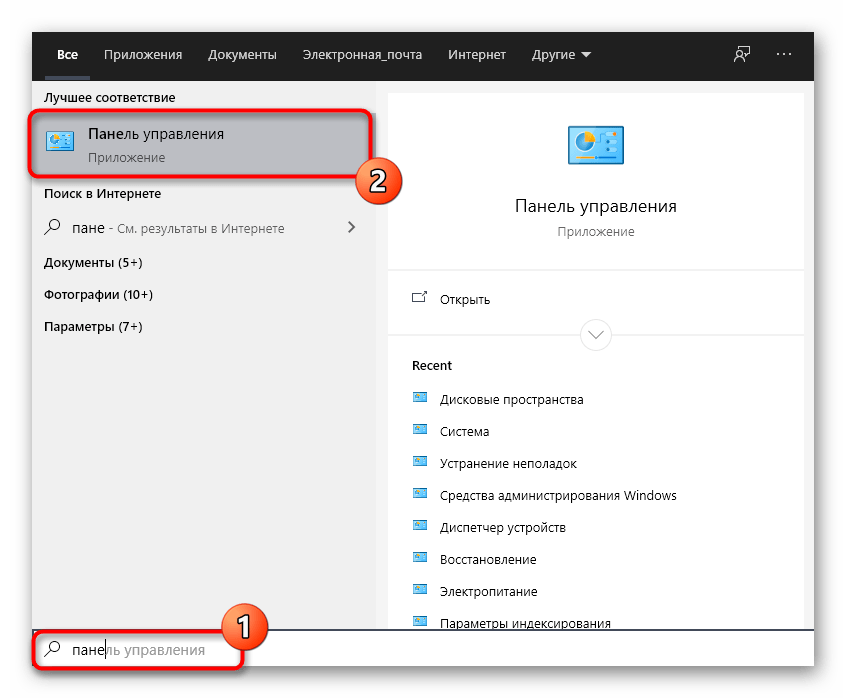
- Откройте «Пуск» и через поиск найдите приложение «Панель управления».
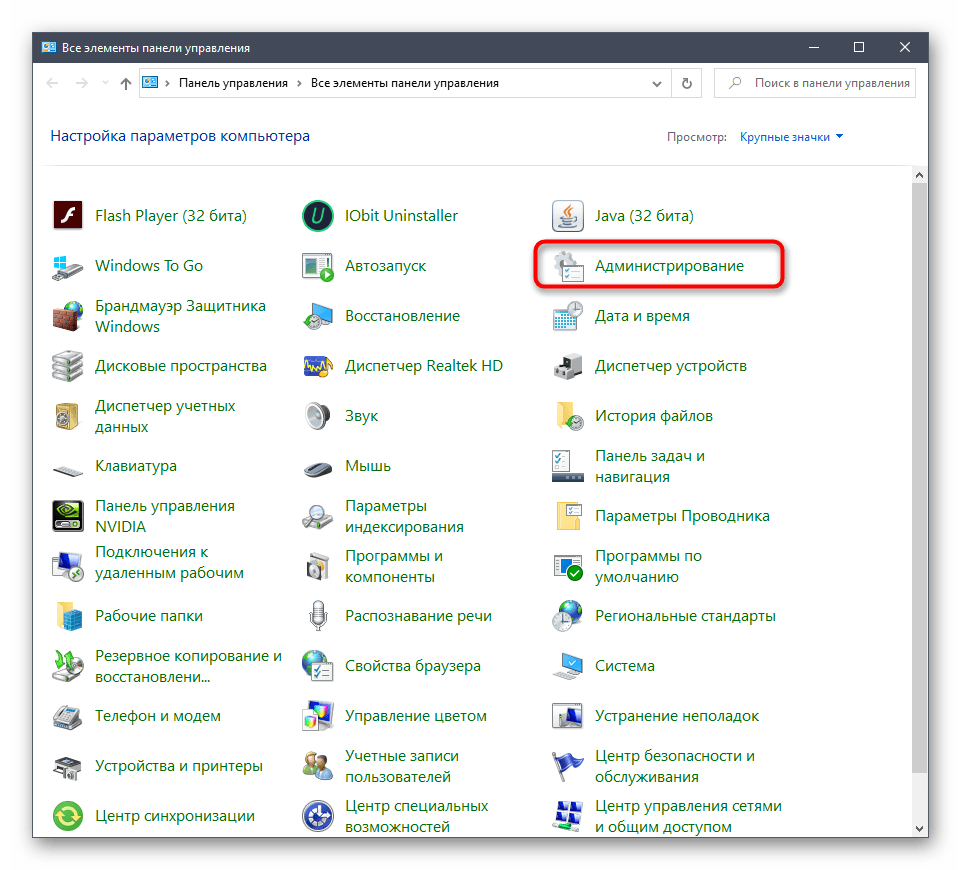
Выберите пункт «Управление компьютером».
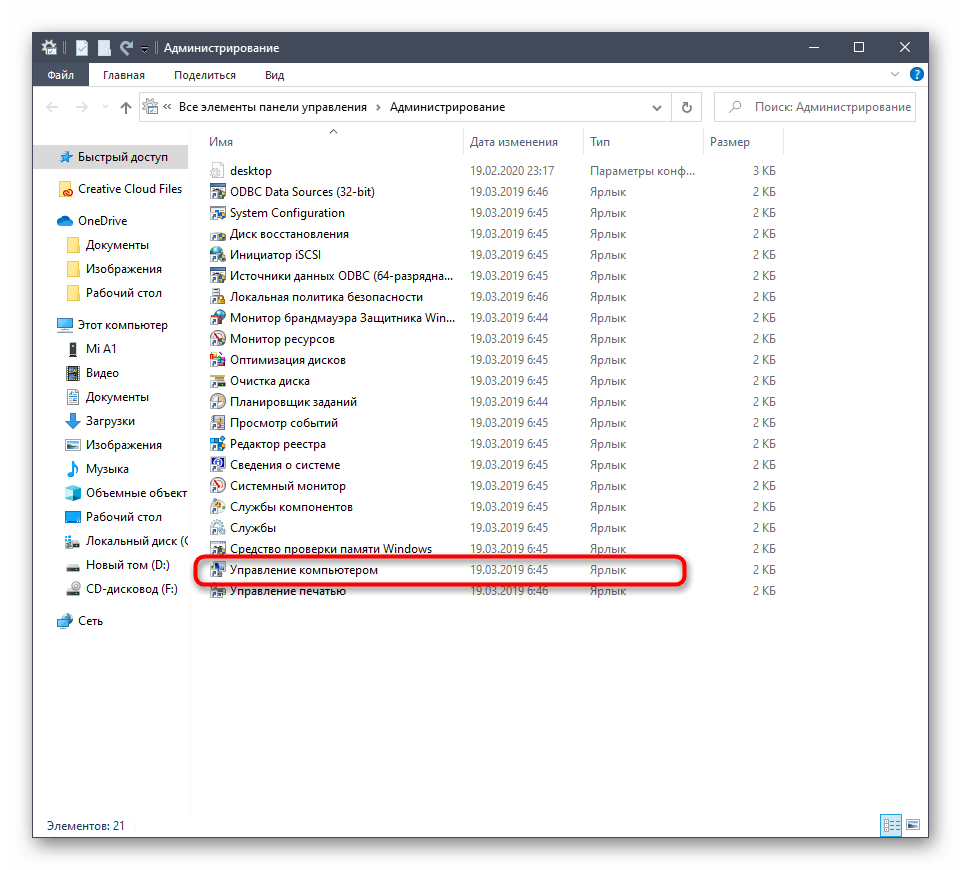
Через левое меню переместитесь к категории «Управление дисками».


Ожидайте завершения запроса места для сжатия. Этот процесс займет буквально несколько секунд.
Теперь вам необходимо поменять значение в строке «Размер сжимаемого пространства (МБ)» на подходящее значение. Все файлы ОС не займут больше 10 ГБ, поэтому отталкивайтесь от имеющегося образа диска с Виндовс 10.
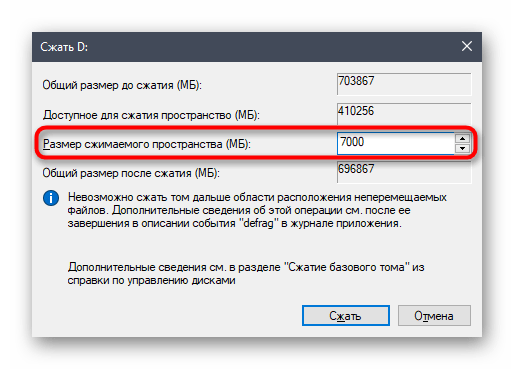
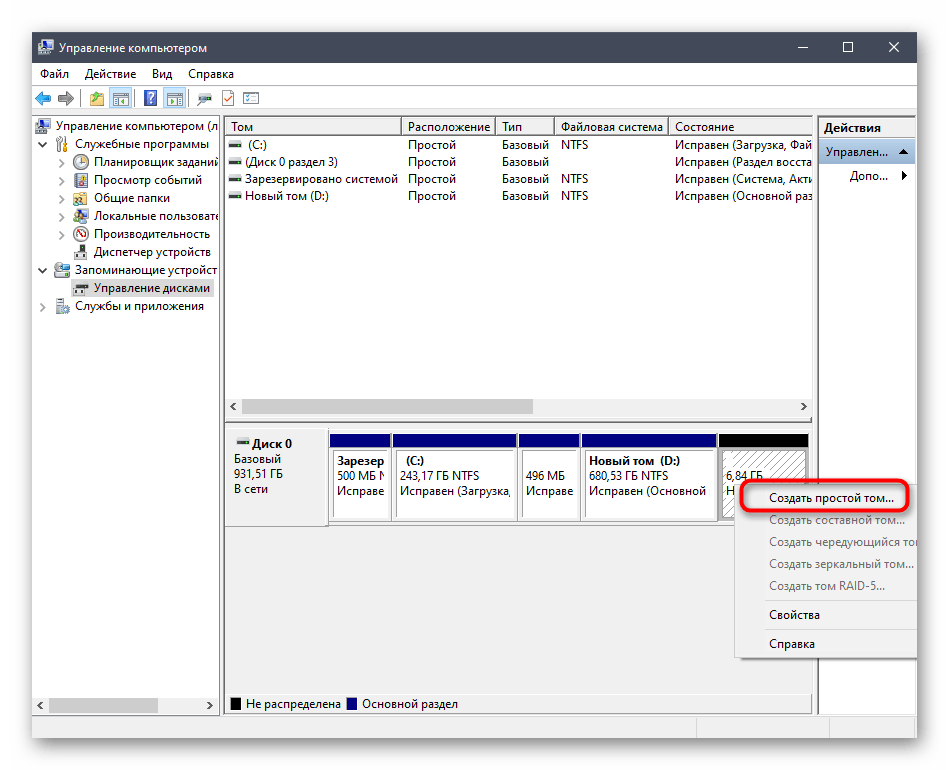
Больше никакие параметры изменять не нужно. Нажмите «Сжать» и после этого закройте текущее окно. В «Управление дисками» появится неразмеченное пространство. Нажмите по нему ПКМ и выберите «Создать простой том».
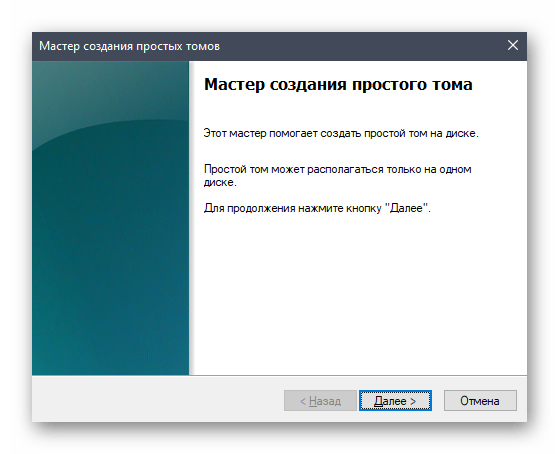
Первые настройки выполните в соответствии с личными пожеланиями, а затем форматируйте раздел в NTFS и задайте для него произвольную метку.

Перед нажатием на «Готово» убедитесь, что все параметры выбраны правильно, а уже потом завершайте создание тома.

Теперь новый логический раздел должен появиться в меню «Этот компьютер». Убедитесь в его наличии, а затем переходите к следующему шагу.
Шаг 2: Подготовка ISO-образа
Как известно, любая операционная система инсталлируется на ПК при помощи ISO-образа. Если речь идет о создании загрузочной флешки, то такой объект записывается туда специальными программами. В нашем же случае сам образ нужно открыть через любое удобное средство, например, архиватор или соответствующий софт для работы с виртуальными приводами. Детальнее об этом читайте по следующей ссылке. После успешного открытия переместите все находящиеся там файлы на только что созданный раздел жесткого диска. На этом данный этап можно считать успешно завершенным.

Шаг 3: Создание загрузочной записи
На текущий момент времени все файлы, которые мы только что перенесли на новый логический том жесткого диска, не могут никак использоваться непосредственно при старте ОС, поскольку сам загрузчик их не определяет. Сейчас от юзера требуется создать специальную загрузочную запись, чтобы при старте компьютера на экране отображался выбор: загрузиться с установленной ОС или перейти к инсталляции новой. Сделать это можно, задействовав одну бесплатную программу.
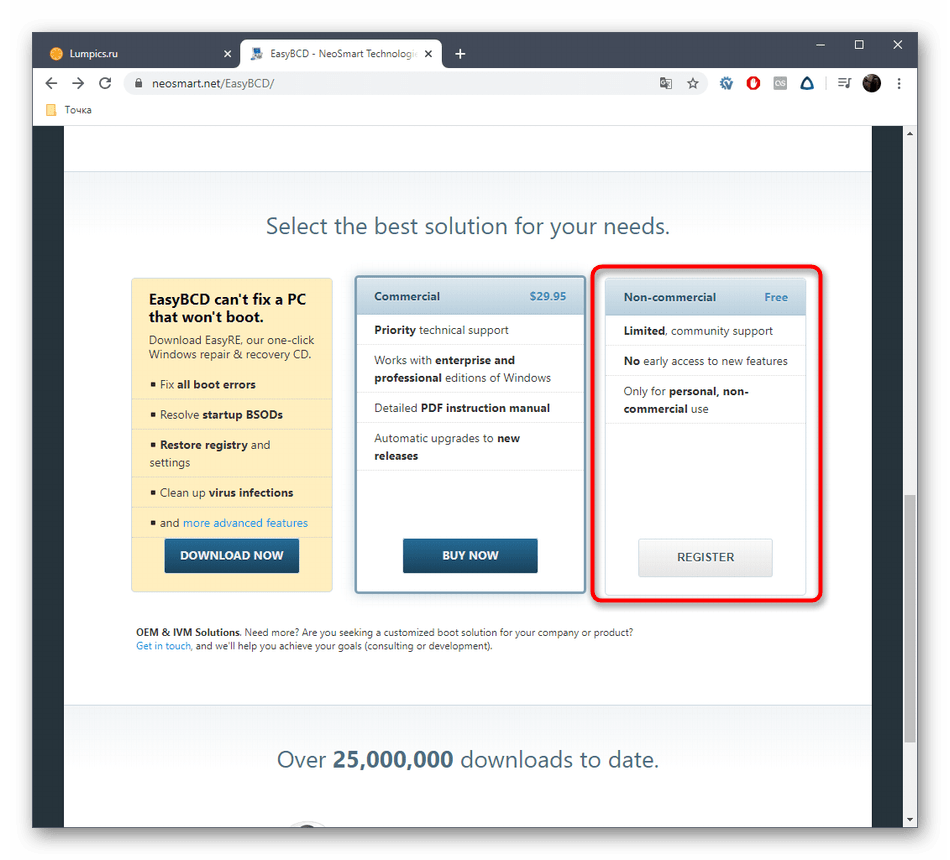
- Для начала воспользуйтесь ссылкой выше, чтобы перейти на официальный сайт программы EasyBCD и скачать ее некоммерческую версию, пройдя регистрацию.
После этого произведите стандартную операцию установки и запустите софт.
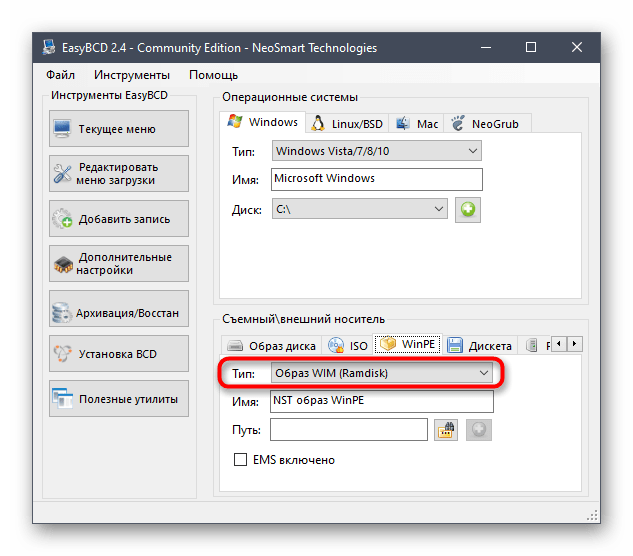
В окне программы кликните по кнопке «Добавить запись».

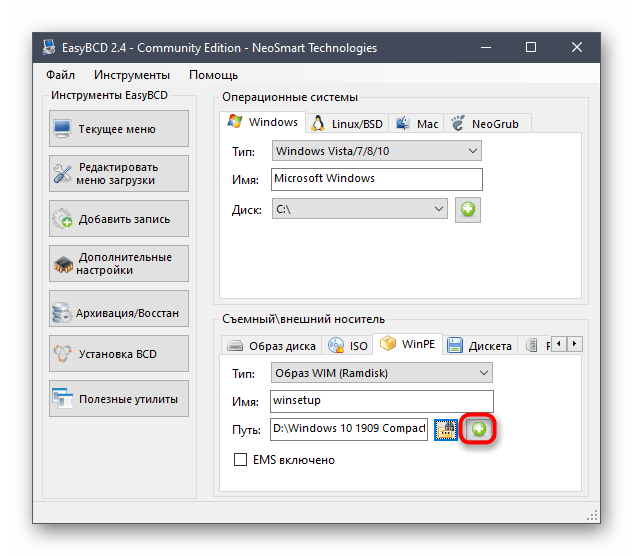
Через категорию «Съемный\внешний носитель» переместитесь на вкладку «WinPE».

Здесь убедитесь, что тип записи установлен «Образ WIM (Ramdisk)».
В качестве имени записи установите произвольное название, которое и будет в будущем отображаться при непосредственном старте компьютера.
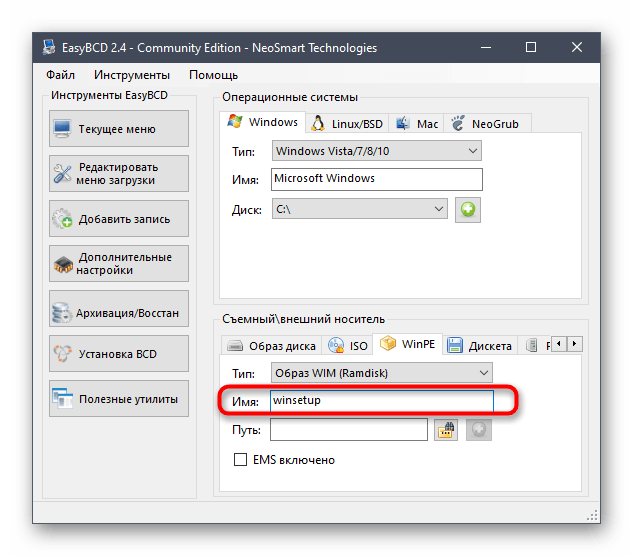
Теперь щелкните по специально отведенной кнопке, чтобы перейти к выбору пути.

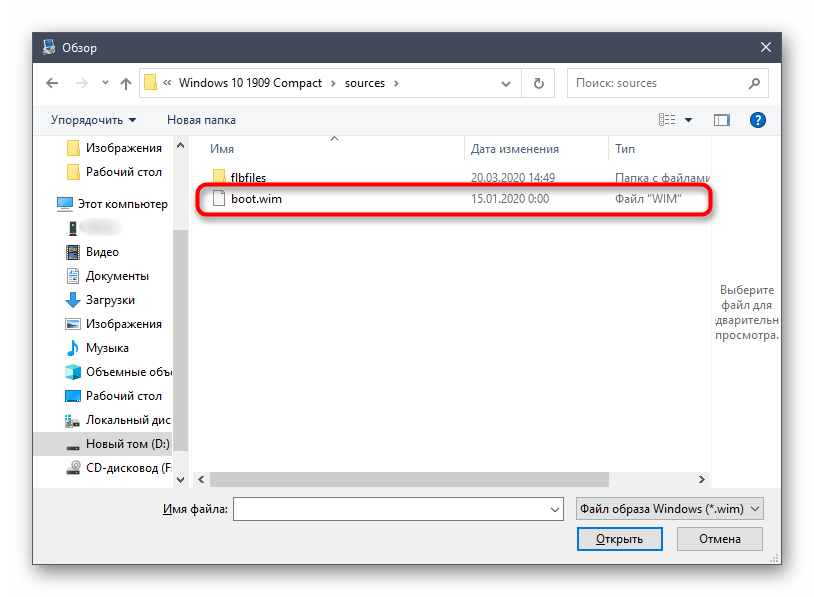
Откроется стандартное окно Проводника, где переместитесь к корню каталога с файлами ОС, откройте там папку «Sources» и укажите «boot.wim».
Остается только нажать по кнопке в виде плюса, чтобы добавить запись.
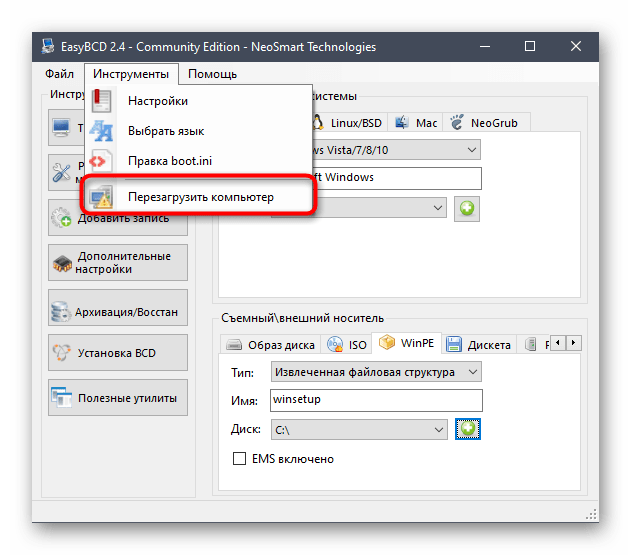
Самостоятельно отправьте ПК на перезагрузку или сделайте это при помощи интерфейса EasyBCD.
На этом заканчивается подготовка и начинается основной процесс установки операционной системы, о чем мы расскажем при разборе следующего этапа.
Шаг 4: Установка Windows 10 с жесткого диска
Приступим к самому важному этапу, ради которого осуществлялись все предыдущие действия. Он заключается в непосредственном запуске инсталляции операционной системы с жесткого диска. Для начала включите компьютер и на экране выбора стрелками на клавиатуре укажите пункт с названием, которое мы создавали на этапе добавления загрузочной записи.

Теперь откроется стандартное окно инсталляции Windows 10. Если вы уже ранее сталкивались с этой операцией, просто следуйте инструкциям, отображающимся на экране. Начинающим пользователям мы советуем обратиться к соответствующему руководству на нашем сайте, перейдя по ссылке ниже.

После завершения основного этапа установки остается только дождаться первой загрузки операционной системы и на этом инсталляцию с жесткого диска можно считать завершенной. Существующий загрузочный раздел больше не понадобится, поэтому смело его удаляйте и расширяйте уже существующие разделы. Все необходимые инструкции по взаимодействию с Виндовс 10 вы можете найти в отдельной рубрике на нашем сайте. Это поможет справиться с основными настройками и решить проблемы, если такие возникнут.
Install windows from hard drive to another hard drive
I tried to use «Media Creation Tool» from the Microsoft website to update my current OS (windows 7) to windows 10 but It kept failing a different points,
so I had decided to just make a bootable USB, but I could not find my USB drive, so I had just decided to use my other SSD has a substitute for the USB drive, which worked fine got windows 10 install no problems
but now the SSD I used as my bootable USB drive won’t let me delete the volume or format the drive, and it is marked as a system drive in disk management
Any help would be awesome thank you in advance,
**Right now I’m thinking I should go buy a USB drive and reinstall windows using that but I don’t think that will change the other drive from being a system drive still
Replies (3)
I don’t recommend any of those attempted method. Buy a USB drive, make a bootable copy, then upgrade offline. Learn more:
Please be advised some users are reporting issues with the Windows 10 1709 update. Make sure you backup before attempting to upgrade:
What is the make and model of your computer?
Have you checked the manufacturers website to determine compatibility?
Check this List to Determine if Your Computer is Compatible with the Windows 10 Fall Creators Update 1709
https://answers.microsoft.com/en-us/windows/wik.
perform the following tasks:
12 Things You Should Do Before Installing Windows 10 Creators Update (Version 1709)
https://www.groovypost.com/howto/prepare-comput.
How to Upgrade to Windows 10 Creators Update version 1709 or Earlier Versions from Windows 7
https://answers.microsoft.com/en-us/windows/wik.
Was this reply helpful?
Sorry this didn’t help.
Great! Thanks for your feedback.
How satisfied are you with this reply?
Thanks for your feedback, it helps us improve the site.
How satisfied are you with this reply?
Thanks for your feedback.
Hi Justin. I’m Greg, a volunteer installation specialist and 8 year Windows MVP, here to help you.
This is why it’s important to unplug all other hard drives/SSD’s when installing Windows.
Please post a screenshot of Disk Management, which we read like a doctor reads X-rays: http://answers.microsoft.com/en-us/windows/foru.
I’ll give you the steps to move the boot manager to C, depending upon whether you have UEFI or Legacy BIOS.
You can also Create the latest stable media from Media Creation following the illustrated steps in this link which compile the best possible Clean Install of Windows which will stay that way as long as you stick with the tools and methods given, has zero reported problems, and is better than any amount of money could buy: http://answers.microsoft.com/en-us/windows/wiki.
Insert media, boot it by powering up PC while pressing the BIOS Boot Menu Key: https://www.sysnative.com/forums/hardware-tutor.
Choose the boot device as a UEFI device if offered, proceed to second screen to Install Now, follow the illustrated steps in tutorial to delete all partitions down to Unallocated Space then click Next to auto-create and format the necessary partitions, begin install — this makes it foolproof.
If the media won’t boot you may need to enter BIOS/UEFI Setup to turn off Fast Boot or Fast Startup first. http://www.mydigitallife.info/comprehensive-lis.
I hope this helps. Feel free to ask back any questions and let us know how it goes. I will keep working with you until it’s resolved.
Over 100,000 helped in forums for 11 years. I don’t quit for those who are polite and cooperative.
Install Windows 10/8.1 From External Hard Drive
Last Updated on August 20, 2015 by admin 38 Comments
We have already shown a number of ways to install and test Windows 8.1 and the latest Windows 10 on your PC, including how to install Windows 10 from USB drive, how to clean install Windows 10 from ISO, create UEFI bootable USB of Windows 10, etc.
As many of readers asking to write the best possible to install Windows 8.1 or Windows 10 from an external hard drive, we have come up with this simple guide to show how to install Windows 10 or 8.1 from external hard drive.
We recommend a backup of critical data on the external hard drive as the method requires you format the external drive.
NOTE: In this guide, we have used a PC running Windows 7 to prepare the bootable external hard drive. The procedure is pretty much same on Windows 10 and 8.1.
Make external hard drive bootable to install Windows 10/8.1
Procedure:
Step 1: Connect your external USB hard drive that you want to use as installation media to the PC and backup the data to a safe location as the drive will be erased in the later steps.
Step 2: Open Computer, right-click on the external hard drive icon, and then select Format option to open Format dialog box. Select File System as NTFS, select Quick Format option and click Start button to do a quick format of the drive.


Click Yes for the confirmation prompt. Once the format is done, you will see “Format Complete” message. Click Ok button.

Step 3: We assume that you have a Windows 10/8.1 ISO file. You need to extract the ISO file contents to the root of your external drive. To do this, you need 7-Zip (free), WinZip, or WinRAR software.


If you have any of the above mentioned zip utility on your PC, right-click on the Windows 10/8.1 ISO file and select Extract files option to extract the ISO file contents to the external hard drive.
NOTE: If you are using 7-Zip software to extract the ISO file, right-click on the ISO > 7-Zip > Extract Files option. Make sure that you are extracting the files to the root the external hard drive.
And if you have Windows 8.1 or 10 DVD, simply copy all files and folders of the DVD to the root of the external hard drive.
Step 4: Now open Command Prompt with admin privileges. To open the Command Prompt with administrator rights you can follow any of these steps:
A. Type CMD in Start menu search box and hit Ctrl + Shift + Enter keys simultaneously.

OR
B. Go to Start > All Programs > Accessories. Right-click on Command Prompt entry and select Run as administrator option.
Step 5: In the Command Prompt, type-in the following commands and hit Enter key after typing each command.
x:
cd/boot
bootsect x:
(where “x” is your external hard drive’s drive letter)


(this is the message that you get once the process is completed)
Step 6: Exit the Command Prompt, reboot your PC and then follow the on-screen instructions to install your Windows 10 or Windows 8.1 from the external hard drive.
Related Articles
Comments
I have put Win10 Setup HDD in the system to avoid poor and troublesome nforce USB hardware that cause all sorts of errors if install from usb ! Now i have different kind of problem due installation process win boot manager criples bott and does not install on particulary drive nor in proces of creation system drive does not create sys recovery partition on it ! Windows instals but when i remove spare setup hdd from which was Win10 installed then i loose boot and the whole system ends up non bootable !
This is very stupid from MS assuming that boot manager would not be on that particulary drive ! In the past when intalling XP normaly first partiton is always C: and boot manger is allways on C: No matter where youinstall OS, but in win10 install creation proces one can not tel which is which due stupid ms partiton manager. In my case even if i manage in the Bios to order HDDs so that HDD on which be Win10 live and breathe on is the first one and setup HDD is behind so that c: wold be allways on the first drive in the system to be installed and then boot manager would install properly and boot from it this doesnt happen ! It allways goes from drive on that i have Win10 setup files no matter how is arranged in Bios ! So how to isntal Win10 on nforce chipset ? The only solution is to burn clasic 4.7 GB media and installing from it ! If that does not go ? What then ?
Installing windows from HDD in the sistem attached to mobo directly should not cause such problems at all .
MS has fix nothing only add some additional trouble to it !
If you want to return your external back to original state afterwards reconnect to pc, right click your external hard drive and click format, check quick format box and make sure it set too ntfs.
Just wanted to say thank you, I hope whoever wrote this post know that it really help others to have comfortable life, some maybe like me couldn’t buy a CD for private reason and simply that saved me, thank you for helping.
is there anyway to switch the drive back to its original state? I was told this was just going to download the files from MS.com, not from this site, and I could then make a bootable disk but that’s not what happened.
now I have unallocated data sitting on my drive that I can’t access, anyway to get that data back with out paying a small fortune on data recovery
MUKUND MURALI says
after struggling so much with the media creation tool, this site solved my problems. Instructions work flawlessly!! Brilliant help!
what if i cant start my computer
Following worked for me:
1. Just open up a CMD (CTRL+SHIFT+ENTER) — Admin Privileges
2. You should be in system32 folder by default — run following(here j: is your external drive partition — should be primary and NTFS):
bootsect /nt60 j: /force
3. Use 7-Zip to unzip ISO into J: (root)
4. In CMD, open following:
diskpart
list disk —> Find out disk no. for your external harddisk (mine was Disk 1)
select disk 1
list partition —> Find out partition number for your partition J: (mine was Partition 3)
select Partition 3
active
5. Exit the CMD and Reboot from External Drive using BIOS Boot options (HP — F9, Dell etc – F12)
Hope This Helps Folks!
Thanks a million Pal…Worked flawlessly with Windows 10 Installer Creation onto my SSD.lol
wow amazing everything worked smoothly i loved the simplicity of the site its detailed steps and i just loved it everything done for free otherwise i would have to spend a minimum 6500rs or 100$
I experienced the BOOTMGR and NDLTR errors, and to solve these issues:
1. Use free easeUS partition master tool to set target partition (X:) as Active and Convert to Primary. After apply, you may have to restart to process the queue.
2. Enter CMD with Administrator privilege and enter these commands:
C:\> X:
X:\> cd/boot
X:\boot\> bootsect /nt60 X:
3. Before booting, enter bios setup to set first boot device to your external HDD.
4. Now you’re able to boot from your external HDD to setup windows.
Cenk from france says
Omg omg omg
Thank you so much admin
Since 3 days i cant repear my computer
And know thanks to you I solve this problem
I find it funny that the intro says you dont have to format your EHDD and then at step 2 boom, format it!
“The advantages of using this method is that we are not formatting the drive to make it bootable. So, if you have any data on your external hard drive, you need not worry! But we recommend a backup of critical data on the external hard drive just to be on the safer side.”
“Step 2: Open Computer, right-click on the external hard drive icon, and then select Format option to open Format dialog box. Select File System as NTFS, select Quick Format option and click Start button to do a quick format of the drive.”
KHALID SHOAIB says
thanx bro it s a great job. its wroking accuratly.
nice job \thumbs up
I cant even get to make it load from External driver after doing all suggestions, it wont see external on start up, is something set in Bios that prevents it from firing? I went into advanced setup and made Boot from External Device enabled, and put it higher in the order, yet nothing…. the files on the root include an autorun.inf and setup.exe, am I missing soemething?
So, im trying to follow this but what is happening is the installer is installing the boot info on the drive i am installing windows from, thus the system will not boot unless i boot from my external. How do i fox this+?
Thanks for wasting my time. It failed. It says “Disk read error”, and i followed the guide and NOTHING is wrong with my device.
You can do a full format to remove all bootable files and restore its original condition.
Amborish Bose says
If I want to turn my external hdd back to normal state, then what should i do?
I do this but I get Operation System not found
i tried to install windows 8 64-bit with this guide. But my current OS is win 7 32-bit so i get an error in command line. any suggestion?
I needed to boot from a External Hdd, because I had no CD/DVD-drive and no flash usb. This worked for me:
Use MiniTool Partition Wizard, a free tool!
– create a boot disk in partition wizard
– boot your computer with boot disk in
– copy the win8-iso-partition (do the step 5 thing as well, but as described in comments) from external hdd to the computer hard drive.
– set partition as primary and active
– reboot, and boot from local drive
Thx Noel you fixed my problem
I got this thing working, the instructions are wrong tho.
First mark the partition you want to use as “Active” you can do this in your Local Storage Management or trough DiskPart.
After that use the following commands in CMD
X: (Where X is your drive letter)
cd/boot
bootsect /nt60 X:
You should now be able to install windows 8 from your external HDD
fuk now my external harddrive is dead, asking me to reformat now i have important informations in it is there a ways to remove those commands in harddrive and get my informations back ?
x:
cd/boot
bootsect x:
those commands in harddrive and get my informations back ?
You should run the bootsect.exe from another drive than the one you want to make bootable.
bootsect needs to lock the drive to run properly. so if you run it from the same drive as you want to make bootable it fails.
In order to boot from my USB-device, I had to check my External HDD as Active in Disk-management
I realize that most of these posts are old but this is for the benefit of anyone who might read this from a search.
1st and foremost – you don’t need to reformat your whole external drive, this is wasteful and unnecessary. If the drive is in one partition simply take all your folders and put them into a new folder (that is not named anything that is on the .iso file, call it mystuff or whatever) to get them out of the way and make things easier to organize. Then simply mount the .iso and extract the contents to the external drive.
From there go to step 5: and use the command bootsect x: /nt60 where x is the external drive.
From there reboot and be sure to press the appropriate fkey to boot from your external drive. On my computer it’s F9 but it varies according to BIOS. Usually you will see an option for “boot menu” when the computer is starting up.
Alternately you can go into bios setup and reorder your boot order to make the computer boot from usb device before the hard drive.
I already follow all the steps but when i reboot my pc.. it goes directly to windows 7 start, what can i do?
hello everybody
kindly help me
im getting NTLDR is missing by using method
what should i do…
I have partitions on my external USB hard disk. Can i boot from it without formatting whole drive??
pls help……….
I got to the install screen and after I click install now it tells me it can’t find any drivers. Can’t go anywhere from there.
The author claims in his article that no formatting is needed, yet later in the instructions he mentions formatting the external hard disk!!
Also the bootsect command thing which Smedrick cleared out. You might even need to run it in forced mode
bootsect /nt60 x: /force
However, none of this is working with me yet. My netbook still can’t boot from my 1TB external hard disk after following all these instructions, and I don’t want to format it because I have 100s of GBs of data on it that have no other place to backup.
I will keep you posted if I find a solution.
You’re wrong, User is (partially) correct. Step 5 does nothing the way you wrote it. Just look at your screenshot…all it did was show you the usage instructions. It should be “bootsect /nt60 x:”
I followed the instructions but when i reboot i get no option to install windows 8… it just goes straight into windows 7
You are welcome. Btw, the you need not to type the long command.
I followed the guide but when I want to boot from the USB HDD I get “Invalid partition table”
Thank you for your efforts.
I was wondering about step 5, I guess the command should be: “bootsect X: /nt60” .


