Ubuntu Documentation
Overview
Intel Rapid Storage Technology (RST) is a solution built into a range of Intel chipsets. On platforms that have RST support built and enabled in the computer’s BIOS, it allows users to group and manage multiple hard disks as single volumes. This functionality is known as the Redundant Array of Independent Disks (RAID).
In some usage scenarios, RAID offers various advantages over the use of several disks independently. RAID offers multiple configurations — levels — which focus on performance and redundancy.
A complete user guide is available through the official Intel documentation.
RST & Ubuntu installation
If you intend to install Ubuntu on a computer that supports RST functionality, you may need to make operational adjustments to your setup before you can proceed.
By default, the Ubuntu installer can detect certain RAID configurations, but it may not necessarily be able to access and use the hard disks grouped in them.
If the Ubuntu installer cannot detect the hard disks you need, then before you can install Ubuntu, you will need to turn RST in the computer’s BIOS. The exact terminology and steps required to access and manage RST in BIOS often depend on the specific implementation by the platform vendor. For instance, Dell computers may have different settings from Lenovo or HP computers.
Furthermore, you may already have Windows installed on the computer that uses RST. If you disable RST in the BIOS or change the RST configuration, Windows may become unbootable, as it may no longer be able to find and use the hard disks.
Possible installation scenarios
Broadly, there are two main configurations you may encounter when you try to install Ubuntu on a computer that supports and uses RST:
RST used and enabled, no operating system installed.
RST used and enabled, Windows installed.
RST enabled, no operating system installed.
Again, there are two possible scenarios here:
The Ubuntu installer correctly detects the hard disks and can use them. In this case, you can proceed normally.
The Ubuntu installer detects a conflict with RST and will notify the user that RST configuration is required.
The latter scenario can be resolved by either one of the two changes:
Turning RST off completely in BIOS.
Changing the storage controller protocol from RST to Advanced Host Controller Interface (AHCI).
AHCI is a relatively new specification that describes how computer storage is accessed and managed, and it supersedes several older specifications. It is primarily designed to utilize advanced features of hard drives connected via the Serial ATA (SATA) bus. Typically, these will be 2.5-in and 3.5-in hard disks, including both mechanical and SSD devices. The change from RST to AHCI may result in the loss of some of the advanced functionality that the RST module offers (for instance TRIM for SSD).
The exact terminology and steps required to access and manage controller type in BIOS often depend on the specific implementation by the platform vendor.
RST enabled, Windows installed
Similarly, there are two possible scenarios available:
The Ubuntu installer correctly detects the hard disks and can use them. In this case, you can proceed normally. You will need to create a side-by-side configuration for Windows and Ubuntu.
The Ubuntu installer detects a conflict with RST and will notify the user that RST configuration change is required. In this case, the change will affect the installed Windows operating system.
Caution: Please note that changes to storage configuration can be destructible and lead to irrecoverable loss of data. If you break a RAID setup, your data may no longer be accessible. Likewise, if you change the controller type from RST to AHCI, Windows may no longer be able to boot.
How to safely re-configure Windows to use AHCI
If the Ubuntu installer detects RST, and you have Windows installed on your system, there are several steps you need to do to allow Ubuntu to install side by side with Windows, without any loss of data and functionality.
Back your data up — any hard drive structure or configuration change, or installation of new operating systems on a hard drive that already contains data can potentially lead to a data loss. You need to make sure your personal data is safe. Even simply copying the important files to an external drive can minimize the risk of data loss.
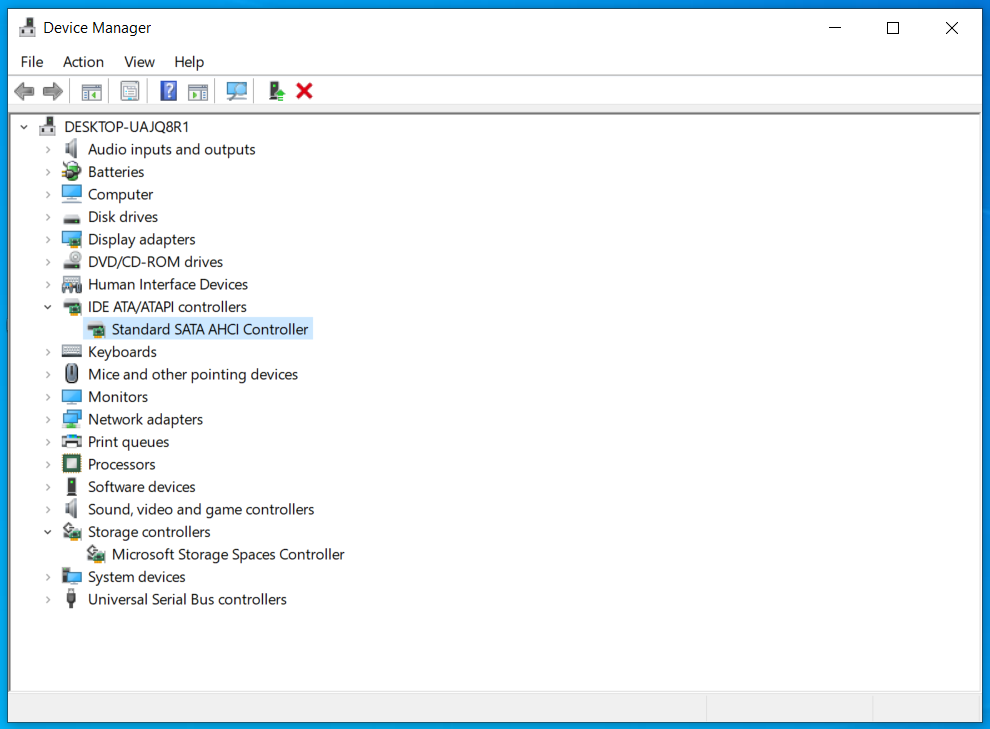
Verify which controller mode is in use in Windows. You can do this through the Device Manager. If the controller mode is set to anything other than “Standard SATA AHCI Controller”, then you will need to make a change that allows Windows to boot safely in AHCI mode. This can be done using the Registry Editor.
Start Registry Editor, and navigate to:
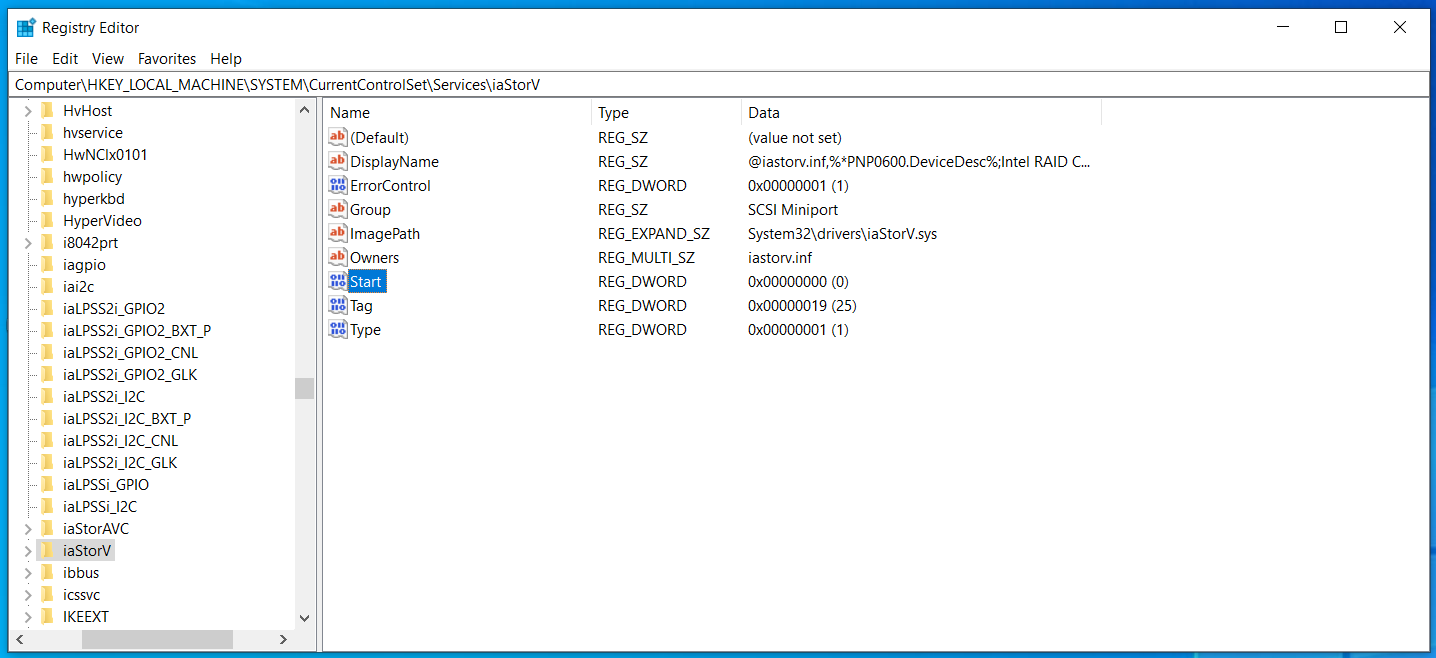
Here, in the right column, double-click on the Start key, and change its value to 0.
Next, double-click on the iaStorV entry in the left column to expand it, select the StartOverride entry, and then in the right column, change the value of the key 0 to 0.
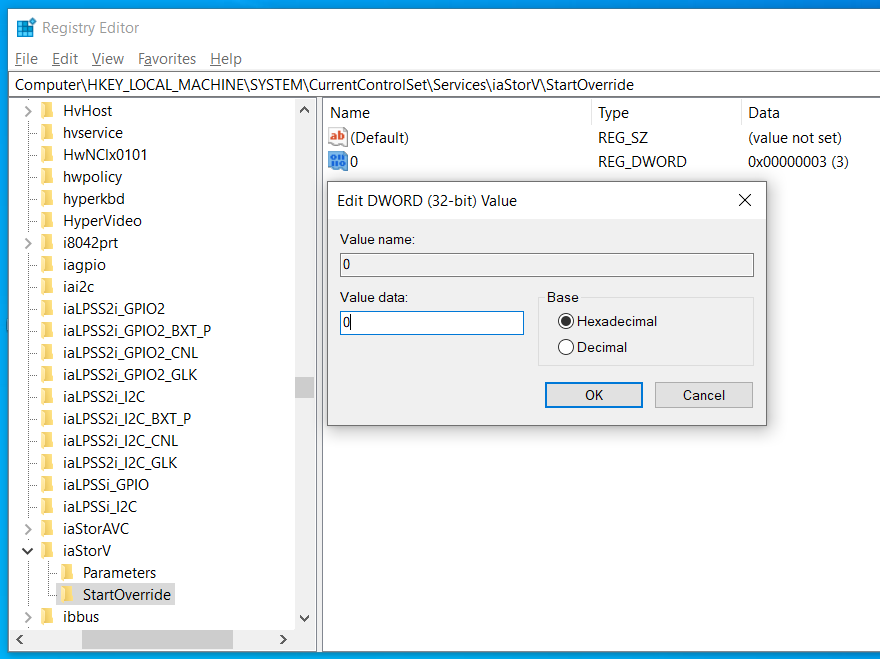
Repeat this set of changes for the following path in the Registry Editor:
Once this step is complete, reboot Windows and start your computer’s BIOS. Normally, BIOS is accessed by hitting the F2 or Del key during the early boot sequence. In the BIOS menu, change the hard disk controller type to AHCI. The exact terminology and steps required to access and manage controller type in BIOS often depend on the specific implementation by the platform vendor.
Exit BIOS, and let the system boot. Windows should load normally, and you can check the controller mode in the Device Manager. It should read: Standard SATA AHCI Controller.
Possible boot problems
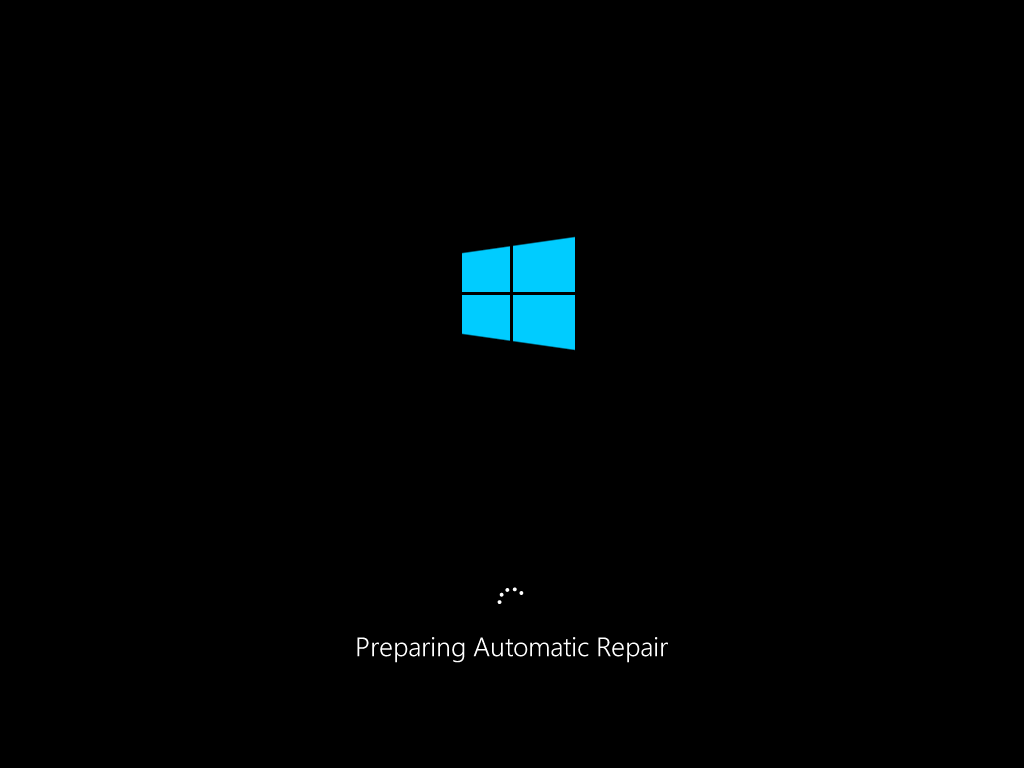
After making the necessary changes to allow Ubuntu to install side by side with Windows, you may encounter a situation where Windows no longer boots. For instance, this could happen if you made the BIOS change without making the registry changes in Windows. In this case, you will need to recover your Windows.
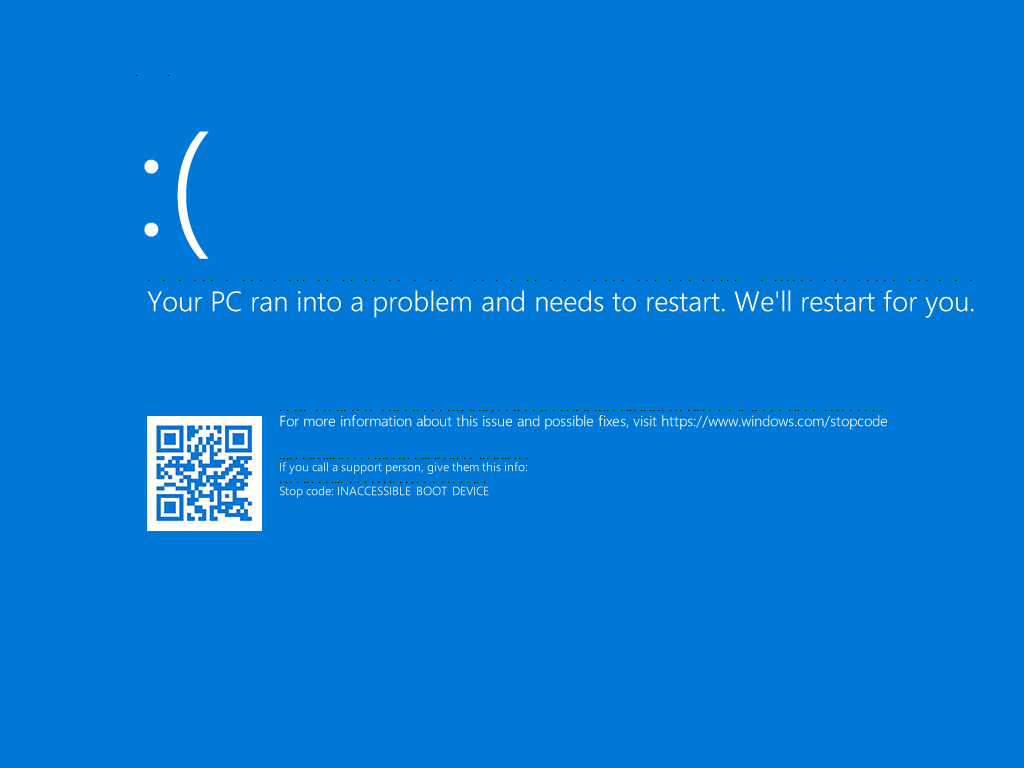
You will most likely see a blue screen with a Stop code: INACCESSIBLE BOOT DEVICE.
Windows will attempt to restart and automatically diagnose and repair the boot-related problems, but it will most likely not be able to complete the task itself, and you will need to manually launch the command prompt from the recovery screen, and fix the issue.
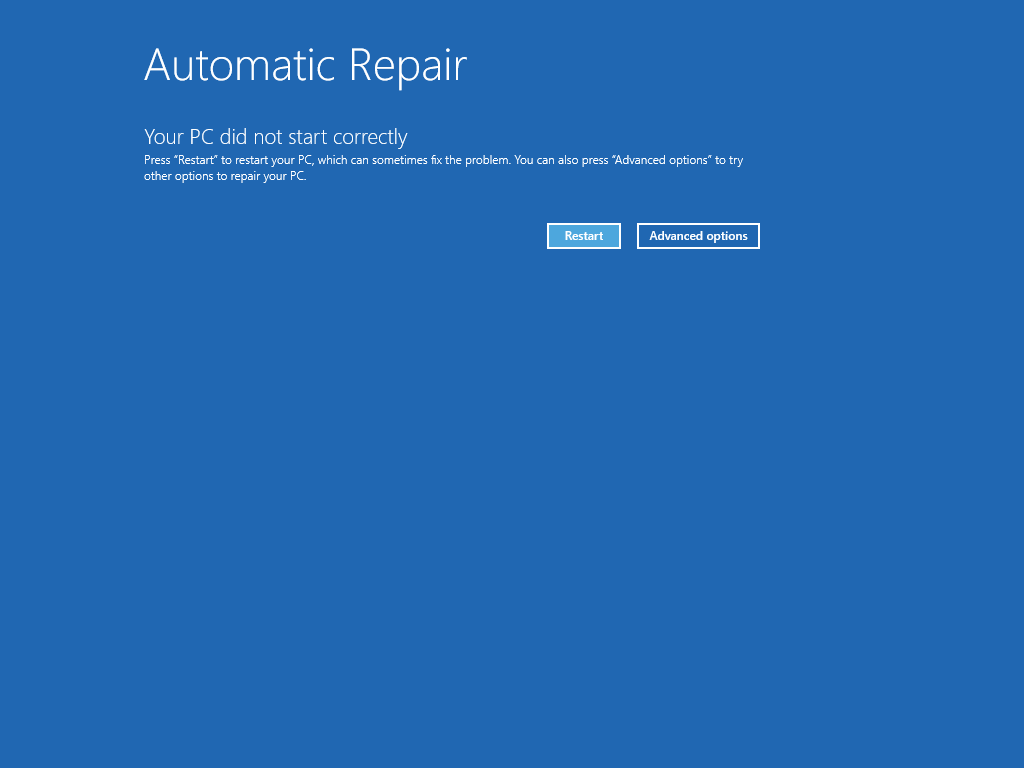
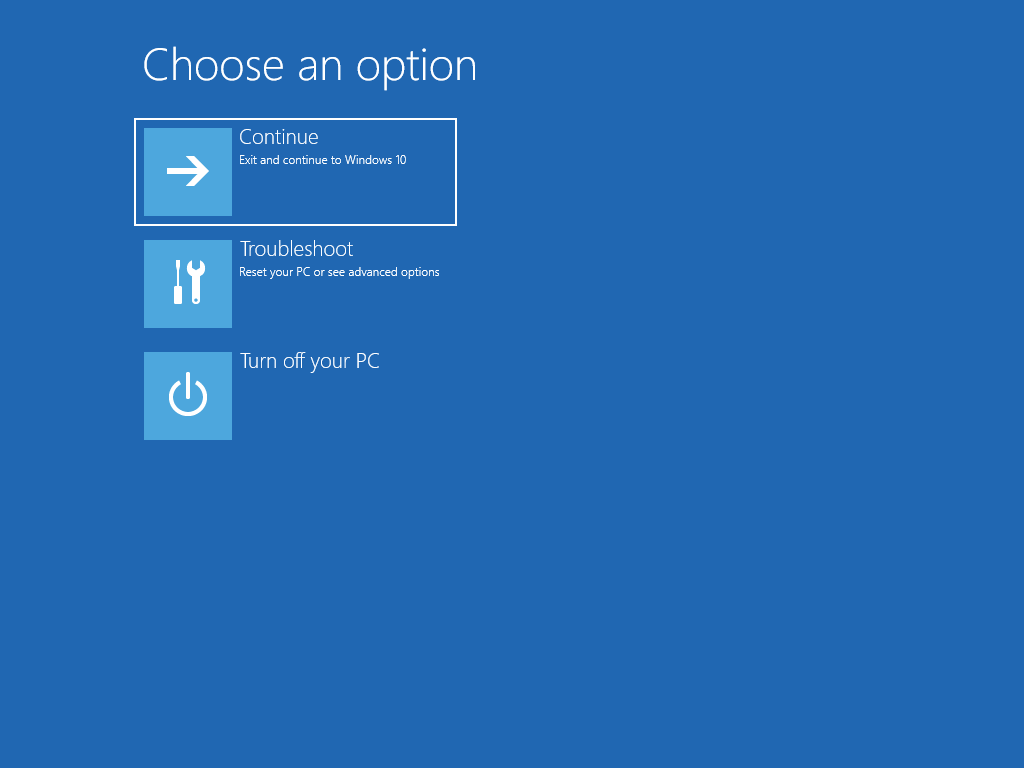
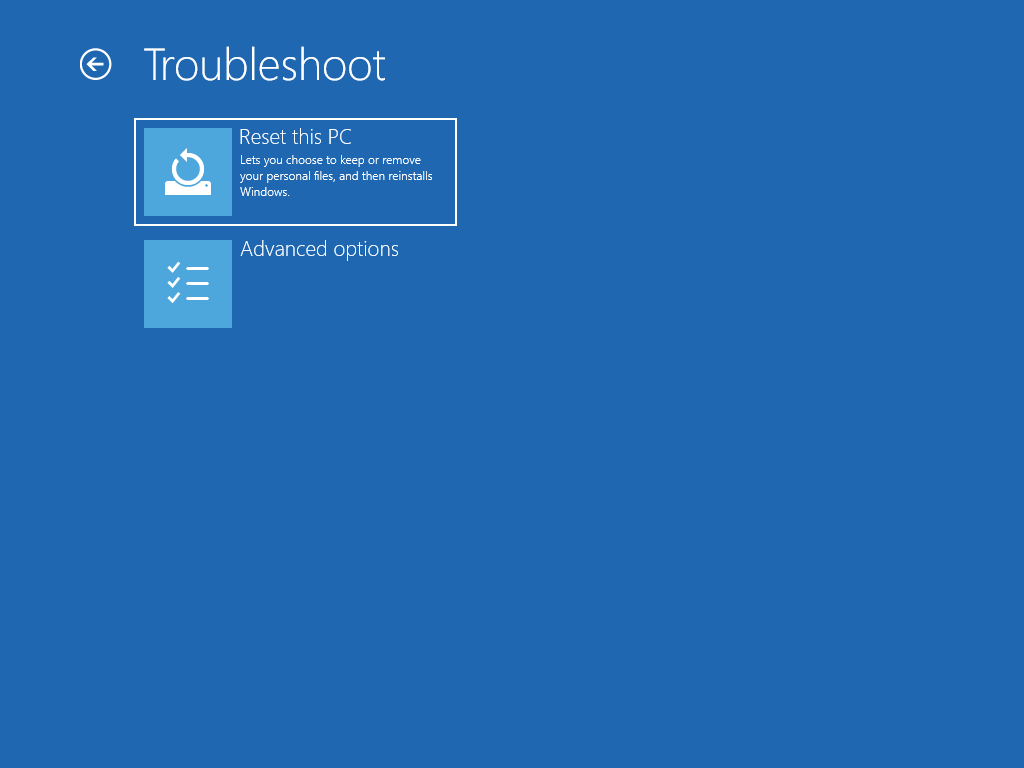
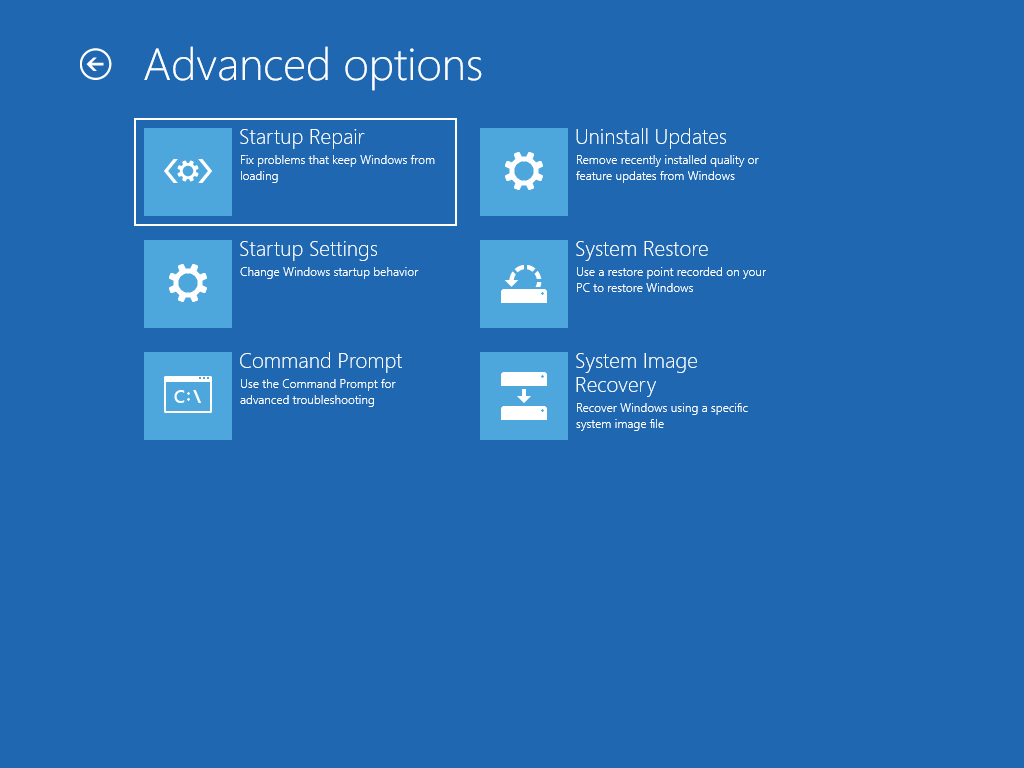
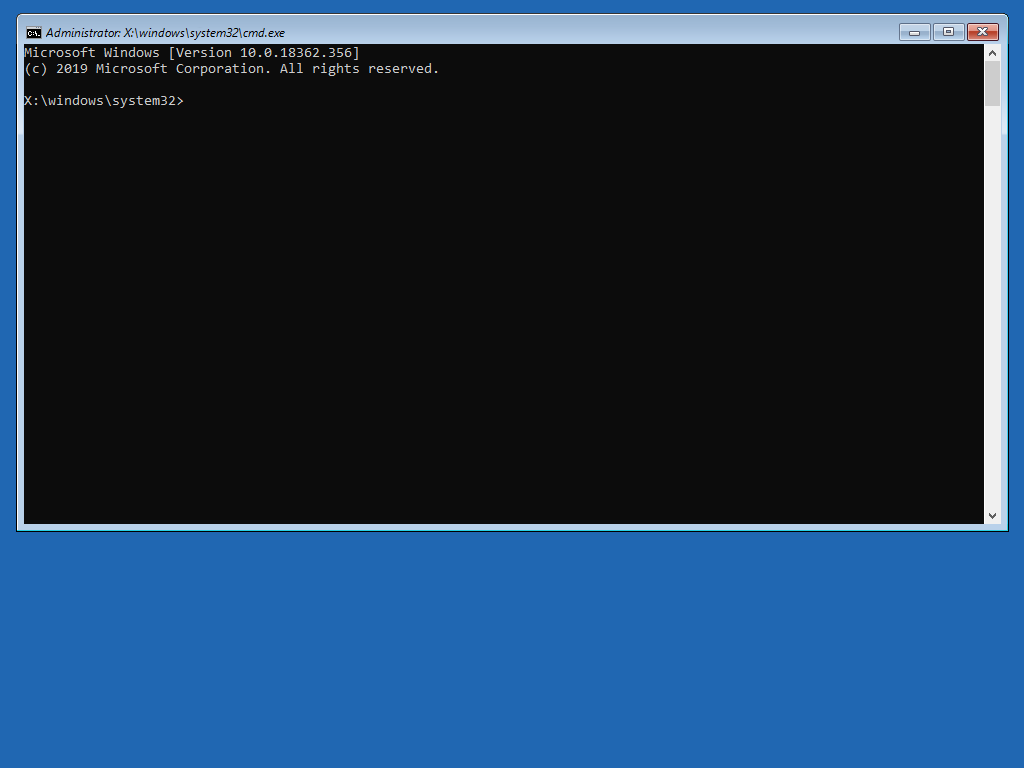
On the screen that gives you the result of the Automatic Repair, click on Advanced Options. Under Choose an option, select Troubleshoot. Next, selected Advanced Options again. Finally, select Command Prompt.
Command prompt, diskpart and bcdedit
This will launch the Windows command prompt, where you can run commands to diagnose and repair problems, including boot-related issues. The first step is to run the disk partition tool to see and understand the disk layout.
On the command line, type diskpart . Next, you will need to display the list of volumes, make sure the volume that contains Windows is correctly assigned the letter C: (if it’s not, you will need to change this), make this volume active, and then run the boot repair command.
The full sequence of commands is as follows:
For example, a “wrong” volume may be assigned the letter C:, so you will need to select it first, assign it a different letter (e.g.: F: or H:), select the volume that contains Windows, and then assign it the letter C:.
Finally, activate the C: volume, and exit the diskpart utility.
Now, run the bcdedit repair command:
If the above does not work, alternative commands you can run are:
If this command completes successfully, exit the command prompt, the Windows recovery console will restart, and Windows should load normally, with the controller mode set to AHCI.
If Windows does not start correctly, you can then manually recreate the bootloader file.
To this end, you will need to access either the System partition or the EFI partition on your computer. The Windows disk layout will typically include one of these two configurations:
A volume that contains Windows (C:) and a small hidden partition, usually 100MB in size called System partition, formatted as NTFS. It contains the files needed to start (boot) Windows, as well as recovery tools to help you diagnose and repair your system when it does not start correctly.
On UEFI-powered computers, a volume that contains Windows (C:) and a boot partition (also called EFI), typically 256-512MB in size, formatted as FAT32. This partition will contain the files needed to start (boot) Windows.
You will need to access the partition to make the necessary changes. If you have already run the diskpart utility, you do not need to do anything at this point, you only need to check the letter that is assigned to this partition (e.g.: letter F:).
Switch to the boot partition, move the existing boot file aside, and then create a new one. The sequence of commands to do this is as follows (assuming letter F: for the boot partition):
The bcdboot command will initialize the system partition by using BCD files from the C:\Windows folder, use the en-us locale (/l en-us), target the system partition assigned letter F: (/s option), and create boot files both for UEFI and BIOS (/f ALL option).
Once this command completes, reboot. Windows should start normally. You can now re-launch the Ubuntu installer and finish the side-by-side setup of the two operating systems.
The material in this document is available under a free license, see Legal for details.
For support please use Ask Ubuntu.
Источник
Помогите разобраться с raid
Собственно, как я понял, это даже не raid, а какая-то интеловая х-я, которая стоит там для красоты и все функции raid возлагает на модуль ядра. Называется эта штука Intel® Rapid Storage Technology (Intel® RST). Долго втыкая в пдф-ку, что нашёл на интеловом сайте, я так понял, что эту штуку надо собирать через mdadm. А зачем тогда конфигурация во время инициализации bios? Плюс ядро мне всё время выплёвывает что-то типа «INFO: task mdadm:665 blocked for more than 120 seconds». Что оно там делать пытается? Видится эта штука во время установки арча собственно как два диска и одновременно же как некий md126. Так же есть md127, но он чёт не реагирует и не шевелится. Долго пиная эту штуку и работая с предоставленным md126, систему я поставить не смог. Есть какая-нибудь инструкция, как это правильно таки делается? У меня рейдов то не было, честно говоря, в первый раз с такой игрушкой балуюсь.
В итоге что? Там надо что-то через mdadm шевелить или нужно просто ставить на md126? А что за md127? Как в итоге систему ставить то?
Перемещено Klymedy из general

недорейды из прошивок матерей не нужны.

И таки он есть. И меня попросили его использовать.) Я сам не в восторге от этой идеи, но раз попросили..
ну либо ставить винду и конфигурить рст, либо в арчике по классике пройтись mdadm’ом. что в свою очередь однородно. т.к. и то и другое софт-raid. если арчик нужен — то в биосе ставишь ahci и конфигуришь mdadm’ом, солюшен?
А зачем тогда в целом эта железка или даже что это?

Это payload int13h.
Его задача добраться до GRUB или драйвера windows.
И кстати это не железка, а кусок прошивки. Даже распальцованный B140 — прошивка.

Это «fake raid», т.е. нет там никакого рейда. Развод от производителей чипсетов/материнок. 2017, но это на это всё ещё ведуться.
Так с этой фигни есть какой-то выхлоп или можно это вырубить?

Грубу это не нужно, он умеет грузить ядро и initrd с softraid. Ты же не злобный деревянный мальчик и у тебя есть initrd, в который положен mdadm? Но даже для злобных деревянных мальчиков в ядре есть золотой ключик для сборки корневого рейда ядром.
В любом случае граб из int13, либо из uefi получает информацию о дисках и если загружен пейлодер факрейда, то он увидит и его.
Так с этой фигни есть какой-то выхлоп
Только если ты используешь какой-нибудь убогий загрузчик, который не имеет грузить систему с софтрейда, например, lilo до версии 22 или ntloader.
ntloader ровно также может начать загрузку из raid1, вот только проблема в том, что он не доберется до ядра ОС, эти мудаки так и не поняли зачем они создали загрузочный раздел.
Лучше вырубить и юзать mdadm, если нет $ на нормальный контроллер.
Да вообще железка не моя.) Попросили поднять. Короче, понятно.) Спасибо.
Кстати вот ещё вопрос, а можно сначала поднять систему на одном из хардов, а потом включить raid1, чтоб они там зеркалились?

Это не рейд, а способ продать то, чего на самом деле нет. Мать с рейдом стоит дороже, чем без рейда, даже если на матери с рейдом на самом деле рейда нет. Родной raid средствами mdadm всё равно лучше, чем это.
md127 это массив, md126 это логический диск. Массив это набор физических дисков. На одном наборе физических дисков можно создать несколько логических дисков, с одинаковой или разной избыточностью. Например на массиве из двух физических дисков можно создать один логический с избыточностью raid1, и второй логический с избыточностью raid0.
Прошивочный драйвер (интерфейс bios int13h и uefi blockioprotocol) будет прятать физические диски и показывать только логические.
Разделы создаются на логических дисках. В линуксе соответственно это будут устройства md126p1, md126p2, . Таблица разделов может быть любой, как mbr, так и gpt.
Вобщем нет ничего ужасного в этом rst.
Да в общем я уже разобрался, только uefi всё равно видеть не хочет. И mbr. И загрузчик не ставится. Оказалось проще просто вытащить uefi разделы из рейда и клонировать их вручную скриптом, который стартует на запуске. Таким образом сколько дисков в рейд не скорми, с любого загрузишься. Топорное решение, но лучше чем ничего.
Источник


