- Iscsi target для windows server 2012
- Введение
- Настройка Target iSCSI в Windows Server 2012
- Добавление роли сервера
- Выделение дискового пространства
- Добавление роли кластера
- Непосредственная настройка iSCSI target
- Подключение к iSCSI Target
- iSCSI Target Block Storage, How To
- Prerequisites
- Step 1: Install iSCSI Target Server and failover clustering
- Step 2: Configure the iSCSI initiator
- To use PowerShell cmdlets to bring the disks online
- Step 3: Create the high availability iSCSI Target Server role service
- To create the iSCSI Target Server role service on a cluster
- Step 4: Configure iSCSI storage provider identity credentials
- To use Windows PowerShell to configure credentials
- To use Component Services to configure credentials
- How to create an iSCSI target on Windows Server 2012
Iscsi target для windows server 2012
В данном обзоре рассматривается конфигурация iSCSI Target в Windows Server 2012. Настройку будем производить на отказоустойчивом кластере (Failover Cluster) на базе сервера Demos R420 M2 .
Более подробно о подготовке и установке кластера Windows Server 2012. Перед дальнейшем прочтением и использованием материала настоятельно рекомендуется ознакомится с указанной статьей и иметь настроенный кластер.
Введение
Прежде чем говорить об iSCSI (Internet Small Computer System Interface), остановимся на типах доступа к информации по сети. Существуют два основных метода доступа — файловый и блочный.
К файловому методу относятся распространенные протоколы такие как NFS и CIFS (SMB). В этом случае доступ клиенту предоставляется непосредственно к файлу, хранящемуся на сервере (через общий сетевой ресурс).
При блочном доступе клиенту отдаются блоки диска сервера и клиент сам создает необходимую ему файловую систему на предоставленном блочном устройстве.
Устройства предоставляющие файловые доступ называют NAS (Network Atached Storage), а блочный – SAN (Storage Area Netowrk). Протокол iSCSI, передавая SCSI команды через IP сеть, предоставляет блочный доступ.
Терминология, используемая при работе с iSCSI:
- Таргет (Target) – iSCSI сервер, предоставляет доступ по протоколу iSCSI к своему диску.
- Инициатор (Initiator) – клиент iSCSI сервера.
- IQN (iSCSI qualified name) – имя таргета или инициатора длиной до 255 символов в следующем формате:
— год (year) и месяц (mo), когда был зарегистрирован домен;
— официальное имя домена, записанное в обратном порядке;
— произвольное имя, например, имя сервера.
- LUN (Logical unit number) — логические номера устройств, создаются на iSCSI-сервере и назначаются для блочного устройства.
Настройка Target iSCSI в Windows Server 2012
Добавление роли сервера
Перед настройкой роли iSCSI Target Server в кластере необходимо добавить роль iSCSI Target Server на каждый узел кластера с помощью мастера добавления ролей и компонентов в консоли Server Manager.

Выделение дискового пространства
Так же необходимо определить дисковый ресурс для будущего iSCSI сервера. Диск добавляется в консоли Failover Cluster Manager.

Добавление роли кластера
Далее в консоли Failover Cluster Manager необходимо запустить мастер добавления ролей кластера и выбрать роль iSCSI Target Server.

На шаге Client Access Point укажите имя сервера и IP адрес для доступа клиентов.

На шаге Select Storage определяется диск, который необходимо заранее добавить в консоли Failover Cluster Manager.

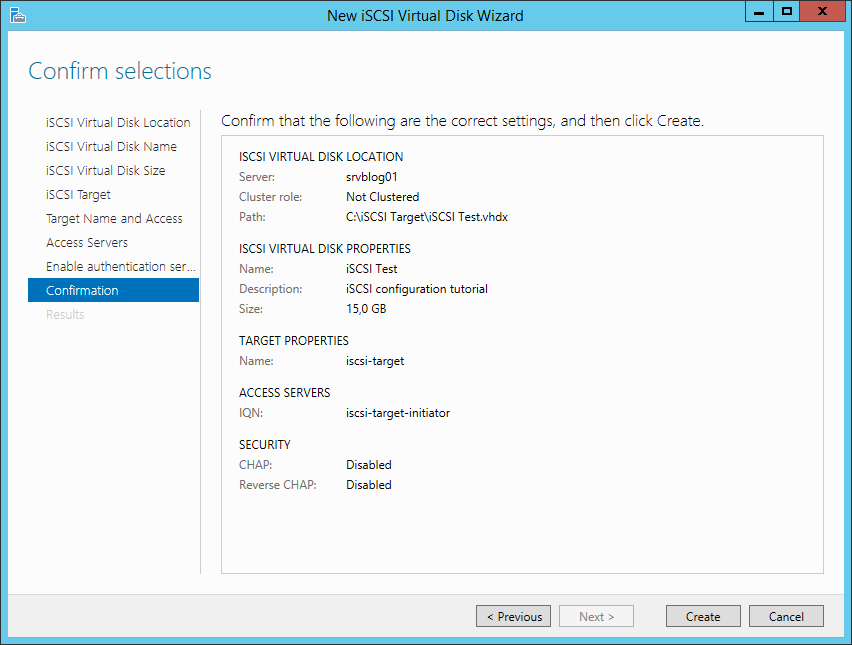
На шаге Confirmation подтверждаем конфигурацию.

На последнем шаге можно ознакомиться с детальным отчетом.
Непосредственная настройка iSCSI target

Настройка iSCSI таргета производится в консоли Server Manager.
Обратите внимание, что запуск консоли должен осуществляться на том же узле, который в данный момент является владельцем роли iSCSI Target Server в кластере.
В правой панели консоли Server Manager выберите File and Storage Services – iSCSI. Затем в меню TASKS выберите New iSCSI Virtual Disk…, запустится мастер создания нового виртуального iSCSI диска.
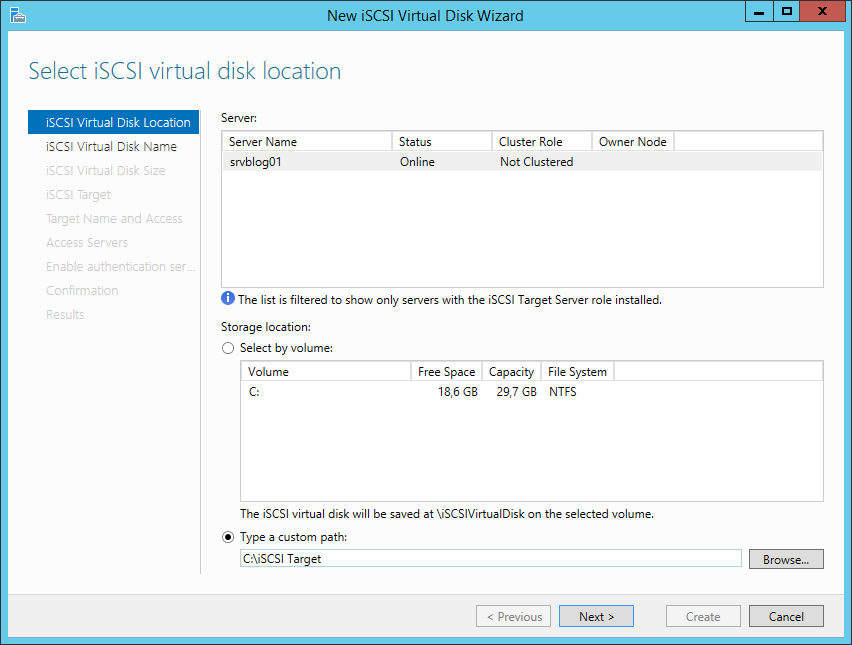
На шаге iSCSI Virtual Disk Location предлагается выбрать сервер и диск для виртуального iSCSI диска.

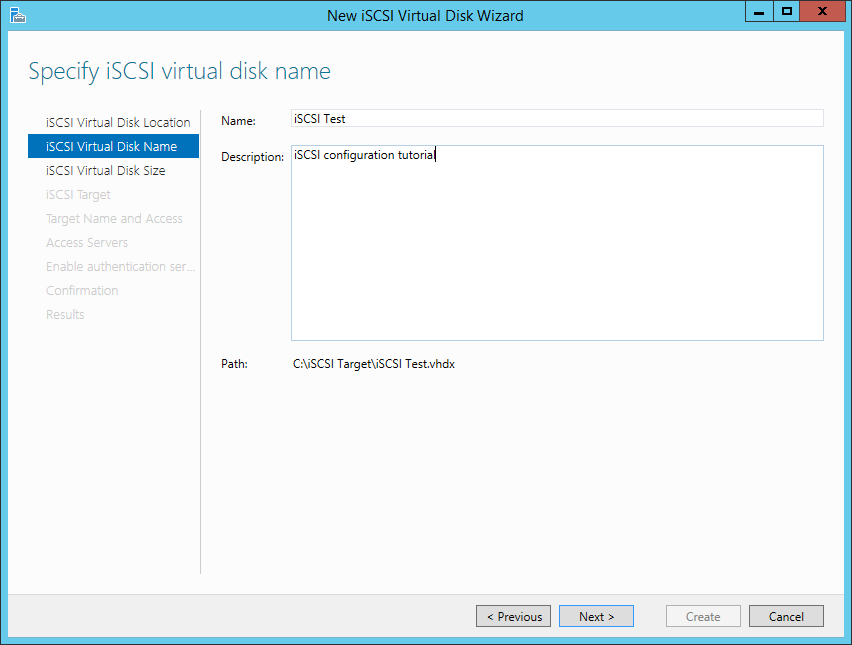
На следующем шаге введите имя виртуального iSCSI диска.

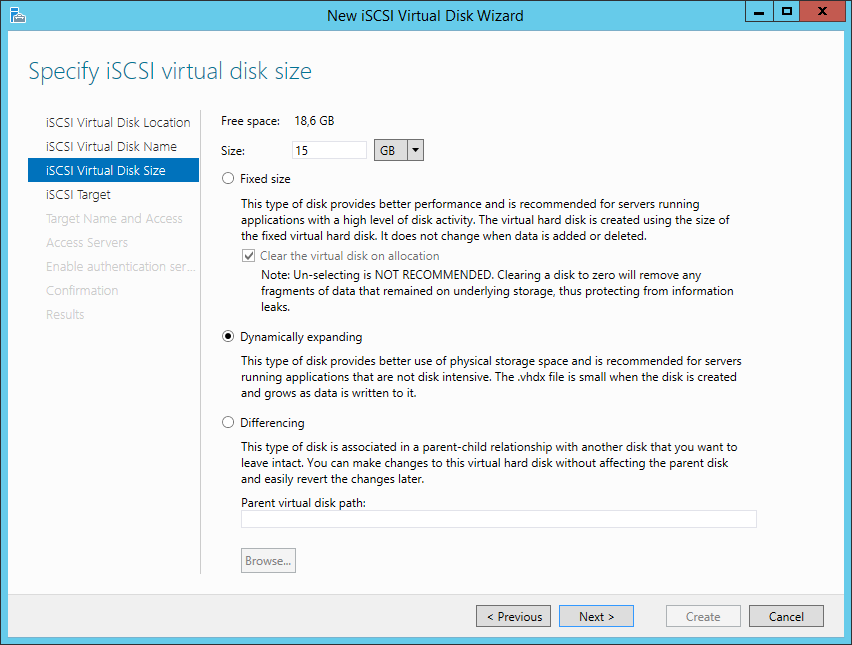
Укажите размер будущего диска.

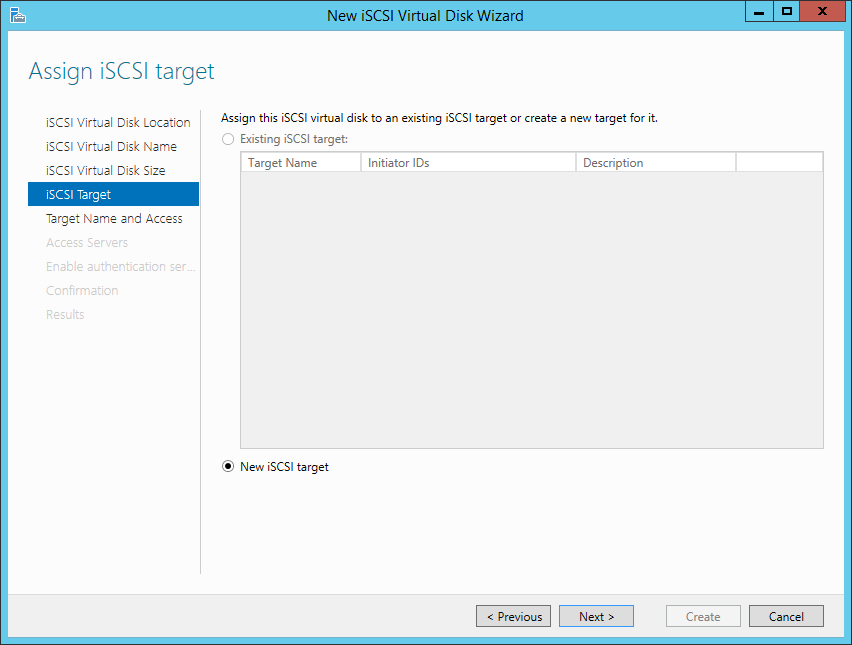
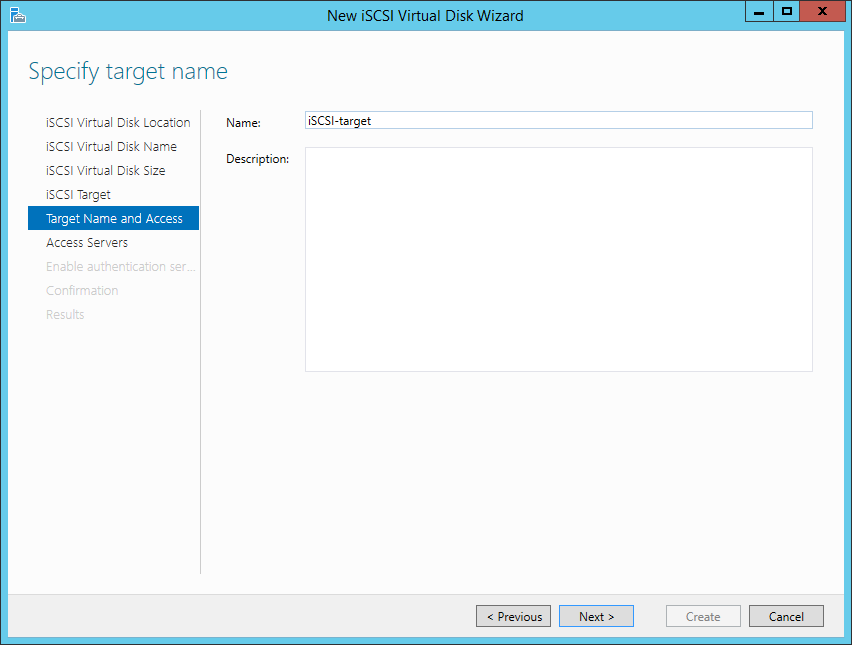
Создаем новый iSCSI таргет.

Введите имя нового таргета.

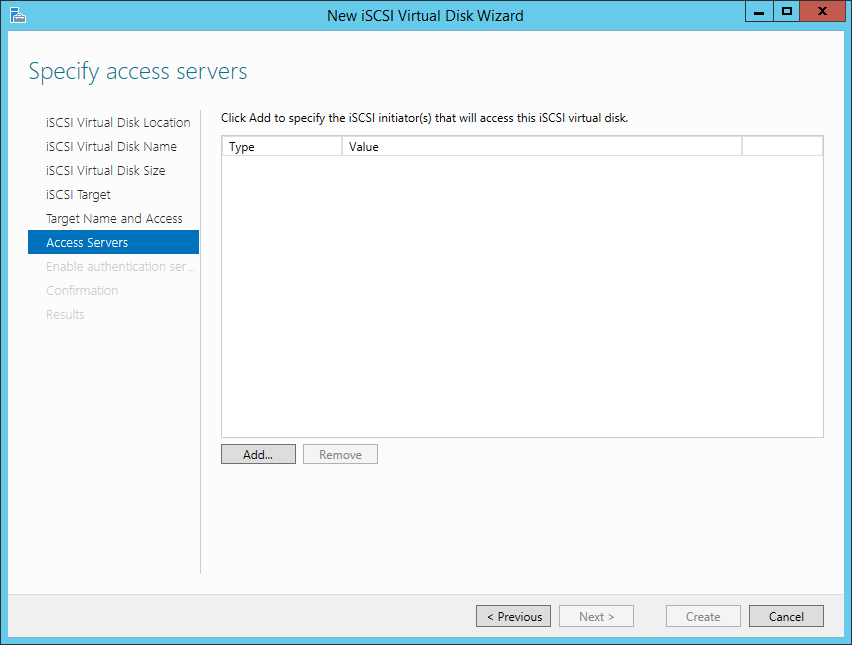
На шаге Access Servers добавляются инициаторы iSCSI, которым вы хотите разрешить доступ к iSCSI серверу. Существуют несколько методов добавления инициатора.

- Метод Query initiator computer for ID добавляет имя компьютера из Active Directory. Поддерживаются только версии Windows Server 2008 R2, Windows 7 или старше.
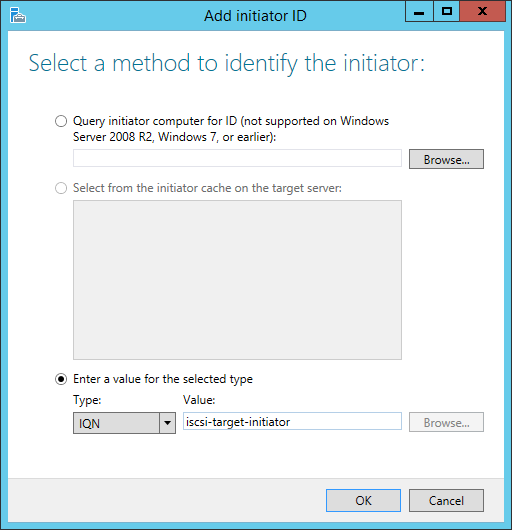
- Метод Enter a value for the selected type позволяет давать доступ любым инициаторам.
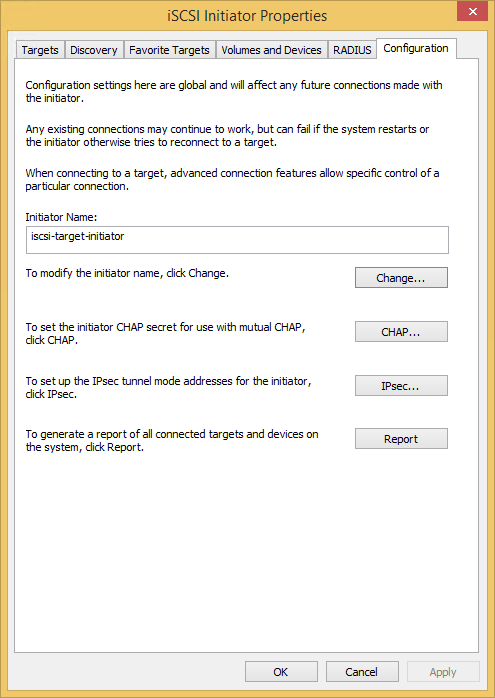
На этом шаге, при добавлении инициатора из Active Directory может возникнуть ошибка «Unable to determine IQN for ». В этом случае IQN инициатора можно ввести вручную, выбрав метод Enter a value for the selected type. Например, чтобы узнать IQN инициатора на клиенте в Windows 2012 или Windows 8, следует в панели управления открыть iSCSI Initiator Properties и на вкладке Configuration в поле Initiator Name будет прописан требуемый IQN.

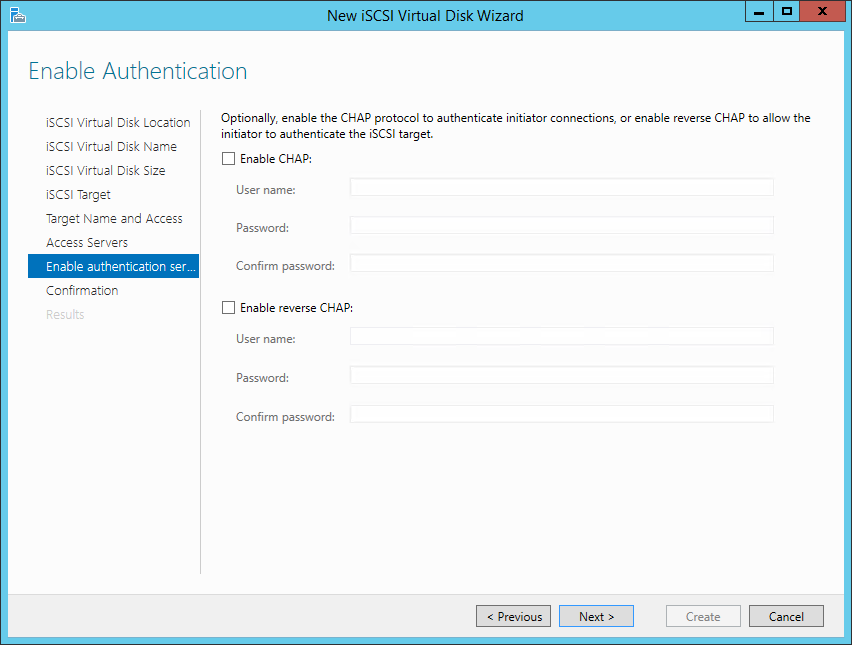
По желанию можно задать аутентификацию.

На шаге Confirmation подтверждаем конфигурацию.

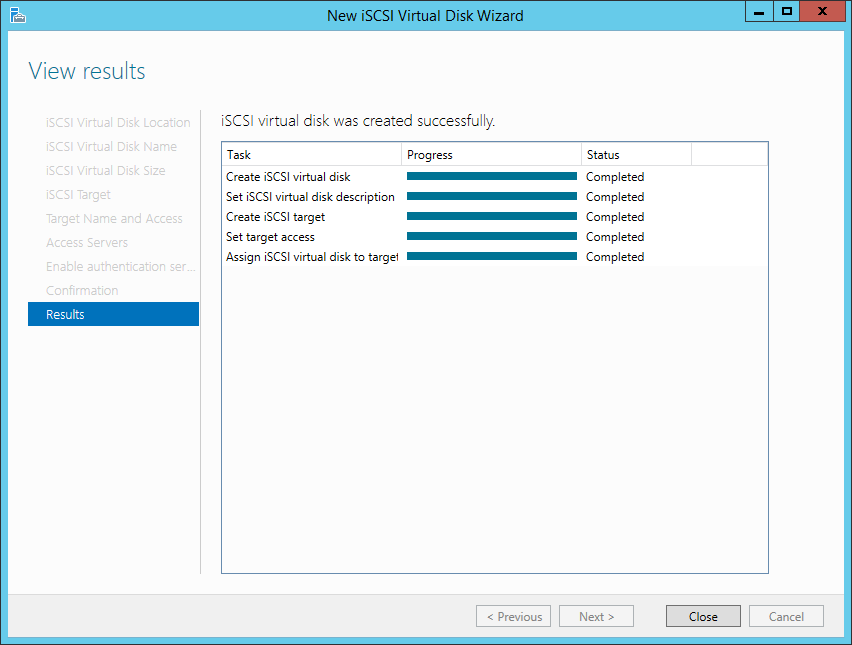
Последний шаг – результаты работы мастера.

На этом настройка iSCSI сервера закончена.
Подключение к iSCSI Target
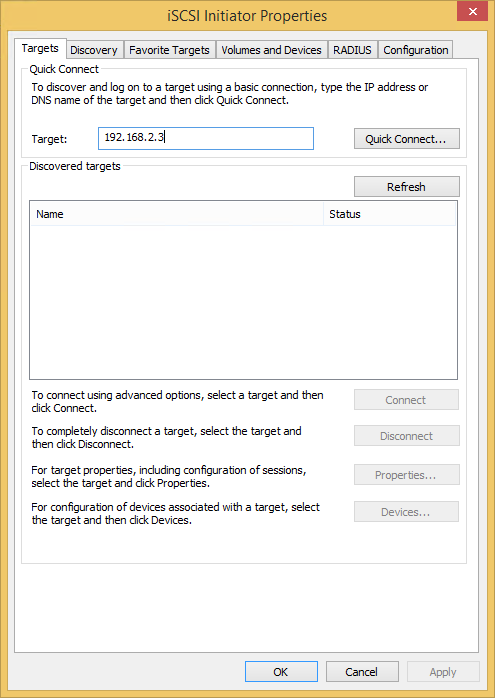
Для подключения к iSCSI Target в Windows 8 в панели управления откройте iSCSI Initiator Properties, на вкладке Targets в поле Target введите имя или IP адрес iSCSI сервера и нажмите Quick Connect.

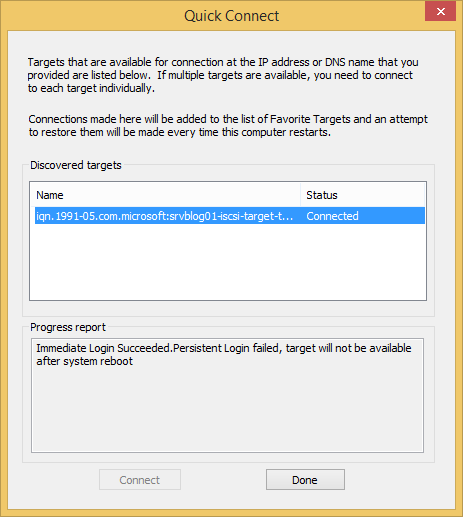
Откроется окно Quick Connect, где сообщается об успешном подключении к таргету. Нажмите Done.

В результате этих настроек подключается новый диск, который необходимо инициализировать и отформатировать.

Использование iSCSI диска ничем не отличается от использования диска, подключенного локально.
iSCSI Target Block Storage, How To
Applies To: Windows Storage Server 2012, Windows Server 2012
With iSCSI Target Server, any computer running Windows Server 2012 can become a storage device.
This topic includes sample Windows PowerShell cmdlets that you can use to automate some of the procedures described. For more information, see Using Cmdlets.
Prerequisites
Before you configure block storage, you need to set up two or more servers that are running Windows Server 2012.
Step 1: Install iSCSI Target Server and failover clustering
Install the required role service and features by using Windows PowerShell commands:
Start Windows PowerShell if it is not already open. From the Start menu, click Administrative Tools, and then click Windows PowerShell Modules. The Windows PowerShell Modules command-line console appears. The first time you open the tool and click ENTER, Windows PowerShell imports all the cmdlets.
Add the iSCSI Target Server role service by running the following command:
Verify that the iSCSI Target Server role service is installed by running the following command:
«[X]» indicates that the role service is installed.
Install failover clustering by running the following command on the cluster node:
Verify that the feature is installed on both nodes by running the following command:
«[X]» indicates that the feature is installed.
Step 2: Configure the iSCSI initiator
On the computer that you set up as the iSCSI initiator, start the iSCSI Initiator Properties. From Server Manager, click the Tools menu, and then choose iSCSI Initiator.
Click the Targets tab, and then type the iSCSI target IP address.
Click Quick Connect, and then select the Connect button.
After a connection has been established, you can use Windows PowerShell cmdlets to bring the disks online.
To use PowerShell cmdlets to bring the disks online
From Windows PowerShell, type:
If there is no record returned, you can register the iSCSI target by typing:
Bring the disk online and create a volume on it:
To manage iSCSI Target Server on a cluster, you will need to use Server Manager or Windows PowerShell cmdlets.
Step 3: Create the high availability iSCSI Target Server role service
To ensure transparent failover, create the iSCSI Target Server role service on a cluster.
To create the iSCSI Target Server role service on a cluster
Open Failover Cluster Manager.
Right-click Roles, and then click Configure Role. The High Availability Wizard, Select Service or Application page appears.
Select iSCSI Target Server. The Client Access Point page appears.
Type the service or application name and the IP address for the iSCSI Target Server high-availability instance.
Select the Networks Address check box, and then click Next. The Select Storage page appears.
Each time that you assign storage to the cluster nodes, by default, the disks are offline. You need to manually bring them online. To bring the disks online, leave the High Availability Wizard open (you will return to it shortly) and open the Disk Management tool.
In the Disk Management tool, right-click the disks to bring them online.
After bringing the disks online, you need to put them in the storage. Open the Failover Cluster Manager. From the Actions pane, click Storage, and then click Add Disk.
Return to the High Availability Wizard, select the check box for this storage volume, and then click Next. The Confirmation page appears.
Return to the Failover Cluster Manager and verify that the storage volume was created successfully.
To manage iSCSI Target Server on a cluster, you need to use Server Manager or Windows PowerShell cmdlets.
Step 4: Configure iSCSI storage provider identity credentials
The iSCSI VDS and VSS storage providers must be configured to run under the administrative credentials of the iSCSI Target Server. You can configure these credentials by using Windows PowerShell or by using Component Services (DcomCnfg). For servers that are not part of a domain, create a local user account with the same user name and password for each server.
To use Windows PowerShell to configure credentials
Open Windows PowerShell.
Run the following command:
To use Component Services to configure credentials
OpenВ Component Services.
In the left pane, click Computers, click My Computer, and then click DCOM Config..
Right-click WTVdsProv, click Properties, click the Identity tab, click This user, enter the user name and password for the iSCSI Target Server account, and then click OK.
Right-click WTSnapsthoProvider, click Properties, click the Identity tab, click This user, enter the user name and password of the iSCSI Target Server account, and then click OK.
Click Run, and then type regedit. In the left pane, clickВ HKey_Local_Machine, click Software, click Microsoft, click Windows NT, click CurrentVersion, click WTVDSProv, and then click WtServers. . Right-click WtServers, point to New, click String Value, and then type the name of the iSCSI Target Server. (The Data value can remain blank.)
How to create an iSCSI target on Windows Server 2012
Posted: April 23rd, 2015

iSCSI is a powerful technology that may come in handy even for sharing a network volume to a bunch of users. While iSCSI was developed for much more complex operations, being able to connect a network volume to a client PC has its advantages over a network share.
Windows Server 2012 and 2012 R2 can “natively” manage iSCSI targets while older versions needed the installation a Microsoft package.
In this tutorial we’ll see how to create an iSCSI target and how to connect a client PC to it.
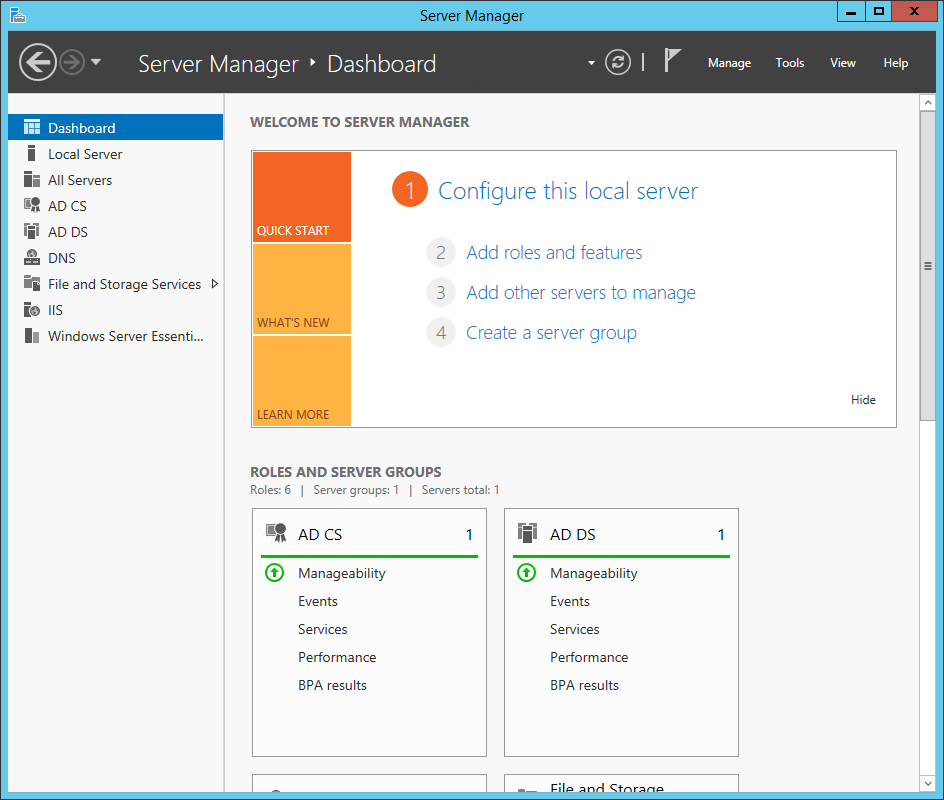
Open the Server Manager:
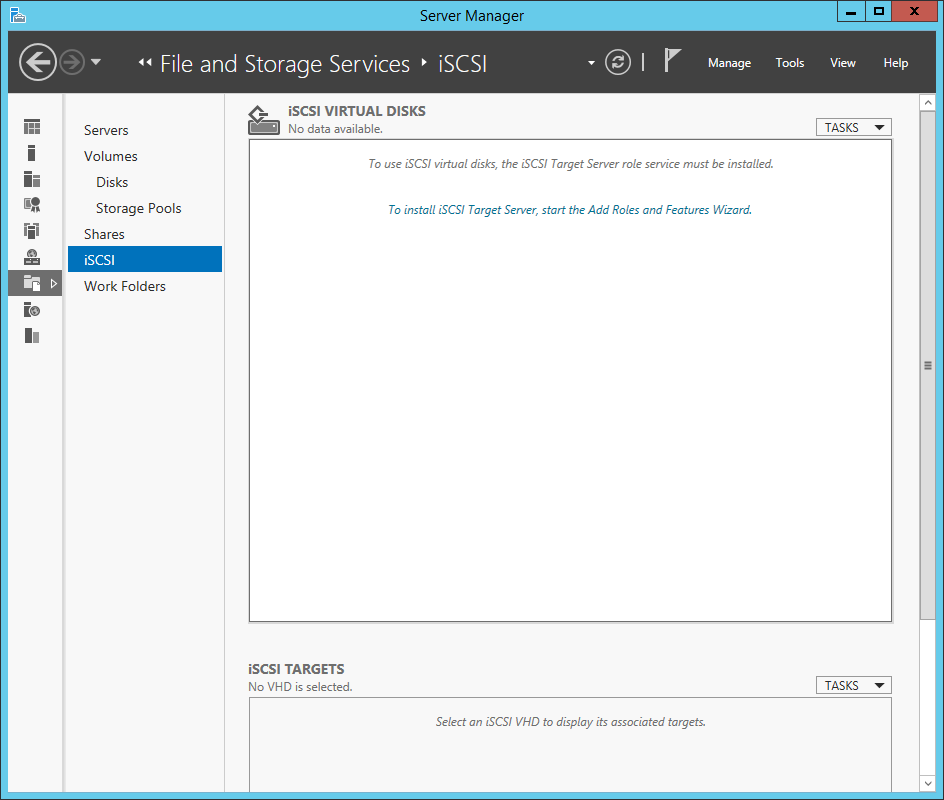
Click To install iSCSI Target Server, start the Add Roles and Features Wizard:
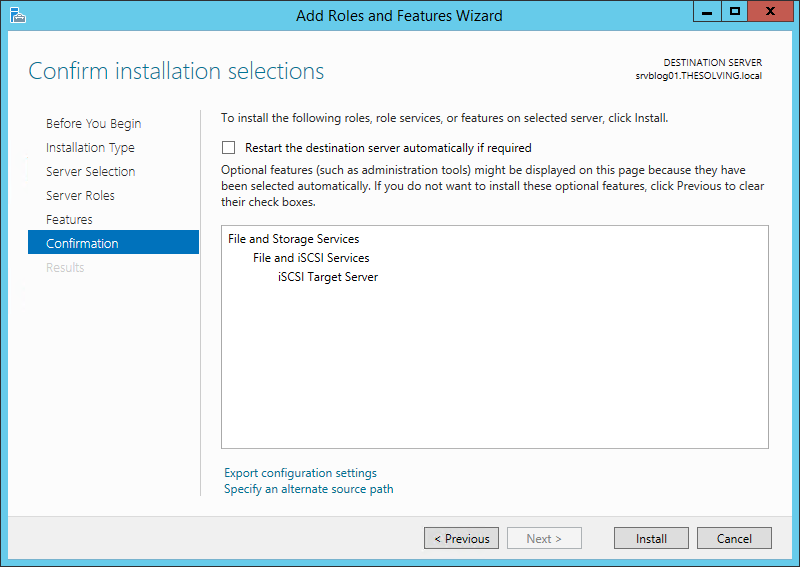
The Wizard will appear pre-configured with the Roles you need to install. Just click Next until the end:
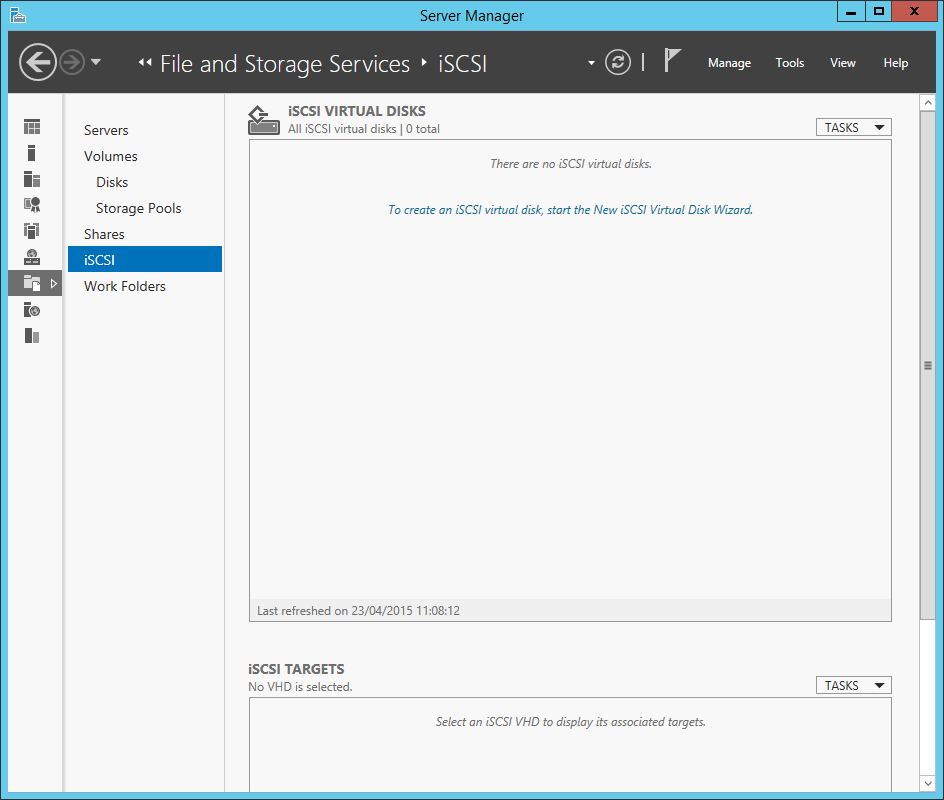
Now that the iSCSI Target Server has been installed you can configure a new target. Click To create an iSCSI virtual disk, start the New iSCSI Virtual Disk Wizard:
Select a volume or choose a path where the virtual disk will be saved:
Give a name to the iSCSI virtual disk:
Choose the size and select Dynamically expanding:
Select New iSCSI target:
Give a name to the iSCSI target:
Clicking Add you will be able to specify (and restrict) the access to an Initiator:
Choose IQN and give a name to the Initiator:
You can add further security with the CHAP authentication. We choose to skip this step:
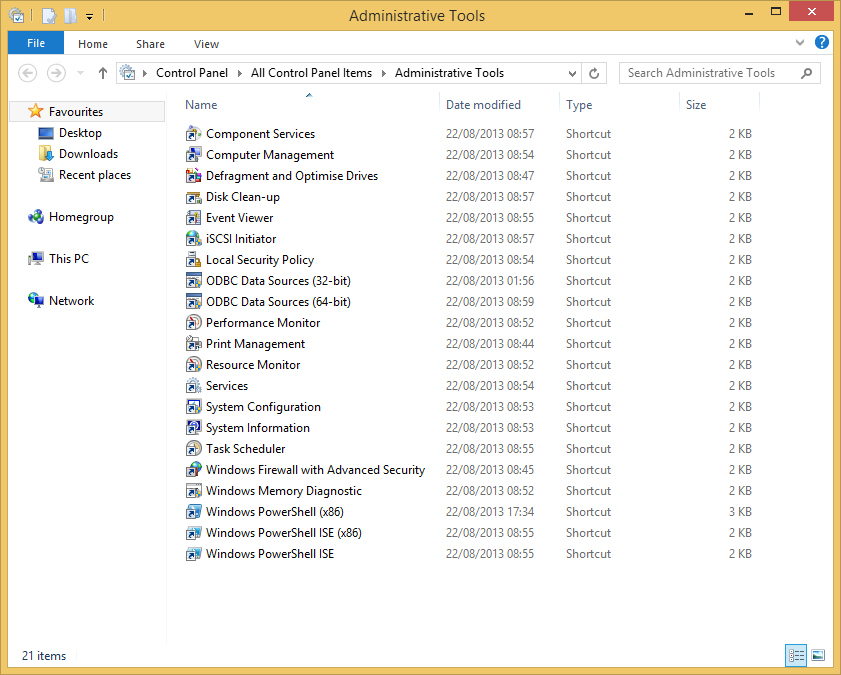
Now it’s time to connect a client PC to the iSCSI target. Open the control panel of the client machine and select Administrative Tools. Launch the iSCSI Initiator:
Go to the Configuration tab and specify the initiator name (use the same you configured for the target):
Go to the Targets tab and specify the IP of the Target Server, then click Quick Connect:
You’ll find a new volume in the Disk Management panel of the client PC. You can format it and manage like you desire.


