- Запись ISO-образов на флешку в Ubuntu
- Способ 1: UNetbootin
- Способ 2: balenaEtcher
- Способ 3: Утилита dd
- Iso to usb linux ubuntu
- 2. Requirements
- 3. Launch Startup Disk Creator
- 4. ISO and USB selection
- 5. Confirm USB device
- 6. Installation complete
- Ubuntu Documentation
- Drives — mass storage devices
- Cloning and extraction
- Cloning
- Cloning tools
- Cloning Plus
- Extraction
- Extracting tools
- Do it yourself
- For an UEFI only boot flash drive you need no installer
- Oldfred’s advice
- Make the drive boot both in UEFI mode and BIOS mode
- Detailed instructions
- Links
Запись ISO-образов на флешку в Ubuntu

Способ 1: UNetbootin
Начать сегодняшний материал хотелось бы с рассмотрения программ с графическим интерфейсом, поскольку через них записывать образ диска в Ubuntu проще всего, что особенно касается начинающих пользователей. В качестве первого примера возьмем UNetbootin. Конечно, по умолчанию этот инструмент отсутствует в операционной системе, поэтому для начала его нужно установить. Процесс инсталляции и управления выглядит следующим образом:
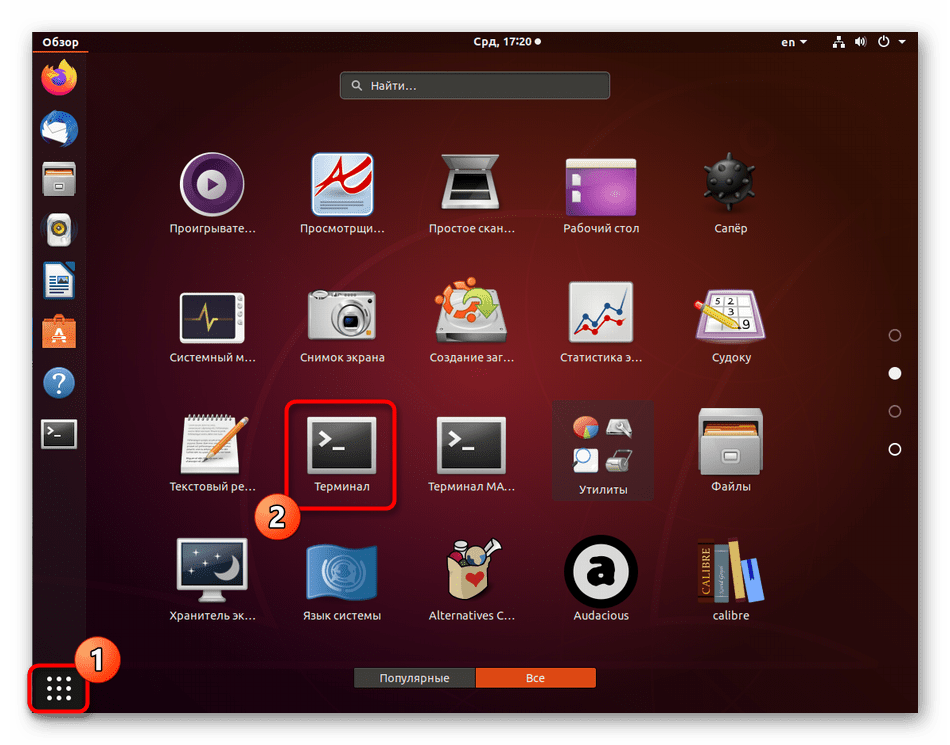
- Откройте меню приложений и запустите оттуда «Терминал». Сделать это можно и нажатием на стандартную горячую клавишу Ctrl + Alt + T.
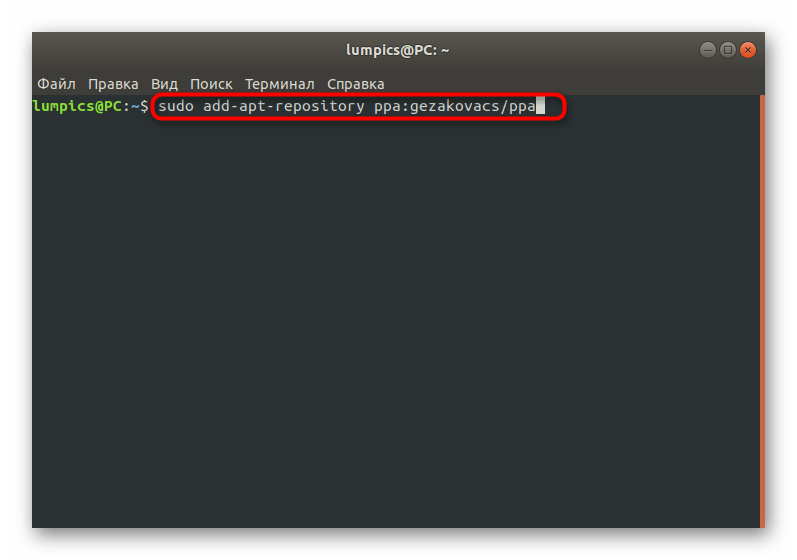
Сейчас получить рассматриваемый инструмент можно только через пользовательские репозитории, что означает надобность добавления их в систему. Осуществляется это путем ввода команды sudo add-apt-repository ppa:gezakovacs/ppa .
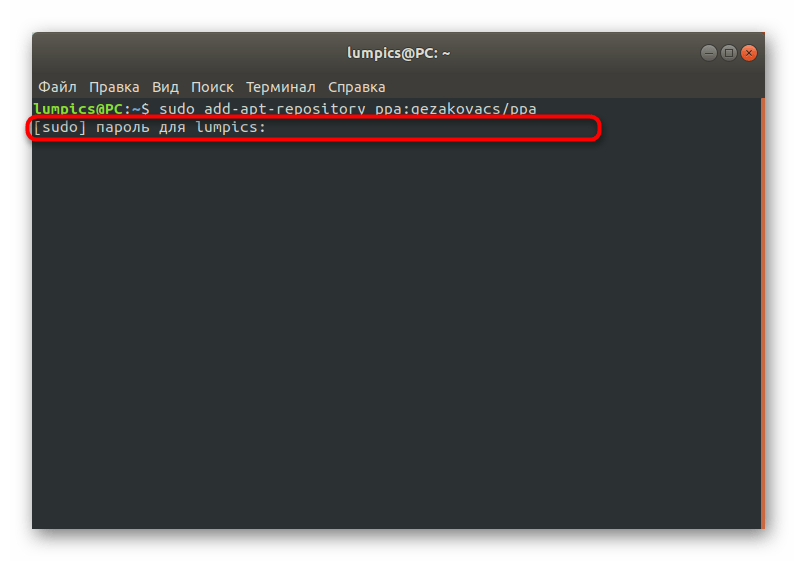
На экране отобразятся сведения о необходимости загрузки пакетов из определенных ресурсов. Подтвердите это, нажав на клавишу Enter.

Ожидайте завершения скачивания. Это займет несколько минут, что зависит от скорости интернет-соединения. Во время этой операции не закрывайте консоль, иначе весь прогресс собьется.

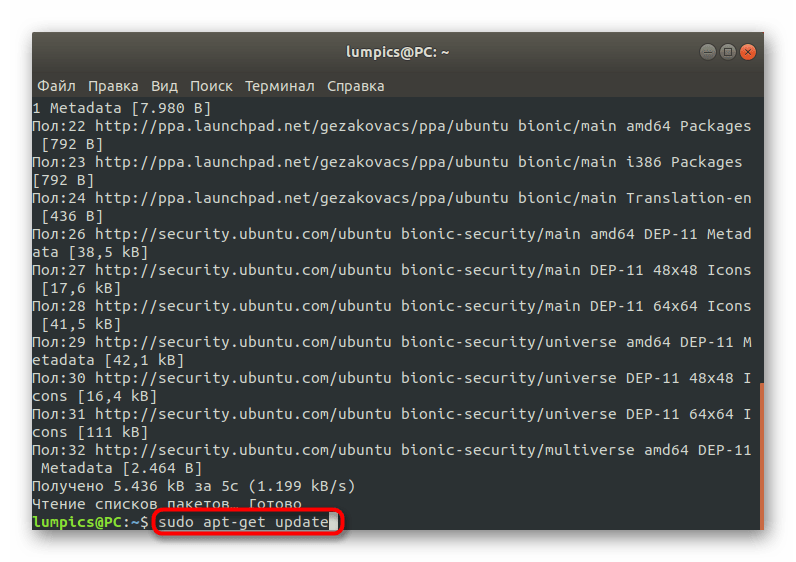
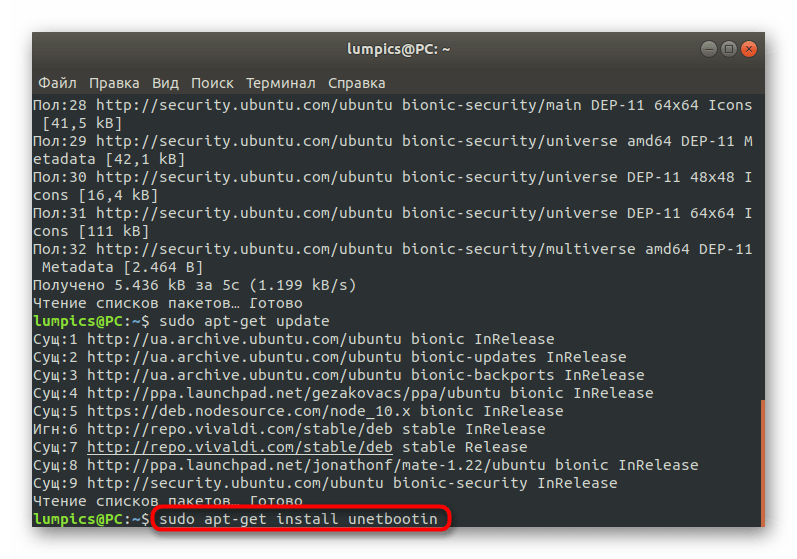
Осталось только произвести инсталляцию программы. Осуществляется это через sudo apt-get install unetbootin .
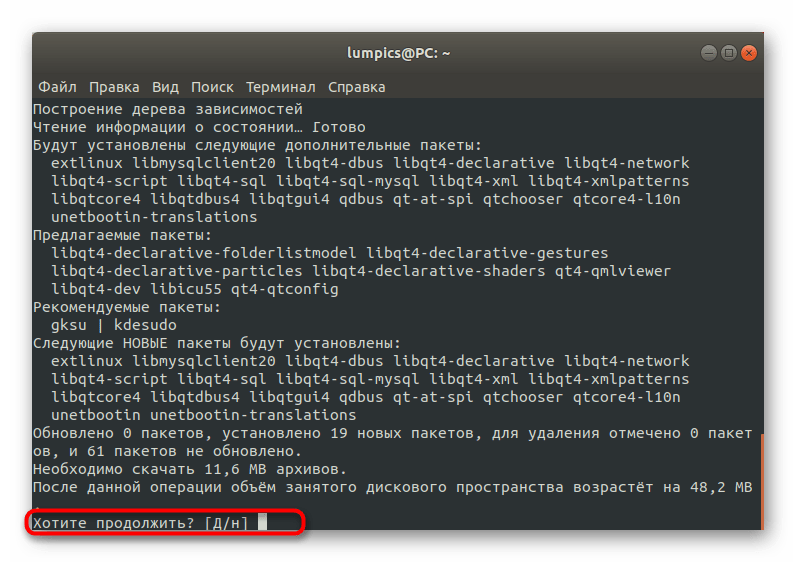
При запросе о скачивании архивов выберите вариант Д.
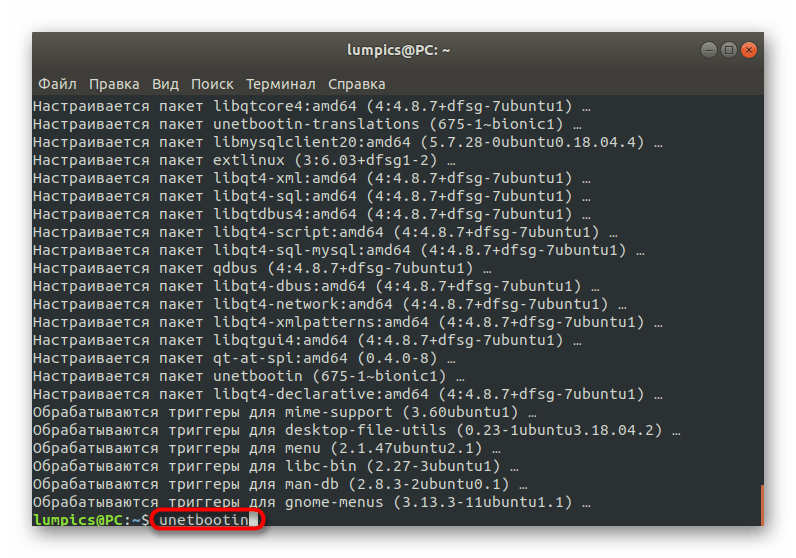
Вы можете запустить установленное приложение прямо из консоли, введя unetbootin .
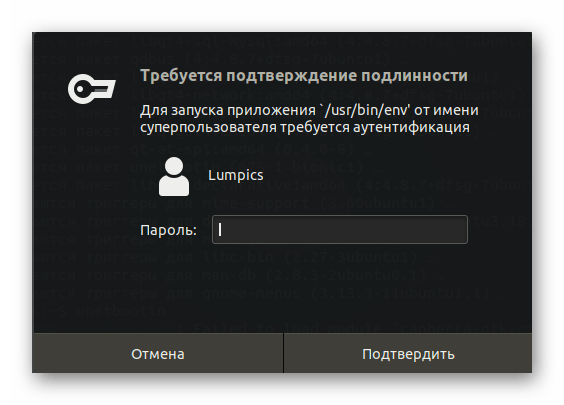
Для корректного запуска ПО потребуется указать пароль суперпользователя в отобразившейся форме.
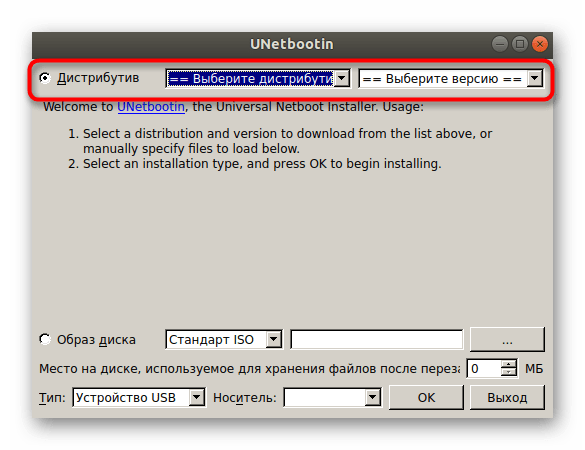
Теперь можно приступить к непосредственной записи образа. Если вы собираетесь записывать дистрибутив операционной системы, отметьте это на верхней форме, заполнив необходимые сведения.
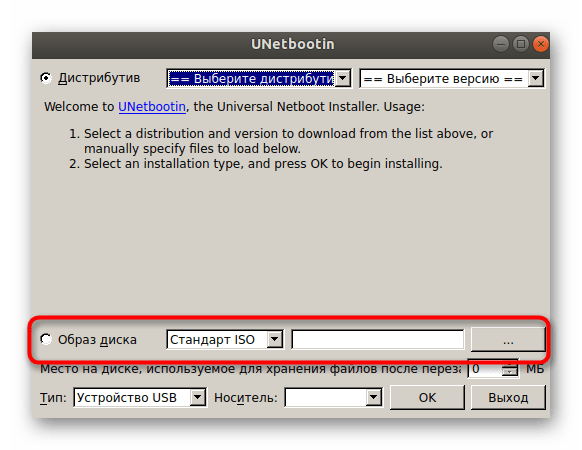
В случае когда это будет обычный виртуальный диск, отметьте маркером соответствующий пункт, укажите формат файла и добавьте его через стандартный файловый менеджер.
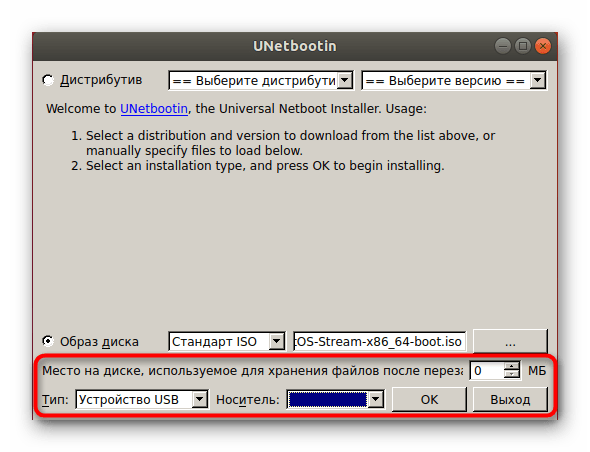
В конце остается только выбрать тип устройства, отметить носитель для записи и нажать на «ОК».
Вы сможете следить за прогрессом записи, а по его завершении появится уведомление, означающее, что можно закрывать UNetbootin и переходить к использованию загрузочной флешки с записанным на нее образом.
Как видите, в управлении UNetbootin нет ничего сложного, а больше всего времени займет сама процедура инсталляции. Графический интерфейс имеет простое оформление и русский язык, что позволит быстро освоиться начинающим юзерам. Если у вас возникли вопросы по поводу установки и использования данного программного обеспечения, советуем изучить необходимые сведения на официальном сайте разработчика, перейдя по указанной ниже ссылке.
Способ 2: balenaEtcher
Мы решили рассмотреть еще одну программу с графическим интерфейсом под названием balenaEtcher, поскольку первый вариант может не устраивать некоторых пользователей. balenaEtcher — еще более простое приложение, но с усложненной схемой инсталляции. Давайте начнем с непосредственного добавления этого инструмента в операционную систему Ubuntu.
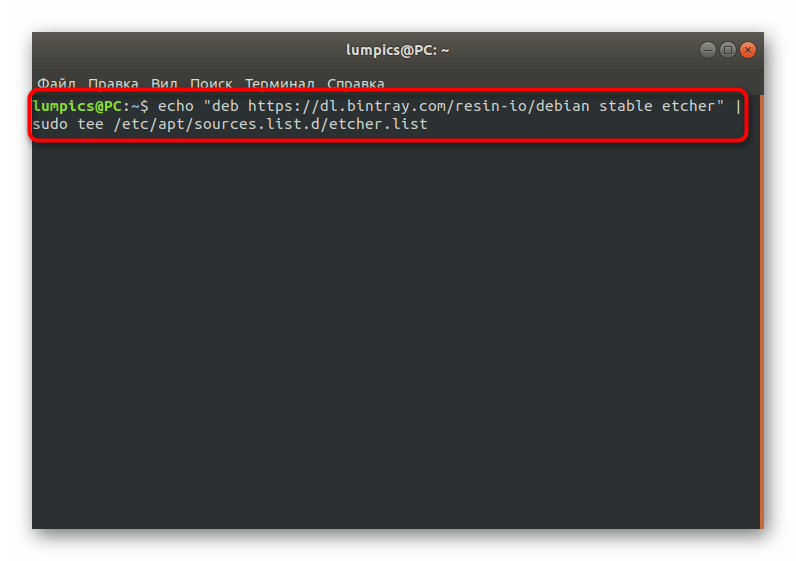
- В «Терминале» введите echo «deb https://dl.bintray.com/resin-io/debian stable etcher» | sudo tee /etc/apt/sources.list.d/etcher.list , чтобы получить список пакетов из пользовательских хранилищ.
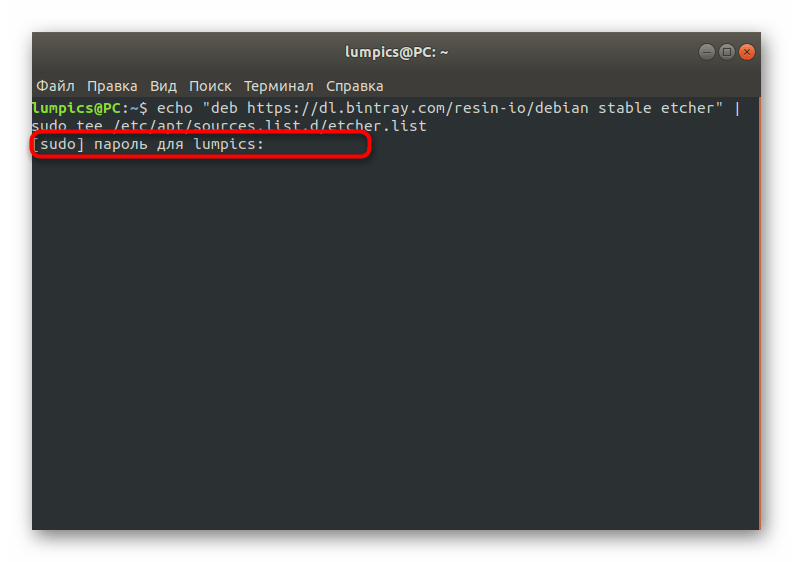
Подтвердите это действие, вписав пароль суперпользователя.
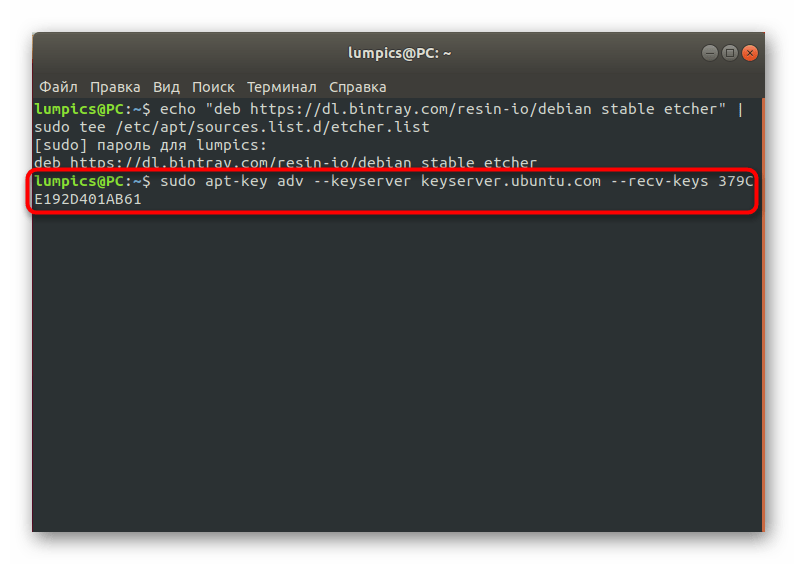
Далее потребуется генерировать ключ, отвечающих за доступ к ПО. Для этого подходит команда sudo apt-key adv —keyserver keyserver.ubuntu.com —recv-keys 379CE192D401AB61 .
По окончании обновите список пакетов, указав sudo apt update .

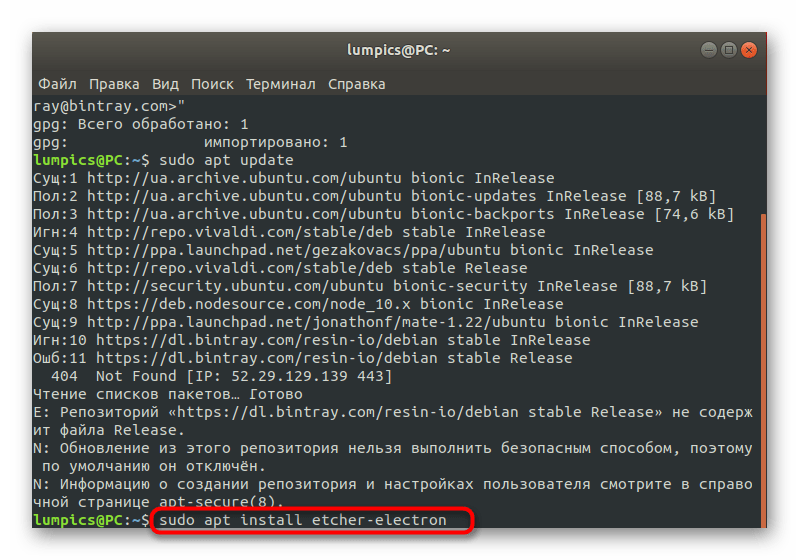
Произведите инсталляцию софта через sudo apt install etcher-electron .
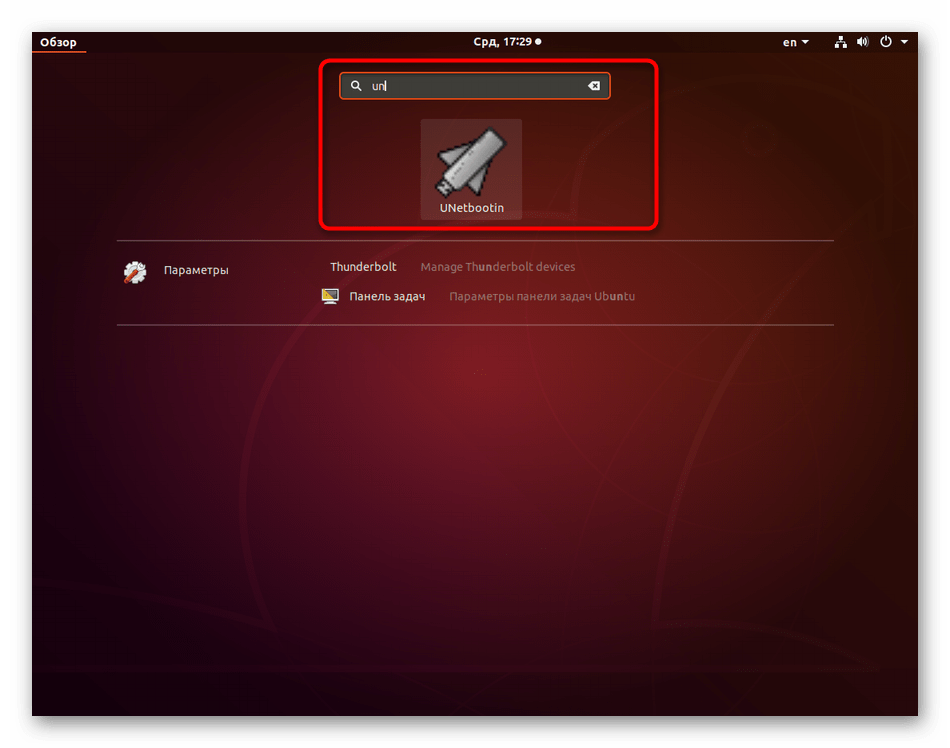
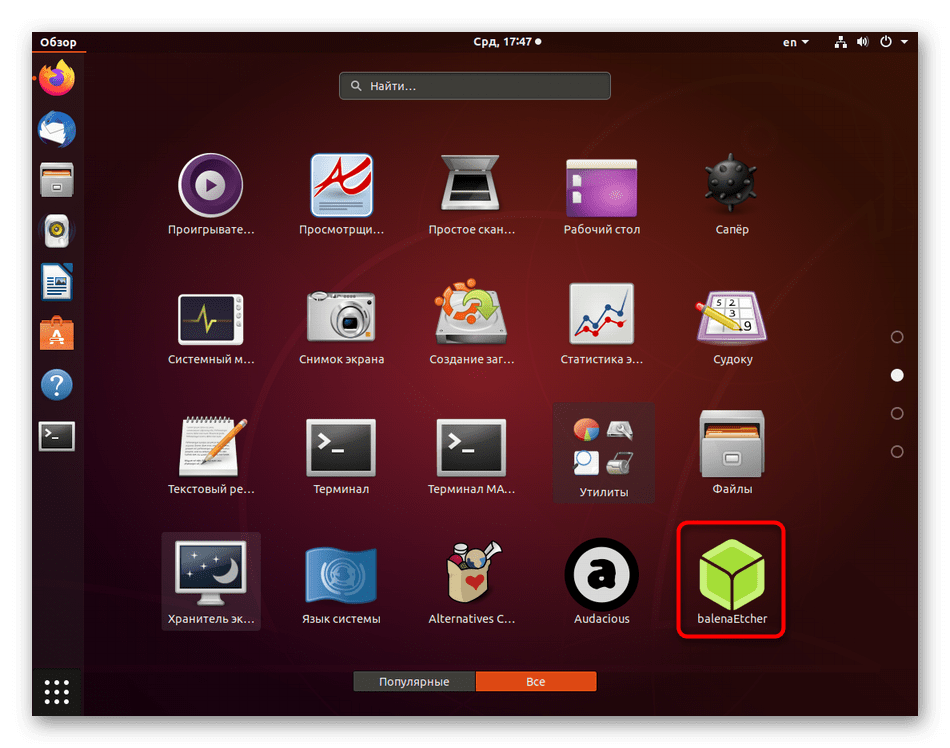
Запускать balenaEtcher проще всего через добавленный значок в меню приложений.
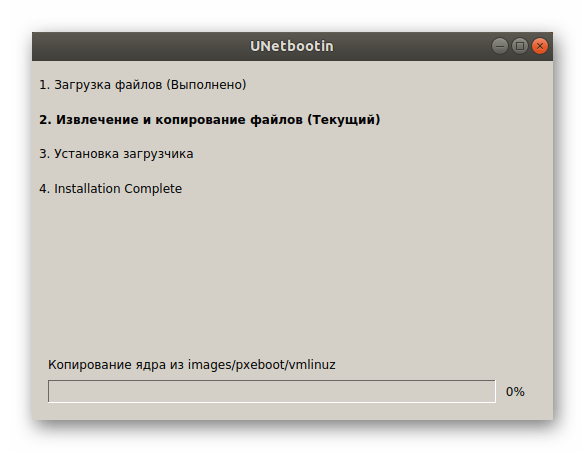
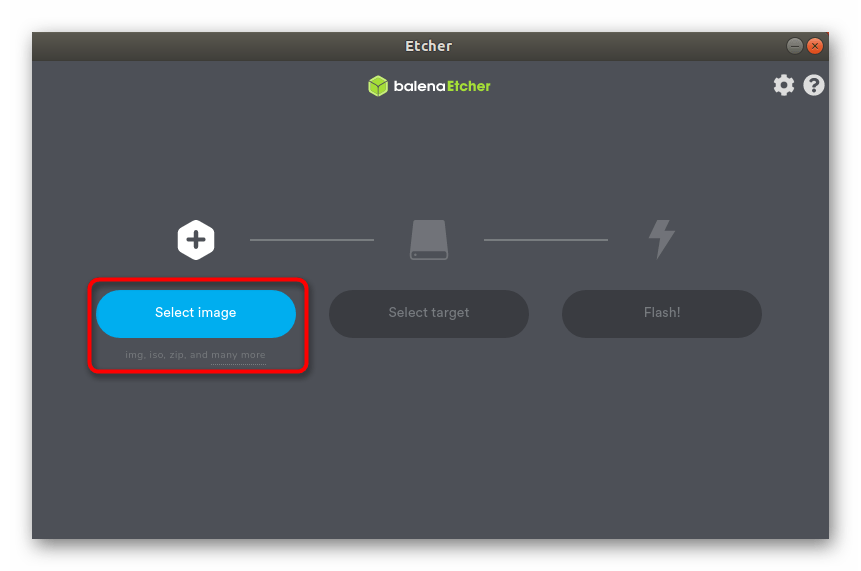
Процесс записи образа диска имеет пошаговое представление. Для начала нажмите на кнопку «Select image», чтобы запустить файловый менеджер.
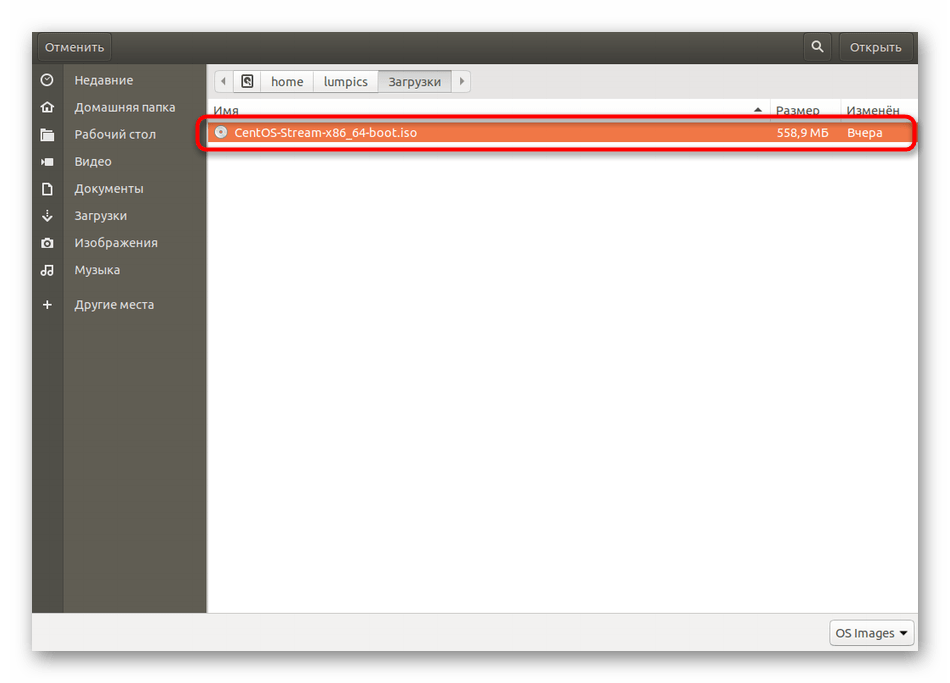
В нем выберите подходящий образ.
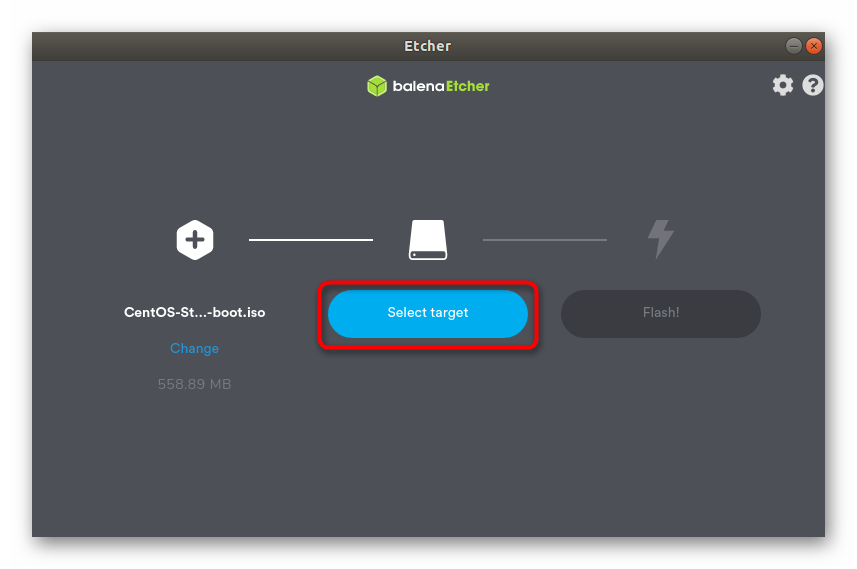
Далее щелкните по синей кнопке «Select target», чтобы указать съемное устройство для записи.
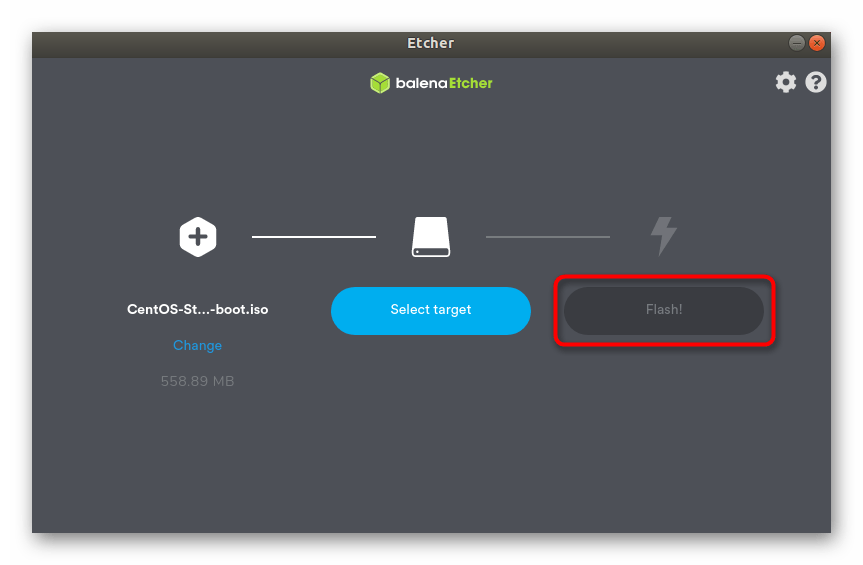
По завершении остается только нажать на «Finish», запустив тем самым процесс записи. Учитывайте, что форматирование флешки в этом случае будет произведено автоматически.
Отметим, что проблемы с использованием balenaEtcher регулярно наблюдаются у некоторых юзеров из-за сбоев в пользовательских хранилищах. Это делает невозможным корректное скачивание и инсталляцию программы описанным выше способом. В качестве альтернативы мы предлагаем задействовать официальный сайт, загрузив оттуда архив программы, или библиотекой на GitHub, где имеется подходящий DEB-пакет.
Способ 3: Утилита dd
Последний метод, о котором мы хотим поговорить в рамках сегодняшнего материала, будет полезен уже опытным пользователям, поскольку подразумевает взаимодействие с терминальной утилитой с необходимостью ввода команд. Ниже вы видите инструкцию, в которой детально описан пример создания загрузочной флешки в Ubuntu через dd.
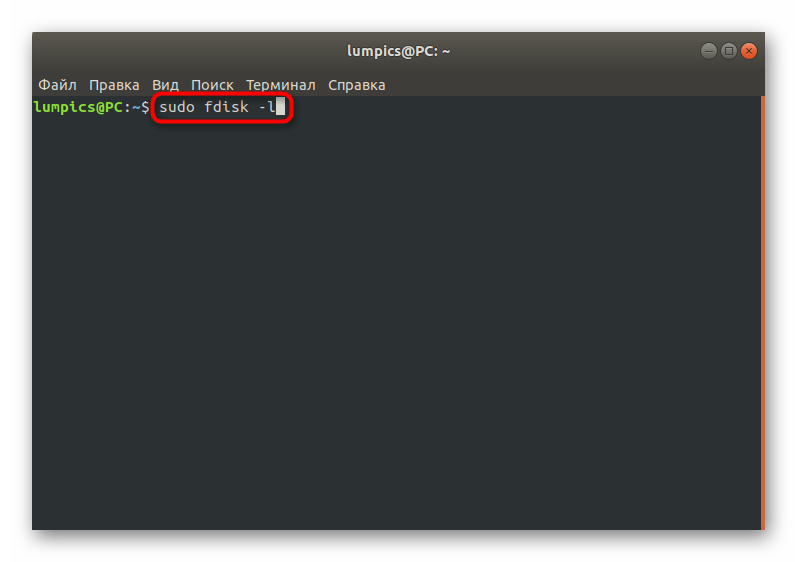
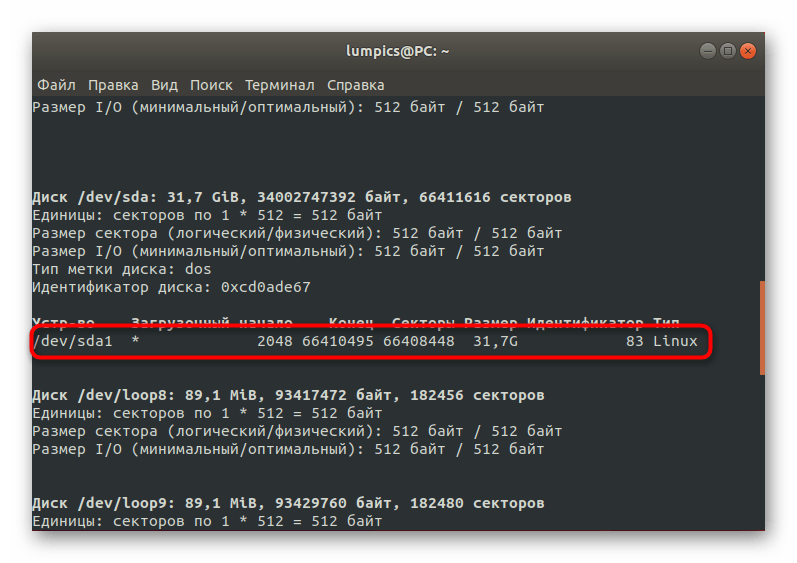
- Для начала определим название съемного накопителя, на который хотите записать образ виртуального диска. Осуществляется это через команду sudo fdisk -l .
Подтвердите действие, введя пароль root-доступа.
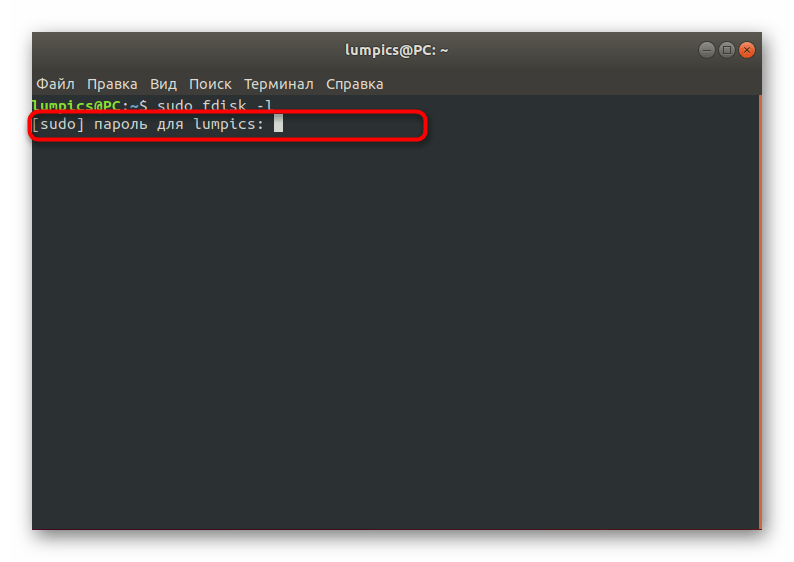
Здесь отыщите устройство, совпадающее по размеру с нужной флешкой, и определите его название, скопировав или запомнив строку.
Остается только ввести dd if=
/Downloads/ubuntu.iso of=/dev/sdb1 и запустить процесс.
/Downloads/ubuntu.iso — точный путь к образу диска с обязательным указанием его формата, а /dev/sdb1 — название соответствующего накопителя для записи.
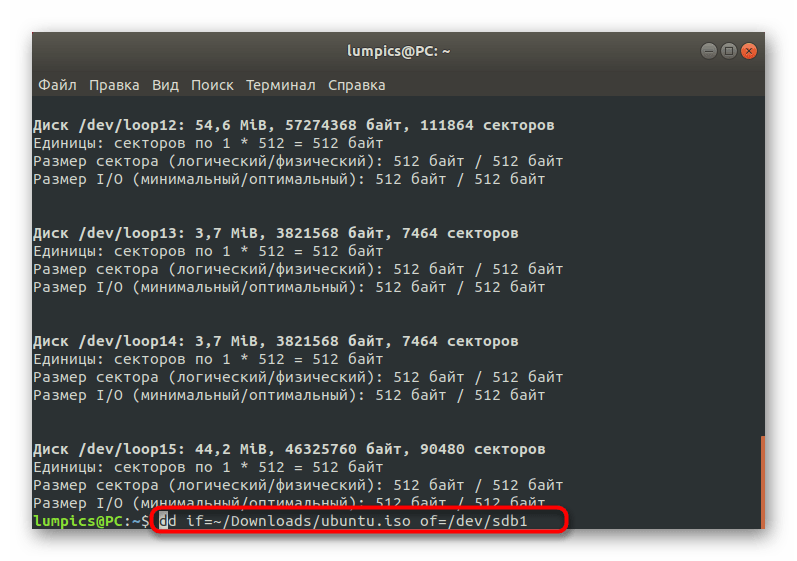
Начнется запись ISO-образа на флешку, а в консоли будет отображаться прогресс этой операции. Следите за ним, а по окончании можете сразу же приступать к использованию получившегося устройства. Больше никаких особенностей утилита dd не имеет, поэтому инструкцию можно считать завершенной.
Сегодня мы представили три способа, позволяющих записывать образ диска на флешку в Ubuntu. Каждый пользователь уже сам для себя решит, стоит ли загружать программу с графическим интерфейсом или с поставленной задачей можно без проблем справиться, задействовав стандартную консольную утилиту.
Помимо этой статьи, на сайте еще 12315 инструкций.
Добавьте сайт Lumpics.ru в закладки (CTRL+D) и мы точно еще пригодимся вам.
Отблагодарите автора, поделитесь статьей в социальных сетях.
Источник
Iso to usb linux ubuntu
With a bootable Ubuntu USB stick, you can:
- Install or upgrade Ubuntu
- Test out the Ubuntu desktop experience without touching your PC configuration
- Boot into Ubuntu on a borrowed machine or from an internet cafe
- Use tools installed by default on the USB stick to repair or fix a broken configuration
Creating a bootable Ubuntu USB stick is very simple, especially from Ubuntu itself, and we’re going to cover the process in the next few steps.
Alternatively, we also have tutorials to help you create a bootable USB stick from both Microsoft Windows and Apple macOS.
2. Requirements
- A 4GB or larger USB stick/flash drive
- Ubuntu Desktop 14.04 or later installed
- An Ubuntu ISO file. See Get Ubuntu for download links
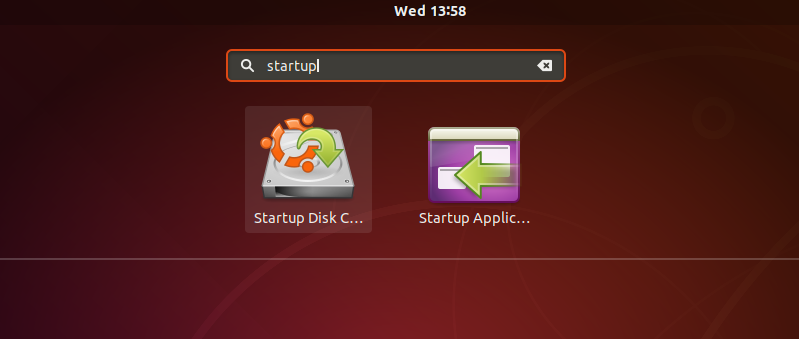
3. Launch Startup Disk Creator
We’re going to use an application called ‘Startup Disk Creator’ to write the ISO image to your USB stick. This is installed by default on Ubuntu, and can be launched as follows:
- Insert your USB stick (select ‘Do nothing’ if prompted by Ubuntu)
- On Ubuntu 18.04 and later, use the bottom left icon to open ‘Show Applications’
- In older versions of Ubuntu, use the top left icon to open the dash
- Use the search field to look for Startup Disk Creator
- Select Startup Disk Creator from the results to launch the application
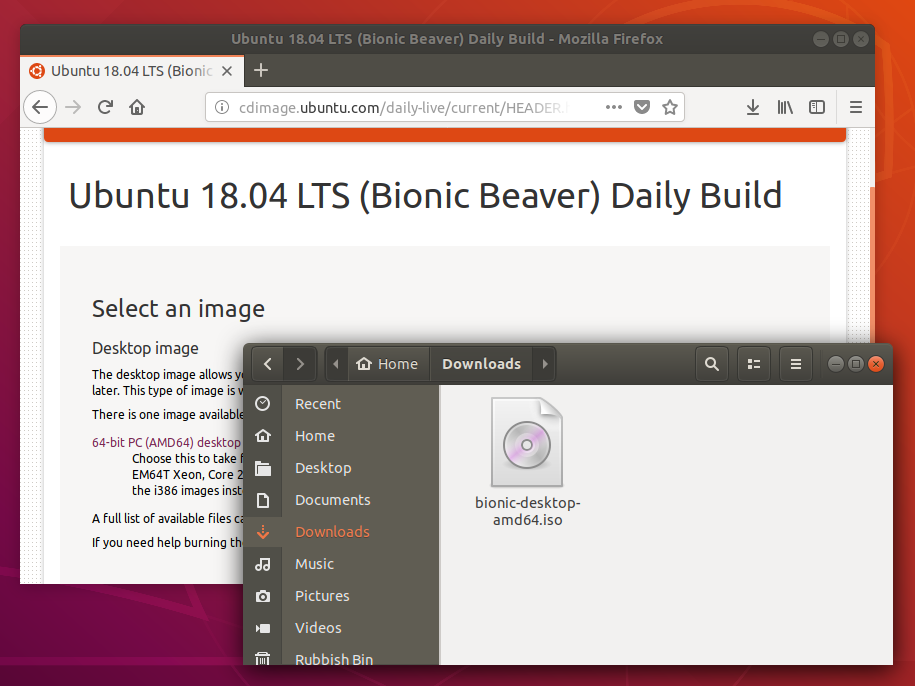
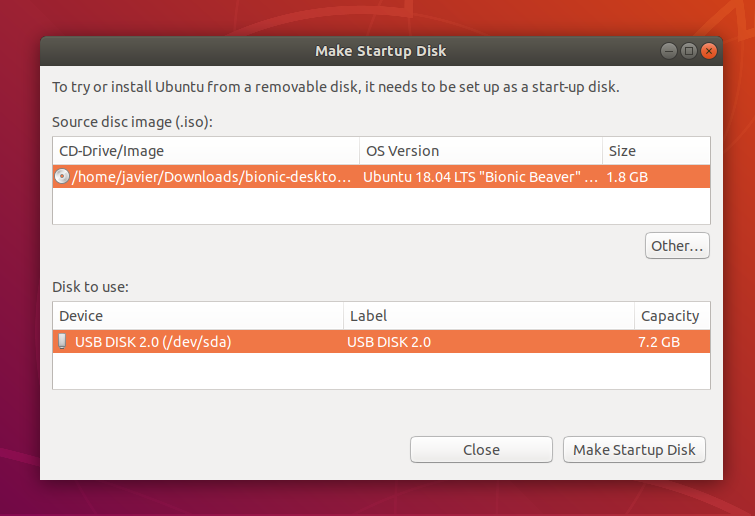
4. ISO and USB selection
When launched, Startup Disk Creator will look for the ISO files in your Downloads folder, as well as any attached USB storage it can write to.
It’s likely that both your Ubuntu ISO and the correct USB device will have been detected and set as ‘Source disc image’ and ‘Disk to use’ in the application window. If not, use the ‘Other’ button to locate your ISO file and select the exact USB device you want to use from the list of devices.
Click Make Startup Disk to start the process.
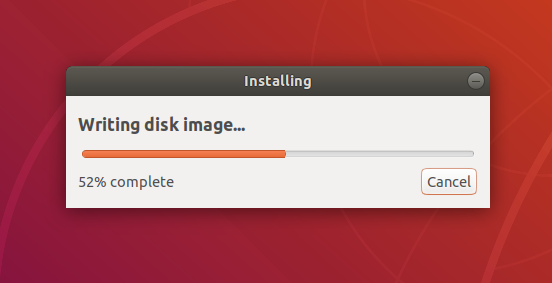
5. Confirm USB device
Before making any permanent changes, you will be asked to confirm the USB device you’ve chosen is correct. This is important because any data currently stored on this device will be destroyed.
After confirming, the write process will start and a progress bar appears.
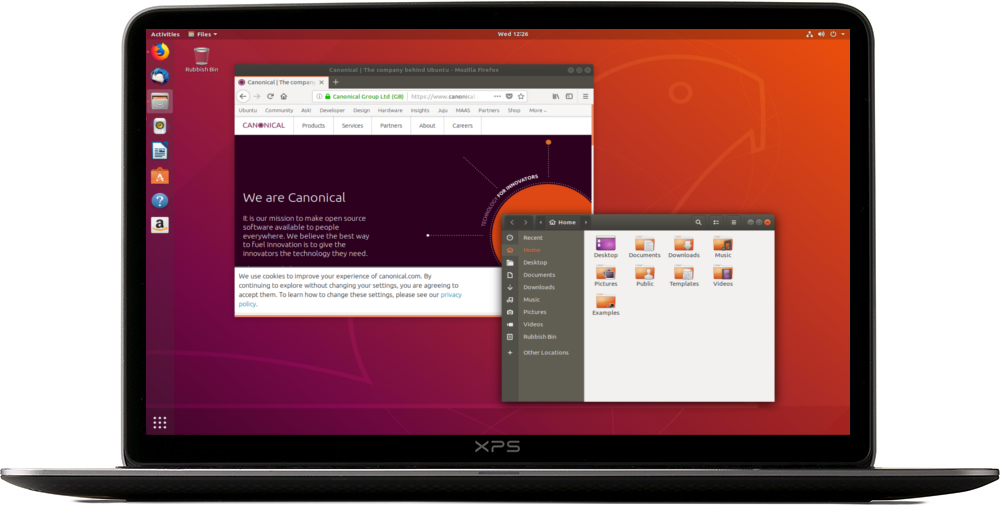
6. Installation complete
That’s it! You now have Ubuntu on a USB stick, bootable and ready to go.
If you want to install Ubuntu, take a look at our install Ubuntu desktop tutorial.
Источник
Ubuntu Documentation
Drives — mass storage devices
This page is called ‘iso2usb’, but the methods described are valid for every kind of drive that is a mass storage device
- USB pendrive
- memory card connected via USB or PCI
- USB hard disk drive, HDD, and solid state drive, SSD
- SATA and eSATA HDD and SSD
- IDE (PATA) HDD
Cloning and extraction
Cloning
Cloning (copying each byte as it is, creating a one-to-one copy) is a very simple and reliable method to create a boot drive (live drive or install drive) from a linux hybrid iso file. All current standard Ubuntu and Ubuntu community flavour iso files are hybrid iso files, so this method works with all these files, the desktop iso files, the Ubuntu Server iso files and the Ubuntu mini.iso files.
Cloning creates a read-only ISO 9660 partition table and file system, so you cannot change anything in the drive (but you can create a new partition table with partitions and file systems). The operating system in the drive will be read-only. You can install program packages and create files, but they will ‘live’ in RAM and will not survive shutdown/reboot.
Cloning tools
In linux:
Ubuntu Startup Disk Creator in Ubuntu 16.04 LTS and newer versions alias usb-creator-gtk (in older versions of Ubuntu there is a buggy extracting tool)
Disks alias gnome-disks
mkusb (install according to the link)
dd, very powerful but also very dangerous, deserves the nickname ‘Data Destroyer’; the other tools are safer because they help you identify the target drive and double-check that it is correct.
In Windows:
Win32 Disk Imager (install according to the link)
Rufus in ‘dd-mode’ is cloning the content of the iso file to a USB pendrive. This ‘dd-mode’ may work, when the default extracting mode fails.
Cloning Plus
There is a simplified method to create persistent live systems without extraction in
- Ubuntu 19.10
- Debian 10
and we expect it to work also in future versions of Ubuntu and Debian.
- The iso file (which is a binary file) is modified to include the boot option ‘persistent’ for Ubuntu and ‘persistence’ for Debian.
- This iso file is cloned to a USB pendrive or memory card.
- A partition for persistence is created ‘behind’ the cloned data.
The text mode tool mkusb-minp and the GUI tool mkusb-plug can help you do it.
Extraction
Extraction is a more complicated method, where the content of the iso file is extracted (the directories and files are copied) to a read-write file system in a drive (a mass storage device).
It is enough to
- Create an MSDOS partition table and a partition with a FAT32 file system and a boot flag.
- Extract the content from the iso file to the mounted FAT32 file system to create a drive (live drive or install drive) that boots in UEFI mode.
You must add a bootloader separately, if you want the drive to boot also in BIOS mode.
Extracting tools
Unetbootin is a well-known tool with versions for Linux, Windows and MacOS
Rufus is the officially recommended tool to install Ubuntu from Windows. The default mode is extracting the content of the iso file to a FAT32 partition.
Do it yourself
When the boot structure is modified in Ubuntu or the booting software, there can be problems until the extracting tools are modified to manage the modification. It is worthwhile to find a method that is as simple as possible and to learn how to use it in order to manage the extraction also when the boot structure is modified.
For an UEFI only boot flash drive you need no installer
Oldfred’s advice
Actually if you want an UEFI only boot flash drive you do not need an installer at all.
You just need to format flash drive with FAT32 and set boot flag on. Then use whatever is your favorite extraction tool like 7zip to extract & copy ISO to FAT32 partition. UEFI boots from a FAT32 partition with a very long GUID (if gpt) to identify it. Gparted and some other tools use boot flag to set that GUID. A few UEFI want flash drive as gpt, most will boot with MBR as even MBR has a code for ESP — efi system partition.
Ubuntu has built in /EFI/Boot/bootx64.efi which really is a copy of grub, for booting in UEFI mode.
Normal installers do the format, extract, but also then install a BIOS boot loader. Ubuntu uses syslinux as BIOS boot loader but with UEFI only you do not need that.
Make the drive boot both in UEFI mode and BIOS mode
If your system is running in BIOS mode, you can install a grub bootloader for BIOS mode into the target drive. If your system is an installed system and running in UEFI mode, this does not work, but there is a work-around.
You can extract/clone from a compressed image file to create the head end and a partition with the FAT32 file system and a boot flag. The grub bootloader for BIOS mode will be there already, at the head end and with the necessary files in the FAT32 partition.
This method works with 64-bit desktop Ubuntu iso files and the community flavours of Ubuntu, (Kubuntu, Lubuntu, . Xubuntu).
It works with 64-bit Windows install iso files too (Windows 8-10 both in UEFI and BIOS mode, Windows 7 only in BIOS mode).
Detailed instructions
Find detailed instructions in the sub-page /diy (extraction method)
Find detailed instructions in the sub-page /isoboot (grub-n-iso method)
Links
Detailed instructions for an extraction method to make a USB boot drive in the sub-page: /diy
Detailed instructions for an iso-boot method to make a USB boot drive in the sub-page: /isoboot
Installation/iso2usb (последним исправлял пользователь nio-wiklund 2020-09-09 08:17:26)
The material on this wiki is available under a free license, see Copyright / License for details
You can contribute to this wiki, see Wiki Guide for details
Источник


