- Как запустить jar в Linux
- Как запустить jar Linux
- Выводы
- How to Run Jar File in Ubuntu Linux
- How to execute Jar file in Ubuntu and other distributions
- Further troubleshooting Jar file not running on Linux
- Java: работа с jar-архивами из консоли Linux
- Извлечение объектов из архива
- Создание jar-архива
- Просмотр содержимого jar-архива
- Добавление объектов в jar-архив
- Дополнение
- Reading, Writing, and Creating Files
- The OpenOptions Parameter
- Commonly Used Methods for Small Files
- Reading All Bytes or Lines from a File
- Writing All Bytes or Lines to a File
- Buffered I/O Methods for Text Files
- Reading a File by Using Buffered Stream I/O
- Writing a File by Using Buffered Stream I/O
- Methods for Unbuffered Streams and Interoperable with java.io APIs
- Reading a File by Using Stream I/O
- Creating and Writing a File by Using Stream I/O
- Methods for Channels and ByteBuffers
- Reading and Writing Files by Using Channel I/O
- Methods for Creating Regular and Temporary Files
- Creating Files
- Creating Temporary Files
Как запустить jar в Linux
Java — это кроссплатформенный язык программирования, благодаря которому программы, написанные один раз, можно запускать в большинстве операционных систем: в Windows, Linux и даже MacOS. И всё это без каких-либо изменений.
Но программы, написанные на Java, распространяются в собственном формате .jar, и для их запуска необходимо специальное ПО — Java-машина. В этой небольшой статье мы рассмотрим, как запустить jar-файл в Linux.
Как запустить jar Linux
Как я уже сказал, для запуска jar-файлов нам необходимо, чтобы на компьютере была установлена Java-машина. Если вы не собираетесь ничего разрабатывать, вам будет достаточно Java Runtime Environment или JRE. Что касается версии, то, обычно, большинство программ работают с 7 или 8 версией. Если нужна только восьмая, то разработчики прямо об этом сообщают. Посмотреть версию Java и заодно убедиться, что она установлена в вашей системе, можно с помощью команды:
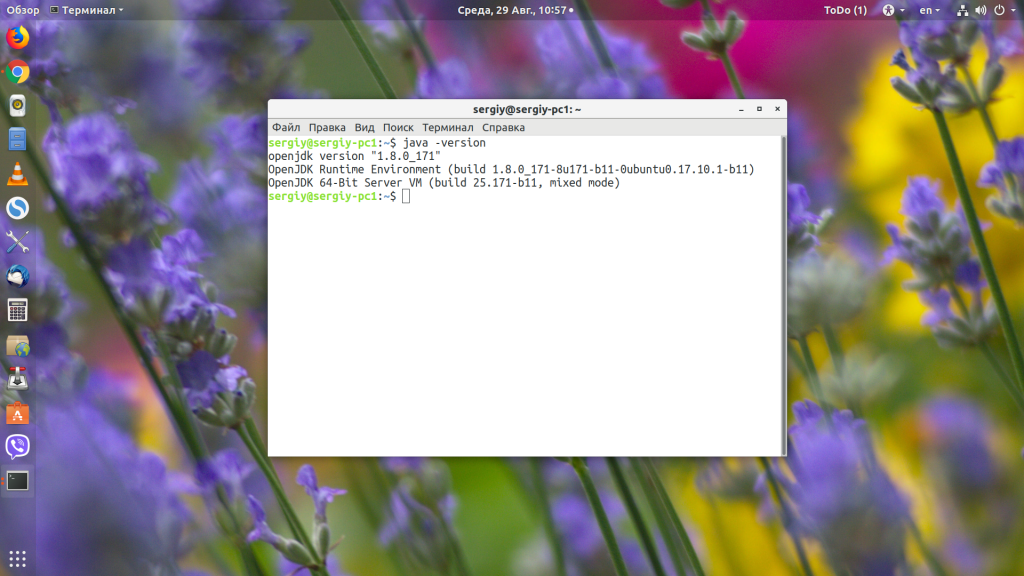
У меня установлена восьмая версия, с пакетом обновлений 171. Если вы получаете ошибку, что команда не найдена, то это значит, что вам нужно установить java. В Ubuntu OpenJDK JRE можно установить командой:
sudo apt install openjdk-8-jre
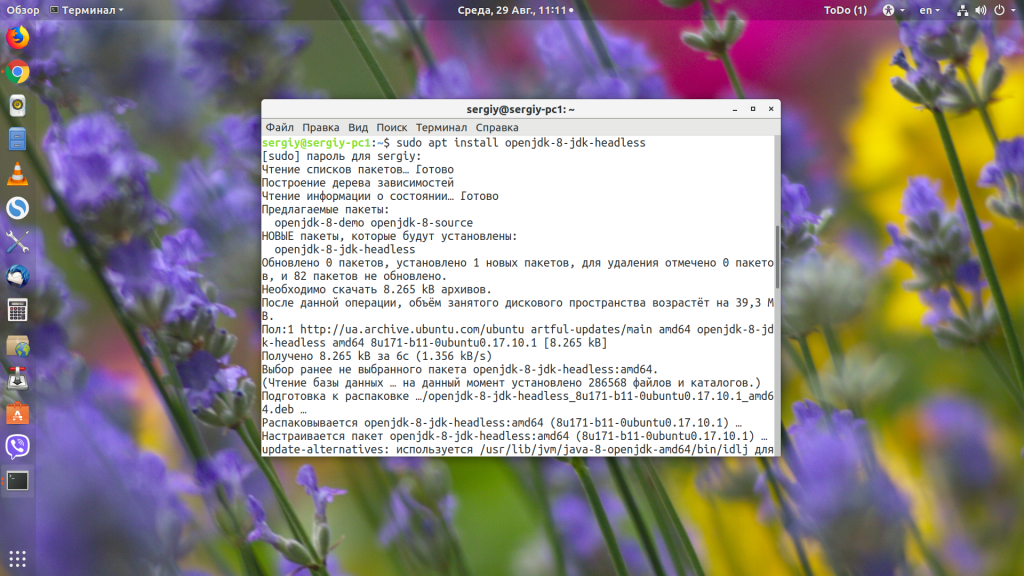
Если вы хотите скомпилировать пример из этой статьи, то вам понадобиться не JRE, а JDK, её можно установить командой:
sudo apt install openjdk-8-jdk-headless
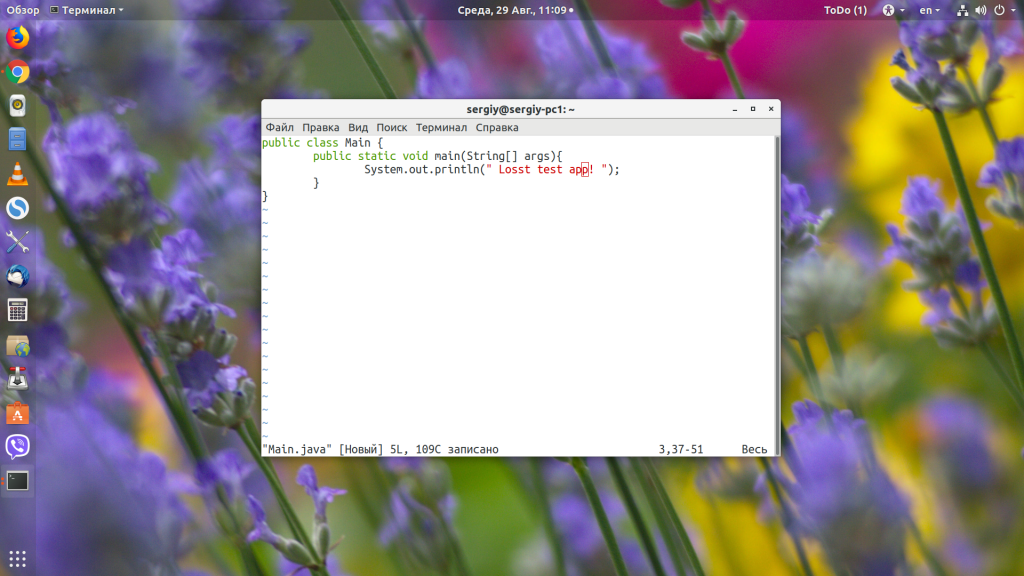
Чтобы узнать, как установить Java в других дистрибутивах, смотрите статью по ссылке выше. Когда Java будет установлена, вы можете очень просто запустить любой jar-файл в Linux, передав путь к нему в качестве параметра Java-машине. Давайте для примера создадим небольшое приложение:
public class Main <
public static void main(String[] args) <
System.out.println(» Losst test app! «);
>
>

Затем скомпилируем наше приложение в jar-файл:
javac -d . Main.java
jar cvmf MANIFEST.MF main.jar Main.class

Теперь можно запустить наш jar-файл командой java с параметром -jar:
java -jar main.jar

Таким образом вы можете запустить любой jar-файл, который собран для вашей версии Java. Но не очень удобно каждый раз открывать терминал и прописывать какую-либо команду. Хотелось бы запускать программу по щелчку мышки или как любую другую Linux-программу — по имени файла.
Если мы дадим программе право на выполнение:
chmod u+x ./main.jar
И попытаемся её запустить, то получим ошибку:

Чтобы её исправить, нам понадобиться пакет jarwrapper:
sudo apt install jarwrapper

Теперь можно запускать java в Linux по щелчку мыши или просто командой.

Выводы
В этой небольшой статье мы рассмотрели, как запустить jar Linux с помощью java-машины, а также как упростить команду запуска. Если у вас остались вопросы, спрашивайте в комментариях!
Источник
How to Run Jar File in Ubuntu Linux
Last updated October 29, 2019 By Abhishek Prakash 19 Comments
Got a Jar file but struggling to execute it? Learn how to run a Jar file in Ubuntu and other Linux distributions.
How to execute Jar file in Ubuntu and other distributions
A Jar file is basically a Java executable file. So you must have Java installed on your system. If you have Java installed in your Ubuntu, you should be able to run it either by double clicking or by selecting from right click options.
The problem here is that most Linux distributions don’t come with Java pre-installed. So please make sure to install Java on Ubuntu. or whichever distribution you are using.
You only need the Java Runtime Environment and you can install it using the command below in Ubuntu-based distributions:
Even with Java installed, sometimes running a Java application is not as straightforward as double-clicking the icon. You might have to go through a few steps.
When I tried to open the .jar file by double clicking, I was presented with the following error:
Fixing this error is very trivial. Right click the .jar file, and open properties.
Now in the properties menu, open the ‘Permissions’ tab. Enable the ‘Allow executing this file as program’ checkbox.
Now, you can simply double click the .jar file to launch the application, AndroMouse in my case. You can see that it works without any problems.
You have to keep in mind that you have to enable the ‘Allow executing as program’ permission for every .jar application you download. It is disabled by default as a security measure. You should enable it only for the applications that you trust and know are safe.
Further troubleshooting Jar file not running on Linux
Even if you have Java Runtime Environment installed and execution permission set, in some older versions of Ubuntu, the Jar file won’t run. Here’s a fix for that.
Right click on the .jar file and choose the option “Open With Other Application“:

Now on the next screen, select the option Show other applications:

In other applications, if you do not find option for Java, install the Java Runtime Environment first. Normally, you should be able to see the option Open With OpenJDK Java x Runtime. Select it and successfully run it.

Enjoy running Jar file on Ubuntu!
I hope this short guide was useful to all of you. Which Java based applications do you use? Do you have any other problems with them? Let me know in the comments below!
Like what you read? Please share it with others.
Источник
Java: работа с jar-архивами из консоли Linux
Извлечение объектов из архива
Распаковать архив ojdbc14-10.2.0.4.jar в текущую директорию:
-x — extract, распаковать;
-f — file, файл, который необходимо распаковать;
В результате получим содержимое архива:
Извлечь только определённый файл или каталог, например — только папку oracle из архива ojdbc14-10.2.0.4.jar :
Извлечь только определённый файл:
Необходимые каталоги (в данном случае oracle/sql ) будут созданы автоматически.
Создание jar-архива
-v — verbose, будет выводить полную информацию о действиях;
-0 — zero, не будет сжимать файлы перед добавлением в арихв;
-f — file, направить всё в файл;
-c — create, создать архив;
-C — change, сменить каталог на время выполнения операции.
Создадим простой архив oracle.jar в который заархивируем содержимое каталога oracle :
То же, но в подробном режиме:
Видно, что файлы сжимаются. Избежим этого, добавим -0 :
Видим, что файлы добавляются в архив вместе с директориями. Что бы избежать этого, и файлы размещать в корне архива — используем опцию -C :
Файл file.d находится в корне архива, т.к. перед выполнением добавления его в архив — архиватор сменил текущую директорию на or .
Просмотр содержимого jar-архива
-f — file, файл архива;
-t — table, список содержимого;
-v — verbose, более полная инфомрация.
Добавление объектов в jar-архив
-u — update, обнвоить содержимое архива.
И добавим его в имеющийся архив oracle.jar :
При обновлении архива — так же можно использовать опцию -C (change).
Дополнение
Простой способ найти файл, который находится в каком-то jar -архиве, но вы не знаете в каком именно:
Источник
Reading, Writing, and Creating Files
This page discusses the details of reading, writing, creating, and opening files. There are a wide array of file I/O methods to choose from. To help make sense of the API, the following diagram arranges the file I/O methods by complexity.
File I/O Methods Arranged from Less Complex to More Complex
On the far left of the diagram are the utility methods readAllBytes , readAllLines , and the write methods, designed for simple, common cases. To the right of those are the methods used to iterate over a stream or lines of text, such as newBufferedReader , newBufferedWriter , then newInputStream and newOutputStream . These methods are interoperable with the java.io package. To the right of those are the methods for dealing with ByteChannels , SeekableByteChannels , and ByteBuffers , such as the newByteChannel method. Finally, on the far right are the methods that use FileChannel for advanced applications needing file locking or memory-mapped I/O.
This page has the following topics:
The OpenOptions Parameter
Several of the methods in this section take an optional OpenOptions parameter. This parameter is optional and the API tells you what the default behavior is for the method when none is specified.
The following StandardOpenOptions enums are supported:
- WRITE – Opens the file for write access.
- APPEND – Appends the new data to the end of the file. This option is used with the WRITE or CREATE options.
- TRUNCATE_EXISTING – Truncates the file to zero bytes. This option is used with the WRITE option.
- CREATE_NEW – Creates a new file and throws an exception if the file already exists.
- CREATE – Opens the file if it exists or creates a new file if it does not.
- DELETE_ON_CLOSE – Deletes the file when the stream is closed. This option is useful for temporary files.
- SPARSE – Hints that a newly created file will be sparse. This advanced option is honored on some file systems, such as NTFS, where large files with data «gaps» can be stored in a more efficient manner where those empty gaps do not consume disk space.
- SYNC – Keeps the file (both content and metadata) synchronized with the underlying storage device.
- DSYNC – Keeps the file content synchronized with the underlying storage device.
Commonly Used Methods for Small Files
Reading All Bytes or Lines from a File
If you have a small-ish file and you would like to read its entire contents in one pass, you can use the readAllBytes(Path) or readAllLines(Path, Charset) method. These methods take care of most of the work for you, such as opening and closing the stream, but are not intended for handling large files. The following code shows how to use the readAllBytes method:
Writing All Bytes or Lines to a File
You can use one of the write methods to write bytes, or lines, to a file.
The following code snippet shows how to use a write method.
Buffered I/O Methods for Text Files
The java.nio.file package supports channel I/O, which moves data in buffers, bypassing some of the layers that can bottleneck stream I/O.
Reading a File by Using Buffered Stream I/O
The newBufferedReader(Path, Charset) method opens a file for reading, returning a BufferedReader that can be used to read text from a file in an efficient manner.
The following code snippet shows how to use the newBufferedReader method to read from a file. The file is encoded in «US-ASCII.»
Writing a File by Using Buffered Stream I/O
You can use the newBufferedWriter(Path, Charset, OpenOption. ) method to write to a file using a BufferedWriter .
The following code snippet shows how to create a file encoded in «US-ASCII» using this method:
Methods for Unbuffered Streams and Interoperable with java.io APIs
Reading a File by Using Stream I/O
To open a file for reading, you can use the newInputStream(Path, OpenOption. ) method. This method returns an unbuffered input stream for reading bytes from the file.
Creating and Writing a File by Using Stream I/O
You can create a file, append to a file, or write to a file by using the newOutputStream(Path, OpenOption. ) method. This method opens or creates a file for writing bytes and returns an unbuffered output stream.
The method takes an optional OpenOption parameter. If no open options are specified, and the file does not exist, a new file is created. If the file exists, it is truncated. This option is equivalent to invoking the method with the CREATE and TRUNCATE_EXISTING options.
The following example opens a log file. If the file does not exist, it is created. If the file exists, it is opened for appending.
Methods for Channels and ByteBuffers
Reading and Writing Files by Using Channel I/O
While stream I/O reads a character at a time, channel I/O reads a buffer at a time. The ByteChannel interface provides basic read and write functionality. A SeekableByteChannel is a ByteChannel that has the capability to maintain a position in the channel and to change that position. A SeekableByteChannel also supports truncating the file associated with the channel and querying the file for its size.
The capability to move to different points in the file and then read from or write to that location makes random access of a file possible. See Random Access Files for more information.
There are two methods for reading and writing channel I/O.
Both newByteChannel methods enable you to specify a list of OpenOption options. The same open options used by the newOutputStream methods are supported, in addition to one more option: READ is required because the SeekableByteChannel supports both reading and writing.
Specifying READ opens the channel for reading. Specifying WRITE or APPEND opens the channel for writing. If none of these options are specified, then the channel is opened for reading.
The following code snippet reads a file and prints it to standard output:
The following example, written for UNIX and other POSIX file systems, creates a log file with a specific set of file permissions. This code creates a log file or appends to the log file if it already exists. The log file is created with read/write permissions for owner and read only permissions for group.
Methods for Creating Regular and Temporary Files
Creating Files
You can create an empty file with an initial set of attributes by using the createFile(Path, FileAttribute ) method. For example, if, at the time of creation, you want a file to have a particular set of file permissions, use the createFile method to do so. If you do not specify any attributes, the file is created with default attributes. If the file already exists, createFile throws an exception.
In a single atomic operation, the createFile method checks for the existence of the file and creates that file with the specified attributes, which makes the process more secure against malicious code.
The following code snippet creates a file with default attributes:
POSIX File Permissions has an example that uses createFile(Path, FileAttribute ) to create a file with pre-set permissions.
You can also create a new file by using the newOutputStream methods, as described in Creating and Writing a File using Stream I/O. If you open a new output stream and close it immediately, an empty file is created.
Creating Temporary Files
You can create a temporary file using one of the following createTempFile methods:
The first method allows the code to specify a directory for the temporary file and the second method creates a new file in the default temporary-file directory. Both methods allow you to specify a suffix for the filename and the first method allows you to also specify a prefix. The following code snippet gives an example of the second method:
The result of running this file would be something like the following:
The specific format of the temporary file name is platform specific.
Источник


