- Jenkins ssh to windows
- Plugin info
- Usage
- Changelog
- Jenkins: запуск Jenkins в Docker и подключение SSH Slave
- Настройка Jenkins Unix slave
- Установка Java
- Добавление пользователя
- Настройка Master
- Установка Docker
- Создание пользователя
- Настройка SSH
- Запуск Jenkins
- Добавление Jenkins Slave
- SSH authentication between GitHub and Jenkins
- Setup Jenkins on CentOS with Docker for Selenium
- I haven’t found any walk-through about setting up Jenkins on CentOS with Docker for Selenium, and since I got to do it…
- Generate SSH Key on Jenkins Server
- Configure SSH Key for GitHub Project
- Install Credentials Plugin for Jenkins
- Add SSH Key inside Jenkins
- How to build on Jenkins and publish artifacts via ssh with Pipelines
- Remote server management via SSH
- Pipelines
- Preparation of the environment
- Artifacts publishing via ssh
Jenkins ssh to windows
Older versions of this plugin may not be safe to use. Please review the following warnings before using an older version:
Plugin info
This Plugin was derived from the very cool SCP Plugin.You can use the SSH Plugin to run shell commands on a remote machine via ssh.
Usage
First go to the global configuration page and add a SSH site.

For your job select a configured site and enter the shell commands that should be executed before and after the build.

Log will look like this.

- i18n
- we also need a post deploy script (ask some of the core team how to do that)
- investigate stop behavior of Hudson jobs using the ssh Plugin
- use same sites as scp plugin (plugin dependencies. )
- .
Changelog
Version 2.6.1 (April 13 2018)
[JENKINS-19973] Option to hide ssh command in log
Version 2.6 (April 7 2018)
[JENKINS-46172] Handle NPE when not all fields are specified & save only properly configured sites
INFO: the «Add Credentials» button for SSH Site don’t work in recent Jenkins 2.x versions — this will be fixed in upcoming 3.0 version.
(major version since plugin will have to migrate it’s configuration to new format)
Version 2.5 (July 8 2017)
[JENKINS-21436] Integrate with the SSH Credentials Plugin; previous credentials are migrated
[JENKINS-23231] Add timeout parameter
[JENKINS-24913] Don’t show sensitive build variables in console log
[JENKINS-12191] Restore resolving hostname from environment variables
[JENKINS-12191] Support build variables (substitution variables) during command execution (env variables are exported before the script)
[JENKINS-24402] Updated to latest version of JSch (0.1.54) to support modern algorithms
Pull JSch dependency via Jenkins hosted jsch-plugin to use recommended way of getting common dependencies in Jenkins
Set Jenkins 1.609.3 as the oldest supported version
Show warning for missing parameters during ajax form validation
Fix security issue
Due to added integration with SSH Credentials Plugin, this version might NOT be fully compatibile with previous version. Sorry!
Jenkins: запуск Jenkins в Docker и подключение SSH Slave
 Имеется две EC2, на одной будет запущен Jenkins, который будет мастером, второй EC2 надо настроить и подключить как slave для Jenkins.
Для этого — на второй машине потребуется Java, настроенная SSH авторизация по ключам, и отдельный пользователь.
На Jenkins потребуется SSH Slaves Plugin.
Начинаем со слейва.
Настройка Jenkins Unix slave
Установка Java
Подключаемся на слейв, устанавливаем Java. Тут Ubuntu, поэтому apt :
# apt install openjdk-8-jdk
Добавление пользователя
Создаём пользователя, под которым будет подключаться Jenkins:
Настройка Master
Установка Docker
Переключаемся на мастер, устанавливаем Docker:
# curl https://get.docker.com/ | bash
И Docker Compose:
# chmod +x /usr/local/bin/docker-compose
# docker run hello-world
Создание пользователя
Создаём каталог для $JENKINS_HOME и $HOME для пользователя ( /home/jenkins для RSA ключей, в /jenkins будут данные самого Jenkins):
Создаём группу с GID 20000, что бы избежать проблем с правами в контейнере и на хосте (запускать будем от пользователя jenkins , у него на хосте UID 1001, в контейнере пользователь с UID 1000, а UID 1000 на хосте — пользователь ubuntu ):
# groupadd —gid 20000 jenkins
# useradd -d /home/jenkins —uid 20000 —gid 20000 -s /bin/bash jenkins
Добавляем его в группу docker :
# usermod -aG docker jenkins
Меняем владельца каталогов:
# chown jenkins:jenkins /jenkins/
# chown jenkins:jenkins /home/jenkins/
Настройка SSH
Переключаемся на пользователя jenkins , создаём ключ:
$ ssh-keygen -t rsa
Т.к. это EC2, и парольная авторизация отключена — то быстрее будет просто руками скопировать ключ, чем использовать ssh-copy-id :
Добавляем его в /home/jenkins/.ssh/authorized_keys на слейве.
Проверяем SSH с мастера:
$ ssh jenkins@34.253.207.173 -i .ssh/id_rsa
ОК, тут всё работает.
Запуск Jenkins
На мастере переключаемся на пользователя jenkins :
Создаём Compose файл:
$ docker-compose -f jenkins-compose.json up
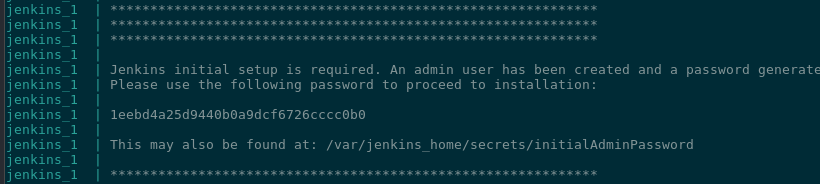
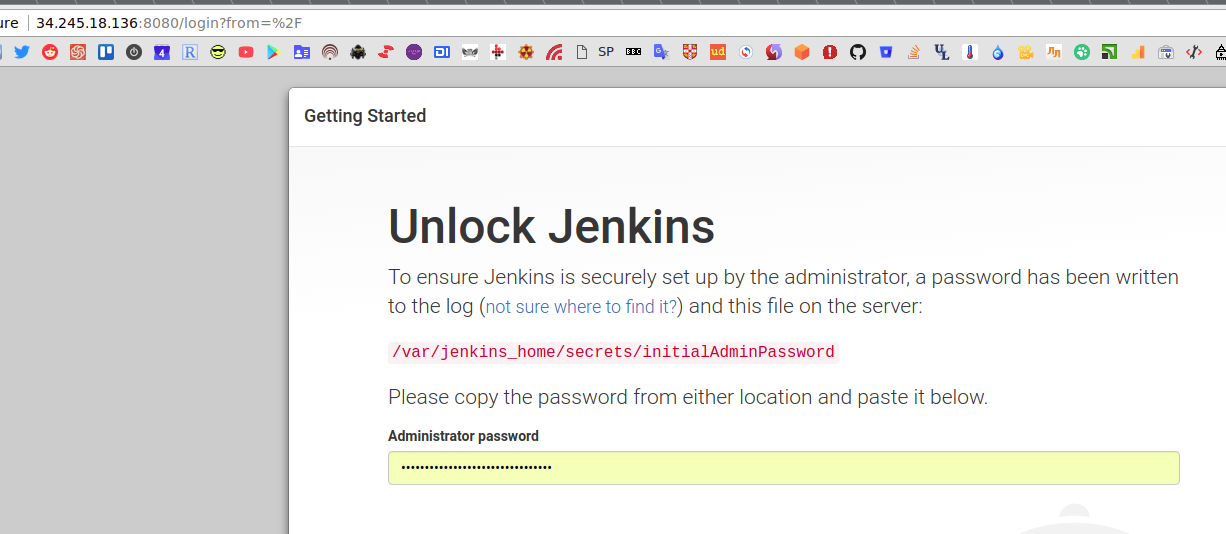
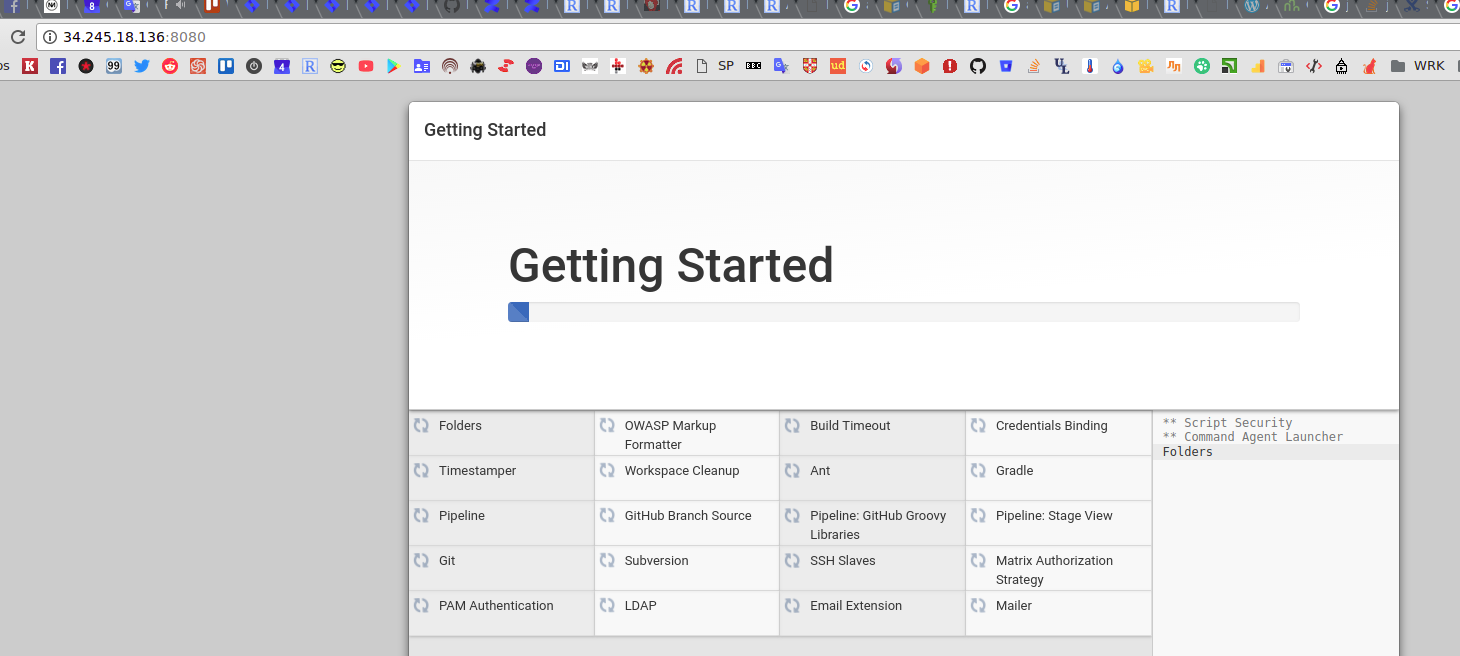
Из лога запуска получаем пароль, заходим на Jenkins, активируем:

Добавление Jenkins Slave
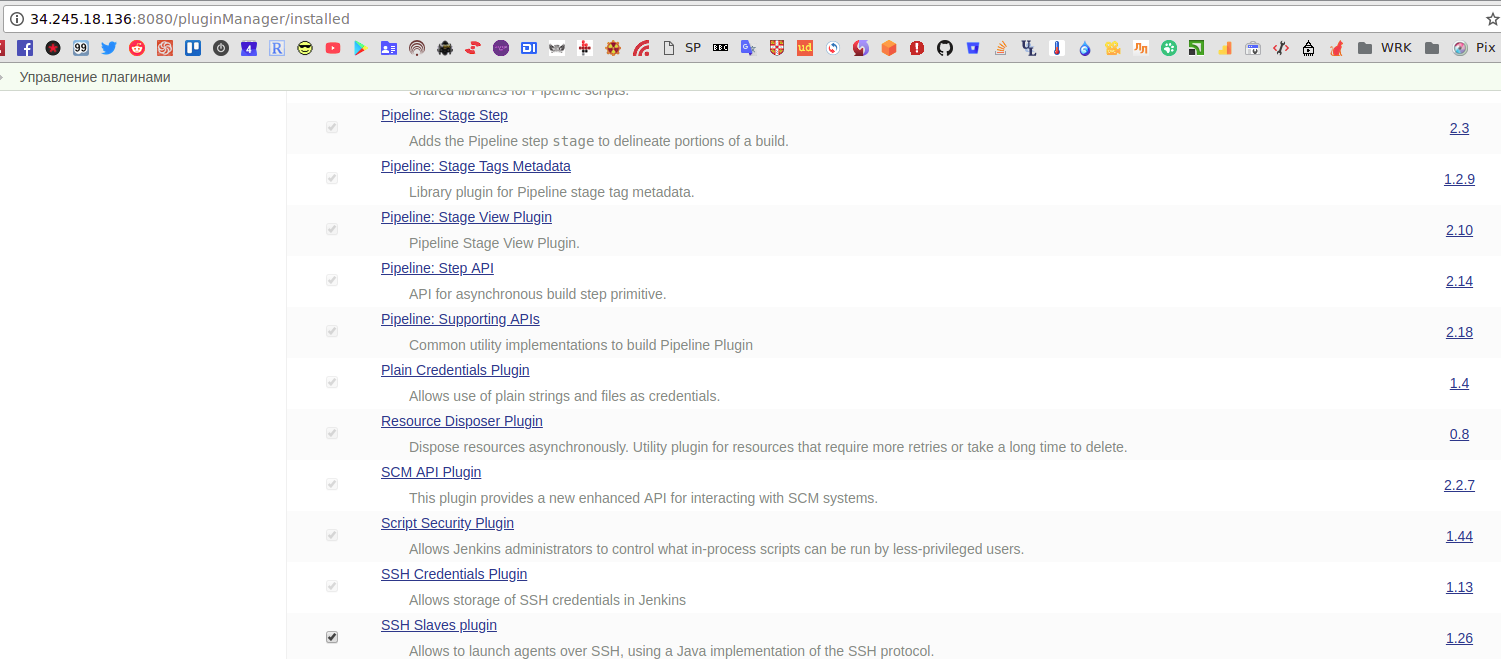
Проверяем наличие плагина SSH Slaves Plugin:
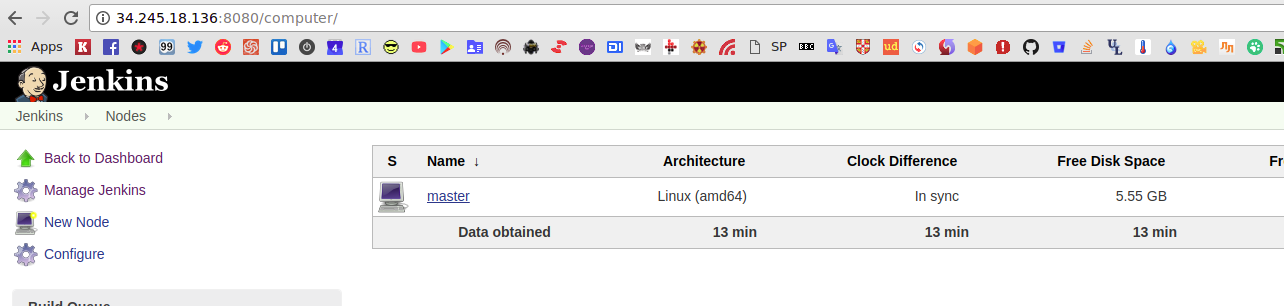
Переходим в Manage Jenkins > Manage Nodes:
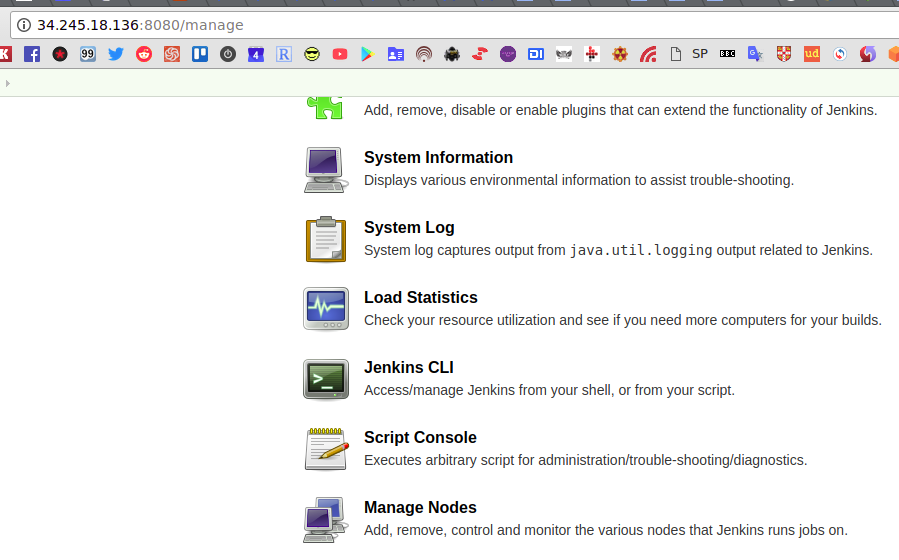
Сейчас тут только один хост — сам мастер:
Кликаем New node:
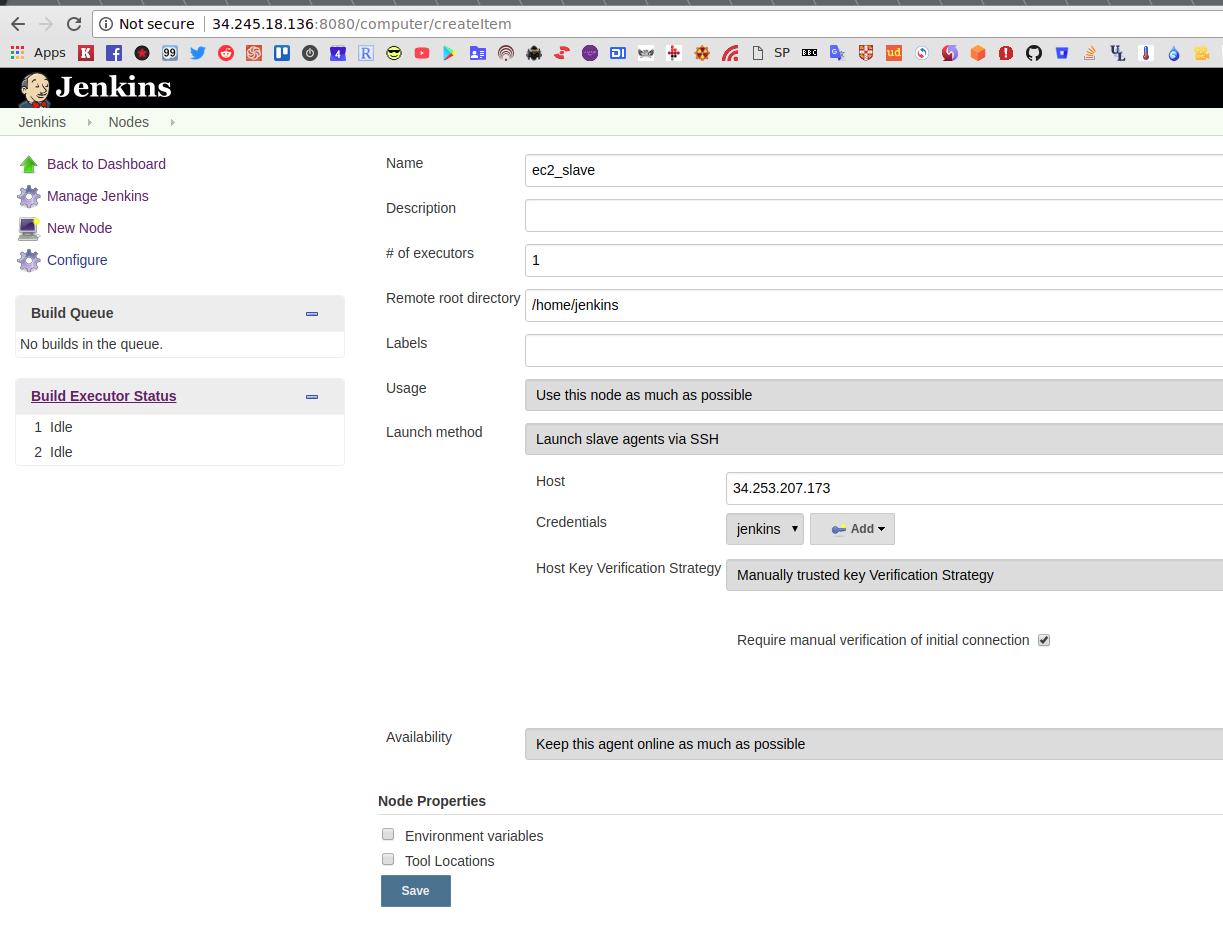
Создаём новый слейв:
- Remote root directory: указываем /home/jenkins
- Launch method: launch slave agents via ssh
- Host — указываем IP хоста со слейвом
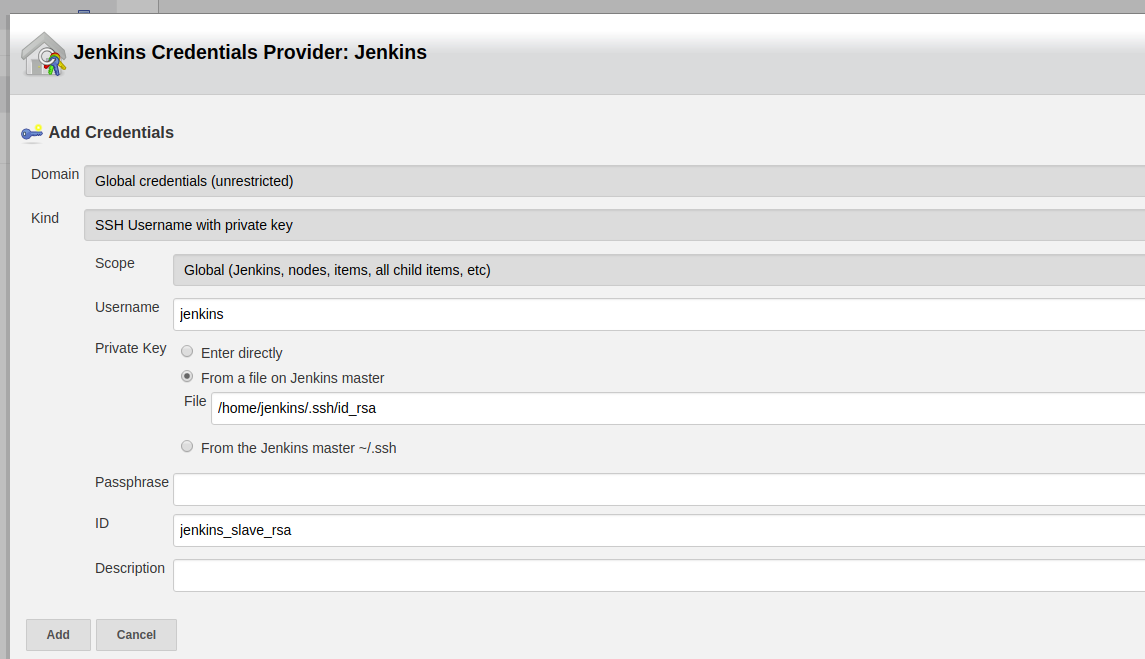
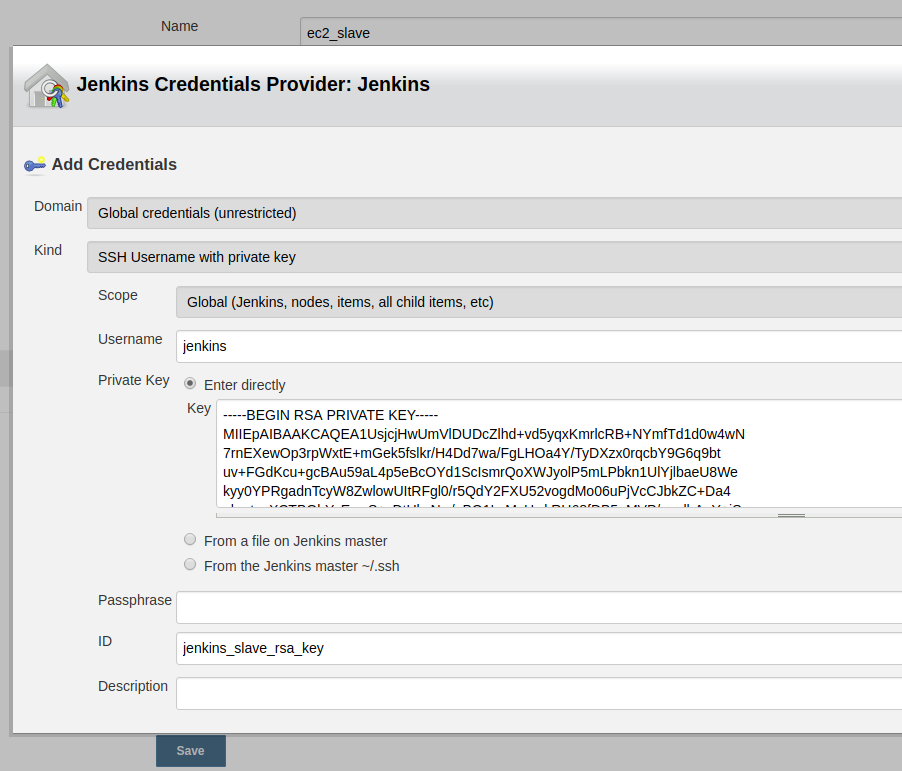
- Credentials — кликаем Add, в Kind выбираем SSH username with private key и указываем ключ вручную (что бы не мапить /home/jenkins/.ssh с хоста в контейнер с Jenkins).
Копируем содержимое /home/jenkins/.ssh/id_rsa , и вставляем в Private Key:
В Host Key Verification Strategy можно использовать Manually trusted, результат:
Жмём Save, переходим к агенту, слева жмём Trust SSH Host Key:
SSH authentication between GitHub and Jenkins

In my previous article, we discussed how to setup Jenkins
Setup Jenkins on CentOS with Docker for Selenium
I haven’t found any walk-through about setting up Jenkins on CentOS with Docker for Selenium, and since I got to do it…
In this article, I talk about how can we configure SSH authentication between Github and Jenkins so let’s start the discussion.
Generate SSH Key on Jenkins Server
First, we create a directory named Github on the Jenkins server and hidden directory ssh under that:
After this, we’ll generate an ssh key pair and give the new location to save keys:
We’ll leave the passphrase empty. Below is a sample run:
After that, we can get the public key from id_rsa.pub:
We need to copy this value.
Configure SSH Key for GitHub Project
Once logged in to GitHub, you need to go to the sample repository on which you have access. Go to repository settings -> Deploy keys -> Add deploy key:

Give a name such as ‘Jenkins User’ and add the key. You may select ‘allow write access’ as well. Since we are using Jenkins only to pull repository, we’ll leave this checkbox unchecked.
Install Credentials Plugin for Jenkins
We now need to add a plugin called Credentials Plugin inside Jenkins, if it’s not already added. For this, login to Jenkins.
Manage Jenkins -> Manage Plugins -> Available and search for credentials plugin and install it:

Add SSH Key inside Jenkins
Now go to Credentials from left pane inside Jenkins console and then click global:
How to build on Jenkins and publish artifacts via ssh with Pipelines

Mar 2, 2017 · 6 min read
In this article I want to share my experience of remote project deployment assembled in Jenkins and sent to the instance by SSH protocol. I guess, reading what’s written below wouldn’t much interest a professional, but must be checked by DevOps padawan, same as me 🙂
Remote server management via SSH
So, we have a project, assembling on CI-server, and we need to send build or to run certain commands through SSH.
It’s possible to use Publish Over SSH Plugin. Lets set up ssh connection details in the settings interface of Jenkins. We assign server a name, an address, user’s name and authorization way — by password, passphrase or an indicate key. These adjustments are simple and easy. You may found more details on plugin’s page.

With help of this plugin you are able to run a command or publish files at any assembling stage (you can see this details now in the task configuration).
- Before or after assembling start:

2. During assembling

3. After assembling:

Plugin has a lot additional settings for copying files — for example, remote folder creation with a time stamp, clearing folder, coping files etc. I suggest you to look into all these options on your own.
Pipelines
As for me, it was necessary (and curiously enough) to sort out things with publication artifacts and execute above SSH commands in pipeline project style.
Pipeline — is the way of software assembling split on a chain of processing elements ( stages), each one can be set up particularly.
1. Scripts realization ability, which may be stored in a system version control.
2. Project can be set to pause, waiting for permissions or any other action for further performance.
3. An opportunity of combining stage runs, including their parallel execute.
Let’s try it in actual practice.
We’ll create a simple test pipeline-project:

Select Pipeline script and enroll ours:

stage (‘Prepare environment’) <
git branch: ‘development’, url: ‘git@bitbucket.org:example/myapp.git’
stage (‘Code analyse’) <
sh ‘echo “Run some lints”’
stage (‘Unit test’) <
sh ‘echo “Tests will back”’
sh ‘npm run clean’
sh ‘npm run build’
Project has four stages now: environment preparation, statistical code analysis, tests and assembling itself.
Preparation of the environment
After successful run of a task on CI base, we’ll receive an artifacts set, which should be published. If you took note, we could run every scripted command of our shell with an instruction sh “some command”. That’s why we use SSH-client.
If it’s not installed yet, run command sudo apt-get install ssh.
The most safe authentication is login by the key, but for such a feature it is important to set the opportunity available on a server. Now generate a key for Jenkins user:
Then, we need to type a password for key file protection. If we’re going to run SSH scripts, then leave it blank. It’s possible to change password to a key by command ssh-keygen. Restoring the password is impossible.
Keys are stored in two files (if there is no other folder, they can be found in home catalogue):
/.ssh/id_rsa.pub — opened key. It’s copied to the server, where access is needed;
/.ssh/id_rsa — closed key. Make sure you don’t show it anyone. Still, if this happens, immediately re-generate keys.

Now copy our opened key to a server, where we’ll publish assembling results. Its important to create a file
/.ssh/authorized_keys in user’s folder, by whom we’re going to login. File must contain all data of an open key. Also, properly file rights should be chosen, or ssh wouldn’t recognize it. Step by step run commands as user:
By these commands we:
a) deny all, except the owner, to write in home directory;
b) reading, login and writes are available only for the owner with .ssh settings;
c) only the owner can read and save changes to file.ssh / authorized _ keys.
For the first time we’re going to login by ssh directly from CI-server’s console. Ssh always asks, whether we trust the key or not. If the answer is no, connection will be closed. If yes — key will be saved in file
Producing all needed settings, we be able to run commands on remote server without password request. To check it from the console, run the command:
There should be files list and subdirectories of /var/www/ folder showed on the screen at remote server.
Now let’s solve a task for copying files to remote server. Command scp suits the most, ’cause it makes a file copy through ssh-session. Ssh already granted a command, so nothing additional needed to install.
The syntax of the command is simple: we indicate a file, to which server we copy and the way it should be done:
Scp command allows to perform reverse copying from remote server:

Artifacts publishing via ssh
Now it’s time to get back to our pipeline-project. Learning a remote work with ssh server, we easily can publish our artifacts. For example, let’s take a look at the case, when our project is going to the dist folder. Copying would be performed through interval catalogue:
ssh user@server rm -rf /var/www/temp_deploy/dist/
ssh user@server mkdir -p /var/www/temp_deploy
scp -r dist user@server:/var/www/temp_deploy/dist/
ssh user@server “rm -rf /var/www/example.com/dist/ && mv /var/www/temp_deploy/dist/ /var/www/example.com/”
We add the last deploy stage to our project and receive a fully made-up script of deploy server results delivery:
stage (‘Prepare environment’) <
git branch: ‘development’, url: ‘git@bitbucket.org:example/myapp.git’
stage (‘Code analyse’) <
sh ‘echo “Run some lints”’
stage (‘Unit test’) <
sh ‘echo “Tests will back”’
sh ‘npm run clean’
sh ‘npm run build’
sh ‘ssh user@server rm -rf /var/www/temp_deploy/dist/’
sh ‘ssh user@server mkdir -p /var/www/temp_deploy’
sh ‘scp -r dist user@server:/var/www/temp_deploy/dist/’
sh ‘ssh user@server “rm -rf /var/www/example.com/dist/ && mv /var/www/temp_deploy/dist/ /var/www/example.com/”’

Here our not so long travel has come to an end. Of course, it’s not one and only way of publishing artifacts on servers. There are FTP, Windows-folders, repositories (Artifactory, Aptly) and other methods. Such a good reason to write something new, ain’t it? Anyway, I’m not saying goodbye 🙂
Dima Dmytriienko, editor & Marketing Specialist
with help of Oleksandr Knyga, Software Engineer


