- How to copy and paste on Mac
- Copy or cut
- Paste, or paste and match style
- Paste
- Paste and Match Style
- How to Cut, Copy, and Paste on a Mac
- Learn how to put stuff where you want it
- What to Know
- How to Copy, Cut, or Paste Text
- Keyboard Shortcuts That Help With Copy and Paste
- How to Cut, Copy, or Paste an Image
- How to Cut, Copy, and Paste Files and Folders
- How to Copy and Paste Across Apps
- Resolve Formatting Problems
- Прокачайте копипаст в MacBook. Лучшие программы для буфера обмена
- 1. Paste
- 2. CopyLess
- 3. Unclutter
- 4. Dropzone
- 5. Alfred
- Нужно ли прокачивать буфер обмена?
How to copy and paste on Mac
Copy or cut text or other items from one location, then paste in another location. These methods work in most apps.
Copy or cut
Start by selecting the text or other item to be copied or cut. Then use one of these steps to save the item to your Clipboard so that it can be pasted elsewhere.

- Press Command-C.
- Or choose Edit > Copy from the menu bar.
- Or Control-click (or right-click) the item you selected, then choose Copy from the shortcut menu.

- Press Command-X.
- Or choose Edit > Cut from the menu bar.
- Or Control-click (or right-click) the item you selected, then choose Cut from the shortcut menu.
Paste, or paste and match style
First click to place your insertion point, then use one of these steps to paste your copied item at that location. When you paste and match style, the pasted item matches the font, color, size, or other style of the surrounding content.
Paste

- Press Command-V.
- Or choose Edit > Paste from the menu bar.
- Or Control-click (or right-click) the item you selected, then choose Paste from the shortcut menu.
Paste and Match Style

- Press Option-Shift-Command-V.
- Or choose Edit > Paste and Match Style from the menu bar.
Источник
How to Cut, Copy, and Paste on a Mac
Learn how to put stuff where you want it
:max_bytes(150000):strip_icc()/AlexanderFox-866b170a19794e0e83c2dd275fe1b441.jpg)
:max_bytes(150000):strip_icc()/ryanperiansquare-de5f69cde760457facb17deac949263e-180a645bf10845498a859fbbcda36d46.jpg)
What to Know
- Select the text or folder you wish to cut or copy, then press Command+C to copy or Command+X to cut.
- To paste the text or folder you cut or copied, place the cursor where you want it to go and press Command+V.
- You can copy an image by hovering the cursor over it, pressing Control, then selecting Copy Image.
This article explains how to use the Cut, Copy, and Paste commands on a Mac. These instructions were created for macOS Catalina (10.15) but apply to most earlier versions of macOS and Mac OS X. Some older versions of the operating system may have a slightly different interface.
How to Copy, Cut, or Paste Text
To copy, cut, or paste text, complete the following steps:
Highlight the text you want to copy or cut. If you’re using a mouse or trackpad, move the cursor to the beginning of the text you want to copy. Then, click and hold while dragging the cursor over the content you want to copy.
If you’re using the keyboard, move the cursor to the beginning of the text you want to copy. Then, press and hold Shift while using the arrow keys to select the content you want to copy.
You’ll see a colored box around the selected content.
:max_bytes(150000):strip_icc()/Selectedteextannotated-93cbda5e774e469f9b53750263bb46cc.jpg)
In Microsoft Word, there are detailed selection options you can adjust to make selecting easier.
To copy the highlighted text, use one of the following methods:
- On the keyboard, press Command+C.
- From the menu bar, select Edit >Copy.
To cut the text, use one of the following methods:
- On the keyboard, press Command+X.
- From the menu bar, select Edit >Cut.
:max_bytes(150000):strip_icc()/Cutcopyannotated-c8797cc5ebf544769441022e7d21d616.jpg)
To paste the text you just copied or cut, place the cursor in an editable area, like a text box or a document, and use one of the following methods:
- On the keyboard, press Command+V.
- From the menu bar, select Edit >Paste.
:max_bytes(150000):strip_icc()/Pasteannotated-ee89c9e7f98c44c8a43809edfabf48a5.jpg)
To copy the contents of a cell in Microsoft Excel, the easiest method is to select the cell (not the text) and then copy it.
Keyboard Shortcuts That Help With Copy and Paste
Other keyboard shortcuts are especially helpful when using copy-and-paste commands:
- Command+A (Select All). This keyboard shortcut selects all text or items within the current view, based on your selection or cursor position. The Select All command is helpful when you need to copy an entire document.
- Command+Z (Undo). Use the Undo command to undo the last action, for example, if you pasted text in the wrong location.
How to Cut, Copy, or Paste an Image
If you can select content by dragging the cursor over it, you can copy it. Using this technique, you can copy hard-to-select objects, such as images on websites.
To copy an image from a web page, hover the cursor over the image you want to copy, press Control, select the image, and then select Copy Image from the context menu. The image is now on your clipboard, and you can paste it using the steps provided in the previous section into any field that accepts images. The process is the same in a document, although, in documents, you can cut as well as copy images.
:max_bytes(150000):strip_icc()/Copyimage-c4b912d0d73d4ee9bf17e4784cd2f8c8.jpg)
You can also copy the URL of an image by hovering the cursor over the image, pressing Control, and then selecting Copy Image Address from the context menu.
:max_bytes(150000):strip_icc()/Copyimageaddress-f2f01d32899a4586a8c25b52a1e4d2f5.jpg)
You can’t use the Cut command in PDFs, but copying text and images from a PDF works well.
How to Cut, Copy, and Paste Files and Folders
You can cut, copy, and paste files and folders in macOS the same way you cut, copy, and paste text and images. However, macOS provides a unique way of reproducing files and folders in Finder called Duplicate.
The Duplicate command creates a copy of the selected items in the same folder as the original. If you want to create copies in another location in Finder, use the Copy command.
To duplicate files within Finder, complete the following steps:
Select one or more folders or files.
:max_bytes(150000):strip_icc()/selectfilesannotated-814645f21d2b415287f70291b76de6b1.jpg)
Press Control, selected the highlighted elements, and then select Duplicate from the context menu. (You can also duplicate the item by selecting File > Duplicate on the menu bar or by pressing Command+D.)
For faster copying, press and hold Option, and then drag the file to a new location. This command automatically duplicates the file, even in the same folder.
:max_bytes(150000):strip_icc()/Duplicateannotated-0707dfee612d422cb0c44d74c53b7a6a.jpg)
If you want to move the selected file or folder instead of duplicating it, press Command+Option+V. This command deletes the files from their original location when they’re pasted to the new location.
How to Copy and Paste Across Apps
The Cut, Copy, and Paste commands work across apps, as well. You can make a selection in one app, copy or cut it, and then paste it into a different app. Because the clipboard is global, the same clipboard content is available anywhere on your Mac.
One common use for this functionality is sharing content from the web. In a web browser, copy text, an image, or an element from a web page. Then, switch to the destination app, place the cursor where you want the content to appear, and paste the content.
To copy and paste content across apps, the destination app must be capable of accepting the copied content. For example, if you copy this sentence, switch to Finder, and then paste, nothing will happen because Finder has nowhere to put the text.
Resolve Formatting Problems
Pasting between apps with rich text formatting can be frustrating. Pasting from a website into a Word document, for example, can result in odd-looking text because the Copy and Cut commands grab both the selected text and its formatting. When you paste the text, the formatting comes with it.
When you want to paste rich or formatted text from a source, instead of using the standard Paste command, use the Paste and Match Style or Paste and Match Formatting command. This command adjusts the formatting to match the destination file’s formatting. This way, the pasted content will fit seamlessly into the rest of your document.
When you’ve selected and cut or copied the text in your source document, go to the destination document and select Edit > Paste and Match Style or Paste and Match Formatting, or use the keyboard shortcut Shift+Option+Command+V. Not every app has a Paste and Match Style command, and some apps use a different keyboard shortcut, so be sure to check the application’s Edit menu.
Источник
Прокачайте копипаст в MacBook. Лучшие программы для буфера обмена
Разработчики macOS никак не развивают стандартный буфер обмена в операционной системе.
Кроме привычных сочетаний клавиш для копирования/вставки и возможности переноса содержимого между устройствами никаких полезных и интересных опций у данного раздела системы нет.
? Спасибо re:Store за полезную подборку. ?
Расширить возможности буфера можно при помощи приложений от сторонних разработчиков.
1. Paste
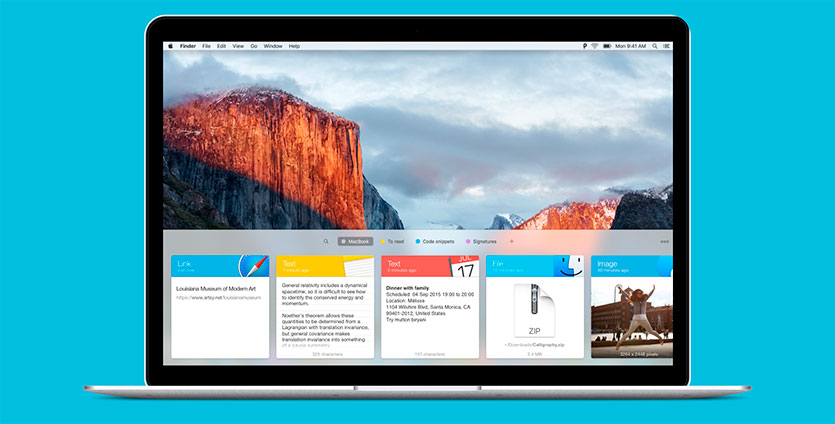
Мы уже подробно рассказывали о приложении Paste для macOS и iOS. Связка из этих утилит позволяет забыть о существовании стандартного буфера обмена и с комфортом пользоваться скопированными данными на всех своих устройствах (Mac, iPhone, iPad).
Приложение добавляет специальное меню в систему, которое в виде карточек отображает все скопированные недавно файлы, картинки, ссылки, текст и прочие данные.
Пользователю отстоится лишь выбрать подходящие данные и вставить их в нужном месте.
Очень удобно выглядит поиск среди скопированных данных, возможность разделять их по типу или тегам, закрепление фото или текста, который часто необходим для вставки.
Размер хранимого буфера ограничивается по времени, а скопированные данные могут храниться в iCloud для вставки на других устройствах.
Зачем устанавливать Paste: очень красивый визуальный буфер обмена с синхронизацией между iPhone и Mac.
2. CopyLess
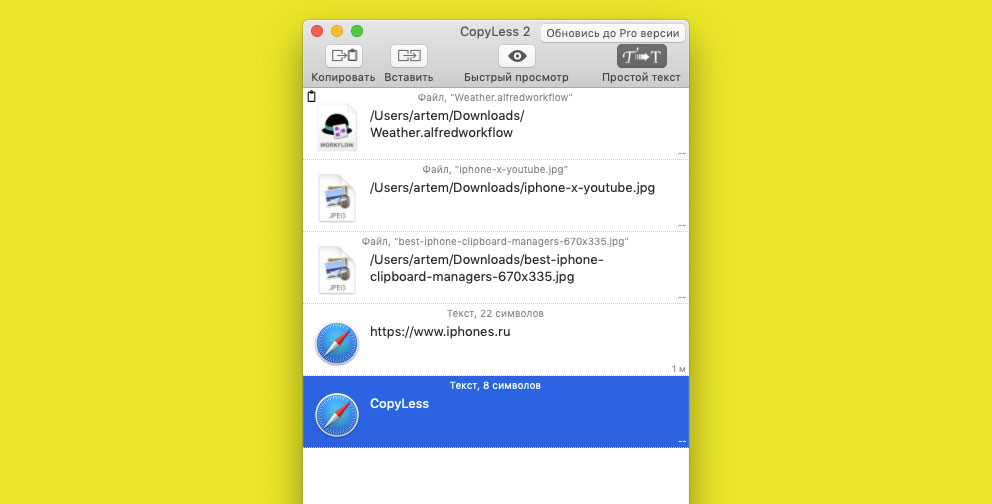
Приложение имеет схожие с Paste возможности, но оформлено гораздо проще. Нет никакого меню на третью часть дисплея и отображения скопированного в виде карточек.
CopyLess 2 предоставляет банальную таблицу с содержимым буфера обмена. Все скопированные данные (файлы, ссылки или текст) отображаются друг за другом с возможностью поиска, удаления и экспорта.
Нет возможности разделять файлы по категориям, но есть опция закрепления избранных результатов.
Программа заточена на работу с горящими клавишами, можно быстро настроить вставку последних или избранных элементов при помощи шорткатов.
Зачем устанавливать CopyLess 2: простое, но достаточно удобное приложение для расширения буфера обмена без визуального оформления.
3. Unclutter

Разработчики данного приложения реализовали своеобразный карман на рабочем столе Mac. Он располагается в верхней части экрана и доступен как через меню программы, так и обычном перетаскивании объектов в активную зону.
Приложение содержит отдельные разделы для текстовых данных и файлов. Любые записи можно добавлять в избранное или удалять из меню. Отдельная область предназначена для создания быстрых заметок.
Unclutter можно синхронизировать с Dropbox и хранить скопированные элементы в скрытой папке. Это позволит быстро вставлять данные на других компьютерах.
Каждое меню приложения имеет различные настройки отображения скопированных данных, что позволит гибко подстроить утилиту для работы как на небольших 12 или 13-дюймовых экранах, так и на огромных 5K Retina матрицах iMac.

Зачем устанавливать Unclutter: универсальный буфер обмена с заметками и синхронизацией между разными компьютерами Mac.
4. Dropzone
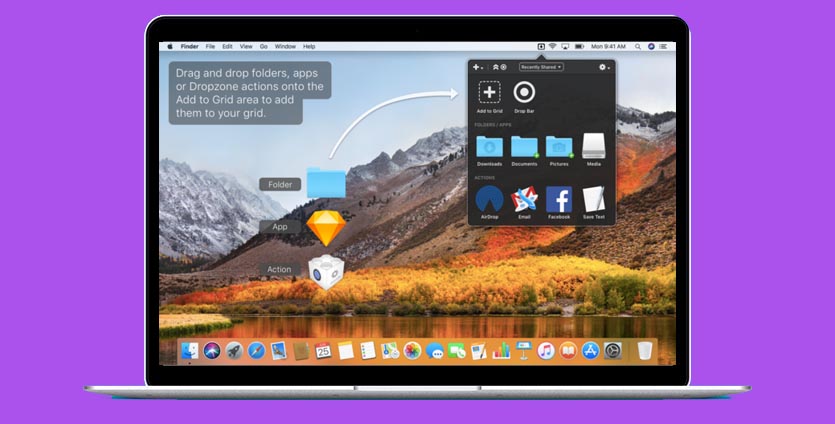
Приложение с немного отличающийся концепцией. Утилита не мониторит буфер обмена и не собирает все скопированные пользователем данные.
Dropzone позволяет иметь дополнительный буфер для файлов и данных, которые часто используются при работе.
Все необходимое помещается в окно программы, а в дальнейшем может быть быстро задействовано или расшарено любым доступным способом.

Зачем устанавливать Dropzone: удобный способ хранить часто используемые документы, записи и данные.
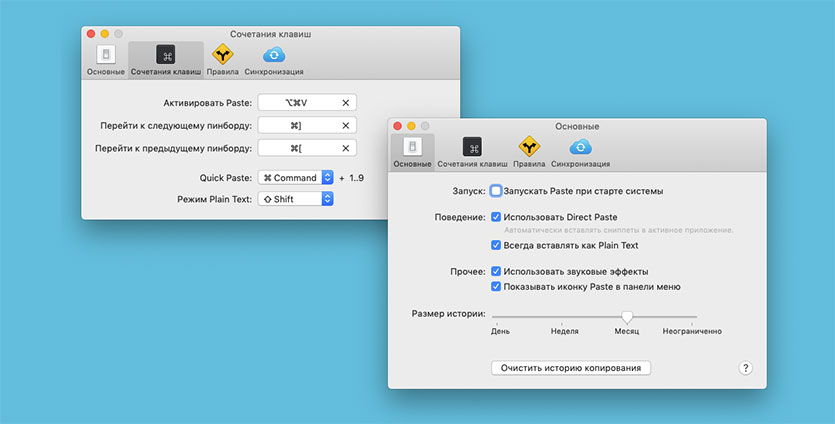
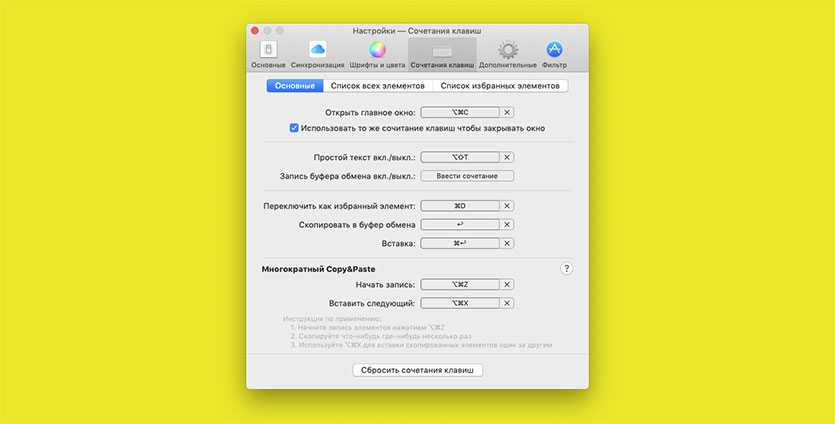
5. Alfred

Многофункциональное приложение Alfred для Mac изначально предназначено для замены поисковой строки Spotlight. Однако, утилита может расширить и возможности стандартного буфера обмена.
Для настройки этой опции необходимо:
1. Перейти в параметры Alfred.
2. В разделе Features – Clipboard активировать нужные переключатели.
3. Установить удобное сочетание клавиш для запуска расширенного буфера обмена.

Приложение умеет работать со скопированным текстом, фото и файлами. Для каждого типа данных можно установить срок хранения в буфере обмена от 24 часов до 3 месяцев.
Теперь для удобной вставки необходимо нажать заданное сочетание клавиш и выбрать подходящий элемент среди недавно скопированных. Можно очищать список хранящихся элементов при помощи специального ключевого слова, которое изменяется в настройках.
Зачем устанавливать Alfred: устанавливать программу исключительно для расширения буфера обмена бессмысленно. Воспользоваться данной опцией следует тем, кто уже оценил другие преимущества приложения.
Нужно ли прокачивать буфер обмена?
Однозначно! Буфер обмена в macOS нуждается в доработке и расширении возможностей. Пока в Apple не торопятся это делать, сторонние разработчики выпустили сразу несколько годных решений, которые упрощают работу с данными и повышают нашу производительность.
Советуем обязательно попробовать расширенный буфер обмена в своих сценариях использования компьютера.
Новичкам следует начать с приложения CopyLess. Продвинутым пользователям с нетипичными запросами рекомендуем Dropzone или Unclutter, а тем, кто хочет много опций, синхронизацию и настройку под себя – следует выбрать Paste или Alfred.
Источник


