- Install DVWA on Kali Linux (Step-by-Step)
- Pre-requisites to install DVWA
- Step 1: Download Damn Vulnerable Web Application (DVWA)
- Step 2: Configure DVWA
- Step 3: Install MySQL on Kali Linux
- Step 4: Configure MySQL Database
- Step 5: Install PHP
- Step 6: Configure Apache Server
- Step 7: Access DVWA on Your Browser
- Conclusion
- Related Posts
- Инструменты Kali Linux
- Список инструментов для тестирования на проникновение и их описание
- Damn Vulnerable Web Application (DVWA)
- Описание Damn Vulnerable Web Application (DVWA)
- Справка по Damn Vulnerable Web Application (DVWA)
- Руководство по Damn Vulnerable Web Application (DVWA)
- Установка Damn Vulnerable Web Application (DVWA)
- Скриншоты Damn Vulnerable Web Application (DVWA)
- Обновление Damn Vulnerable Web Application (DVWA) в Samurai Web Testing Framework
Install DVWA on Kali Linux (Step-by-Step)
Table of Contents
In this tutorial, I will give you a step-by-step guide on how to set up and install DVWA on your Kali Linux system.
When starting as a penetration tester, you will need a pentesting-lab to test out your penetration skills. One such system is the Damn Vulnerable Web Application (DVWA). DVWA is a vulnerable web application developed using PHP and MySQL that allows ethical hackers to test out their hacking skills and security tools.
It’s also an excellent guide for professional web developers with security in mind. They can use it to learn which features of a web application are easy to exploit. Some of the most common web vulnerabilities demonstrated by this application include Cross-Site Request Forgery (CSRF), File Inclusion, SQL injection, Bruteforce attacks, and much more.
Pre-requisites to install DVWA
This tutorial assumes that you already have a Kali Linux Server Up and Running.
Step 1: Download Damn Vulnerable Web Application (DVWA)
To get started, we will need to clone the DVWA GitHub into our /var/www/html directory. That is the location where Localhost files are stored in Linux systems. Launch the Terminal and change our directory to the /var/www/html directory with the command below.
Sample Output: 
Once in this directory, we will clone the DVWA GitHub repository with the command below.
Sample Output: 
After cloning, we can rename the DVWA folder to dvwa . That is not mandatory, but it makes work easier when executing multiple commands.
Step 2: Configure DVWA
After downloading cloning DVWA in our /var/www/html directory, we still need to do some minor configurations. To get started, let’s set read, write, and execute permissions to the DVWA directory. Execute the command below.
Sample Output: 
After successfully executing the command, we need to set up the user and password required to access the database. Change directory to point to the config directory with the command below.
When you run the ls command to view the files inside the directory, you will see the config.inc.php.dist file. That is the original file containing the default configurations. We won’t edit it. Instead, we will create a copy of this file called config.inc.php and the original config.inc.php.dist file will act as our backup in case things go wrong.
Execute the command below.
Sample Output: 
Run the command below to open the newly created file with nano editor and make the necessary changes, as shown in the image below. We will set db_user as user and db_password as pass. Feel free to use a different username or password.
Sample Output: 
Save the file ( Ctrl + O , then Enter ) and Exit (Ctrl + X). That’s it! We are done configuring the DVWA Web application. Let’s move on and configure the database (MySQL).
Step 3: Install MySQL on Kali Linux
By default, MySQL comes pre-installed on Kali Linux. If that’s not the case for you or maybe you messed up with MySQL, we can go ahead and install it manually. If you have worked with Debian-based distributions, MySQL comes in two packages:
In our case, we will need to install the mysql-server. However, there is a catch. If you try using the command apt install mysql-server you will most likely get the error «Package mysql-server is not available, but is referred to by another package. E: Package ‘mysql-server’ has no installation candidate.» That’s because the package mysql-server is referred to default-mysql-server in Kali Linux and also in the latest release of Debian (Debian 10). Therefore, use the command below:
Sample output: 
Step 4: Configure MySQL Database
Start the Mysql service with the command below:
You can check whether the service is running using the systemctl status command below.
Sample Output: 
Login to the MySQL database using the command below as root. If you have another name set for the superuser in your system, use it instead of root.
You will see a prompt to enter the password. Just hit Enter since we haven’t set any password. MySQL will open, as shown in the image below: 
We will create a new user with the username and password set in our DVWA application configuration file. In my case, the username was ‘ user ,’ and the password was ‘ pass .’ The server we are using is Localhost (127.0.0.1). Use the command below.
Sample Output: 
We need to grant this new user privilege over the dvwa database. Execute the command below.
Up to this point, we are through with configuring both the DVWA application and the MySQL database. Type exit to close the database. 
Step 5: Install PHP
PHP comes installed in Kali Linux. However, if you want to install a particular version, you can do it manually from the Terminal. In this post, we will install PHP 7.4 which is the latest release as of writing this post. Follow the steps below.
First, update your system and add the SURY PHP PPA repository by executing the commands below.
Sample output: 
After successfully adding the repository, use the command below to install PHP 7.4
Sample output: 
To install additional PHP extensions, use the syntax below where xxx stands for the extension name.
Sample output: 
Step 6: Configure Apache Server
Now, we need to configure the server. Use the command below to change your location on the Terminal to point to /etc/php/7.3/apache2 directory.
In the /etc/php/7.4/apache2 , when you execute the ls command, you will see a file called php.ini . That is the file we will edit to configure our localhost server. Use the command below to open it using the nano editor.
Scroll down and look for these two lines: allow_url_fopen and allow_url_include . Set them both as On. Save the file ( Ctrl + O , then Enter ) and Exit ( Ctrl + X ).

Start Apache server using the command below:
To check whether the service started successfully, use the status command.
Sample Output: 
Step 7: Access DVWA on Your Browser
That’s it! We now have everything configured, and we can proceed to launch DVWA. Open your browser and enter the URL:
That will open the setup.php web page as shown in the image:

You might see the errors colored in red as in the image above. Don’t panic! Scroll down and click the Create / Reset Database button.

That will create and configure the database. After some time, you will be redirected to the DVWA login page. Log in with these credentials:
- Username — admin
- Password — password

Once logged in, you will see the DVWA main page. On the left panel, we have the different types of attacks you can exploit and the DVWA Security button that allows you to choose the desired security level — Low, Medium, High, or Impossible.

Conclusion
That is how we install DVWA on Kali Linux. Pretty easy, right? DVWA is an excellent resource for both beginners getting started with Penetration Testing and experts. All you need to do is change the security levels depending on your skills. Feel free to share the vulnerability you found interesting to exploit with our readers in the comments section.
Related Posts
Didn’t find what you were looking for? Perform a quick search across GoLinuxCloud
If my articles on GoLinuxCloud has helped you, kindly consider buying me a coffee as a token of appreciation.

For any other feedbacks or questions you can either use the comments section or contact me form.
Thank You for your support!!
Источник
Инструменты Kali Linux
Список инструментов для тестирования на проникновение и их описание
Damn Vulnerable Web Application (DVWA)
Описание Damn Vulnerable Web Application (DVWA)
Damn Vulnerable Web Application (DVWA) — это веб-приложение на PHP/MySQL, которое чертовски уязвимо. Его главная цель — помочь профессионалам по безопасности протестировать их навыки и инструменты в легальном окружении, помочь веб-разработчикам лучше понять процесс безопасности веб-приложений и помочь и студентам и учителям в изучении безопасности веб-приложений в контролируем окружении аудитории.
Цель DVWA попрактиковаться в некоторых самых распространённых веб-уязвимостях, с различными уровнями сложности, с простым прямолинейном интерфейсом. Обратите внимание, что имеются как задокументированные, так и незадокументированные уязвимости в этом программном обеспечении. Это сделано специально. Вам предлагается попробовать и обнаружить так много уязвимостей, как сможете.
Damn Vulnerable Web Application чертовски уязвимо! Не загружайте его в публичную html папку вашего хостинг провайдера или на любой сервер, имеющий выход в Интернет, поскольку они будут скомпрометированы. Рекомендуется использовать виртуальную машину (такую как VirtualBox или VMware), которые установлены в сетевой режим NAT. Внутри гостевой машины вы можете загружать и установить веб-сервер и базы данных.
Некоторые из уязвимостей веб-приложений, который содержит DVWA;
- Брут-форс: Брут-форс HTTP формы страницы входа; используется для тестирования инструментов по атаке на пароль методом грубой силы и показывает небезопасность слабых паролей.
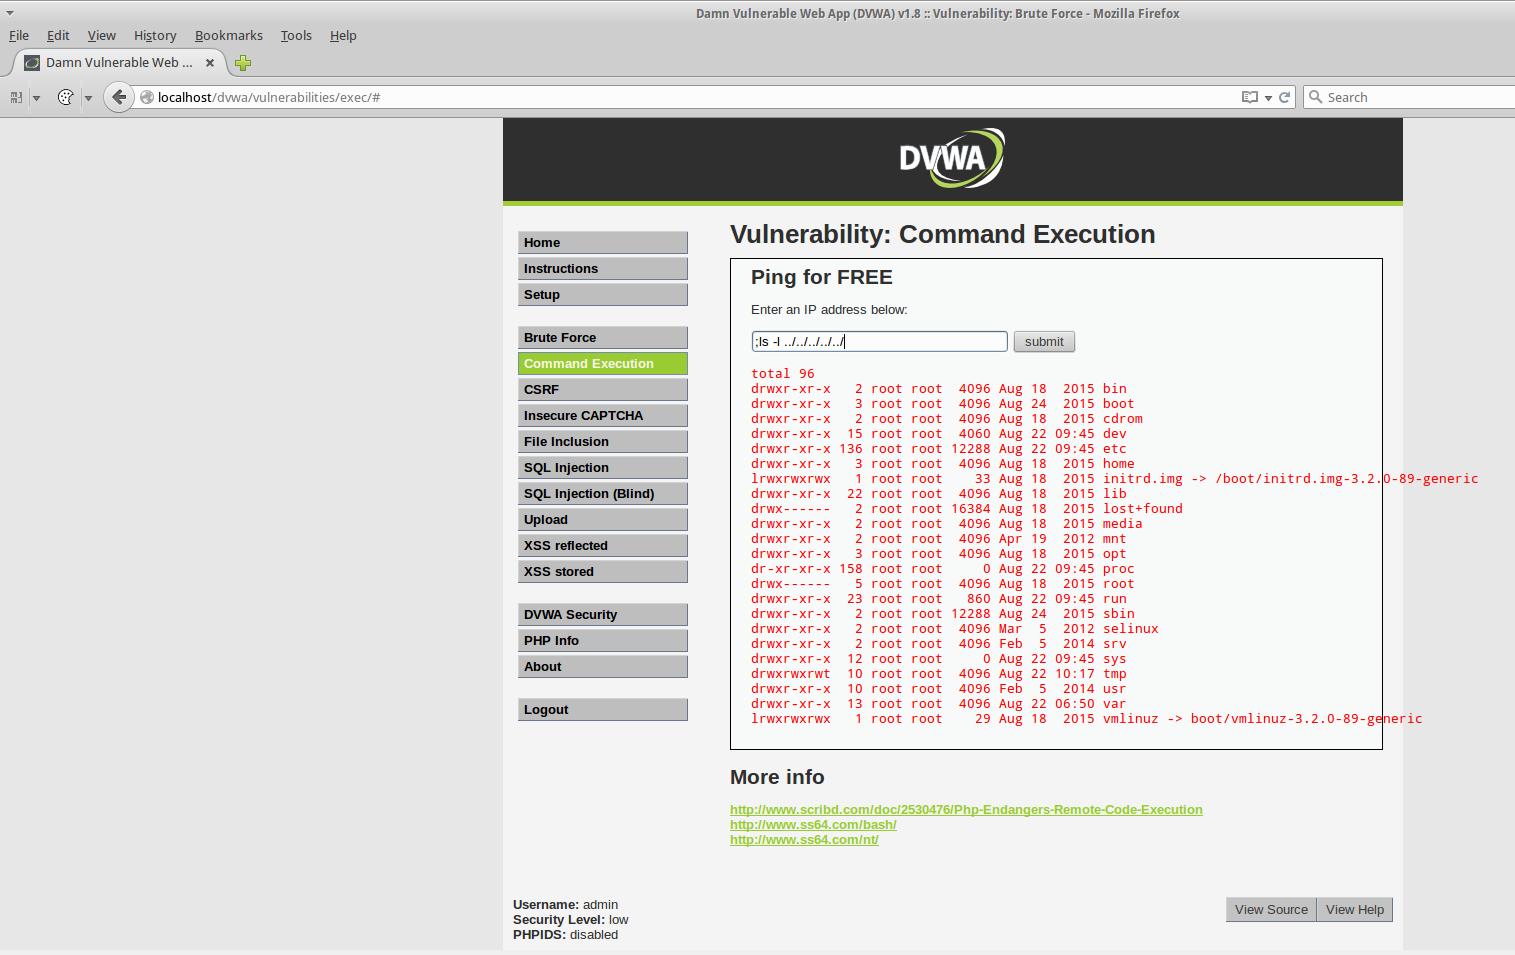
- Исполнение (внедрение) команд: Выполнение команд уровня операционной системы.
- Межсайтовая подделка запроса (CSRF): Позволяет «атакующему» изменить пароль администратора приложений.
- Внедрение (инклуд) файлов: Позволяет «атакующему» присоединить удалённые/локальные файлы в веб-приложение.
- SQL внедрение: Позволяет «атакующему» внедрить SQL выражения в HTTP из поля ввода, DVWA включает слепое и основанное на ошибке SQL внедрение.
- Небезопасная выгрузка файлов: Позволяет «атакующему» выгрузить вредоносные файлы на веб-сервер.
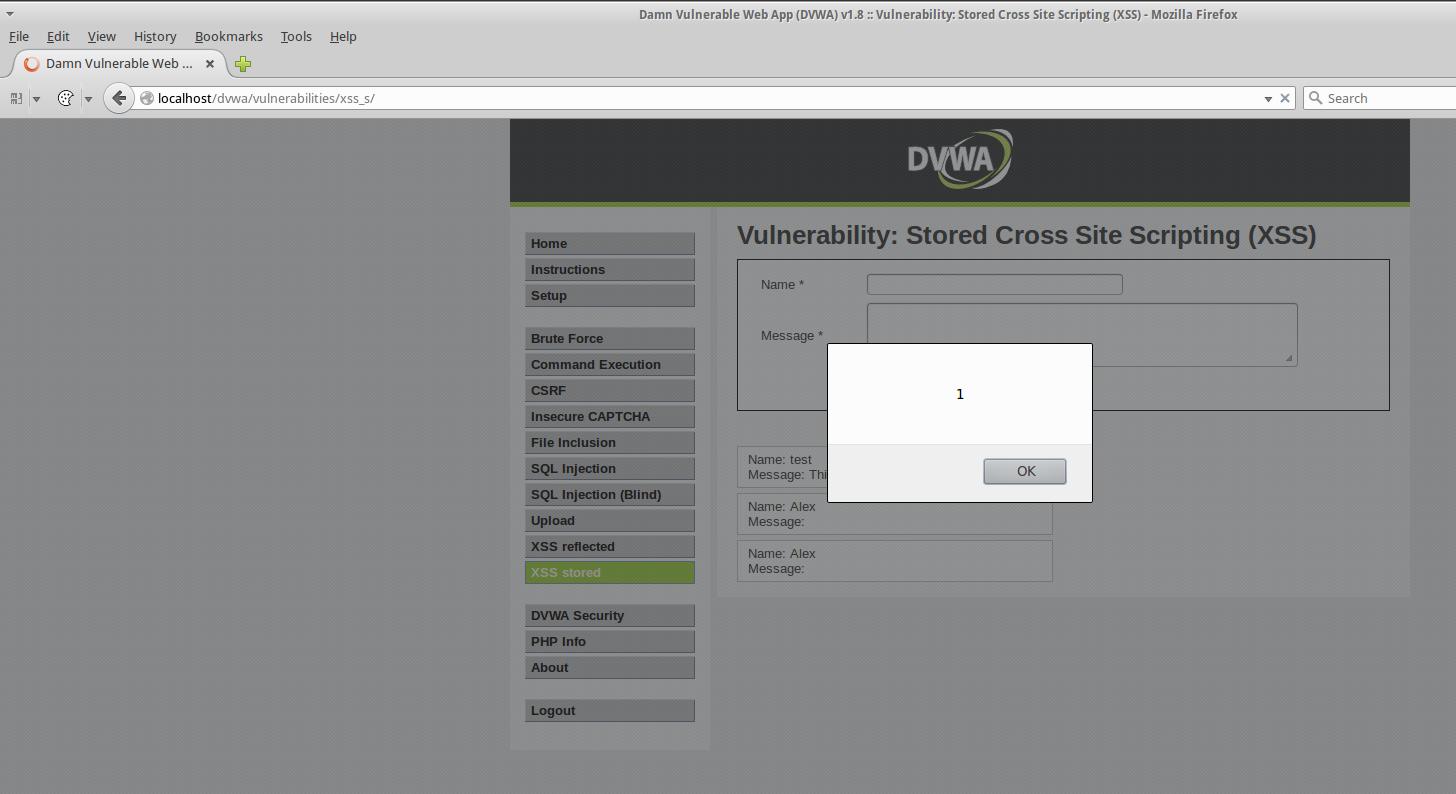
- Межсайтовый скриптинг (XSS): «Атакующий» может внедрить свои скрипты в веб-приложение/базу данных. DVWA включает отражённую и хранимую XSS.
- Пасхальные яйца: раскрытие полных путей, обход аутентификации и некоторые другие.
Автор: RandomStorm & Ryan Dewhurst
Справка по Damn Vulnerable Web Application (DVWA)
DVWA имеет три уровня безопасности, они меняют уровень безопасности каждого веб-приложения в DVWA.
Невозможный – этот уровень должен быть безопасным от всех уязвимостей. Он используется для сравнения уязвимого исходного кода с безопасным исходным кодом. До DVWA v1.9 этот уровень был известен как «высокий».
Высокий — Это расширение среднего уровня сложности, со смесью более сложных или альтернативных плохих практик в попытке обезопасить код. Уязвимости не позволяют такой простор эксплуатации как на других уровнях..
Средний — Этот уровень безопасности предназначен главным образом для того, чтобы дать пользователю пример плохих практик безопасности, где разработчик попытался сделать приложение безопасным, но потерпел неудачу. Он также выступает вызовом для пользователей, чтобы они усовершенствовали свои техники эксплуатации.
Низкий — Этот уровень безопасности совершенно уязвим и совсем не имеет защиты. Его предназначение быть передовым примером среди уязвимых веб-приложений, примером плохих практик программирования и служить платформой обучения базовым техникам эксплуатации.
Каждая уязвимая страница в DVWA имеет кнопку ‘view source’ (показать исходный код), эта кнопка используется для просмотра и сравнения исходного кода каждой уязвимости по сравнению с её безопасным уровнем. Это позволяет пользователю с лёгкостью получить доступ к исходному коду для сравнения безопасных и небезопасных практик написания кода.
Также в DVWA вы можете включить или отключить PHP-IDS.
PHP-IDS — это популярная PHP система обнаружения вторжений (IDS), которые также известны как файерволы веб-приложений (Web Application Firewall (WAF)). PHP-IDS работает посредством фильтрации по чёрному списку потенциально уязвимого кода любого пользовательского ввода. PHP-IDS используется в DVWA для служения живым примером, как WAF может помочь улучшить безопасность в веб-приложениях, а в Damn Vulnerable Web Application (DVWA) — случае, как WAF можно обойти. PHP-IDS может быть включена или отключена одним кликом по соответствующей кнопке.
Безопасность пользователя
DVWA не эмулирует уязвимости веб-приложений, уязвимости внутри DVWA являются настоящими и, следовательно, позаботтесь как следует о том, где вы собираетесь установить DVWA.
DVWA предпринимает активные действия для защиты пользователей где это только возможно. Об этом говорят бросающиеся в глаза надписи, в том числе в самом приложении, с предупреждениями. К DVWA можно получить доступ только из localhost, а не с удалённой машины, это выполнена настройкой определённых правил в файле .htaccess, который является частью приложения.
DVWA также содержит файл robots.txt, если приложение всё-таки было выгружено на веб-сервер с Интернет-доступом, этот файл запретит поисковым машинам индексировать приложение.
На каждой страницы, содержащей уязвимость, имеется внешние ссылки на ресурсы, которые содержат дополнительную информацию, относящуюся к конкретной уязвимости. При клике на внешние ссылки, удалённый сервер может собирать такую информацию как ‘Referer’ HTTP. Эта информация содержит URL, где установлено приложение, потенциально, администраторы сервера могут просматривать эту информацию и скомпрометировать сервер, где установлена DVWA. По этим причинам все внешние ссылки DVWA проходят через доверенные прокси третьей стороны, который очищает любую чувствительную информацию из HTTP заголовков.
Учётные данные для входа в DVWA:
Руководство по Damn Vulnerable Web Application (DVWA)
Страница man отсутствует.
Установка Damn Vulnerable Web Application (DVWA)
DVWA может быть установлена в любую систему, где присутствуют Apache, PHP и MySQL, в том числе и в Windows. Но DVWA требует PHP 5, а в большинстве современных систем по умолчанию используется PHP 7, что может вызвать затруднения при установке, либо неработоспособность некоторых или всех компонентов.
Поэтому на текущий момент рекомендуется использовать DVWA в Web Security Dojo, где DVWA уже предустановлен и доступен по адресу http://localhost/dvwa/index.php.
Информация об установке в другие операционные системы будет добавлена позже.
Скриншоты Damn Vulnerable Web Application (DVWA)
Обновление Damn Vulnerable Web Application (DVWA) в Samurai Web Testing Framework
DVWA в Samurai доступен в браузере по адресу http://dvwa/. Чтобы получить последнюю версию, сохраните следующий скрипт в файл upd_dvwa.sh:
Запустите файл следующим образом:
Перейдите на страницу Setup / Reset DB в DVWA и выполните сброс / пересоздание базы данных.
Источник


