- Установка KDE в Kali Linux
- Устанавливаем KDE в Kali Linux
- Шаг 1: Загрузка компонентов
- Шаг 2: Настройка менеджера дисплеев
- Шаг 3: Вход и настройка
- Шаг 4: Удаление старой оболочки
- Решение неполадок с установкой KDE в Kali Linux
- Kali Linux 2020.2 Release (KDE & PowerShell)
- KDE Plasma Makeover & Login
- PowerShell by Default. Kind of.
- Kali on ARM Improvements
- Lessons From Installer Changes
- New Key Packages & Icons
- WSLconf
- Behind the Scenes, Infrastructure Improvements
- Kali NetHunter
- Download Kali Linux 2020.2
Установка KDE в Kali Linux

Активные пользователи дистрибутивов операционной системы Linux иногда ставят перед собой задачу смены среды рабочего стола по разным причинам. Обладатели Kali Linux не стали исключением, ведь функциональность этой сборки позволяет поставить практически любое из доступных окружений. В рамках сегодняшней статьи мы бы хотели продемонстрировать процедуру смены графической оболочки на известную KDE.
Устанавливаем KDE в Kali Linux
KDE — одна из самых популярных графических оболочек, которая является стандартной во многих дистрибутивах. На официальном сайте Kali присутствует возможность загрузить сборку с этой средой, поэтому если вы еще не установили ОС и желаете иметь KDE, настоятельно рекомендуем сразу скачивать подходящую версию. Детальные инструкции по инсталляции платформы вы найдете в другом нашем материале по следующей ссылке, а мы же переходим непосредственно к установке оболочки.
Шаг 1: Загрузка компонентов
Вместе с изменениями внешнего вида рабочего стола пользователи получают ряд дополнительных функций — стандартные программы, расширенные настройки интерфейса и многое другое. Все это тоже нужно скачать и установить. Благо вся процедура производится через стандартную консоль с помощью одной команды.
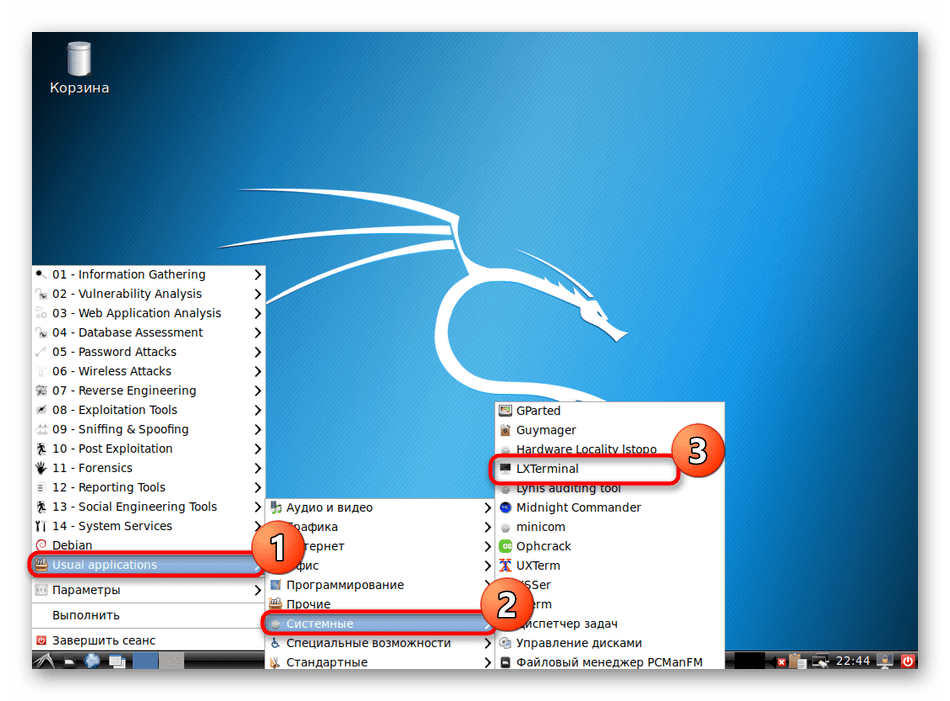
- Откройте меню, перейдите в раздел «Usual applications», выберите раздел «System» или «Системные» и отыщите там приложение «Терминал».
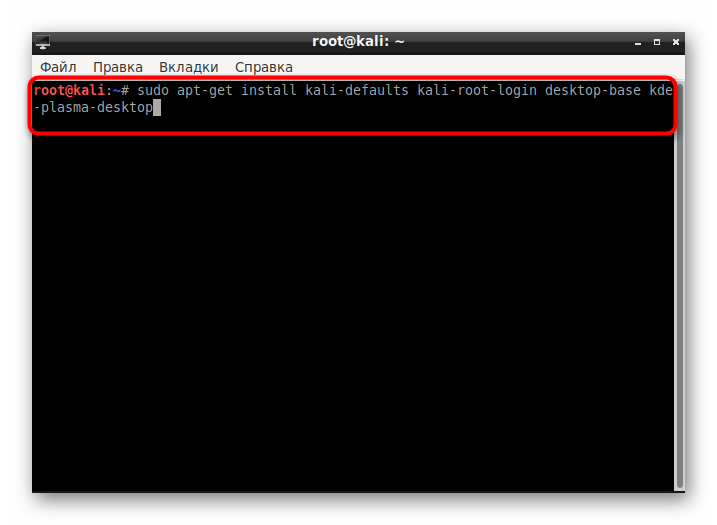
Напишите команду apt-get install kali-defaults kali-root-login desktop-base kde-plasma-desktop , если хотите установить KDE Plasma, затем нажмите на клавишу Enter.
Юзерам, которые желают установить только набор стандартных компонентов, версию для нетбуков или полный пакет KDE, советуем обратить на три отдельные команды, представленные далее.
apt-get install kali-defaults kali-root-login desktop-base kde-plasma-netbook
apt-get install kali-defaults kali-root-login desktop-base kde-standard
apt-get install kali-defaults kali-root-login desktop-base kde-full
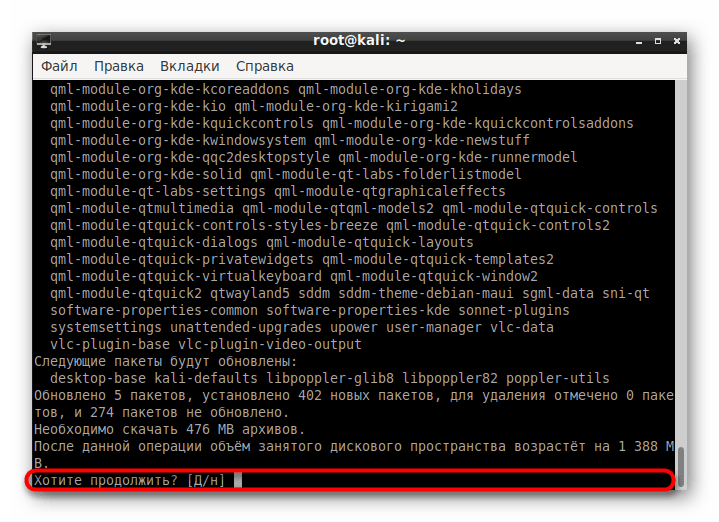
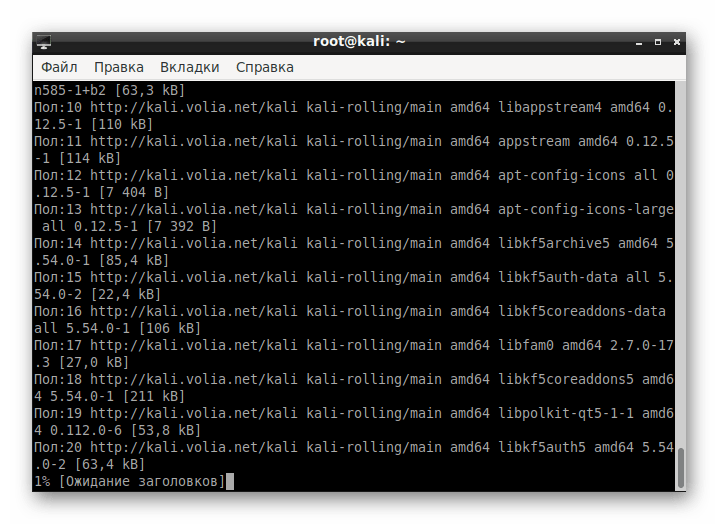
Ожидайте скачивания и установки пакетов. Скорость выполнения этого этапа зависит от стабильности интернет-соединения и мощности компьютера.
Шаг 2: Настройка менеджера дисплеев
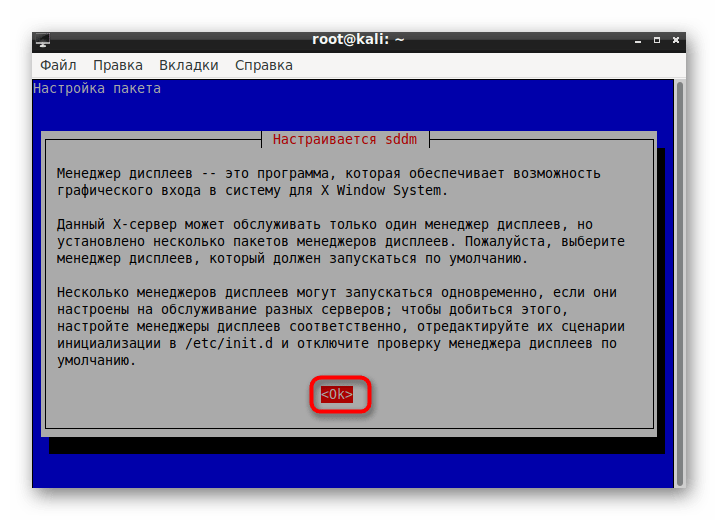
За работоспособность графической оболочки отвечает Менеджер дисплеев. Для Линукс их было разработано несколько, чтобы обеспечить корректное функционирование самых разных сред рабочего стола. Во время установки KDE также будет добавлен новый Менеджер, его потребуется настроить:
- После определенного момента во время загрузки пакетов в консоли всплывет отдельное окно с уведомлением о настройке Менеджера дисплеев. Подтвердите переход к конфигурации, выбрав «ОК».
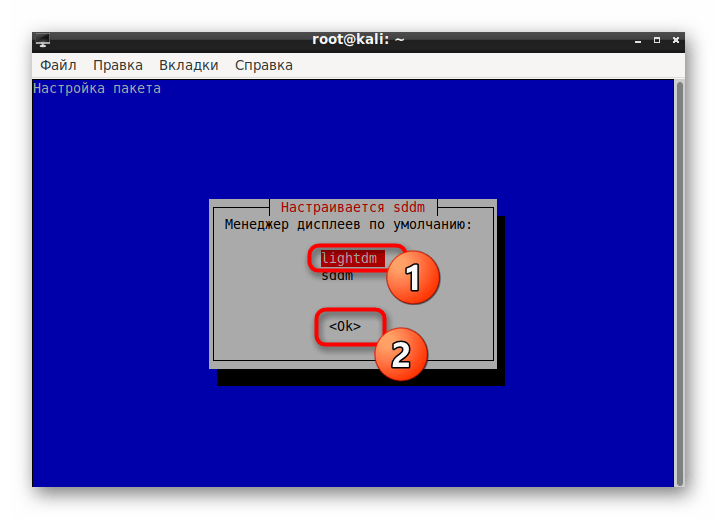
С помощью стрелочек на клавиатуре переключите стандартный Менеджер на lightdm, затем щелкните на «ОК».
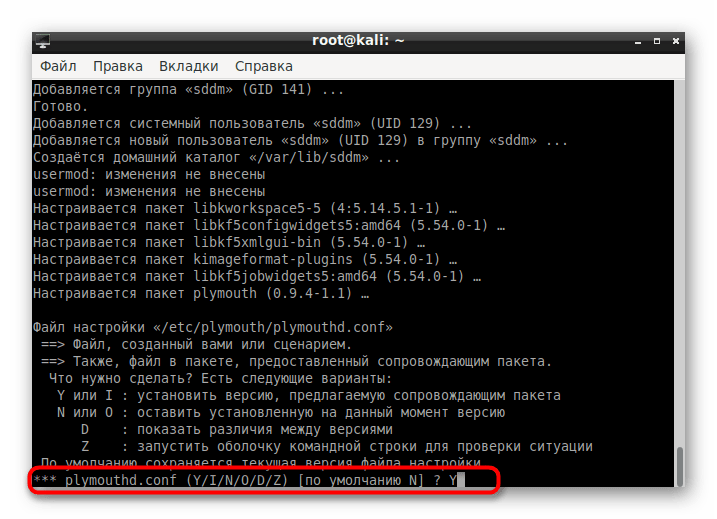
В «Терминале» подтвердите внесение изменений в системные файлы вариантом Y.
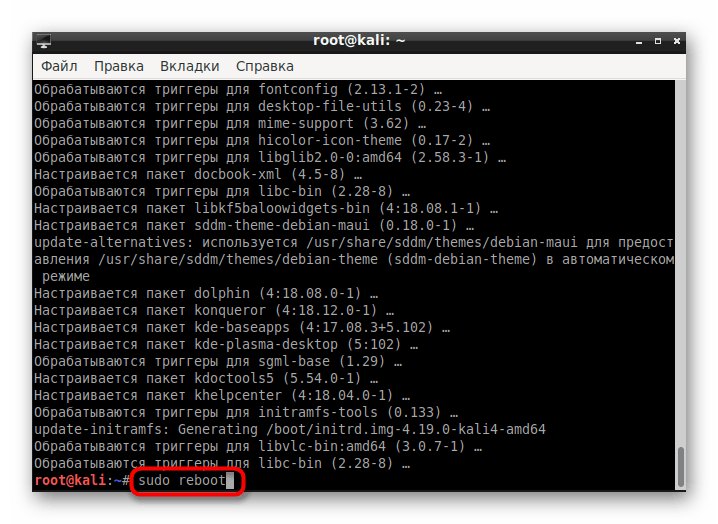
По завершении инсталляции перезагрузите операционную систему через sudo reboot .
Шаг 3: Вход и настройка
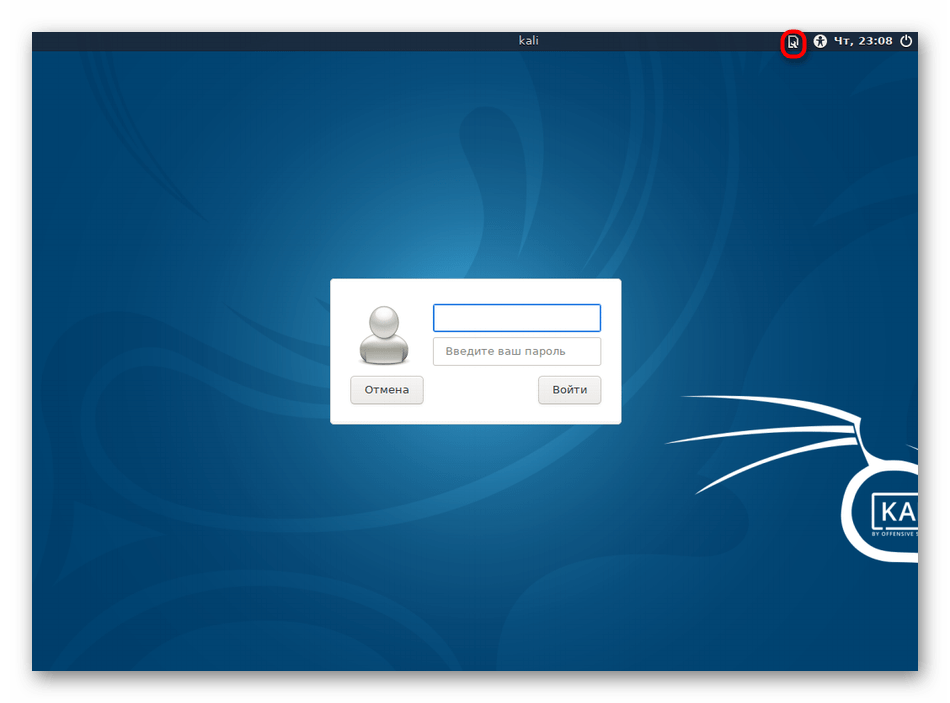
Если до этого у вас не стояло никаких сред рабочего стола, после перезагрузки можно сразу приступить к настройке. В противном случае придется в стартовом окне производить выбор оболочки, что осуществляется так:
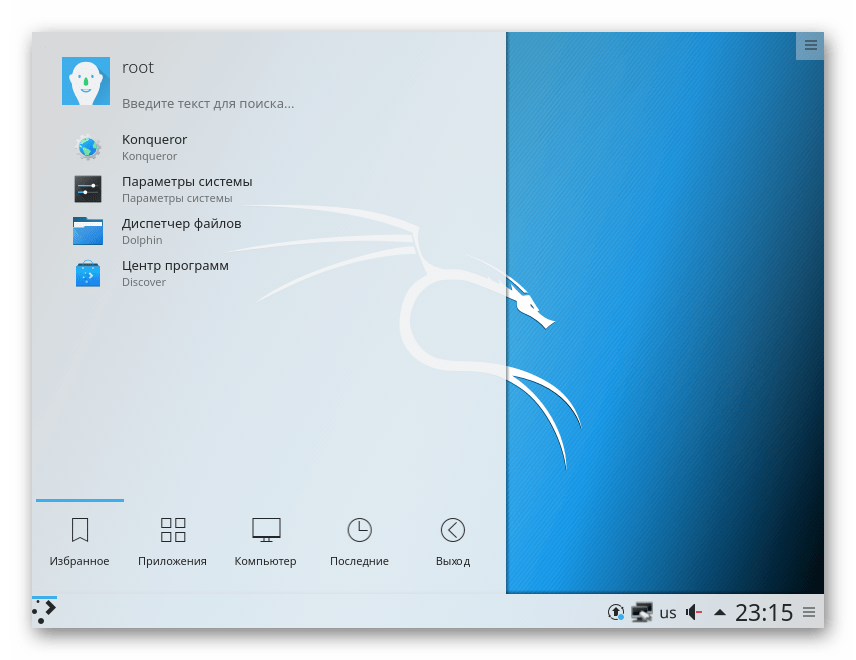
- В правом верхнем углу выберите значок настроек.
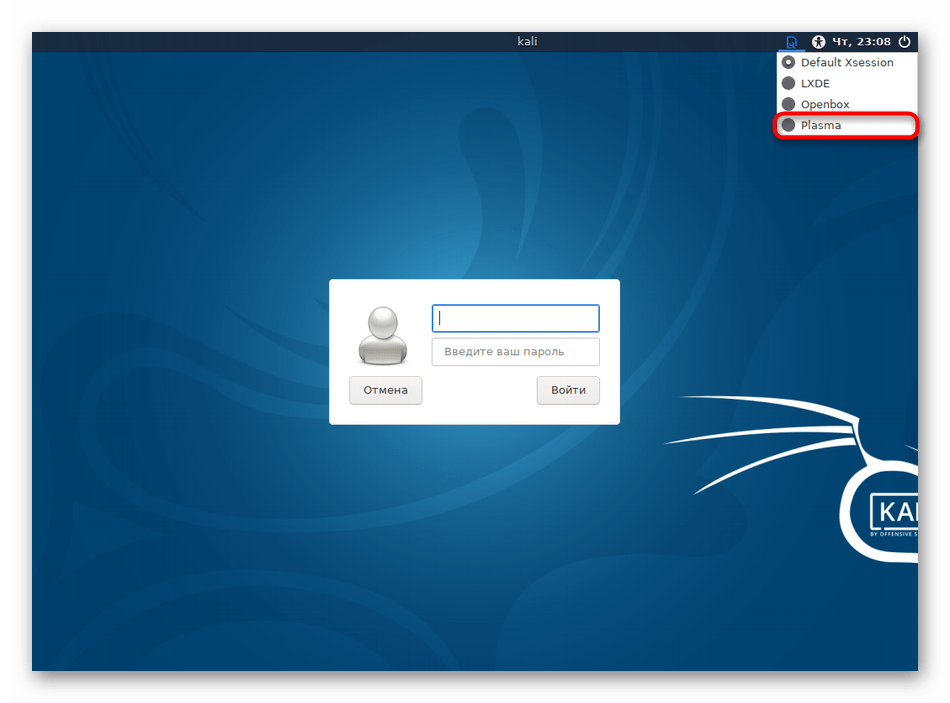
Откроется всплывающее меню, где следует отметить маркером пункт «Plasma».
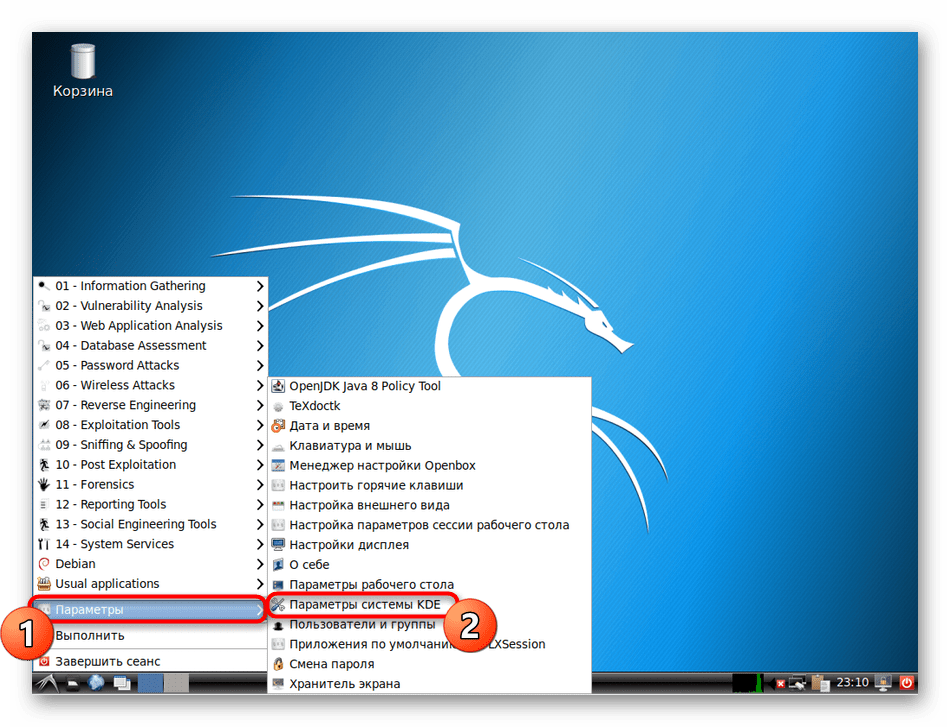
После входа через меню перейдите в «Параметры» > «Параметры системы KDE».
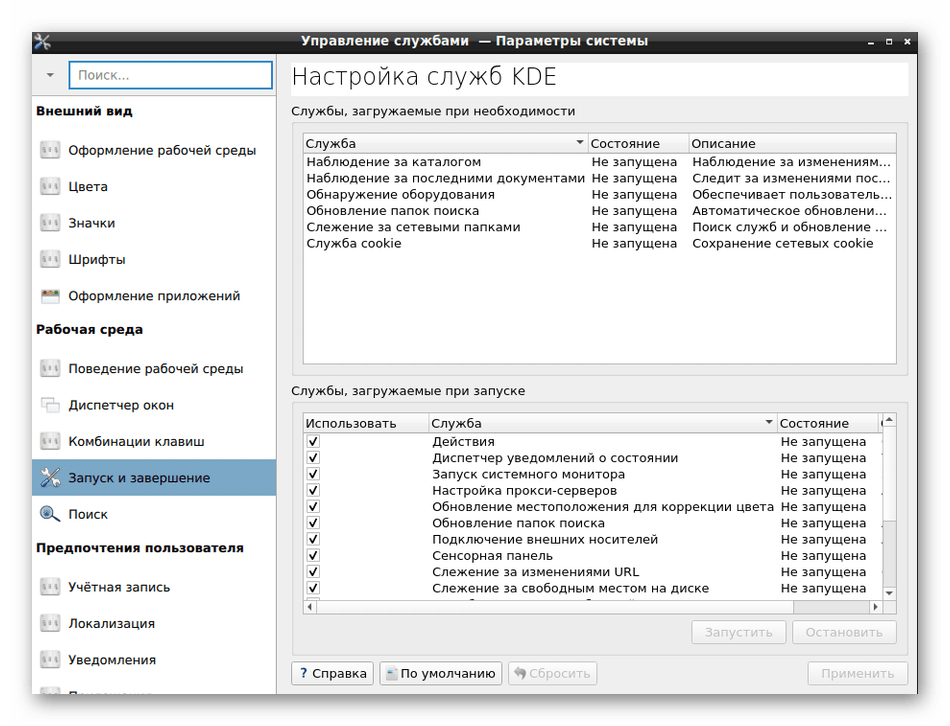
Настройте компоненты KDE на свое усмотрение. Пунктов здесь достаточно много, что позволит создать гибкую конфигурацию.
Отдельно бы хотелось отметить и консольную команду update-alternatives —config x-session-manager . Она позволяет изменить текущую оболочку через консоль.
Шаг 4: Удаление старой оболочки
Некоторым пользователям не хочется иметь на компьютере две оболочки. В таком случае старую можно удалить всего за пару минут, оставив только KDE. Давайте рассмотрим удаление на примере известной LXDE:
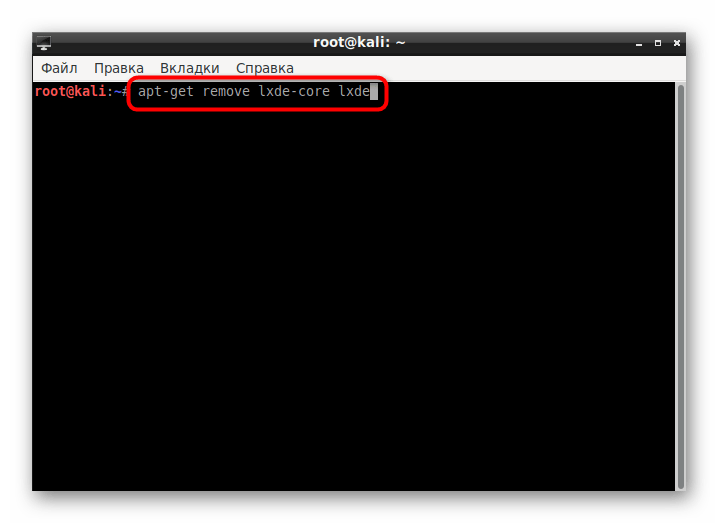
- Откройте консоль и пропишите команду apt-get remove lxde-core lxde .
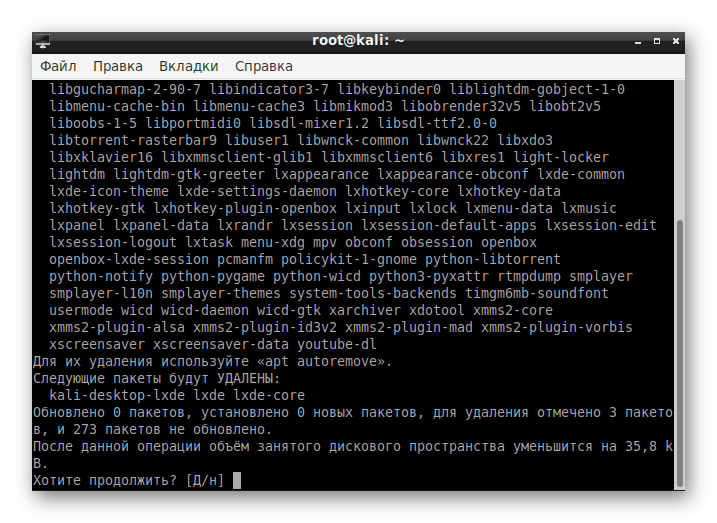
Подтвердите выполняемое действие.
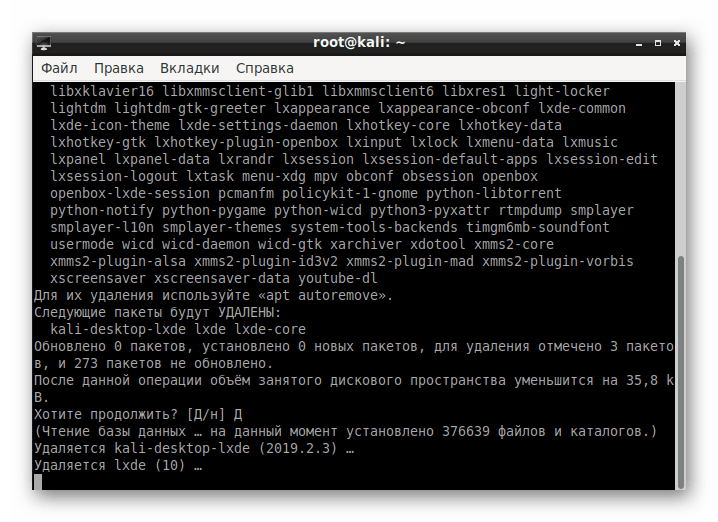
Ожидайте окончания процедуры.
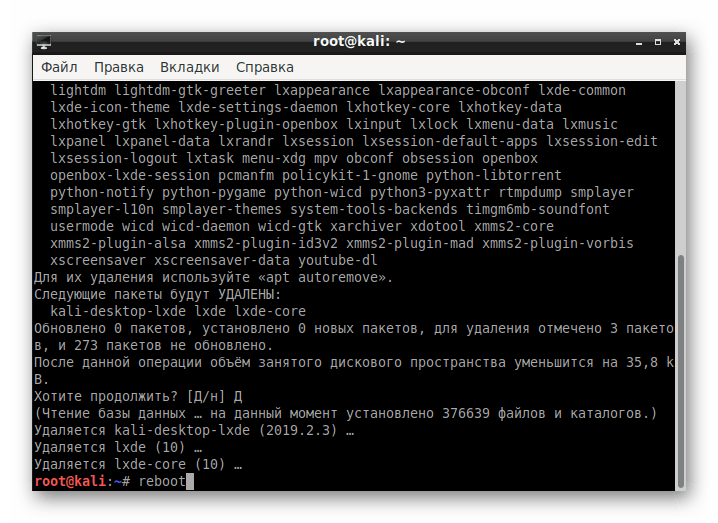
После деинсталляции перезагрузите ПК через команду reboot .
После на экране появится значок KDE и начнется загрузка.

Теперь можно переходить к работе с новой оболочкой.
Обладателям других окружений придется вводить команды немного иного содержания:
- Cinnamon — apt-get remove cinnamon
- Xfce — apt-get remove xfce4 xfce4-places-plugin xfce4-goodies
- Gnome — apt-get remove gnome-core
- MATE — apt-get remove mate-core
Если в этом списке вы не нашли своего окружения, обратитесь к официальной документации, чтобы отыскать там необходимую информацию.
Решение неполадок с установкой KDE в Kali Linux
В некоторых случаях юзеры сталкиваются с различного рода проблемами при попытке загрузки KDE. В большинстве ситуаций после запуска команды появляется уведомление «Unable to locate package kde-plasma-desktop», что свидетельствует о невозможности нахождения пакета. Если вы столкнулись с такой проблемой, советуем выполнить следующую инструкцию.
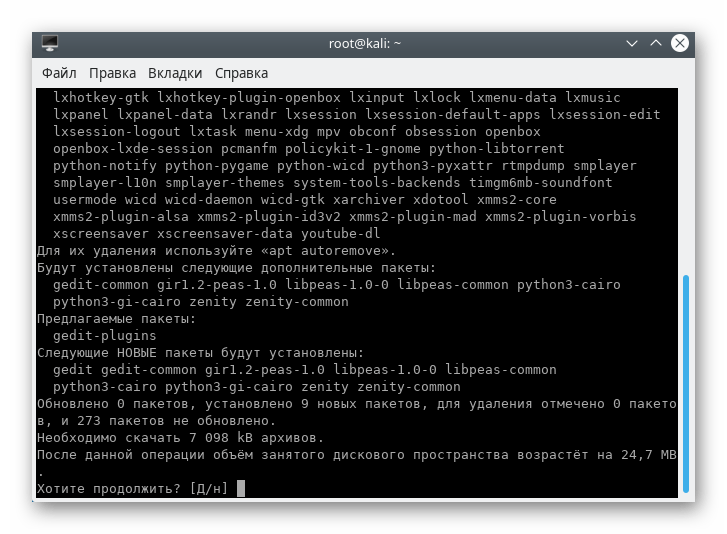
- Для начала установите текстовый редактор gedit, чтобы упростить дальнейшую работу с конфигурационным файлом. Для этого введите команду apt-get install gedit .

Подтвердите добавление новых файлов в систему.
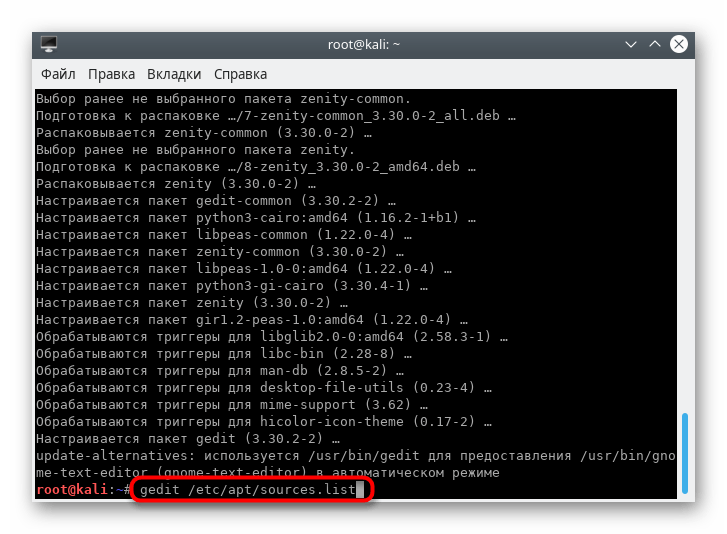
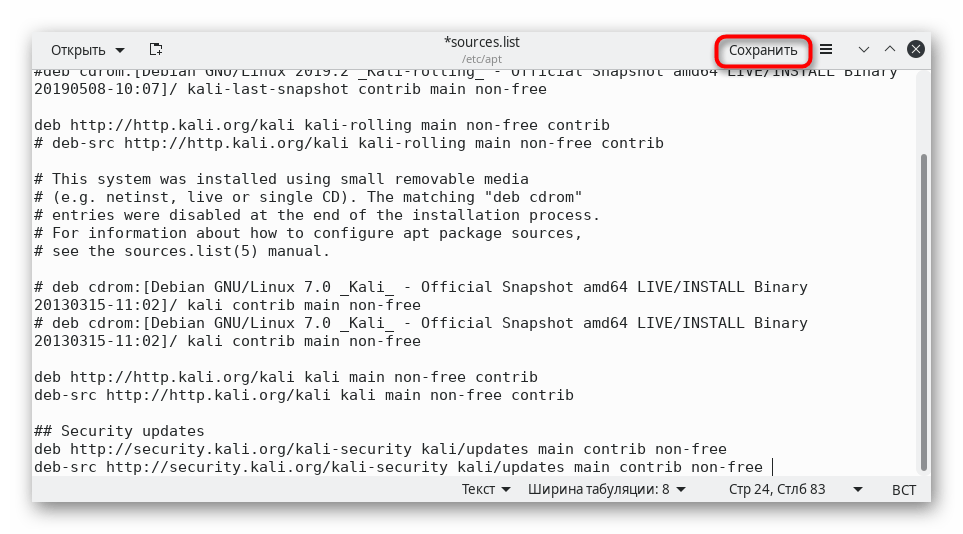
По окончании инсталляции запустите конфигурационный файл, введя gedit /etc/apt/sources.list .
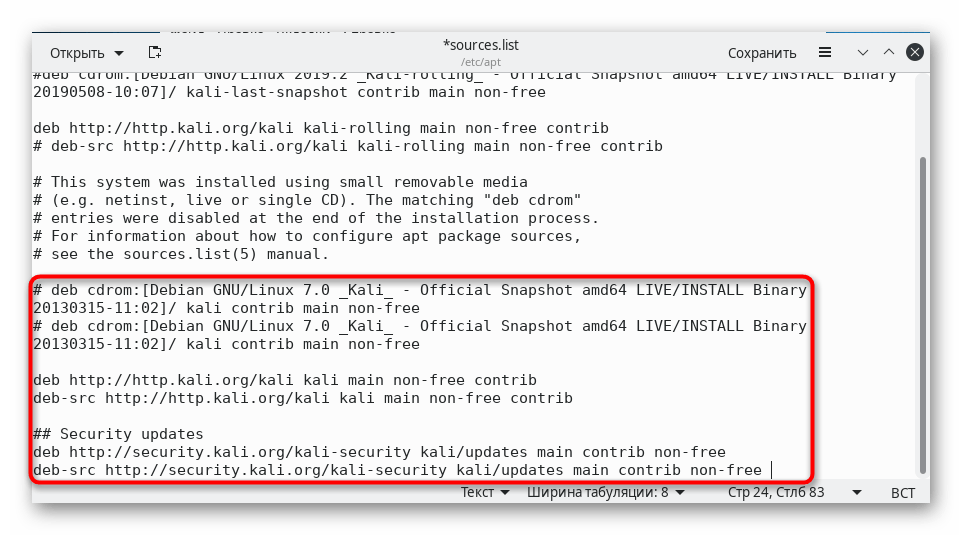
Вставьте в конец файла следующее содержимое:
# deb cdrom:[Debian GNU/Linux 7.0 _Kali_ — Official Snapshot amd64 LIVE/INSTALL Binary 20130315-11:02]/ kali contrib main non-free
# deb cdrom:[Debian GNU/Linux 7.0 _Kali_ — Official Snapshot amd64 LIVE/INSTALL Binary 20130315-11:02]/ kali contrib main non-free
deb http://http.kali.org/kali kali main non-free contrib
deb-src http://http.kali.org/kali kali main non-free contrib
## Security updates
deb http://security.kali.org/kali-security kali/updates main contrib non-free
deb-src http://security.kali.org/kali-security kali/updates main contrib non-free
Сохраните изменения, нажав на соответствующую кнопку.
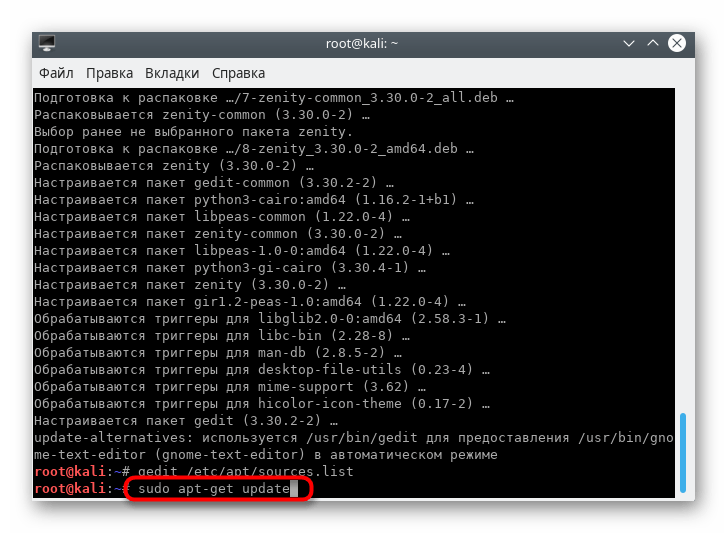
Введите sudo apt-get update , активируйте ее, а после появления новой строки ввода повторите попытку инсталляции.
Другие проблемы возникают достаточно редко, а связаны они в основном с невнимательностью самих пользователей. Например, где-то была пропущена буква или после слова нет пробела. При появлении уведомлений всегда сначала читайте их, возможно, они решаются просто. В других ситуациях рекомендуем обращаться к официальной документации дистрибутива и окружения рабочего стола.
Теперь вы знакомы с процедурой инсталляции KDE в Kali Linux. Примерно по такому же принципу устанавливаются и другие среды. Узнать информацию о самых популярных из них мы предлагаем в другом нашем руководстве по ссылке ниже.
Помимо этой статьи, на сайте еще 12315 инструкций.
Добавьте сайт Lumpics.ru в закладки (CTRL+D) и мы точно еще пригодимся вам.
Отблагодарите автора, поделитесь статьей в социальных сетях.
Источник
Kali Linux 2020.2 Release (KDE & PowerShell)
Despite the turmoil in the world, we are thrilled to be bringing you an awesome update with Kali Linux 2020.2! And it is available for immediate download.
A quick overview of what’s new since January:
- KDE Plasma Makeover & Login
- PowerShell by Default. Kind of.
- Kali on ARM Improvements
- Lessons From The Installer Changes
- New Key Packages & Icons
- Behind the Scenes, Infrastructure Improvements
KDE Plasma Makeover & Login
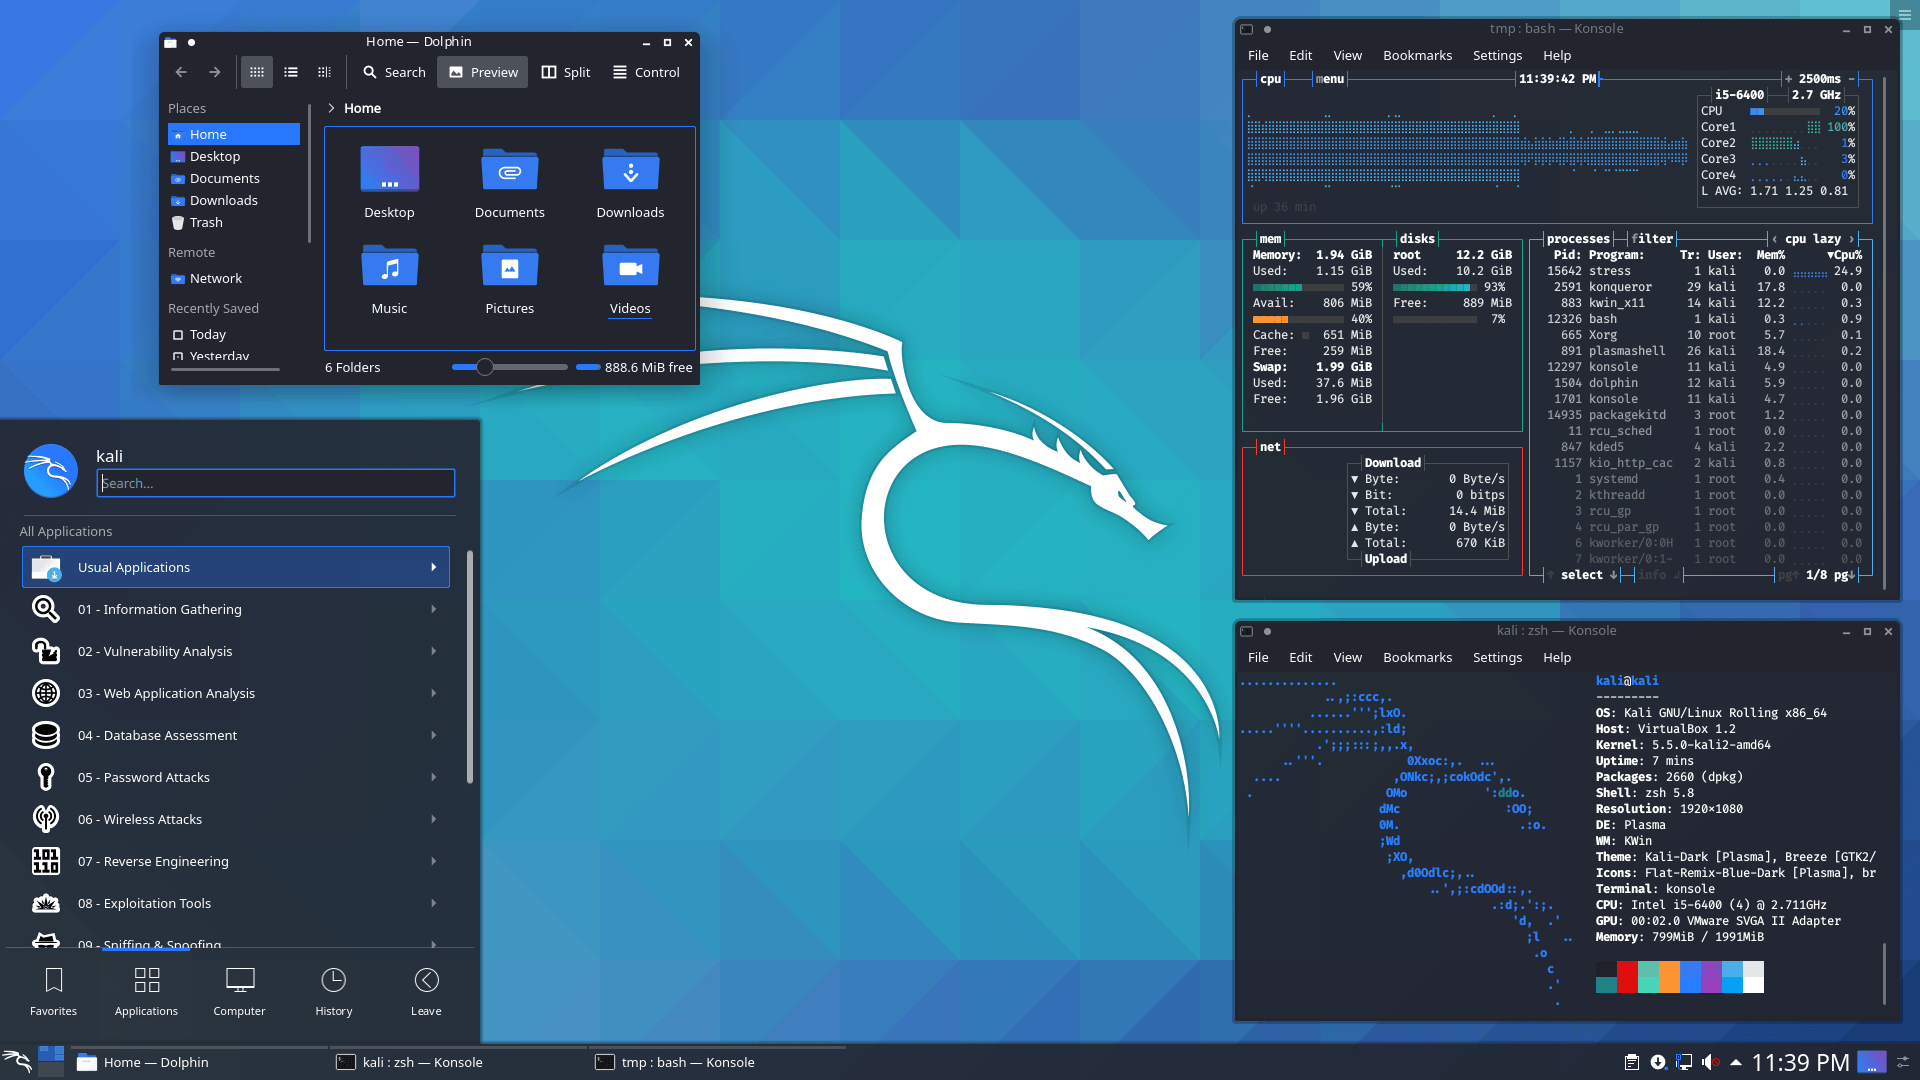
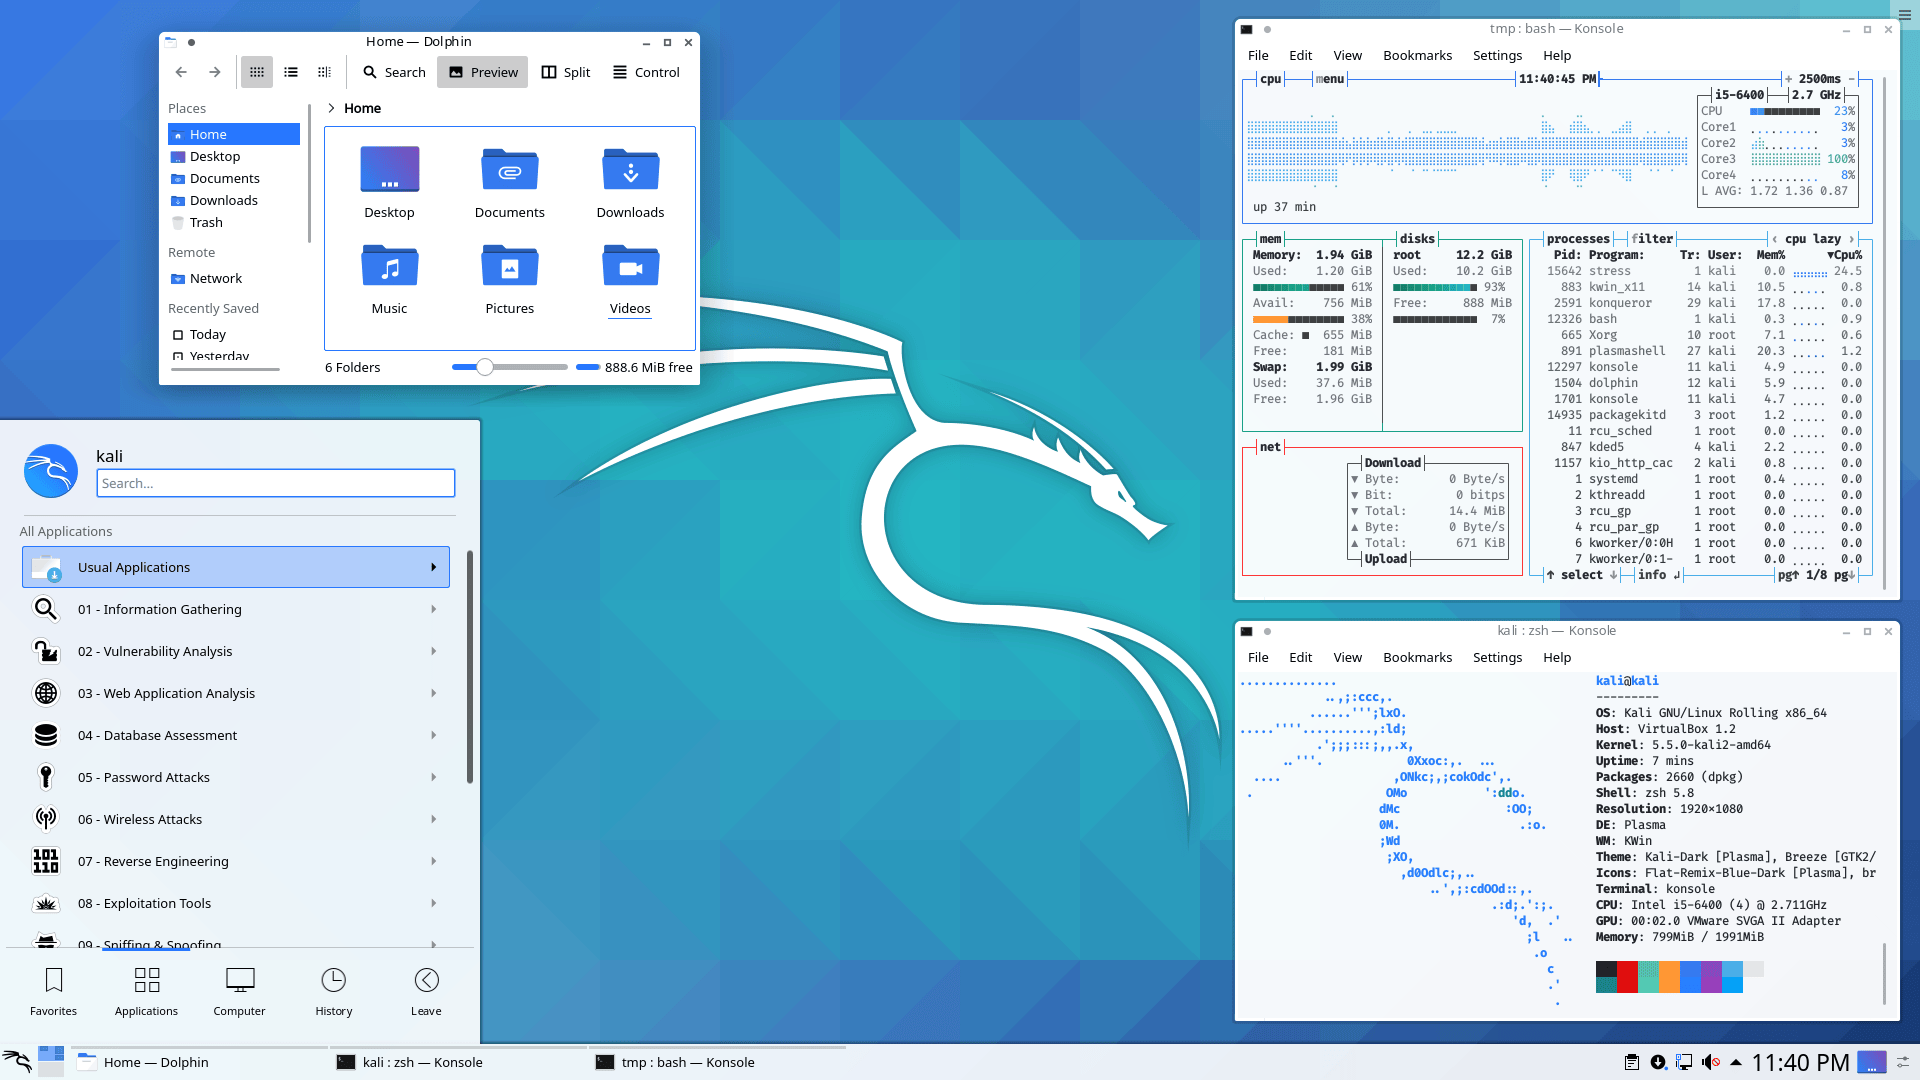
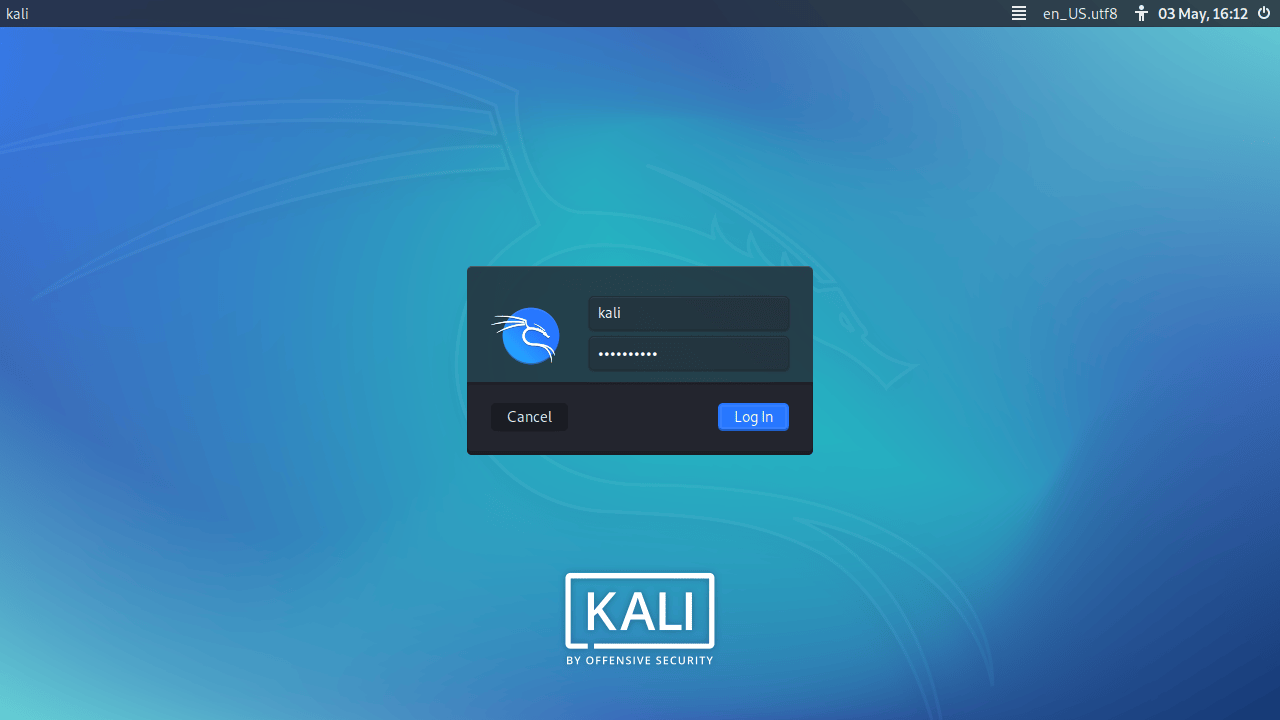
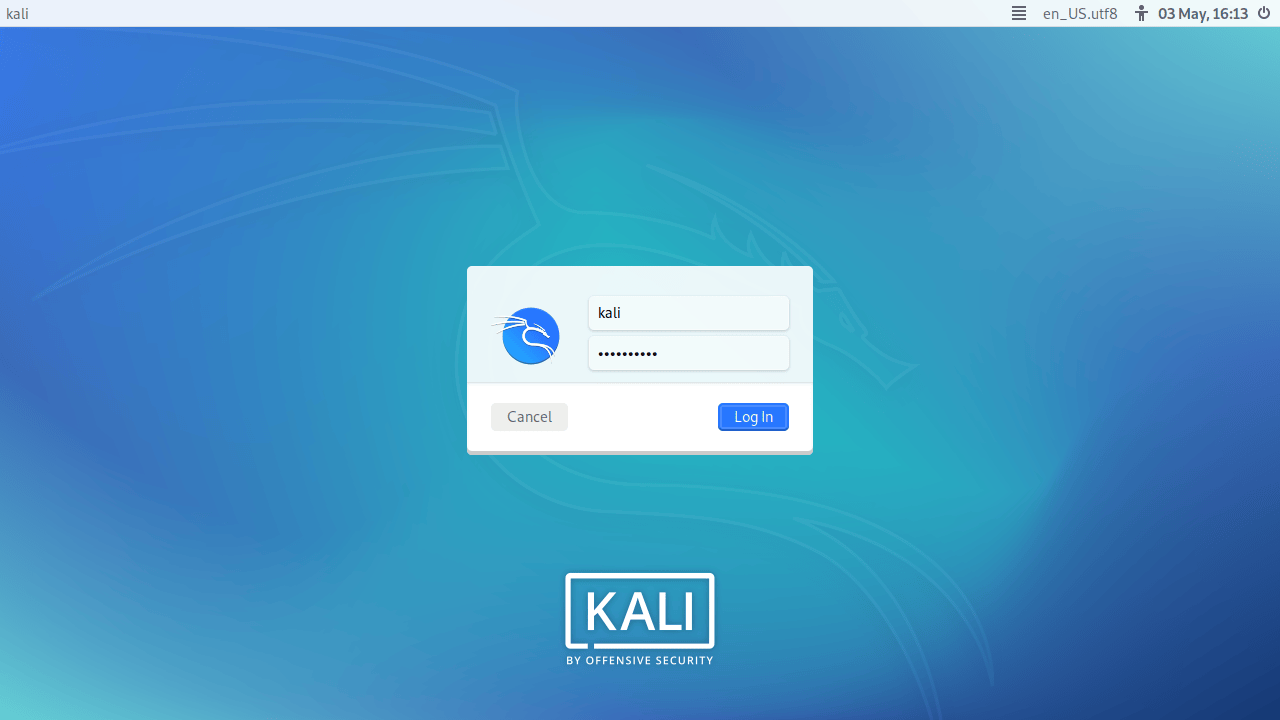
With Xfce and GNOME having had a Kali Linux look and feel update, it’s time to go back to our roots (days of BackTrack) and give some love and attention to KDE Plasma. Introducing our dark and light themes for KDE Plasma:
On the subject of theming, we have also tweaked the login screen (lightdm). It looks different, both graphically and the layout (the login boxes are aligned now)!
PowerShell by Default. Kind of.
A while ago, we put PowerShell into Kali Linux’s network repository. This means if you wanted powershell, you had to install the package as a one off by doing:
We now have put PowerShell into one of our (primary) metapackages, kali-linux-large . This means, if you choose to install this metapackage during system setup, or once Kali is up and running ( sudo apt install -y kali-linux-large ), if PowerShell is compatible with your architecture, you can just jump straight into it ( pwsh )!
PowerShell isn’t in the default metapackage (that’s kali-linux-default ), but it is in the one that includes the default and many extras, and can be included during system setup.
Kali on ARM Improvements
With Kali Linux 2020.1, desktop images no longer used “root/toor” as the default credentials to login, but had moved to “kali/kali”. Our ARM images are now the same. We are no longer using the super user account to login with.
We also warned back in 2019.4 that we would be moving away from a 8GB minimum SD card, and we are finally ready to pull the trigger on this. The requirement is now 16GB or larger.
One last note on the subject of ARM devices, we are not installing locales-all any more, so we highly recommend that you set your locale. This can be done by running the following command, sudo dpkg-reconfigure locales , then log out and back in.
Lessons From Installer Changes
With Kali Linux 2020.1 we announced our new style of images, “installer” & “live”.
Issue It was intended that both “installer” & “live” could be customized during setup, to select which metapackage and desktop environment to use. When we did that, we couldn’t include metapackages beyond default in those images, as it would create too large of an ISO. As the packages were not in the image, if you selected anything other than the default options it would require network access to obtain the missing packages beyond default. After release, we noticed some users selecting “everything” and then waiting hours for installs to happen. They couldn’t understand why the installs where taking so long.
We also have used different software on the back end to generate these images, and a few bugs slipped through the cracks (which explains the 2020.1a and 2020.1b releases).
Solutions
- We have removed kali-linux-everything as an install time option (which is every package in the Kali Linux repository) in the installer image, as you can imagine that would have taken a long time to download and wait for during install
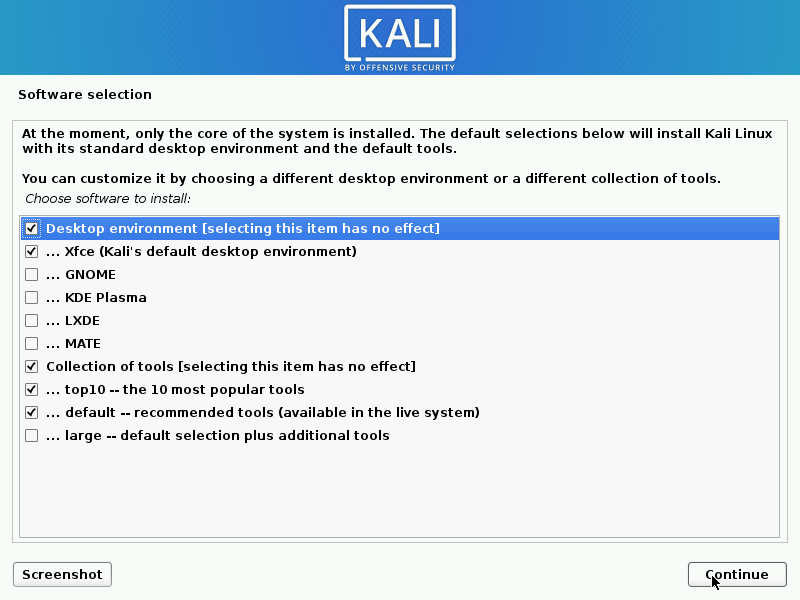
- We have cached kali-linux-large & every desktop environment into the install image (which is why its a little larger than previous to download) — allowing for a COMPLETE offline network install
- We have removed customization for “live” images — the installer switched back to copying the content of the live filesystem allowing again full offline install but forcing usage of our default XFCE desktop
Summary
- If you are wanting to run Kali from a live image (DVD or USB stick), please use “live”
- If you are wanting anything else, please use “installer”
- If you are wanting anything other than XFCE as your desktop environment, please use “installer”
- If you are not sure, get “installer”
Also, please keep in mind on an actual assessment “more” is not always “better”. There are very few reasons to install kali-linux-everything , and many reasons not too. To those of you that were selecting this option, we highly suggest you take some time and educate yourself on Kali before using it. Kali, or any other pentest distribution, is not a “turn key auto hack” solution. You still need to learn your platform, learn your tools, and educate yourself in general.
Consider what you are really telling Kali to do when you are installing kali-linux-everything . Its similar to if you went into your phones app store and said “install everything!”. Thats likely not to have good results. We provide a lot of powerful tools and options in Kali, and while we may have a reputation of “Providing machine guns to monkeys”, but we actually expect you to know what you are doing. Kali is not going to hold your hand. It expects you to do the work of learning and Kali will be unforgiving if you don’t.
New Key Packages & Icons
Just like every Kali Linux release, we include the latest packages possible. Key ones to point out this release are:
- GNOME 3.36 — a few of you may have noticed a bug that slipped in during the first 12 hours of the update being available. We’re sorry about this, and have measures in place for it to not happen again
- Joplin — we are planning on replacing CherryTree with this in Kali Linux 2020.3!
- Nextnet
- Python 3.8
- SpiderFoot
For the time being, as a temporary measure due to certain tools needing it, we have re-included python2-pip . Python 2 has now reached “End Of Life” and is no longer getting updated. Tool makers, please, please, please port to Python 3. Users of tools, if you notice that a tool is not Python 3 yet, you can help too! It is not going to be around forever.
Whilst talking about packages, we have also started to refresh our package logos for each tool. You’ll notice them in the Kali Linux menu, as well as the tools page on GitLab (more information on this coming soon!)
If your tool has a logo and we have missed it, please let us know on the bug tracker.
WSLconf
WSLconf happened earlier this year, and @steev gave a 35 minute talk on “How We Use WSL at Kali”. Go check it out!
Behind the Scenes, Infrastructure Improvements
We have been celebrating the arrival of new servers, which over the last few weeks we have been migrating too. This includes a new ARM build server and what we use for package testing.
This may not be directly noticeable, but you may reap the benefits of it! If you are wanting to help out with Kali, we have added a new section to our documentation showing how to submit a autopkgtest. Feedback is welcome!
Kali NetHunter
We were so excited about some of the work that has been happening with NetHunter recently, we already did a mid-term release to showcase them and get it to you as quick as possible.
On top of all the previous NetHunter news there is even more to announce this time around!
- Nexmon support has been revived, bringing WiFi monitor support and frame injection to wlan0 on the Nexus 6P, Nexus 5, Sony Xperia Z5 Compact, and more!
- OpenPlus 3T images have been added to the download page.
- We have crossed 160 different kernels in our repository, allowing NetHunter to support over 64 devices! Yes, over 160 kernels and over 64 devices supported. Amazing.
- Our documentation page has received a well deserved refresh, especially the kernel development section.
One of the most common questions to come in about NetHunter is “What device should I run it on?”. Keep your eye on this page to see what your options are on an automatically updated basis!
When you think about the amount of power NetHunter provides in such a compact package, it really is mind blowing. Its been amazing to watch this progress, and the entire Kali team is excited to show you what is coming in the future.
Download Kali Linux 2020.2
Fresh images So what are you waiting for? Start downloading already!
Seasoned Kali users are already aware of this, but for the ones who are not, we do also produce weekly builds that you can use as well. If you can’t wait for our next release and you want the latest packages when you download the image, you can just use the weekly image instead. This way you’ll have fewer updates to do. Just know these are automated builds that we don’t QA like we do our standard release images.
Existing Upgrades If you already have an existing Kali installation, remember you can always do a quick update:
You should now be on Kali Linux 2020.2. We can do a quick check by doing:
NOTE: The output of uname -r may be different depending on the system architecture.
As always, should you come across any bugs in Kali, please submit a report on our bug tracker. We’ll never be able to fix what we don’t know is broken! And Twitter is not a Bug Tracker!
Источник


