- Kali linux parallels desktop
- Wizard
- Science Tony
- How to install Linux Kali 2016.1 into Parallels and install Parallels tools.
- Installing Parallels Tools in Kali Linux
- 1 Answer 1
- How Kali Linux install Parallels Tools
- First of all
- installation
- Waiting to download the update
- Kali linux parallels desktop
- Resolution
- Была ли эта статья полезной?
Kali linux parallels desktop
This guide is about virtualizing Kali Linux inside of Parallels, allowing you to have a Kali VM. This is a great way to use Kali, as it is completely separate from the host, allows you to interact with other VMs (as well as the host, and other machines on the network), and allows you to revert to snapshots.
Wizard
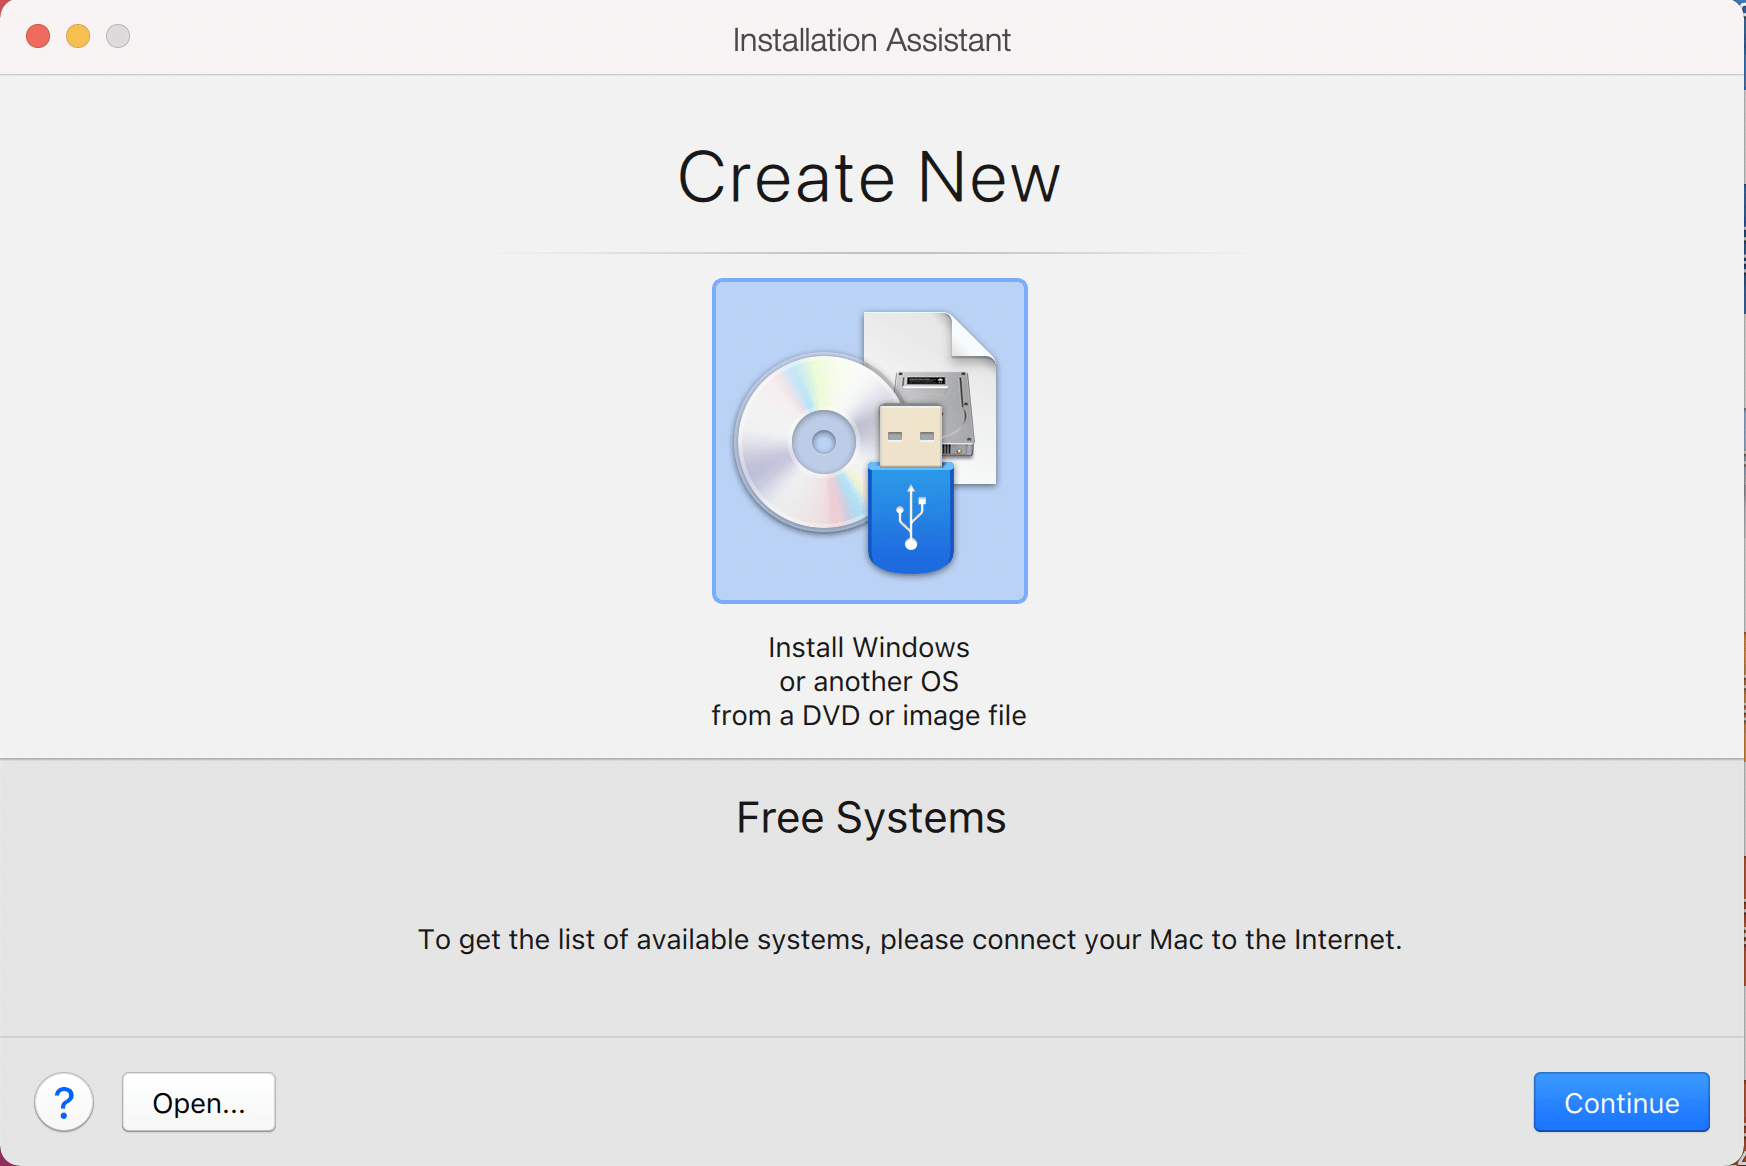
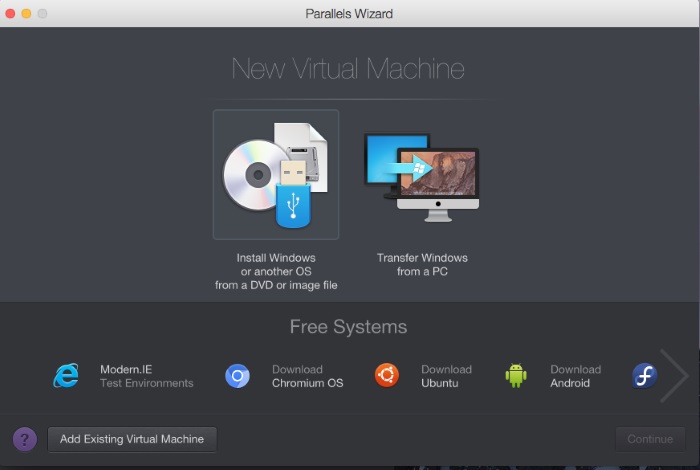
Upon starting up Parallels, select the Plus symbol.

This will launch the Installation Assistant
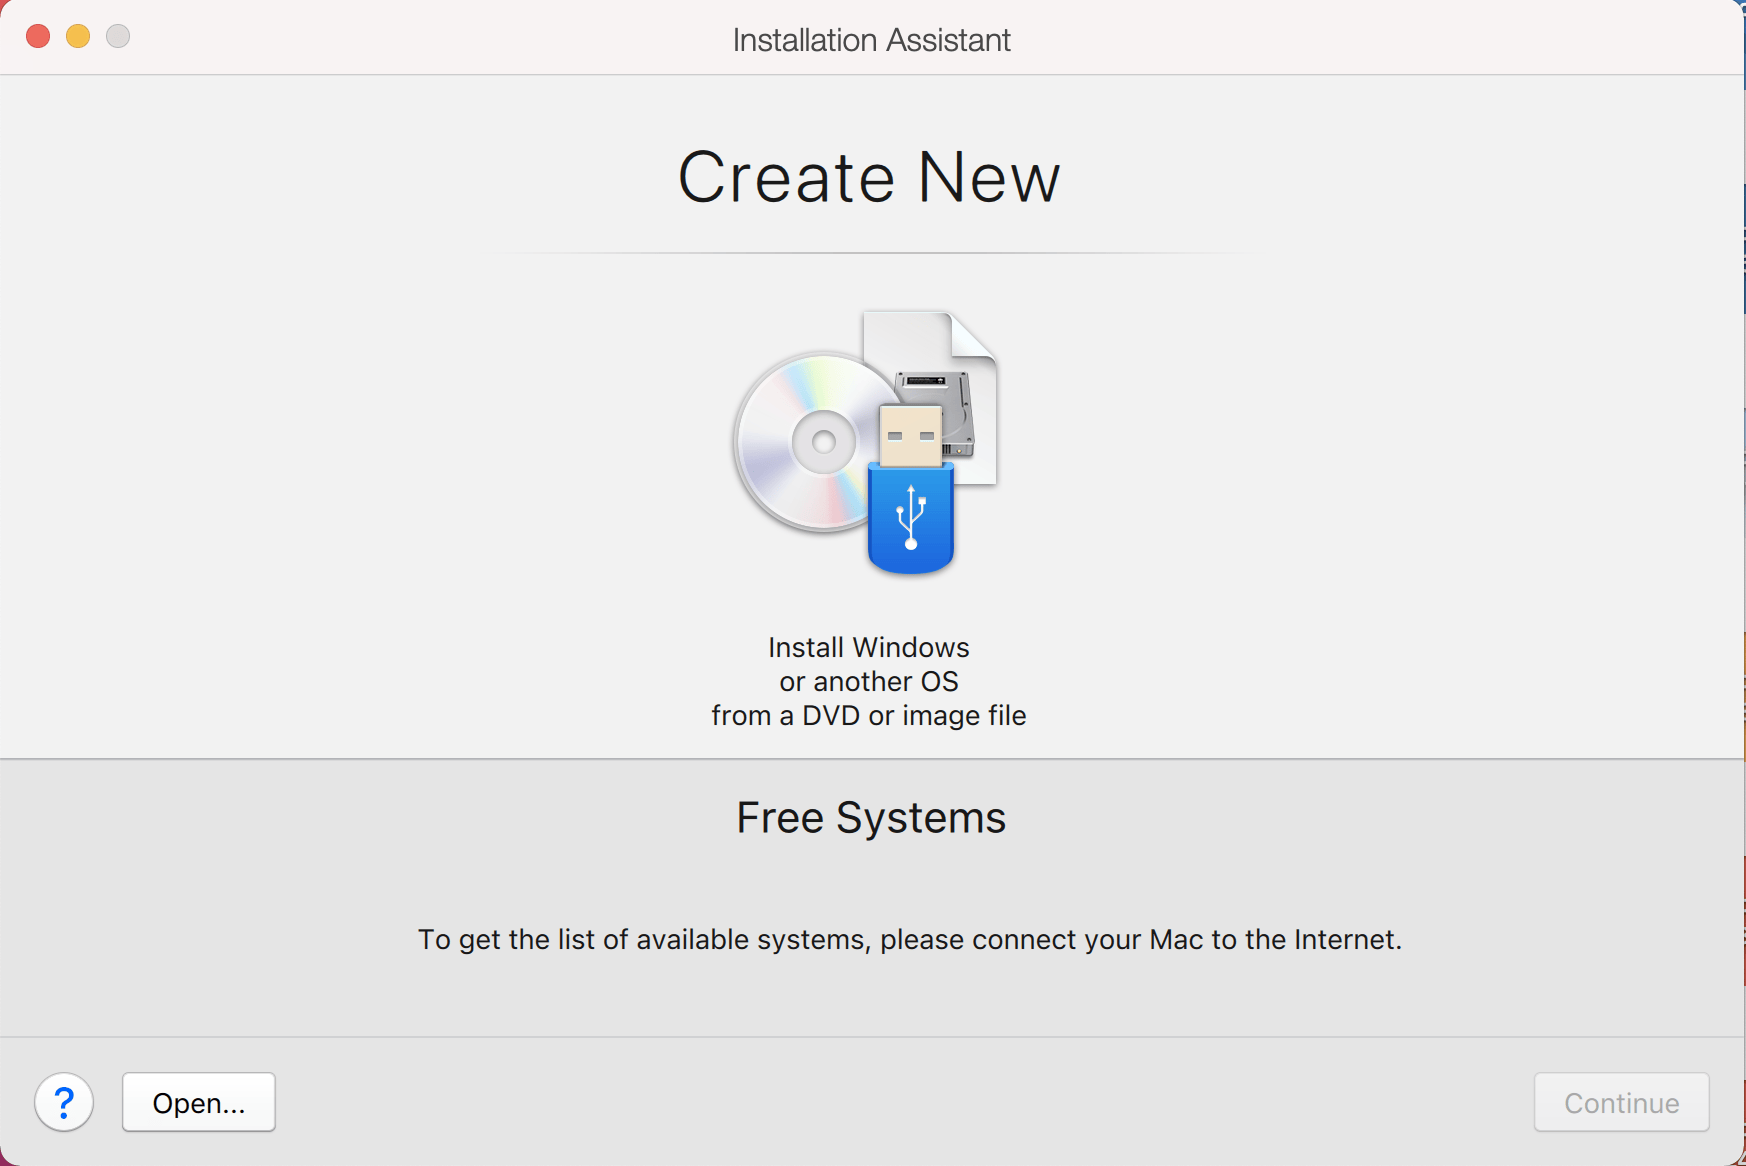
Now we choose Install Windows or another OS from a DVD or image file
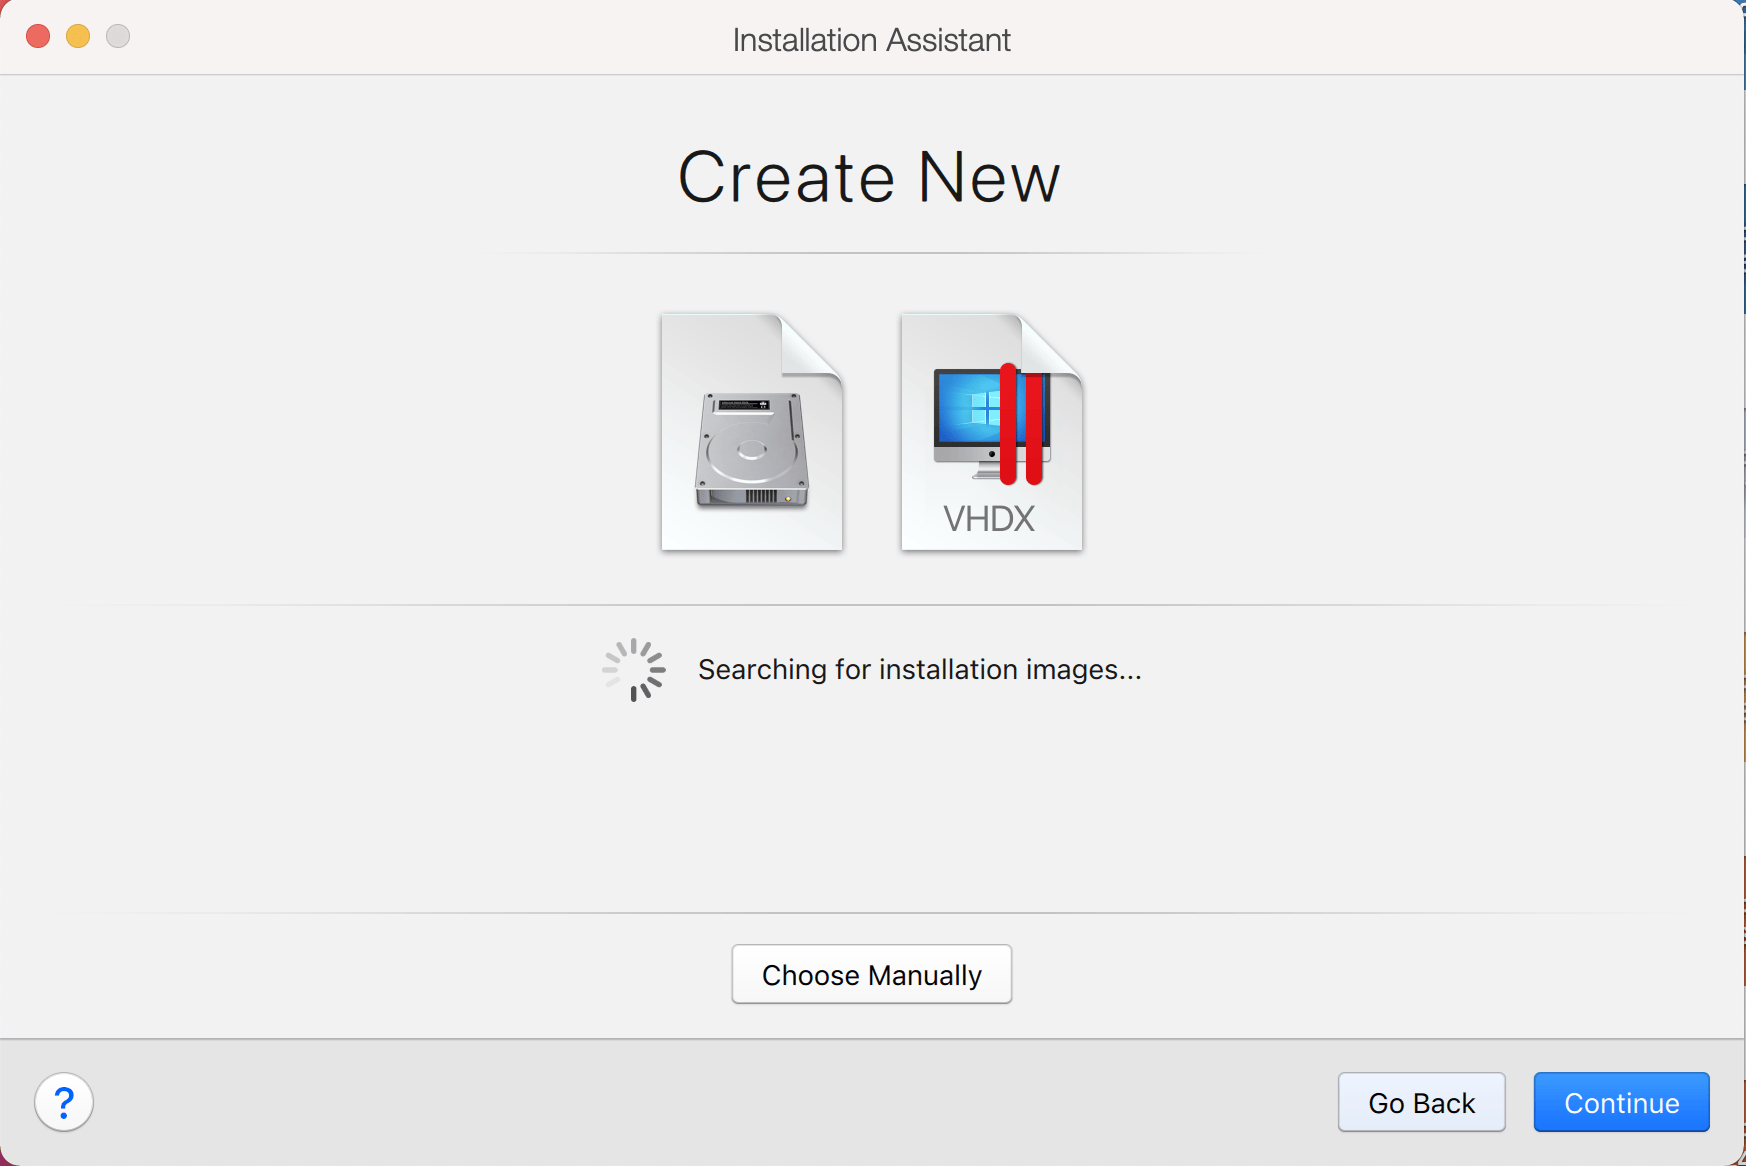
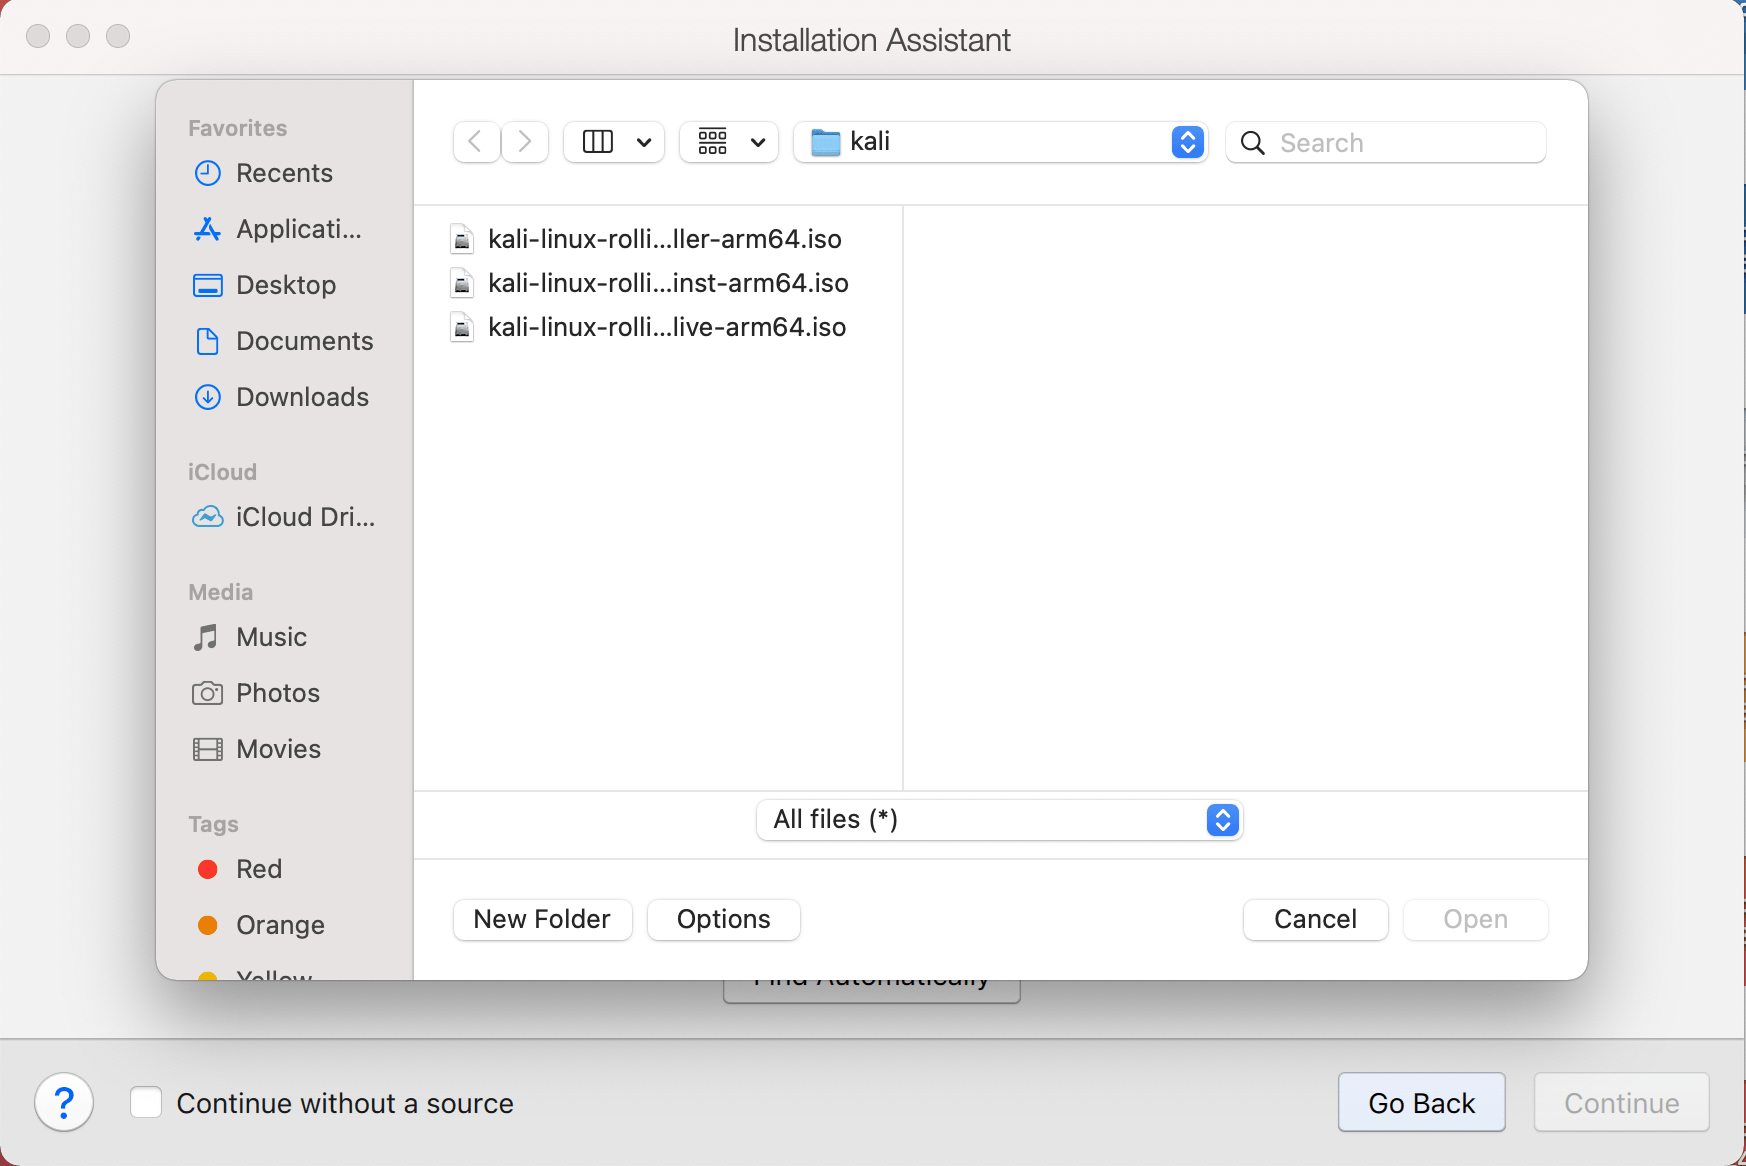
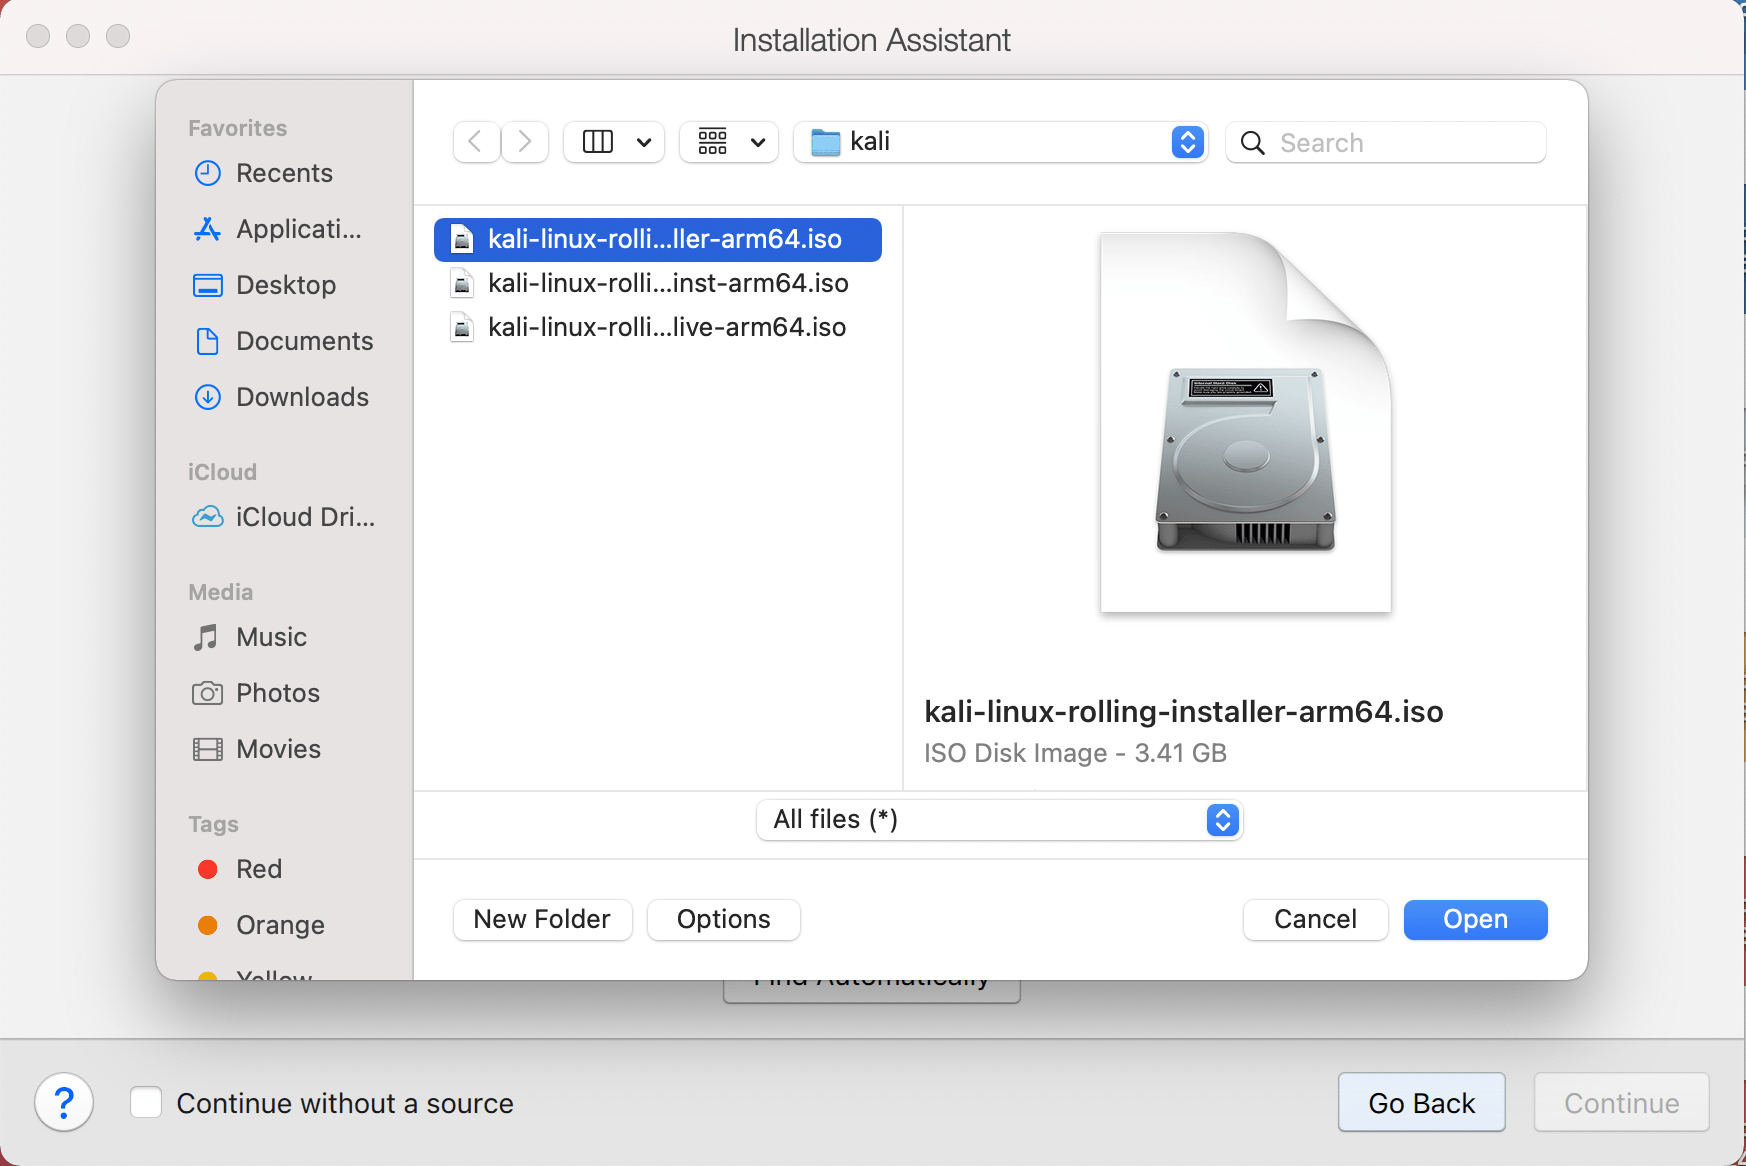
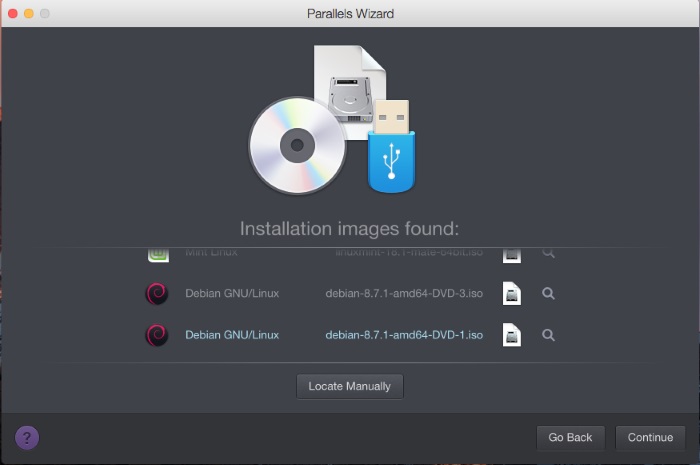
On this screen, we select the Kali Linux image to use to install from. We select “Choose Manually”, and navigate to the location of the ISO that we downloaded. For more information on what image to download, we have written up a guide.
Either drag the ISO file or choose Select a file… to navigate to the downloaded ISO.
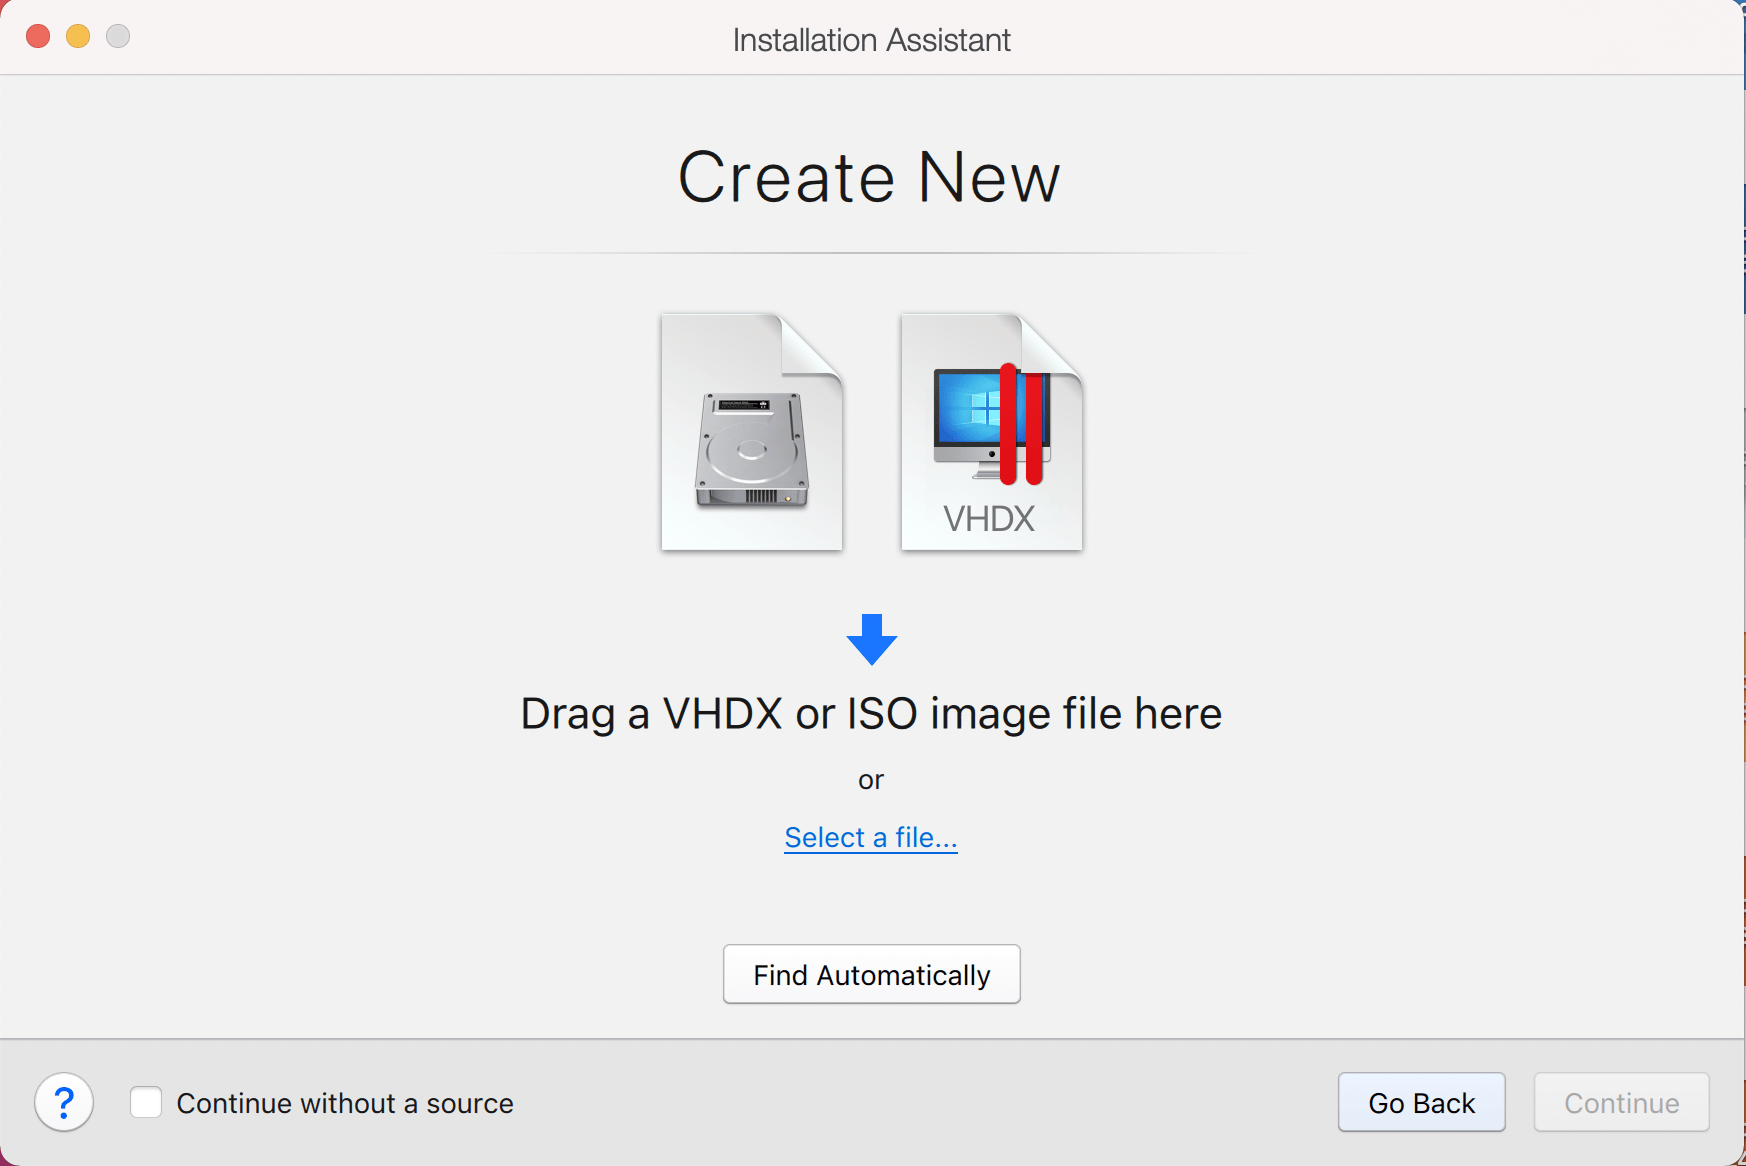
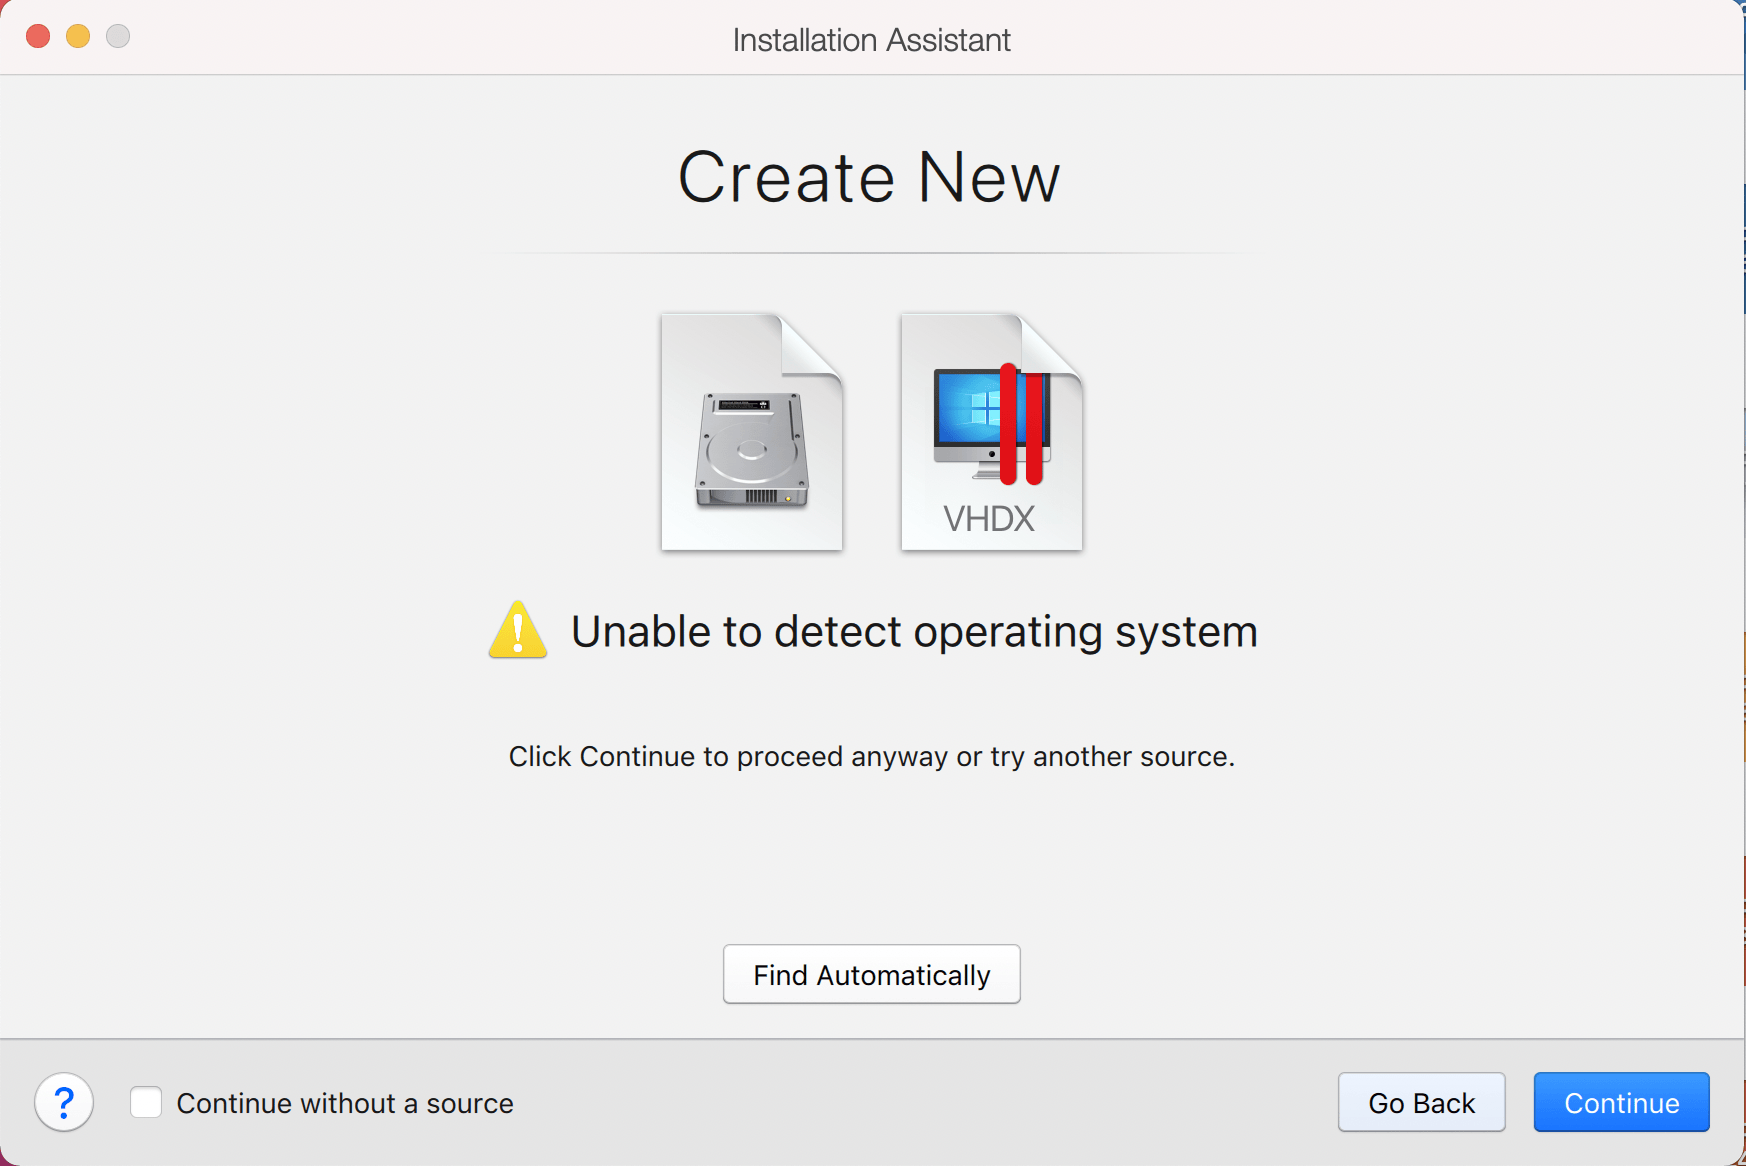
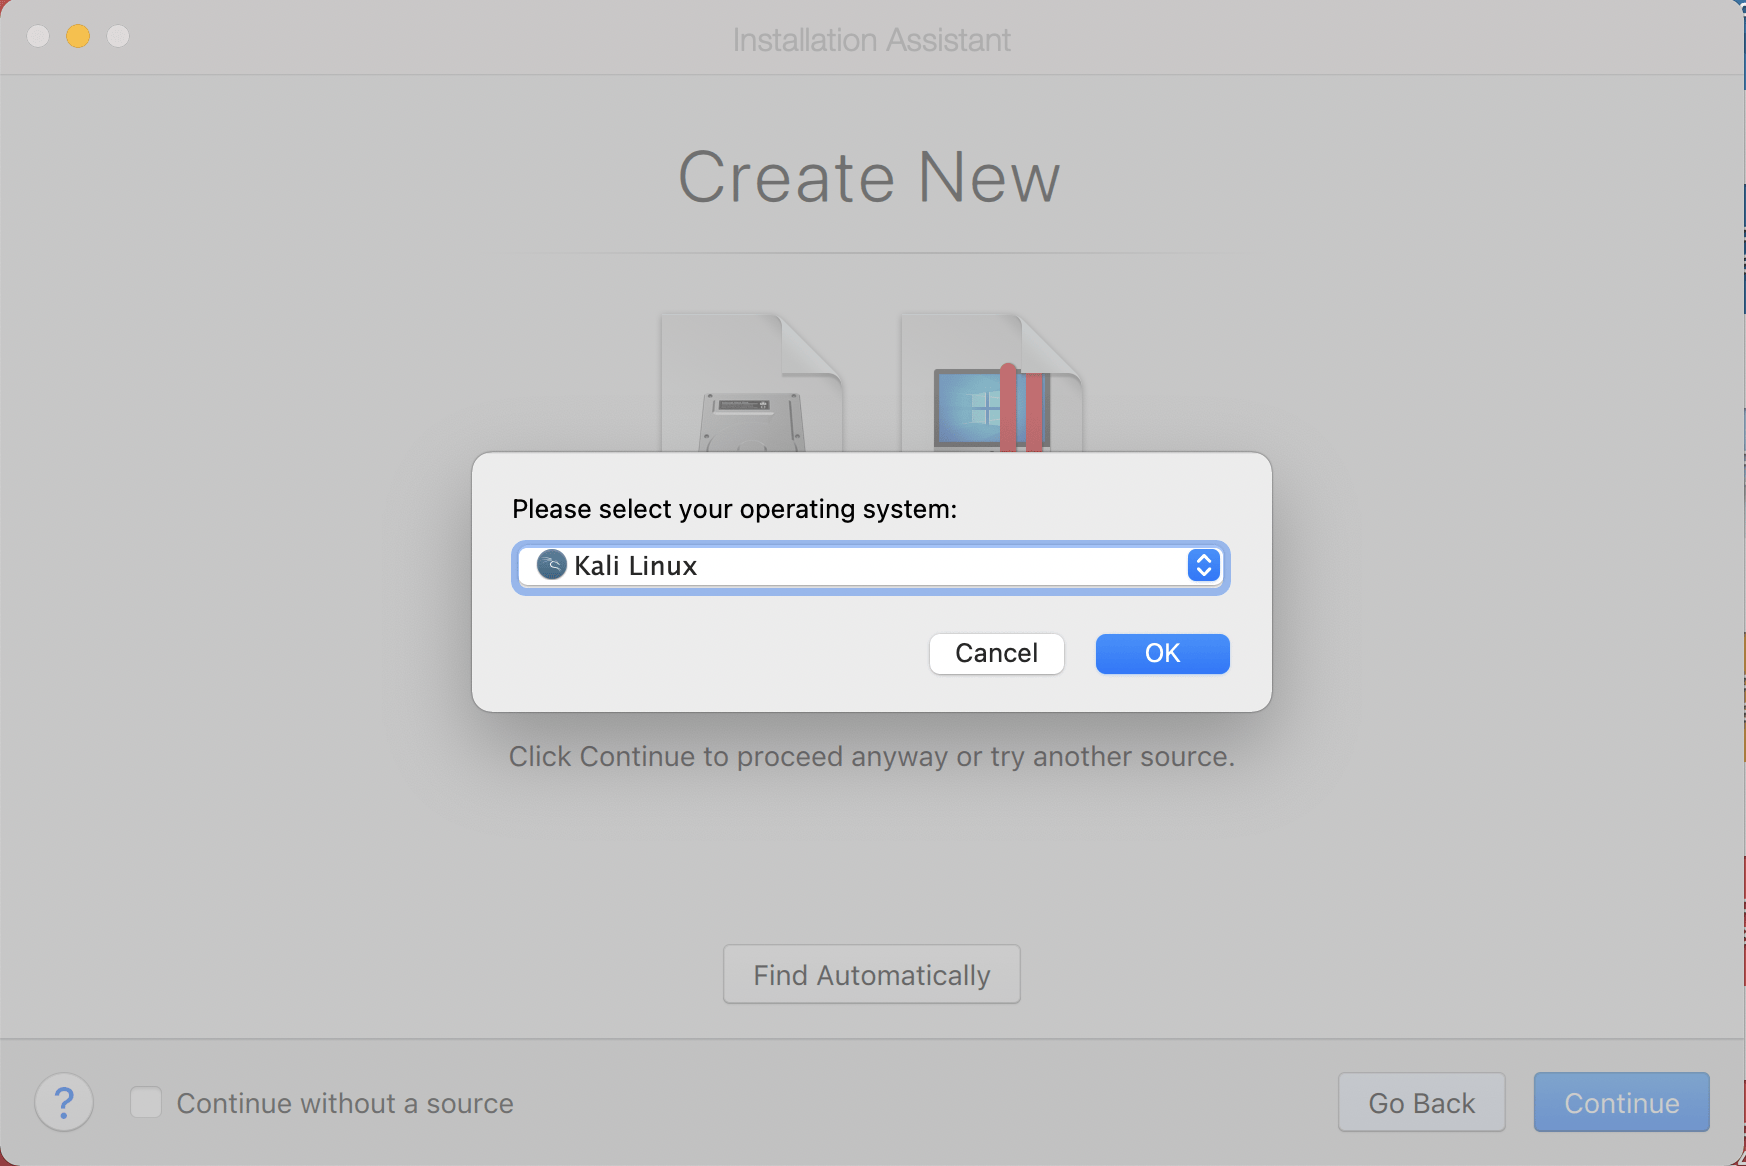
Parallels does not recognize the OS on the ISO, so we will choose Continue to proceed anyway.
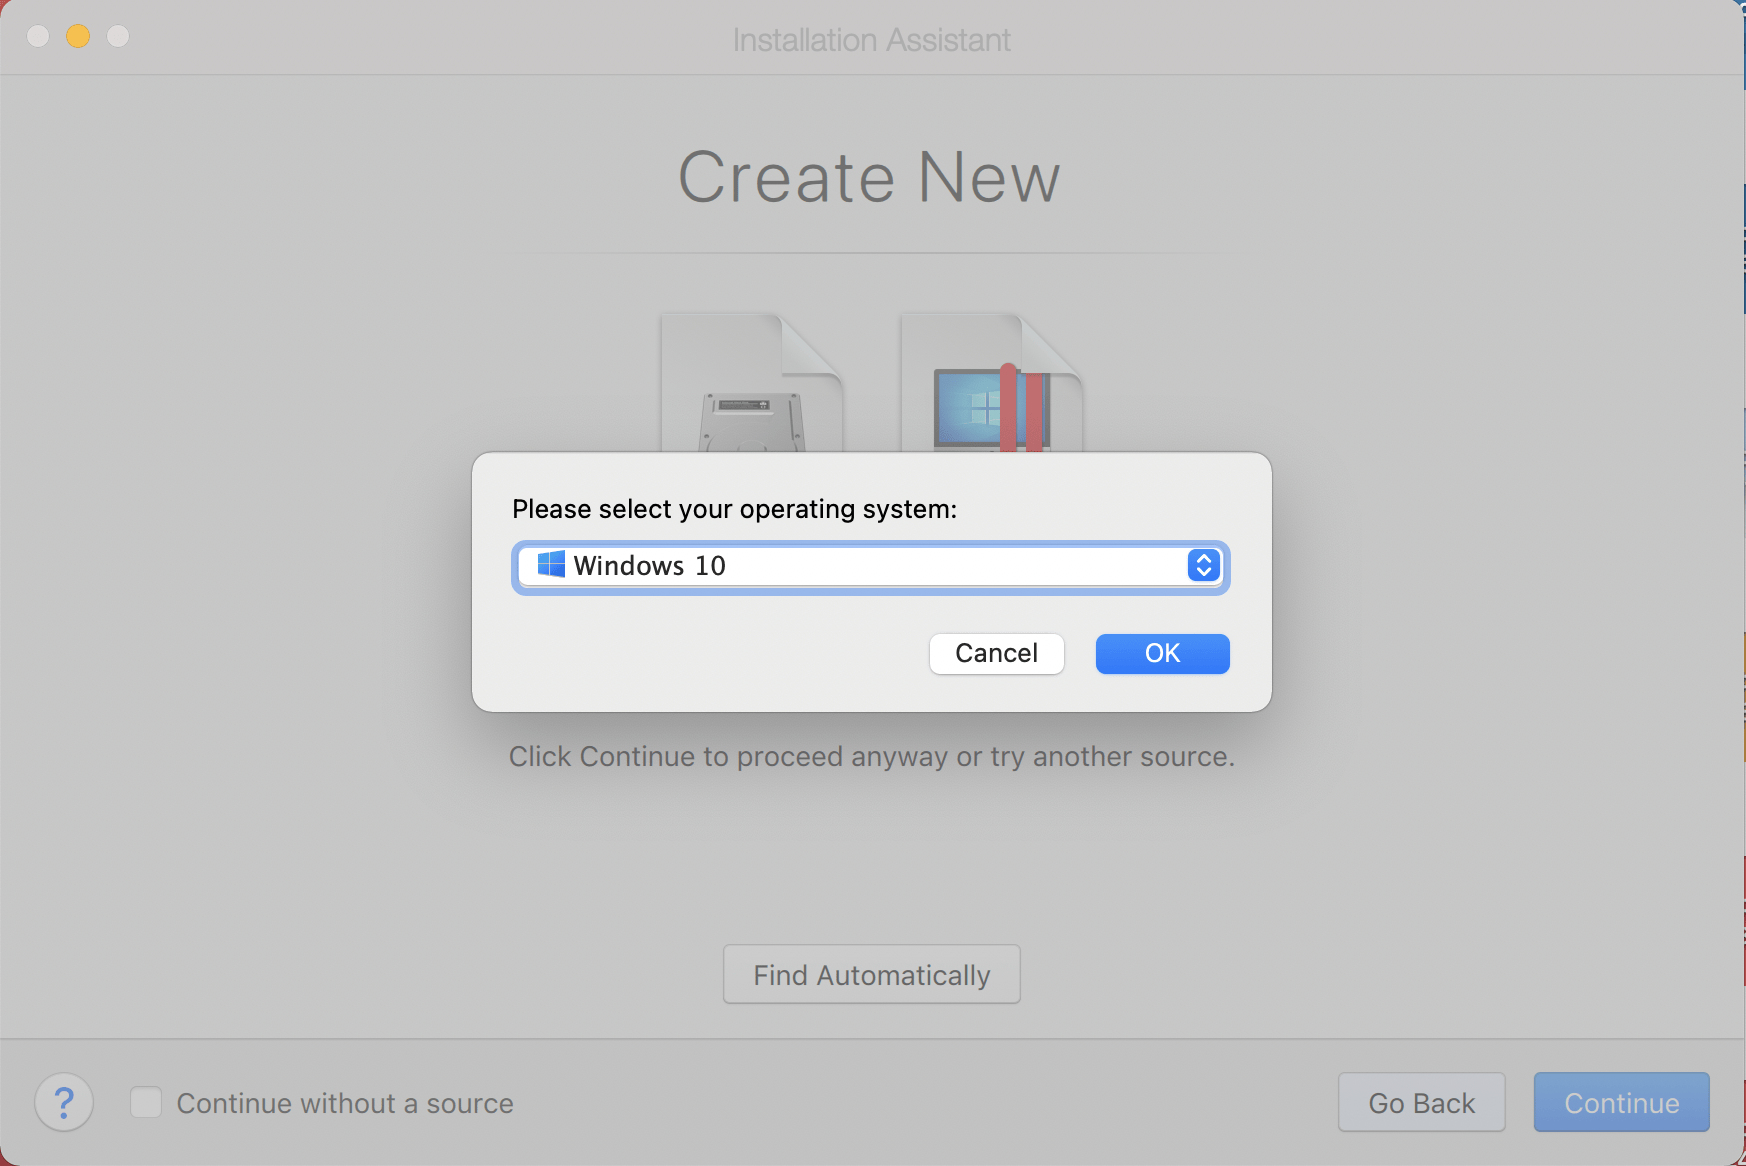
Once we have clicked Continue, we want to choose Ubuntu from the drop down list. Normally we would choose Debian however, there is a bug with the Parallels Tools, that does not occur when using Ubuntu.
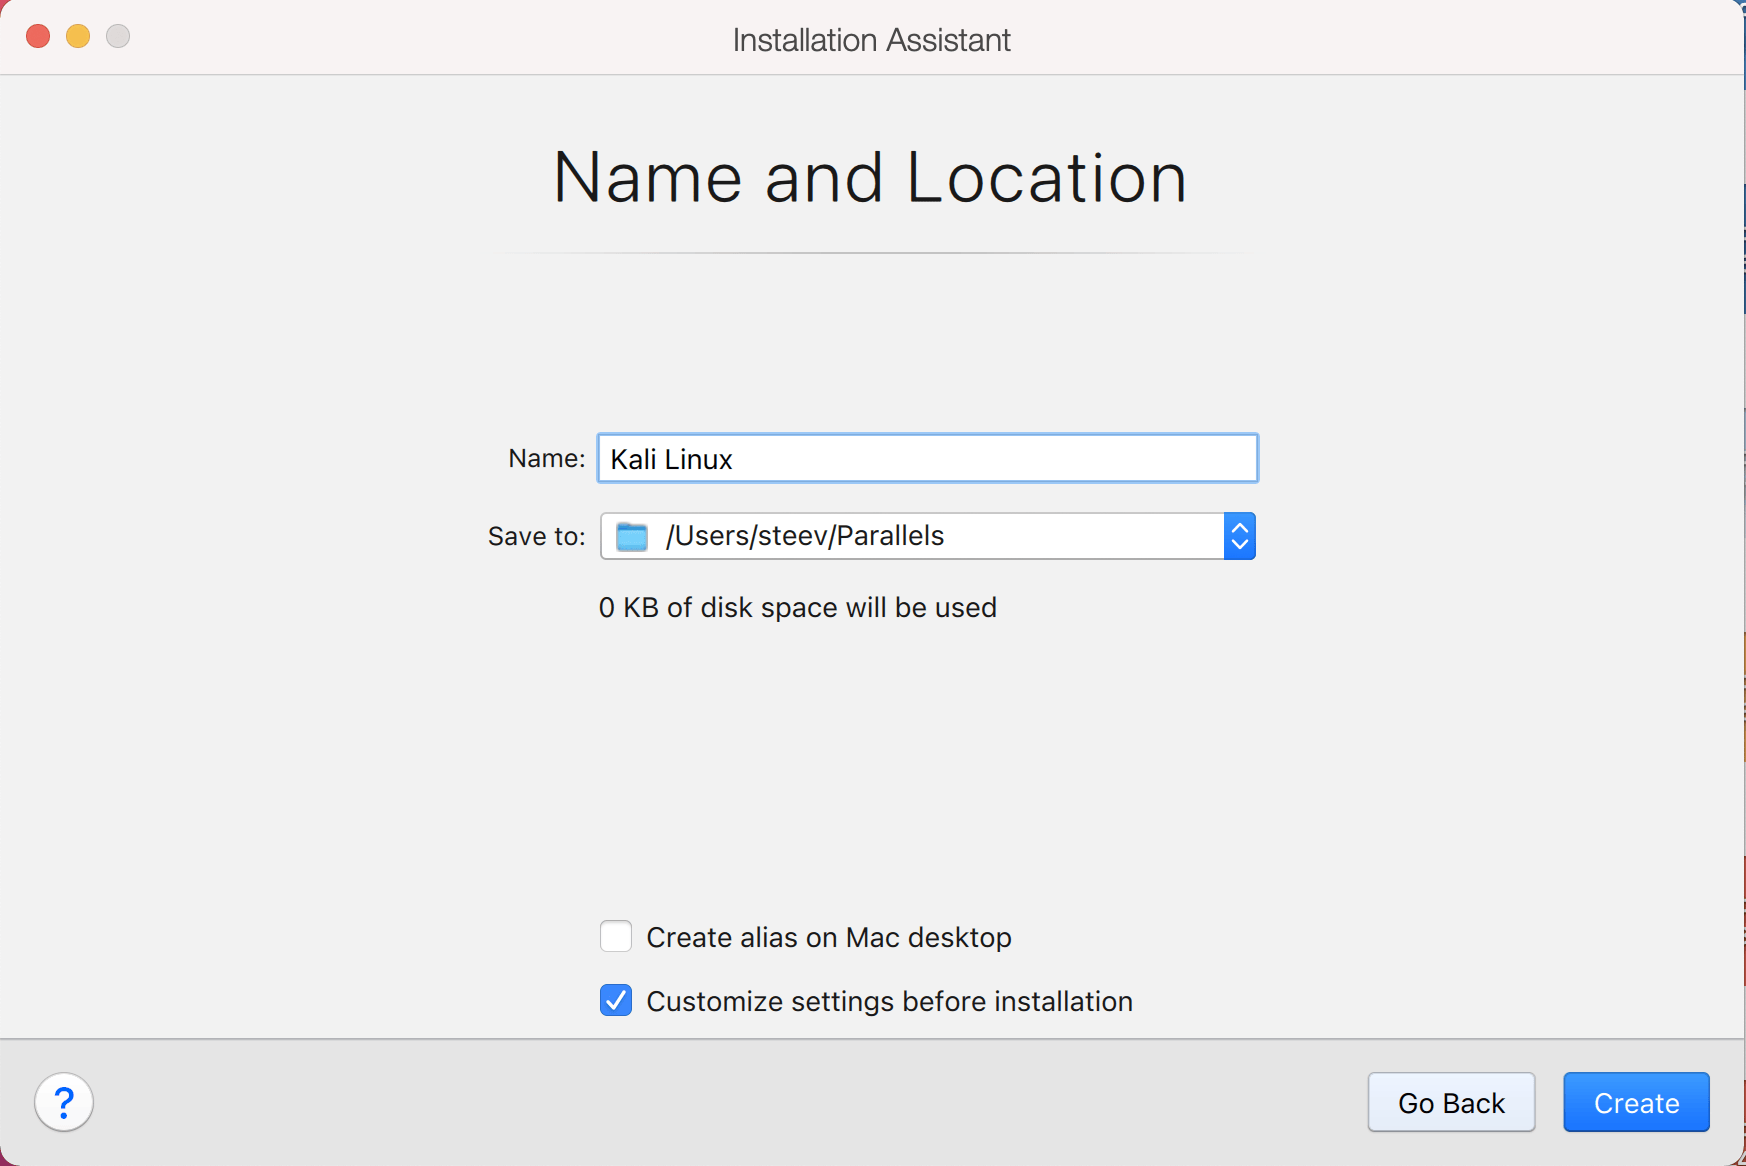
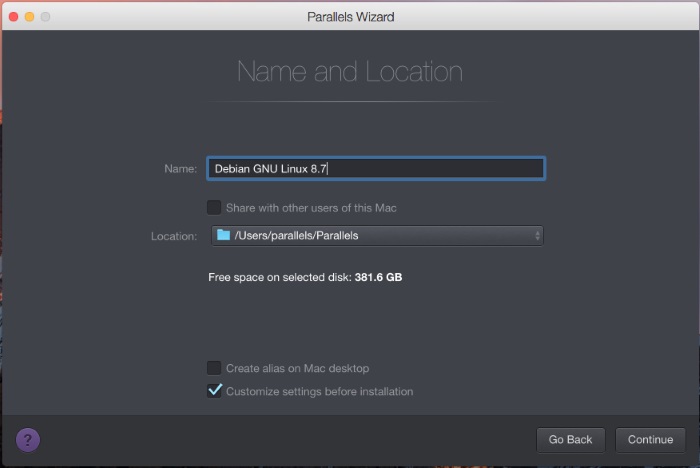
The next screen is “Name and Location”, which is where you name the VM. This name is also used as the filename (such as the configuration, hard disk and snapshot — which is not changed from this point).
We also want to mark the check box for Customize settings before installation
We are keeping it generic in this guide, by using “Kali Linux” (as Kali Linux is a rolling distribution, and we update Kali Linux).
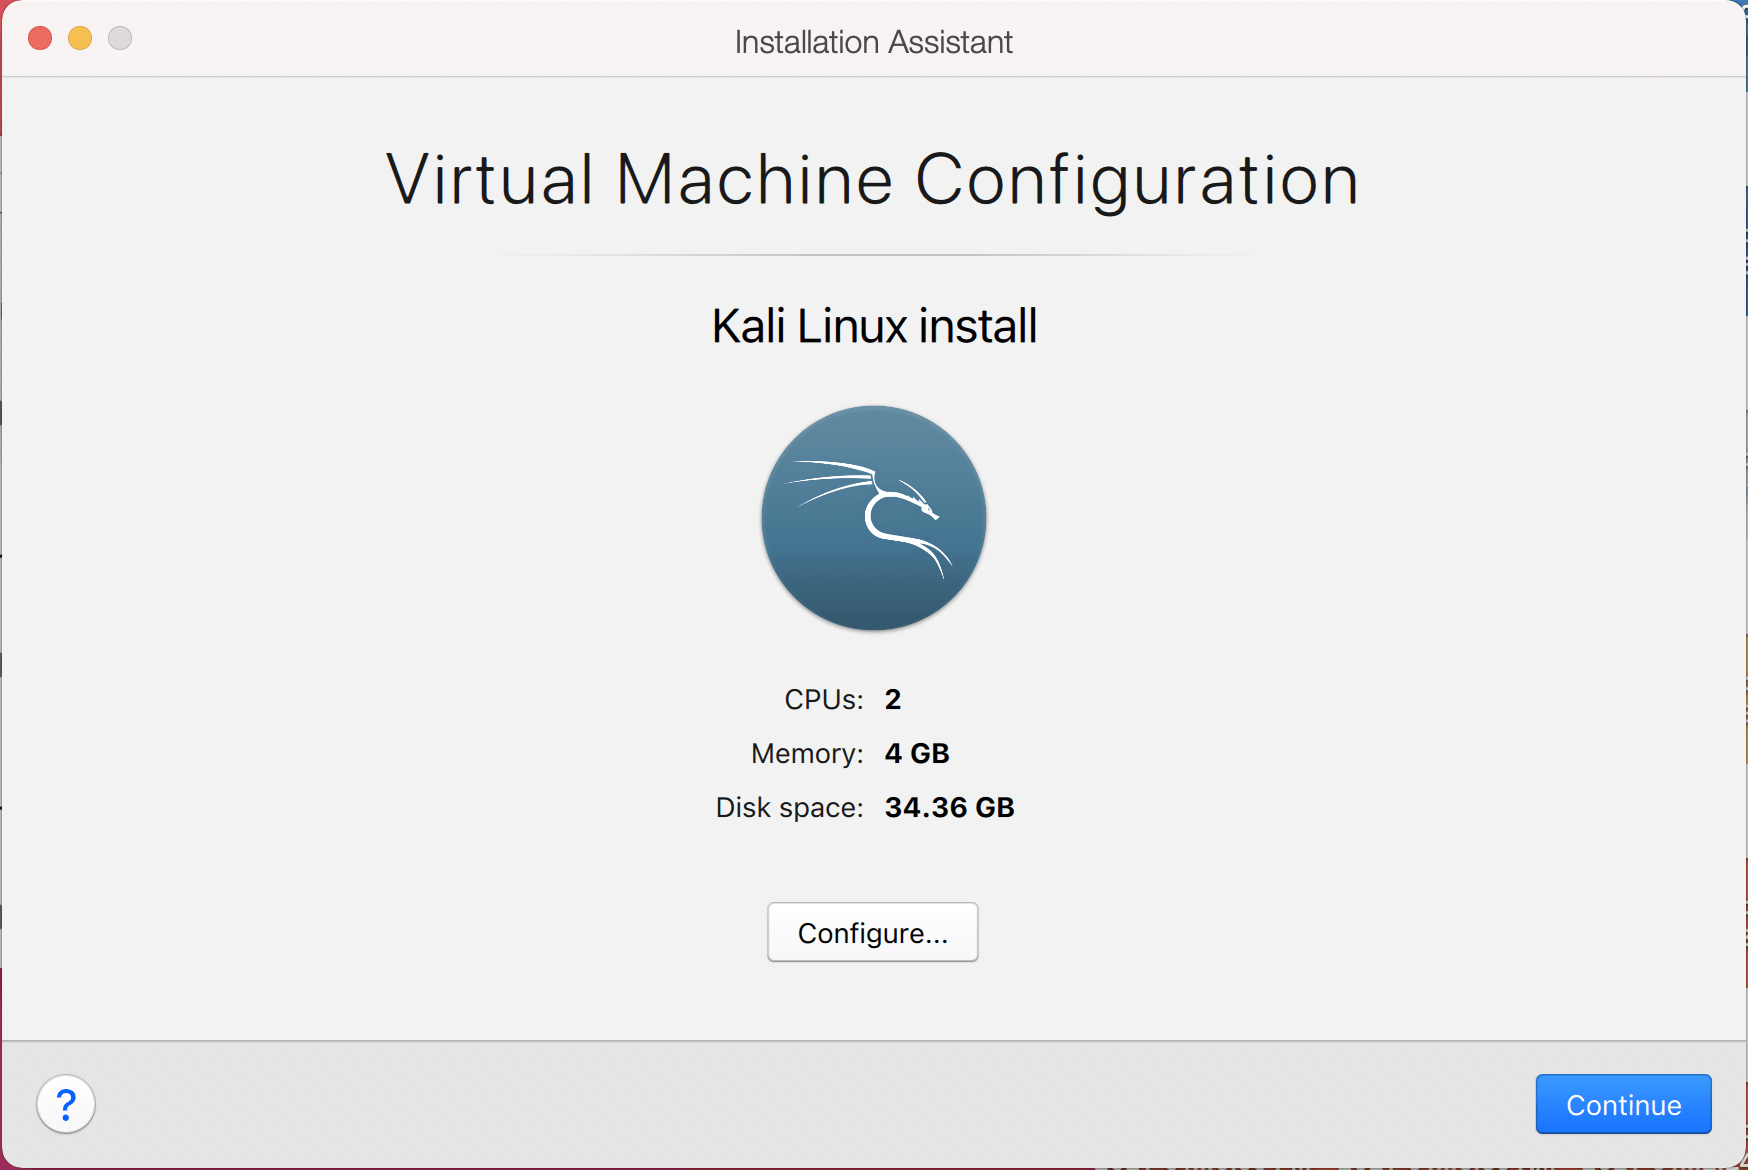
This will bring up the Configuration screen for the Virtual Machine.
The next screen is “Processors”. Here we can start to define how many resources we give the VM. Kali will be able to perform more tasks simultaneously and quicker if it is allocated more resources. We select “2 processors” and “** 2048 MB ** “, giving a total of 2 cores and 2GB of RAM. You may wish to use more or less depending on your system requirements.

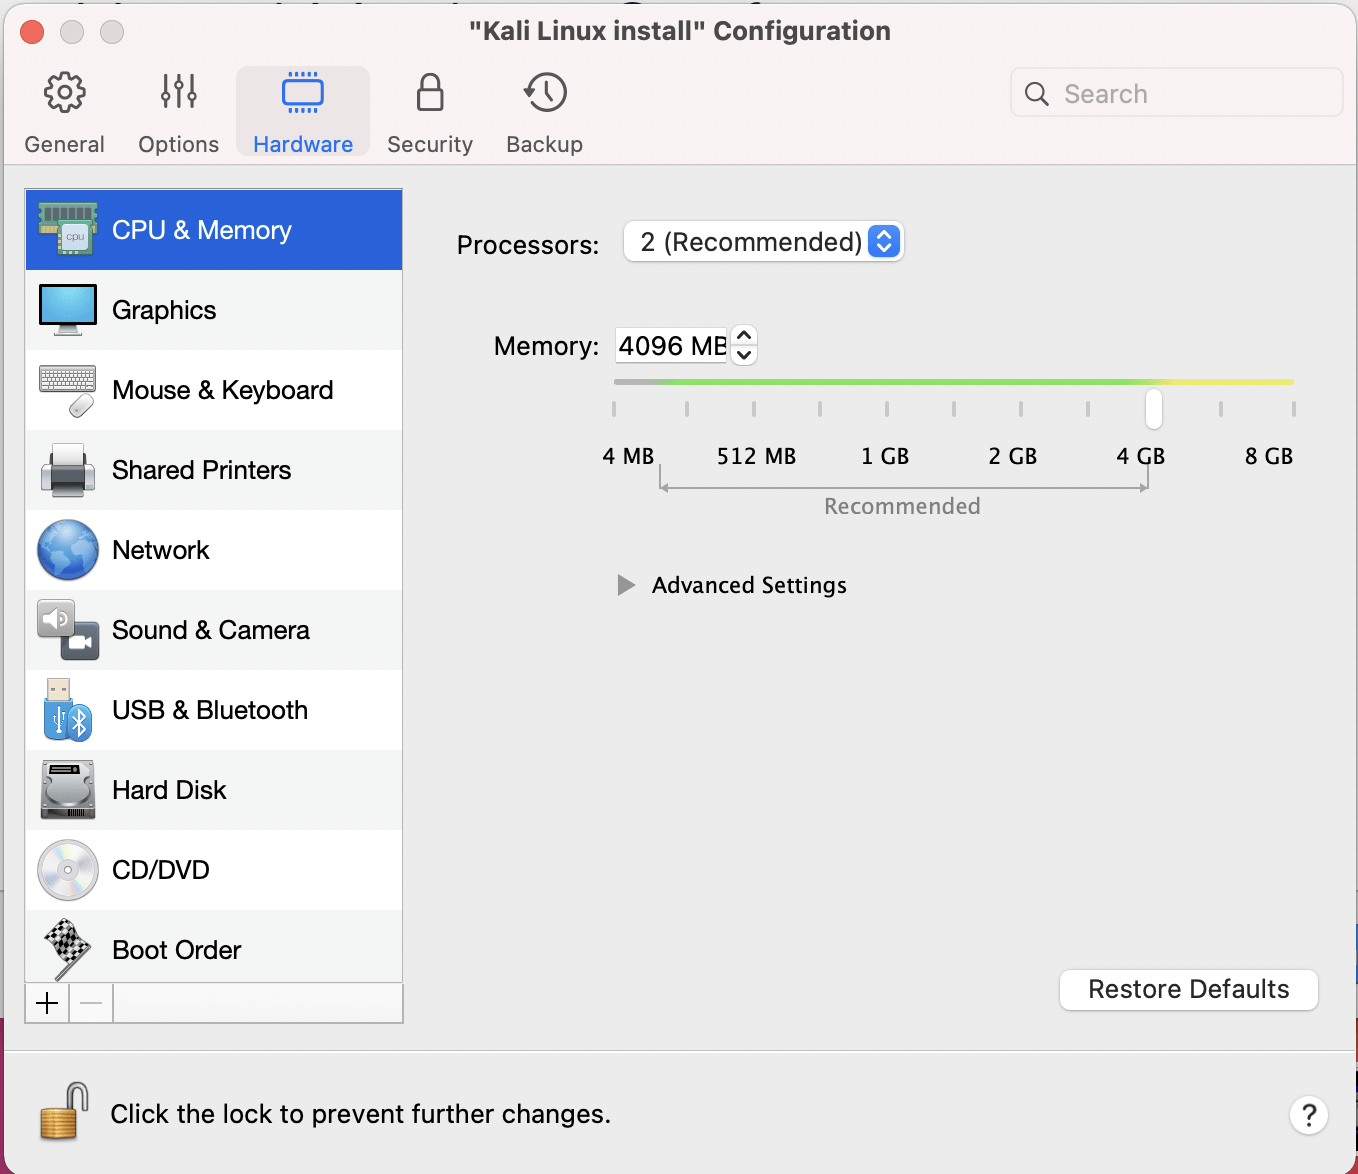
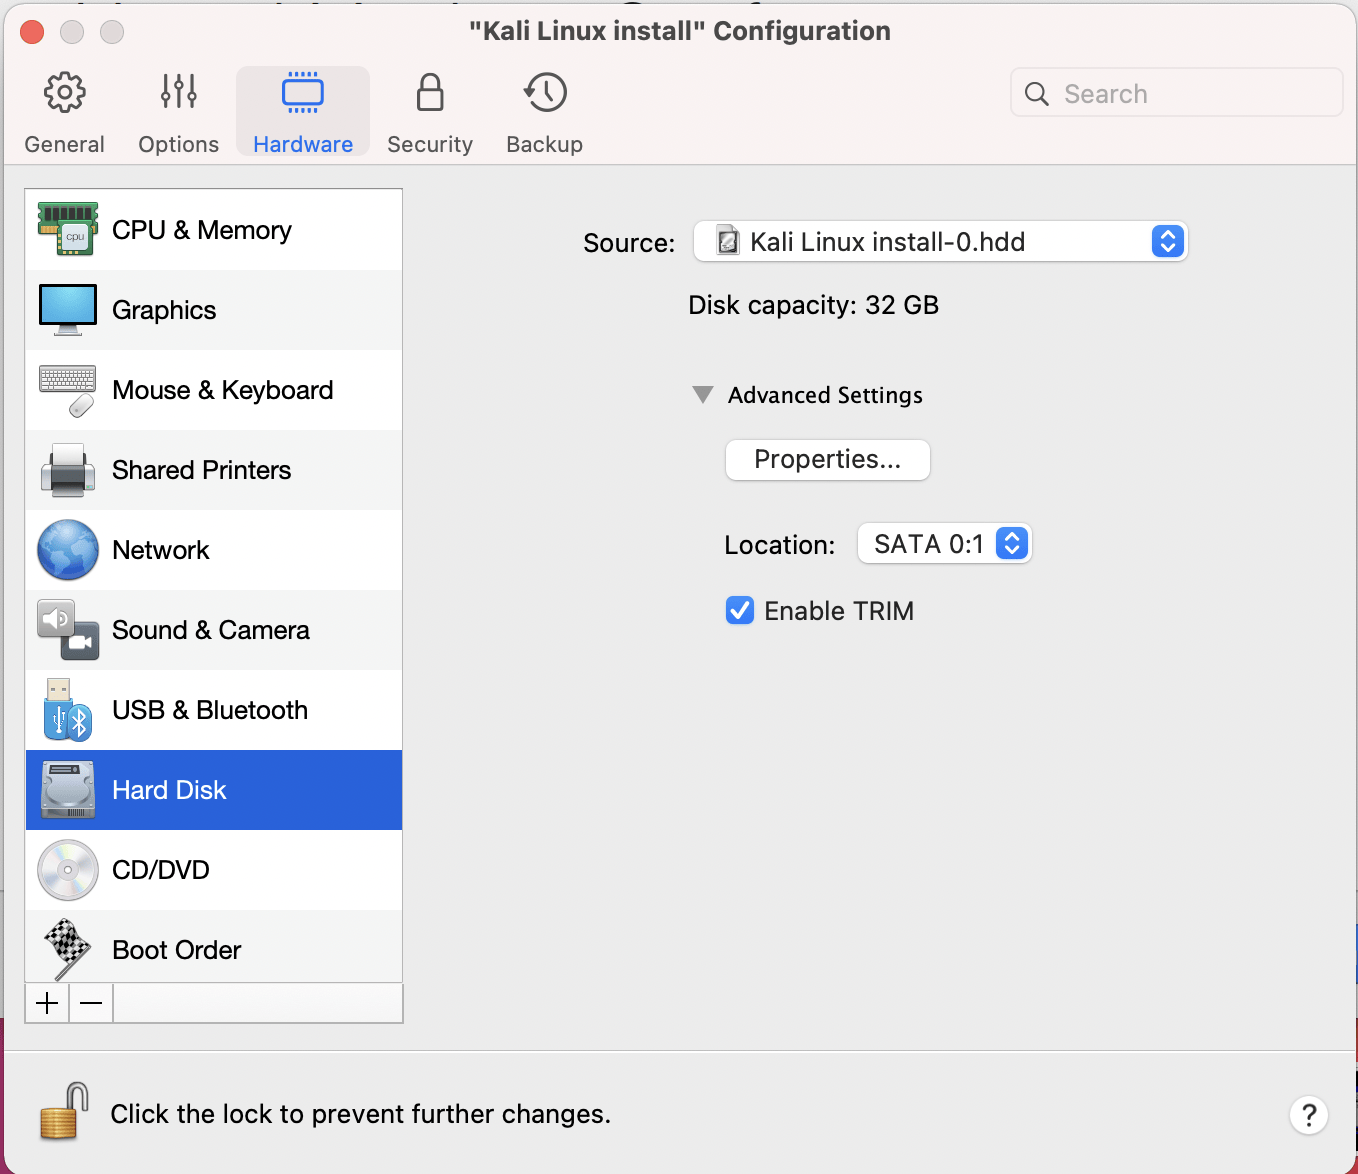
Now we want to choose Hard Disk so we can resize the hard disk.
Select the Properties button

And reduce the size to 32GB. You may wish to leave it at 64GB, or increase it, depending on your system requirements.
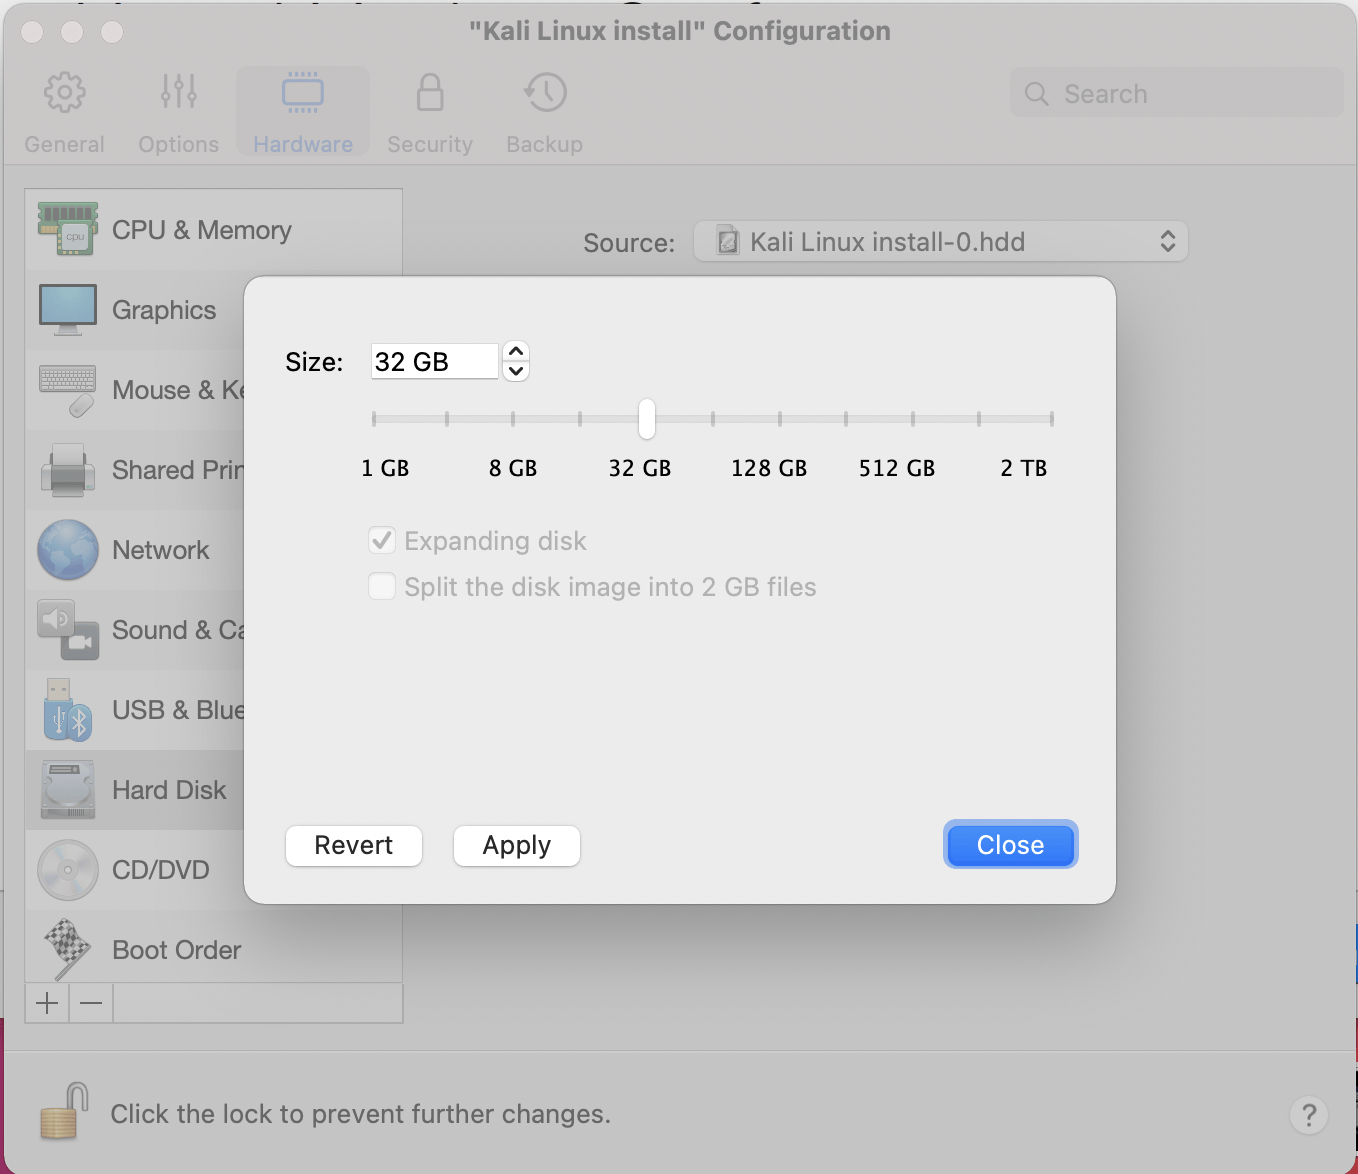
Click Apply and you will be prompted to Continue
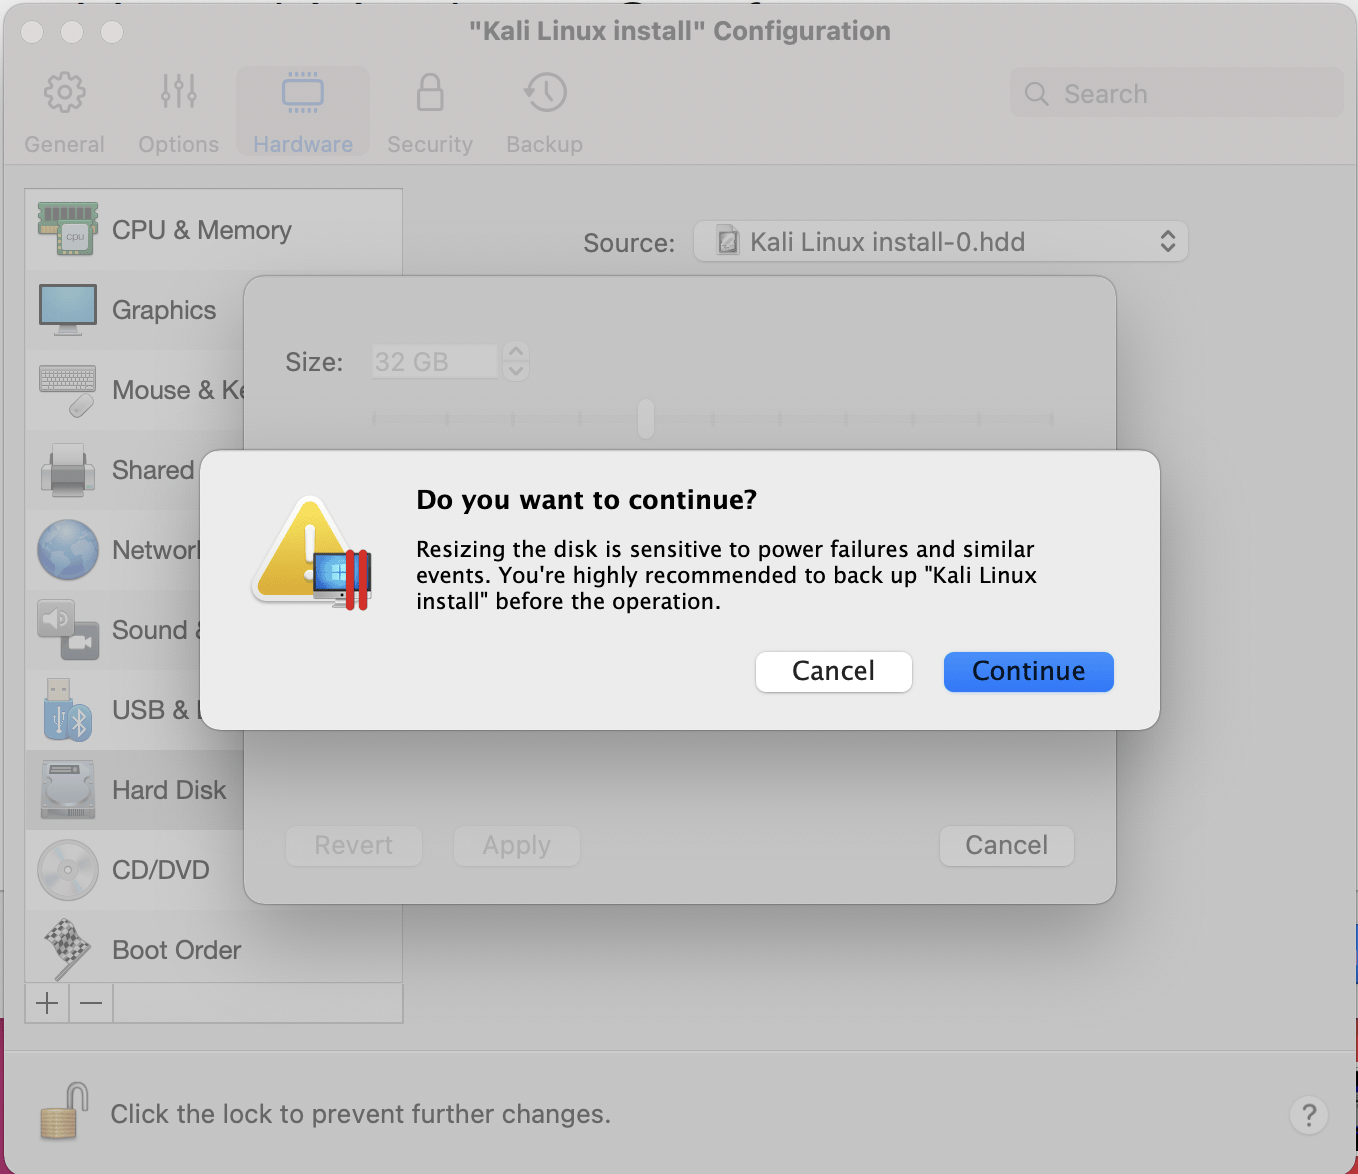
Click Continue
We can now close the Kali Linux Configuration window, and be back at the Installation Assistant screen.
After all this is done, we save, start up the VM, and then continue installing Kali Linux as we normally would for a bare metal install.
Updated on: 2021-Sep-27
Author: steev
Источник
Science Tony
Science Tony’s science blog.
How to install Linux Kali 2016.1 into Parallels and install Parallels tools.
- Get link
- Other Apps

- Install Kali Linux onto Parallels.
- Install Parallels tools
- Trouble shooting
Note : this will also work for 2016.2 and higher. Make sure you have updated Parallels to the latest version.
Parallels, another virtual machine, can run guest O/S on a host machine. You will need to install Parallels first before continuing. If you wish to install Kali onto Parallels, please read on. After installation you will learn how to install parallels tools, which will allow for more interesting features such as auto adjust for your screen resolution.
Before installing any new applications, a hardware survey will need to be carried out. Subsequently, the applications website will have the minimum specifications listed.
Install Kali Linux 2016.1
- Open terminal and switch to root user. sudo su
- Ensure the cd drive is ejected by entering eject /dev/cdrom
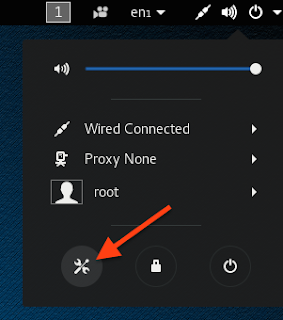
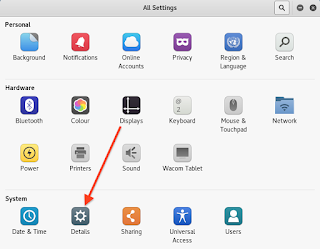
- Go to settings and select details. from here update

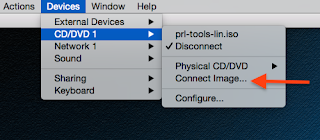
- Go to the parallels menu bar and select Devices>CD/DVD>Connect image.
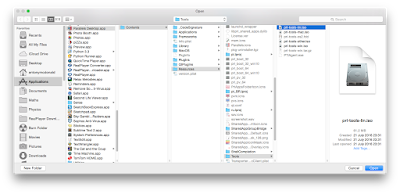
- Select Parallels Desktop>Contents>Resources>Tools>prl-tools-lin.iso and open.
- Open the CD rom by clicking on it. Eject the CD without closing the window, so you still have the window open. I suggest you eject it from Terminal.

- Go to Devices on the Parallels menu bar and select Devices>CD/DVD>Connect image. Then go to Parallels Desktop>Contents>Resources>Tools>prl-tools-lin.iso and open again. This time you should have no cd icon on your desktop.
- Mount the CD from terminal using mount /dev/cdrom /media/cdrom
- You should now have this icon on your desktop.

- If you have a regular CD icon like the one below, you will need to start again since you will not be given the correct permissions.

- Using Terminal, navigate to the cdrom using cd /media/cdrom
- Use ls to check the contents. You should have install , installer, install-gui , kmods, tools and version.
- Enter ./install
- Open the cd rom by clicking on it.
- Copy and past the contents into a new folder on the desktop and rename it This.
- In the CLI (Terminal) type ls (list) then cd Desktop (change directory to desktop)
- Type ls again and you will see your folder This.
- Type sudo chmod 777 This -R
- Type ls and the folder This should be highlighted in green
- Type cd This
- Type sudo ./install
The instillation will now start. You can use the Tab to navigate and the Space bar to select.
Источник
Installing Parallels Tools in Kali Linux
Problem
When trying to install Parallels Tools in my Kali Linux VM it continues to fail because Kali mounts it with the noexec option. When I run ./install it fails with a permission error.
Example
following the instructions from many places I,
Make sure the DVD drive in the Linux VM is ejected: eject /dev/cdrom
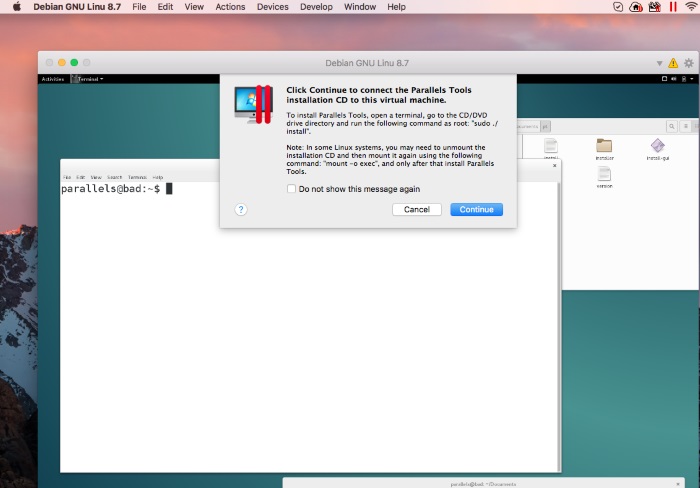
Go to the Parallels Desktop menu bar > Devices > CD/DVD > Connect image… Navigate to /Applications/Parallels Desktop/Contents/Resources/Tools .
Click on prl-tools-lin.iso and click Open.
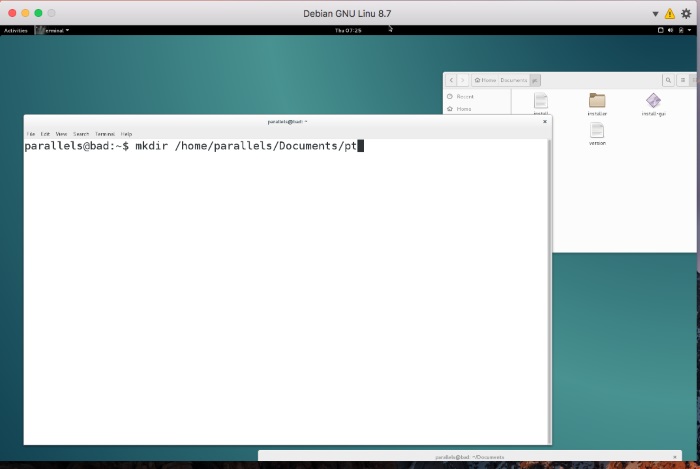
Mount the Parallels Tools image to the Linux VM: mkdir /media/cdrom
mount /dev/cdrom /media/cdrom
Make sure the disk image has been successfully mounted: ls /media/cdrom
It should list the files located on the disk:
install* installer/ install-gui* kmods/ tools/ version
Go to the Parallels Tools image and run the installation package: cd /media/cdrom
This results with a permission error or telling me that the disk is already mounted on /media/cdrom0 .
Question
What is the proper way to mount the tools with the exec option?

1 Answer 1
You’re missing some basics here. The mount command must take a device and a mount path, unless the mount path is already defined in /etc/fstab in which case you can use only the mount path. Read up on with man mount or the many resources online.
In the screenshot you keep switching between cdrom and cdrom0 , I’m not sure if it’s just frustration and rushing, or if you expected them to be the same.
You almost got close to the answer with this command: mount -o exec /dev/cdrom /media/cdrom .
Kali mounts removable media with the noexec option, so you cannot execute any files on the CD image. Despite many tutorials telling you to unmount and mount the image again, you can actually remount in one command. Although you do need to get the syntax of the mount command right 😉
Without further ado:
mount -o remount,defaults,ro,exec /dev/sr0 /media/cdrom
The options used are:
remount — remount in place
defaults — because I don’t want to bother with all the details
ro — read-only, it’s a CDROM
exec — allow execution of files on this mount point.
Источник
How Kali Linux install Parallels Tools
Has long been,Kali Linux installed on Parallels Desktop is unable to install Parallels Tools,This is a very painful thing,When you try to install Parallels Tools,Will meet either lack of make ,Or lack of kernel sources,The former has been installed,The latter always has no solution。
now,I finally found something to install Parallels Tools in the Kali Linux way! Ah ha ha
Of course,This is not my original。At all events,At least installed,This method takes slightly longer,Because Parallels download required accessories,Size between 70
300M . . Concrete is not clear。
First of all
Copy CD files,Just build a list of the desktop in it,Or direct install prompts do not have permission;
Enter store CD files directory,Execute the following command to modify the permissions
All files in this directory to maximum,Because it is temporary,In order to avoid permission problems,We give 777,Installing the deleted。
installation
Use the following command to install
Specific installation steps similar to the text-interface setup steps,Then it will prompt you before installing «is missing the attachment to download。”
Before you start the download,You want to make sure your computers (virtual machine) is a networking,Otherwise, after waiting for a long time may get the result is timed out;Other,Try to update your Kali Linux,See how the speed of update source,From my experience,Download attachments are downloaded from the source,So you need a relatively fast speed of update source。
Waiting to download the update
This step no progress bar and no percentage if you are using a shared-mode network,Traffic monitoring software on your computer (firewall) may be able to capture the PD process flow,Anyway, I use aliyun mirror source,Speed 20KB/s,Waiting for over an hour . . Don’t remember,While playing the game hangs,Final installation is complete。
Источник
Kali linux parallels desktop
This page provides instructions on installing Debian Linux on your Mac for the first time to use with Parallels Desktop.
Resolution
- Download the latest Debian .iso image file from debian.org.
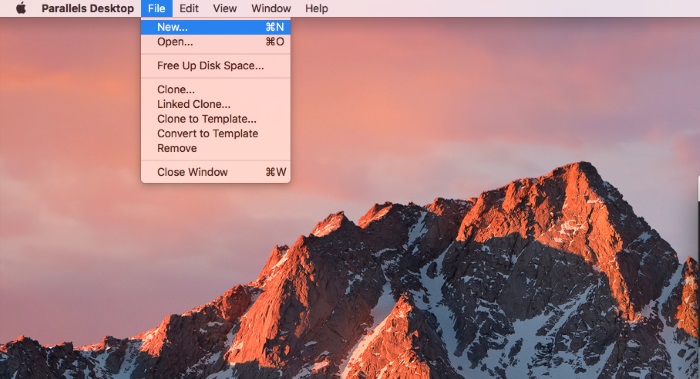
Start Parallels Desktop, then click File -> New.
Choose «Install Windows or another OS from a DVD or and image file», then click Continue.
Choose Debian Linux from the list of the operating system sources found on your Mac, then click Continue.
Specify the name and location of your virtual machine or leave the default settings, then click Continue.
The Debian virtual machine will be created and Debian installation setup screen will appear.
Click inside the virtual machine screen, then select «Graphical Install».
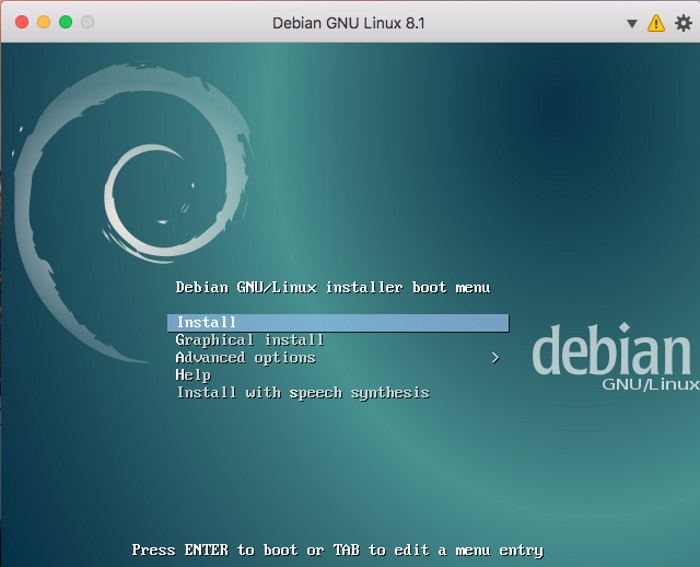
Go through the Debian installation wizard.
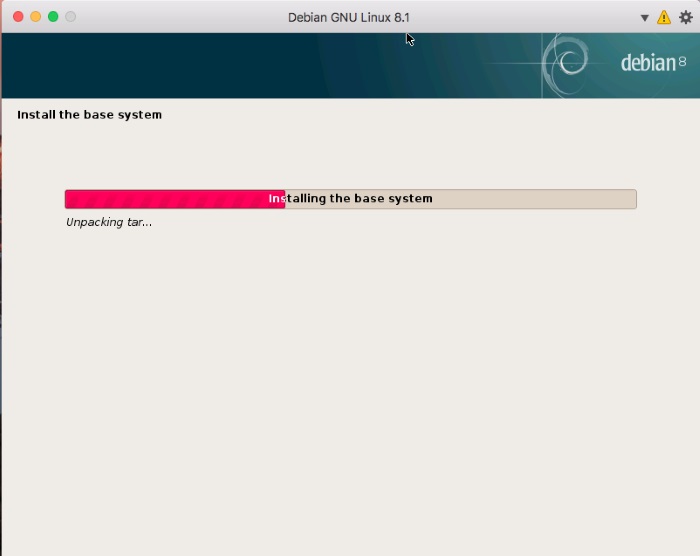
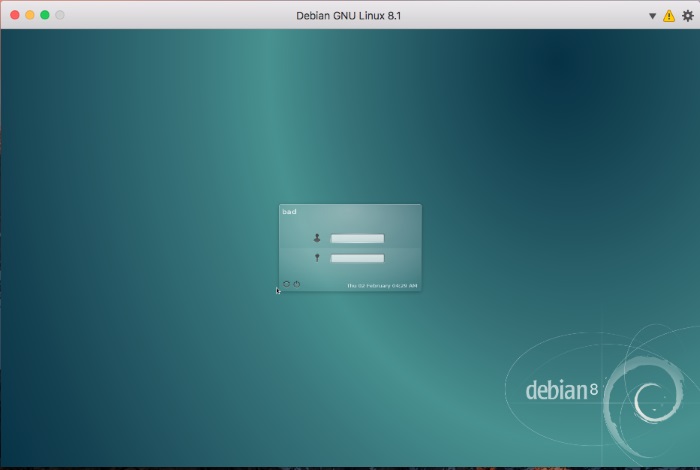
Wait till installation is complete, then reboot your virtual machine. Log into Debian VM
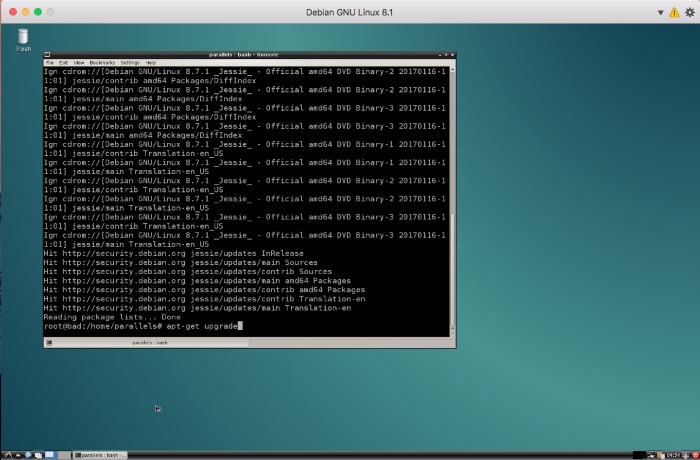
Update Debian environment to the latest version. Also make sure that essential packages are installed as well.
IMPORTANT: Before installing Parallels Tools and/or updating Debian VM we recommend to create a fresh snapshot for your Debian Virtual Machine (VM).
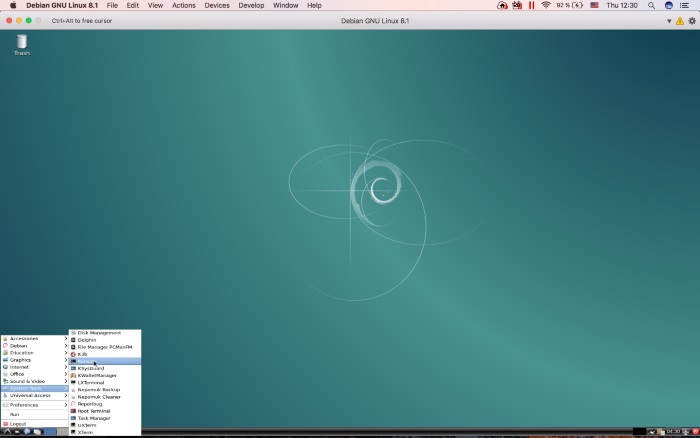
Launch Debian Konsole (Terminal)
Copy and execute the following command:
(Prompt an administrator password)
Copy and execute the following commands one by one:


Restart Debian Linux VM.
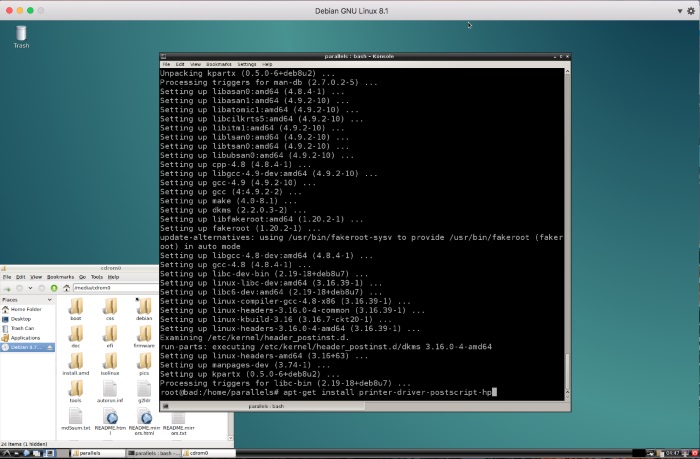
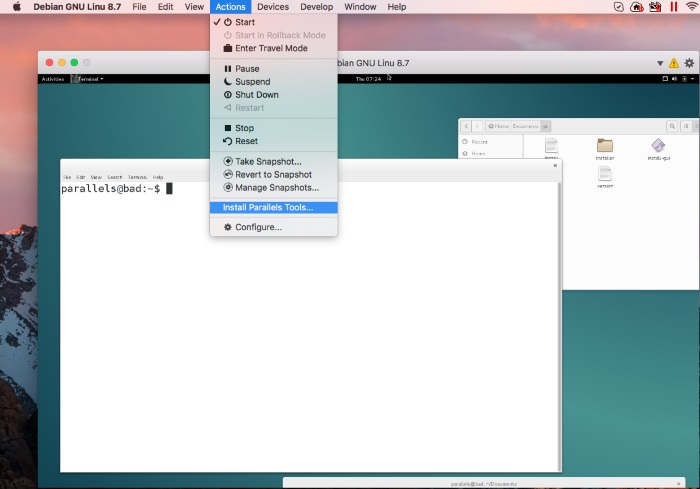
Install Parallel Tools by running the installer.

Execute following commands in Debian Terminal:
(Prompt an administrator password)


You will get an error message about missing printer driver, please ignore it and click OK
Once Parallels Tools installation is complete, restart Debian VM.
IMPORTANT: In order to be able to use Coherence view mode in Debian Linux VM, please check Disabling Desktop Visual Effects in Linux virtual machines
Была ли эта статья полезной?
Как, по вашему мнению, можно улучшить эту статью?
Источник


