- Windows
- Welcome Window
- Macros Window
- Tutorial
- Macro Group Editor
- Macro Editor Window
- Macro Library Window
- Recording Window
- Application Launcher Window
- Application Switcher Window
- Window Switcher Window
- Clipboard Switcher Window
- Clipboard History Switcher Window
- Preferences Window
- Preferences General Pane
- Preferences Web Server Pane
- Preferences Clipboards Pane
- Preferences Exclude Pane
- About Window Pane
- Windows
- Macros Window Pane
- Macro Editor Window
- Program Switcher Window Pane
- Program Switcher Window
- Window Switcher Window
- Clipboard Switcher Window Pane
- Clipboard Switcher Window
- Preferences Window Pane
- About Window Pane
Windows
Welcome Window
This window welcomes new users and gives you some options for learning about Keyboard Maestro.
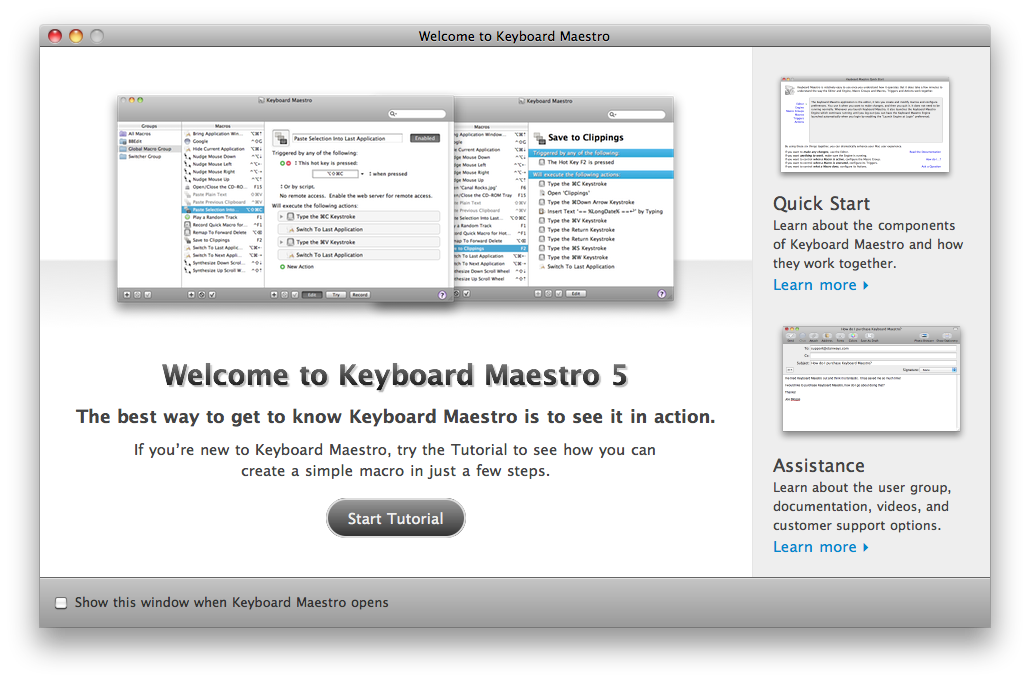
If you are new to Keyboard Maestro, start the tutorial and Keyboard Maestro will walk you through creating a simple macro.
Macros Window
This window lets you manipulate Macros and Macro Groups, creating new ones, deleting old ones, enabling and disabling them, editing them and so on.
You get this window pane by launching Keyboard Maestro.
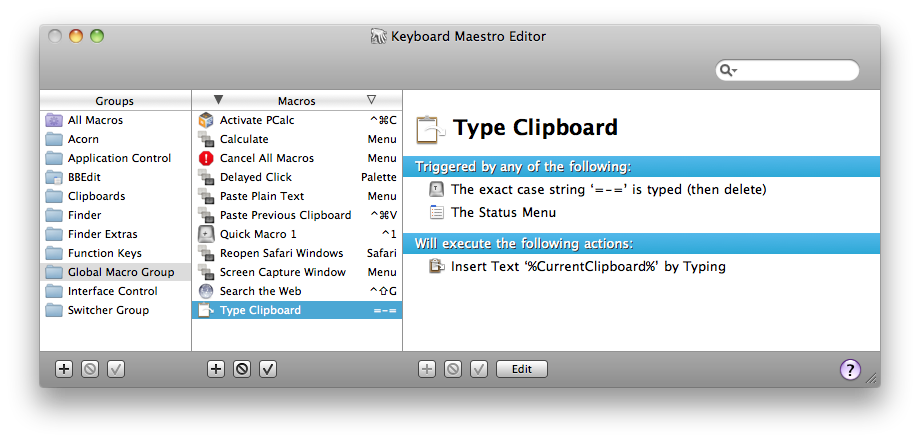
The window contains a list of Macro Groups and their associated Macros.
You can create a new Macro Group by clicking the + button below the Groups list.
You can create a new Macro by selecting a macro group and then clicking the + button below the Macros list.
You can see the selected Macro Group or Macro in the right hand column, and edit it by clicking the Edit button.
You can select the All Macros meta-Group to show all Macros, and you can use the search field to filter down the list of macros.
You can rename a Macro Group or Macro by double clicking it and changing the title.
You can delete a Macro Group by selecting it and clicking the вѓ button below the Groups list.
You can delete a Macro by selecting it and clicking the вѓ button below the Macros list.
Similarly, you can enable or disable Macro Groups or Macros by clicking their respective вњ“ button.
You cannot delete, rename or modify the Global Macro Group.
Tutorial
If you are new to Keyboard Maestro, start the tutorial by clicking the Start Tutorial button in the Welcome window or by choosing Tutorial from the Help menu and Keyboard Maestro will walk you through creating a simple macro.
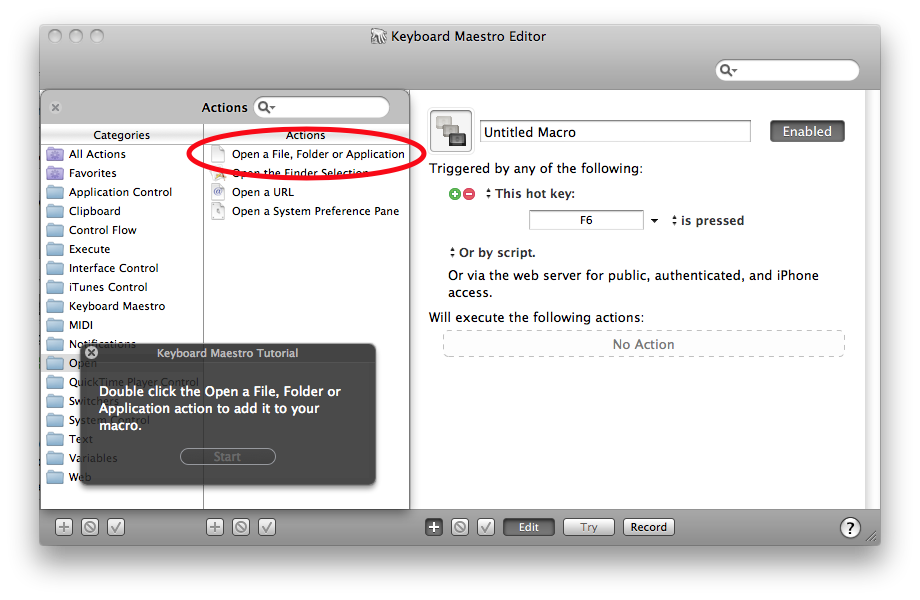
Follow the instructions. Keyboard Maestro will hilight the location of the various buttons to help you quickly create a macro. You can even use the tutorial as a wizard to create a hot key triggered macro to perform any of Keyboard Maestro’s many actions.
Macro Group Editor
To edit a Macro Group, select it and click the Edit button. Its details will be shown in the right hand column. You can edit its name, control which applications it is available in, and how it will be activated.
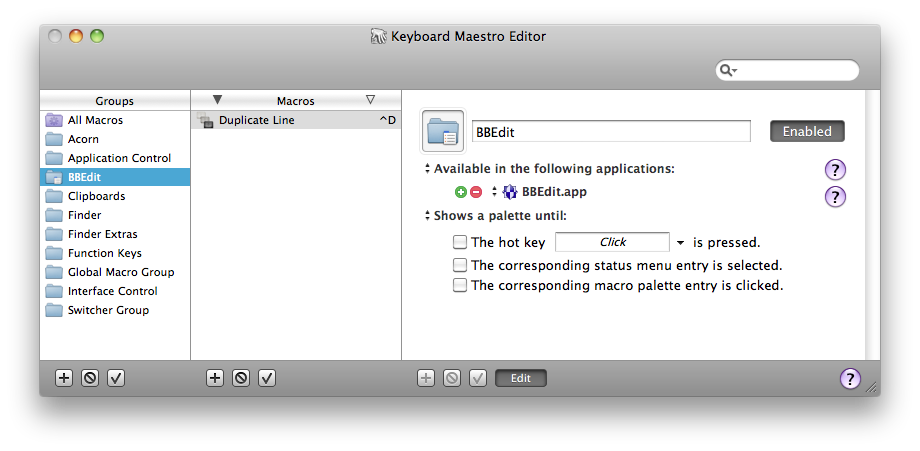
Typically a group’s macros would be available everywhere (available in all applications), or it might be specific to a particular application (available in the following applications) in which case you might name the Macro Group after the application.
You can also configure the macro group to be activated only after a Hot Key press (either for a single use or toggled on and off), and whether to display the macros in a floating palette.
See also the Macros section.
Macro Editor Window
To edit a Macro, select it and click the Edit button. Its details will be shown in the right hand column. You can edit its name, add or remove triggers, and configure its action list.
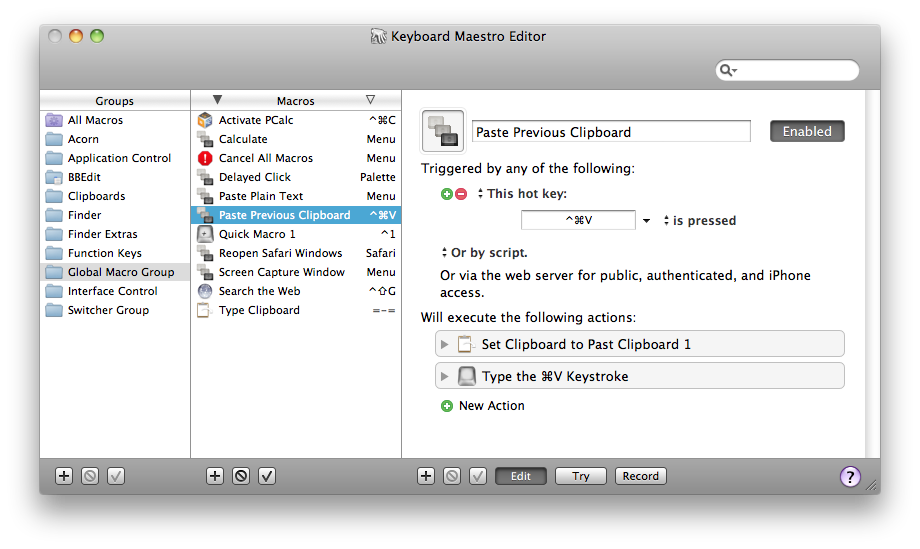
To add a trigger, click the green вЉ• button and select the type of trigger. To remove a trigger, click the red вЉ– button.
To see how to execute this macro via a script, select from the “Or by script”’ menu. How you can execute the macro remotely is also displayed.
To add an action, click the New Action button, or equivalently the + button below the detail view. This will show the lists of possible actions. Double click one or more of them to add actions to the action list for this macro.
You can also Copy and Paste actions, as well as drag them around to rearrange them. Use the вѓ button and вњ“ button to delete or enable/disable the selected actions.
You can try the selected actions by clicking the Try button.
You can click the Record button to record your actions.
To learn more about creating or editing Macros, see the Macros section.
Macro Library Window
This window contains examplke and template macros you can add to your macro collection. You can use the macros as is, or edit them to customize them for your particular needs.
You get this window by choosing Macro Library from the Window menu.
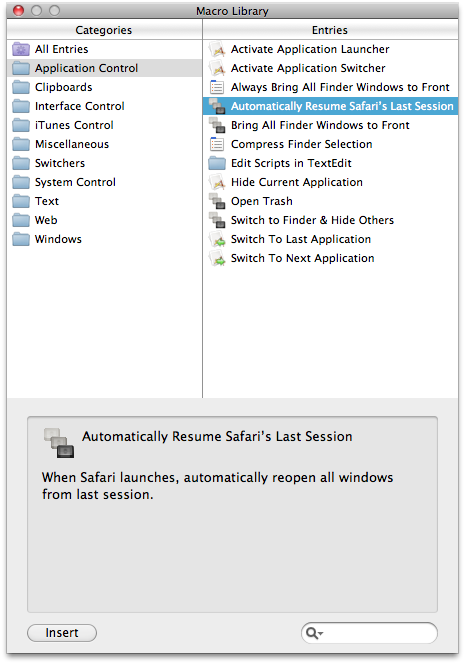
Each entry represents one or more macros, usually in a single macro group, but occasionally in more than one macro group. You can learn about them by selecting them, and then you can insert them into your macros by clicking the Insert button or by dragging them to a particular macro group (dragging is not available if the library entry represents more than one macro group as you can’t drag to two macro groups).
You can add macros to your library by using the File -> Export as Macro Library and selecting the Add to Library checkbox. You can get Macro Library entries from us or from other Keyboard Maestro users and add them to you library by double clicking them or by choosing Import to Macro Library from the File menu.
Remember to use caution when installing a macro or macro library from anyone — macros can potentially do a lot of damage and compromise the security of your Mac, so only install macros from trusted sources.
Recording Window
This window shows you when Keyboard Maestro is recording your actions.
You get this window by clicking the Record button in the Macro Editor window or by triggering a Record Quick Macro action.
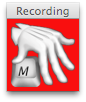
Clicking on this window will stop all recording.
To learn more about recording, see the Recording section.
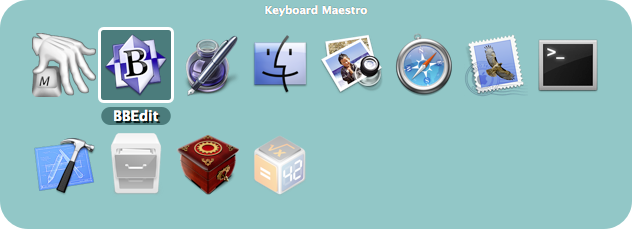
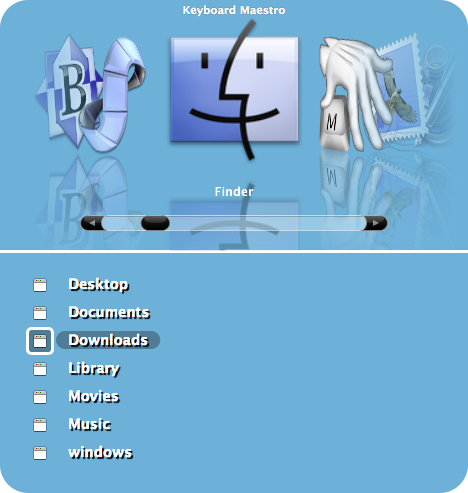
Application Launcher Window
This window lets you launcher applications.
You get this window by triggering the Activate Application Launcher macro.

To learn more about the Application Launcher, see the Application Launcher section.
Application Switcher Window
This window lets you switch between active applications, as well as quit or hide applications or quickly launch frequently used applications.
You get this window by triggering the Activate Application Switcher macro.
To learn more about the Application Switcher, see the Application Switcher section.
Window Switcher Window
This window lets you switch between windows in the current application, as well as close or minimize windows.
You get this window by triggering the Activate Window Switcher macro.
To learn more about the Window Switcher, see the Window Switcher section.
Clipboard Switcher Window
This window lets you select between named clipboards to Cut, Copy or Paste to/from.
You get this window by triggering one of the Activate Clipboard Switcher macros.
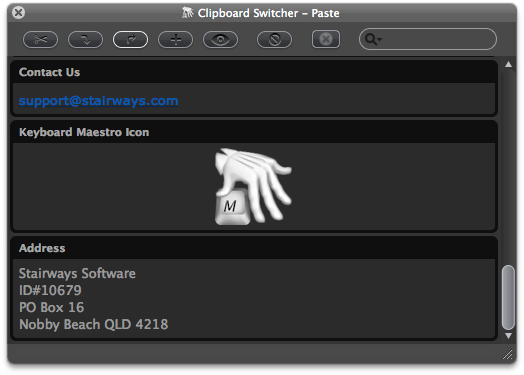
Select something and select a named clipboard and click the Cut button or Copy button to cut/copy to a named clipboard. Select a named clipboard and click the Paste button button to paste a named clipboard. Click the + button to create a new named clipboard. Select a named clipboard and click the Quick Look button to view it. Select a named clipboard and click the вѓ button to delete it.
Click the x button to toggle whether the window should close after an action.
Use the search field to filter the named clipboards.
To learn more about the Clipboard Switcher, see the Clipboard Switcher section.
Clipboard History Switcher Window
This window lets you paste from your clipboard history of items that you have previously cut or copied.
You get this window by triggering the Clipboard History Switcher macro.
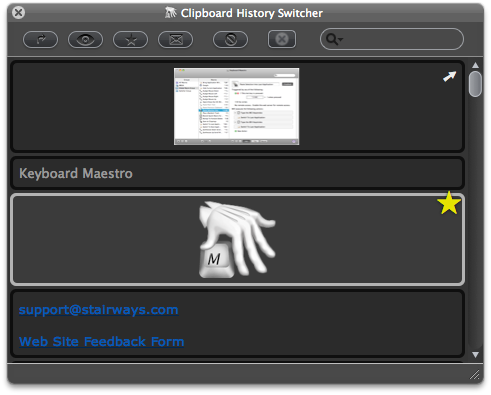
Cut or copy something and it will appear in this list. Select an item and click the Paste button button to paste a named clipboard. Select an item and click the в… button (or press Command-L) to mark it as a favorite, or click the вњ‰ button (or press Command-S) to send it to another Mac. Select an item and click the вѓ button to delete it (this is useful if you want to delete a password or other sensitive information).
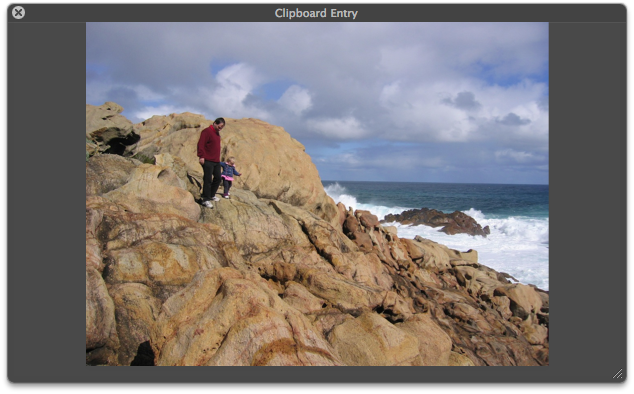
To view an item more fully, select it and click the Quick Look button (or press Space) to display the Quick Look window.
To send a clipboard to another Mac running Keyboard Maestro, click the вњ‰ button to display the sending window.
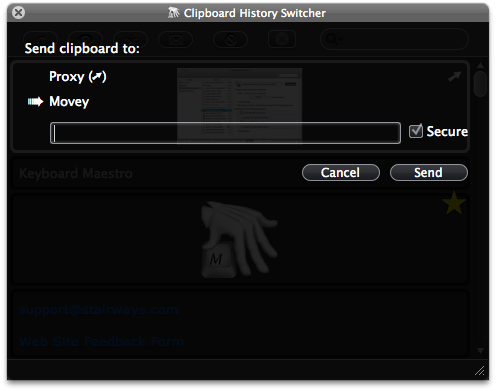
Select the desired local destination, or type a host:port destination to send it to a remote Mac, and click the send button. Keyboard Maestro will keep trying to send to the Mac even if it can’t connect right now, so as long as both Macs are connected to the Internet eventually, the clipboard should get through. While a clipboard is being sent, it is marked with a progress icon. If a clipboard is marked to be sent in the future, it is marked with a вћ№ . Once it has been successfully sent, it is marked with a вћљ . If it fails to be sent, and Keyboard Maestro has given up, it is marked with a ! . Clipboards that have been received are marked with a вњ‰ .
Click the x button to toggle whether the window should close after an action.
Use the search field to filter the named clipboards.
To learn more about the Clipboard History Switcher, see the Clipboard History Switcher section.
Preferences Window
This window lets you configure Keyboard Maestro.
You get this window by launching Keyboard Maestro and choosing Preferences from the Keyboard Maestro menu.
To learn more about the Preferences, see the Preferences section.
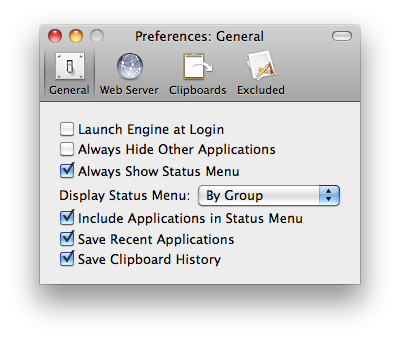
Preferences General Pane
This window pane lets you configure general preferences.
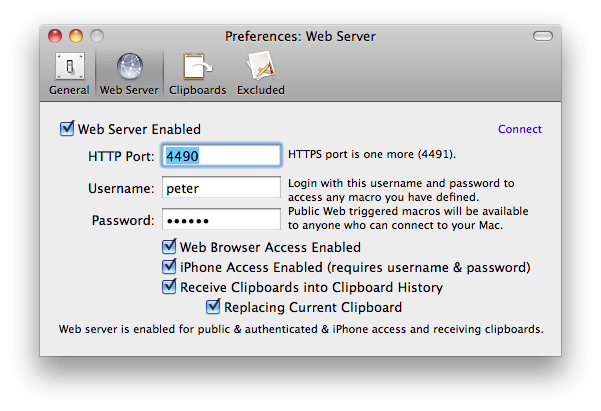
Preferences Web Server Pane
This window pane lets you configure the built-in web server which enables remote execution of macros.
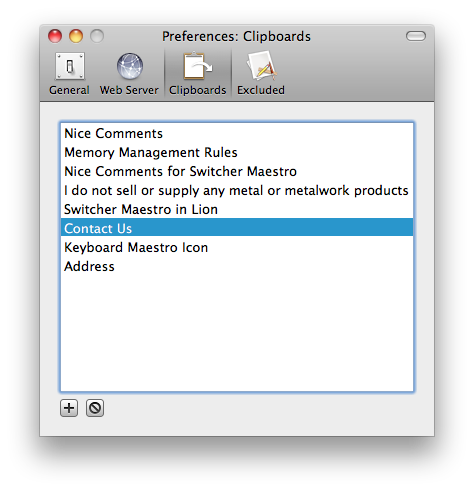
Preferences Clipboards Pane
This window pane lets you add, remove and rename Named Clipboards.
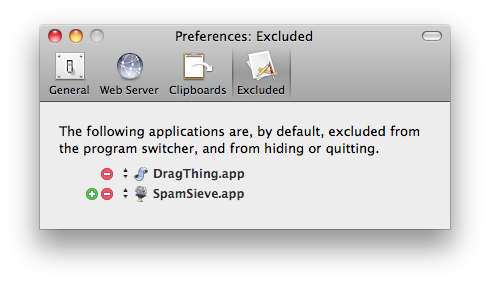
Preferences Exclude Pane
This window pane lets you add and remove applications from the global Excluded Applications list.
About Window Pane
This window shows you the version of this copy of Keyboard Maestro, to whom it is registered, and allows you to visit the web site.
You get this window by launching Keyboard Maestro and choosing About Keyboard Maestro from the Keyboard Maestro menu.
Windows
Macros Window Pane
This window pane lets you manipulate Macros and Macro Groups, creating new ones, deleting old ones, enabling and disabling them and so on.
You get this window pane by launching Keyboard Maestro and clicking the Macros tab.
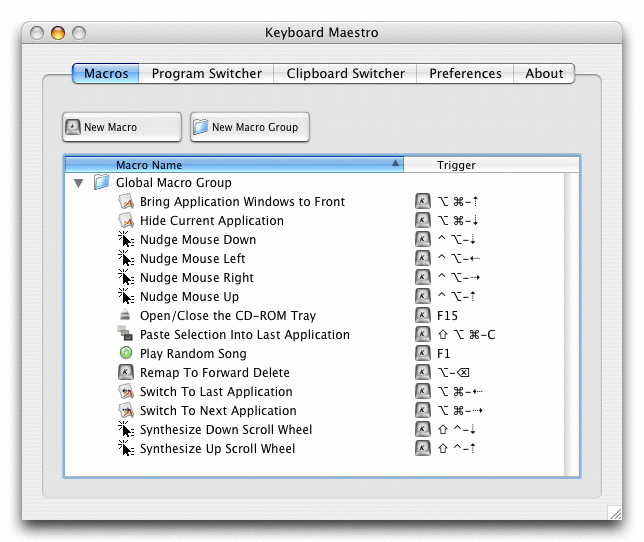
The window pane contains a list of Macro Groups and their associated Macros.
You can create a new Macro Group by clicking the New Macro Group button. A sheet will appear allowing you to enter the name of the group and choose the applications in which the group’s Macros should be active. Typically a group’s Macros would be active everywhere (All Applications), or it might be specific to a particular application (Only these Applications) in which case you might name the Macro Group after the application.
You can create a new Macro by clicking the New Macro button. A Macro Editor window will appear and allow you to define your new Macro. The new Macro will be created in the same Macro Group as you currently have selected, or the Global Macro Group if no item is selected.
You can rename or change an entry (Macro or Macro Group) by double clicking it, or delete it by selecting it and pressing the Delete key. You can only delete empty Macro Groups and you cannot delete or rename the Global Macro Group.
See also the Macros and Macro Editor Window sections.
Macro Editor Window
This window lets you edit or create a Macro.
You get this window by clicking by selecting the Macros window pane and either clicking the New Macro button to create a new Macro or by double clicking an existing Macro to edit it.
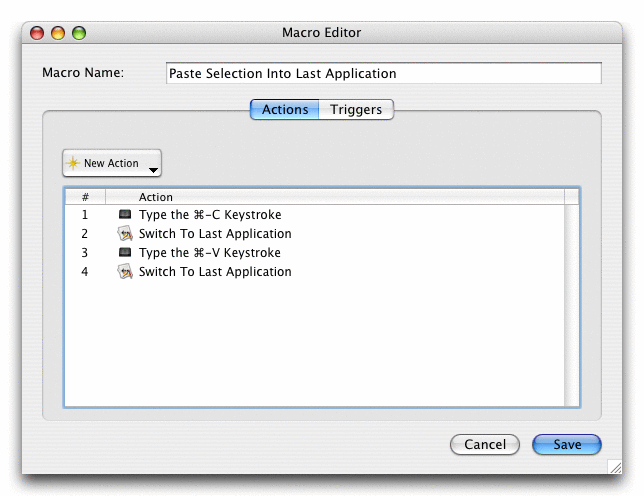
You can give the Macro a name, add, delete or rearrange actions, and add or delete triggers.
To learn more about creating or editing Macros, see the Macros section.
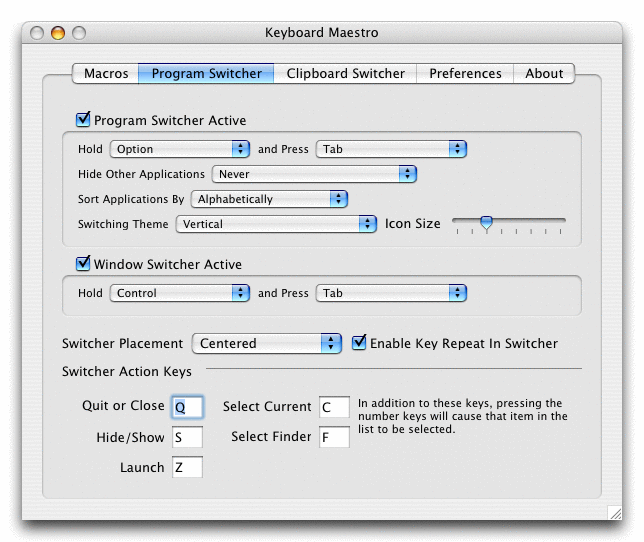
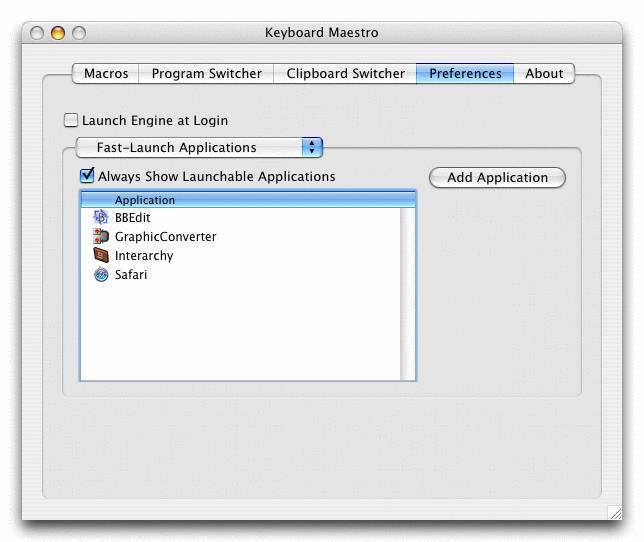
Program Switcher Window Pane
This window pane lets you configure Program and Window Switcher.
You get this window pane by launching Keyboard Maestro and clicking the Program Switcher tab.
To learn more about the Program and Window Switcher, see the Program Switcher section.
Program Switcher Window
This window lets you switch between active programs, as well as quit or hide programs or quickly launch frequently used programs.
You get this window by pressing the Program Switcher Keystroke at any time in any application (as long as the Program Switcher is active and the Keyboard Maestro Engine is running).
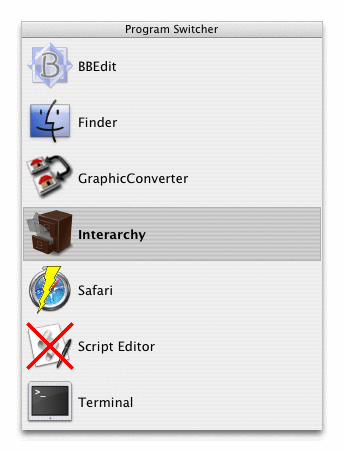
To learn more about the Program Switcher, see the Program Switcher section.
Window Switcher Window
This window lets you switch between windows in the current application, as well as close or minimize windows.
You get this window by pressing the Window Switcher Keystroke at any time in any application (as long as the Window Switcher is active and the Keyboard Maestro Engine is running).
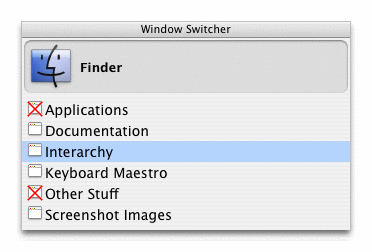
To learn more about the Window Switcher, see the Program Switcher section.
Clipboard Switcher Window Pane
This window pane lets you configure Clipboard Switcher.
You get this window pane by launching Keyboard Maestro and clicking the Clipboard Switcher tab.

To learn more about the Clipboard Switcher, see the Clipboard Switcher section.
Clipboard Switcher Window
This window lets you select between named clipboards to copy or paste from.
You get this window by pressing one of the Clipboard Switcher Keystrokes (one each for Cut, Copy and Paste) at any time in any application (as long as the Clipboard Switcher is active and the Keyboard Maestro Engine is running).
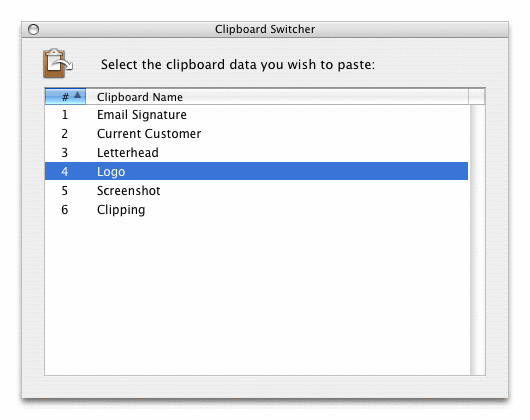
To learn more about the Window Switcher, see the Clipboard Switcher section.
Preferences Window Pane
This window pane lets you configure Keyboard Maestro.
You get this window pane by launching Keyboard Maestro and clicking the Preferences tab.
To learn more about the Preferences, see the Preferences section.
About Window Pane
This window shows you the version of this copy of Keyboard Maestro, to whom it is registered, and allows you to visit the web site.
You get this window by launching Keyboard Maestro and clicking the About tab.


