- Kivy. Сборка пакетов под Android и никакой магии
- Kivy — Создание мобильных приложений на Python
- Содержание
- Принципы работы фреймворка Kivy Python
- Установка Kivy
- Create a package for Windows
- Requirements
- PyInstaller default hook
- Packaging a simple app
- Single File Application
- Bundling Data Files
- Packaging a video app with gstreamer
- Overwriting the default hook
- Including/excluding video and audio and reducing app size
Kivy. Сборка пакетов под Android и никакой магии
Во вчерашней статье Python в Mobile development, в которой речь шла о библиотеке KivyMD (коллекции виджетов в стиле Material Design для использования их в кроссплатформенном фреймворке Kivy), в комментариях меня попросили рассказать о процессе сборки пакета для платформы Android. Для многих этот процесс, к сожалению, был и остается чем-то из ряда магического шаманства и не подъёмным для новичков делом. Что ж, давайте разбираться, так ли на самом деле все сложно и действительно ли я маг и волшебник.

Конечно, мог бы! Итак, вы написали свой код на Python и Kivy. Что нужно для того, чтобы это можно было запустить на Android устройствах? Перейдите в репозиторий KivyMD и вы увидите, что в этой инструкции уже давно прописаны шаги, которые позволят вам собрать APK пакет:
- Загрузите XUbuntu 18.04
Установите Virtual Box на свой компьютер.
Создайте новую виртуальную машину на основе загруженного образа XUbuntu
Запустите виртуальную машину XUbuntu, откройте терминал и выполните нижеследующую команду:
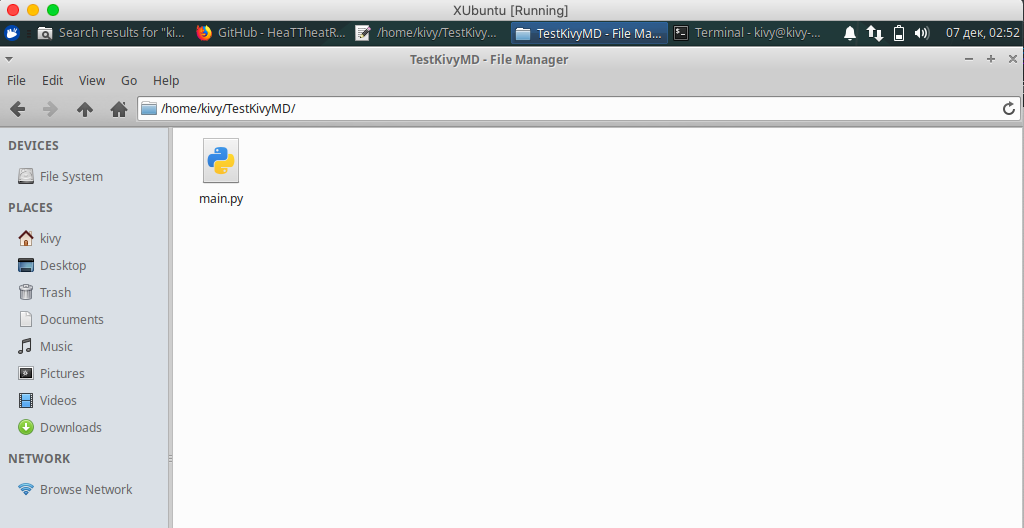
Все! Теперь у вас есть виртуальная машина для сборки APK пакетов для приложений Kivy! Что дальше? Давайте, собственно, займемся сборкой тестового приложения. Создайте в домашнем каталоге вашей виртуальной машины директорию TestKivyMD с пустым файлом main.py:
Далее откройте файл main.py и напишите код нашего тестового приложения, которое будет использовать библиотеку KivyMD:
Сохраните, откройте терминал в директории с файлом main.py и установите библиотеку KivyMD:
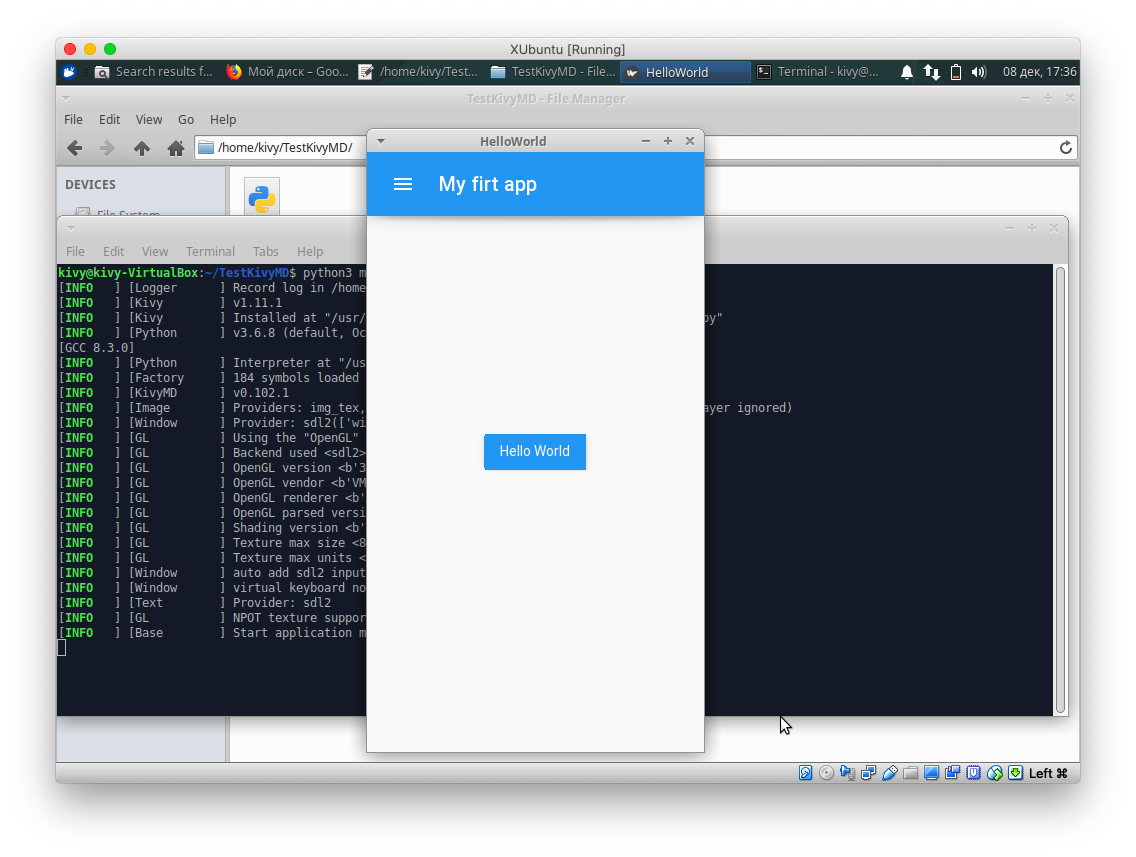
После установки можно протестировать наш код:
Результатом работы скрипта будет экран с Toolbar и одной кнопкой «Hello World»:
Дальше нам нужно создать файл спецификации buildozer.spec, который должен располагаться в той жу директории, что и файл main.py:
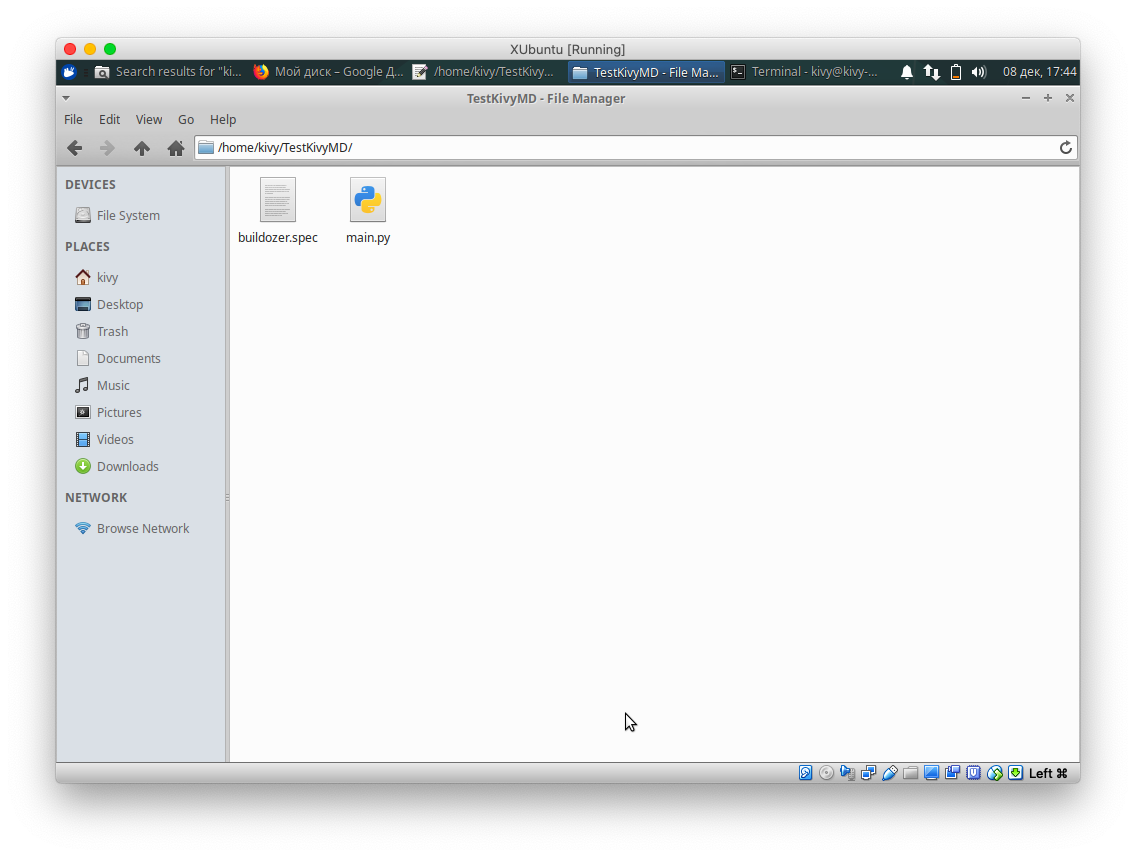
Если вы не закрывали терминал (если терминал был закрыт, откройте его в директории TestKivyMD), введите команду:
Эта команда создаст дефолтный файл спецификации. Откройте его и отредактируйте:
Здесь все понятно поэтому дополнительные комментарии излишне. Почитайте внимательно дефолтную спецификацию, в ней можно указать путь к иконке, пресплеш при загрузке приложения и многое другое. Я оставил лишь то, что нам сейчас нужно для сборки нашего тестового пакета. И, собственно, запускаем процесс сборки командой в терминале:
Можете смело идти на кухню и заваривать кофе, потому что в первый раз процесс загрузки и компиляции библиотек займет очень много времени. Все последующие сборки проходят за 10-20 секунд.
Кофе выпит и самое время заглянуть в терминал:
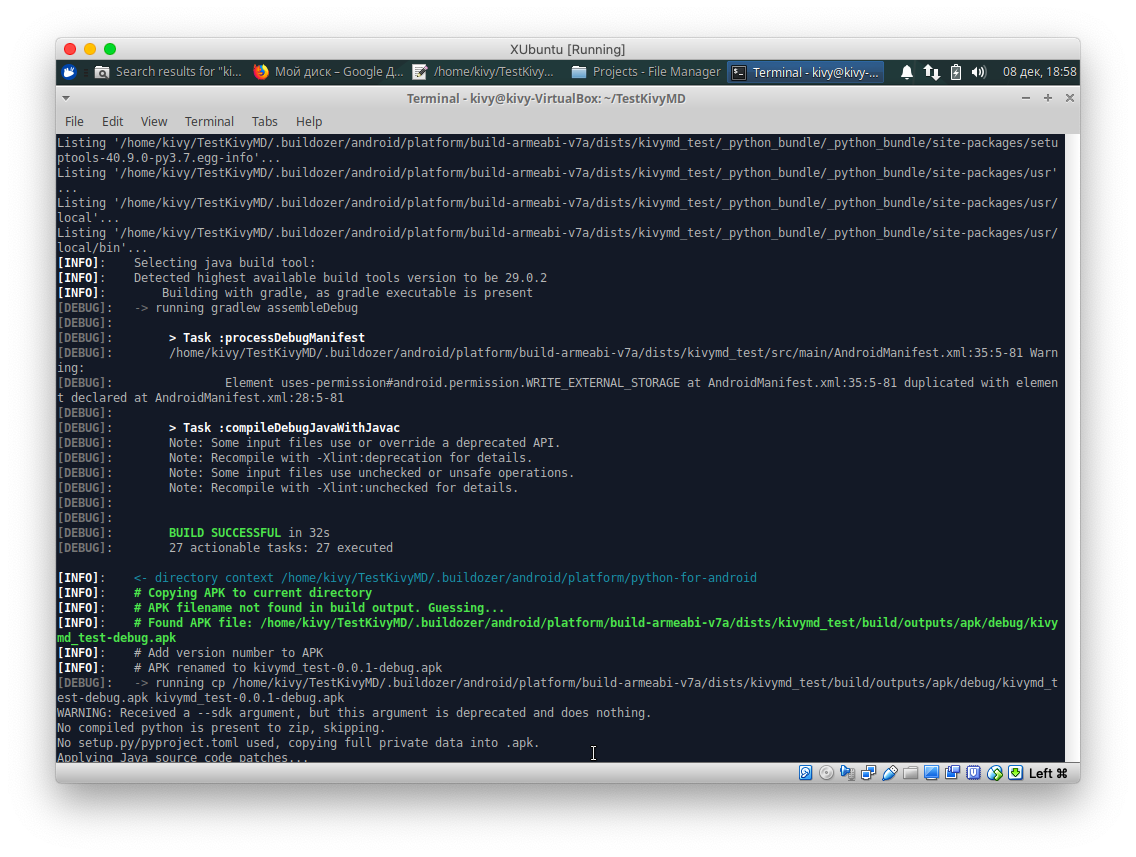
Вуаля! Наше приложение построено! Самое время закинуть его на смартфон и запустить:
Все работает! И оказывается не все так сложно, как казалось.
Также меня спрашивали:
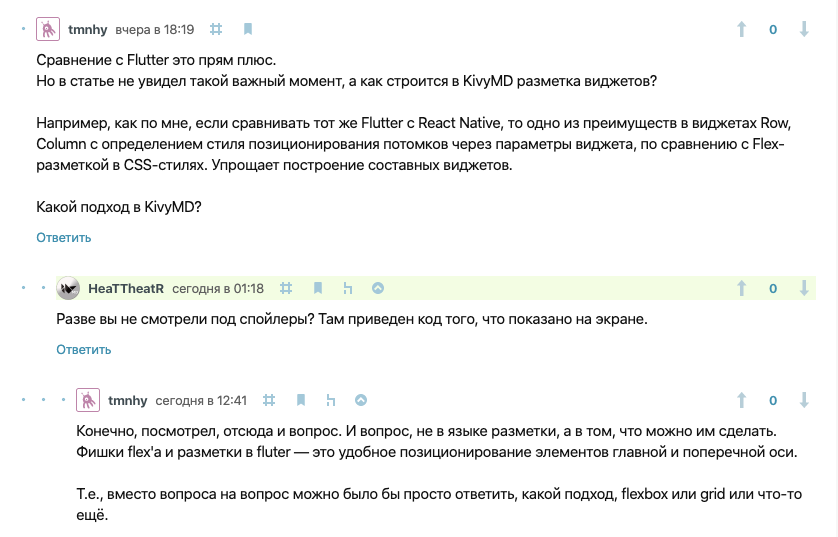
Ни у Flutter ни у React Native нет преимуществ перед языком разметки Kivy Language, которая позволяет создавать и позиционировать лайоуты и виджеты. Как по мне, то, как строится UI во Flutter — это самое настоящее извращение. Придумать это мог только больной на голову человек. Чтобы не быть голословным, давайте посмотрим на код Flutter и код Kivy одного и того же простейшего приложения… Выглядеть оно будет следующим образом:
Ниже я привожу код из статьи Про Flutter, кратко: Основы:
А вот абсолютно тоже самое, но с использованием Kivy и KivyMD:
По-моему, вывод очевиден и не нуждается в моем комментировании…
Надеюсь, был вам полезен. Оставляю опрос на тему «Удалось ли вам построить приложение для Андроид».
Kivy — Создание мобильных приложений на Python
В наши дни каждый разработчик может столкнуться с необходимостью работы над мобильным или веб-приложением на Python. В Python нет встроенных инструментов для мобильных устройств, тем не менее существуют пакеты, которые можно использовать для создания мобильных приложений. Это Kivy, PyQt и даже библиотека Toga от Beeware.
Содержание
Библиотеки являются основными элементами мобильного мира Python. Однако, говоря о Kivy, нельзя игнорировать преимущества данного фреймворка при работе с мобильными приложениями. Внешний вид приложения автоматически подстраивается под все платформы, разработчику при этом не нужно компилировать код после каждой поправки. Кроме того, здесь для создания приложений можно использовать чистый синтаксис Python.
В руководстве будут разобраны следующие темы:
- Работа с виджетами Kivy;
- Планировка UI и лейауты;
- Добавление событий;
- Использование языка KV;
- Создание приложения-калькулятора;
- Упаковка приложения для iOS, Android, Windows и macOS.
Разбор данного руководства предполагает, что читатель знаком с объектно-ориентированным программированием. Для введения в курс дела можете просмотреть статью об Объектно-ориентированном программировании (ООП) в Python 3.
Принципы работы фреймворка Kivy Python
Kivy был создан в 2011 году. Данный кросс-платформенный фреймворк Python работает на Windows, Mac, Linux и Raspberry Pi. В дополнение к стандартному вводу через клавиатуру и мышь он поддерживает мультитач. Kivy даже поддерживает ускорение GPU своей графики, что во многом является следствием использования OpenGL ES2. У проекта есть лицензия MIT, поэтому библиотеку можно использовать бесплатно и вкупе с коммерческим программным обеспечением.
Во время разработки приложения через Kivy создается интуитивно понятный интерфейс (Natural user Interface), или NUI. Его главная идея в том, чтобы пользователь мог легко и быстро приспособиться к программному обеспечению без чтения инструкций.
Kivy не задействует нативные элементы управления, или виджеты. Все его виджеты настраиваются. Это значит, что приложения Kivy будут выглядеть одинаково на всех платформах. Тем не менее, это также предполагает, что внешний вид вашего приложения будет отличаться от нативных приложений пользователя. Это может стать как преимуществом, так и недостатком, все зависит от аудитории.
Установка Kivy
У Kivy есть множество зависимостей, поэтому лучше устанавливать его в виртуальную среду Python. Можно использовать встроенную библиотеку Python venv или же пакет virtualenv.
Виртуальная среда Python создается следующим образом:
Create a package for Windows
This document only applies for kivy 1.9.1 and greater.
Packaging your application for the Windows platform can only be done inside the Windows OS. The following process has been tested on Windows with the Kivy wheels installation, see at the end for alternate installations.
The package will be either 32 or 64 bits depending on which version of Python you ran it with.
Requirements
Latest Kivy (installed as described in Installation on Windows ).
PyInstaller 3.1+ ( pip install —upgrade pyinstaller ).
PyInstaller default hook
This section applies to PyInstaller (>= 3.1) that includes the kivy hooks. To overwrite the default hook the following examples need to be slightly modified. See Overwriting the default hook .
Packaging a simple app
For this example, we’ll package the touchtracer example project and embed a custom icon. The location of the kivy examples is, when using the wheels, installed to python\\share\\kivy-examples and when using the github source code installed as kivy\\examples . We’ll just refer to the full path leading to the examples as examples-path . The touchtracer example is in examples-path\\demo\\touchtracer and the main file is named main.py .
Open your command line shell and ensure that python is on the path (i.e. python works).
Create a folder into which the packaged app will be created. For example create a TouchApp folder and change to that directory with e.g. cd TouchApp . Then type:
You can also add an icon.ico file to the application folder in order to create an icon for the executable. If you don’t have a .ico file available, you can convert your icon.png file to ico using the web app ConvertICO. Save the icon.ico in the touchtracer directory and type:
For more options, please consult the PyInstaller Manual.
The spec file will be touchtracer.spec located in TouchApp . Now we need to edit the spec file to add the dependencies hooks to correctly build the exe. Open the spec file with your favorite editor and add these lines at the beginning of the spec (assuming sdl2 is used, the default now):
Then, find COLLECT() and add the data for touchtracer ( touchtracer.kv , particle.png , …): Change the line to add a Tree() object, e.g. Tree(‘examples-path\\demo\\touchtracer\\’) . This Tree will search and add every file found in the touchtracer directory to your final package.
To add the dependencies, before the first keyword argument in COLLECT add a Tree object for every path of the dependencies. E.g. *[Tree(p) for p in (sdl2.dep_bins + glew.dep_bins)] so it’ll look something like:
Now we build the spec file in TouchApp with:
The compiled package will be in the TouchApp\dist\touchtracer directory.
Single File Application
Next, we will modify the example above to package the touchtracer example project as a single file application. Following the same steps as above, instead issue the following command:
As before, this will generate touchtracer.spec, which we will edit to add the dependencies. In this instance, edit the arguments to the EXE command so that it will look something like this:
Now you can build the spec file as before with:
The compiled package will be in the TouchApp\dist directory and will consist of a single executable file.
Bundling Data Files
We will again modify the previous example to include bundled data files. PyInstaller allows inclusion of outside data files (such as images, databases, etc) that the project needs to run. When running an app on Windows, the executable extracts to a temporary folder which the Kivy project doesn’t know about, so it can’t locate these data files. We can fix that with a few lines.
First, follow PyInstaller documentation on how to include data files in your application.
Modify your main python code to include the following imports (if it doesn’t have them already):
Modify your main python code to include the following (using the touchtracer app as an example):
Finally, follow the steps for bundling your application above.
Packaging a video app with gstreamer
Following we’ll slightly modify the example above to package a app that uses gstreamer for video. We’ll use the videoplayer example found at examples-path\widgets\videoplayer.py . Create a folder somewhere called VideoPlayer and on the command line change your current directory to that folder and do:
to create the gstvideo.spec file. Edit as above and this time include the gstreamer dependency as well:
and add the Tree() to include the video files, e.g. Tree(‘examples-path\\widgets’) as well as the gstreamer dependencies so it should look something like:
Then build the spec file in VideoPlayer with:
and you should find gstvideo.exe in VideoPlayer\dist\gstvideo , which when run will play a video.
If you’re using Pygame and need PyGame in your packaging app, you’ll have to add the following code to your spec file due to kivy issue #1638. After the imports add the following:
Overwriting the default hook
Including/excluding video and audio and reducing app size
PyInstaller includes a hook for kivy that by default adds all the core modules used by kivy, e.g. audio, video, spelling etc (you still need to package the gstreamer dlls manually with Tree() — see the example above) and their dependencies. If the hook is not installed or to reduce app size some of these modules may be excluded, e.g. if no audio/video is used, with an alternative hook.
Kivy provides the alternate hook at hookspath() . In addition, if and only if PyInstaller doesn’t have the default hooks runtime_hooks() must also be provided. When overwriting the hook, the latter one typically is not required to be overwritten.
The alternate hookspath() hook does not include any of the kivy providers. To add them, they have to be added with get_deps_minimal() or get_deps_all() . See their documentation and pyinstaller_hooks for more details. But essentially, get_deps_all() add all the providers like in the default hook while get_deps_minimal() only adds those that are loaded when the app is run. Each method provides a list of hidden kivy imports and excluded imports that can be passed on to Analysis .
One can also generate a alternate hook which literally lists every kivy provider module and those not required can be commented out. See pyinstaller_hooks .
To use the the alternate hooks with the examples above modify as following to add the hooks with hookspath() and runtime_hooks (if required) and **get_deps_minimal() or **get_deps_all() to specify the providers.
For example, add the import statement:
and then modify Analysis as follows:
to include everything like the default hook. Or:
e.g. to exclude the audio and video providers and for the other core modules only use those loaded.
The key points is to provide the alternate hookspath() which does not list by default all the kivy providers and instead manually to hiddenimports add the required providers while removing the undesired ones (audio and video in this example) with get_deps_minimal() .


