Legion Tool in Kali Linux
If you are using Kali Linux 2020.1 or up, then instead of Sparta, Kali Linux comes with the Legion, fork version of Sparta with improved features. Legion tool is a super-extensible and semi-automated network penetration testing framework. Legion is very easy to operate.
Features of Legion Tool:
- GUI with panels and a long list of options that allow pentesters to quickly find and exploit attack vectors on hosts.
- It has the feature of real-time auto-saving of project results and tasks.
- Legion also provides services like Automatic recon and scanning with NMAP, whataweb, sslyzer, Vulners, webslayer, SMBenum, dirbuster, nikto, Hydra, and almost 100 auto-scheduled scripts are added to it.
- Modular functionality of Legion Tool allows users to easily customize Legion.
- Automatic detection of CVEs (Common Vulnerabilities and Exposures and CPEs (Common Platform Enumeration).
Notable changes from Sparta tool:
- Legion tool provides estimates of Task completion.
- The elimination of deprecated and unmaintained libraries has been done as Legion is refactored from Python 2.7 to Python 3.6.
- Support for hostname resolution.
- Legion tool revises the processes in queue and execution routines for increased app reliability and performance.
- Legion has a real-time auto-saving of project tasks and results.
- Scanning of vhosts/sni hosts.
- Legion tool is supported by a highly-active development team.
Installation of Legion tool: Usually Legion tool comes pre-installed with Kali Linux but, if we need to install it we can run the following command :
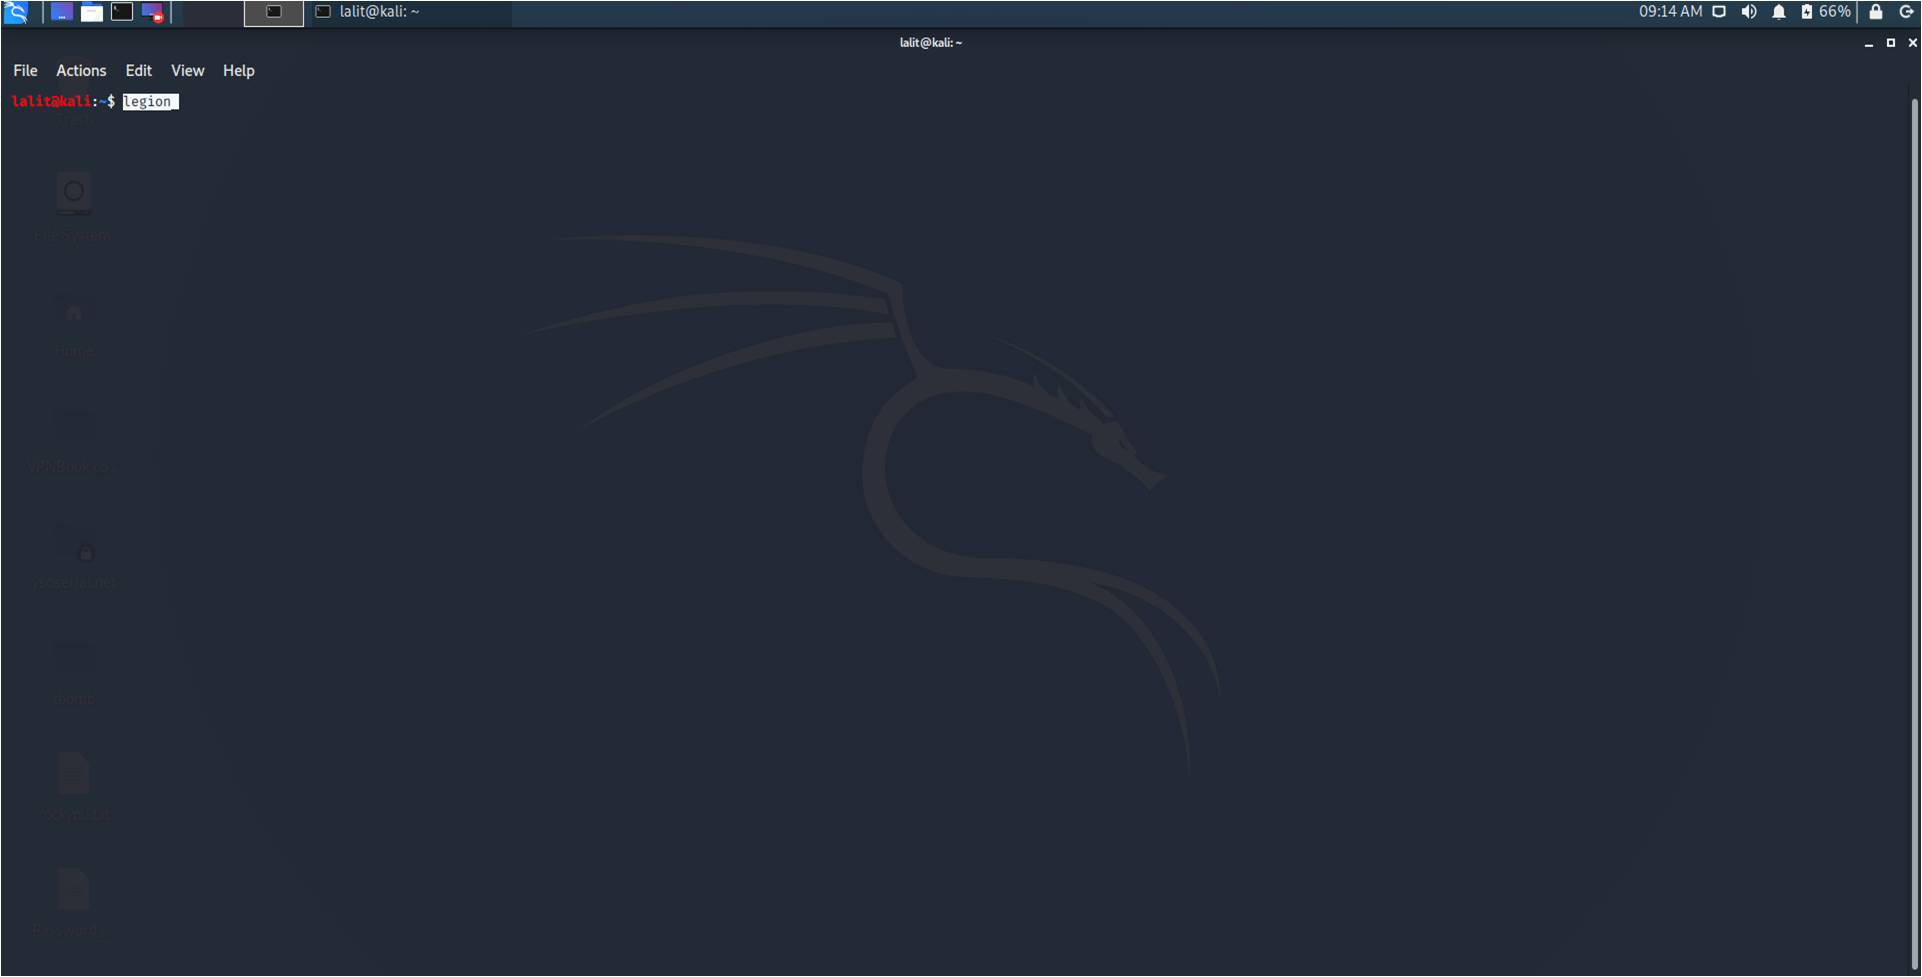
After the complete execution of the above command, you can start the legion tool from any terminal by simply “legion” command.
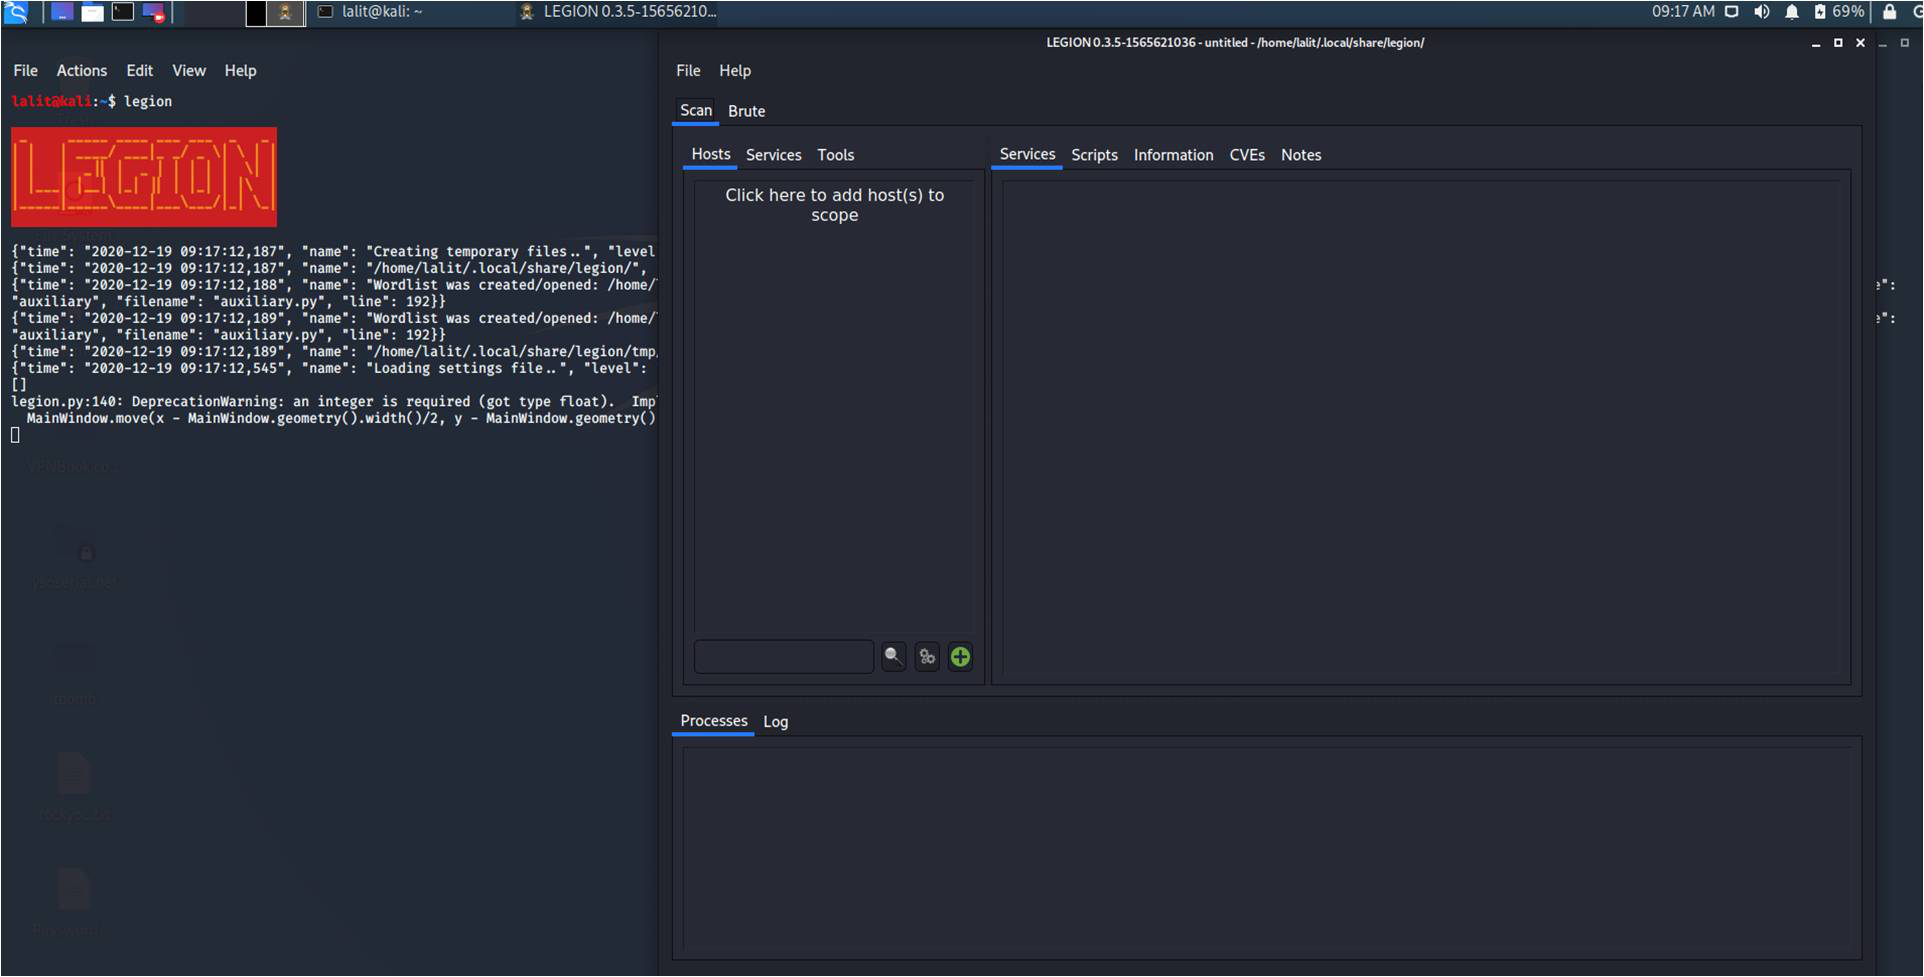
In the Hosts section, we have an option to add hosts to the scope. Simply click on add hosts and you will get the below screen :
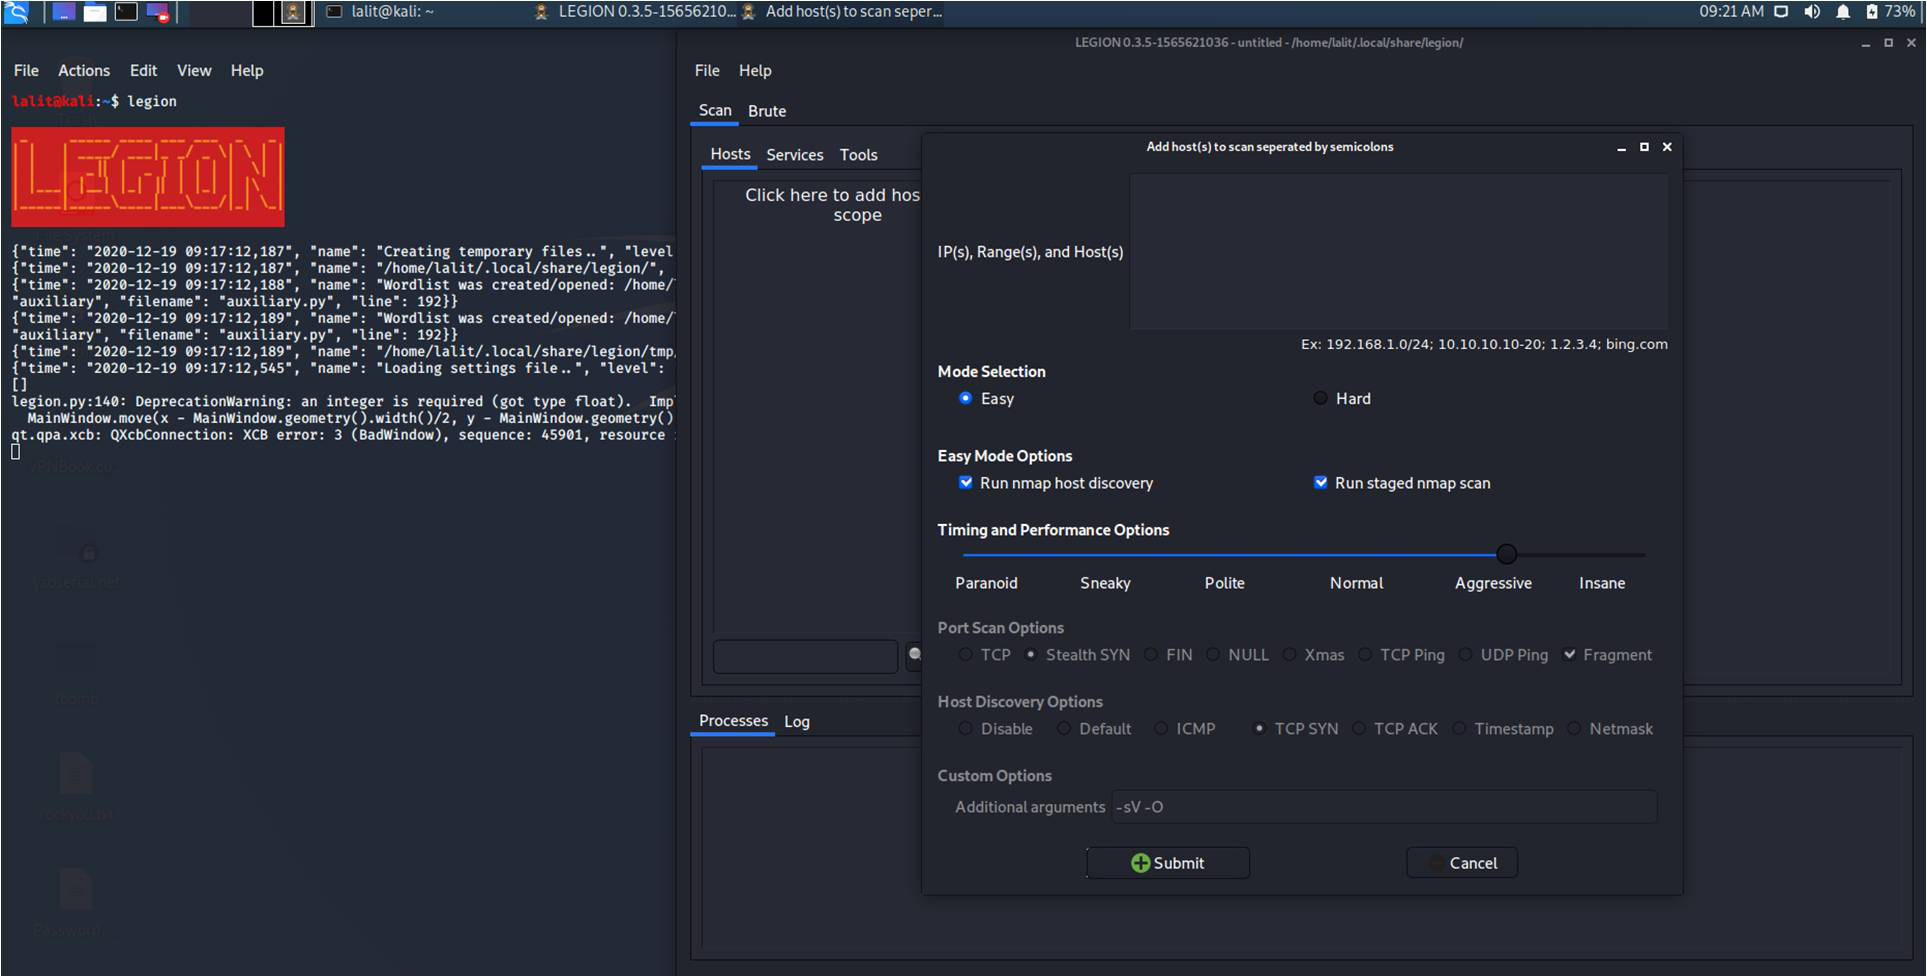
Here we can add a single IP, a range of IPs, or hostnames in the section. In order to add multiple targets simply separate them with a semicolon. Then there is the option for Mode selection, in this section, we have Easy and Hard mode. In Easy mode, we got nmap scanning options like staged scan and nmap host discovery. In Hard mode, we get options like host discovery, custom port scanning, and custom discovery options. In the additional arguments we have -O flag for OS detection and -sV flag for service version.
Performing scan with Legion Tool: We are performing an Easy mode scan on yahoo.com with -sV and -O arguments.
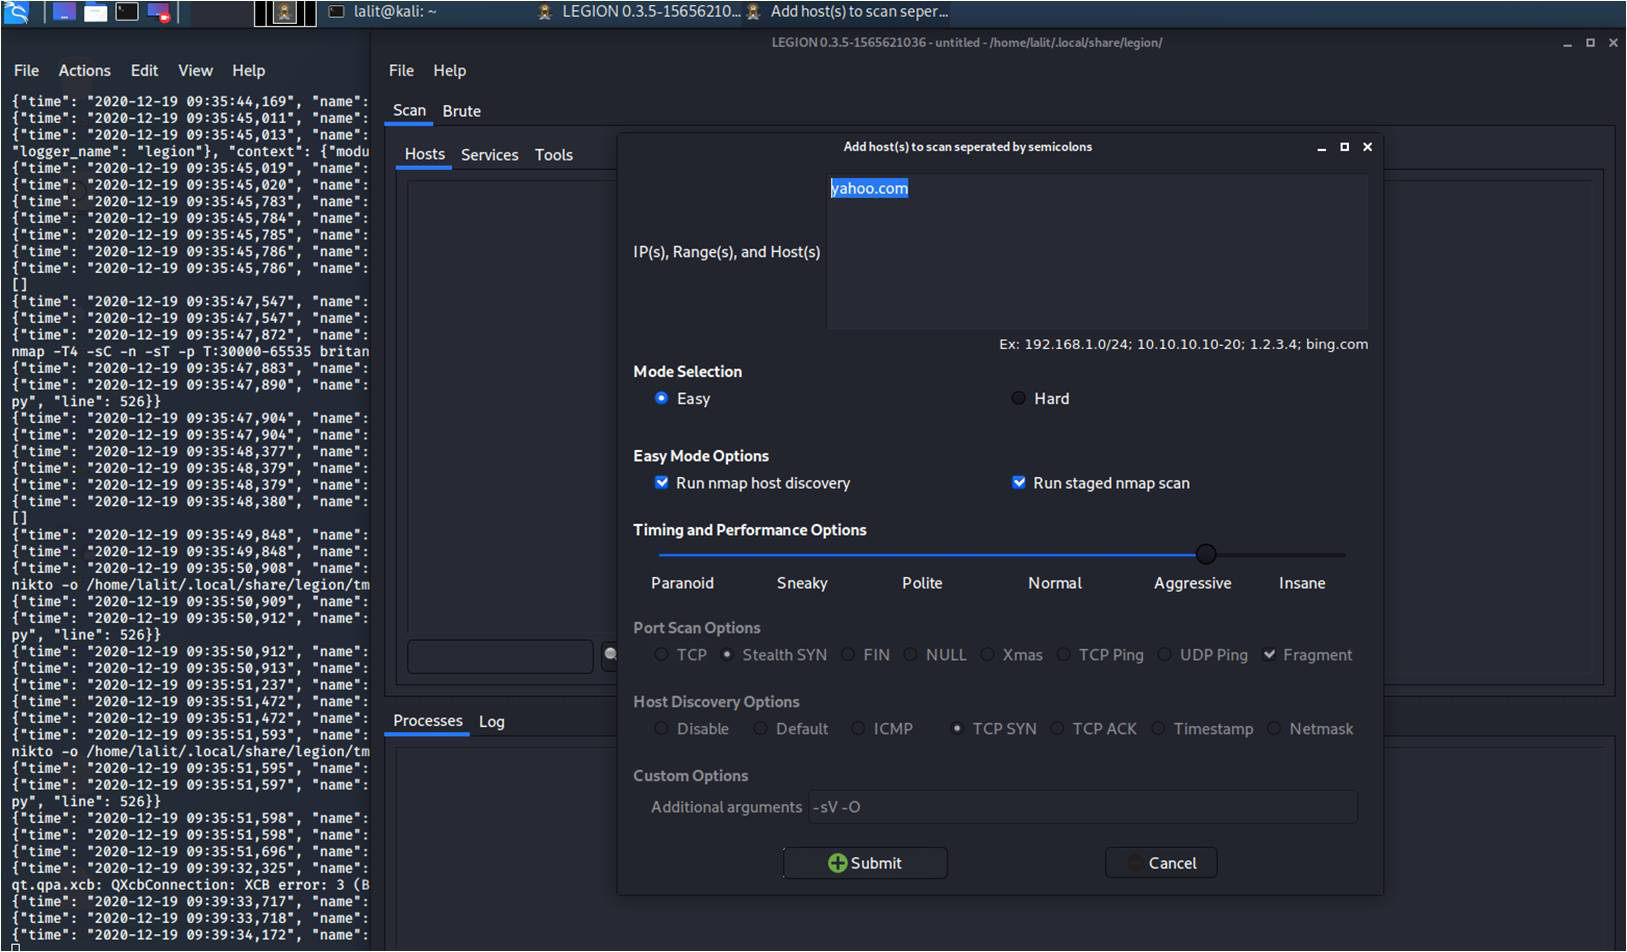
We will get results as shown in the below image.
Источник
Статья Руководство по хакингу с помощью Kali Linux
Хакинг с Kali Linux
Почему Kali Linux?
С Kali Linux хакинг становится гораздо проще, поскольку у вас есть все инструмент (более 300 предустановленных утилит) которые только могут для этого понадобиться. Кроме этого, вы с лёгкостью можете скачать дополнительные программы. Это руководство поможет вам освоиться, и вы сами не заметите, как начнёте заниматься взломом.

Проблема с новичками
Я уже долгое время общаюсь с новичками. Обычно им нужна магия. Простой инструмент, работающий под Windows, который можно скачать, поискав в Google и нажав на первую ссылку, и который всё будет делать автоматически, а пользователю надо только нажать на кнопку. К сожалению, подобных инструментов не существует. Хакинг — это искусство, и на его освоение необходимы многие годы практики. С чего же начать? Не иметь никакого представления о хакинге — это нормально, но вы не можете быть совершенным профаном, у которого просто есть компьютер. Под новичком я понимаю пользователя, не знакомого с программированием и методологиями хакинга, а не человека, которому нужно целое руководство только чтобы скачать инструмент. Если вы хотите быть хакером, то должны усердно трудиться. Итак, как же ступить на этот путь? Если вы уже установили Kali Linux, нажмите сюда, чтобы пропустить параграфы об установке и перейти непосредственно к разделу о хакинге.
Я не собираюсь утомлять вас теорией (как будто это всё не было теорией). Моя цель — как можно скорее довести вас до точки, откуда вы сможете приступить к хакингу с помощью Kali Linux. Так что я просто расскажу, что нужно делать. Процесс довольно прост:
- Если вам неизвестно, что такое Kali Linux, перейдите по этой ссылке и получите начальное представление об этой системе.
- Если вы ещё этого не сделали, откройте страницу загрузок и скачайте ISO файл Kali Linux..
Теперь начнутся настоящие сложности
Если у вас нет опыта работы с Linux, виртуальными машинами и другими подобными вещами, установка и запуск Kali Linux несколько усложнится. У вас есть 2 варианта:
1. Прочитайте официальную документацию Kali
Из неё вы узнаете, что такое виртуальная машина, как запустить ОС с USB-накопителя, а также как создать раздел и установить на компьютер сразу 2 ОС одновременно. Именно это я и рекомендую. Официальную документацию Kali можно найти здесь.
2. Прочитайте мою отредактированную версию документации Kali
Второй вариант — ознакомиться с этими постами, которые представляют собой несколько изменённую версию документации Kali. Это позволит вам сэкономить немного времени, поскольку в официальном тексте содержится много дополнительной информации, которую вам не нужно знать… пока. Даю ссылки на них здесь:
- Установка Kali Linux на жёсткий диск с помощью USB
- Загрузка Kali в качестве второй операционной системы (в дополнение к Windows)
- Подробное пошаговое руководство по установке Kali Linux на VmWare (прим.: пишется)
Интерфейс командной строки
Если вы действительно уверены, что хотите стать хакером, придётся привыкнуть к linux и, в частности, интерфейсу командной строки. Его часто сравнивают с командной строкой Windows, но терминал Linux гораздо лучше и эффективнее. Вам придётся выполнять все обычные задачи в командной строке Linux. Используйте cd для навигации, poweroff для выключения компьютера и так далее.
Материалы этого сайта займут вас на целый месяц, но вы можете продвигаться вперёд постепенно. Первые несколько руководств здесь написаны с учётом того, что читатель не очень хорошо знаком с командной строкой.
Несколько полезных команд:
Если вы не планируете изучать все команды linux, вот несколько полезных вещей, которые помогут вам удержаться на плаву.
- Стандартный логин и пароль — «root» и «toor».
- Введите «poweroff» в терминал, чтобы выключить компьютер.
- Команду «apt-get» можно использовать для установки инструментов и обновлений.
- «apt-get update» и «apt-get upgrade» позволят обновить все программы, установленные на вашей машине.
- «apt-get dist-upgrade» установит последний дистрибутив Kali (то есть обновит вашу ОС).
Примечание: Нажатие кнопки Tab во время печати заставит Kali завершать слова за вас. Двойное нажатие Tab приведёт к отображению всех возможных вариантов окончания незавершённого слова. Ctrl+c останавливает работу любого запущенного инструмента. Нажатие стрелки вверх показывает последнюю введённую команду.
Настоящий хакинг с Kali Linux
Если вы прошли все вышеописанные шаги и научились работать в новой среде, пришло время приступить к реальному хакингу с помощью Kali Linux. Я бы порекомендовал сначала взломать wifi, затем провести тестирование на проникновение, а в свободное время почитать об атаках отказа в обслуживании. Ссылки вы найдёте ниже.
Источник
Legion kali linux что это

![]()
Legion, a fork of SECFORCE’s Sparta, is an open source, easy-to-use, super-extensible and semi-automated network penetration testing framework that aids in discovery, reconnaissance and exploitation of information systems. Legion is developed and maintained by GoVanguard. More information about Legion, including the roadmap, can be found on it’s project page at https://GoVanguard.com/legion. If you are interested in contributing to Legion, join our Legion Keybase Team.
- Automatic recon and scanning with NMAP, whataweb, nikto, Vulners, Hydra, SMBenum, dirbuster, sslyzer, webslayer and more (with almost 100 auto-scheduled scripts).
- Easy to use graphical interface with rich context menus and panels that allow pentesters to quickly find and exploit attack vectors on hosts.
- Modular functionality allows users to easily customize Legion and automatically call their own scripts/tools.
- Highly customizable stage scanning for ninja-like IPS evasion.
- Automatic detection of CPEs (Common Platform Enumeration) and CVEs (Common Vulnerabilities and Exposures).
- Ties CVEs to Exploits as detailed in Exploit-Database.
- Realtime autosaving of project results and tasks.
NOTABLE CHANGES FROM SPARTA
- Refactored from Python 2.7 to Python 3.6 and the elimination of deprecated and unmaintained libraries.
- Upgraded to PyQT5, increased responsiveness, less buggy, more intuitive GUI that includes features like:
- Task completion estimates
- 1-Click scan lists of ips, hostnames and CIDR subnets
- Ability to purge results, rescan hosts and delete hosts
- Granular NMAP scanning options
- Support for hostname resolution and scanning of vhosts/sni hosts.
- Revise process queuing and execution routines for increased app reliability and performance.
- Simplification of installation with dependency resolution and installation routines.
- Realtime project autosaving so in the event some goes wrong, you will not lose any progress!
- Docker container deployment option.
- Supported by a highly active development team.

It is preferable to use the docker image over a traditional installation. This is because of all the dependancy requirements and the complications that occur in environments which differ from a clean, non-default installation.
NOTE: Docker versions of Legion are unlikely to work when run as root or under a root X!
Docker runIt script
RunIt supports Ubuntu 18, Fedora 30, Parrot and Kali at this time. It is possible to run the docker image on any Linux distribution, however, different distributions have different hoops to jump through to get a docker app to be able to connect to the X server. Everyone is welcome to try to figure those hoops out and create a PR for runIt.
We can only promise correct operation on Ubuntu 18 using the traditional installation at this time. While it should work on ParrotOS, Kali and others, until we have Legion packaged and placed into the repos for each of these distros, it’s musical chairs with regards to platform updates changing and breaking dependencies.
Linux with Local X11:
Assumes Docker and X11 are installed and setup (including running docker commands as a non-root user).
It is critical to follow all the instructions for running as a non-root user. Skipping any of them will result in complications getting docker to communicate with the X server.
See detailed instructions to setup docker here and enable running containers as non-root users and granting docker group ssh rights here.
Linux with Remote X11:
- Assumes Docker and X11 are installed and setup.
- Replace X.X.X.X with the IP of the remote running X11.
- Within Terminal:
Windows under WSL using Xming and Docker Desktop:
- Assumes Xming is installed in Windows.
- Assumes Docker Desktop is installed in Windows, Docker Desktop is running in Linux containers mode and Docker Desktop is connected to WSL.
- See detailed instructions here
- Replace X.X.X.X with the IP with which Xming has registered itself.
- Right click Xming in system tray -> View log and see IP next to «XdmcpRegisterConnection: newAddress»
- Within Terminal:
Windows using Xming and Docker Desktop without WSL:
OSX using XQuartz:
Setup Docker on Linux:
- To install docker components typically needed and add setup the environment for docker, under a term, run:
Setup Docker to allow non-root users:
- To enable non-root users to run docker commands, under a term, run:
Setup Hyper-V, Docker Desktop, Xming and WSL:
- The order is important for port reservation reasons. If you have WSL, HyperV or Docker Desktop installed then please uninstall those features before proceeding.
- Cortana / Search -> cmd -> Right click -> Run as Administrator
- To reserve the docker port, under CMD, run:
- This will likely fail if you have Hyper-V already enabled or Docker Desktop installed
- To install Hyper-V, under CMD, run:
- Please use the docker image where possible! It’s becoming very difficult to support all the various platforms and their own quirks.
- Assumes Ubuntu, Kali or Parrot Linux is being used with Python 3.6 installed.
- Within Terminal:
Executing test cases
To run all test cases, execute the following in root directory:
Legion is licensed under the GNU General Public License v3.0. Take a look at the LICENSE for more information.
- Refactored Python 3.6+ codebase, added feature set and ongoing development of Legion is credited to GoVanguard
- The initial Sparta Python 2.7 codebase and application design is credited SECFORCE.
- Several additional PortActions, PortTerminalActions and SchedulerSettings are credited to batmancrew.
- The nmap XML output parsing engine was largely based on code by yunshu, modified by ketchup and modified SECFORCE.
- ms08-067_check script used by smbenum.sh is credited to Bernardo Damele A.G.
- Legion relies heavily on nmap, hydra, python, PyQt, SQLAlchemy and many other tools and technologies so we would like to thank all of the people involved in the creation of those.
- Special thanks to Dmitriy Dubson for his continued contributions to the project!
About
Legion is an open source, easy-to-use, super-extensible and semi-automated network penetration testing tool that aids in discovery, reconnaissance and exploitation of information systems.
Источник


