Docker Desktop WSL 2 backend
Estimated reading time: 7 minutes
Windows Subsystem for Linux (WSL) 2 introduces a significant architectural change as it is a full Linux kernel built by Microsoft, allowing Linux containers to run natively without emulation. With Docker Desktop running on WSL 2, users can leverage Linux workspaces and avoid having to maintain both Linux and Windows build scripts. In addition, WSL 2 provides improvements to file system sharing, boot time, and allows access to some cool new features for Docker Desktop users.
Docker Desktop uses the dynamic memory allocation feature in WSL 2 to greatly improve the resource consumption. This means, Docker Desktop only uses the required amount of CPU and memory resources it needs, while enabling CPU and memory-intensive tasks such as building a container to run much faster.
Additionally, with WSL 2, the time required to start a Docker daemon after a cold start is significantly faster. It takes less than 10 seconds to start the Docker daemon when compared to almost a minute in the previous version of Docker Desktop.
Prerequisites
Before you install the Docker Desktop WSL 2 backend, you must complete the following steps:
- Install Windows 10, version 1903 or higher.
- Enable WSL 2 feature on Windows. For detailed instructions, refer to the Microsoft documentation.
- Download and install the Linux kernel update package.
Best practices
To get the best out of the file system performance when bind-mounting files, we recommend storing source code and other data that is bind-mounted into Linux containers (i.e., with docker run -v : ) in the Linux file system, rather than the Windows file system. You can also refer to the recommendation from Microsoft.
- Linux containers only receive file change events (“inotify events”) if the original files are stored in the Linux filesystem. For example, some web development workflows rely on inotify events for automatic reloading when files have changed.
- Performance is much higher when files are bind-mounted from the Linux filesystem, rather than remoted from the Windows host. Therefore avoid docker run -v /mnt/c/users:/users (where /mnt/c is mounted from Windows).
- Instead, from a Linux shell use a command like docker run -v
is expanded by the Linux shell to $HOME .
Download
Install
Ensure you have completed the steps described in the Prerequisites section before installing the Docker Desktop Stable 2.3.0.2 release.
- Follow the usual installation instructions to install Docker Desktop. If you are running a supported system, Docker Desktop prompts you to enable WSL 2 during installation. Read the information displayed on the screen and enable WSL 2 to continue.
- Start Docker Desktop from the Windows Start menu.
From the Docker menu, select Settings > General.

Select the Use WSL 2 based engine check box.
If you have installed Docker Desktop on a system that supports WSL 2, this option will be enabled by default.
Ensure the distribution runs in WSL 2 mode. WSL can run distributions in both v1 or v2 mode.
To check the WSL mode, run:
To upgrade your existing Linux distro to v2, run:
wsl.exe —set-version (distro name) 2
To set v2 as the default version for future installations, run:
wsl.exe —set-default-version 2
When Docker Desktop restarts, go to Settings > Resources > WSL Integration.
The Docker-WSL integration will be enabled on your default WSL distribution. To change your default WSL distro, run wsl —set-default .
For example, to set Ubuntu as your default WSL distro, run wsl —set-default ubuntu .
Optionally, select any additional distributions you would like to enable the Docker-WSL integration on.
The Docker-WSL integration components running in your distro depend on glibc. This can cause issues when running musl-based distros such as Alpine Linux. Alpine users can use the alpine-pkg-glibc package to deploy glibc alongside musl to run the integration.

Develop with Docker and WSL 2
The following section describes how to start developing your applications using Docker and WSL 2. We recommend that you have your code in your default Linux distribution for the best development experience using Docker and WSL 2. After you have enabled WSL 2 on Docker Desktop, you can start working with your code inside the Linux distro and ideally with your IDE still in Windows. This workflow can be pretty straightforward if you are using VSCode.
- Open VSCode and install the Remote — WSL extension. This extension allows you to work with a remote server in the Linux distro and your IDE client still on Windows.
Now, you can start working in VSCode remotely. To do this, open your terminal and type:
This opens a new VSCode connected remotely to your default Linux distro which you can check in the bottom corner of the screen.
Alternatively, you can type the name of your default Linux distro in your Start menu, open it, and then run code .
GPU support
Starting with Docker Desktop 3.1.0, Docker Desktop supports WSL 2 GPU Paravirtualization (GPU-PV) on NVIDIA GPUs. To enable WSL 2 GPU Paravirtualization, you need:
- A machine with an NVIDIA GPU
- The latest Windows Insider version from the Dev Preview ring
- Beta drivers from NVIDIA supporting WSL 2 GPU Paravirtualization
- Update WSL 2 Linux kernel to the latest version using wsl —update from an elevated command prompt
- Make sure the WSL 2 backend is enabled in Docker Desktop
To validate that everything works as expected, run the following command to run a short benchmark on your GPU:
Feedback
Your feedback is very important to us. Please let us know your feedback by creating an issue in the Docker Desktop for Windows GitHub repository and adding the WSL 2 label.
Источник
Установка и использование подсистемы Linux (WSL 2) в Windows 10
Windows Subsystem for Linux (WSL) — подсистема ОС Windows 10, позволяющая разработчикам, тестировщикам запускать нативные приложения Linux, писать скрипты, выполнять команды непосредственно из Windows. В обновлённой Windows 10 (2004) появилась 2я версия WSL, в которой используется полноценное ядро Linux с возможностью запуска приложений и контейнеров Docker, реализована высокая скорость загрузки, небольшой объем потребляемых ресурсов, управление в фоновом режиме, обновление ядра. Таким образом вы сможете запускать ELF64 программы, которые могут получать доступ к файловой системе Windows без использования сторонних порто (таких как Cygwin).
Образ ядра Linux (версия ядра 4.19) в Windows 10 представляет собой легкую виртуальную машину, для запуска которой не нужно ставить полноценную роль Hyper-V. Системные вызовы Linux транслируются на лету в вызовы Windows без использования эмулятора (в отличии от WSL1).
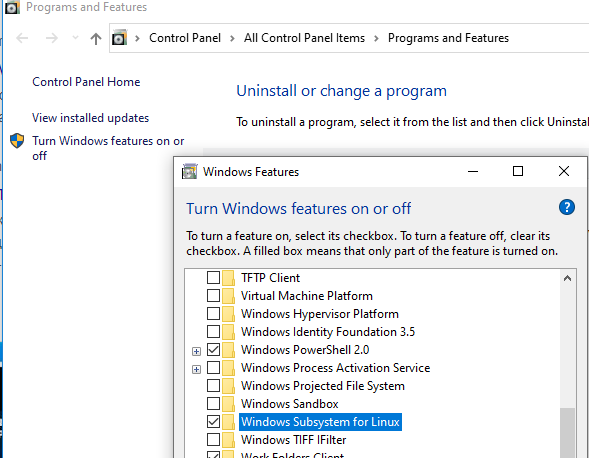
Изначально компонент WSL отключен. Чтобы его включить, вам необходимо зайти в Пуск -> Панель управления -> Программы и компоненты -> Включение и отключение компонентов Windows (Control Panel\All Control Panel Items\Programs and Features\Turn Windows features on or off), активировать галочку Подсистема Windows для Linux (Windows Subsystem for Linux), нажать кнопку ОК, и перезагрузить компьютер.
Вы можете включить компоненты WSL в Windows 10 с помощью dism:
dism.exe /online /enable-feature /featurename:VirtualMachinePlatform /all /norestart
dism.exe /online /enable-feature /featurename:Microsoft-Windows-Subsystem-Linux /all /norestart
Enable-WindowsOptionalFeature -Online -FeatureName Microsoft-Windows-Subsystem-Linux
Enable-WindowsOptionalFeature -Online -FeatureName VirtualMachinePlatform
Install-WindowsFeature -Name Microsoft-Windows-Subsystem-Linux
После этого также необходимо перезагрузить компьютер.
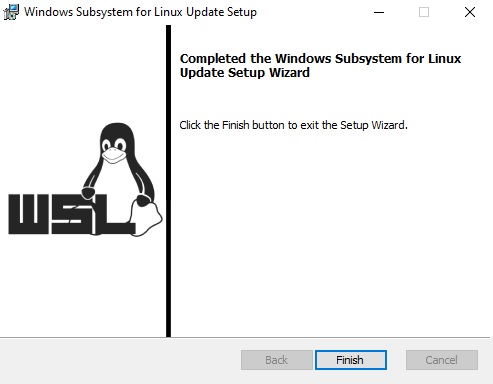
Теперь вам нужно выполнить обновление WSL до версии 2. Для этого требуется зайти на сайт https://docs.microsoft.com/ru-ru/windows/wsl/wsl2-kernel, скачать файл wsl_update_x64.msi, установить его. По завершении увидите картинку
Чтобы сделать WSL2 архитектурой по умолчанию для новых дистрибутивов, в PowerShell выполните команду:
wsl —set-default-version 2
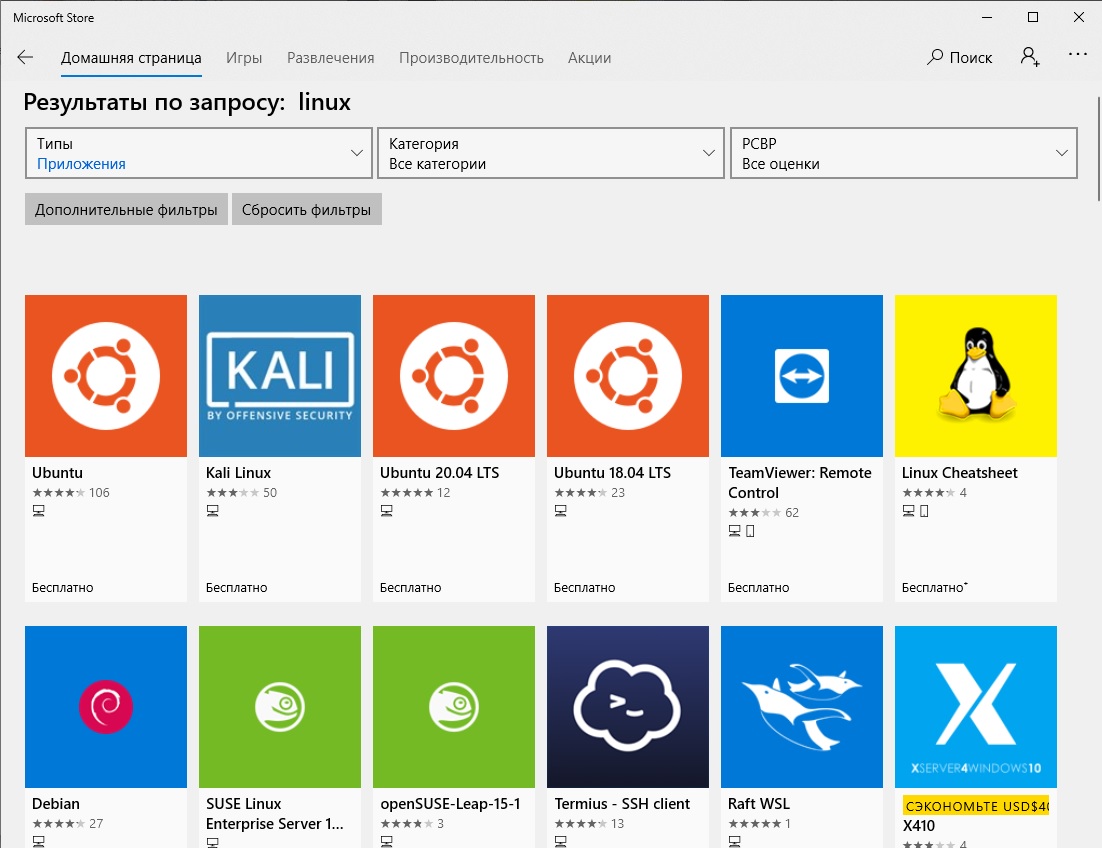
Далее вам необходимо открыть Microsoft Store, в поиске ввести слово “Linux”. В появившемся списке выберите нужный дистрибутив. Доступные Ubuntu, Debian, Kali Linux, Linux Cheatsheet, SUSE Linux Enterprise Server15, openSUSE Leap 15-1, Pengwin Enterprise, Fedora Remix for WSL или другие. В нашем примере мы будем использовать Ubuntu 20.04 LTS, нажмите кнопку Получить.
Invoke-WebRequest https://aka.ms/wslubuntu2004 -OutFile ubuntu-2004.zip –UseBasicParsing
Expand-Archive -Path .\ubuntu-2004.zip
Запустите установку образа Linux с помощью файла Ubuntu.exe.
Также вы можете скачать образ в виде appx файла и установить его с помощью командлета Add-AppxPackage.
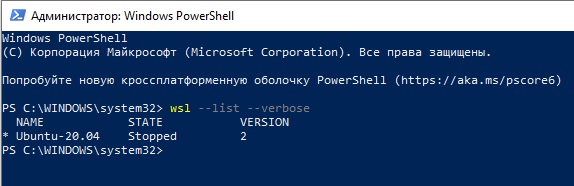
После установки можно проверить используемую версию WSL с помощью команды
wsl —list –-verbose
Если у вашей среды Linux указана версия 1, нужно изменить ее на WSL2 командой:
wsl —set-version Ubuntu-20.04 2
Файл жёсткого диска с образом виртуальной машины ОС Linux Ubuntu 20.04 будет располагаться в профиле пользователя: C:\Users\234\AppData\Local\Packages\CanonicalGroupLimited.Ubuntu20.04onWindows_79rhkp1fndgsc\LocalState.
После установки дистрибутива в стартовом меню появляется ярлык на него. Для запуска Ubuntu зайдите в меню Пуск, нажмите на соответствующем ярлыке и получите в отдельном окне полноценную командную оболочку Bash. Запускать WSL можно и с помощью команды wsl. При первом запуске образа в командной строке Bash вам будет предложено создать пользователя и пароль (которые не должны совпадать с учётной записью Windows). Чтобы выполнять команды с правами root, необходимо использовать дополнительный ключ (префикс) sudo. В WSL есть общие команды для Bash и CMD, и тут нужно не забывать, что система Linux чувствительна к регистру.
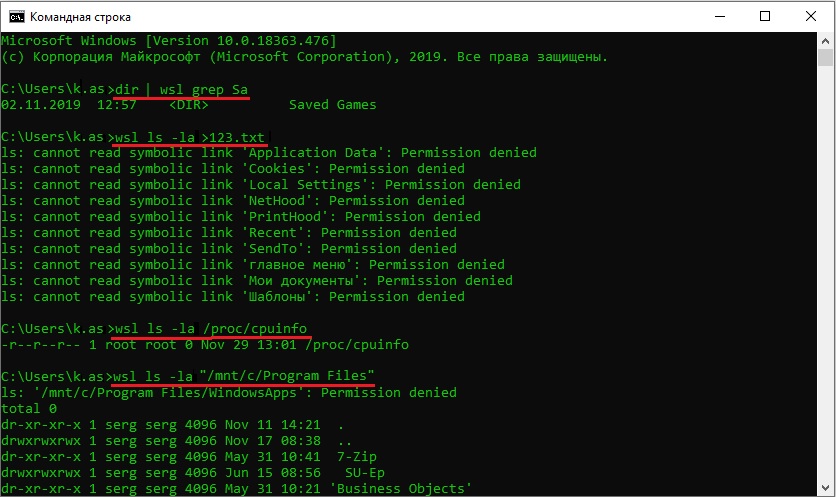
Вы можете выполнить Linux-команды из CMD. Для этого необходимо вначале указать “WSL”. Например, для просмотра списка файлов и папок в каталоге Windows, выполните:
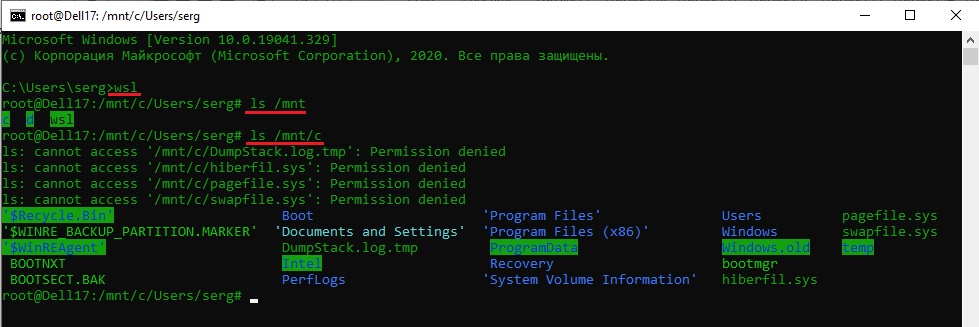
dir | wsl grep Sa
wsl ls ‑la > 123.txt
wsl ls ‑la /proc/cpuinfo
wsl ls ‑la “/mnt/c/Program Files”
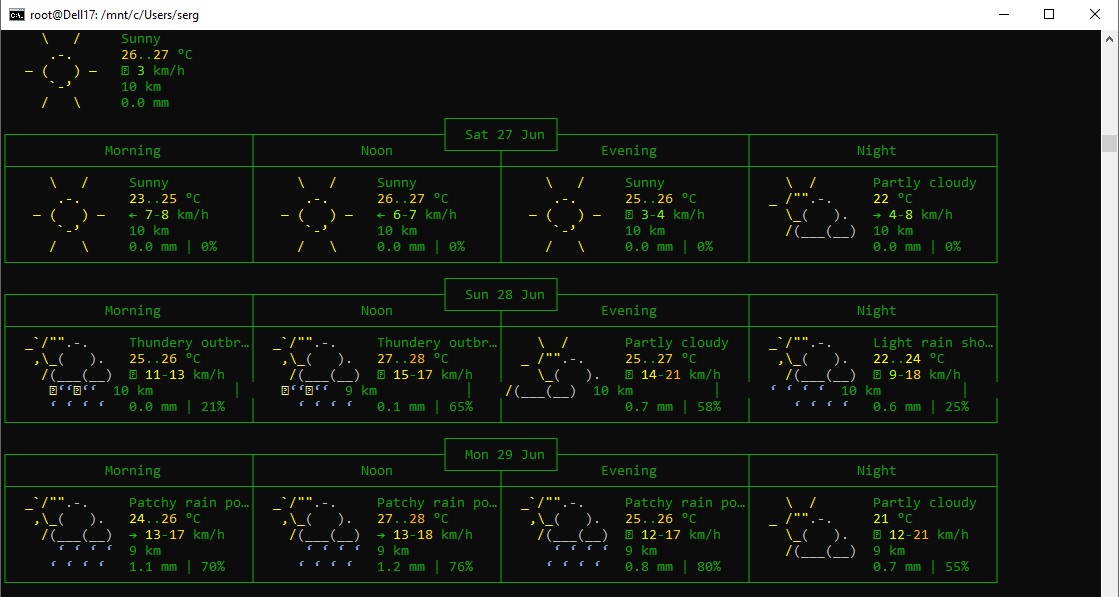
Также вы можете открыть проводник командой explorer.exe, калькулятор – calc.exe, блокнот – notepad.exe, paint – mspaint.exe, календарь – cal, погоду – curl wttr.in
Ещё один пример взаимосвязи 2х систем – вы можете открыть в Windows файл из WSL-дистрибутива по сетевому пути. Для этого в CMD наберите путь к файлу:
notepad \\wsl$\Ubuntu-20.04\home\1122.txt
Из окна консоли вы можете обновить список пакетов в Ubuntu с помощью команд:
sudo apt-get update
sudo apt-get upgrade
После обновления Ubuntu папка …/LocalState будет занимать 1.5 Гб.
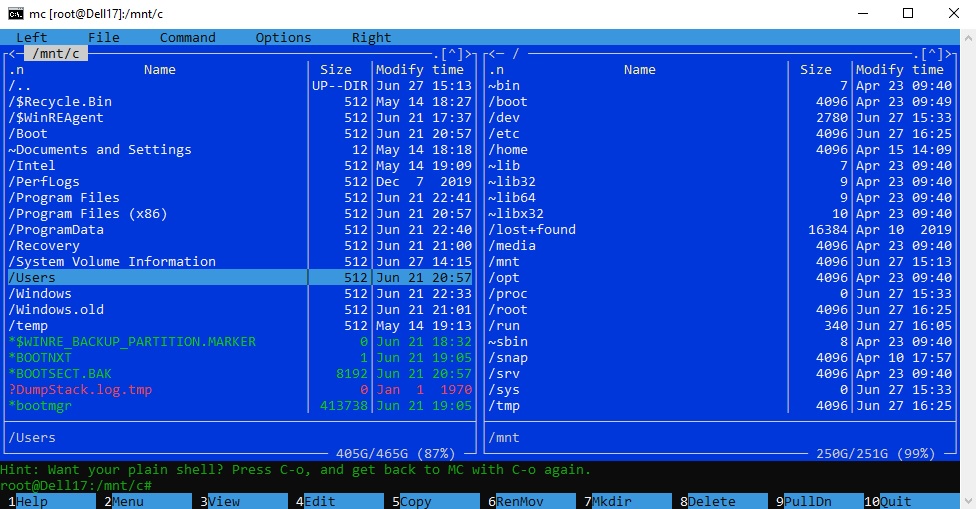
Из командной строки Linux можно не только просмотреть Windows-файлы и каталоги, но и получить к ним доступ. Чтобы удобнее копировать файлы, просматривать директории и их содержимое, установите файловый менеджер Midnight Commander с помощью команды
sudo apt-get install mc
Вы можете запустить Midnight Commander как в командной оболочке Bash, так и внутри CMD. На скриншоте ниже показано, что в двух панелях MC показывается список файлов с обеих ОС.
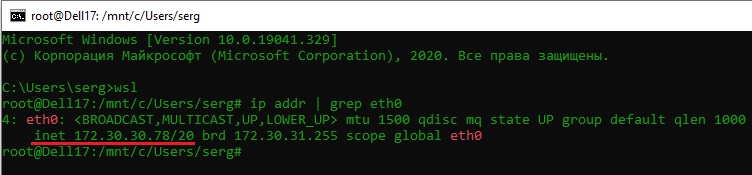
Можно отобрахить сетевые настройки (IP адрес) IP-адрес Linux-системы:
ip addr | grep eth0
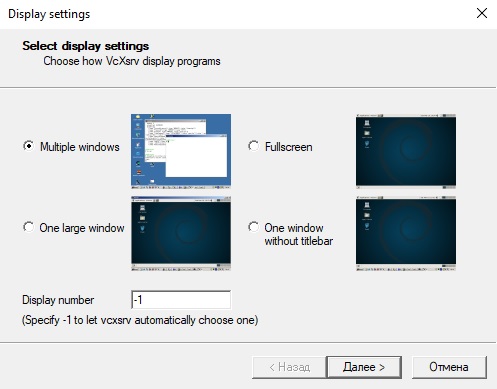
В WSL не предусмотрена работа приложений с графическим интерфейсом. Тем не менее вы можете попробовать их установить и использовать. Чтобы запускать графические приложения в Linux, нужно скачать и установить в Windows программу VcXsrv Windows X Server (https://sourceforge.net/projects/vcxsrv/).
С помощью пакетного менеджера apt-get установим несколько графических программ: например, браузер, текстовый редактор или что-то ещё:
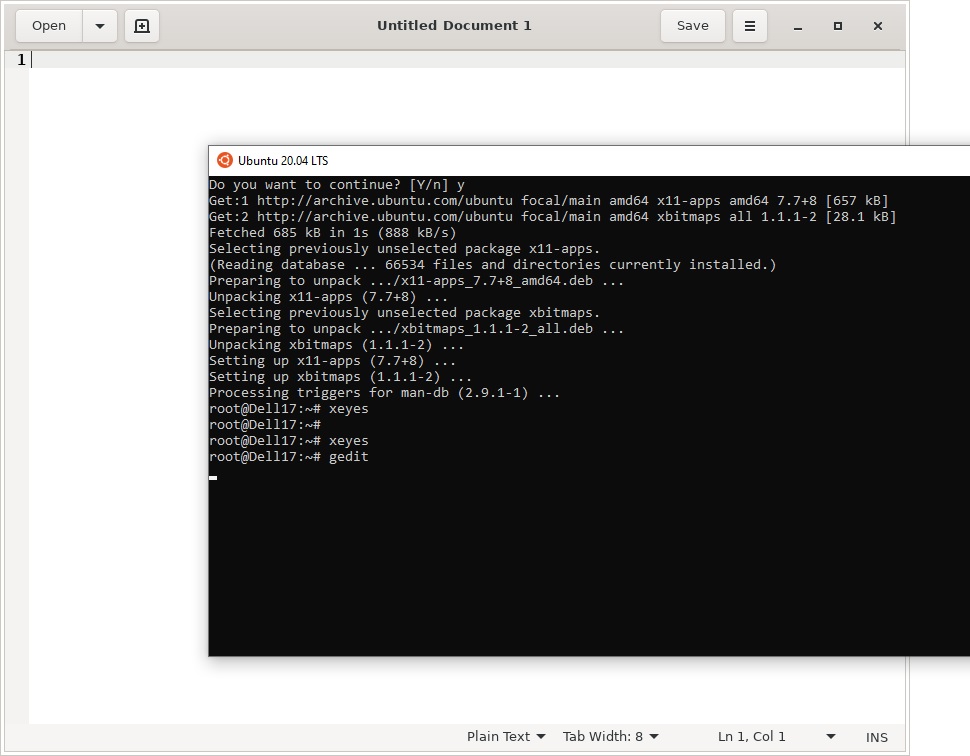
sudo apt-get install gedit
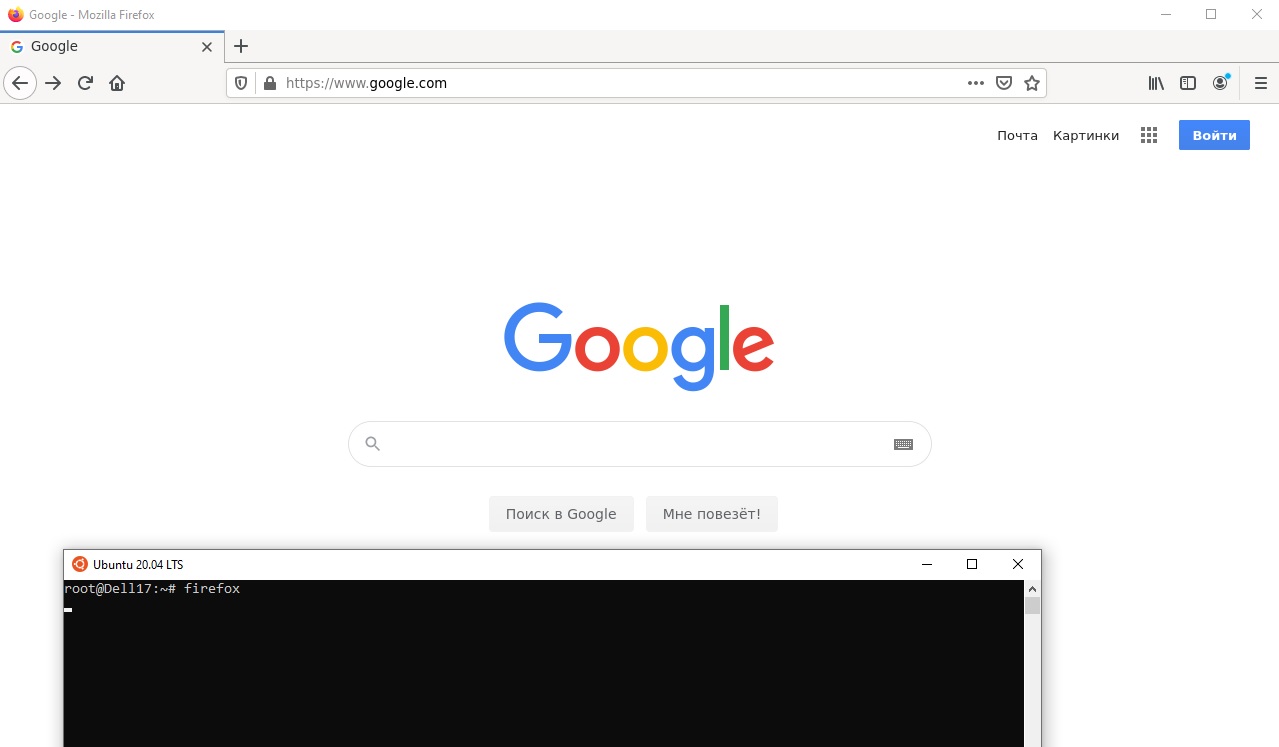
sudo apt-get install firefox
sudo apt-get install x11-app
Затем создайте файл в директории root:
export DISPLAY=$(cat /etc/resolv.conf | grep nameserver | awk ‘
Теперь можете запустить графические программы Linux через WSL командами:
Вы можете установить в Windows 10 несколько дистрибутивов Linux и запускать одновременно в разных окнах WSL. Вывести весь перечень установленных дистрибутивов можете с помощью команды:
чтобы завершить работу всех запущенных дистрибутивов и ядра WSL 2, выполните команду:
Источник


