- Change my default shell in Linux using chsh
- How to Change my default shell
- List your shells in Linux
- Find out your current shell name
- Changing default shell from bash to ksh
- Changing back your shell to bash with chsh
- Getting help about the chsh command
- Conclusion
- Install ZSH on Linux and make it your default Shell
- How to install and configure Zsh on Linux
- 1. Z Shell
- 2. Oh-My-Zsh & plugins
- 2. Configuring Zsh
- 4. Make Zsh default
- Install the Awesome Zsh and Make it the Default Shell
- What is Zsh (Z Shell)?
- How to install Zsh
- Make zsh the default shell
- How to Install ZSH Shell on Ubuntu 18.04 LTS
- Installing ZSH Shell:
- Making ZSH the Default Shell:
- Installing Powerline and Powerline Fonts for ZSH:
- Installing ZSH Powerlevel9k Theme:
- Enable Syntax Highlighting on ZSH Shell:
- ZSH and Git Integration with Oh-My-ZSH:
- Changing Oh-My-ZSH Theme:
- Enabling Oh-My-ZSH Plugins:
Change my default shell in Linux using chsh
How to Change my default shell
- First, find out the available shells on your Linux box, run cat /etc/shells
- Type chsh and press Enter key
- You need to enter the new shell full path. For example, /bin/ksh
- Log in and log out to verify that your shell changed corretly on Linux operating systems.
Let us see all commands in details.
List your shells in Linux
Run the following cat command on the /etc/shells file:
cat /etc/shells
Of course, we can use the grep command/egrep command to find out if particular shell such as zsh or fish installed or not, run:
grep «zsh» /etc/shells
grep «fish» /etc/shells
- No ads and tracking
- In-depth guides for developers and sysadmins at Opensourceflare✨
- Join my Patreon to support independent content creators and start reading latest guides:
- How to set up Redis sentinel cluster on Ubuntu or Debian Linux
- How To Set Up SSH Keys With YubiKey as two-factor authentication (U2F/FIDO2)
- How to set up Mariadb Galera cluster on Ubuntu or Debian Linux
- A podman tutorial for beginners – part I (run Linux containers without Docker and in daemonless mode)
- How to protect Linux against rogue USB devices using USBGuard
Join Patreon ➔
Find out your current shell name
Execute any one of the following command to find the current shell instance:
ps -p $$
OR
printf «My current shell — %s\n» «$SHELL»
OR
grep «^$
Changing default shell from bash to ksh
To change your shell to zsh with chsh, run:
type -a zsh ## find path to ksh ##
chsh -s /bin/zsh ## change bash to ksh ##
Verify it:
grep «^$
Log out and log in again. One can close the Terminal app and reopen it or use the su command as follows”
su — vivek
Changing back your shell to bash with chsh
Want to reverse changes? Try:
type -a bash
chsh -s /bin/bash
## replace vivek with actual username ##
grep ‘^vivek’ /etc/passwd
su — vivek
Getting help about the chsh command
Type any one of the following command at the CLI:
man chsh
OR
chsh —help
The options are as follows:
- -h : Display help message and exit.
- -R CHROOT_DIR : Apply changes in the CHROOT_DIR directory and use the configuration files from the CHROOT_DIR directory.
- -s /path/to/SHELL : The name of the user’s new login shell. Setting this field to blank causes the system to select the default login shell.
Conclusion
You learned about changing your default shell with chsh command. See shadow-utils home page for more info here.
🐧 Get the latest tutorials on Linux, Open Source & DevOps via
Источник
Install ZSH on Linux and make it your default Shell
How to install and configure Zsh on Linux

B ash ( Bourne Again Shell) is the default command-line shell on many distributions. Zsh ( Z Shell) is a powerful shell that operates as both an interactive shell and as a scripting language interpreter.
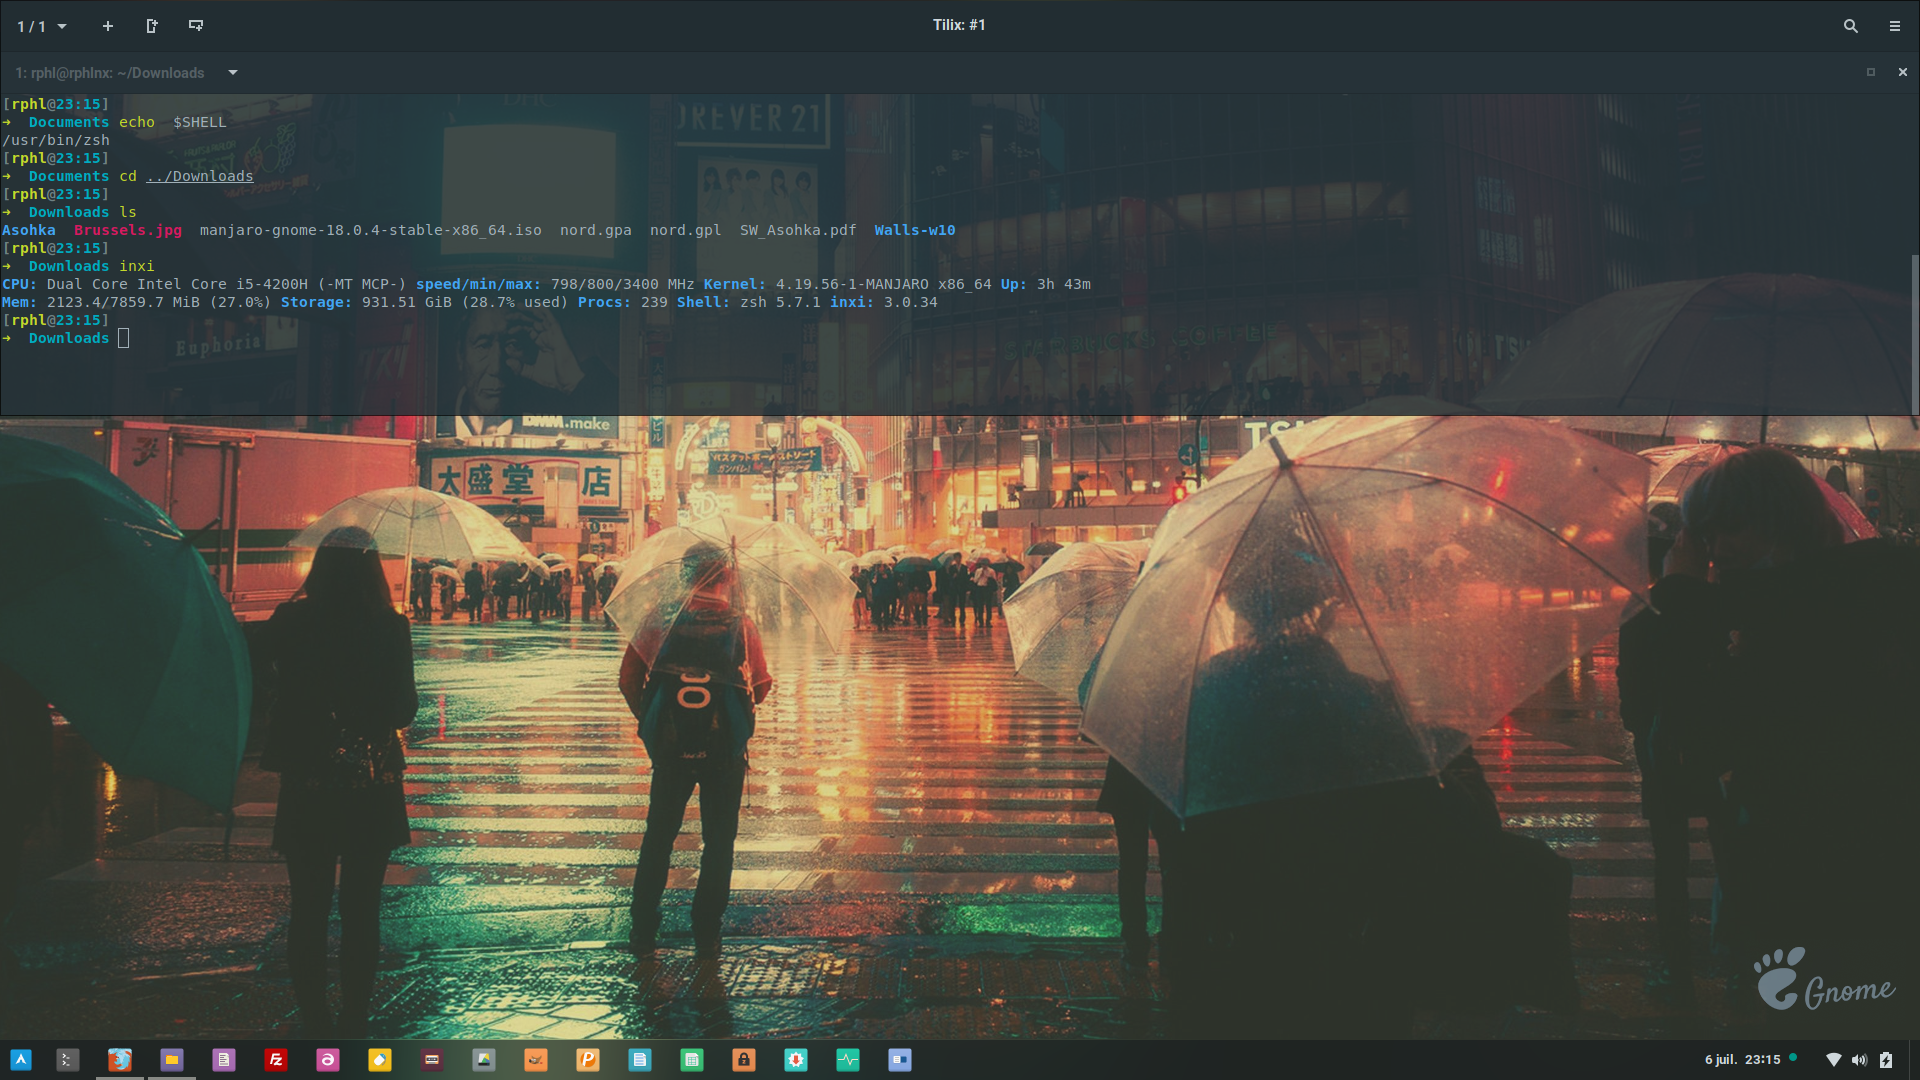
Check your current shell:
1. Z Shell
Please replace pacman in the following codelines by your distro package manager: apt, dnf etc.
Install the zsh package:
Test it by running zsh in your terminal. If you were using bash, you’ll switch to the zsh prompt. The prompt model will be different, since you’re using a different config file, not your classic .bashrc:
For basic configuration run the following command:
Follow the recommended options, save and exit.
2. Oh-My-Zsh & plugins
Now, let’s install a powerful additional program: Oh My Zsh
A delightful community-driven (with 1,300+ contributors) framework for managing your zsh configuration. Includes 200+ optional plugins, over 140 themes to spice up your morning, and an auto-update tool so that makes it easy to keep up with the latest updates from the community.
This framework will easily make Zsh friendlier by improving its usability, through plugins and themes.
zsh , wget and git should be installed first. Install the program:
I recommend installing 4 additional plugins that we’ll activate later through OMZ configuration file :
Fantastic search tool combined with fd
You’ll need to add the following lines at the end of .zshrc
2. Configuring Zsh
For advanced configuration, modify the
./zshrc config file.
- Plugins (list of plugins): OMZ comes with a large list of plugins waiting to be activated by entering their names in the plugins section, as follow. In this section, add the name of the additional plugins we installed manually, in bold:
- Theming (list of themes): enter the name of your favorite theme in the ZSH_THEME section:
Would you want to modify some theme colors, ZSH use Spectrum. Get a list of colors code withb spectrum_ls
Copy your aliases from the .bashrc file into .zshrc, as well as other commands you may have created.
Tip: Apply the changes without needing to logout and then back in by running source
4. Make Zsh default
On Manjaro, Fedora, Ubuntu… :
Log out and log in back for the changes to take effect.
Источник
Install the Awesome Zsh and Make it the Default Shell
What is Zsh (Z Shell)?
Z Shell (zsh in short), is a shell just like bash. It is used as a login shell (where you get a greeting and you will type in username and password) and as a command line interpreter (where you type Linux commands such as ls, cd).
You might wonder why someone needs to switch if every shell does these two functions. One of the main reasons is that his/her’s relative experience with different shells. And another reason is that each shell has unique features such as auto-completion, frequently used commands listing, etc. Feel free to share your reason in the comments.
To learn more about zsh, refer official page.
How to install Zsh
This tutorial is tested on Ubuntu 18.04 LTS. It should work with other versions of Ubuntu as well. If not, tell us in the comments.
You can install zsh with following commands in Debian/Ubuntu based distributions:
You need sudoer rights to run above commands. If you don’t have such rights, contact your system admin. If you are the administrator, then refer to this article to learn about creating a sudoer.
In Fedora, Red Hat and CentOS, you can use the DNF package manager to install Zsh:
To check whether you have installed zsh correctly or not, run zsh by zsh —version.
Once done with the installation, you need to do a little configuration setup (if you haven’t done it already). First, change the shell by typing zsh in the terminal to get a prompt like this.
 zsh
zsh
If you want to explore the options choose 1 and set it up. But I would recommend choosing 2 for now and then change the configuration whenever you need it.
Note that when you are running zsh for the first time and you accidentally happened to have one of these files (.zshenv .zshrc, .zlogin), the above prompt will not appear at that situation. Delete the files if you want to avoid using older configurations and run zsh again.
Make zsh the default shell
You can make any shell as your default shell if you know the location(or symbolic link) of the shell. In our case, zsh has a symbolic link /bin/zsh.
Above command will set zsh as the default shell for seeni. after a getting a password to check whether user running this command is “seeni,”. If you are the doing for it another user and you are the root or you have sudoer permissions, prepend sudo to the above command as follows.
When you login the next time, check which shell you are using. If it’s zsh, this means that zsh is now the default shell on your system.
Congratulations! You manage to install zsh and make it the default shell. I hope you found this article useful. If you have suggestions or questions about this article, please let us know in the comments.
Источник
How to Install ZSH Shell on Ubuntu 18.04 LTS
In this article, I will show you how to install and use ZSH Shell on Ubuntu 18.04 LTS. Let’s get started.
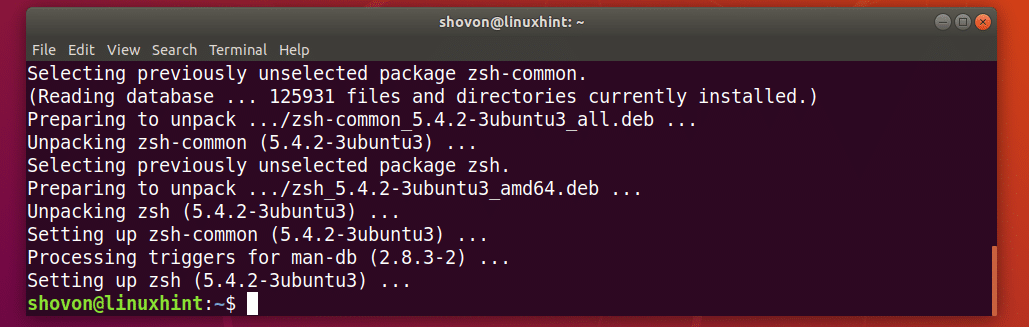
Installing ZSH Shell:
ZSH is available in the official package repository of Ubuntu 18.04 LTS. So it’s very easy to install. First update the package repository cache of your Ubuntu 18.04 LTS operating system with the following command:

The package repository cache should be updated.

Now install ZSH with the following command:

Now press y and then press to continue.
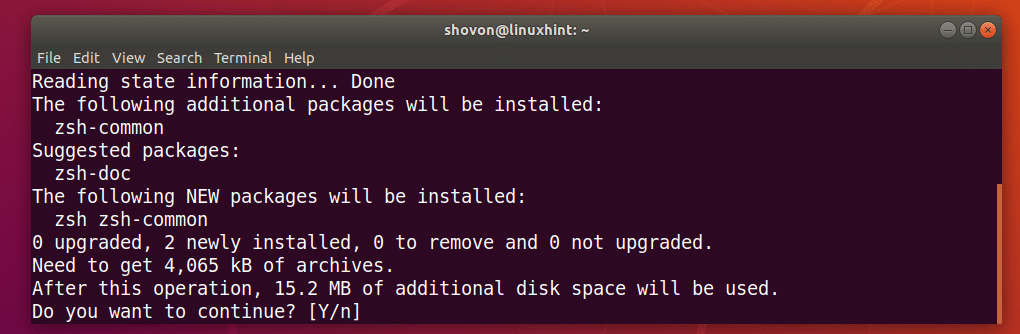
ZSH shell should be installed.
Now that ZSH shell is installed, you can check whether ZSH is working with the following command:
As you can see, ZSH is working correctly.

Making ZSH the Default Shell:
In this section, I will show you how to set ZSH as the default shell.
First, you have to find out the path of the ZSH shell with the following command:
As you can see from the marked section of the screenshot below, the path of ZSH shell is /usr/bin/zsh

Now set ZSH as the default login shell for the user you’re logged in as with the following command:

Now restart your computer with the following command:
If you open up a Terminal after your computer boots, you should see the following window:
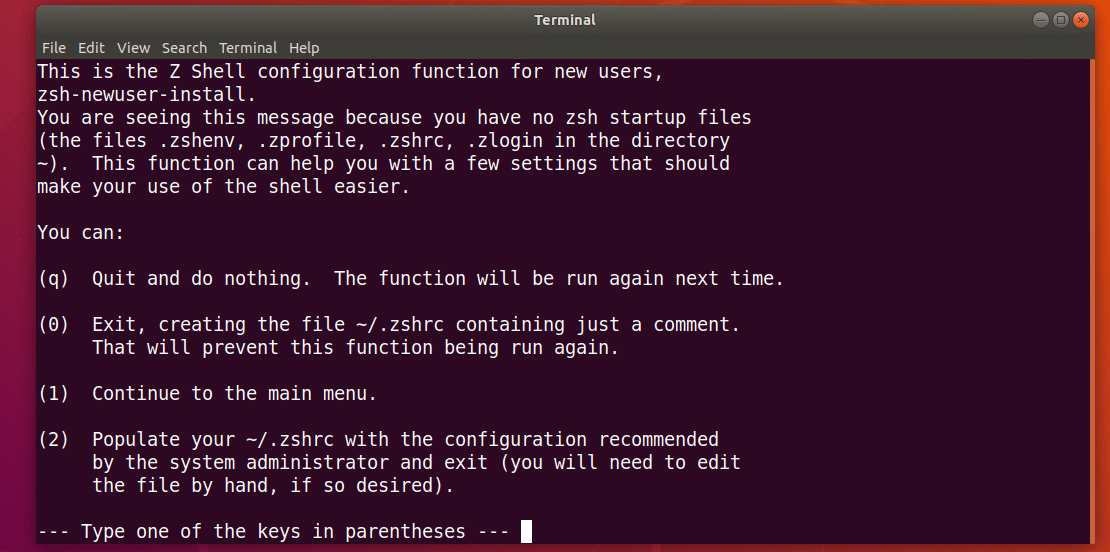
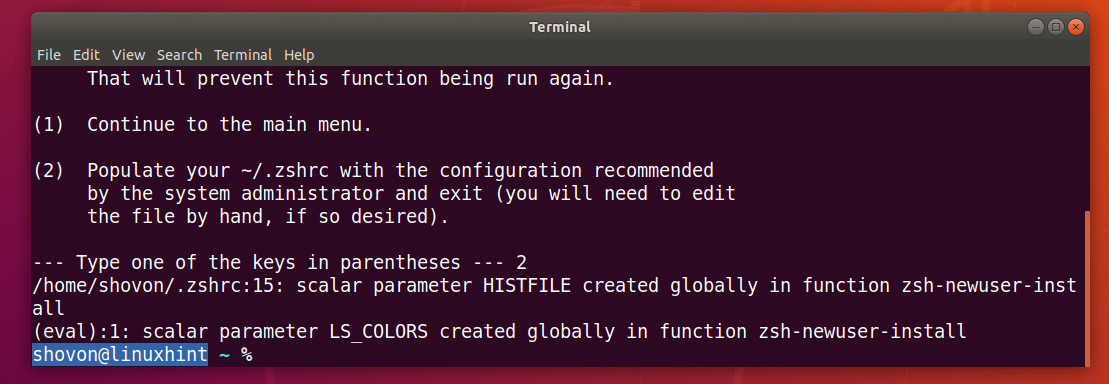
Press the number key 2 and ZSH should create a new
/.zshrc configuration file with the recommended settings. Then you’re ready to use ZSH as you can see from the screenshot below.
Installing Powerline and Powerline Fonts for ZSH:
Powerline is a status line plugin for ZSH shell. Powerline font for ZSH lets the ZSH shell use different icons and symbols on the shell.
Powerline and Powerline font is available in the official package repository of Ubuntu 18.04 LTS.
Run the following command to install Powerline and Powerline font on Ubuntu 18.04 LTS:

Press y and then press to continue.
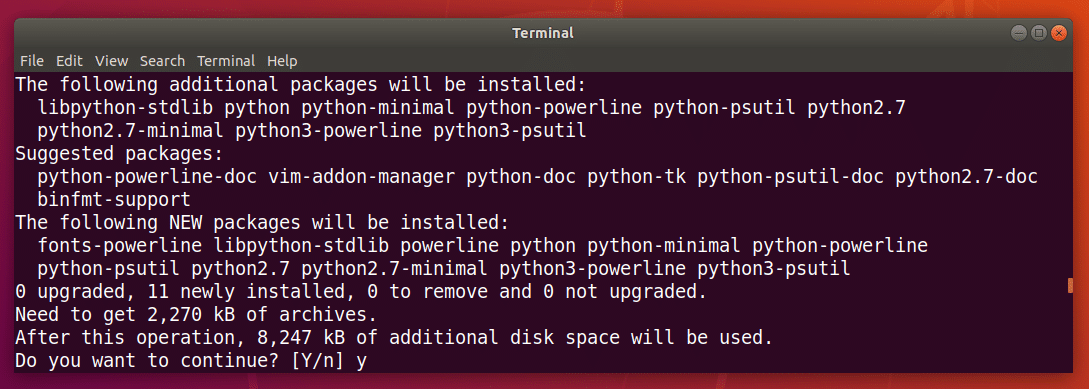
Powerline and Powerline font should be installed.
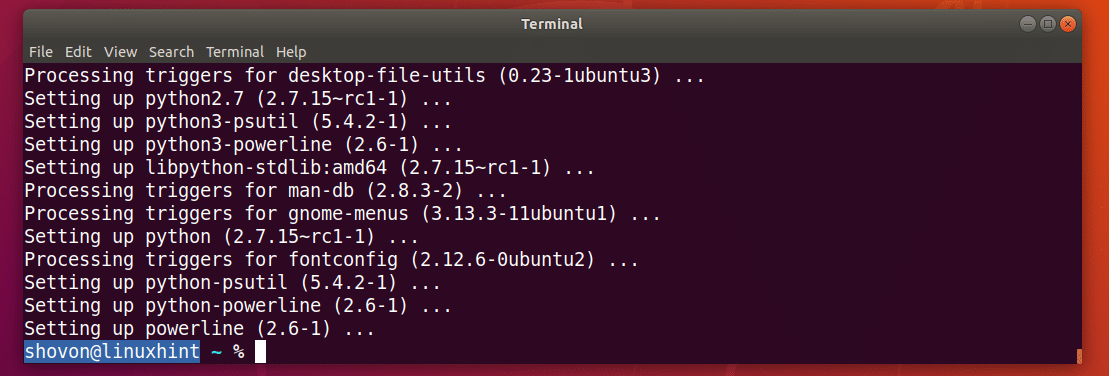
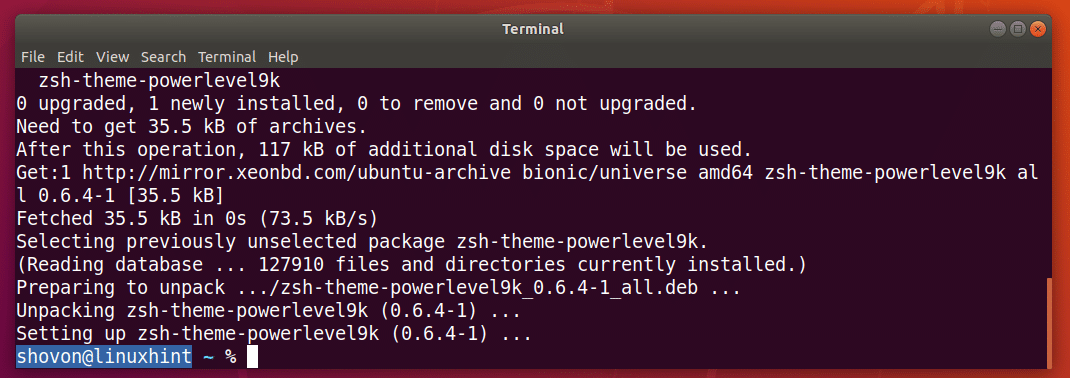
Installing ZSH Powerlevel9k Theme:
Powerlevel9k is an awesome Powerline theme for ZSH. It is available in the official package repository of Ubuntu 18.04 LTS. Run the following command to install Powerlevel9k ZSH theme for on Ubuntu 18.04 LTS:

Powerlevel9k ZSH theme should be installed.
Now run the following command to enable Powerlevel9k ZSH theme on Ubuntu 18.04 LTS:

Now open a new terminal and you should see the new look of your ZSH shell as you can see from the screenshot below.

Enable Syntax Highlighting on ZSH Shell:
ZSH has a Syntax Highlighting plugin that you can install from the official package repository of Ubuntu 18.04 LTS. ZSH Syntax Highlighting plugin highlights commands on the ZSH shell. Run the following command to install ZSH Syntax Highlighting Plugin:

ZSH Syntax Highlighting plugin should be installed.
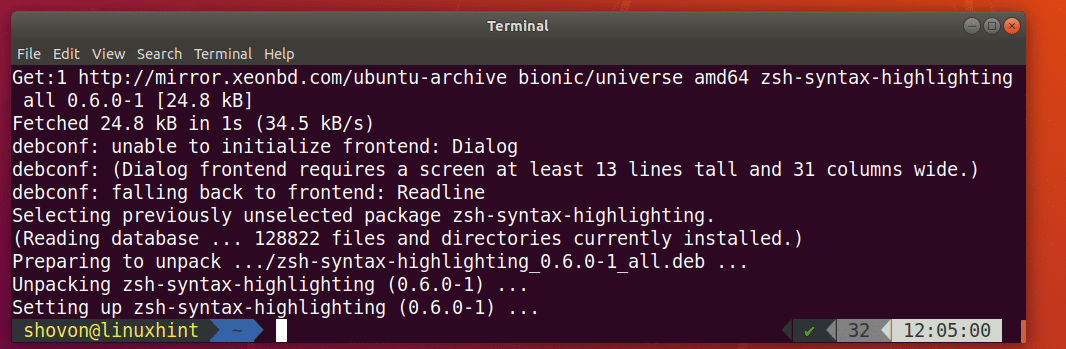
Now run the following command to enable ZSH Syntax Highlighting plugin:

Now open a new terminal and start typing in commands and you should see the commands are highlighted with different colors as you can see in the screenshot below.


ZSH and Git Integration with Oh-My-ZSH:
ZSH has an entire framework Oh-My-ZSH dedicated to work with Git version control system. To learn more about Oh-My-ZSH, please take a look at the official GitHub page of Oh-My-ZSH at https://github.com/robbyrussell/oh-my-zsh
In this section, I will show you how to install Git and Oh-My-ZSH and integrate Git with ZSH shell. Git is not installed by default on Ubuntu 18.04 LTS. But it is available in the official package repository of Ubuntu 18.04 LTS.
You can run the following command to install Git on Ubuntu 18.04 LTS:

Now press y and then press to continue.

Git should be installed.

Now that Git is installed, I am going to install Oh-My-ZSH on Ubuntu 18.04 LTS. To install Oh-My-ZSH, run the following command:

Oh-My-ZSH should be installed.

Installing Oh-My-ZSH changes the
/.zshrc configuration file. It means, our Powerlevel9k theme and ZSH Syntax Highlighting plugin is disabled.
To enable Powerlevel9k theme, run the following command:

To enable ZSH Syntax Highlighting plugin, run the following command:

Now open a new Terminal and the theme and plugin should be enabled.

Now to test whether Git integration works, create a new directory and navigate into the directory with the following command:

Now initialize a new Git repository with the following command:
As you can see from the screenshot below, as soon as I initialized a new Git repository, the prompt has changed and it shows the Git branch that you’re currently in, which is master.

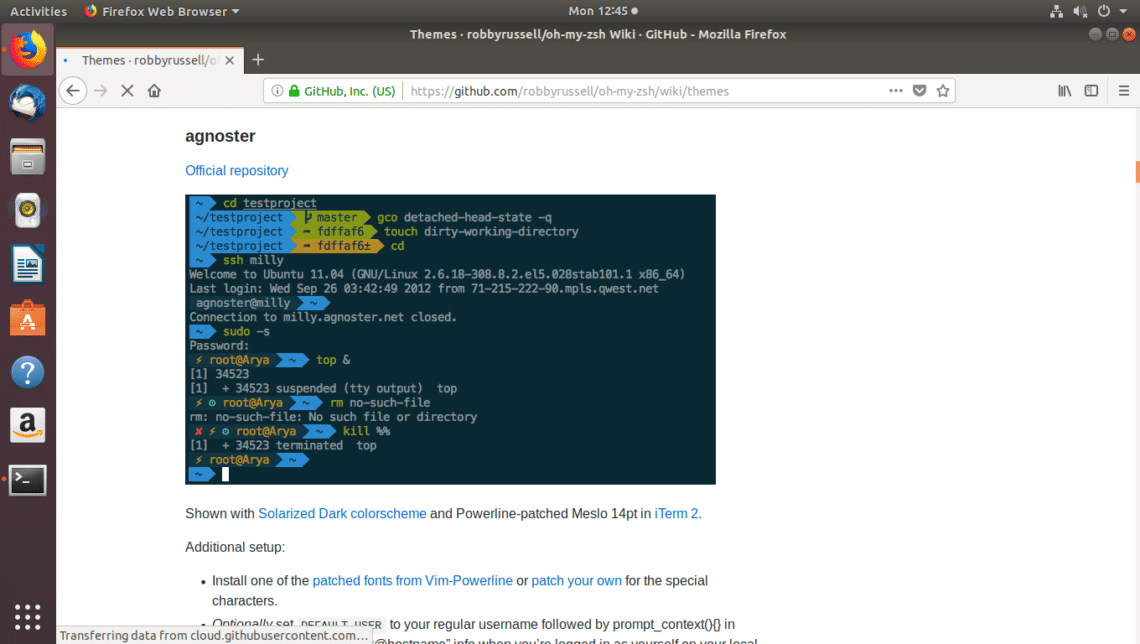
Changing Oh-My-ZSH Theme:
Oh-My-ZSH has many themes comes pre-installed. You can take a look at https://wiki.github.com/robbyrussell/oh-my-zsh/themes to find a theme that you like. The link has screenshots of each theme. My favorite is agnoster.
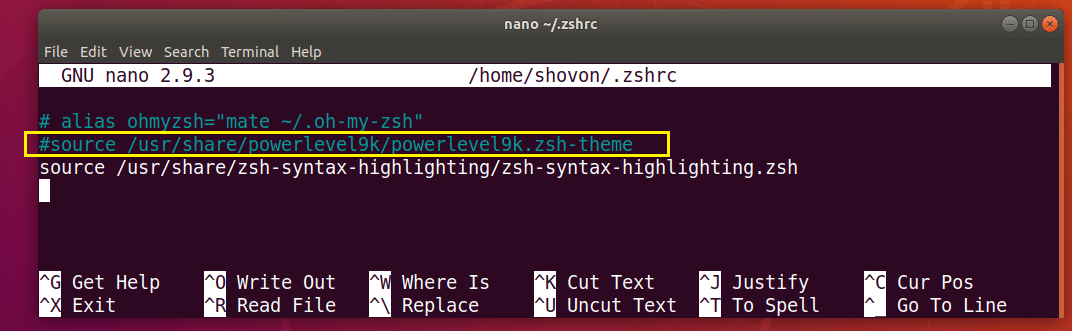
Now to change the theme, first you have to disable the Powerlevel9K theme from the
/.zshrc file if you’ve enabled it.
/.zshrc file with the following command:

Comment out the following line (Put a # mark at the beginning) to disable Powerlevel9k theme:
Now set the ZSH_THEME environment variable to the name of the theme you like:

Now press + x and then press y and then press to save the file. Now open up a new terminal, and your theme should be changed.
Enabling Oh-My-ZSH Plugins:
Oh-My-ZSH has many plugins. You can find a list of pre-installed plugins at https://github.com/robbyrussell/oh-my-zsh/tree/master/plugins
Let’s install the colored-man-pages plugin. It adds color to the Linux man pages.
First make a note of the name of the plugin.

/.zshrc file with the following command:
Now find the plugins variable line and add the name of the plugin that you want to enable between the braces () as marked in the screenshot below.
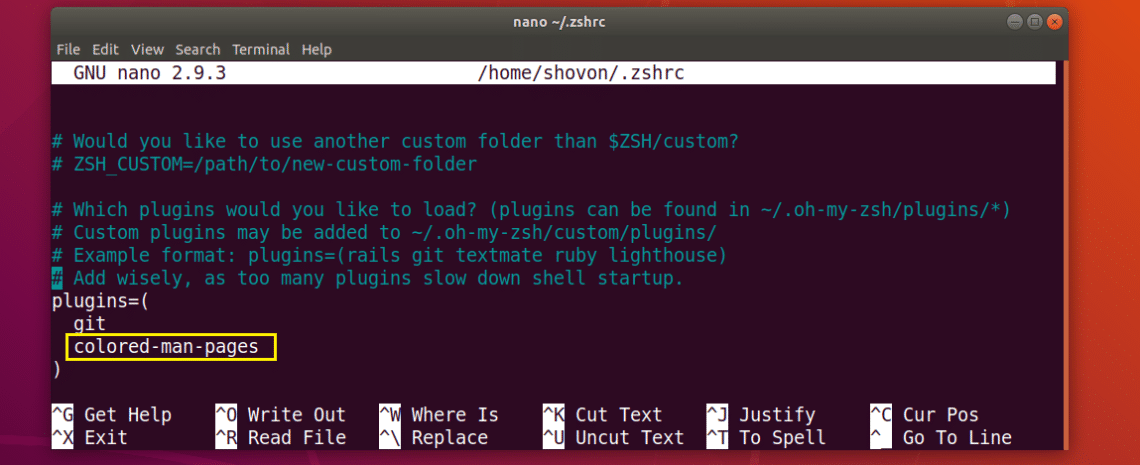
Now press + x and then press y and then press to save the file.
Now open up a new terminal and go to the man page of any Linux command, and you should see colors added to the man page.

That’s how you install and use ZSH shell on Ubuntu 18.04 LTS. Thanks for reading this article.
Источник


