- How to Flush DNS Cache in Linux
- Flush DNS Cache in Linux in 2020
- Checking if DNS Caching is Enabled
- Flush DNS Cache in Ubuntu
- Flush DNS Cache in DNS Services on Linux
- Flush nscd DNS Cache
- Flush dnsmasq DNS Cache
- Flush BIND DNS Cache
- Bonus: Change DNS Settings in Ubuntu
- Change DNS Settings using the GUI
- Change DNS Settings using the Terminal
- Clear DNS Cache in Linux Using These Methods
- How to Flush the DNS Cache on Ubuntu
- Method 1: Using systemd-resolve to flush DNS-Cache
- Method 2: Using dns-clean to flush DNS-Cache
- Karim Buzdar
- How to Flush DNS Cache on Ubuntu 18.04 LTS
- Why and How to flush the DNS cache on Ubuntu 18.04?
- Flush Ubuntu DNS Cache
- NSCD Command
- Karim Buzdar
- Flush DNS Cache on Ubuntu
- How DNS Works:
- DNS Caching:
- Problems with DNS Caching:
- Checking If DNS Caching is Enabled:
- Flushing DNS on Ubuntu 18.04 LTS:
- Flushing DNS Cache on Ubuntu 16.04:
How to Flush DNS Cache in Linux
DNS, or a Domain Name System, is responsible for resolving website names into their respective IP addresses. There are multiple DNS servers and you can pick and choose the one you want to use. So, if you’re having trouble connecting to a website, or if you just want a DNS change to be seen by your Ubuntu machine, you should try to flush the DNS cache. You can also clear DNS cache in Ubuntu if you made changes to the hosts file, and you want it to be “seen” by your system without having to reboot it. Well, if you’re in any of these situations, and you want to clear DNS cache, here is how to flush DNS cache in Linux.
Note : I’m using an Ubuntu 16.10 “Yakkety Yak” system to demonstrate these methods. However, the process should be similar on most Linux distros.
Flush DNS Cache in Linux in 2020
Before we get to our tutorial, let’s see first if DNS caching is enabled on your machine or not.
Checking if DNS Caching is Enabled
All Linux distros do not behave the same way, when it comes to things like caching DNS. For example, Ubuntu, by default, doesn’t cache DNS. Before we try to clear DNS cache on a Linux machine, let’s check if caching is even enabled. To do this on an Ubuntu system, you can follow the steps below:
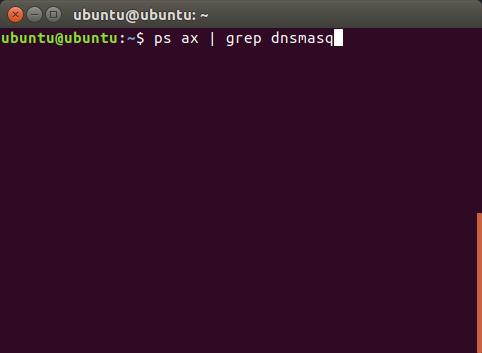
1. Launch Terminal, and type “ps ax | grep dnsmasq“.
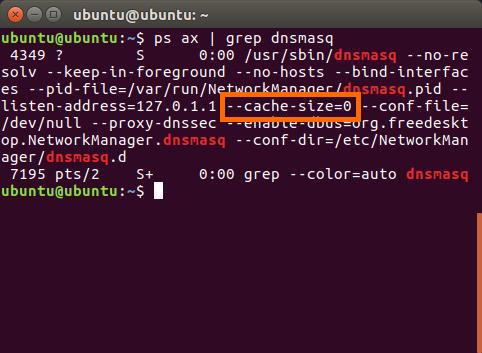
2. In the output from the command, you will be able to see a field called “cache-size“. Check its value. If the value is zero, it means that caching is disabled on the system.
Note : If you want to enable DNS caching on Linux, you can do so by using the command “sudo dnsmasq -c 150”. You can use any number in place of 150, which is basically the number of entries that dnsmasq can cache.
Flush DNS Cache in Ubuntu
If your Linux system is caching DNS entries, then you can try to flush the DNS cache in order to get rid of any DNS related problems. To clear DNS cache in Ubuntu, you can follow the steps below:
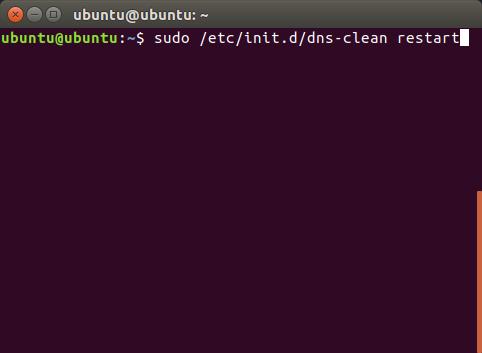
1. Launch Terminal (ctrl + alt + T), and type “sudo /etc/init.d/dns-clean restart“.
2. Next, type the command “sudo /etc/init.d/networking force-reload”
![]()
This will clear your DNS cache in Ubuntu, and if the problems you were experiencing were due to DNS issues, they should now be gone.
Flush DNS Cache in DNS Services on Linux
Like I said, Ubuntu doesn’t cache DNS entries by default, however, if you have manually installed a DNS service such as nscd, you can clear its cache. Methods to clear cache for some common DNS services are given below:
Flush nscd DNS Cache
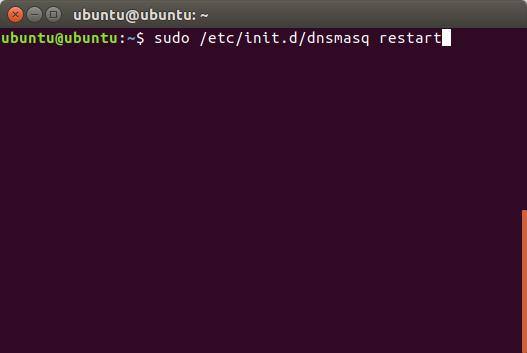
Flush dnsmasq DNS Cache
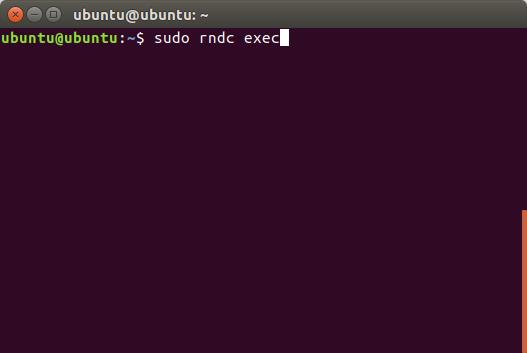
Flush BIND DNS Cache
If you’re using BIND, you can clear DNS cache by using one of the following commands:
- sudo /etc/init.d/named restart


- sudo rndc exec
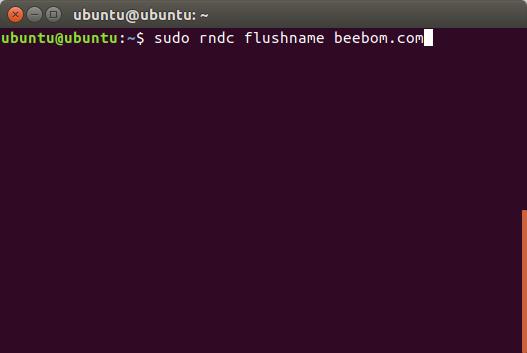
BIND version 9.3.0, and greater, support flushing DNS cache for a particular domain, as well as for the LAN, or the WAN. You can use the following commands to make use of this feature:
- To clear DNS cache for a particular domain, use “sudo rndc flushname beebom.com“
- To clear DNS cache for LAN, use “sudo rndc flush lan“
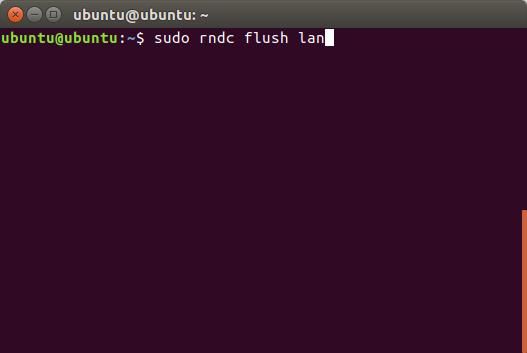
- To clear DNS cache for WAN, use “sudo rndc flush wan“

Bonus: Change DNS Settings in Ubuntu
We’ve been talking about flushing the DNS cache in Ubuntu, however, there may be cases where you just want to make a change to the DNS settings in Ubuntu. If you want to change the DNS settings in Ubuntu, you can do that using the GUI, or via the Terminal.
Change DNS Settings using the GUI
Using the GUI to change DNS settings is easier than using the Terminal. However, if you use multiple connections, you will have to change the DNS setting for each one of them. To change DNS settings using the GUI, just follow the steps below:
1. Open System Settings, and click on Network.
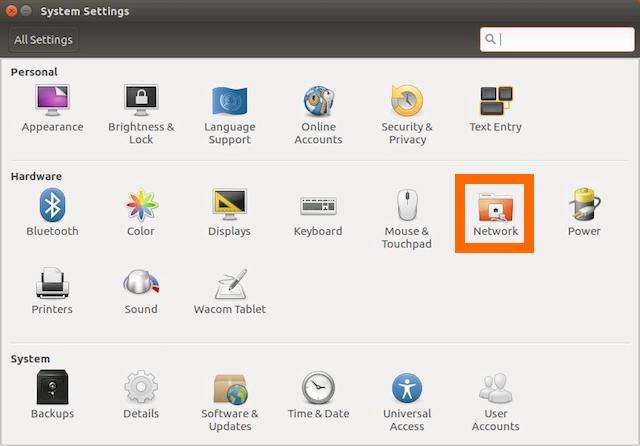
2. Click on the arrow next to the name of the network you’re connected to.
![]()
3. Now, click on “Settings”. This will open up the settings for that connection.

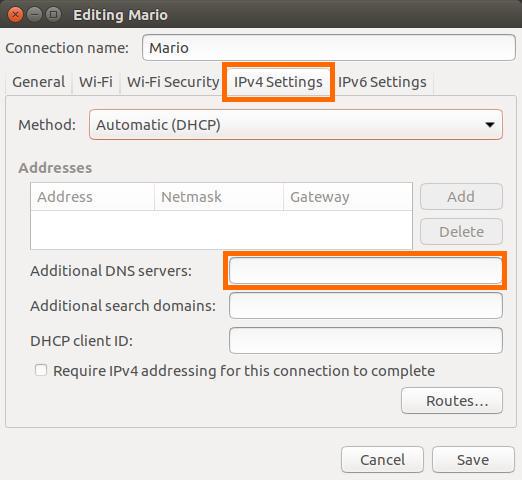
4. Switch over to the IPv4 tab, and you’ll see an option called “Additional DNS Servers“. You can enter the DNS servers you want to use in this field. If you want to enter more than one DNS server, just separate them with commas.
Change DNS Settings using the Terminal
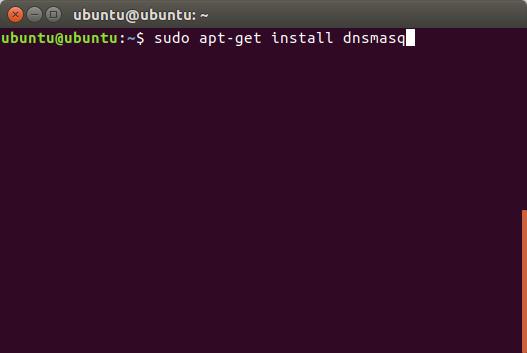
If you don’t want to use the GUI, and prefer changing DNS settings using the Terminal, you can do this by adding the nameservers to the dnsmasq config file. However, dnsmasq does not come installed by default in Ubuntu systems (dnsmasq-base, does). So, first you’ll have to install dnsmasq by launching a Terminal, and using “sudo apt-get install dnsmasq“.
- Once you have installed dnsmasq. You can edit the config file with “sudo nano /etc/dnsmasq.conf“.
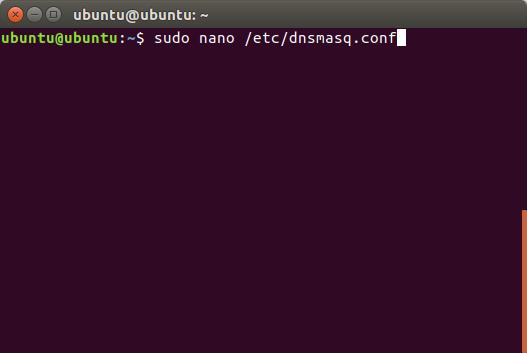
- Here, you can add your DNS servers’ IP addresses where it says “Add other nameservers here“.

Clear DNS Cache in Linux Using These Methods
You can use any of these methods to clear DNS cache in a Linux system. Issues with DNS cache can cause problems such as a webpage not loading, nameserver changes not being recognized by your system, and a lot more. Once you flush DNS cache, these problems will most likely go away. So, have you ever had to flush the DNS cache on your Linux system? If so, what method did you use? If you know of any other method to clear the DNS cache on your Linux system, do let us know in the comments section below.
Источник
How to Flush the DNS Cache on Ubuntu
The DNS or the Domain Name Server can be characterized as the most essential part of your link to the internet. The DNS translates the domain names to and from the IP addresses so that we don’t need to remember or keep a list of all the IP addresses of the websites we ever want to access. Our systems also maintain a list of DNS records so that we can access our frequently visited websites faster through quick resolution of IP addresses. This cache on our system needs to be flushed from time to time. This is required because websites may change their addresses time and again, so it is a good idea to avoid IP conflict by clearing the cache. Flushing the cache is also a good way to clear unnecessary data residing on our systems.
So let us see how we can flush the DNS cache on our Ubuntu Systems.
We have executed the commands and procedures mentioned in this article on an Ubuntu 18.04 LTS system. Since we are using the Linux command line-the Terminal to flush the cache, you can open it through the system Dash or the CTRL+ALT+T shortcut.
Method 1: Using systemd-resolve to flush DNS-Cache
Most Ubuntu and Debian systems are running the systemd-resolve daemon. Your system already uses it for a lot of things. So let us use it for flushing the cache through the following command:

You can then check the statistics in order to make sure that your cache size is now zero, thus cleared. Run the following command in order to view the statistics:

You cache size 0 in the above output shows that the DNS cache has been cleared.
Method 2: Using dns-clean to flush DNS-Cache
Another way to clear the DNS cache is by starting the dns-clean utility. Run the following command in your Terminal to do so:

You have now learned two effective methods to clear your DNS cache. In both the cases, the process is pretty simple and does not require you to restart your Linux system.
Karim Buzdar
About the Author: Karim Buzdar holds a degree in telecommunication engineering and holds several sysadmin certifications. As an IT engineer and technical author, he writes for various web sites. You can reach Karim on LinkedIn
Источник
How to Flush DNS Cache on Ubuntu 18.04 LTS
Are you using the latest version of Ubuntu and looking for a way using which you can flush your DNS Cache? Well, you are the right place. The following guide shows you how to Flush the DNS Cache in Ubuntu 18.04, alongside with it we will also educate you regarding why you should consider Flushing your DNS Cache once in a while. With that said let starts with the process
Why and How to flush the DNS cache on Ubuntu 18.04?
A DNS cache may become corrupted occasionally, the reason for that could be technical errors or some other viral attacks that input invalid DNS entries into the database and the consequence of this could be that when a user visits a website, it gets redirected to some other website that has a lot of advertisements or it could even have malware. When the cache is corrupted, everyone suggests flushing the DNS cache to the user
Flush Ubuntu DNS Cache
Some Debian Linux like Ubuntu still uses systemd-resolve. This resolve is already built into the system in Ubuntu and it is being used for a lot of things by the operating system automatically without the user’s knowledge. Its already installed and set up in Ubuntu, the user just has to enter the command to flush the DNS and it will get done.
First, you need to open the terminal and enter:

When you enter the command, the terminal does not give any confirmation that the cache has been flushed, to confirm that you have to enter another command that would show the user the statistics, the command is as follows:
After you enter the command the statistics will be shown on the terminal and when you see that the ‘current cache size’ is zero, then you get the confirmation that your DNS cache has been flushed.
If you are using another version of Linux other than Ubuntu you can also use the following:
NSCD Command
If you are not using Ubuntu and using some other Linux, then you can also use nscd. The arch Linux mostly uses nscd. If that is the case, then you just have to enter the following command to flush your DNS cache in that Linux.

You can use the above-mentioned method to clear the DNS Cache in Ubuntu. As already discussed, that why you should flush your DNS Cache once in a while is because it can cause several issues like websites not loading properly, web page scripts not running properly etc. All of these are a result of corrupted DNS Cache and flushing it out and resetting it will probably fix the problem.
So, did you try using the above-mentioned method to clear out the DNS Cache? Did it work out for you? If No, then kindly share with us the method you used in the comment section below.
Karim Buzdar
About the Author: Karim Buzdar holds a degree in telecommunication engineering and holds several sysadmin certifications. As an IT engineer and technical author, he writes for various web sites. You can reach Karim on LinkedIn
Источник
Flush DNS Cache on Ubuntu
This article is about flushing DNS on Ubuntu. But to understand why it is necessary, first you have to understand how DNS works and a little bit about DNS caching.
How DNS Works:
Simply, DNS can be thought of a table of domain names and IP addresses as given below:
| Domain Name | IP Address |
| linuxhint.com | 1.2.3.4 |
| support.linuxhint.com | 3.4.5.7 |
| google.com | 8.9.5.4 |
| www.google.com | 8.9.5.4 |
Please know that, none of the data in this table is real. It’s just for the purpose of demonstration. So let’s get back to our original topic.
When you visit, let’s say, linuxhint.com, the browser asks the DNS server (set on your computer) a few questions.
Your Computer: Hey, do you know linuxhint.com?
DNS Server: No, I do not. But the DNS server 4.4.4.4 may know about it.
Your Computer: Contacts the DNS server 4.4.4.4 and asks, “hey, do you know linuxhint.com?”
DNS Server 2: Yes, I do. What can I do for you?
Your Computer: I need the IP address of linuxhint.com. Can I have it?
DNS Server 2: No fear, that’s why I am here. Here is the IP address of linuxhint.com 1.2.3.4.
Your Computer: You’re a life saver. Thanks.
Now your computer connects to 1.2.3.4 and your favorite website linuxhint.com shows up. That was really hard, wasn’t it?
The next time you visit linuxhint.com, the same thing happens again.
DNS Caching:
In the earlier section, you saw how a domain name is resolved to IP addresses. This journey through the DNS servers takes a while and till it’s complete and a domain name can be resolved to IP addresses, you won’t be able to connect to any website or server on the internet.
To solve this issue, DNS caching is used. Here, when you try to resolve a domain name to IP addresses for the first time, it takes a little bit longer. But once the domain name is resolved, the IP addresses are stored in your own computer. So, the next time you need to resolve the same domain name, it won’t take as long as it did on the first time.
Problems with DNS Caching:
DNS caching is good. How come DNS caching is problematic? Well, the world of internet is so dynamic that the DNS information is changing constantly. It may have changed a few times even while I am writing this article.
So, what happens when the DNS information changes and we are using the DNS information that is cached on our own computer? Well, that’s where it gets problematic. In that case, we will be using the old DNS information. We may have connectivity issues, false redirection issues and many other issues.
To solve this problem, we have to delete the cache (also called DNS flushing) and rebuild it. This is the topic of this article.
Checking If DNS Caching is Enabled:
You can check whether DNS caching is enabled very easily on Ubuntu. You need to have the nslookup or dig utility installed on your computer for this to work.
nslookup or dig command may not be available by default on your Ubuntu machine. But you can easily install it from the official package repository of Ubuntu.
First, update the APT package repository cache with the following command:

The APT package repository cache should be updated.

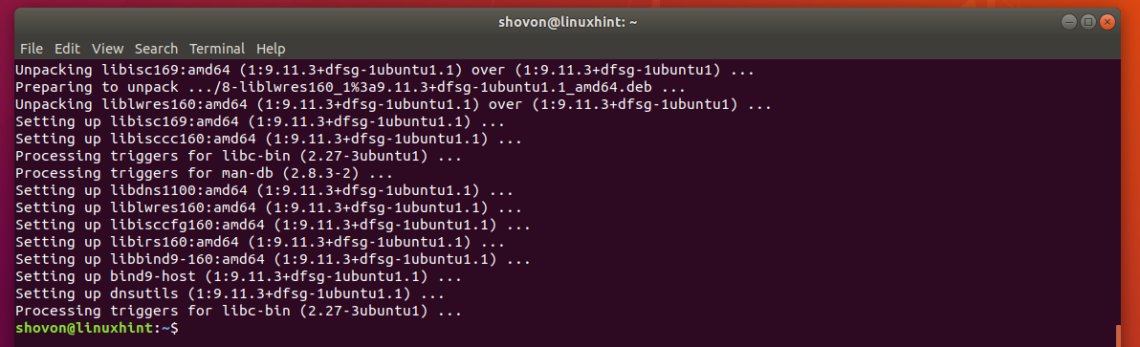
Now install the nslookup and dig with the following command:

Now press y and then press to continue.
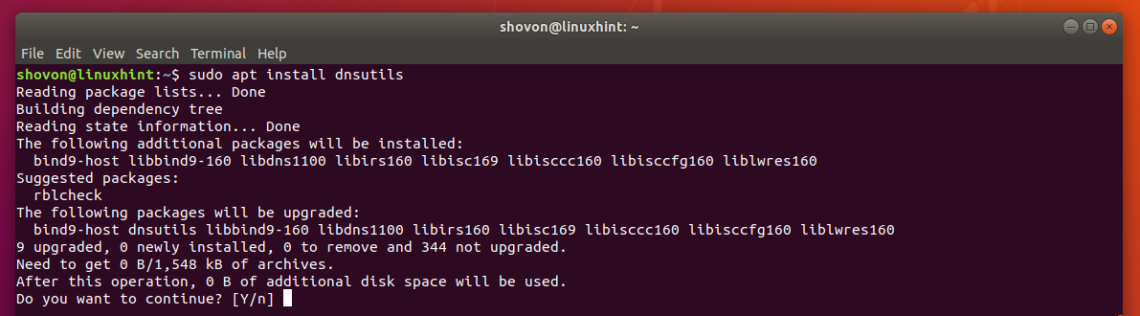
nslookup and dig commands should now be available.
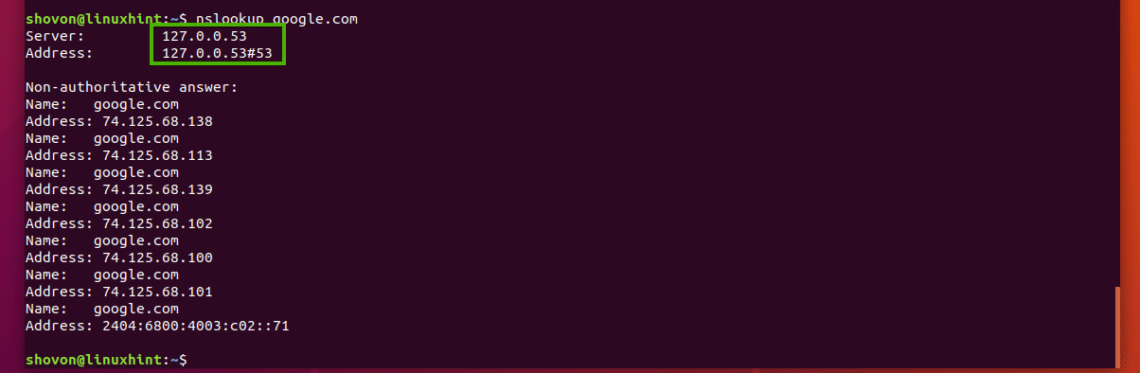
Now to test whether caching is enabled, run the following command:
As you can see, the DNS server used to resolve the domain name is 127.0.0.53, which is a loopback IP address. So DNS caching is enabled. If you have it disabled, then the DNS server should be anything other than 127.0.0.X.
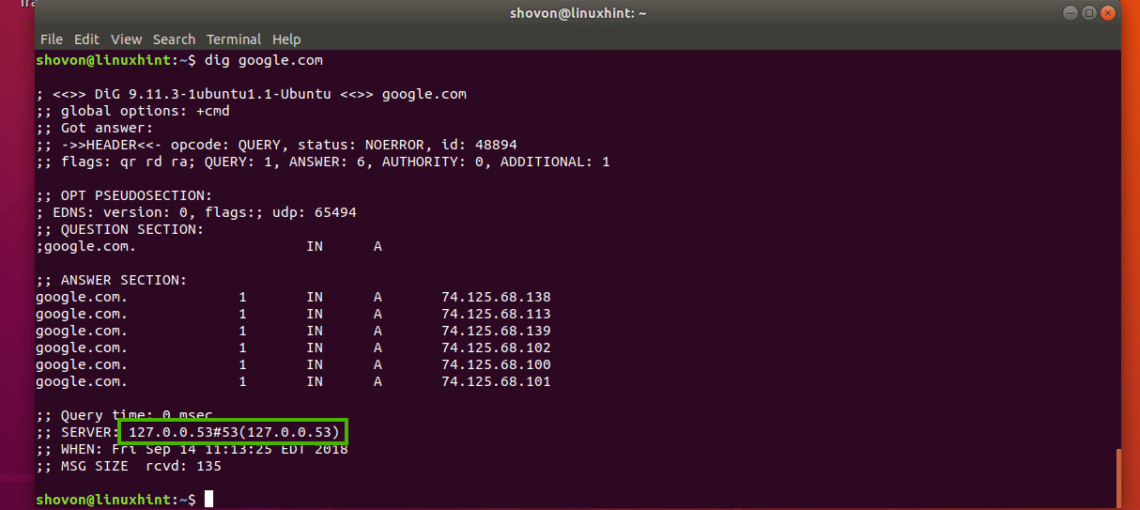
You can check the same thing with the dig command as well as follows:
As you can see, the loopback IP addresses is used as the DNS server addresses here as well. So, DNS caching is enabled.
Flushing DNS on Ubuntu 18.04 LTS:
Ubuntu 18.04 LTS uses a local DNS server and caches DNS queries by default. Ubuntu 18.04 LTS uses systemd for this purpose.
You can run the following command to check how many DNS entries are cached and many other information on Ubuntu 18.04 LTS:

As you can see, information about DNS cache is listed in the marked section of the screenshot below.
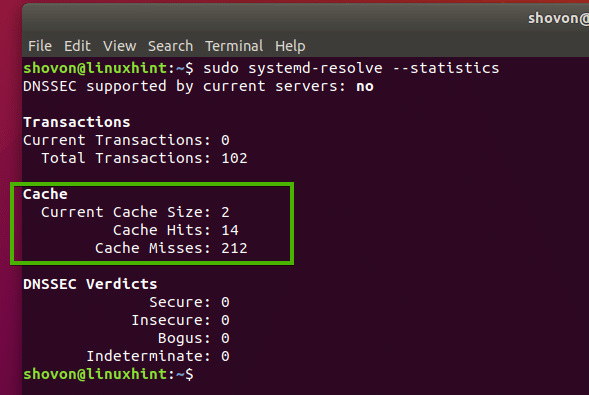
To flush the DNS cache on Ubuntu 18.04 LTS, run the following command:

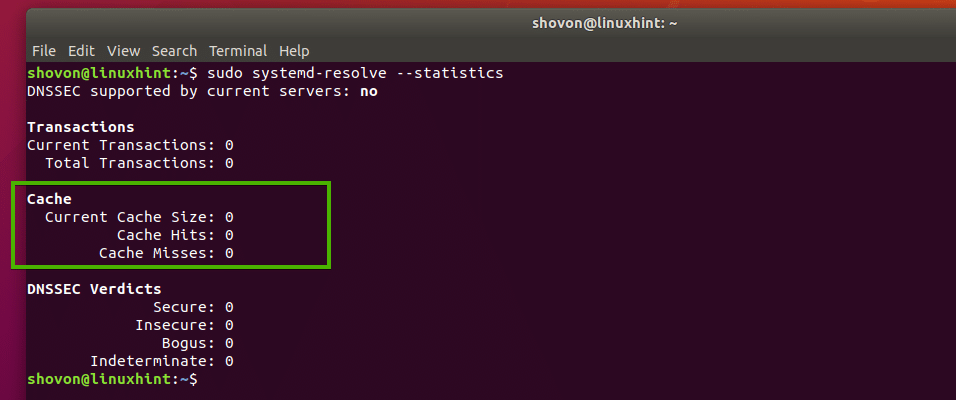
You can also restart the systemd-resolved service to flush the DNS caches on Ubuntu 18.04 LTS.
To restart the systemd-resolved service, run the following command:

As you can see, the caches are cleared.
Flushing DNS Cache on Ubuntu 16.04:
On Ubuntu 16.04 LTS, DNS cache is not enabled by default. But some applications like bind, dnsmasq, nscd etc. may cache it.
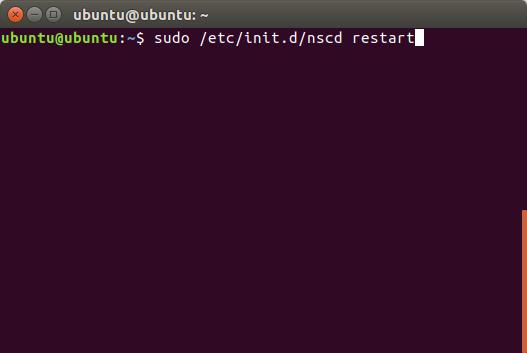
If you’re using nscd for caching DNS queries, then you can flush the DNS cache by simply restarting the nscd service.
You can restart the nscd service on Ubuntu 16.04 LTS to flush DNS caches with the following command:
If you’re using dnsmasq for caching DNS, then restarting dnsmasq service with the following command should flush the DNS cache.
So, that’s how you flush DNS cache on Ubuntu 18.04 LTS and 16.04 LTS. Thanks for reading this article.
Источник


