- 10 Screen Command Examples to Manage Linux Terminals
- Start Screen for the First Time
- Show Screen Parameter
- Detach the Terminal Session with Screen
- Re-attach the Terminal Session with Screen
- Using Multiple Screen Terminal Windows
- Switching Between Screen Terminal Windows
- Enable Screen Logging in Linux
- Lock Linux Terminal Screen
- Add password to Lock Screen
- Leaving Screen Terminal Session
- If You Appreciate What We Do Here On TecMint, You Should Consider:
- Команда screen Linux
- Установка утилиты screen
- Основы работы команды screen
- Возможности программы
- Основные команды screen
- Как пользоваться screen Linux
- Выводы
10 Screen Command Examples to Manage Linux Terminals
The screen is a full-screen software program that can be used to multiplexes a physical console between several processes (typically interactive shells). It offers a user to open several separate terminal instances inside a single terminal window manager.
The screen application is very useful if you are dealing with multiple programs from a command-line interface and for separating programs from the terminal shell. It also allows you to share your sessions with others users and detach/attach terminal sessions.
![]() Screen Command Examples
Screen Command Examples
On my Ubuntu Server Edition, Screen has been installed by default. But, in Linux Mint does not have a screen installed by default, I need to install it first using the apt-get command before using it.
Please follow your distribution installation procedure to install the screen.
Actually, the screen is a very good terminal multiplexer program in Linux which is hidden inside hundreds of Linux commands.
Let’s start to see the usage of the screen command in Linux with the following examples.
Start Screen for the First Time
Just type the screen at the command prompt. Then the screen will show an interface exactly as the command prompt.
![]() Screen Terminal Program
Screen Terminal Program
Show Screen Parameter
When you enter the screen, you can do all your work as you are in the normal command-line environment. But since the screen is an application, so it has commands or parameters.
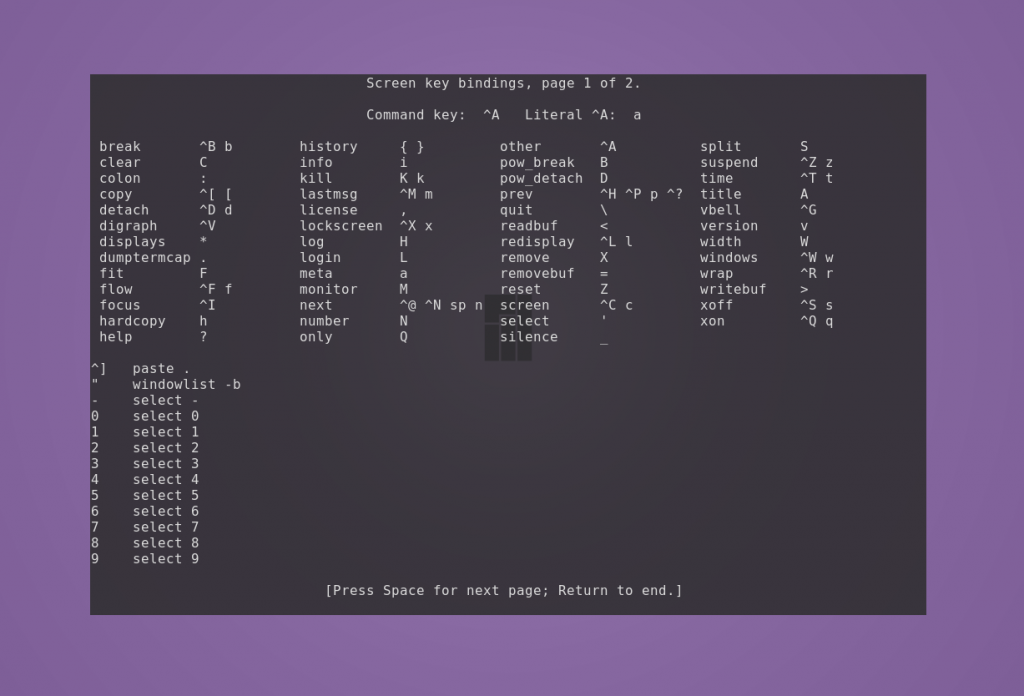
Type “Ctrl-A” and “?” without quotes. Then you will see all commands or parameters on the screen.
![]() Screen Terminal Key Bindings
Screen Terminal Key Bindings
To get out of the help screen, you can press the “space-bar” button or “Enter“. (Please note that all shortcuts which use “Ctrl-A” are done without quotes).
Detach the Terminal Session with Screen
One of the advantages of a screen that is you can detach it. Then, you can restore it without losing anything you have done on the screen. Here’s the sample scenario:
You are in the middle of SSH on your server. Let’s say that you are downloading a 400MB patch for your system using the wget command.
The download process is estimated to take 2 hours long. If you disconnect the SSH session, or suddenly the connection is lost by accident, then the download process will stop. You have to start from the beginning again. To avoid that, we can use a screen and detach it.
Take a look at this command. First, you have to enter the screen.
Then you can do the download process. For example on my Linux Mint, I am upgrading my dpkg package using the apt-get command.
Sample Output
While downloading in progress, you can press “Ctrl-A” and “d“. You will not see anything when you press those buttons. The output will be like this:
Re-attach the Terminal Session with Screen
After you detach the screen, let say you are disconnecting your SSH session and going home. In your home, you start to SSH again to your server and you want to see the progress of your download process. To do that, you need to restore the screen. You can run this command:
And you will see that the process you left is still running.
When you have more than 1 screen session, you need to type the screen session ID. Use screen -ls to see how many screens are available.
Sample Output
If you want to restore screen 7849.pts-0.mint, then type this command.
Using Multiple Screen Terminal Windows
When you need more than 1 screen to do your job, is it possible? Yes, it is. You can run multiple screen windows at the same time. There are 2 (two) ways to do it.
First, you can detach the first screen and run another screen on the real terminal. Second, you do a nested screen.
Switching Between Screen Terminal Windows
When you do a nested screen, you can switch between screens using keys “Ctrl-A” and “n“. It will move to the next screen. When you need to go to the previous screen, just press “Ctrl-A” and “p“.
To create a new screen window, just press “Ctrl-A” and “c“.
Enable Screen Logging in Linux
Sometimes it is important to record what you have done while you are in the console. Let say you are a Linux Administrator who manages a lot of Linux servers.
With this screen logging, you don’t need to write down every single command that you have done. To activate the screen logging function, just press “Ctrl-A” and “H“. (Please be careful, we use capital ‘H’ letters. Using non-capital ‘h’, will only create a screenshot of the screen in another file named hardcopy).
At the bottom left of the screen, there will be a notification that tells you to like: Creating logfile “screenlog.0“. You will find screenlog.0 file in your home directory.
This feature will append everything you do while you are in the screen window. To close the screen to log running activity, press “Ctrl-A” and “H” again.
Another way to activate the logging feature, you can add the parameter “-L” when the first time running the screen. The command will be like this.
Lock Linux Terminal Screen
The screen also has a shortcut to lock the screen. You can press the “Ctrl-A” and “x” shortcuts to lock the screen. This is handy if you want to lock your screen quickly. Here’s a sample output of the lock screen after you press the shortcut.
You can use your Linux password to unlock it.
Add password to Lock Screen
For security reasons, you may want to put the password to your screen session. A Password will be asked whenever you want to re-attach the screen. This password is different from the Lock Screen mechanism above.
To make your screen password protected, you can edit the “$HOME/.screenrc” file. If the file doesn’t exist, you can create it manually. The syntax will be like this.
To create “crypt_password” above, you can use the “mkpasswd” command on Linux. Here’s the command with the password “pungki123“.
mkpasswd will generate a hash password as shown above. Once you get the hash password, you can copy it into your “.screenrc” file and save it. So the “.screenrc” file will be like this.
Next time you run the screen and detach it, a password will be asked when you try to re-attach it, as shown below:
Type your password, which is “pungki123” and the screen will re-attach again.
After you implement this screen password and you press “Ctrl-A” and “x“, then the output will be like this.
A Password will be asked to you twice. The first password is your Linux password, and the second password is the password that you put in your .screenrc file.
Leaving Screen Terminal Session
There are 2 (two) ways to leaving the screen. First, we are using “Ctrl-A” and “d” to detach the screen. Second, we can use the exit command to terminating the screen. You also can use “Ctrl-A” and “K” to kill the screen.
That’s some of the screen usages on daily basis. There are still a lot of features inside the screen command. You may see the screen man page for more detail.
If You Appreciate What We Do Here On TecMint, You Should Consider:
TecMint is the fastest growing and most trusted community site for any kind of Linux Articles, Guides and Books on the web. Millions of people visit TecMint! to search or browse the thousands of published articles available FREELY to all.
If you like what you are reading, please consider buying us a coffee ( or 2 ) as a token of appreciation.

We are thankful for your never ending support.
Источник
Команда screen Linux
Эффективность администрирования систем GNU/Linux напрямую зависит от используемых утилит. Возможность выполнять максимум задач в минимальный срок — приоритетная цель этого процесса. Команда screen Linux является одним из основных инструментов системного администратора.
По умолчанию screen не является стандартной утилитой в большинстве дистрибутивов, но работает везде одинаково. Поэтому сначала рассмотрим её инсталляцию, а затем — возможности и основные команды.
Установка утилиты screen
Разница в инсталляции программы на разных дистрибутивах заключается в программах управления пакетами и их командами.
Чтобы установить screen в Ubuntu, Linux Mint, Deepin и других систем семейства Debian, используйте команду apt:
sudo apt install screen
В Manjaro, Antergos и других Arch-подобных ОС screen располагается в AUR, поэтому используйте соответствующую программу управления пакетами, например aurman:
aurman -S screen
Для инсталляции screen в системах на основе Red Hat (например Fedora и CentOS) используйте утилиту dnf:
dnf install screen
Основы работы команды screen
Принцип работы GNU/Linux в целом заключается в использовании небольших утилит, которые делают что-то одно, но хорошо. И эта программа — не исключение.
Команда screen Linux является консольной программой и имеет однозначное определение, соответствующее названию, — это оконный менеджер, разделяющий один физический терминал между несколькими процессами. Подходит для прямого либо удалённого администрирования.
Возможности программы
Screen позволяет переключаться между терминалами, в которых выполняются процессы, не прерывая их. Это особенно эффективно, когда необходимо производить сборку/установку ПО и мониторить дисковое пространство или использовать аппаратные ресурсы.
Screen может разделять текущий терминал на меньшее количество окон с возможностью запуска в них того же или других терминалов. Это ещё больше упрощает вышеописанную задачу, особенно при использовании больших мониторов.
Также к одной сессии screen может подключаться несколько пользователей. Это эффективно при обучении персонала.
Основные команды screen
Откройте терминал. Для запуска первого окна наберите:—
Создастся новая сессия программы и появится приветственное сообщение. Для его закрытия нужно нажать Space или Enter.
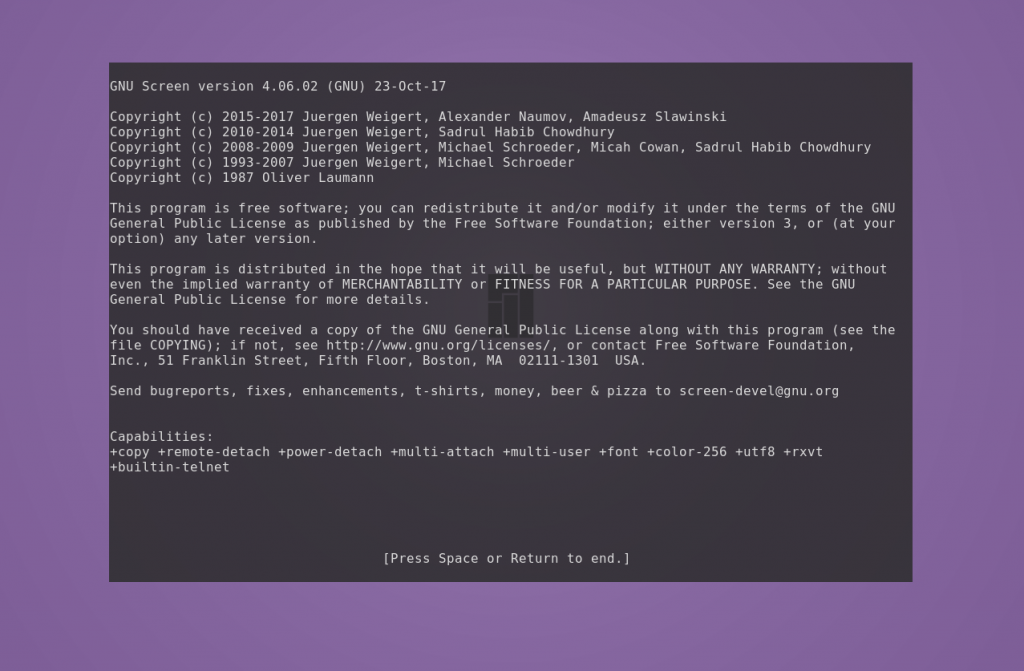
Все управляющие команды начинаются с комбинации клавиш Ctrl + a, затем следует буква или сочетание клавиш. Буквы разных регистров выполняют разные команды. Также сочетания можно заменять текстом. Для его ввода нажмите Ctrl + a и :, после чего вводите текст.
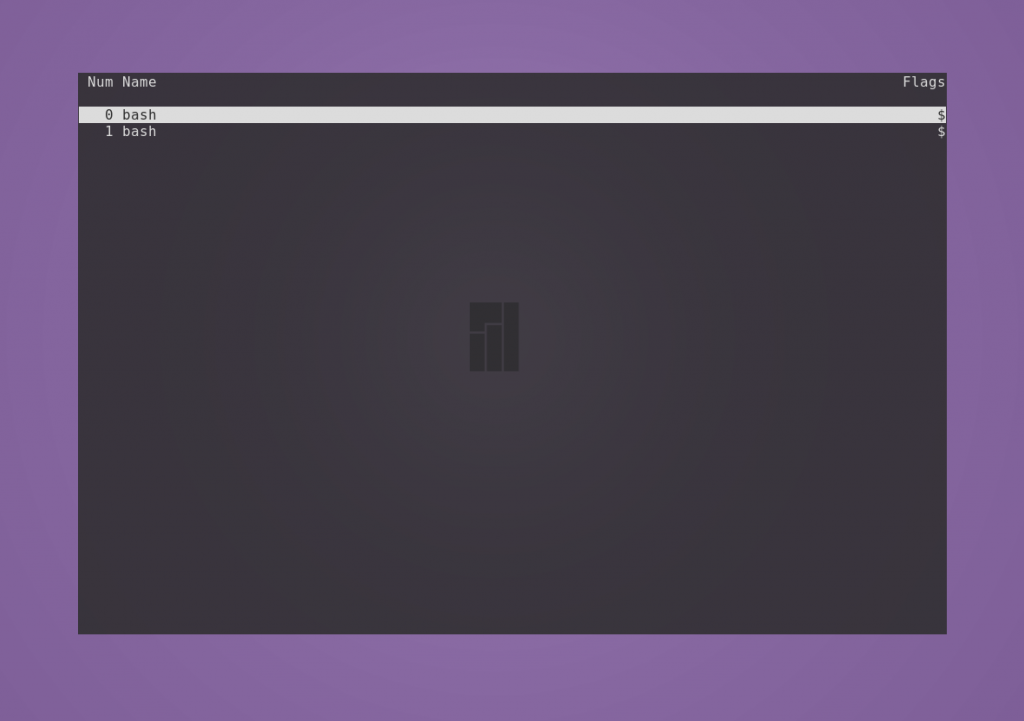
Например, чтобы создать новое окно, нажмите по очереди сочетание Ctrl + a и затем c. Для просмотра списка созданных окон нажмите Ctrl + a и w.
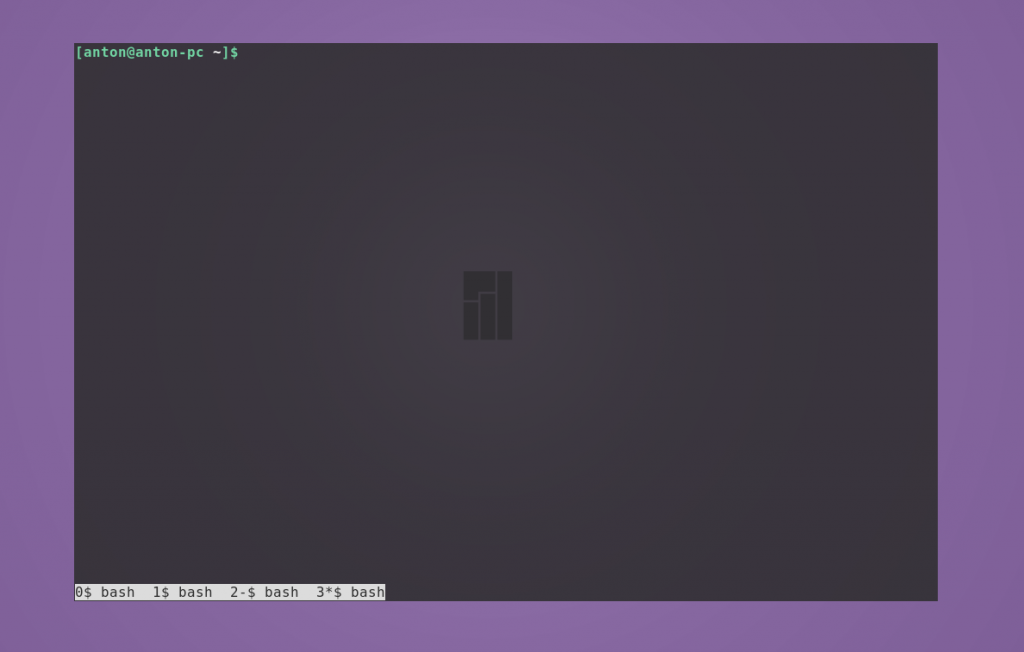
Для перехода в любое из созданных окон сессии используется комбинация Ctrl + a и номер, который за ним закреплён, или Ctrl + a и «, после чего нужно выбрать стрелками необходимое. Для последовательного перехода используйте Ctrl + a и n (следующее окно) или p (предыдущее окно).
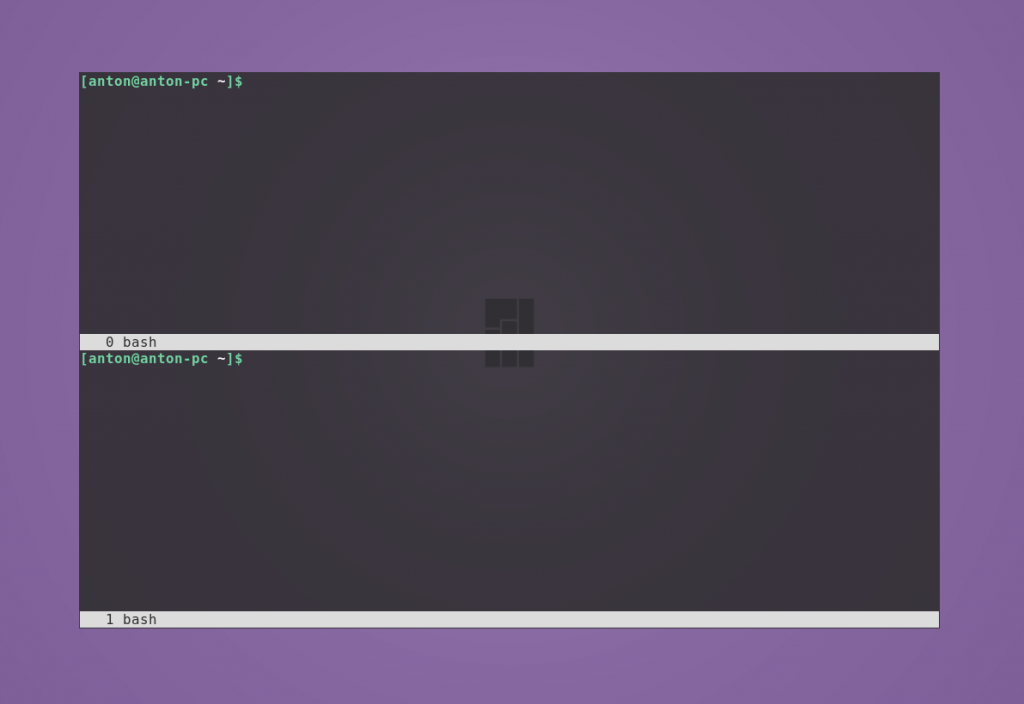
Чтобы разделить экран по горизонтали, нажмите Ctrl + a и S. Например, для разделения окна по горизонтали напишите split.
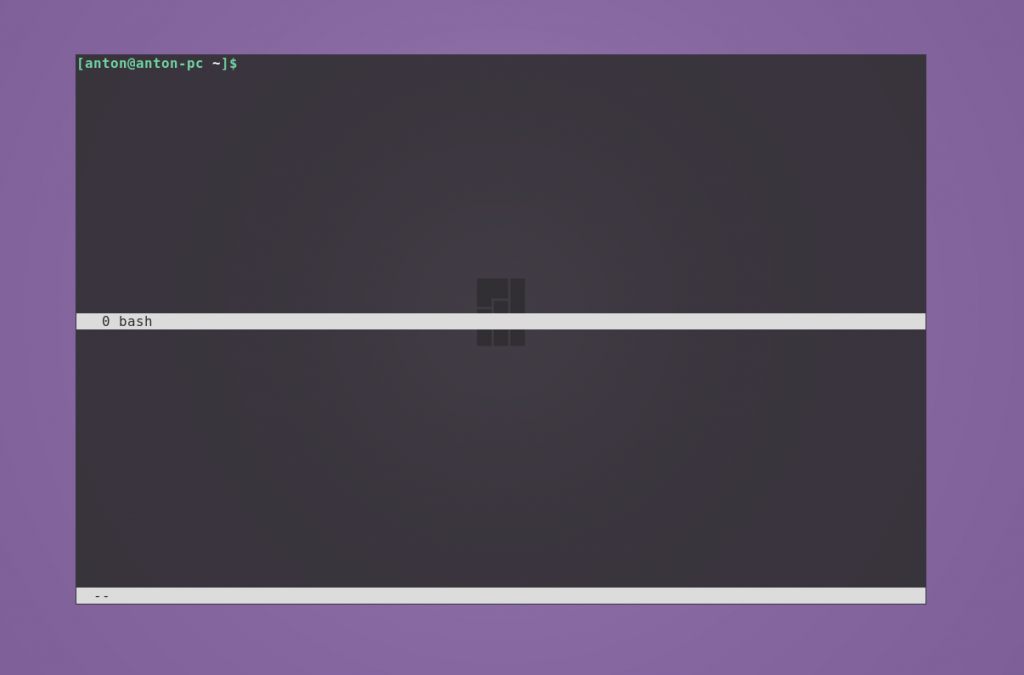
Будет создано новое окно снизу от текущего, и оно не становится активным. Чтобы разделить по вертикали, нажмите Ctrl + a и | (или введите split -v).
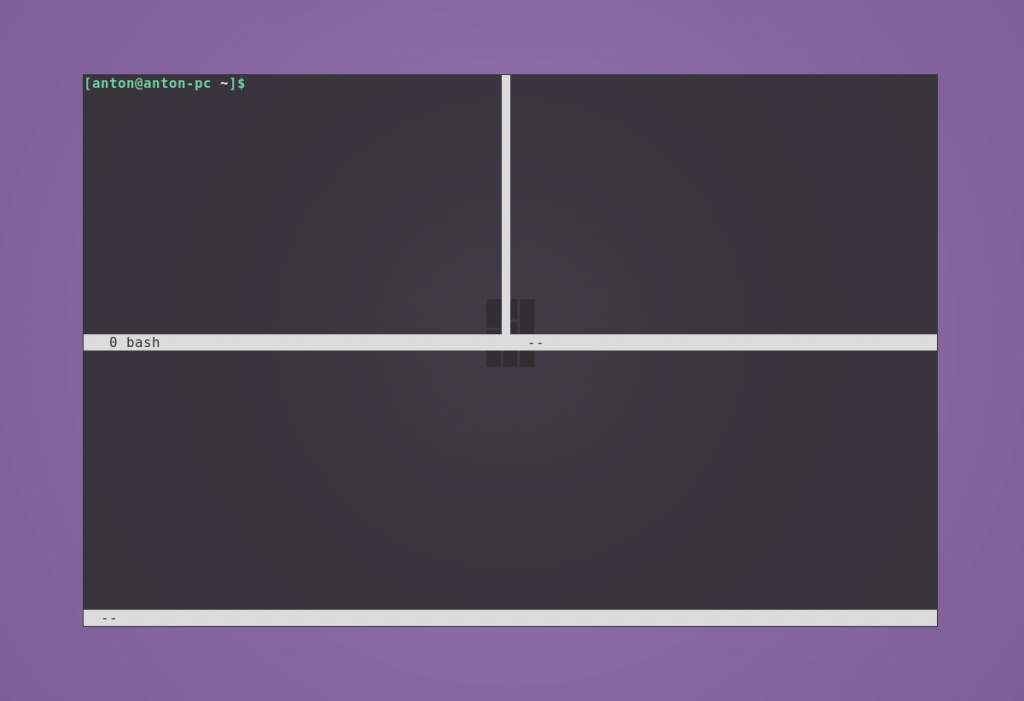
Были созданы новые пустые окна. Для переключения между ними используйте Ctrl + a и Tab (или напишите focus). Положение курсора указывает, какое окно является активным в данный момент. Для скрытия окна используйте Ctrl + a и X (или введите remove).
Чтобы запустить в новом окне терминал, нажмите Ctr + a и c (или наберите screen).
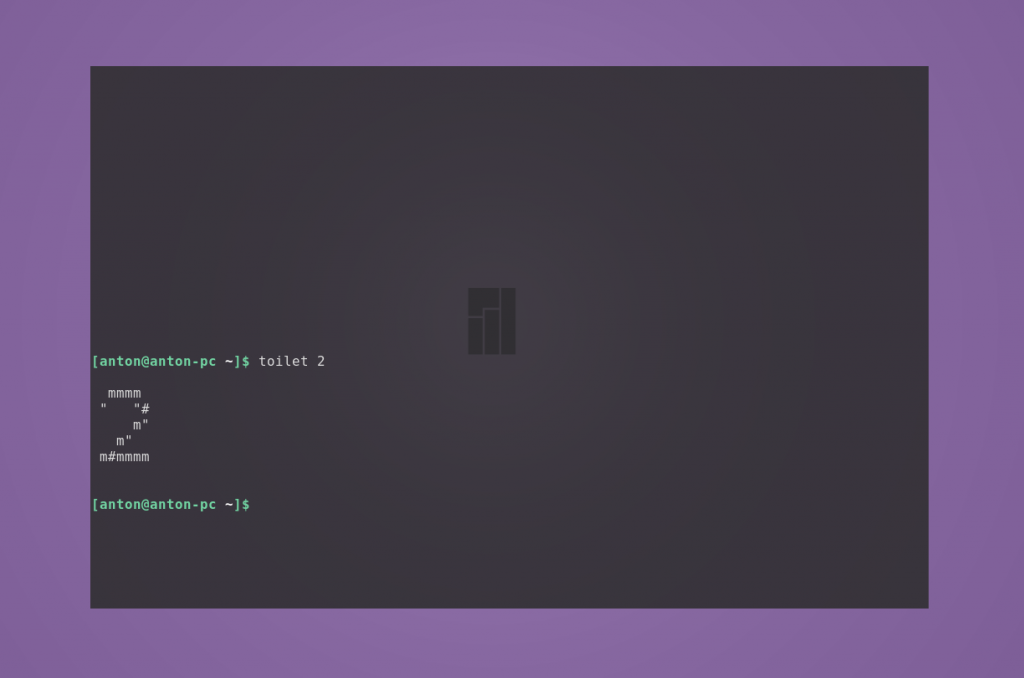
Чтобы скрыть все окна и оставить только текущее, используйте Ctrl + a и Q (или напишите only).
Переименовать окно можно с помощью Ctrl + a и A. Внизу появится строка с возможностью заменить старое название.

Чтобы скрыть все окна сессии, нажмите Ctrl + a и \. Подтвердите решение нажатием y. Для выхода из менеджера окон нажмите Ctrl + a и d.
Команда screen обладает большим набором горячих клавиш. Полный их список можно посмотреть с помощью Ctrl + a и ?.
При создании новой сессии screen можно задать ей имя. Таким образом можно создать несколько сессий. Чтобы сделать это, используйте параметр -S, после которого укажите название.
screen -S name-of-screen
Посмотреть список запущенных сессий можно командой
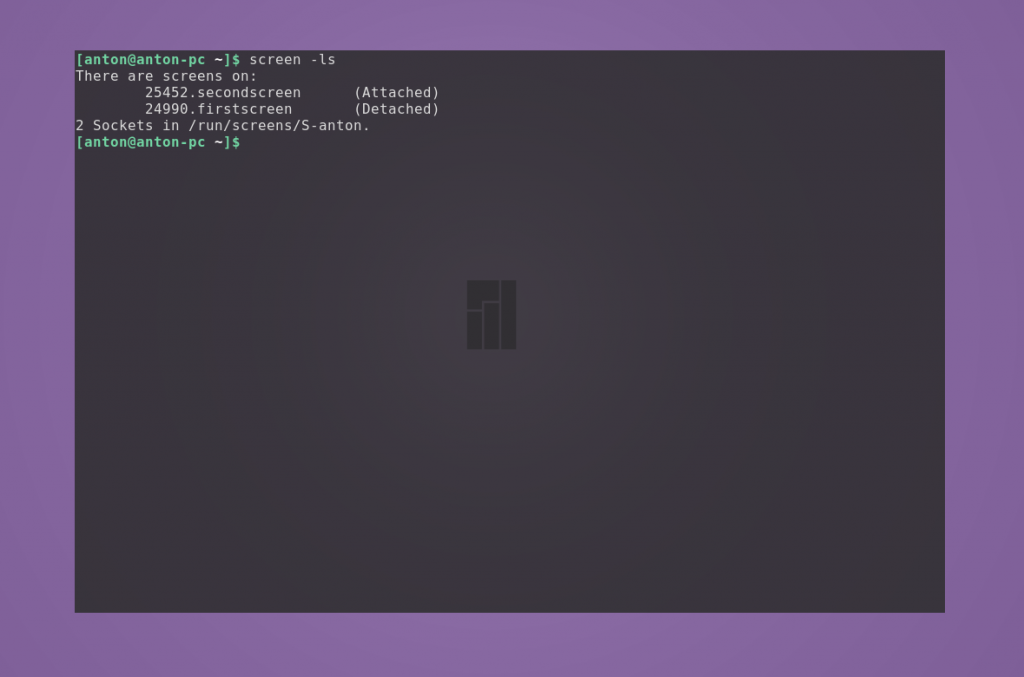
Строка, идентифицирующая сессию, состоит из нескольких полей: id, название и статус.
Значение id отображается в списке всех запущенных процессов. Это означает, что его можно завершить с помощью команды kill. Завершить работу текущего окна можно с помощью комбинации Ctrl+a и k; подтвердите решение нажатием y.
Статус может иметь два состояния: Attached (задействован) и Detached (незадействован). Второе состояние у сессий, в которых ещё не происходили никакие процессы.
Чтобы перейти в нужную сессию, следует указать параметру -r её id или название.
Это всё основные команды screen Linux.
Как пользоваться screen Linux
Теперь давайте рассмотрим, как пользоваться screen Linux более подробно.
Пример 1. Необходимо отслеживать изменения файла в реальном времени. Для этого в одном окне будем вносить изменения в новый файл, а в другом — отображать файл командой tail с опцией -f:
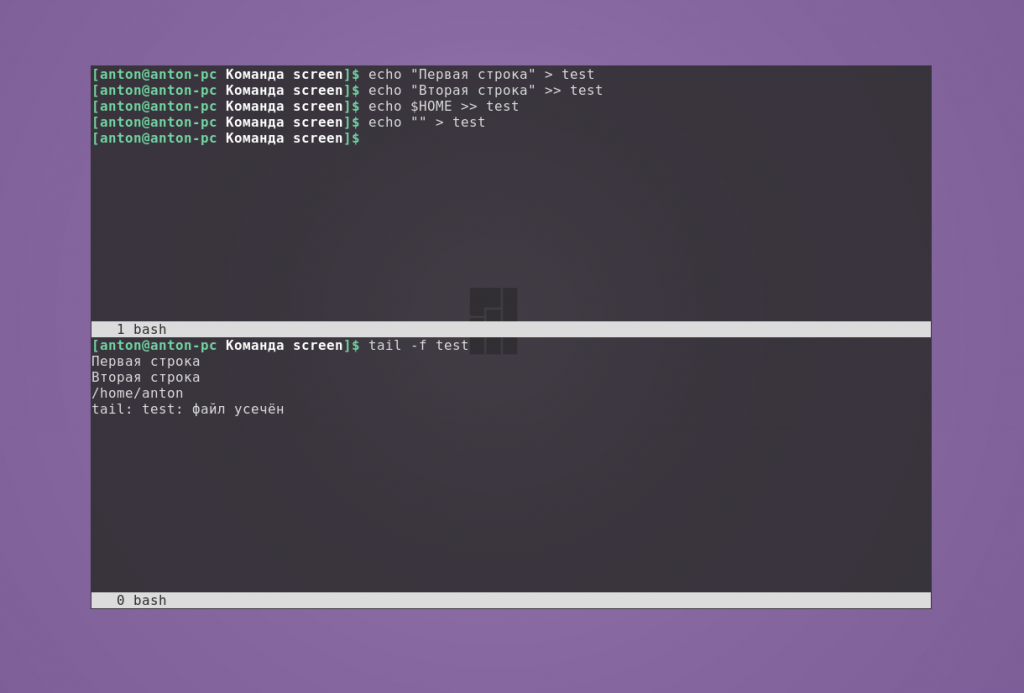
При стирании содержимого показывается сообщение, что файл усечён, при этом этот текст в него, конечно, не записывается.
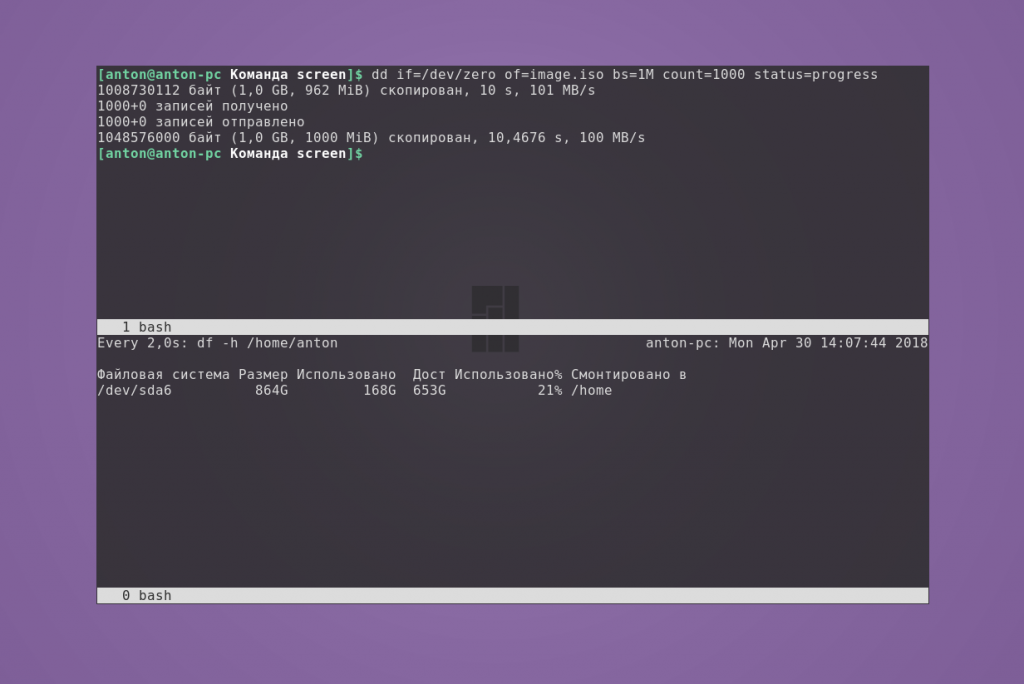
Пример 2. Необходимо отслеживать размер каталога в реальном времени. В одном окне записываем данные, в другом — отображаем, как изменяется размер домашнего каталога командой watch с задержкой в две секунды.
Выводы
Команда screen является эффективным инструментом для системного администрирования, особенно при работе с системой без среды рабочего стола. Имея один терминал, вы можете создавать несколько окон для обработки параллельных процессов без конфликтов между ними.
Источник


