- Start and stop application from terminal in Linux Mint 19 / Ubuntu 18.04
- Start application from terminal — Ubuntu / Linux Mint
- Schedule application start
- Build script starting application
- Stop application by id/name
- Application stop with delay
- Auto logout from Ubuntu / Linux Mint
- Bonus tip: schedule application stop
- Работа в терминале Linux для начинающих
- Что такое терминал Linux?
- Как открыть терминал Linux?
- Выполнение команд в терминале
- Выводы
- How to Check Linux Mint Version Number & Codename
- Ways to check Linux Mint version number using terminal
- 1. /etc/issue
- 2. hostnamectl
- 3. lsb_release
- 4. /etc/linuxmint/info
- 5. Use /etc/os-release to get Ubuntu codename as well
- 6. Use /etc/upstream-release/lsb-release to get only Ubuntu base info
- Check Linux Mint version information using GUI
Start and stop application from terminal in Linux Mint 19 / Ubuntu 18.04

In this article we will review several scenarios how to :
- Start application from terminal — Ubuntu / Linux Mint
- Schedule application start
- Build script starting application
- Stop application by id/name in Linux Mint / Ubuntu
- Application stop with delay
- Auto logout from Ubuntu / Linux Mint
- Bonus tip: schedule application stop
Start application from terminal — Ubuntu / Linux Mint
In order to start application from terminal you need to know the name of the application which is used in the system. Sometimes the system name can differ from the application name. For example:
- Chrome — google-chrome
- Chromium — chromium-browser
- Sublime — subl
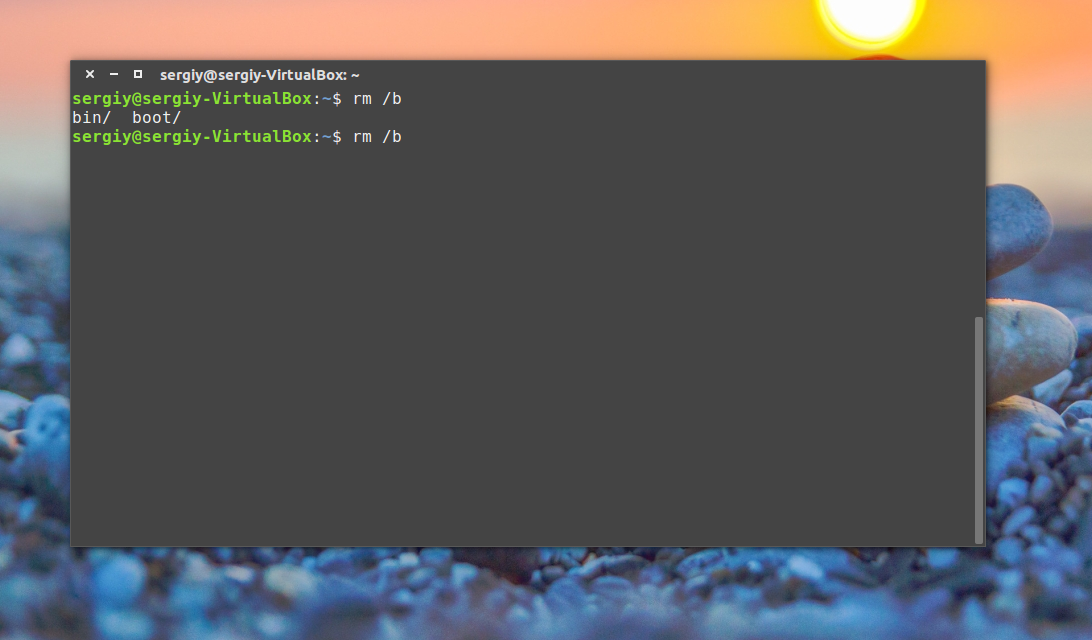
You can find where a given application is installed by:
Also there you can search for applications.
In order to start give application you need to write it’s name in the terminal:
You can pass different parameters to the application which will be opened. For example which file to be opened for Libre office:
or what web sites to be opened with chrome:
Schedule application start
Sometimes you may want to schedule a script for opening a given application. In order to improve my performance and decrease the distractions I’m scheduling my mail to be opened two times per day: 10:00 and 16:00.
The scheduling in Linux usually is done with cron jobs:
- Open terminal
- Type: crontab -e — for current user only or sudo crontab -e
- finally add your job:
Some application can be started by their name but others will need some settings. For example in order to start thunderbird and display it you need to add this line in your crontab file:
the same way if you are using bash script to start another application. For example starting LibreOffice calc:
where libre office will be started after a csv file with data is downloaded from a website.(I’ll add new article on this topic).
Build script starting application
Building special scripts to start application can be helpful in order to automate boring stuff. I have 10 scripts which are helping me to do boring stuff like:
- reporting
- getting information from the web
- sending mails
- analysing data
- starting and stoping application — obviously from the article 🙂
Below you can find several examples below:
- the first row is going to «log» each time this scripted is executed
- the second one is opening thunderbird
A more complex example where:
this example is more complex. Here is what is done:
- activate special python virtual environment
- change to a special folder
- run a web spider in order to get information from Google
- analyze and change the data
- load the download data in calc
this script is run with a cron job every day and retrieves important information for me. If I need to do the same thing I’ll need to spend 10 to 30 minutes per day.
Stop application by id/name
To stop application from the terminal by id you will need to find the id first. This can be done by this command:
10882 10869 10831 10784 10781
Another alternative is:
10882 10869 10831 10784 10781
or the more verbose one:
user 2315 0.0 0.0 15648 1152 pts/1 S+ 18:38 0:00 grep —color=auto google-chrome
user 10781 0.3 0.4 1379564 151624 ? SLl 14:57 0:47 /usr/lib/..
and then you can extract the pid-s.
After that in order to stop the application you can use:
both do similar things but the one with -9 is more «aggressive» and forcing.
In order to stop/kill application by name you can use:
this is going to kill multiple processes by name.
Application stop with delay
Now let say that you want to stop a given application with some delay: 10 minutes, 1 hour or something else. You can do with by several different ways: cron job, script, third party software. In this case we will use simple script:
this script will wait for 1 hour and then will stop the application. So you can use a script to start a given application. This application to be executed for 1 hour and finally to be stopped.
Other times examples:
Note: You can’t use:
Auto logout from Ubuntu / Linux Mint
The final problem which we are going to cover in the article is about log out of inactive users. There is application for Ubuntu / Linux Mint which can be used — autolog. You can search in the software center and install it. Or you can install it by:
Bonus tip: schedule application stop
Let say that you work a lot google chrome, slack, zoom, pycharm or any other application in Linux Mint, Ubuntu. Most of the time is really difficult to end up your working day and leave your workplace. Automation to the rescue! Below you can find a simple script and how to use in order to schedule stop for your applications in Linux:
The script will show the current date and time. Then will wait for a given period of time ( in this case 30 minutes ) and finally will kill the application.
now you can schedule this script as a cronjob by:
Источник
Работа в терминале Linux для начинающих
Все новички Linux уже, наверное, слышали про терминал, или как его еще называют командную строку. Ведь присутствие и сложность терминала — это один из основных аргументов оппонентов Linux. Возможно, вы уже сталкивались с командной строкой в Windows на практике и уже знаете что это такое.
Действительно, в операционной системе Linux есть терминал, где вы можете выполнять нужные вам команды, чтобы очень эффективно управлять своей системой. Но это вовсе не обязательно, многим вполне достаточно графического интерфейса. Сейчас использование терминала отошло на второй план, но он остается основным средством для доступа к удаленным серверам и инструментом для профессионалов.
Терминал Linux намного интереснее, чем командная строка Windows и в этой статье будет подробно рассмотрена работа в терминале Linux для начинающих, а также что такое терминал Linux и собственно, что он из себя представляет.
Что такое терминал Linux?
Применение терминала началось очень давно. Еще до того как была создана DOS и не существовало никакого графического интерфейса. В далеких восьмидесятых годах операционная система Unix только начинала развиваться. Пользователям нужно каким-то образом взаимодействовать с системой и самый простой способ — это использование команд. Вы вводите команду, система вам возвращает ответ.
С тех пор, такой способ ввода использовался во многих системах, в том числе DOS и OS/2 от Apple, пока не был придуман графический интерфейс. Затем текстовый режим терминала был успешно вытеснен, но его до сих пор продолжают использовать там, где это нужно.
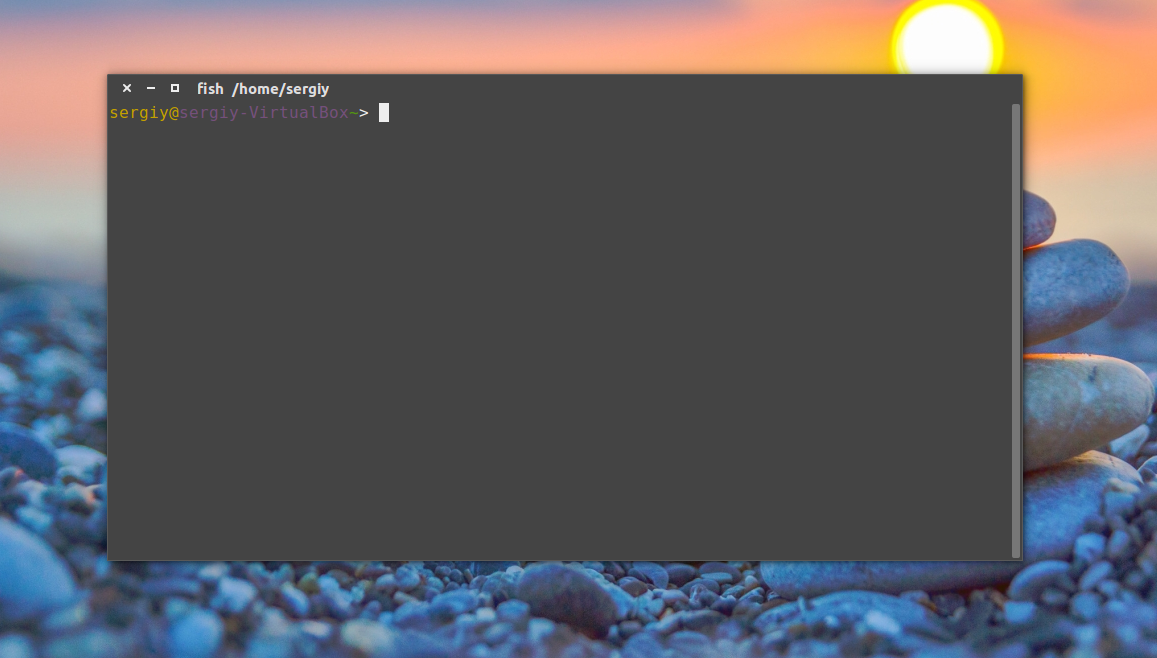
Выше, под терминалом мы понимали то место, где можно вводить команды и получать на них ответ от компьютера. Это может быть текстовый режим Linux или же открытое в графическом режиме окно терминала. В Linux часто встречаются слова: консоль, терминал, командная строка, командная оболочка, tty, эмулятор терминала. Все они относятся к терминалу, но означают немного разные вещи. Перед тем как перейти дальше давайте разберемся с терминами, чтобы называть все своими именами.
Под терминалом принято понимать окружение, где можно вводить команды и получать на них ответ, это может быть физический терминал или терминал на компьютере.
Консоль — это физическое оборудование для управления сервером. Когда к серверу нет доступа из сети, для управления им можно использовать только консоль.
TTY — это файл устройства, который создается ядром и предоставляет доступ к терминалу для программ. Это могут быть файлы /dev/tty для постоянных текстовых терминалов и /dev/pts/* для эмуляторов терминалов. Вы можете выполнить команду или отправить сообщение просто записав данные в этот файл, и также получить результат, прочитав данные из этого файла.
Эмулятор терминала — это графическая программа, которая предоставляет вам доступ к tty или pts терминалу. Например, Gnome Terminal, Konsole, Terminix, Xterm и многие другие.
Командная оболочка — устройство tty занимается только передачей и приемом данных, но все эти данные должен еще кто-то обрабатывать, выполнять команды, интерпретировать их синтаксис. Командных оболочек достаточно много, это bash, sh, zsh, ksh и другие, но чаще всего применяется Bash.
Ну и командная строка — это то место куда вы будете вводить свои команды, приглашение терминала для ввода.
Теперь, когда мы разобрались что такое терминал Linux и знаем все основные принципы, перейдем к практике работы с ним.
Как открыть терминал Linux?
Есть несколько способов получить доступ к терминалу. Ваша система инициализации по умолчанию создает 12 виртуальных терминалов. В одном из них — обычно седьмом, запущена ваша графическая оболочка, но все другие могут быть свободно использованы. Для переключения между терминалами можно использовать сочетания Ctrl+Alt+F1-F12. Для авторизации нужно будет ввести логин и пароль.
Это текстовые терминалы без графического интерфейса, в них может быть не совсем удобно работать, но, зато такие терминалы будут полезны, если графический интерфейс не работает.
Второй способ позволяет открыть виртуальный терминал прямо в графическом интерфейсе с помощью эмулятора терминала. Эмулятор терминала linux работает с файлами в каталоге /dev/pts/* и еще называется псевдотерминалом, потому что не использует tty.
В Ubuntu вы можете запустить терминал linux нажав сочетание клавиш Ctrl+Alt+T:
Также его можно найти в меню приложений Dash:
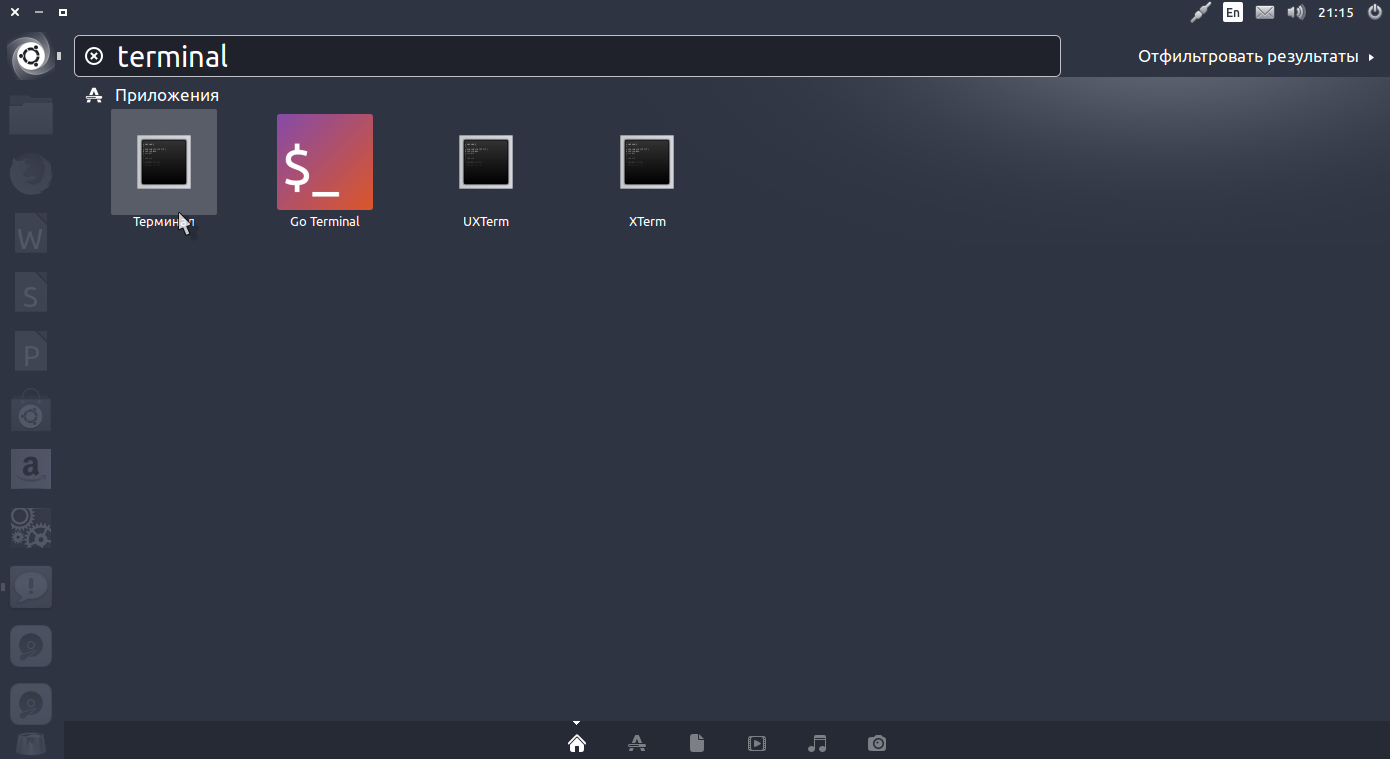
Как видите, открыть командную строку в linux очень просто.
Выполнение команд в терминале
Рассмотрим более подробно терминал Linux для начинающих. Как я уже говорил, терминал и файлы устройств tty отвечают только за передачу данных. За обработку команд отвечает командная оболочка, которой и передаются полученные от пользователя данные.
Вы можете набрать что-либо и убедиться, что это работает:
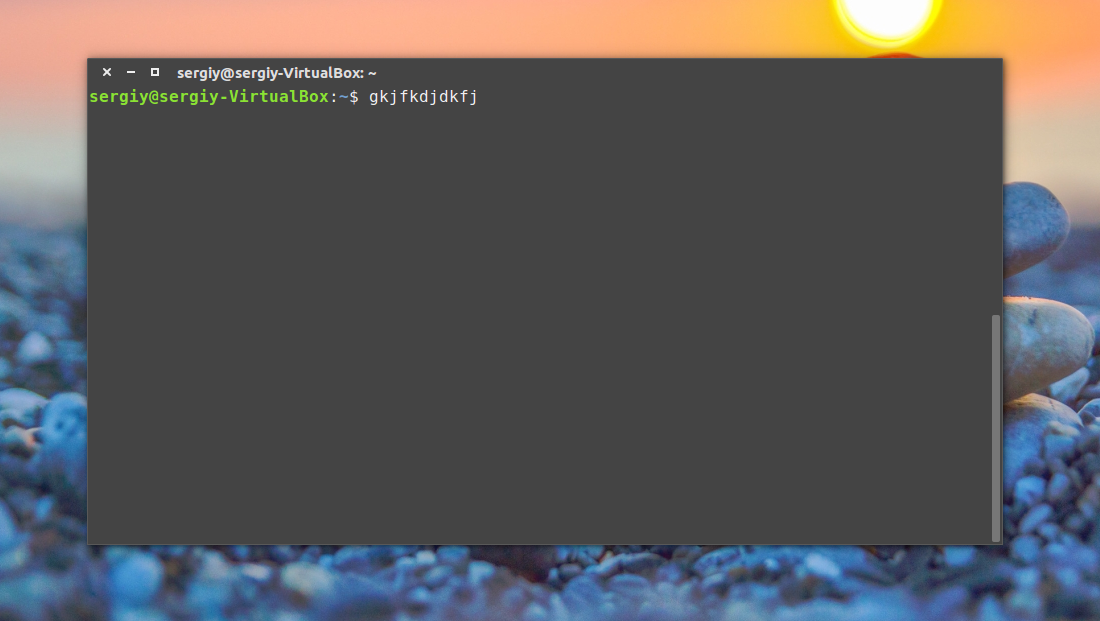
Чтобы выполнить команду достаточно написать ее и нажать Enter.
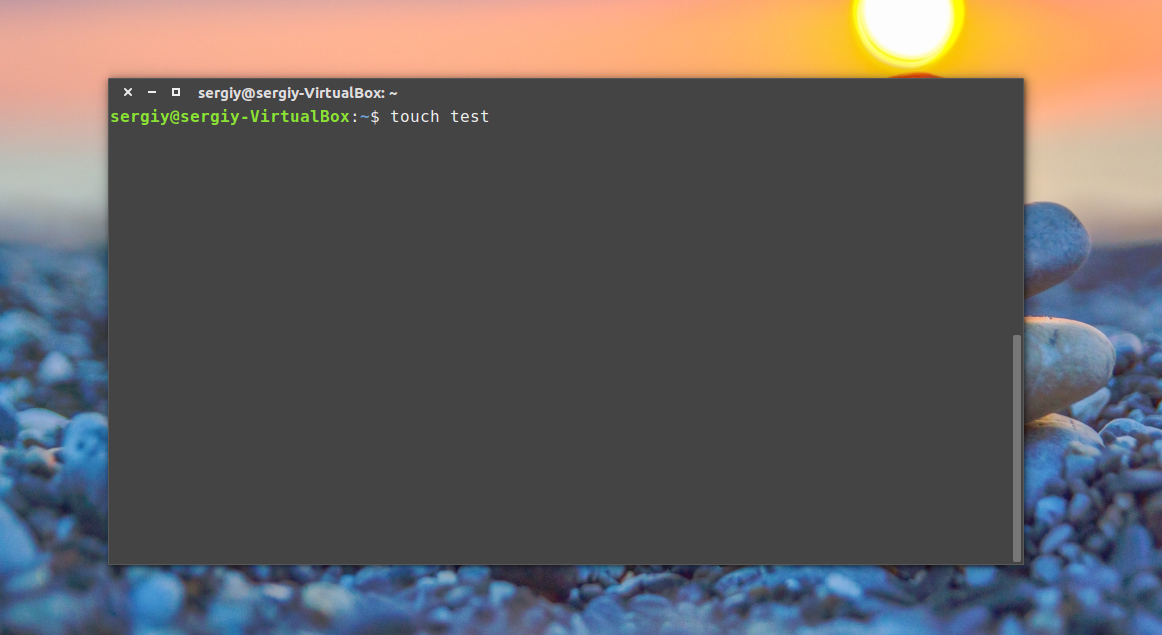
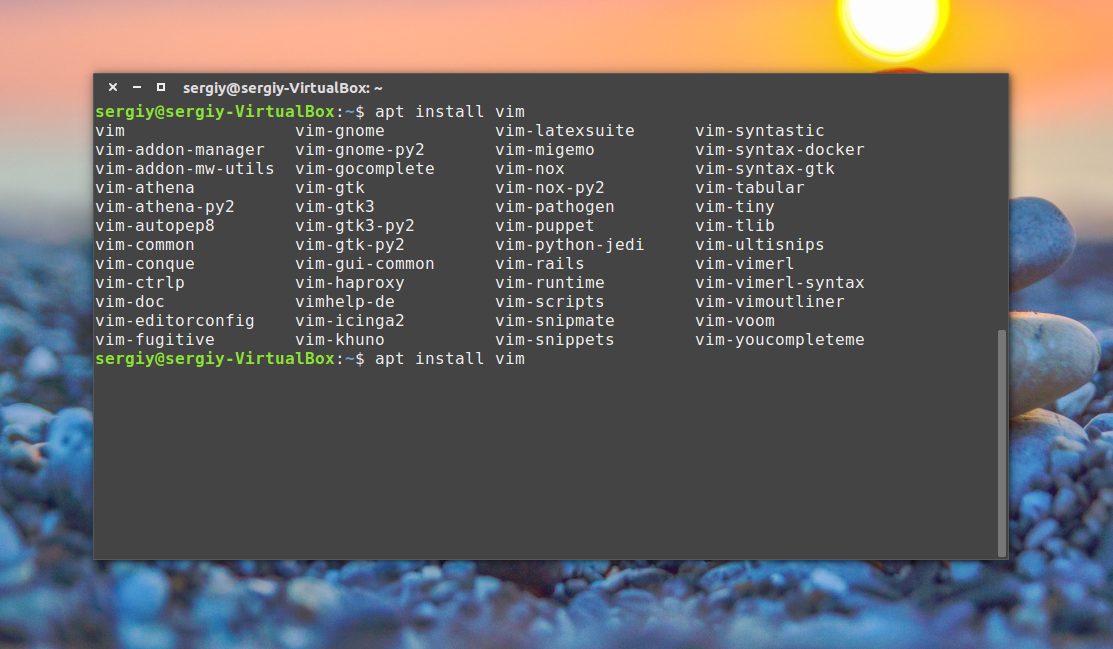
Более того, командная оболочка Bash поддерживает автодополнение, поэтому вы можете написать половину команды, нажать TAB и если на такие символы начинается только одна команда, то она будет автоматически дополнена, если же нет, то вы можете нажать два раза TAB, чтобы посмотреть возможные варианты.

Точно такая же схема работает для путей к файлам и параметров команд:
В Windows вы о таком и мечтать не могли. Чтобы выполнить команду можно указать имя ее исполняемого файла или полный путь к нему, относительно корневой или любой другой папки. Важно заметить, что командная оболочка Linux, в отличие от Windows, чувствительна к регистру, а поэтому будьте внимательны при вводе команд и их параметров.

По умолчанию работа в командной строке linux может выполняться с помощью большого количества команд, многие из них, например, для перемещения по каталогам, просмотра содержимого, установки ПО поставляются вместе с системой.
Экземпляр запущенной команды называется процесс. Когда в терминале Linux выполняется одна команда нам нужно подождать ее завершения, чтобы выполнить следующую.
Команды могут выполняться без параметров, что мы видели выше, или же с параметрами, которые позволяют указать данные, с которыми будет работать программа, также есть опции, с помощью которых можно настроить поведение. Большинство стандартных утилит придерживаются такого синтаксиса:
$ команда опции параметр1 параметр2.
Опции часто необязательны и уточняют тот или иной аспект работы программы. Они записываются в форме черточка и символ или двойная черточка и слово. Например -o или —output. Приведем пример для команды ls. Без опций и параметров:
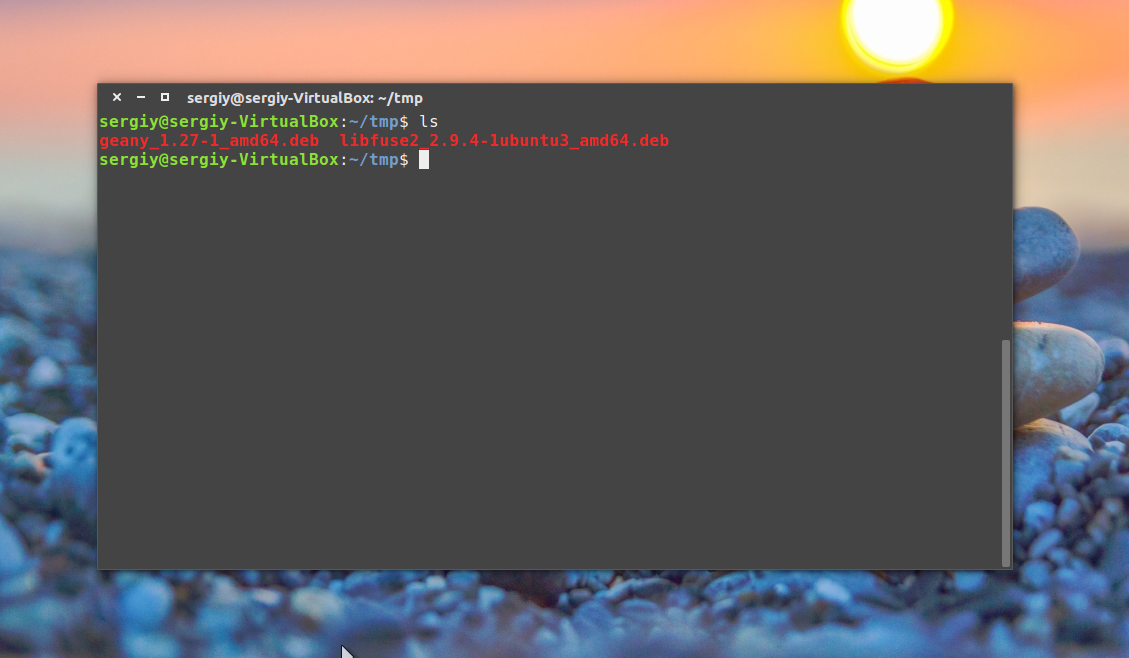
С параметром, указывающим какую папку посмотреть:
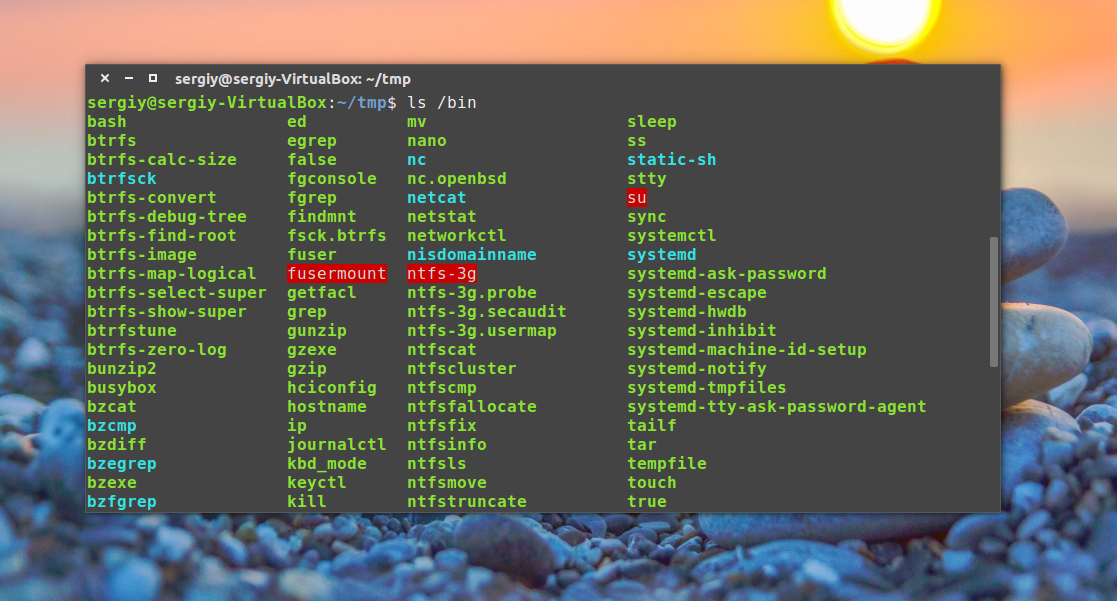
С опцией -l, вывести в виде списка:
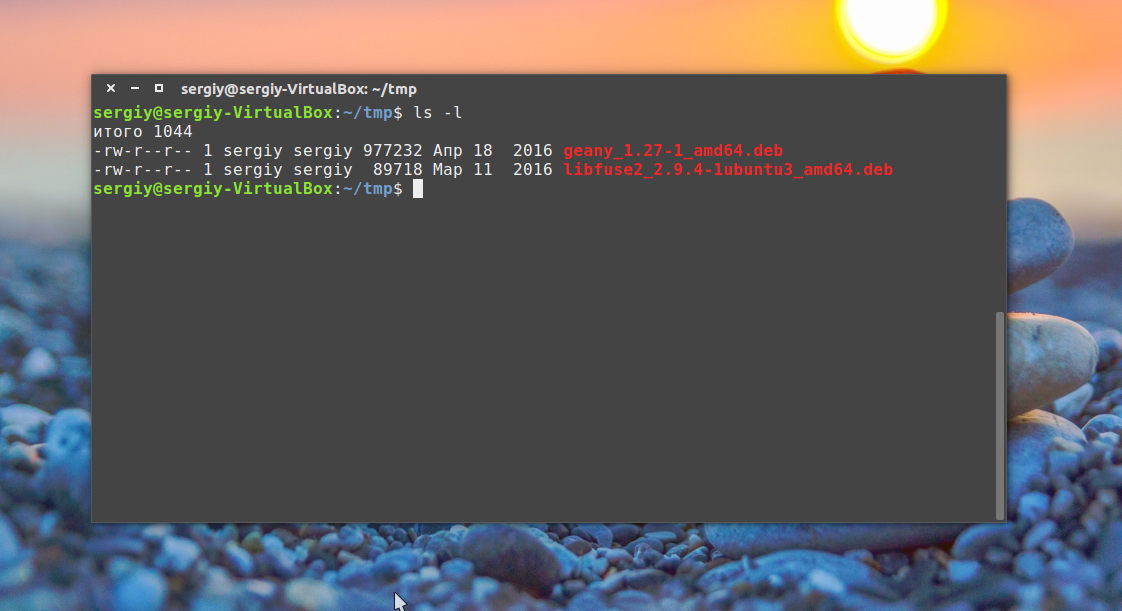
В с опцией и параметром:
Можно комбинировать две опции:

В основном, это все, что нужно знать про команды, чтобы продуктивно их использовать. Еще можно было бы рассказать про объединение команд и перенаправление вывода одной команды в другую, но это уже отдельная тема.
Выводы
В этой статье была рассмотрена работа в терминале linux для начинающих. Командная строка Linux может показаться сначала очень сложной, но это совсем не так, она намного проще в использовании чем в Windows и позволяет управлять системой более эффективно. Надеюсь, эта статья пролила немного света на эту очень большую тему.
Источник
How to Check Linux Mint Version Number & Codename
Last updated September 16, 2019 By Sergiu 9 Comments
Linux Mint has a major release (like Mint 19) every two years and minor releases (like Mint 19.1, 19.2 etc) every six months or so. You can upgrade Linux Mint version on your own or it may get automatically update for the minor releases.
Between all these release, you may wonder which Linux Mint version you are using. Knowing the version number is also helpful in determining whether a particular software is available for your system or if your system has reached end of life.
There could be a number of reasons why you might require the Linux Mint version number and there are various ways you can obtain this information. Let me show you both graphical and command line ways to get the Mint release information.
Ways to check Linux Mint version number using terminal

I’ll go over several ways you can check your Linux Mint version number and codename using very simple commands. You can open up a terminal from the Menu or by pressing CTRL+ALT+T (default hotkey).
The last two entries in this list also output the Ubuntu release your current Linux Mint version is based on.
1. /etc/issue
Starting out with the simplest CLI method, you can print out the contents of /etc/issue to check your Version Number and Codename:
2. hostnamectl
This single command (hostnamectl) prints almost the same information as that found in System Info. You can see your Operating System (with version number), as well as your kernel version.3.
3. lsb_release
lsb_release is a very simple Linux utility to check basic information about your distribution:
Note: I used the –a tag to print all parameters, but you can also use -s for short form, -d for description etc. (check man lsb_release for all tags).
4. /etc/linuxmint/info
This isn’t a command, but rather a file on any Linux Mint install. Simply use cat command to print it’s contents to your terminal and see your Release Number and Codename.
5. Use /etc/os-release to get Ubuntu codename as well
Linux Mint is based on Ubuntu. Each Linux Mint release is based on a different Ubuntu release. Knowing which Ubuntu version your Linux Mint release is based on is helpful in cases where you’ll have to use Ubuntu codename while adding a repository like when you need to install the latest Virtual Box in Linux Mint.
os-release is yet another file similar to info, showing you the codename for the Ubuntu release your Linux Mint is based on.
6. Use /etc/upstream-release/lsb-release to get only Ubuntu base info
If you only want to see information about the Ubuntu base, output /etc/upstream-release/lsb-release:
Bonus Tip: You can just check Linux kernel version with the uname command:
Note: -r stands for release, however you can check the other flags with man uname.
Check Linux Mint version information using GUI
If you are not comfortable with the terminal and commands, you can use the graphical method. As you would expect, this one is pretty straight-forward.
Open up the Menu (bottom-left corner) and then go to Preferences > System Info:
Alternatively, in the Menu you can search for System Info:
Here you can see both your operating system (including version number), your kernel and the version number of your DE:
Wrapping Up
I have covered some different ways you can quickly check the version and name (as well as the Ubuntu base and kernel) of the Linux Mint release you are running. I hope you found this beginner tutorial helpful. Let us know in the comments which one is your favorite method!
Like what you read? Please share it with others.
Источник


