- Multiboot USB drive
- Contents
- Using GRUB and loopback devices
- Preparation
- Installing GRUB
- Simple installation
- Hybrid UEFI GPT + BIOS GPT/MBR boot
- Configuring GRUB
- Using a template
- Manual configuration
- Boot entries
- Arch Linux monthly release
- Memtest86+
- archboot
- Using Syslinux and memdisk
- Preparation
- Install the memdisk module
- Configuration
- Caveat for 32-bit systems
- 5 Apps to Create Multiboot USB – Linux & Windows ISOs Supported
- 1. SARDU MultiBoot USB and DVD Creator
- 2. MultiBootUSB
- 3 MultiSystem
- 4 YUMI (Your Universal Multiboot Installer)
- 5 WinSetupFromUSB
- Booting ISO Files Without a USB stick or DVD
- Wrapping Up
Multiboot USB drive
 This article or section is a candidate for moving to Multiboot disk images.
A multiboot USB flash drive allows booting multiple ISO files from a single device. The ISO files can be copied to the device and booted directly without unpacking them first. There are multiple methods available, but they may not work for all ISO images.
Contents
Using GRUB and loopback devices
![]() This article or section needs language, wiki syntax or style improvements. See Help:Style for reference.
This article or section needs language, wiki syntax or style improvements. See Help:Style for reference.![]()
- only a single partition required
- all ISO files are found in one directory
- adding and removing ISO files is simple
- not all ISO images are compatible
- the original boot menu for the ISO file is not shown
- it can be difficult to find a working boot entry
Preparation
 This article or section needs expansion.
Create at least one partition and a filesystem supported by GRUB on the USB drive. See Partitioning and File systems#Create a file system. Choose the size based on the total size of the ISO files that you want to store on the drive, and plan for extra space for the bootloader.
Installing GRUB
Simple installation
Mount the filesystem located on the USB drive:
Create the directory /boot:
Install GRUB on the USB drive:
In case you want to boot ISOs in UEFI mode, you have to install grub for the UEFI target:
For UEFI, the partition has to be the first one in an MBR partition table and formatted with FAT32.
Hybrid UEFI GPT + BIOS GPT/MBR boot
This configuration is useful for creating a universal USB key, bootable everywhere. First of all you must create a GPT partition table on your device. You need at least 3 partitions:
- A BIOS boot partition (gdisk type code EF02 ). This partition must be 1 MiB in size
- An EFI System partition (gdisk type code EF00 with a FAT32 filesystem). This partition can be as small as 50 MiB.
- Your data partition (use a filesystem supported by GRUB). This partition can take up the rest of the space of your drive.
Next you must create a hybrid MBR partition table. Without it, a BIOS MBR based system will not boot. It will not find the partitions it expects to find.
Hybrid MBR partition table creation example using gdisk:
Do not forget to format the partitions :
You can now install GRUB to support both EFI + GPT and BIOS + GPT/MBR. The GRUB configuration (—boot-directory) can be kept in the same place.
First, you need to mount the EFI system partition and the data partition of your USB drive.
An example of this would be as follows:
Then, you can install GRUB for UEFI with:
In most cases EFI_MOUNTPOINT will correspond to the /mnt/boot/EFI subdirectory on your mounted USB disk.
And for BIOS with:
As an additional fallback, you can also install GRUB on your MBR-bootable data partition:
Configuring GRUB
Using a template
There are some git projects which provide some pre-existing GRUB configuration files, and a nice generic grub.cfg which can be used to load the other boot entries on demand, showing them only if the specified ISO files — or folders containing them — are present on the drive.
Manual configuration
For the purpose of multiboot USB drive it is easier to edit grub.cfg by hand instead of generating it. Alternatively, make the following changes in /etc/grub.d/40_custom or /mnt/boot/grub/custom.cfg and generate /mnt/boot/grub/grub.cfg using grub-mkconfig.
As it is recommend to use a persistent name instead of /dev/sdxY to identify the partition on the USB drive where the image files are located, define a variable for convenience to hold the value. If the ISO images are on the same partition as GRUB, use the following to read the UUID at boot time:
Or specify the UUID explicitly:
Alternatively, use the device label instead of UUID:
The necessary UUID or label can be found using lsblk -f . Do not use the same label as the Arch ISO for the USB device, otherwise the boot process will fail.
To complete the configuration, a boot entry for each ISO image has to be added below this header, see the next section for examples.
Boot entries
It is assumed that the ISO images are stored in the boot/iso/ directory on the same filesystem where GRUB is installed. Otherwise it would be necessary to prefix the path to ISO file with device identification when using the loopback command, for example loopback loop (hd1,2)$isofile . As this identification of devices is not persistent, it is not used in the examples in this section.
One can use persistent block device naming like so. Replace the UUID according to your ISO filesystem UUID.
Arch Linux monthly release
See README.bootparams for archiso options supported in kernel command line.
Memtest86+
Memtest86+ is included in the monthly ISO.
archboot
Using Syslinux and memdisk
Using the memdisk module, the ISO image is loaded into memory, and its bootloader is loaded. Make sure that the system that will boot this USB drive has sufficient amount of memory for the image file and running operating system.
Preparation
Make sure that the USB drive is properly partitioned and that there is a partition with file system supported by Syslinux, for example fat32 or ext4. Then install Syslinux to this partition, see Syslinux#Installation on BIOS.
Install the memdisk module
The memdisk module was not installed during Syslinux installation, it has to be installed manually. Mount the partition where Syslinux is installed to /mnt/ and copy the memdisk module to the same directory where Syslinux is installed:
Configuration
After copying the ISO files on the USB drive, edit the Syslinux configuration file and create menu entries for the ISO images. The basic entry looks like this:
See memdisk on Syslinux wiki for more configuration options.
Caveat for 32-bit systems
When booting a 32-bit system from an image larger than 128MiB, it is necessary to increase the maximum memory usage of vmalloc. This is done by adding vmalloc=valueM to the kernel parameters, where value is larger than the size of the ISO image in MiB.[1]
For example when booting the 32-bit system from the Arch installation ISO, press the Tab key over the Boot Arch Linux (i686) entry and add vmalloc=768M at the end. Skipping this step will result in the following error during boot:
Источник
5 Apps to Create Multiboot USB – Linux & Windows ISOs Supported
This article will be showing you 5 applications you can use to create a multiboot USB. All of them can write multiple Linux distribution ISOs to USB flash drive and most of them can even write both Windows and Linux ISOs into the same USB flash drive. These 5 apps are:
- SARDU MultiBoot USB and DVD Creator
- MultiBootUSB
- MultiSystem
- YUMI (Your Universal MultBoot Installer)
- WinSetupFromUSB
If you have created a bootable USB with another tool, it’s recommended that you reformat the USB flash drive with FAT32 or NTFS file system before you use the tools mentioned in this article.
1. SARDU MultiBoot USB and DVD Creator
SARDU is a freemium software that can be used to create multiboot USB and DVD.
- Runs on Linux and Windows.
- Can create a bootable USB containing both Linux and Windows ISO images (Windows 7, 8 and 10)
- A multitude of ISO images for you to select and download directly from the SARDU application.
- You can add additional ISO images to your USB without destroying previous ISO images in the USB flash drive.
- Supports persistent files for Linux distributions
- It can also be used to burn multiple ISO images to DVD.
- Supports both BIOS and UEFI firmware
- Test your USB with QEMU.
- SARDU uses the SYSLINUX boot loader by default, but can chainload to GRUB2 (premium feature)
- The Linux version of SARDU doesn’t support Windows ISOs. To add Windows ISO image to your bootable USB flash drive, you need to use the Windows version of SARDU.
- The persistent files function can cause the program to become unresponsive when using the Linux version. The Windows version works perfectly fine.
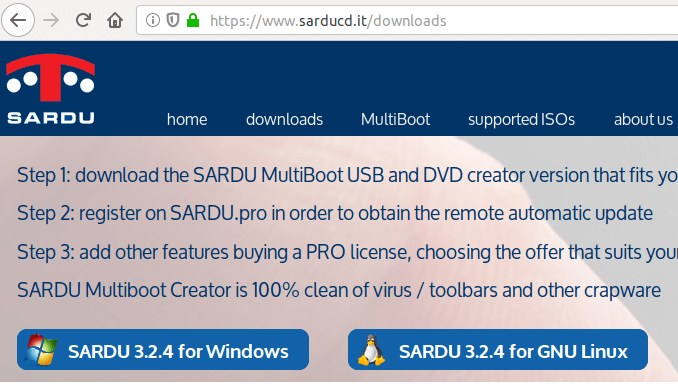
SARDU is a portable application. To use SARDU, go to the official download page and download the Linux version or Windows version, depending on your OS. I downloaded the Linux version.
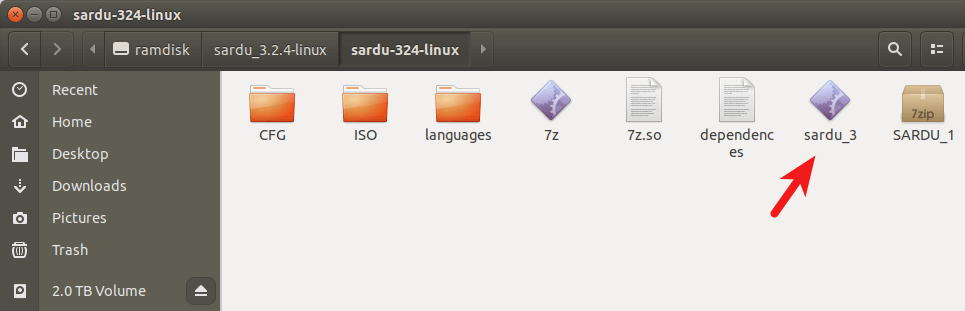
Once downloaded, open your file manager and go to the downloads directory. Extract the gzip archive.

Go to the extracted directory and double click the sardu_3 binary. The SARDU software will start.
First, agree to the license.

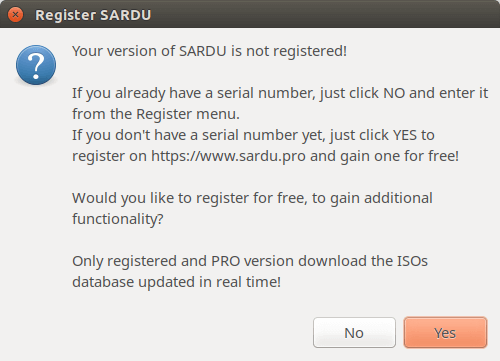
Then it will tell you to register an account. Registered users can download updated ISOs from SARDU database. If you prefer to use your own downloaded ISO files, then choose No.
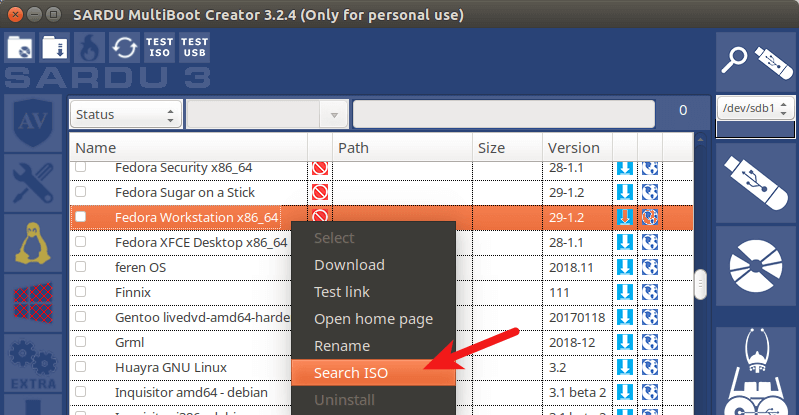
At the left sidebar, there are 4 categories of ISO images
- Anti-virus
- Utility
- Linux distributions
- Windows
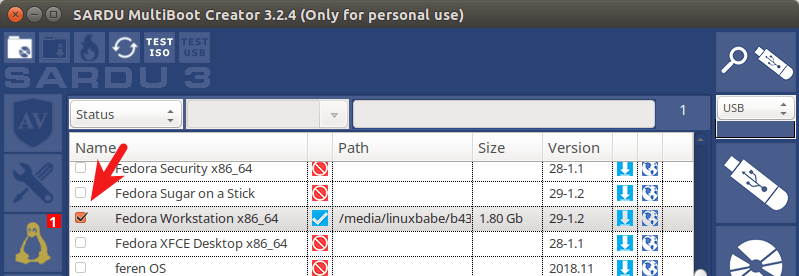
For example, you can click the penguin icon and right-click on an OS name and select search ISO . This will allow you to select an ISO image from your hard drive.
After that, tick on the OS name so that the ISO image will be written to USB flash drive.
It will also ask you if you want to enable persistent files. I found that if I choose Yes, the program would become unresponsive, so I choose No.
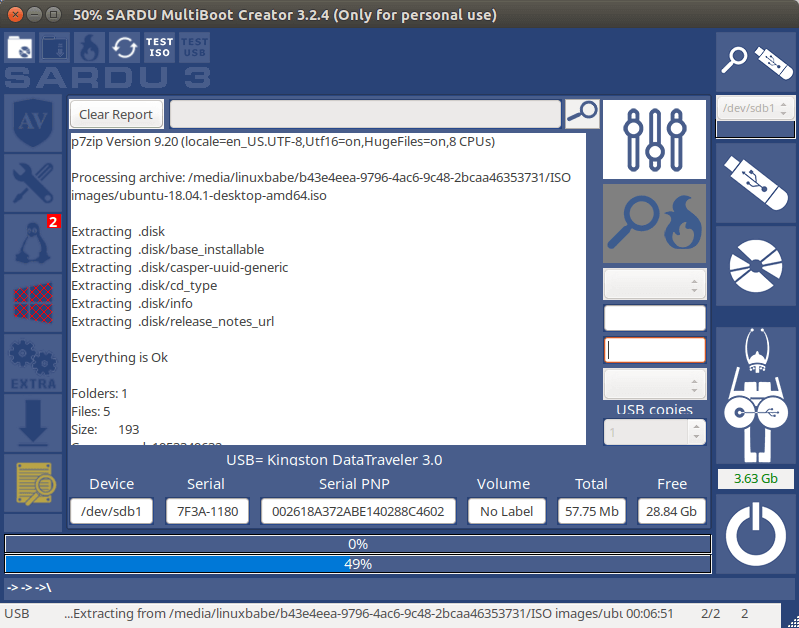
Then you can continue this process with another Linux distribution. After you select all your Linux distributions, insert your USB flash drive and click the USB icon on the upper-right corner to detect and select your USB flash drive.
Next, click the big USB icon to create bootable USB.

This process can take some time if you selected several ISO images.
To add Windows 7, Windows 8, or Windows 10 ISO images to your USB flash drive, you need to use the SARDU Windows version. Click the Windows icon on the left bar, and select the first item in the list. Choose the ISO path, then tick on the name.

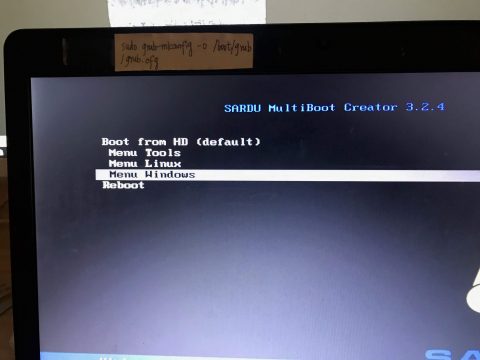
Please note that if your computer uses UEFI firmware, then you need to enable the legacy BIOS support in order to boot your computer from the SARDU USB flash drive. As you can see from the screenshot below, I can boot Linux or Windows ISOs from the SARDU boot menu.
2. MultiBootUSB
MultiBootUSB is an advanced cross-platform application for installing/uninstalling Linux operating systems onto a single USB flash drive.
MultiBootUSB Pros:
- Runs on Linux and Windows.
- Free and open Source. Released under General Public Licence (GPL).
- You can add additional ISO images to your USB without destroying previous ISO images in the USB flash drive.
- You can remove an ISO image from your bootable USB flash drive.
- Syslinux is used the default boot loader for making your USB Flash Drive bootable, can also chain load to GRUB2 if UEFI firmware is used.
- Supports both BIOS and UEFI firmware.
- Supports persistent files for distros that are based on Debian, Ubuntu, and Fedora.
- Test your ISO and USB with QEMU.
- Has a command-line interface.
- You need to write ISO images to your USB flash drive one by one.
- It doesn’t support writing Windows ISO image to USB flash drive.
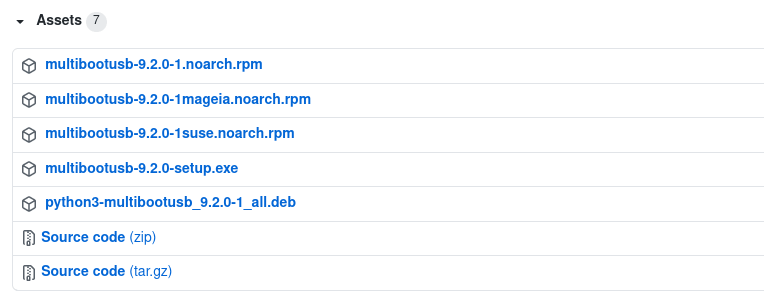
To use MultiBootUSB, go to the official download page and select the installer package according to your OS.
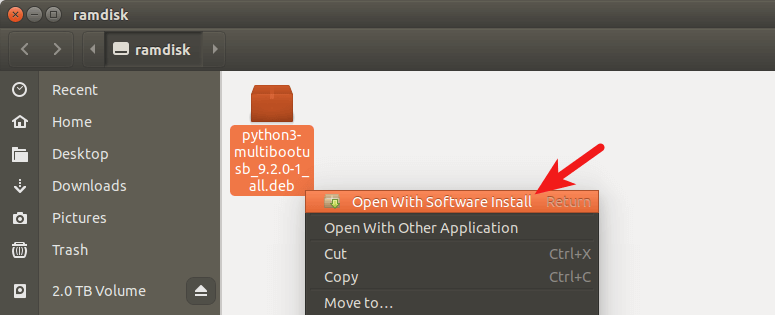
- Debian, Ubuntu users select the .deb package.
- Fedora, Redhat, OpenSUSE users select the .rpm package.
- Windows users select the .exe package.
Once downloaded, open your file manager and go to the download directory and install the package.
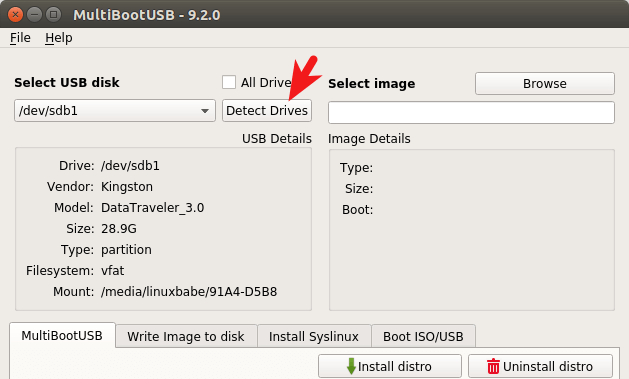
After it’s installed, open it from your application menu. To create a multiboot usb, first insert your USB flash drive. Next, click the Detect Drives button in MultiBootUSB and select a partition on the USB flash drive.
Then select a Linux distro ISO image from your hard drive. After that, you can specify the persistent file size.
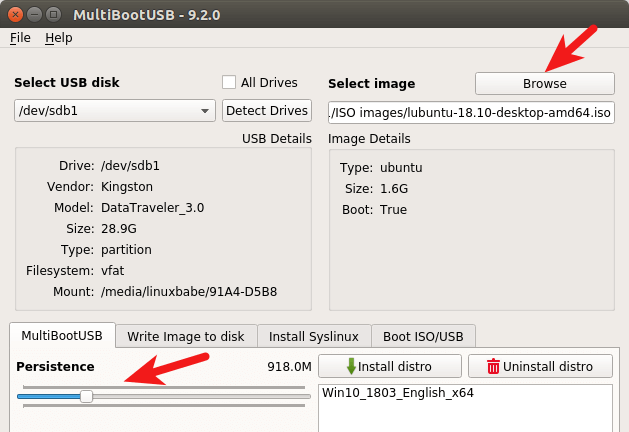
Finally, click the Install distro button to write the ISO image to your USB flash drive.
Once that’s done, you can click the Browse button again to select another Linux distro ISO image and click the Install distro button to write it to USB flash drive.
3 MultiSystem
MultiSystem is Linux-only application that allows you to create a multiboot Linux live USB.
- A multitude of ISO images for you to select and download directly from the application.
- Supports persistent files
- Can create a bootable USB containing both Linux and Windows ISO images.
- Test your live USB in QEMU or VirtualBox
- Only works in Debian and Ubuntu-based Linux distros.
- You need to write ISO images to your USB flash drive one by one.
- The Linux distro ISO images written to the USB flash drive can’t be booted in UEFI mode, you need to enable legacy BIOS support in order to boot them.
To install MultiSystem on Debian and Ubuntu-based Linux distros, open up a terminal and run the following command.
Import the repository public key.
Then add the official software repository to your system.
Update software repository index and install MultiSystem.
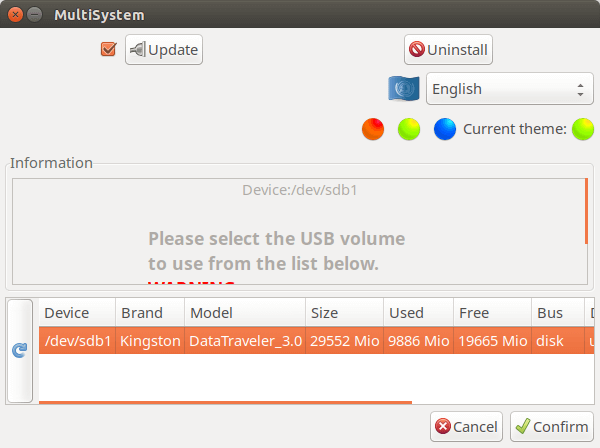
Once installed, open it from your application menu. Then insert your USB flash drive and click the refresh button in MultiSystem for it to detect your drive. (Make sure the USB flash drive is mounted). Once it finds your USB flash drive, select the device and click confirm button.
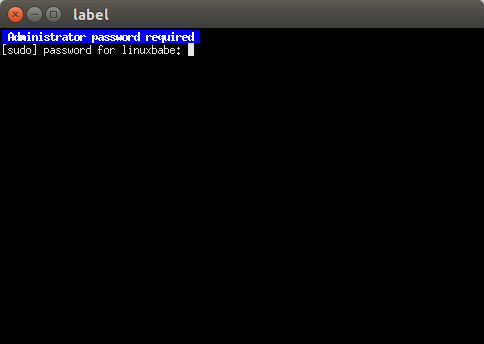
It will ask you to enter your password.
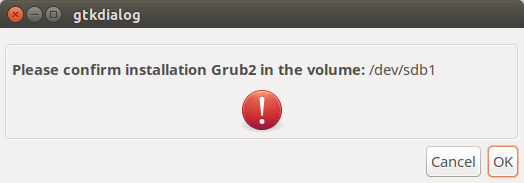
Then it will ask you if it’s Ok to install the Grub2 boot loader to your USB flash drive. Click OK.
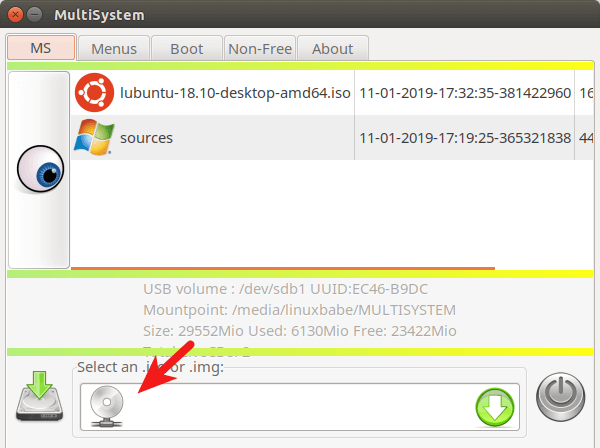
Once that’s done, click the DVD icon to select an ISO image from your hard drive.
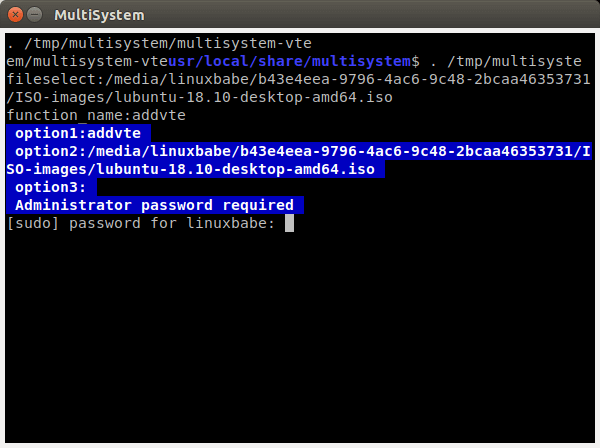
Then enter your password to write the ISO image for your USB flash drive.
Repeat this process to add additional ISO images to your USB flash drive.
4 YUMI (Your Universal Multiboot Installer)
YUMI can be used to create a Multiboot Bootable USB Flash Drive containing multiple operating systems, antivirus utilities, disc cloning, diagnostic tools, and more.
- Supports both BIOS and UEFI firmware.
- Can create a bootable USB containing both Linux and Windows ISO images (Windows 7, 8 and 10)
- A multitude of ISO images for you to select and download directly from the application.
- You can add additional ISO images to your USB without destroying previous ISO images in the USB flash drive.
- Supports persistent files for Linux distributions.
- You can remove an ISO from USB flash drive.
- There’s no Linux version, although you can try running YUMI on Linux through WINE.
YUMI can be downloaded from the official download page. There are two versions of YUMI: one is for BIOS system and the other is for UEFI system. YUMI is a portable application. Once the .exe file is downloaded, you can double click it to start the application. Insert your USB flash drive and select it in YUMI user interface.
Then select the name of the OS you want to put into the USB. Next, select the ISO image file from your hard drive. In step 4, you can choose the persistent file size.
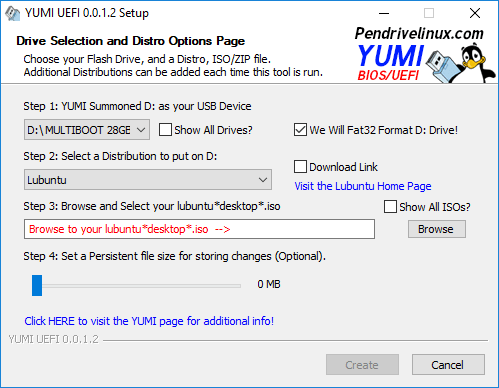
After that, click the create button to write the ISO image file to your USB flash drive.
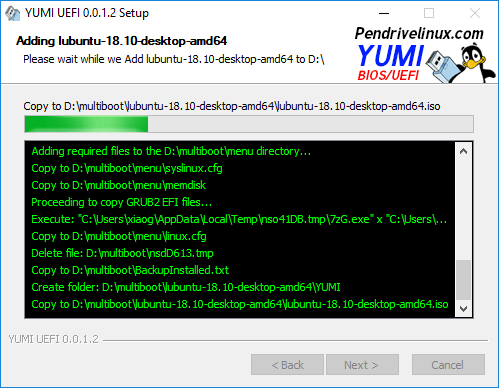
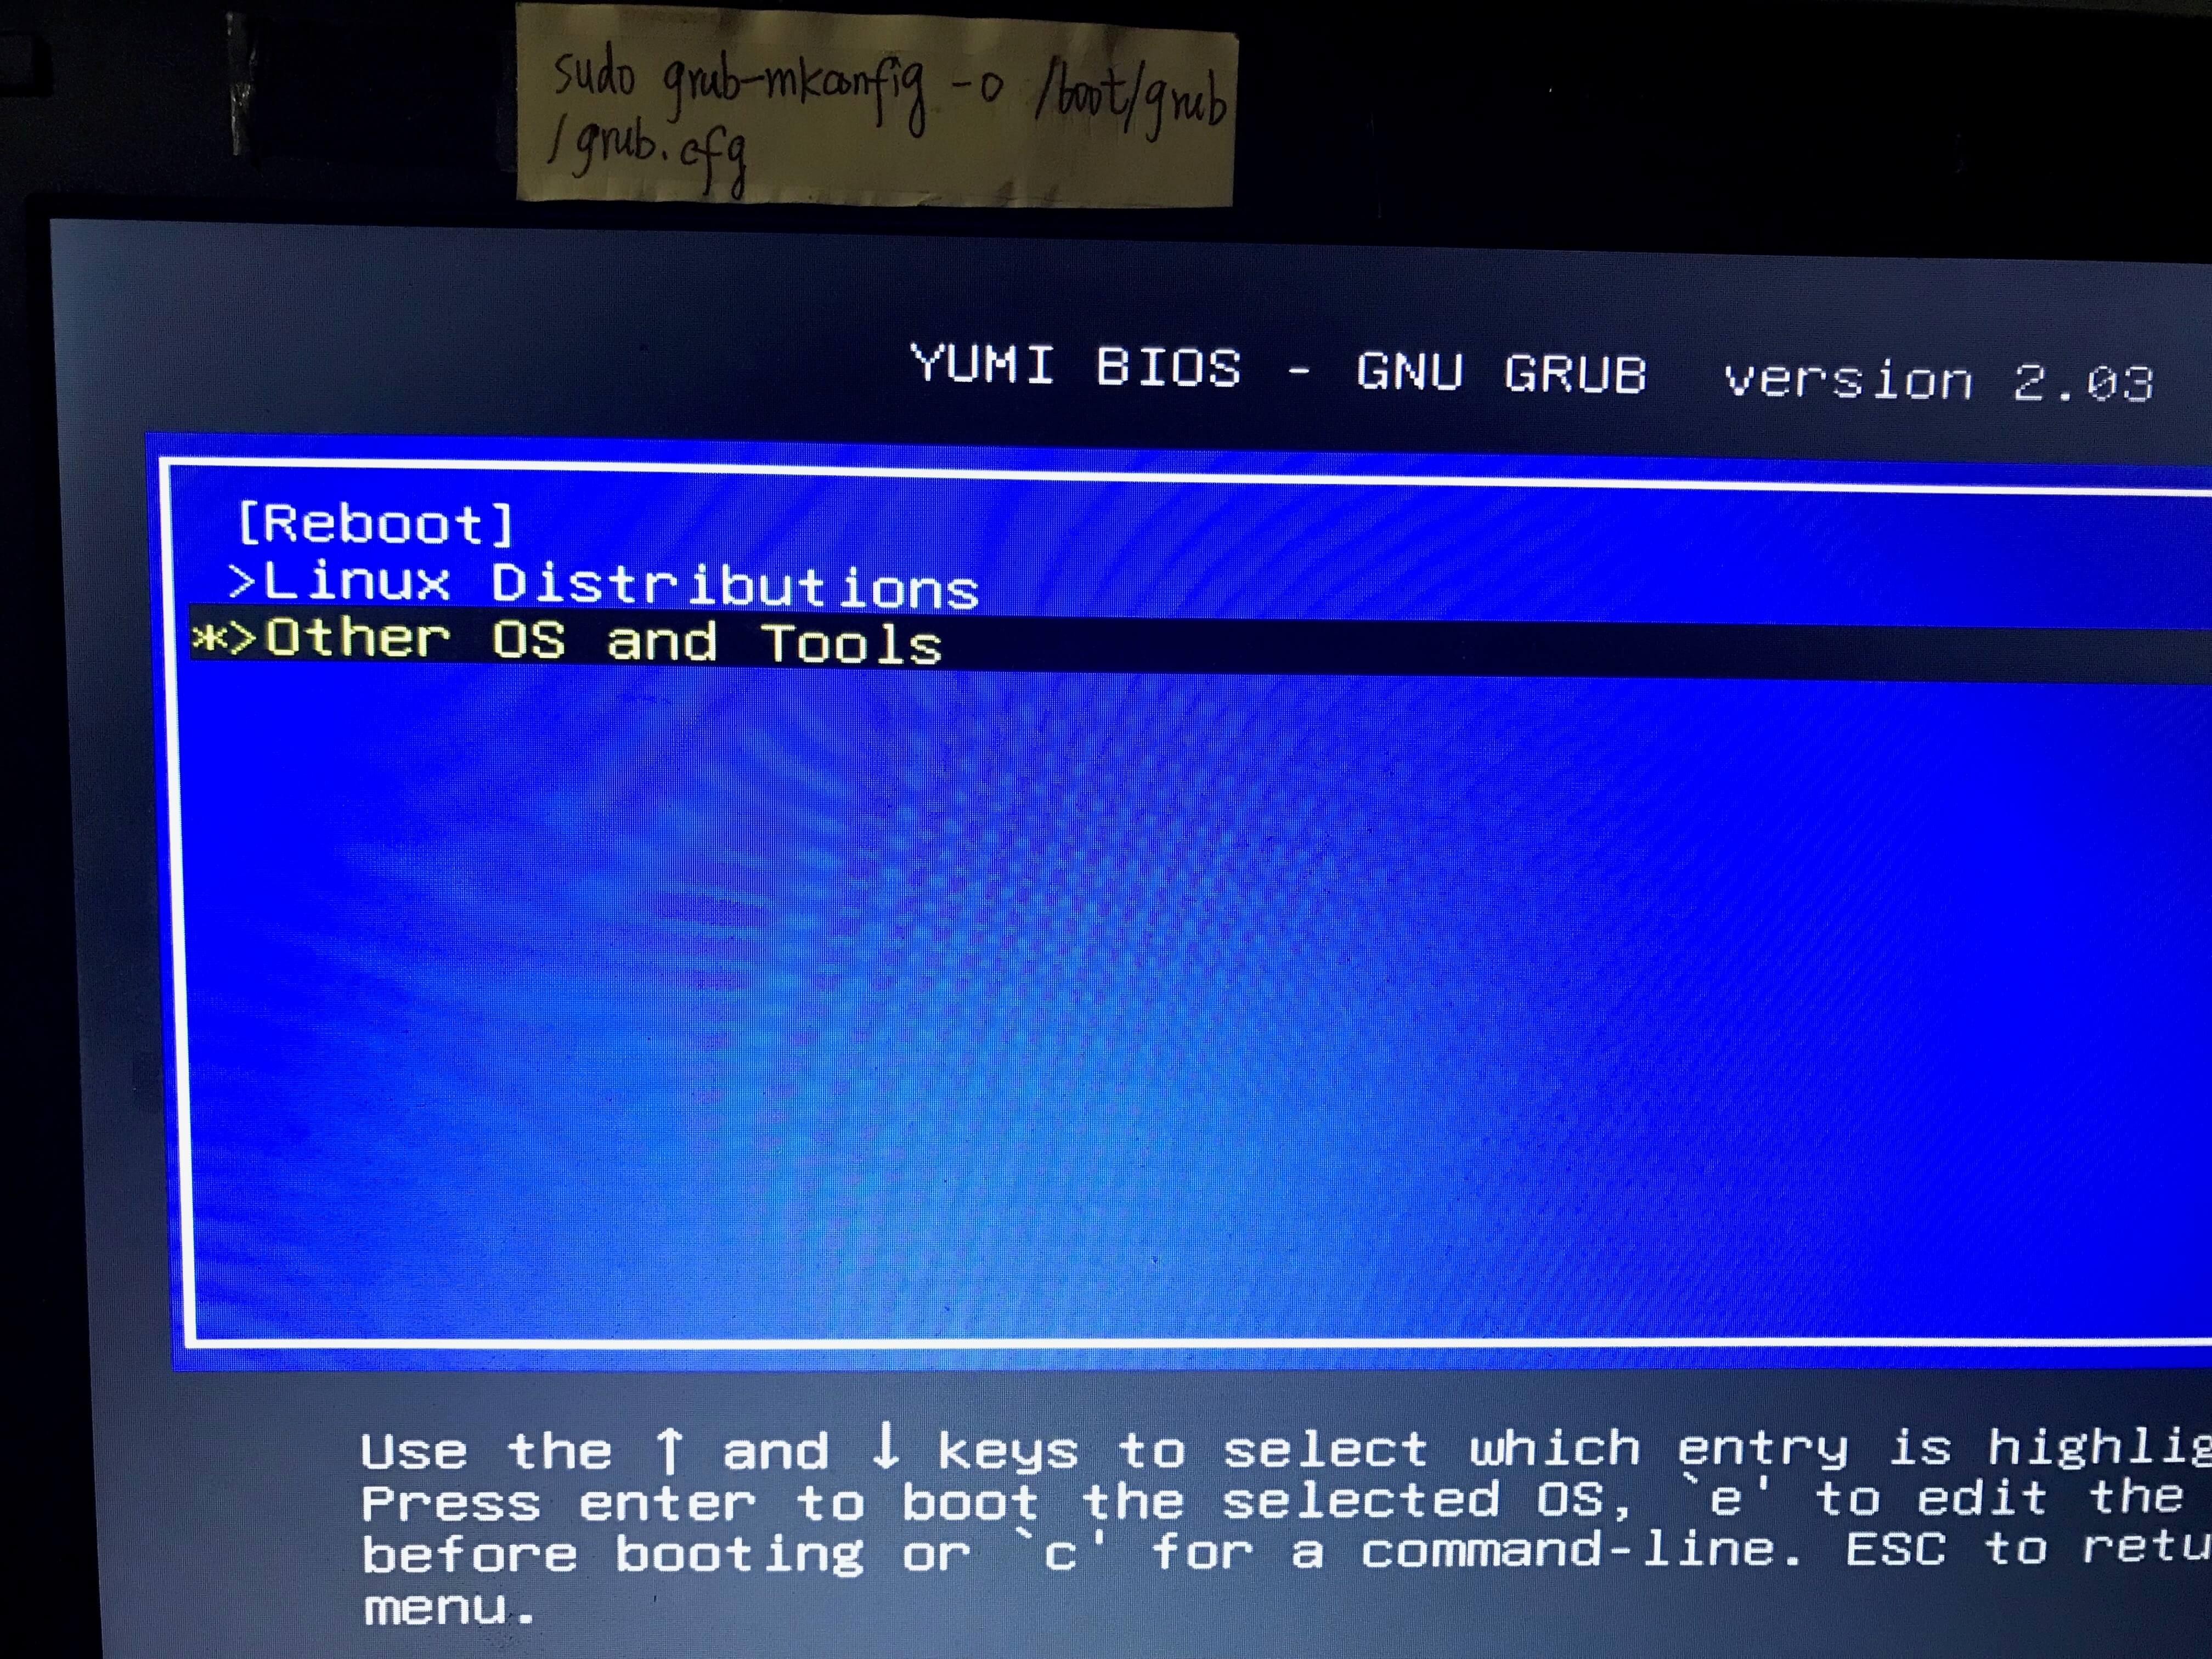
Once done, repeat the same process add additional ISO images files to your USB flash drive. You can also add Windows ISO images. The Windows ISO will be put in Other OS and Tools in the Grub boot menu.
5 WinSetupFromUSB
WinSetupFromUSB is a Windows program that can create a multiboot USB flash drive to install any Windows versions since 2000/XP, boot various Linux and *BSD flavors.
- Supports both BIOS and UEFI firmware.
- Can create a bootable USB containing both Linux and Windows ISO images (Windows 7, 8 and 10)
- You can add additional ISO images to your USB without destroying previous ISO images in the USB flash drive.
- Supports persistent mode
- Test your live USB in QEMU.
- There’s no Linux version, although you can try running WinSetupFromUSB on Linux through WINE.
WinSetupFromUSB can be downloaded from the official download page. Once it’s downloaded and installed, start it from the start menu. Insert your USB flash drive. WinSetupFromUSB will automatically select it.
Then you can choose to format it with FBinst. Next, select your Windows and Linux ISO image files.
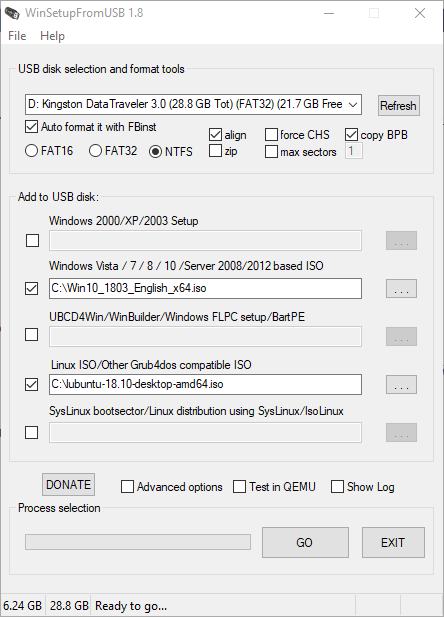
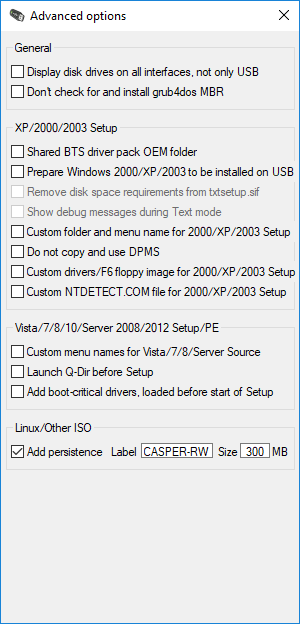
In the advanced options window, you can choose the persistent file size for Linux distributions.
Once you are ready, click the Go button to start creating the multiboot USB. After all your ISO images are written to USB flash drive. Restart your computer and boot from the USB drive.
Booting ISO Files Without a USB stick or DVD
Ever wondered if you can boot an ISO file without creating a live USB or live CD? Please read the following tutorial:
Wrapping Up
That’s it! I hope this tutorial helped you create a multiboot USB flash drive. As always, if you found this post useful, then subscribe to our free newsletter to get more tips and tricks. Take care 🙂
Источник


