- GNU screen: split the screen
- 1. Start screen
- 2. Split the screen vertically with Ctrl-|
- 3. Switch between regions with Ctrl-a TAB
- 4. Unsplit the screen with Ctrl-a Q
- 5. Split the screen horizontally with Ctrl-a S
- 6. Split the screen into more regions with Ctrl-a |
- 7. Close just one region with Ctrl-a X
- 8. Rename the region with Ctrl-a A
- 9. Save the layout for later use with the layout dump command
- 10. Move to a specific region with the focus command
- Options for the focus command
- 11. Resize the area with the resize command
- Screen resize commands
- That’s it for now
- GNU Screen splitting
- 1. Open a new terminal and execute “screen”
- 2. Split the screen vertically
- 3. Start a command prompt in the blank pane
- 4. Split the right pane horizontally
- 5. Switch to the lower right pane and create a new session
- 6. Use CTRL-a TAB to move between the panes and start coding!
- Other useful commands
- Want to learn more?
- Команда screen Linux
- Установка утилиты screen
- Основы работы команды screen
- Возможности программы
- Основные команды screen
- Как пользоваться screen Linux
- Выводы
GNU screen: split the screen

So you are one of those people that works on 10 things at once. Or maybe, you just need to compare the output of two commands. One of the great features of GNU screen is that you can split the screen in multiple ways. So lets’ start with GNU screen split screen.
1. Start screen
First of all, we need to start screen. To do this just enter the command screen by itself on the command prompt and hit enter.
Now you are running in a screen session. You will probably see some message regarding the license and the authors of screen. You can get rid of this message by hitting the enter key again.
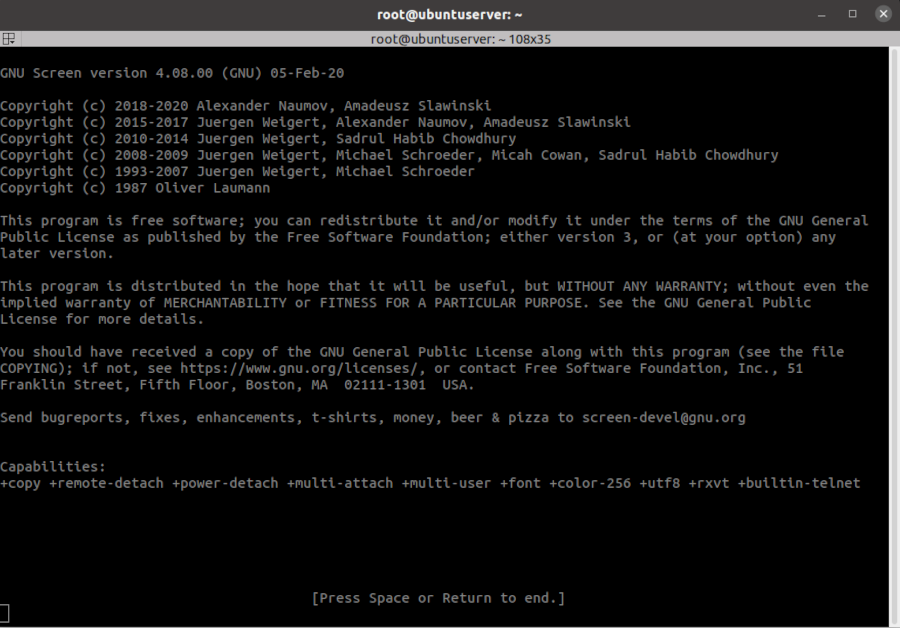
You can always get out of the screen session by typing exit and closing the current shell. Alternatively, you can press Ctrl-d (the control key and d at the same time) to detach from the session without destroying it. After that you can type screen -r to resume the screen session.
![]()
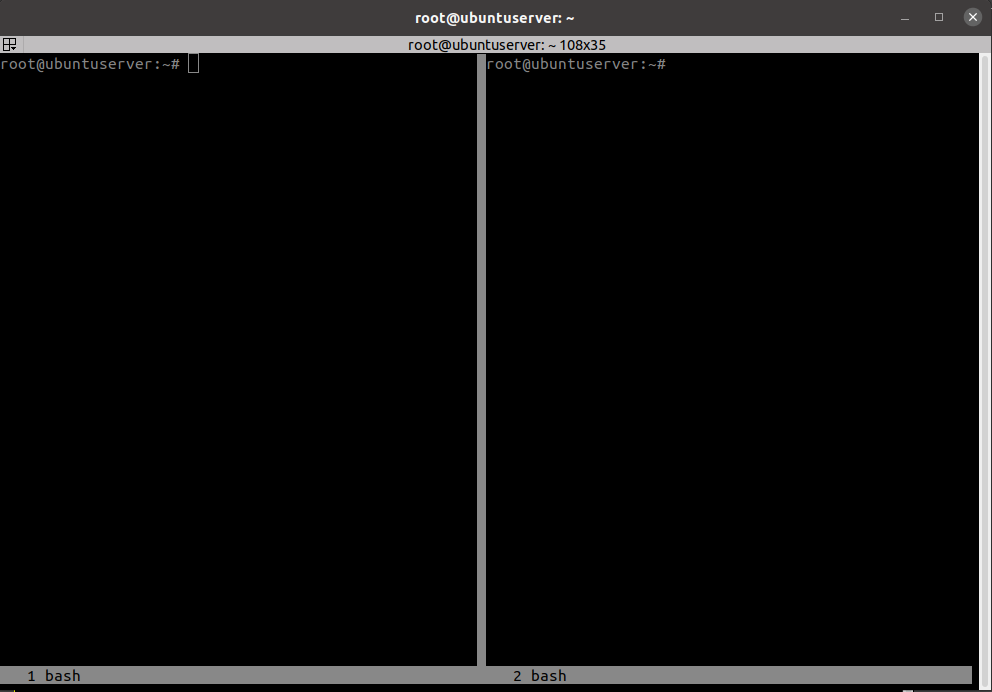
2. Split the screen vertically with Ctrl-|
Now we can split the screen into two separate regions. Do this by pressing Ctrl-|. If it isn’t clear, the second key is the pipe (|) character. This character is output by pressing shift and / on a US keyboard and by pressing Alt and the key on the left side of Z on many European keyboards.
This will split the screen vertically. If you want to split the screen horizontally,
3. Switch between regions with Ctrl-a TAB
Now that you have two regions on the screen you can switch to the next one by hitting Ctrl-a and then the TAB key.
You might notice, that the new region is completely blank. Fix this by hitting Ctrl-a c.
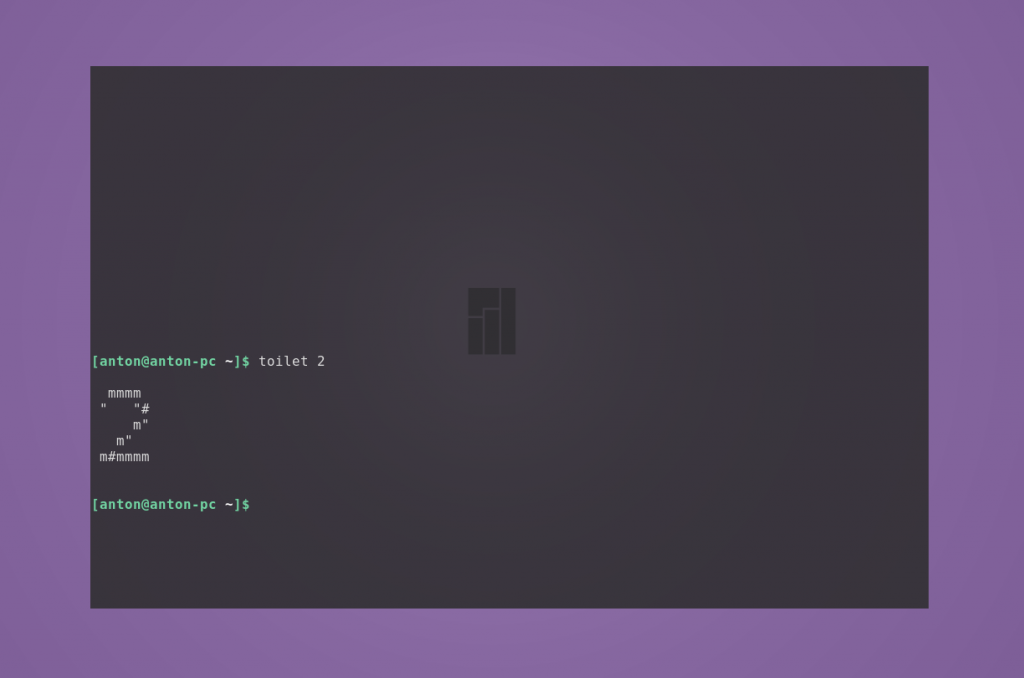
4. Unsplit the screen with Ctrl-a Q
Now, lets close the first region by hitting Ctrl-a Q (note: upper case Q). This will close the region that is inactive.
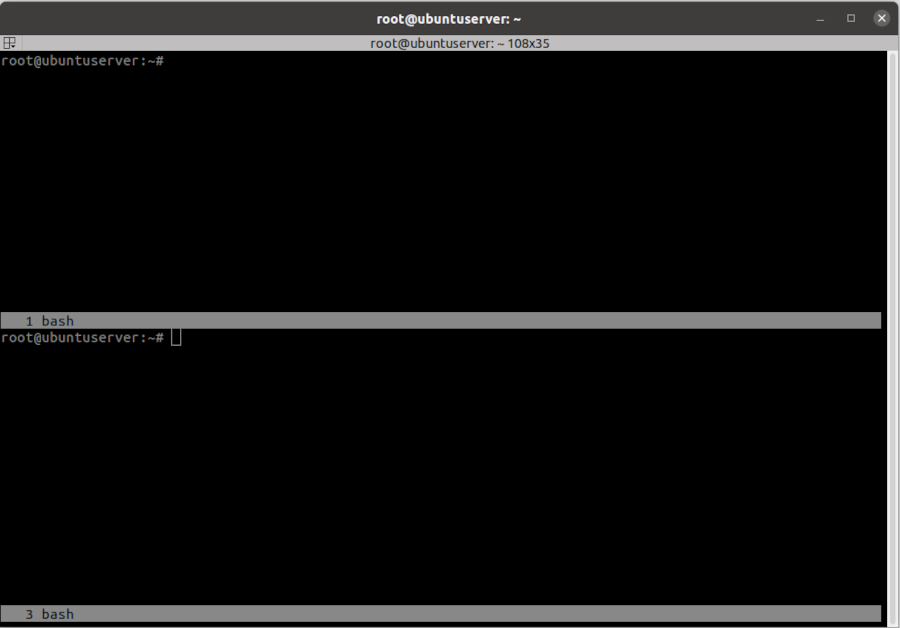
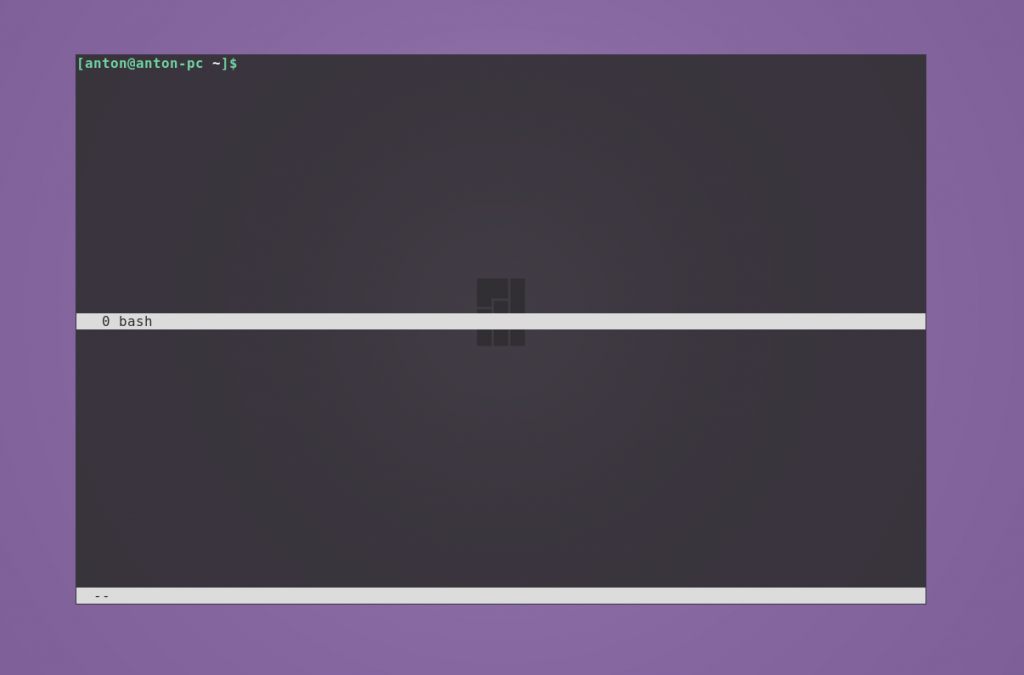
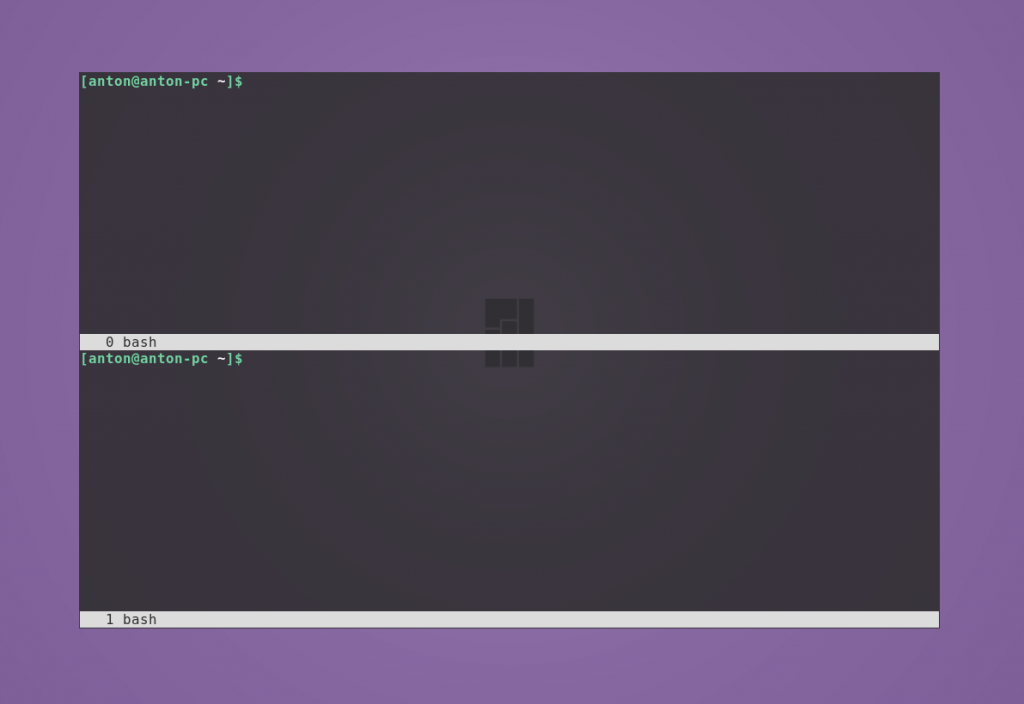
5. Split the screen horizontally with Ctrl-a S
We now have just one region. Let’s try splitting that horizontally. Just press Ctrl-a and the upper case S.
Now you have two regions. Again, switch to the new region by hitting Ctrl-a TAB. You will also have to activate the new regions shell with Ctrl-a c.
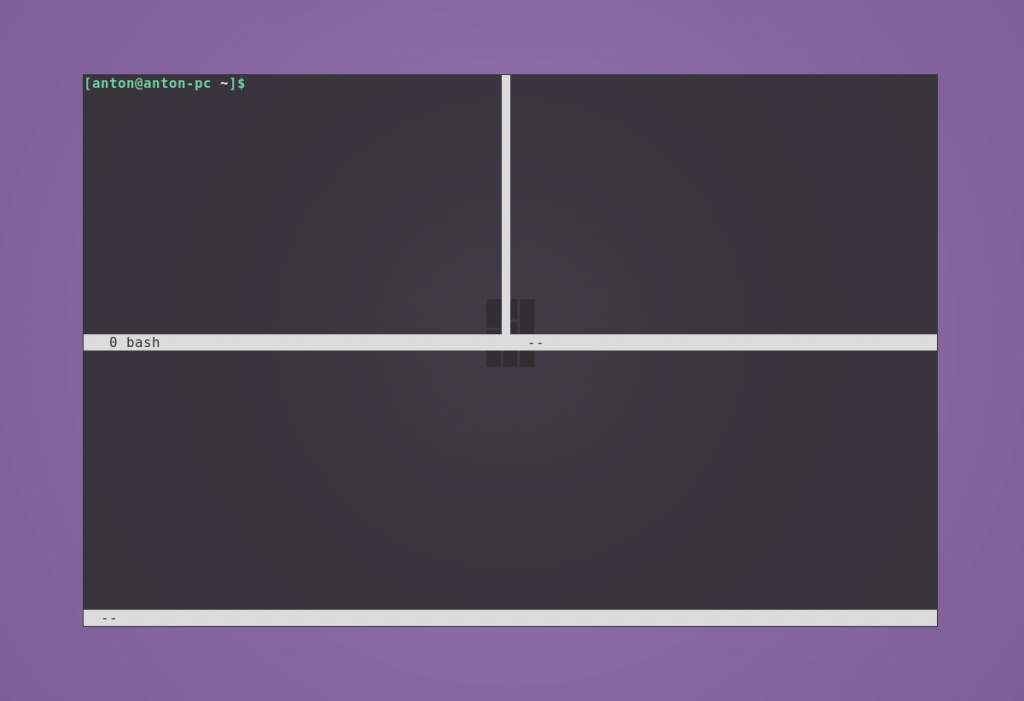
6. Split the screen into more regions with Ctrl-a |
We now have two regions. That’s nice, but we need more than that don’t we?
Switch to the region you want to split and hit Ctrl-| to split that region again vertically.
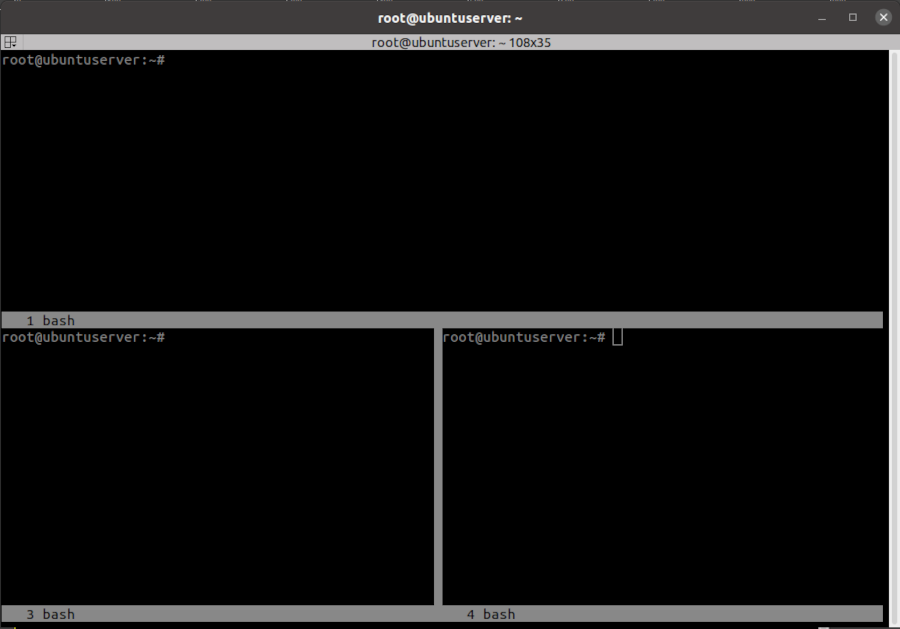
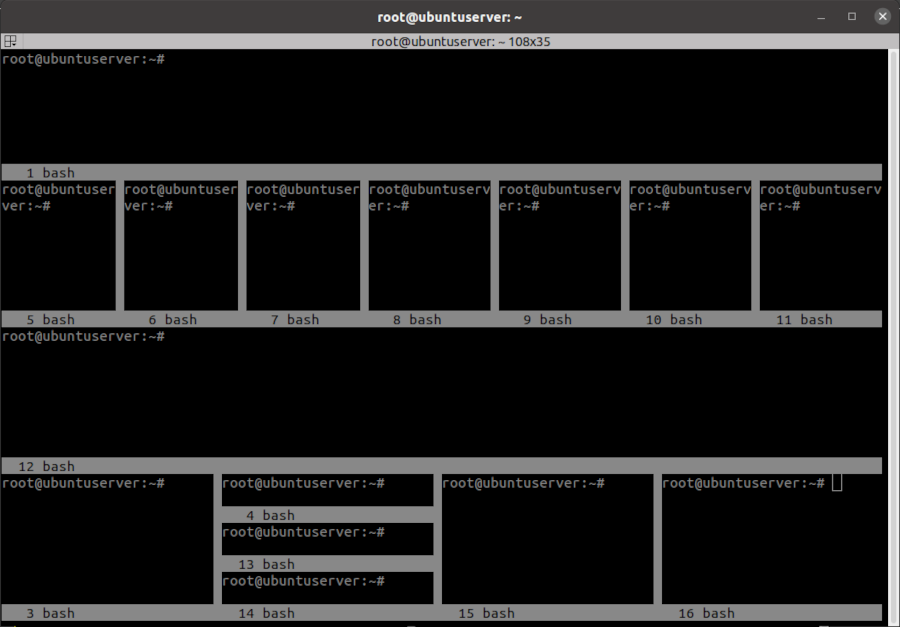
We can do this as many times as we want. The screen can be split into countless combinations of vertical and horizontal splits as well. Check out this not so convenient combination below.
7. Close just one region with Ctrl-a X
If you have opened one too many regions, you can close just one region and leave the others as is. Switch to the region you want to close with Ctrl-a TAB and then hit Ctrl-a X (upper case X).
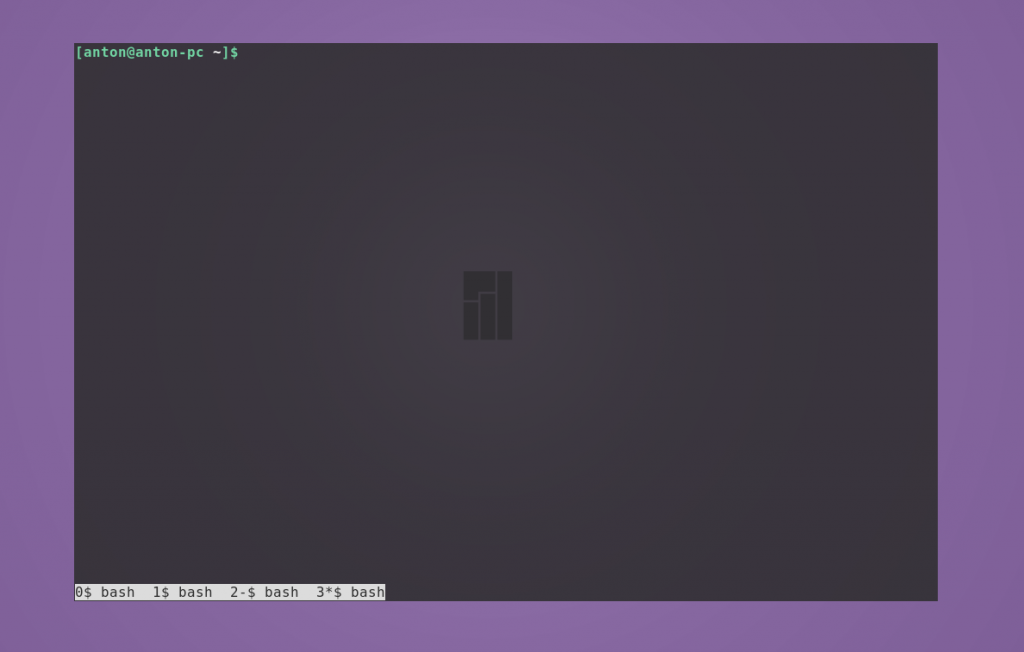
8. Rename the region with Ctrl-a A
You may have noticed that each region has a number and caption that says “bash”. You can change this caption to something more convenient that explains what you want to use that region for. To do this hit Ctrl-a A and erase the old caption. Then replace it with something more descriptive and hit enter.
9. Save the layout for later use with the layout dump command
If you get into the habit of using screen to split your terminal, you will eventually get tired of having to set the session up after every reboot.
This can be solved easily by saving the layout to a text file. Which you can then load whenever you want to create a new session.
To start, you will need to get into command mode in your screen session. Do this by hitting Ctrl-a :
Now type the layout dump command. Replace “.my_filename” with the file name you wish to use.
That’s it! The next time you want to start screen with this layout, just start it normally. Get into command mode again with Ctrl-a : and enter this command:
You can even have this layout loaded automatically whenever you start screen. Just add the source command to your .screenrc file:
10. Move to a specific region with the focus command
If you have many regions in your setup, Ctrl-a TAB might not be very convenient. Since that sequence only cycles through the regions in the order that they appear. Cycling through ten regions to get to the one above you is going to be annoying.
Enter the focus command! Go back into command mode by hitting Ctrl-a :. Now you can enter focus followed by the direction you want to move. Like if you wanted to go down one region, enter:
Options for the focus command
- next
- prev
- up
- down
- left
- right
- top
- bottom
11. Resize the area with the resize command
Another handy command for split-screen is the resize command. Normally, each region gets equal space with other regions within the same space. With resize, you can set the size of the region as you wish.
Again, enter the command mode with Ctrl-a :. To set the region to it’s maximum size you can enter:
Screen resize commands
| resize +n | Increase size by n columns |
| resize -n | Decrease size by n columns |
| resize n | Set the size to n |
| resize 30% | Set the size to 30% of its original size |
| resize -b | Set size of all regions to equal size |
| resize max | Set the size to its maximum value |
| resize min | Set the size to its minimum value |
| resize -h +20 | Increase size by 20 horizontally |
| resize -v +20 | Increase size by 20 vertically |
That’s it for now
I think we have covered everything you need to know to use screen splitting in Linux screen. If you are interested in other ways to split your terminal, you might want to take a look at tmux or the terminator terminal. The latter is the terminal that I use every day. It is the one that is pictured in the screen shots above.
Источник
GNU Screen splitting
Oct 28, 2011 • Tom
I’ve never been an avid user of GNU Screen despite a number of people giving it rave reviews. I never needed to resume remote sessions and the window management stuff seemed pointless (“Why not just open a new tab in gnome-terminal?!”).
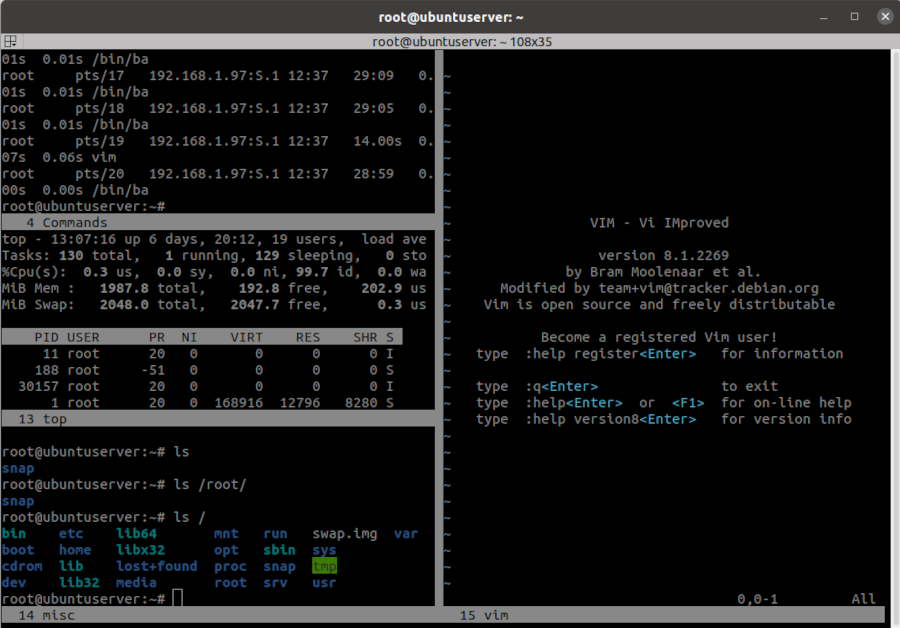
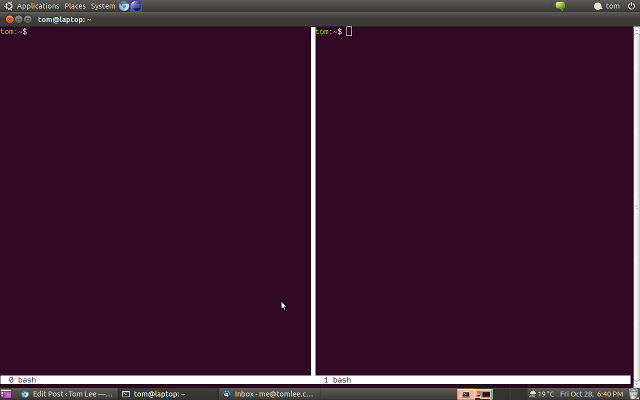
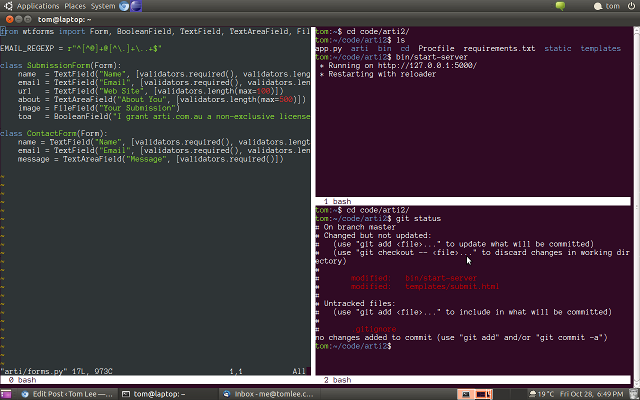
However, today I discovered that newer versions of Screen are capable of splitting the terminal window horizontally and vertically. A light bulb came on, and after a bit of experimentation I wound up with something that looks like this:

One window for editing, one for server output, one for shell commands and git. I’d normally use different tabs for this stuff, and now here it is — all in front of me. This is more like it! Something I’ll actually use.
Since it took a little digging to track down the relevant documentation, I thought it might be worth documenting how I got my screen session to this point:
1. Open a new terminal and execute “screen”
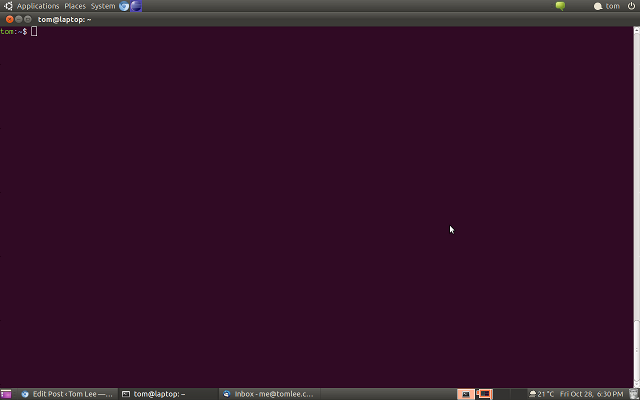
This should present you with the command prompt (you may get a message regarding GNU Screen licensing — simply hit “return” to skip this).
2. Split the screen vertically
Press CTRL-a SHIFT-\ (CTRL-a |) to split the screen vertically.
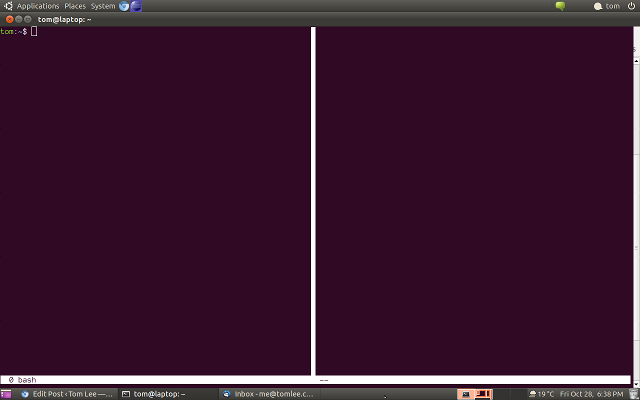
You can use CTRL-a TAB to switch between the panes. Note the blank pane doesn’t do anything useful yet.
3. Start a command prompt in the blank pane
Press CTRL-a TAB until you’re in the new, blank pane, then press CTRL-a c to create a new window with a command prompt in this pane.
4. Split the right pane horizontally
Ensure the right pane has focus (press CTRL-a TAB until the cursor is in the blank pane), then press CTRL-a SHIFT-s (CTRL-a S) to split the pane horizontally.
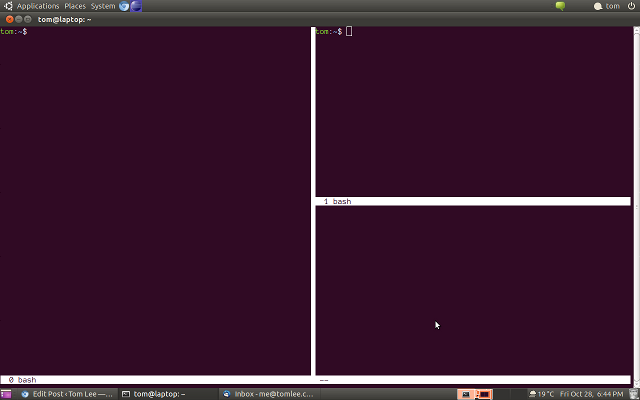
Again, the new pane is blank and seemingly unresponsive.
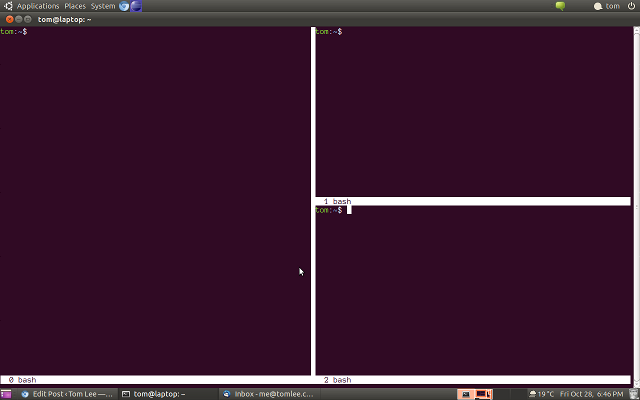
5. Switch to the lower right pane and create a new session
Use CTRL-a TAB to move focus to the lower right pane we just created, then CTRL-a c to spin up a new shell prompt.
6. Use CTRL-a TAB to move between the panes and start coding!
Other useful commands
- CTRL-a SHIFT-x (CTRL-a X) will close the pane that has focus
- CTRL-a d will detach screen from the TTY and put it in the background. Resume with screen -r
- CTRL-a n and CTRL-a p shifts input focus to the next & previous window, respectively.
- CTRL-a SHIFT-a (CTRL-a A) will ask you to set the title of the focus window.
- CTRL-” list available windows
Want to learn more?
If you’re interested in learning more about GNU Screen you can check out the official manpage. It’s a pretty substantial document and some people prefer physical references, so you might also take a look at GNU Screen: The virtual terminal manager which is essentially a printed copy of an older version of the manpage.
The book is certainly a little dated (for example, I don’t believe it covers screen splitting since the feature is relatively new) but fortunately Screen hasn’t changed a ton over the years and folks new to Screen it’s still a useful reference.
Источник
Команда screen Linux
Эффективность администрирования систем GNU/Linux напрямую зависит от используемых утилит. Возможность выполнять максимум задач в минимальный срок — приоритетная цель этого процесса. Команда screen Linux является одним из основных инструментов системного администратора.
По умолчанию screen не является стандартной утилитой в большинстве дистрибутивов, но работает везде одинаково. Поэтому сначала рассмотрим её инсталляцию, а затем — возможности и основные команды.
Установка утилиты screen
Разница в инсталляции программы на разных дистрибутивах заключается в программах управления пакетами и их командами.
Чтобы установить screen в Ubuntu, Linux Mint, Deepin и других систем семейства Debian, используйте команду apt:
sudo apt install screen
В Manjaro, Antergos и других Arch-подобных ОС screen располагается в AUR, поэтому используйте соответствующую программу управления пакетами, например aurman:
aurman -S screen
Для инсталляции screen в системах на основе Red Hat (например Fedora и CentOS) используйте утилиту dnf:
dnf install screen
Основы работы команды screen
Принцип работы GNU/Linux в целом заключается в использовании небольших утилит, которые делают что-то одно, но хорошо. И эта программа — не исключение.
Команда screen Linux является консольной программой и имеет однозначное определение, соответствующее названию, — это оконный менеджер, разделяющий один физический терминал между несколькими процессами. Подходит для прямого либо удалённого администрирования.
Возможности программы
Screen позволяет переключаться между терминалами, в которых выполняются процессы, не прерывая их. Это особенно эффективно, когда необходимо производить сборку/установку ПО и мониторить дисковое пространство или использовать аппаратные ресурсы.
Screen может разделять текущий терминал на меньшее количество окон с возможностью запуска в них того же или других терминалов. Это ещё больше упрощает вышеописанную задачу, особенно при использовании больших мониторов.
Также к одной сессии screen может подключаться несколько пользователей. Это эффективно при обучении персонала.
Основные команды screen
Откройте терминал. Для запуска первого окна наберите:—
Создастся новая сессия программы и появится приветственное сообщение. Для его закрытия нужно нажать Space или Enter.
Все управляющие команды начинаются с комбинации клавиш Ctrl + a, затем следует буква или сочетание клавиш. Буквы разных регистров выполняют разные команды. Также сочетания можно заменять текстом. Для его ввода нажмите Ctrl + a и :, после чего вводите текст.
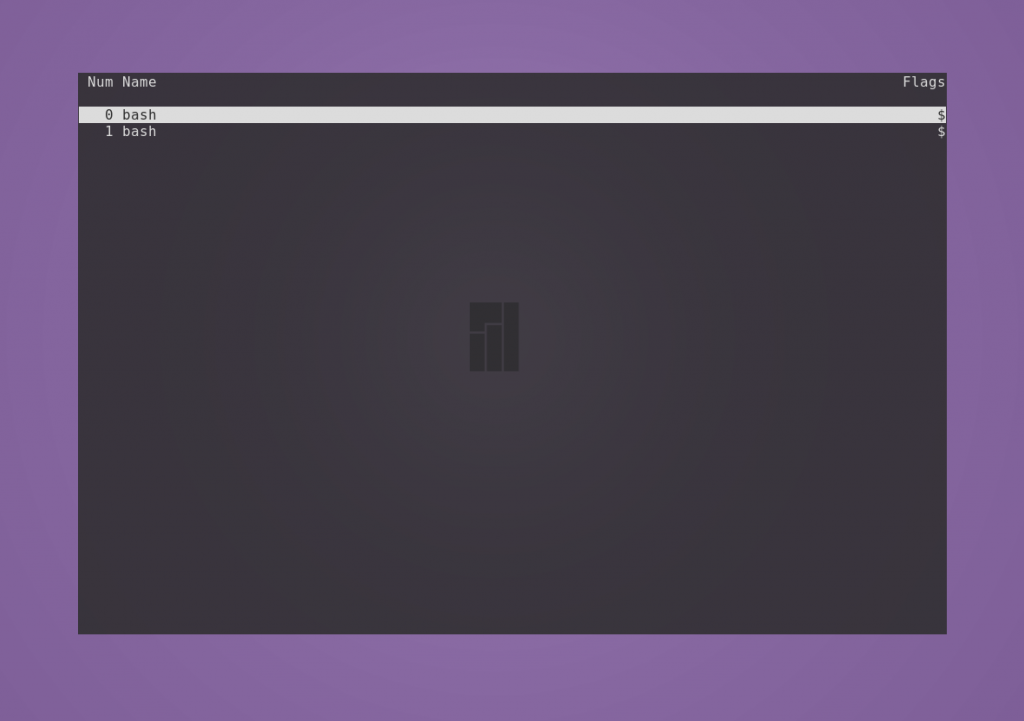
Например, чтобы создать новое окно, нажмите по очереди сочетание Ctrl + a и затем c. Для просмотра списка созданных окон нажмите Ctrl + a и w.
Для перехода в любое из созданных окон сессии используется комбинация Ctrl + a и номер, который за ним закреплён, или Ctrl + a и «, после чего нужно выбрать стрелками необходимое. Для последовательного перехода используйте Ctrl + a и n (следующее окно) или p (предыдущее окно).
Чтобы разделить экран по горизонтали, нажмите Ctrl + a и S. Например, для разделения окна по горизонтали напишите split.
Будет создано новое окно снизу от текущего, и оно не становится активным. Чтобы разделить по вертикали, нажмите Ctrl + a и | (или введите split -v).
Были созданы новые пустые окна. Для переключения между ними используйте Ctrl + a и Tab (или напишите focus). Положение курсора указывает, какое окно является активным в данный момент. Для скрытия окна используйте Ctrl + a и X (или введите remove).
Чтобы запустить в новом окне терминал, нажмите Ctr + a и c (или наберите screen).
Чтобы скрыть все окна и оставить только текущее, используйте Ctrl + a и Q (или напишите only).
Переименовать окно можно с помощью Ctrl + a и A. Внизу появится строка с возможностью заменить старое название.

Чтобы скрыть все окна сессии, нажмите Ctrl + a и \. Подтвердите решение нажатием y. Для выхода из менеджера окон нажмите Ctrl + a и d.
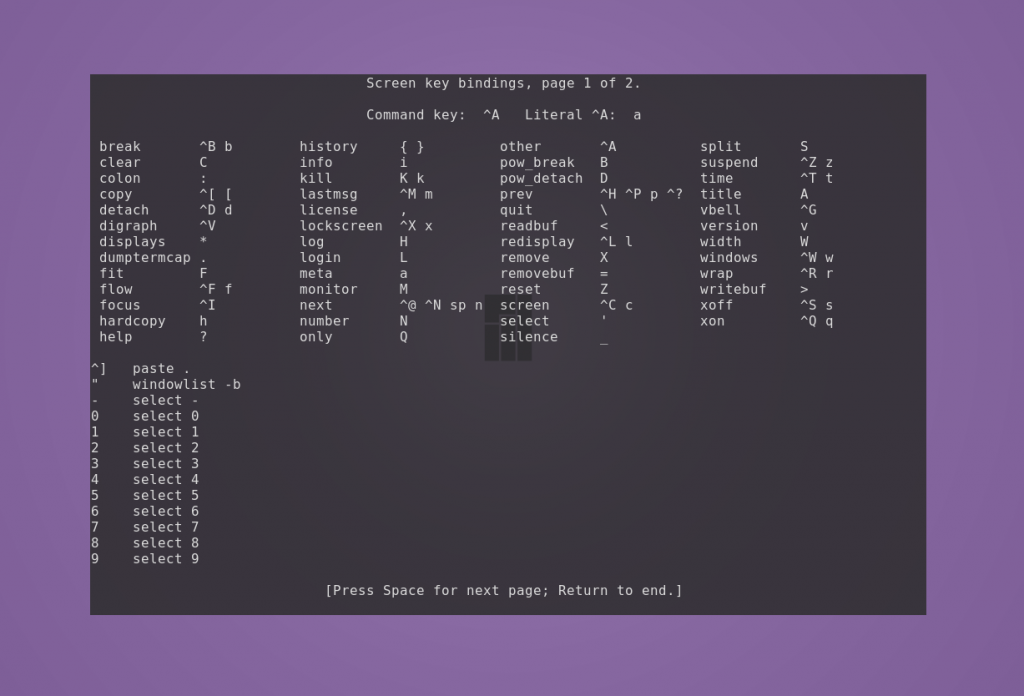
Команда screen обладает большим набором горячих клавиш. Полный их список можно посмотреть с помощью Ctrl + a и ?.
При создании новой сессии screen можно задать ей имя. Таким образом можно создать несколько сессий. Чтобы сделать это, используйте параметр -S, после которого укажите название.
screen -S name-of-screen
Посмотреть список запущенных сессий можно командой
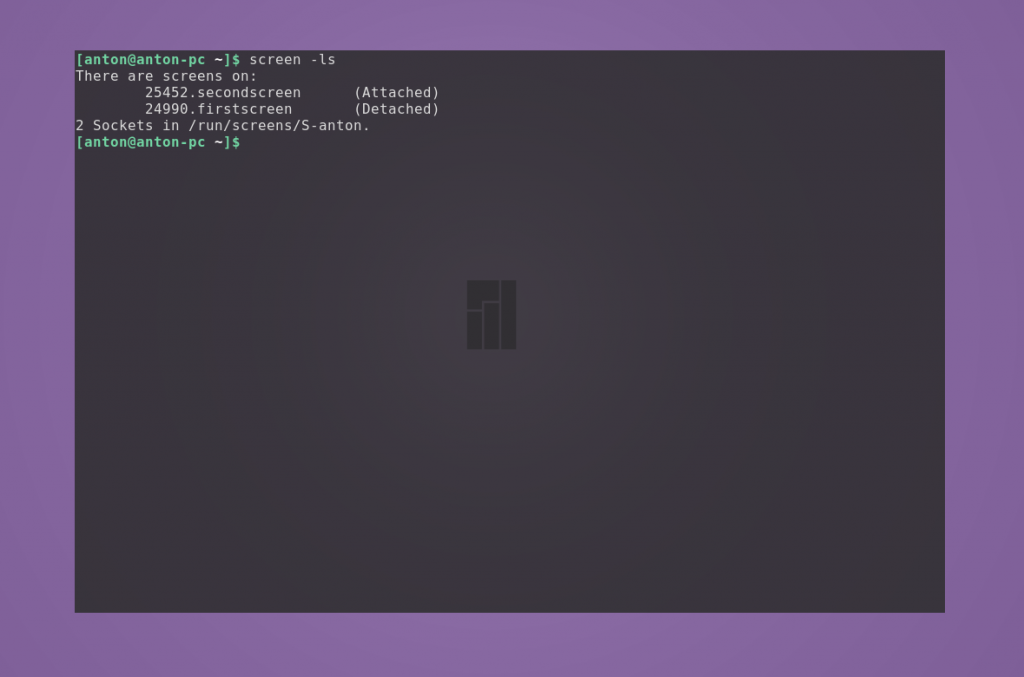
Строка, идентифицирующая сессию, состоит из нескольких полей: id, название и статус.
Значение id отображается в списке всех запущенных процессов. Это означает, что его можно завершить с помощью команды kill. Завершить работу текущего окна можно с помощью комбинации Ctrl+a и k; подтвердите решение нажатием y.
Статус может иметь два состояния: Attached (задействован) и Detached (незадействован). Второе состояние у сессий, в которых ещё не происходили никакие процессы.
Чтобы перейти в нужную сессию, следует указать параметру -r её id или название.
Это всё основные команды screen Linux.
Как пользоваться screen Linux
Теперь давайте рассмотрим, как пользоваться screen Linux более подробно.
Пример 1. Необходимо отслеживать изменения файла в реальном времени. Для этого в одном окне будем вносить изменения в новый файл, а в другом — отображать файл командой tail с опцией -f:
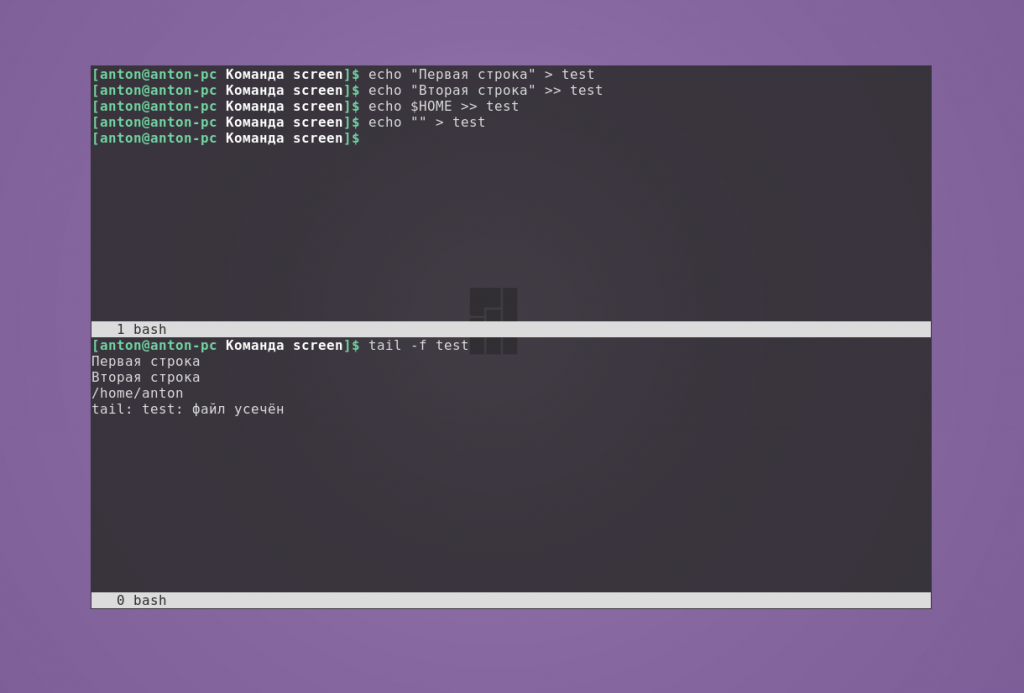
При стирании содержимого показывается сообщение, что файл усечён, при этом этот текст в него, конечно, не записывается.
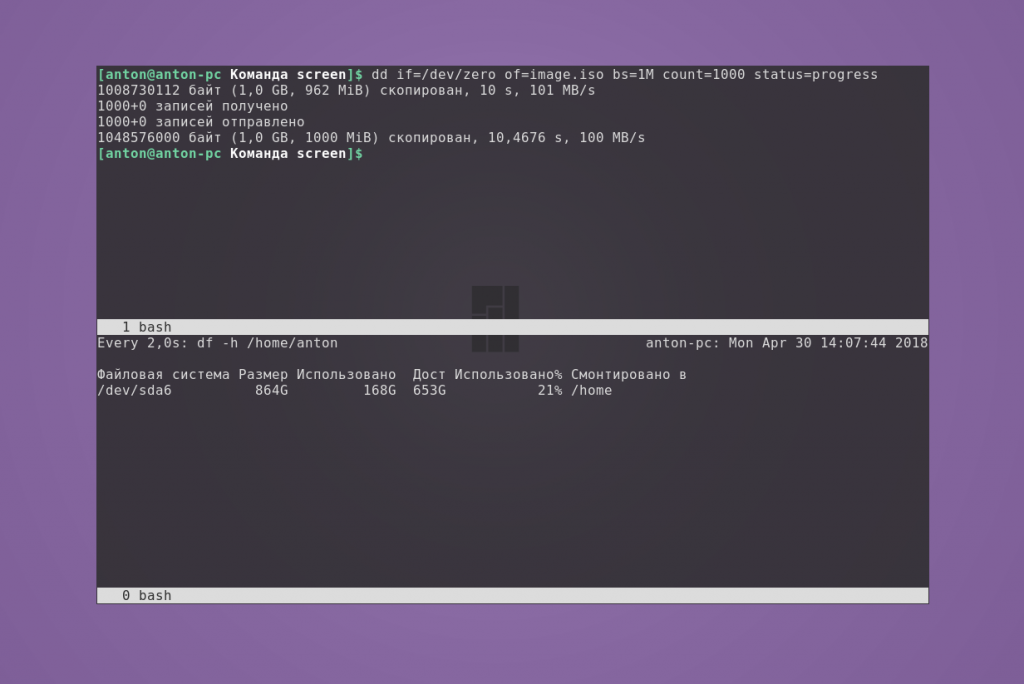
Пример 2. Необходимо отслеживать размер каталога в реальном времени. В одном окне записываем данные, в другом — отображаем, как изменяется размер домашнего каталога командой watch с задержкой в две секунды.
Выводы
Команда screen является эффективным инструментом для системного администрирования, особенно при работе с системой без среды рабочего стола. Имея один терминал, вы можете создавать несколько окон для обработки параллельных процессов без конфликтов между ними.
Источник


