- Variable refresh rate
- Contents
- Overview
- Xorg configuration
- Enable on AMDGPU
- Using an Xorg conf file
- Enable on NVIDIA
- Using a Xorg conf file
- Via nvidia-settings
- Wayland configuration
- Testing
- Change VRR Range of a FreeSync Monitor
- Editing the EDID File
- Tips and Tricks
- Remove applications from Blacklist
- Linux variable refresh rate
- About
- Announcement
- AMD Posts Updated Mesa Patches For Variable Refresh Rate (FreeSync / Adaptive-Sync)
- Comment
- Comment
- Comment
- Comment
- Comment
- Comment
- Comment
Variable refresh rate
Variable refresh rate (VRR), also referred to as adaptive sync, allows the monitor to adjust its refresh rate to the output signal. This allows for games to eliminate screen tearing with less of the usual downsides of Vsync (such as stuttering). For a comprehensive look at VRR see PC Gaming Wiki.
Contents
Overview
There are multiple implementations of VRR:
- FreeSync is AMD’s implementation of VESA’s VRR standard, and the phrases are often used interchangeably. FreeSync branded monitors should be compatible with all VESA compatible drivers.
- Gsync is NVIDIA’s proprietary hardware and software implementation of VRR.
- Intel plans on implementing VESA’s standard in their upcoming 11th Gen and dedicated GPUs. [1]
VRR compatibility and implementations
| Driver | VESA | Gsync |
|---|---|---|
| AMDGPU | FreeSync | No |
| Intel | Planned | No |
| Nouveau | Not Supported | Not Supported |
| NVIDIA | Gsync Compatible | Gsync |
Xorg configuration
Enable on AMDGPU
If you are using a laptop, you can check if your laptop is compatible with FreeSync.
Using an Xorg conf file
Add the line to your AMDGPU .conf file in the Section «Device» block:
Verify vrr_capable is set to 1 using xrandr:
xrandr will show the properties for all video output ports; make sure to look at the one that’s actually connected to your monitor — the other outputs will report vrr_capable: 0.
Enable on NVIDIA
Using a Xorg conf file

Via nvidia-settings
Gsync monitors should automatically be enabled. To enable Gsync compatible monitors do the following:
- In nvidia-settings go to the «X Server Display Configuration» page, then under the Advanced button is the option to «Allow G-SYNC on monitor not validated as G-SYNC Compatible». Then click apply.
- Now, under OpenGL settings, check «Allow Gsync/Gsync Compatible.»
Wayland configuration
KDE Wayland should automatically enable VRR for full screen applications [2].
Sway supports variable refresh rate as of version 1.5. To enable it for all of your outputs you can add the following to the sway config, or apply the setting to on a per output basis:
You can verify that your display supports adaptive sync with swaymsg:
Testing
VRRTest is a simple testing tool which should work for FreeSync and G-Sync. Install vrrtest-git AUR or, manually install love package, clone repository, then run $ love /path/to/cloned/repository .
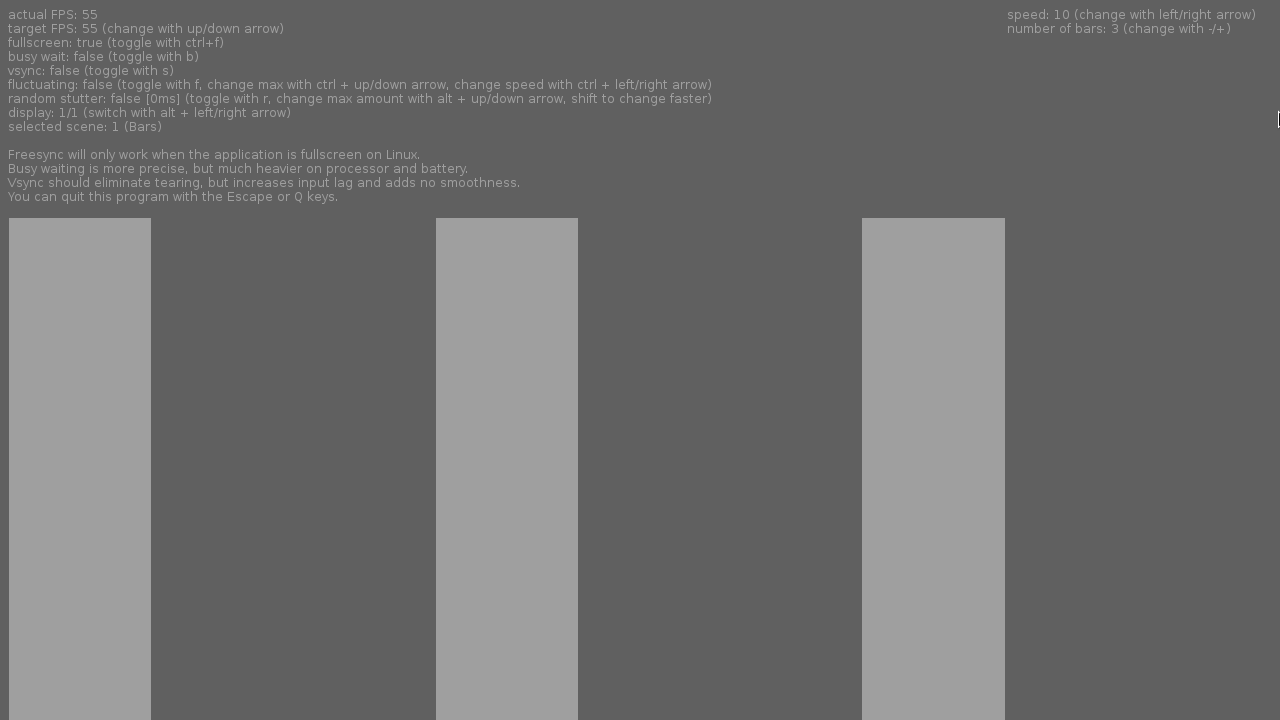
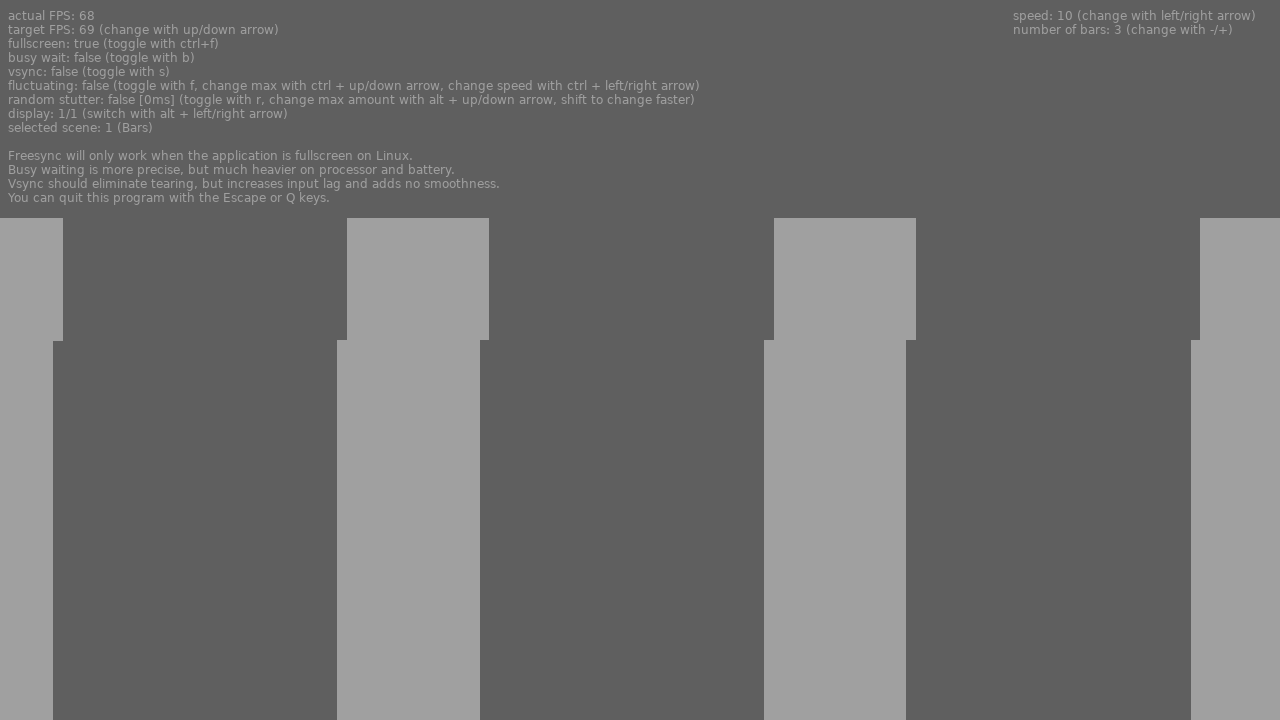
With VRR off, if the application’s FPS is less than the monitor’s native refresh rate then the bars will stutter a lot since frames are being skipped. With VRR active, the bars will always move smoothly across the screen since the screen’s refresh rate will match the application’s refresh rate. Even with VRR functional you may experience tearing in which case you can also enable the TearFree option for AMDGPU; with both enabled there should be neither stuttering nor tearing (what is the nvidia equivalent?).
If you are using a Nvidia GPU, you can test Gsync compatibility with gl-gsync-demo AUR . This program will allow you to test VRR and Vsync so you can observe resulting effects. See project’s Readme for more information.
According to this page: «gl-gsync-demo is made with G-SYNC but that does not matter, it will test AMD adaptive sync just fine». However, it may still not work as expected for FreeSync testing.
Change VRR Range of a FreeSync Monitor
Freesync monitors usually have a limited range for VRR that are much lower than their max refresh rate. It should be possible to overclock the monitor to change the Freesync range.
Editing the EDID File
External Display Identification Data (EDID) stores driver information about your monitor. By default, this file is sent by your monitor and read on connect. You will need to extract this file using something like read-edid or nvidia-settings .
You can edit this file with wxedid AUR

You may follow one of the guides of people changing the freesync range on Windows: [3][4]
Process of overclocking on Linux (works only on NVidia GPUs): [5]
Make a Xorg .conf file for your monitor and add a path to the custom EDID file you have edited. See xrandr to find find out the other information about your monitor.
Tips and Tricks
Remove applications from Blacklist
Mesa has a list of blacklisted applications to avoid unexpected behavior, you can edit this blacklist here:
Источник
Linux variable refresh rate
A very small utility I wrote to test variable refresh rate on Linux. Should work on all major OSes.
Just run the executable. Builds are provided for Windows and Linux (64-bit). You can download the LÖVE [https://love2d.org] runtime to run the .love file on any supported OS on any supported architecture.
Assuming the runtime is installed and in PATH, you can run it with love , where is the directory where this repo is cloned/extracted.
- Up and down arrows will change the target FPS of the tool.
- Ctrl+f toggles fullscreen.
- b toggles busy waiting. Having it on makes the framerate more precise, at the cost of a ton of battery and CPU utilization. Off by default.
- s toggles VSync.
- f toggles fluctuating framerate; Ctrl+↑/↓ changes the maximum framerate, Ctrl+←/→ changes the fluctuation speed.
- r toggles random stutter; Alt+↑/↓ changes the amount of stuttering. Hold Shift as well to change faster.
- Alt+←/→ changes the monitor the tool will be displayed on.
- l increases the amount of information shown on the screen, from nothing, to GPU-related information, to a list of frametimes. Wraps around.
- Number keys will select a scene to be displayed. Each scene has additional controls, shown on the right.
As of version 2.0.0, VRRTest supports different scenes, of which there are currently two. (A 100% increase over previous versions!)
The first and default scene, Bars, is easy on the eyes (I’m not claiming it looks good; you’ll see what I mean in the screenshots section) and easily allows the user to detect screen tearing, by displaying vertical bars moving towards the right. The number and speed of said bars are tunable by the user. Additional controls are as follows:
- Left and right arrows will change the speed of the columns moving across the screen.
- + and — will change the amount of columns.
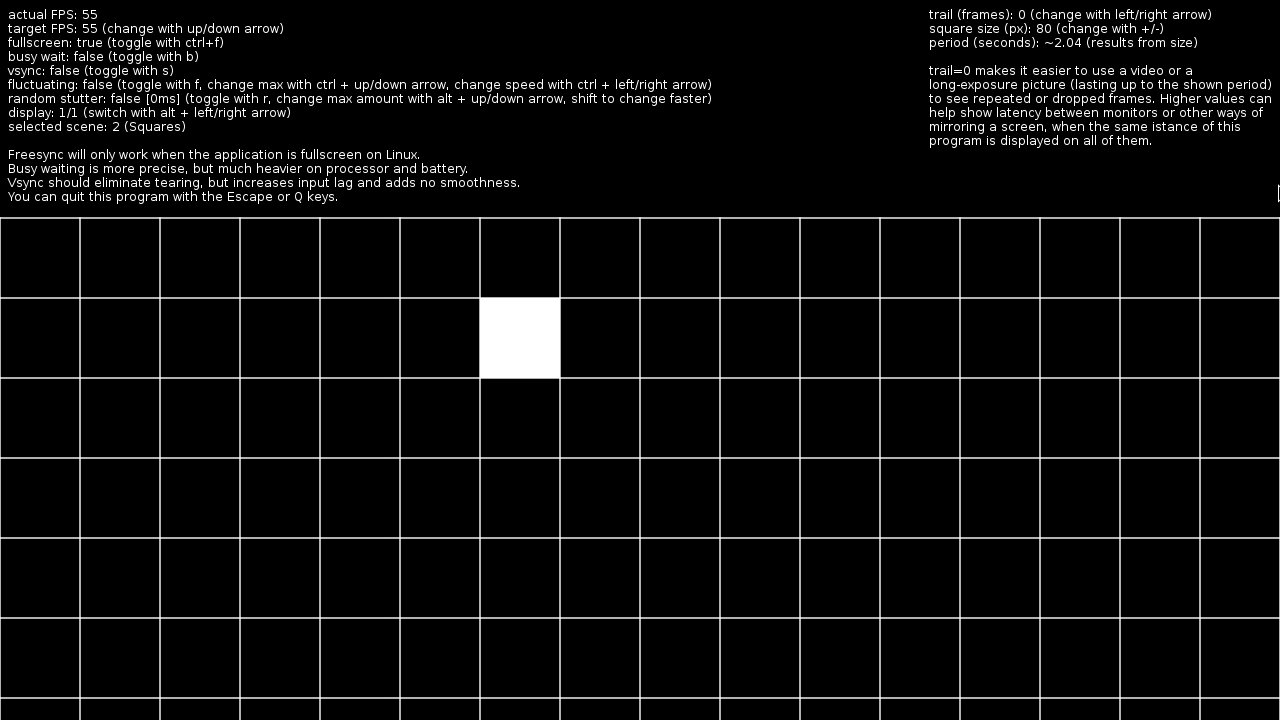
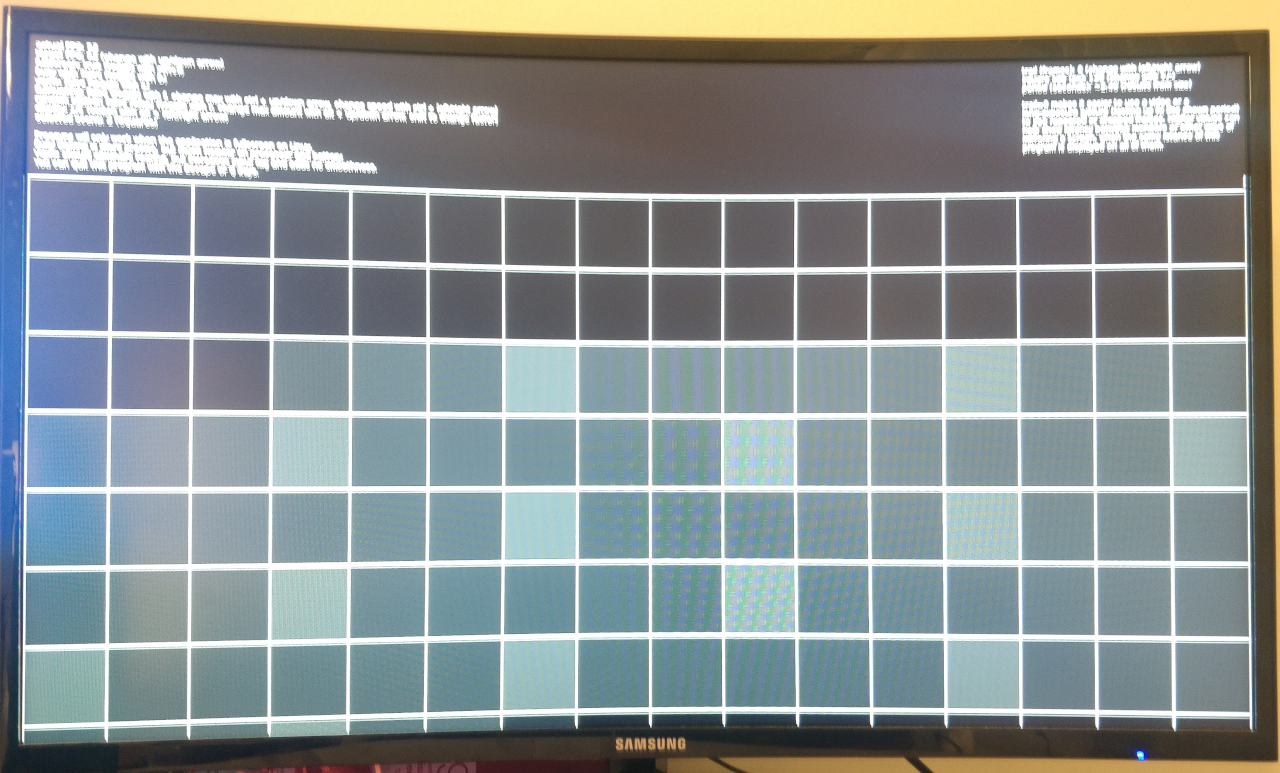
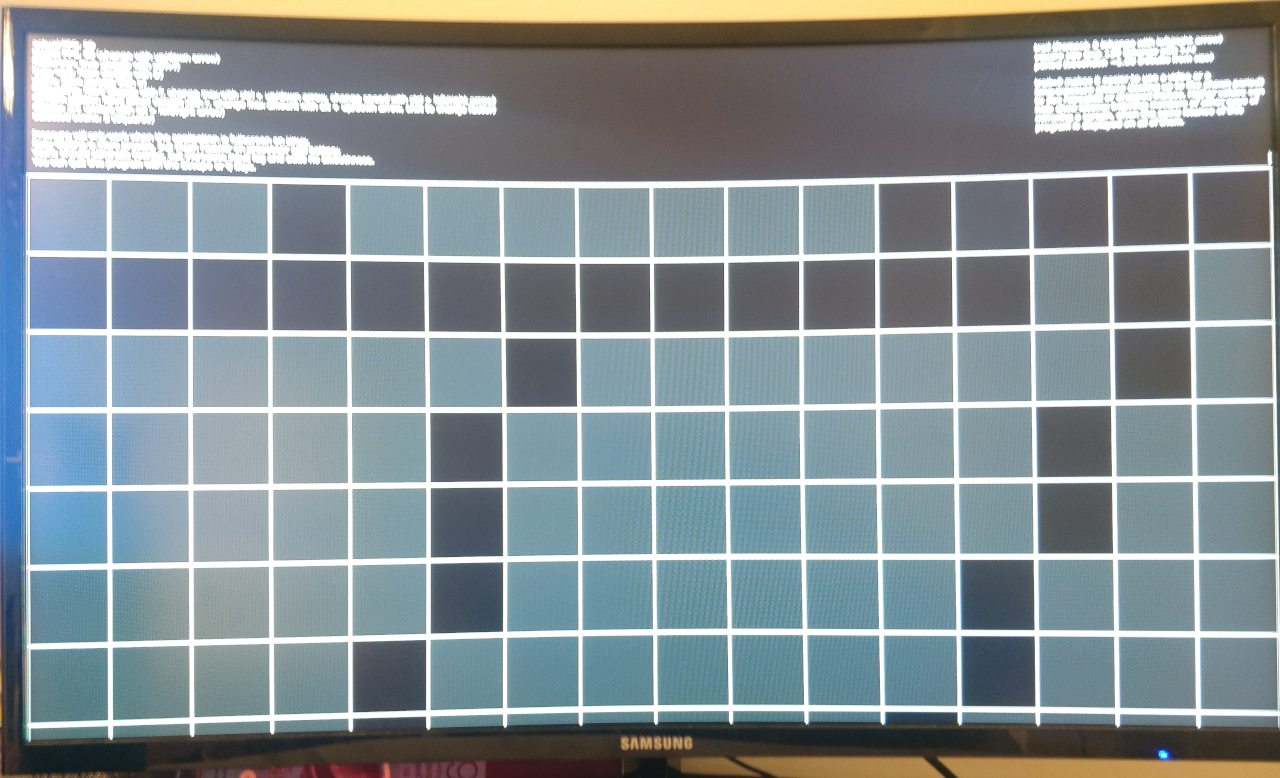
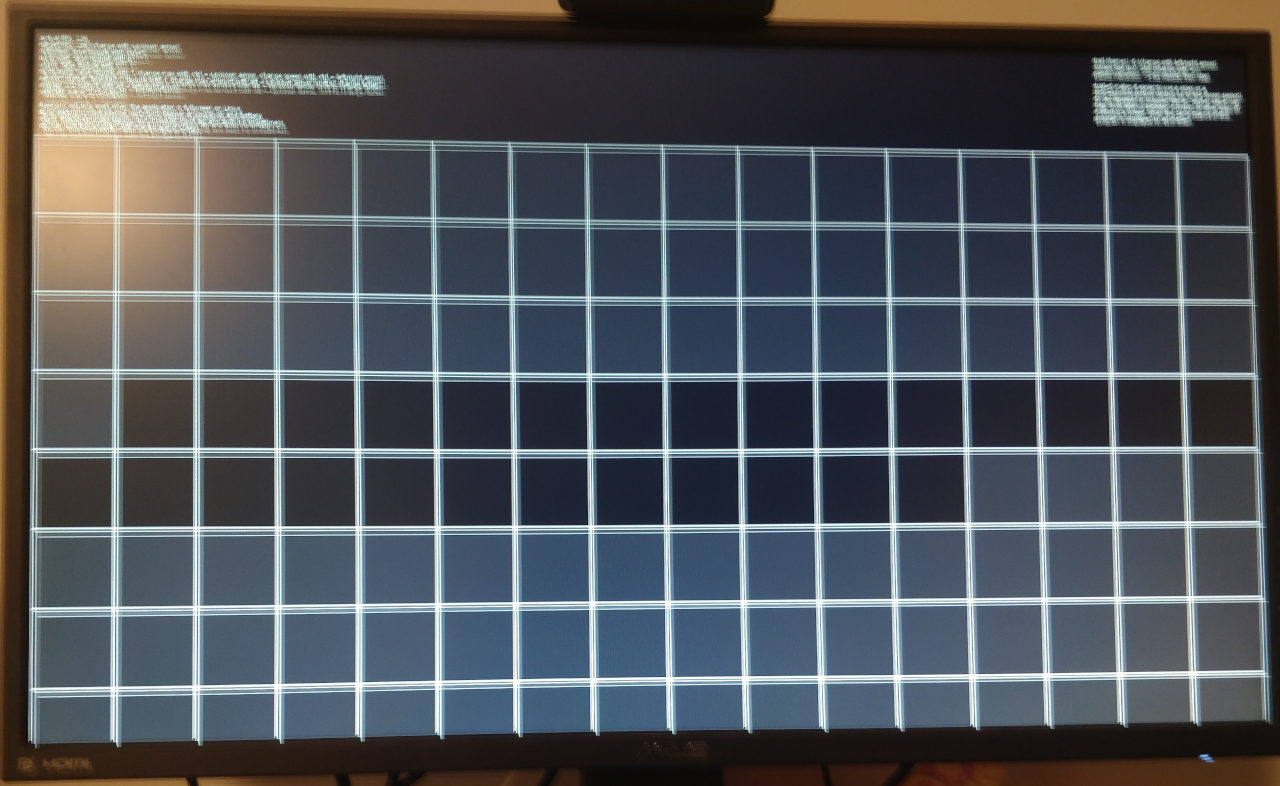
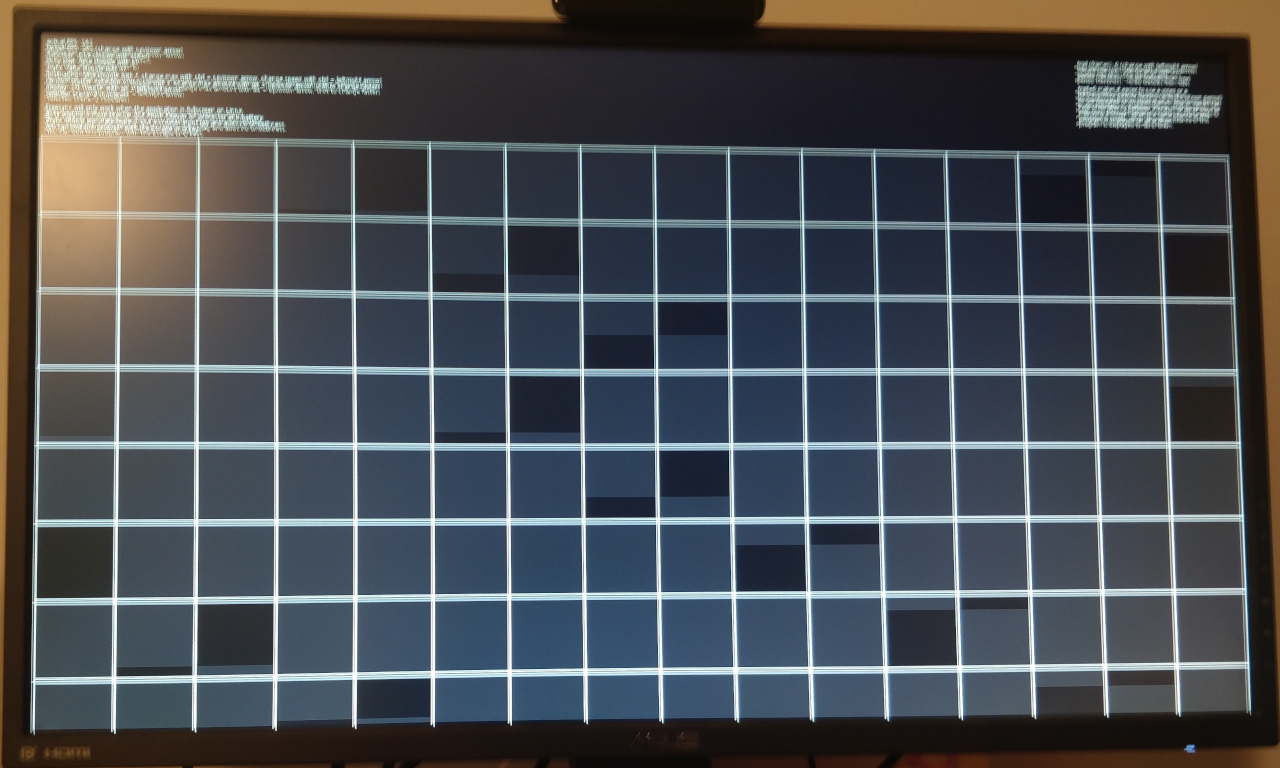
The second scene, Squares, adopts a higher-contrast color scheme (pure white on pure black) due to one of its functions. It displays a grid of squares, lighting up one (or more; see further) square per frame, each frame switching to the next one. The size of the squares can be changed by the user. Optionally, a trail can be set to light up more than one square per frame (or to have squares stay lit up for more than one frame; the end result is the same) to achieve two different functions:
- Having no trail and a very high contrast allows the user to easily take a video, to later check frame-by-frame, or a long-exposure picture (assuming your phone or camera can do it) to check for duplicate or dropped frames. The maximum exposure length is the tool’s period, which is displayed on the top-right. Examples of long-exposure pictures will be provided in the Screenshots section, even though they aren’t screenshots. Guess I might just call it «Screenshots and pictures».
- Having a trail might be useful if you need or want to check the latency difference of two mirrored monitors (or any other way to mirror a monitor, such as Looking Glass if, like me, you’re one of those VFIO people), taking a picture of this tool running on the mirrored monitors with a trail makes counting the difference in frames easier, by just counting how many squares ahead (or behind) each output is. Not sure why that is, though; it might just be me.
Additional controls are as follows:
- Left and right arrows will decrease or increase the trail length.
- + and — will increase or decrease, respectively, the size of the squares.
Screenshots and pictures
Some of these can’t be screenshots. I apologize in advance for the quality of the pictures I took, as I don’t own a camera or a tripod, both of which would prove useful in taking long-exposure pictures.
Scene 2 — Squares
About
A small utility I wrote to test variable refresh rate on Linux. Should work on all major OSes.
Источник
Announcement
AMD Posts Updated Mesa Patches For Variable Refresh Rate (FreeSync / Adaptive-Sync)
Phoronix: AMD Posts Updated Mesa Patches For Variable Refresh Rate (FreeSync / Adaptive-Sync)
Earlier this month AMD finally got back on track with issuing new patches for FreeSync / Adaptive-Sync / HDMI Variable Refresh Rate support now that there seems to be a consensus among the Linux DRM (Direct Rendering Manager) driver developers over what this API should look like so it can support the multiple technologies and drivers at play.
after looking the patches i have a question, why is freesync bad for WMs, video players and browsers?
btw, thanks to AMD for working on this, freesync on linux is one of the things i was missing
Comment
Freesync is by definition a screen event. the entire screen is updated. So when you change from basically the screen being the master to the application it really only works for one application at a time.
so if you have a desktop with multiple windows that is doing animations there is only one that can be the actual master. every one else goes from a predictable 60HZ into something random that they have no control over.
That is probably what they mean its not that its bad for wm’s or web it just that there really can only be one application that benefit and for all others its basically much worse than a predictable 60Hz update.
Comment
Comment
- Join Date: Oct 2015
- Posts: 1366
If you run a game in a window or fullscreen windowed mode (borderless) will freesync still work or does it need to be fullscreen apps only? I think proton runs everything in borderless mode and not true fullscreen so it will be interesting to test this out.
However I have a 1080Ti MINI but once AMD release a compatible faster card in a semi-sff then I’ll be all over it. Could be a LONG while!
Comment
- Join Date: Feb 2017
- Posts: 1133
Shouldn’t it work for compositors when their framerate is defined by the window with the highest fps anyway? It would just be required that the display supports LFC (low framerate compensation) well so that low fps (when compositors reduce framerate because nothing is going on) wouldn’t be a problem. This would even save power for notebook displays because higher refreshrate means higher power consumption.
You could also get rid of vsync buffer delay because the compositor could limit its framerate like a game.
Seems like full of win under the right circumstances, or not?
Comment
- Join Date: Oct 2007
- Posts: 12805
Comment
Comment
Freesync is by definition a screen event. the entire screen is updated. So when you change from basically the screen being the master to the application it really only works for one application at a time.
so if you have a desktop with multiple windows that is doing animations there is only one that can be the actual master. every one else goes from a predictable 60HZ into something random that they have no control over.
That is probably what they mean its not that its bad for wm’s or web it just that there really can only be one application that benefit and for all others its basically much worse than a predictable 60Hz update.
Ideally your compositor should find a refresh rate that is useful for all displayed windows by finding everyone’s Least Common Multiple.
For 24, 30 and 60 that is 120 Hz: 24*5, 30*4 and 60*2. 144 Hz is nice for full-screen games but 120 Hz is perfect for most desktop uses.
Yes I know 30 Hz video is really 29.97 Hz. I don’t know anyone who notices if you drag it up to 30 Hz as long as the audio stays in sync. Or you could run the desktop at 119.88 Hz.
Источник


