- Как сделать установочный DVD или USB диск с Mountain Lion
- Первый способ (самый простой): Lion Disk Maker
- Второй способ: встроенная утилита для записи дисков
- Как создать загрузочную USB-флешку с OS X Lion. Инструкция
- Как записать OS X Lion на флешку
- Vertex Lion Dual USB Drivers
- Download Vertex Lion Dual USB Driver
- Vertex Lion Dual CDC Driver for Flashing Firmware
- Vertex Lion Dual VCOM Driver for Flashing Firmware
- Vertex Lion Dual USB Driver for normal connecting to PC
- Vertex Lion Dual ADB and Fastboot Drivers
- How to Install Vertex Lion Dual CDC Drivers
- How to Install Vertex Lion Dual VCOM Drivers
- How to Install Vertex Lion Dual USB Drivers Manually
- How to Install Vertex Lion Dual ADB and Fastboot Drivers
- How to Make a Bootable OS X 10.8 Mountain Lion USB Install Drive
- Download OS X Mountain Lion and Extract the DMG File
- Make the OS X Mountain Lion Install Drive
- Make a Bootable Mac OS X 10.7 Lion Installer from a USB Flash Drive
- How to Create a Bootable Mac OS X Lion Installation USB Drive
Как сделать установочный DVD или USB диск с Mountain Lion
После покупки в AppStore OS X Mountain Lion и дальнейшей ее установки, установочный файл пропадает из папки Программы [Applications]. Но иметь под рукой диск для переустановки ОС очень полезно.
Чтобы установочный файл остался у вас для записи на диск или USB есть два варианта:
- Удерживая клавишу Option, нажать на кнопку покупки в AppStore обновления повторно;
- Восстановить установочный файл из резервной копии Time Machine.
Для экономии времени, конечно, все это лучше делать перед обновлением операционной системы.
Первый способ (самый простой): Lion Disk Maker
Lion Disk Maker является условно бесплатной программой с возможным «пожертвованием» разработчику, нужна версия v2.0rc2. Помимо программы понадобятся:
- USB/Firewire флэш-накопитель на 8 Гб (подойдет и SD карта)
- Для записи на оптический диск понадобиться как минимум двухслойный DVD (однослойного точно не хватит!).
Обратите внимание, что программа при создании загрузочного диска удалит все данные с USB накопитиля или SD карты.
Lion Disk Maker сама найдет на Mac установочный файл в папке Программы [Applications], eй нужно указать только медиа-носитель, который будет использовать для записи.
Второй способ: встроенная утилита для записи дисков
- Скачать установочный файл из AppStore, как описано выше, не устанавливая его.
- Зайти в папку Программы [Applications], кликая правой кнопкой мыши по установочному файлу, в меню выбрать [Show Package Contents]. Далее в [Contents/SharedSupport] найти файл InstallESD.dmg.
- Открыть Disk Utility из Программы/Утилиты [Applications/Utilities] и перетащить dmg-файл в боковую панель слева.
- Если запись будет на DVD, то вставить диск, выбрать dmg-файл на боковой панели и нажать кнопку «Запись». Перейти сразу к шагу 6.
- Если запись будет на USB-носитель, его необходимо правильно отформатировать:
- Вставить USB и выбрать его в боковой панели в Disk Utility. Затем выбрать [1 Partition] из выпадающего меню при клике правой кнопкой мыши на нем и выбрать [Mac OS Extended (Journaled)].
- Нажать кнопку [Options] и выбрать [GUID Partition Table], это позволит сделать накопитель загрузочным и отформатировать для Mac.
- Нажать [Apply] для форматирования (все данные с USB будут удалены!).
- Далее перейти на вкладку [Restore] и выбрать dmg-файл в качестве источника, а USB в качестве пункта назначения. Нажать [Apply].
Наконец, для загрузки и установки Mountain Lion с DVD/USB перезагрузить Mac и удерживать нажатой клавишу [Option], когда вы услышите звуковой сигнал запуска системы.
Как создать загрузочную USB-флешку с OS X Lion. Инструкция
Вчера Apple распространила свою новую операционную систему OS X Lion. При этом единственный способ получить заветный апдейт для мака была загрузка системы из онлайн-магазина Mac App Store. Решение компании переключиться на цифровую дистрибуцию ПО вызвало ряд негативных отзывов, поскольку при наличии нескольких маков пользователь вынужден скачивать из Интернета 4-гигабайтный образ на каждом из своих компьютеров. Решить эту проблему поможет инструкция по созданию загрузочных флешек с OS X Lion.
Для этого потребуется:
- Доступ к Mac App Store с активным Apple ID для покупки OS X Lion;
- Пустой USB-флеш-накопитель на 4 Гб, рекомендуемый объем – 8 Гб.
Если все готово, вы можете приступать к делу.
Как записать OS X Lion на флешку
Шаг 1: Скачайте лицензионную копию OS X Lion из Mac App Store.
Шаг 2: После загрузки найдите инсталлятор «Льва», сделайте по нему правый клик, команда «Показать содержимое пакета».
Шаг 3: Откройте папку «Contents» и найдите внутри «Shared Support», далее файл InstallESD.dmg.
Шаг 4: Скопируйте InstallESD.dmg на рабочий стол.
Шаг 5: Вставьте USB-флешку в Mac и откройте Дисковую утилиту.
Шаг 6: Перетяните файл InstallESD.dmg с рабочего стола в левую панель программы. Выберите свою флешку слева и вкладку Раздел диска – справа.
Шаг 7: Укажите пункт «Раздел 1» в выпадающем меню Схема разделов, справа – формат «Mac OS Extended (журнальный)».
Шаг 8: Теперь щелкните внизу кнопку Параметры. Сделайте клик по опции Схема разделов GUID и подтвердите выбор. Нажмите Применить в правом нижнем углу программы. Дисковая утилита начнет форматирование USB-накопителя.
Шаг 9: После завершения процедуры перейдите на вкладку Восстановить.
Шаг 10: В поле источник выберите файл InstallESD.dmg, в строке назначение – USB-флешку. Нажмите кнопку Восстановить, введя пароль администратора.
Шаг 11: Перезагрузите ваш Mac с установленной флешкой, удерживая на клавиатуре Alt.
Шаг 12: Можете приступать к установке OS X Lion!
OS X Lion – это большой апгрейд для операционной системы Snow Leopard на уровне функционала и возможностей. Обновление включает более 250 новых функций, открывающих оригинальные способы взаимодействия с Mac.
Для перехода на новую ОС владельцам ранних маков нужно сначала инсталлировать Mac OS X Snow Leopard и только затем делать апгрейд до Lion. Счастливые обладатели компьютеров 2011 года получили возможность удаленного восстановления ОС через Интернет.
Если у вас нет подходящей USB-флешки, запишите OS X Lion на DVD-диск по инструкции, опубликованной здесь. Ярые фанаты Apple могут дождаться официальных установочных USB-накопителей с OS X Lion стоимостью 69 долларов.
Vertex Lion Dual USB Drivers
Vertex Lion Dual phone charging but not connecting to PC? Vertex Lion Dual phone not showing up on PC? Maybe it is because of missing Vertex Lion Dual USB drivers or bad or corrupt drivers. To fix the Vertex Lion Dual phone won’t connect to a computer problem, download Vertex Lion Dual USB Driver and install it on your computer.
Vertex USB Drivers are essential to connect Vertex Lion Dual to a computer or laptop via USB cable. If you’re looking for Vertex Lion Dual USB Driver for Windows 10, Windows 7, Windows 8.1, and Windows 8, then you can download them from the downloads section below. On this page, we have shared the official USB Driver for Vertex Lion Dual along with ADB interface drivers and Fastboot drivers.
The Vertex Lion Dual Android USB driver helps connect your phone as an MTP USB device (Media Transfer Protocol) and transfer images, videos, documents, and other files to and from phone to computer or laptop. If you’re facing an android file transfer not working issue, it is recommended to install Vertex Lion Dual drivers to fix the problem.
On the other hand, the Vertex Lion Dual ADB driver and Fastboot driver allows you to pass ADB commands and Fastboot commands to perform certain operations on your phone right from your computer.
Table of Contents
Download Vertex Lion Dual USB Driver
The Vertex mobile drivers offered here can be used to flash stock firmware, stock recovery, TWRP recovery, CWM Recovery, Unlocking Bootloader, etc. They can also be used for general purposes like transferring media, documents, and other data to and from mobile phone to computer.
Vertex Lion Dual CDC Driver for Flashing Firmware
How to install: Follow Tutorial
Vertex Lion Dual VCOM Driver for Flashing Firmware
How to install: Follow Tutorial
Vertex Lion Dual USB Driver for normal connecting to PC
How to install: Follow Tutorial
The Vertex Lion Dual Fastboot and ADB drivers can be downloaded below.
Vertex Lion Dual ADB and Fastboot Drivers
How to install: Follow Tutorial
[!] Note: If you face Driver Signature Error while installing the USB Driver, then watch this video to fix the problem.
How to Install Vertex Lion Dual CDC Drivers
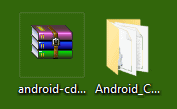
- Download and extract the latest Android CDC Driver (android-cdc-driver.zip) file to Desktop on your computer.

How to Install Vertex Lion Dual VCOM Drivers
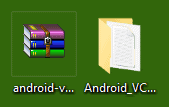
- Download and extract the latest Google Android VCOM Driver (android-vcom-driver.zip) on your computer.
- Launch Device Manager on your computer by right-clicking Windows Start Button and selecting Device Manager.
How to Install Vertex Lion Dual USB Drivers Manually
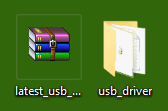
- Download and extract the latest_usb_driver_windows.zip package on your computer.
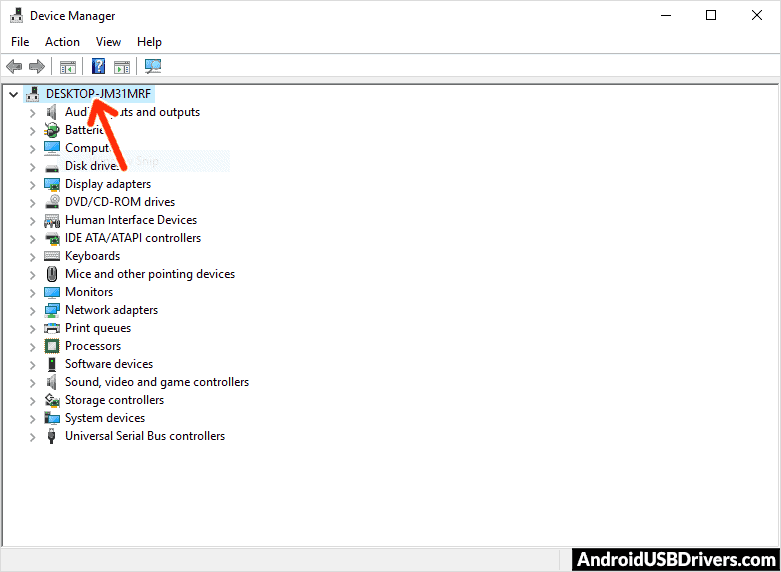
- Open the Device Manager on your computer by right-clicking Windows Start Button and selecting Device Manager.
- Once the Device Manager window opens, click on your Computer name.
How to Install Vertex Lion Dual ADB and Fastboot Drivers
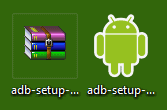
- Download and extract 15 seconds ADB installer on your computer to obtain the adb-setup.exe file.
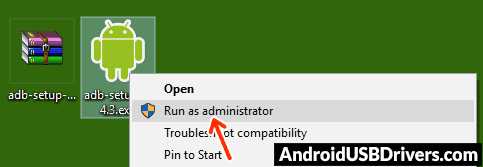
- Now right click on the adb driver installer setup file and click on Run as administrator.
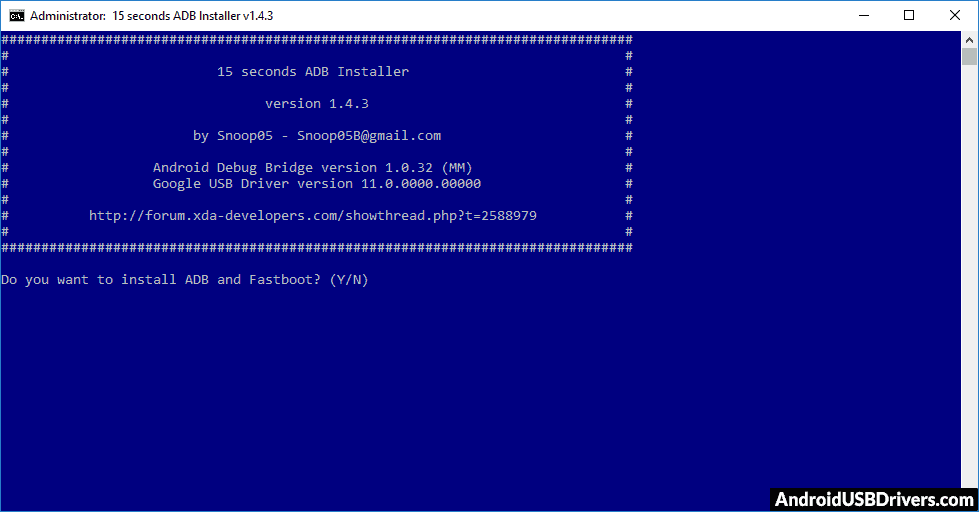
- Now you’ll see a command prompt window with a blue background and white text.
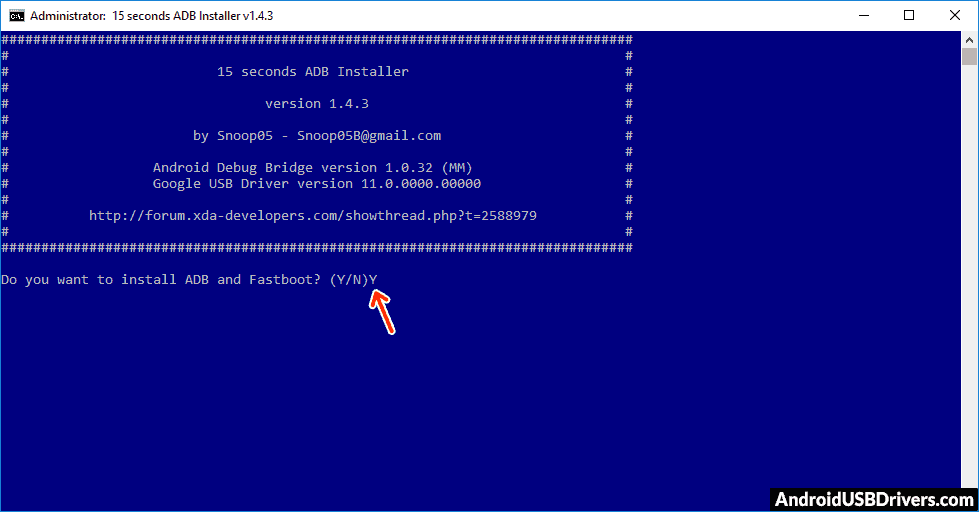
- It should say, Do you want to install ADB and Fastboot? Press the Y key on your keyboard and hit Enter.
Important Notes:
[*] Driver Signature Error: If you got Driver Signature Error While installing the Driver then See this Video to fix this problem.
[*] Broken link: Report here.
[*] Have we missed any device model? Let us know by contacting us via Contact Us page.
How to Make a Bootable OS X 10.8 Mountain Lion USB Install Drive

OS X 10.8 Mountain Lion will be offered exclusively through the App Store, familiar territory for Apple since OS X Lion was provided the same way. Thankfully it’s still possible to create a bootable OS X 10.8 Mountain Lion installer from any USB drive, be it a flash key or external hard drive.
By creating a bootable install drive, you can perform clean OS X 10.8 installs, install it on separate partitions, and install OS X Mountain Lion on Macs that don’t have internet connections. We’ll walk through the process here, but don’t forget to check OS X 10.8 system requirements for the destination Mac before beginning.
If you already have the Mac OS X Mountain Lion install DMG extracted, skip this first set of steps and jump directly to making the bootable drive below.
Download OS X Mountain Lion and Extract the DMG File
- Download OS X 10.8 Mountain Lion from the App Store
- Go to the /Applications/ directory and right-click on “Install Mac OS X Mountain Lion.app” selecting “Show Package Contents”
- Open the “Contents” directory and then open “SharedSupport”, looking for a file named “InstallESD.dmg”
- Double-click on InstallESD.dmg to mount it on the desktop
Make the OS X Mountain Lion Install Drive
- Launch Disk utility and connect a USB drive to the Mac
- Select the USB drive from the left menu and click on “Erase” tab, choose “Mac OS X Extended (Journaled)” as the format, then click on the “Erase” button in the corner
Disk Utility will now create a bootable OS X Mountain Lion installer drive out of USB drive using the disk image, this can take a little while depending on how fast the drive and Mac are but 20-30 minutes isn’t unusual.
When finished, reboot the Mac and hold down the Option key to bring up the boot menu:
Select the orange “Mac OS X” option and you will boot into the OS X Mountain Lion installer, from here installation is the same as normal. Click on Continue, select the destination drive, and install.
Make a Bootable Mac OS X 10.7 Lion Installer from a USB Flash Drive
I’m going to walk through the process of making a bootable Mac OS X 10.7 Lion installation drive out of any USB flash drive key. This is similar to the process of making a bootable Lion installer DVD, but I prefer a USB flash drive because it’s faster, smaller, and I have a MacBook Air so an installation DVD isn’t too useful for me.
This is pretty easy to do, but I have made the walkthrough as simple as possible with plenty of screenshots, so just follow along the instructions.
Requirements:
- A Mac with Mac OS X 10.6.8 so you can download and access Lion
- 8GB+ USB flash key drive, these are cheap and ubiquitous on Amazon.com
- Download Mac OS X Lion from the Mac App Store ($29.99)
Got all that? Good, let’s proceed.
How to Create a Bootable Mac OS X Lion Installation USB Drive
We’re going to assume you already have Mac OS X Lion downloaded from the App Store, if you don’t, do that first. If you have anything stored on the USB flash drive you’re going to lose it, so be prepared for that and back it up.
First we are going to locate the Lion InstallESD.dmg file and mount it:
- Navigate to your applications folder
- Right-click (or control-click) on the “Install Mac OS X Lion.app” and select “Show Package Contents”
- Open the “Contents” directory and then go into “SharedSupport”
- Double-click on “InstallESD.dmg” to mount the Lion disk image onto your Mac desktop, it will show up like the image below
Next, we format the USB flash drive, this will become the bootable Lion installer:
- Plug the USB flash drive into your Mac
- Launch Disk Utility
- Select your USB drive from the left side of Disk Utility, then click on the “Erase” tab
- Choose “Mac OS Extended (Journaled)” as the Format, and name the USB key what you want
- Click on “Erase” to format the USB drive
Now that the USB flash drive has been formatted to the appropriate filesystem, we are going to restore the previously mounted InstallESD.dmg file to the blank USB drive.
- Right-click on the USB drive in Disk Utility and select “Restore”
- Drag the formatted USB key to the “Destination” and check “Erase destination”
- Be sure you have the right things in the right places, you don’t want to format the wrong drive – then click on “Restore”
Now you wait while the Lion DMG is restored to the USB drive, this can take a while and you’ll see a screen like this:
When this is finished, your bootable Mac OS X Lion installer drive is complete! You can now boot any Lion compatible Mac with the USB drive, just plug the USB key in, hold down Option during initial boot, and select the drive. Here’s what you’ll see upon booting with the drive connected:
From here you can format, restore from backups, or reinstall Lion. If you’re wondering about the other drives pictured, it’s because I am dual booting Lion and Snow Leopard, and “Recovery HD” is the small recovery partition that Lion installs on its own. This process should work with a standard external USB hard drive too, but I have not tried that specifically.
Advantages to making a bootable Lion USB drive:
- You can perform a clean OS X Lion install with the USB drive
- The Lion USB key drive becomes a recovery disk with access to Disk Utility, re-installation, access Time Machine backups, and everything the Recovery HD partition does
- You will have external media to recover and reinstall Lion in the event of total drive failure or some other catastrophe


