- Изменение приветственного окна в Windows 10
- Способ 1: Lock Screen Customizer
- Способ 2: Win 10 BG Changer
- Способ 3: Параметры персонализации в Windows 10
- How to customize the Lock screen on Windows 10
- How to customize background in the Lock screen
- Using Windows Spotlight
- Using a single image
- Using image collection
- How to customize apps notifications in the Lock screen
- Setting app detailed status
- Setting apps quick status
- How to disable the Lock screen background in the sign-in screen
- How to allow Cortana above the Lock screen
- How to set screen timeout in the Lock screen
- More Windows 10 resources
- Microsoft’s Surface Duo is not ‘failing up’
- Here’s what you can do if Windows 10 update KB5001330 is causing issues
- Review: NZXT made its first AMD motherboard and it’s brilliant
- These are the best PC sticks when you’re on the move
Изменение приветственного окна в Windows 10
Приветственное окно в Windows 10 появляется каждый раз при загрузке операционной системы, даже если настроен автоматический вход. Сейчас фоном для этого окна по умолчанию устанавливаются фото от Майкрософт, где присутствуют описания видов или местности, где были сделаны такие кадры. Однако не всем пользователям это нравится, из-за чего возникает надобность изменения фона. Сегодня мы детально разберем три разных метода осуществления поставленной задачи.
Способ 1: Lock Screen Customizer
Сначала хотим рассказать о сторонних приложениях, позволяющих настроить экран блокировки, поскольку они предлагают пользователю значительно больше функций, нежели стандартное меню персонализации. Первой на очереди выступает программа под названием Lock Screen Customizer, которая была создана известным разработчиком, основавшим сайт Winaero. Распространяется этот инструмент бесплатно, а взаимодействие с ним происходит следующим образом:
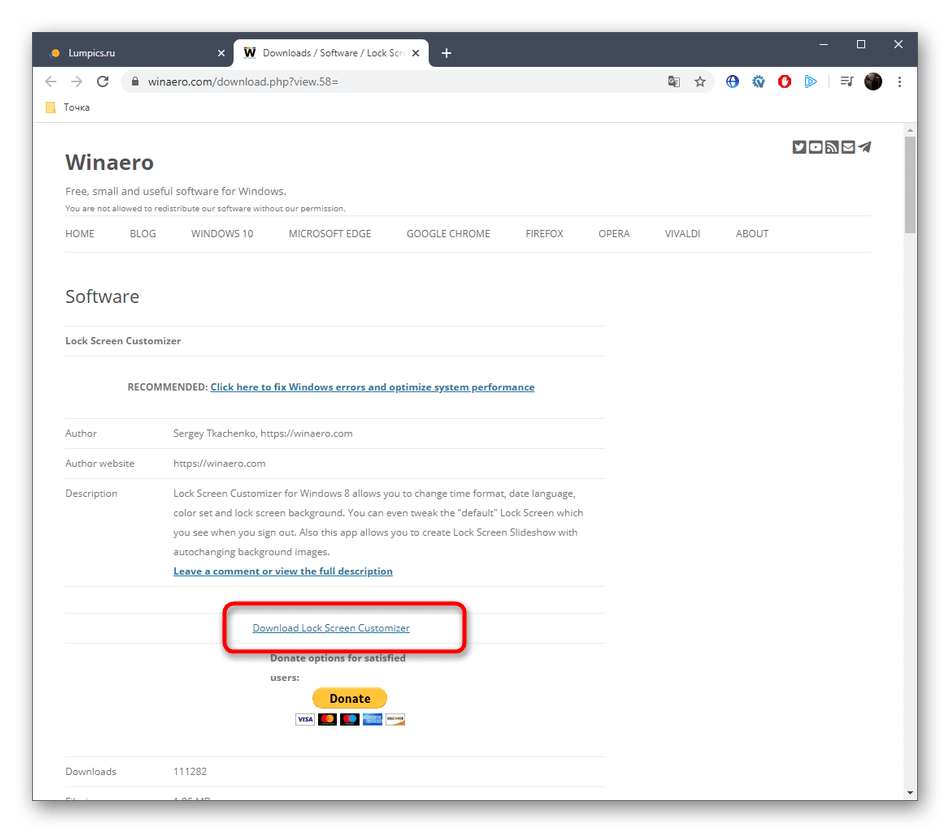
- Перейдите на официальную страницу программного обеспечения, кликнув по ссылке выше, и найдите там строку «Download Lock Screen Customizer». Нажмите по ней, чтобы начать загрузку.
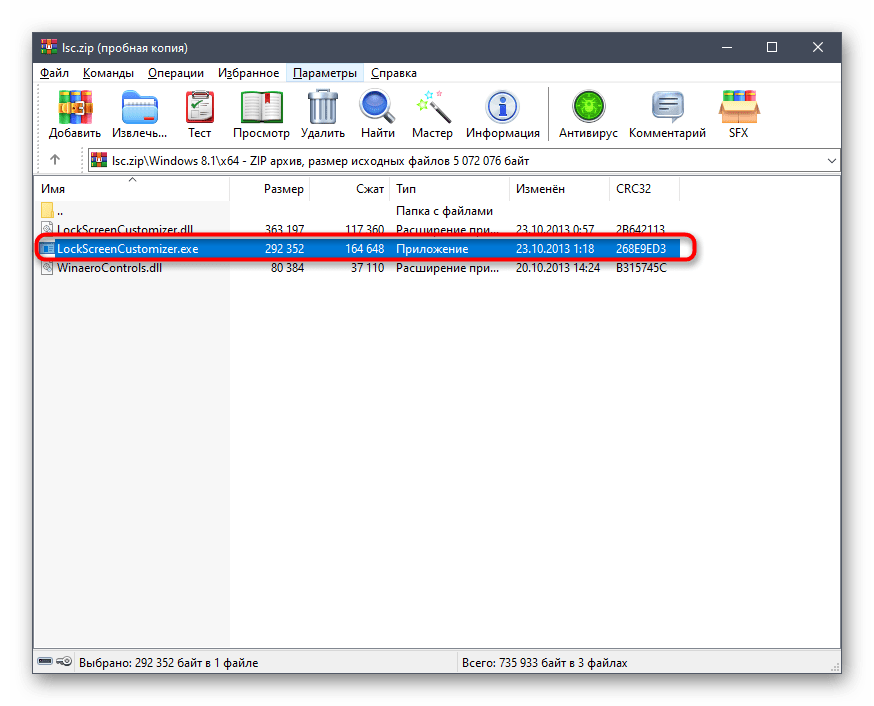
По завершении скачивания откройте полученную директорию через любой архиватор и запустите Lock Screen Customizer через находящийся там исполняемый файл.
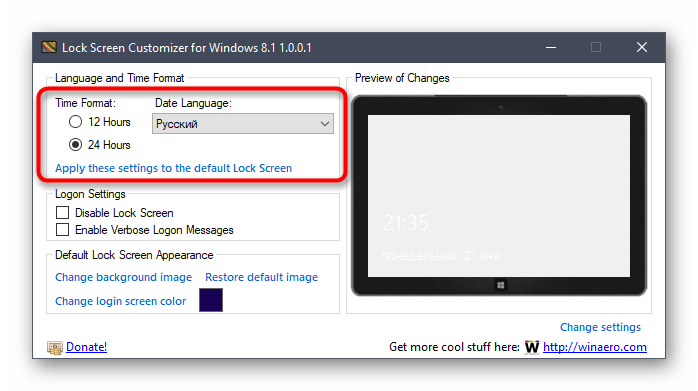
Инсталляцию софта производить не придется, поскольку он функционирует в портативном режиме. Сразу же откроется его главное окно, где вы можете настроить стандартные параметры экрана блокировки: язык отображения даты и формат времени.
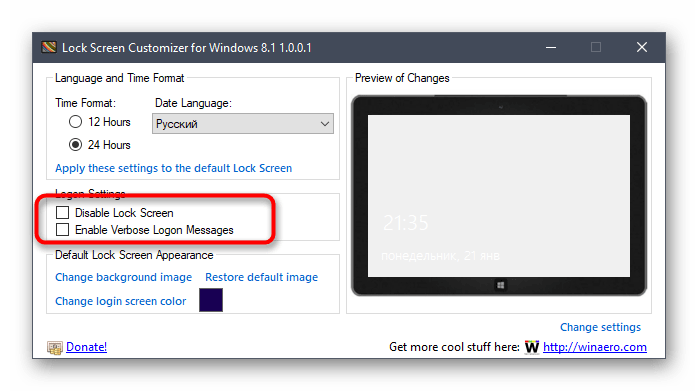
Теперь приступим к выбору фонового изображения. Если вы хотите поместить в качестве него свою картинку, нажмите по строке «Change background image».

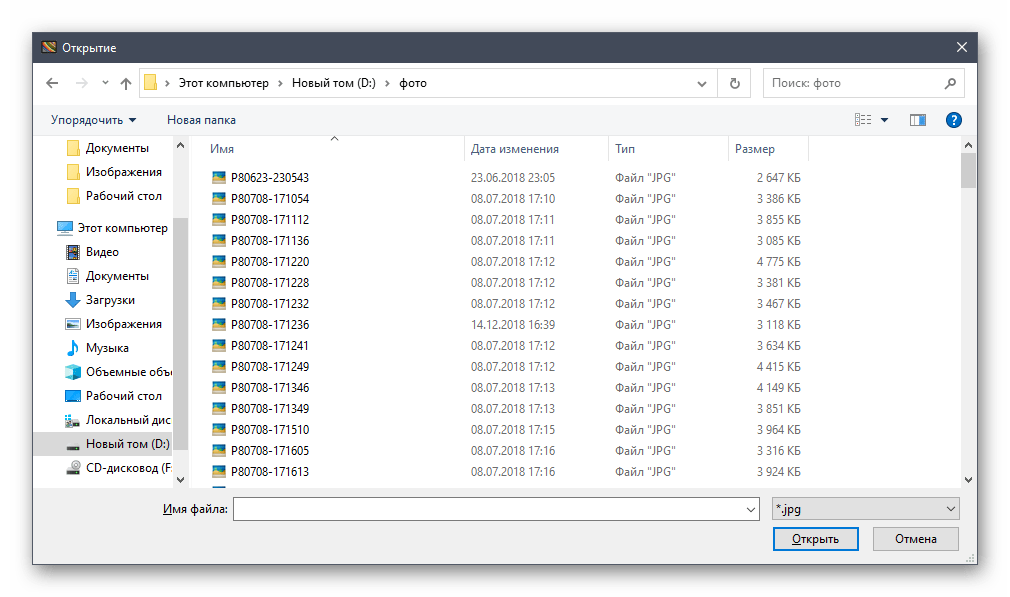
В открывшемся окне Проводника выберите изображение и нажмите на «Открыть». При надобности позволяется отказаться от кастомного изображения и просто задать статичный цвет или вернуть настройки по умолчанию.
По окончании конфигурации нажмите на «Change settings», чтобы применить новую настройку, но перед этим обязательно обратите внимание на окно предпросмотра, дабы убедиться в корректном отображении установленного изображения.

При следующем же входе в систему вы заметите, что новые настройки были применены. Если они вас не устраивают и появилось желание вернуть все к стандартному виду, повторно запустите Lock Screen Customizer и нажмите там по строке «Restore default image».
Способ 2: Win 10 BG Changer
Как альтернативу рассмотренной выше программе хотим порекомендовать Win 10 BG Changer. Это решение функционирует примерно по такому же принципу, а вся разница заключается лишь в оформлении интерфейса. Однако по определенным причинам Win 10 BG Changer может оказаться для некоторых пользователей лучше Lock Screen Customizer.
- У Win 10 BG Changer нет официального сайта, а сама программа обладает открытым исходным кодом, поэтому у нее имеется отдельная страница на GitHub, откуда и производится скачивание архива.
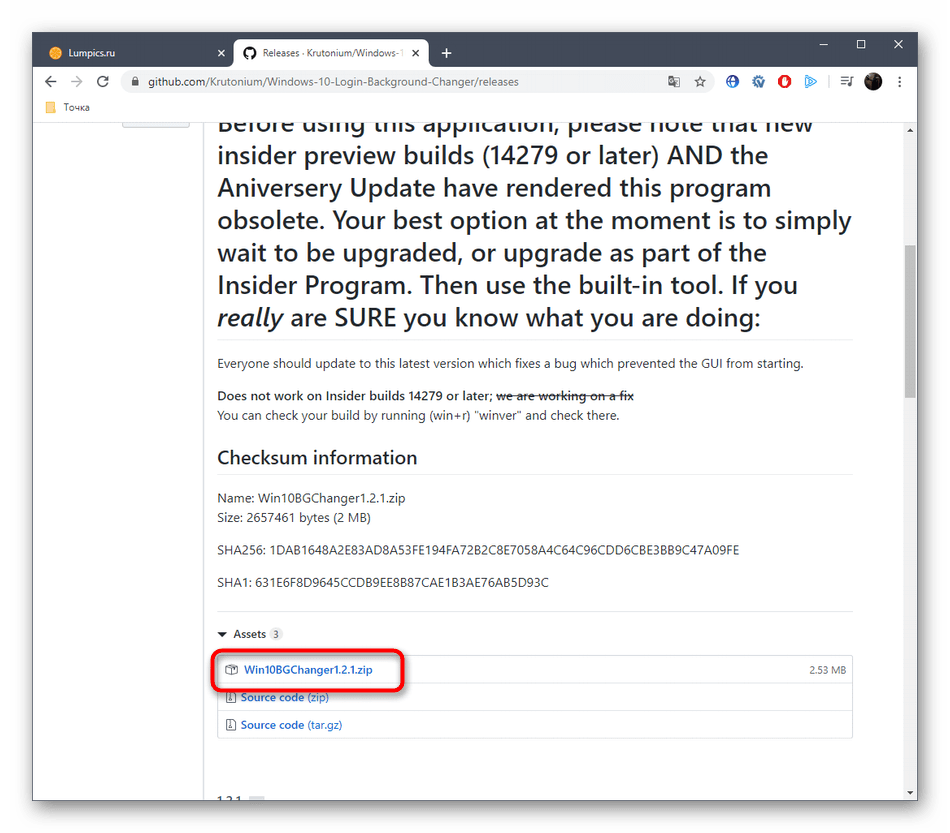
После скачивания запустите исполняемый файл прямо из архива. Устанавливать Win 10 BG Changer не придется, поскольку он представляет собой portable-версию.
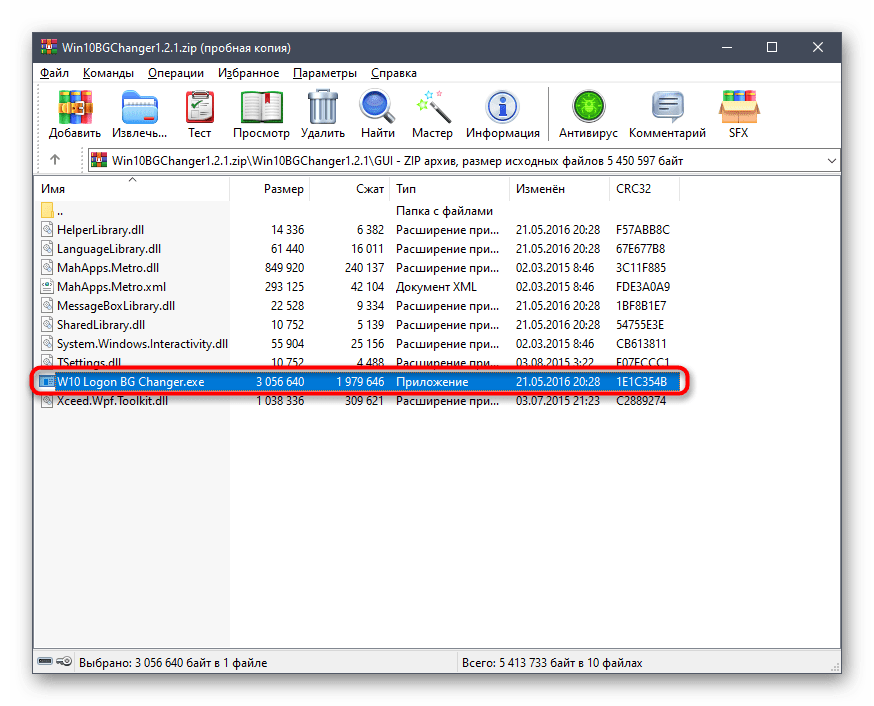
При запуске появится уведомление о том, что вся ответственность за проблемы с нестабильностью системы, связанные с изменением параметров, лежит только на вас. Подтвердите его, выбрав вариант «Yes», чтобы перейти к работе с Win 10 BG Changer.
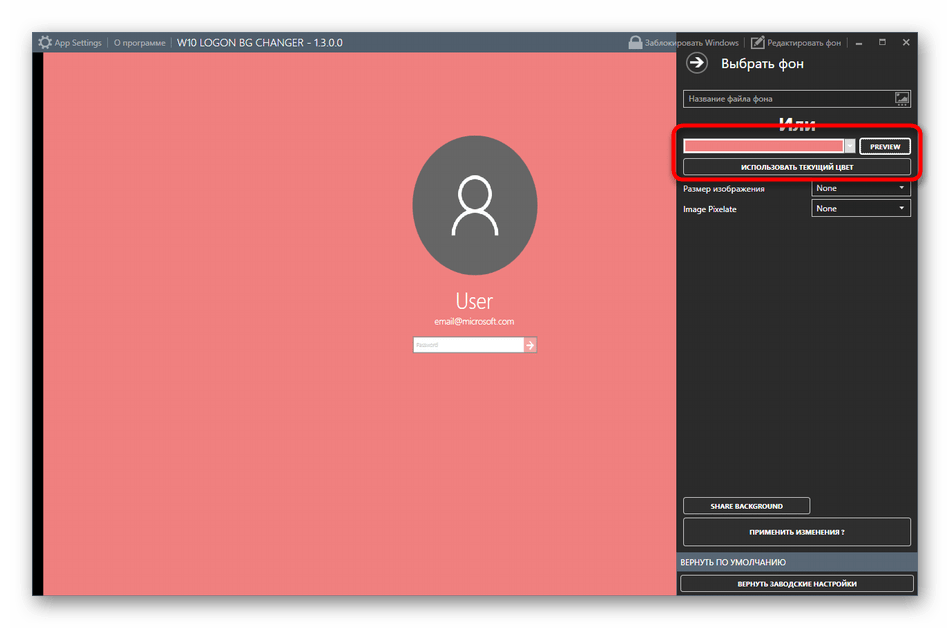
Здесь вы можете сразу же выбрать собственное изображение для фона, если это требуется.

Дополнительно обратите внимание на статичный цвет. Все изменения отображаются сразу же в окне предпросмотра, благодаря чему становится удобнее оценить качество передачи цветов.
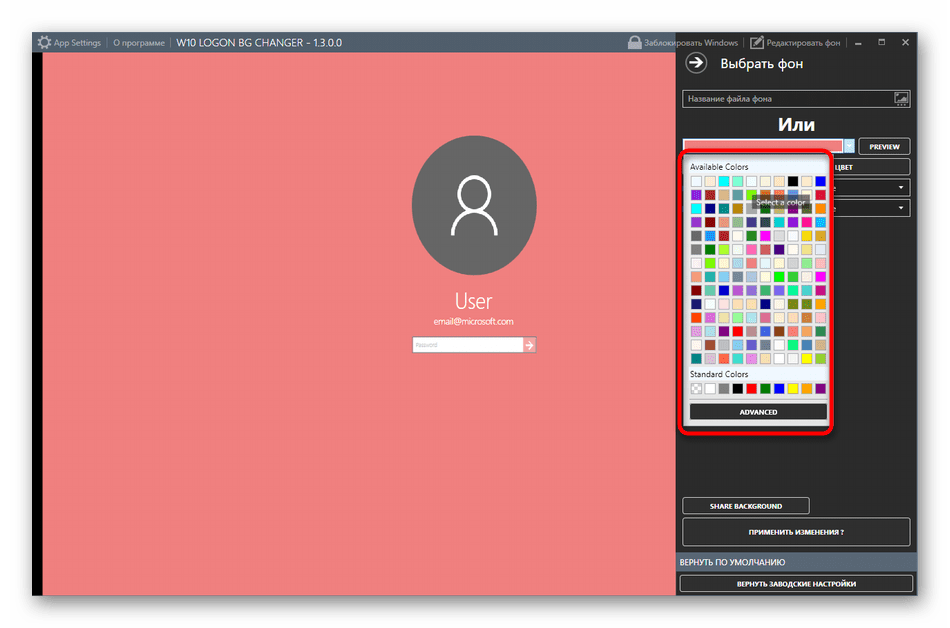
Палитра оттенков в Win 10 BG Changer огромная, поэтому абсолютно каждый пользователь найдет подходящий для себя вариант.
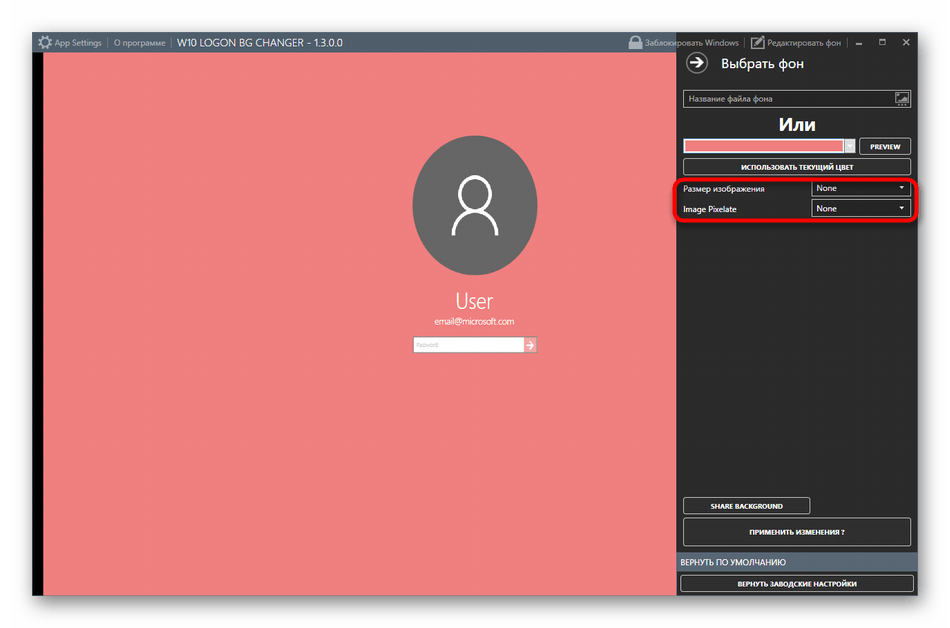
После этого доступно изменение параметров отображения картинки. Не забудьте настроить размер, чтобы оптимизировать разрешение в соответствии с используемым дисплеем.
Осталось только применить все изменения, кликнув по специально отведенной кнопке.
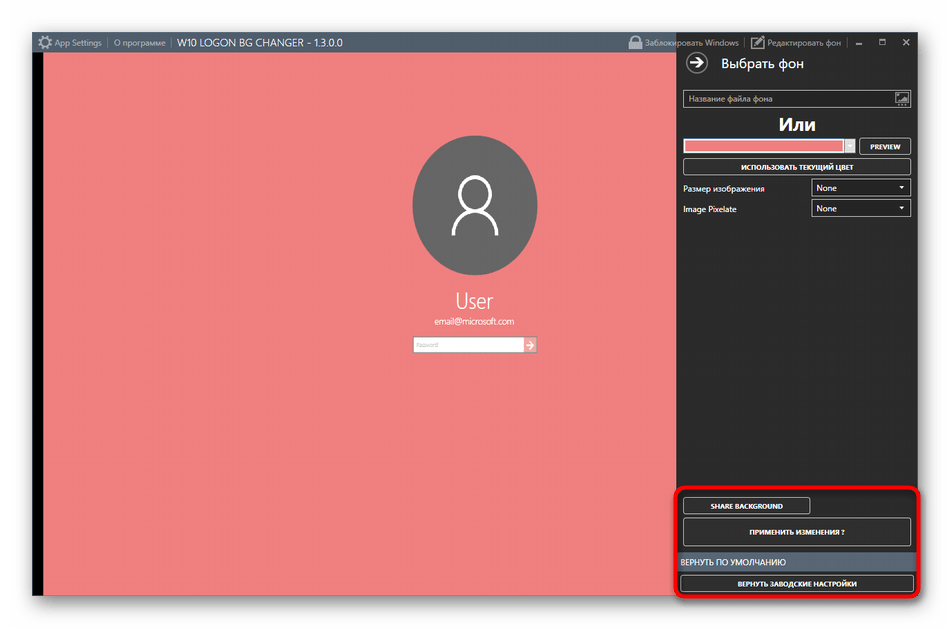
При необходимости вы в любой момент можете вернуть стандартные настройки. Для этого нужно запустить Win 10 BG Changer и выбрать там пункт «Вернуть заводские настройки». Как видно, ничего сложного в управлении приложением нет, поэтому разберется с поставленной задачей даже начинающий юзер.
Способ 3: Параметры персонализации в Windows 10
Теперь хотим поговорить о встроенном в операционную систему средстве, которое позволяет вручную задать настройки экрана блокировки без предварительного скачивания дополнительных программ. Для этого потребуется выполнить следующие действия:
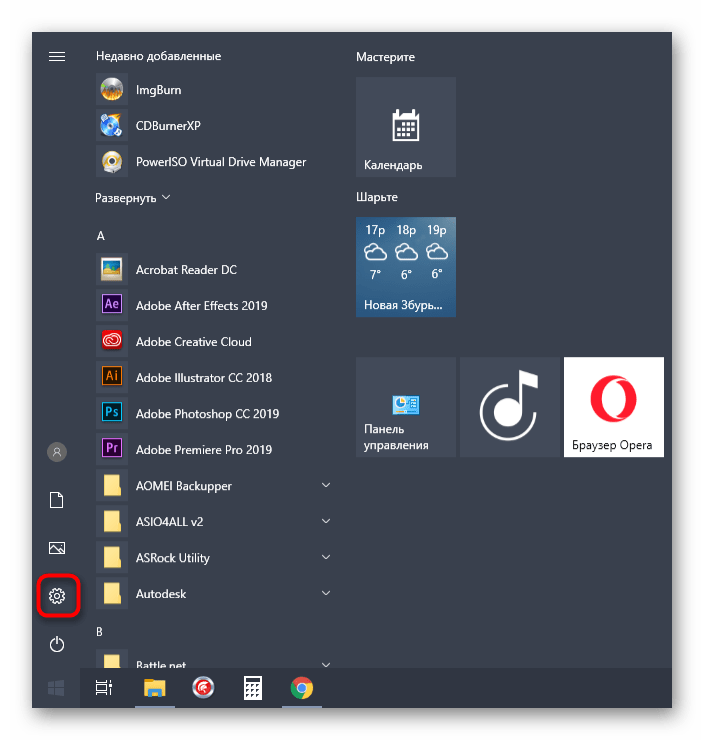
- Откройте «Пуск» и перейдите в меню «Параметры».
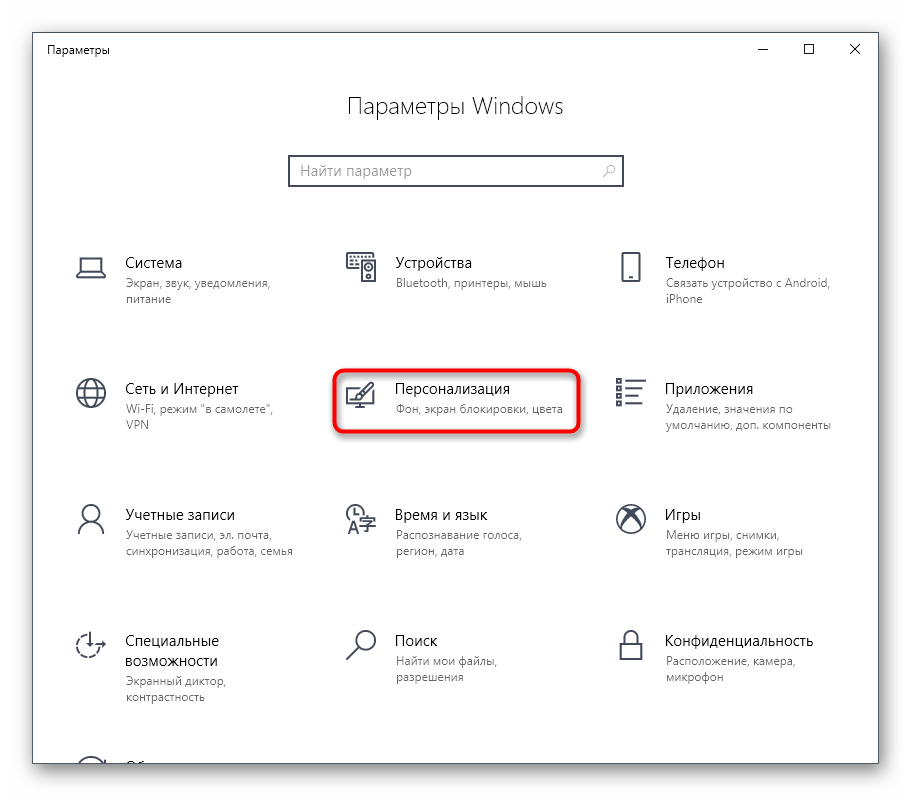
Здесь откройте раздел «Персонализация», выбрав соответствующую плитку.
Через левую панель переместитесь в «Экран блокировки».
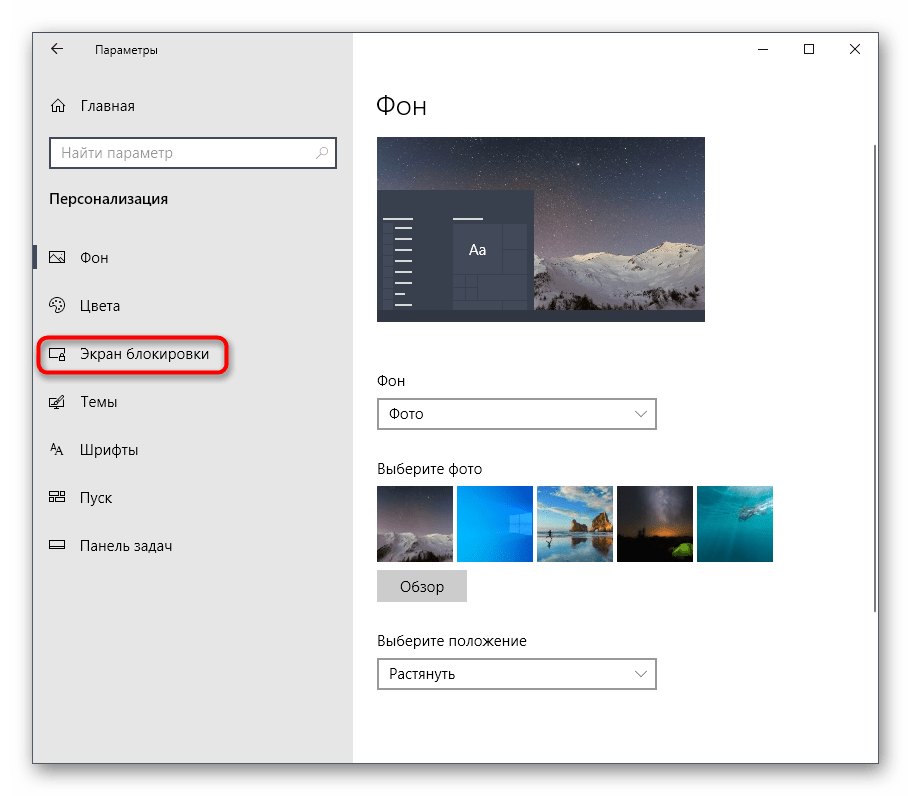
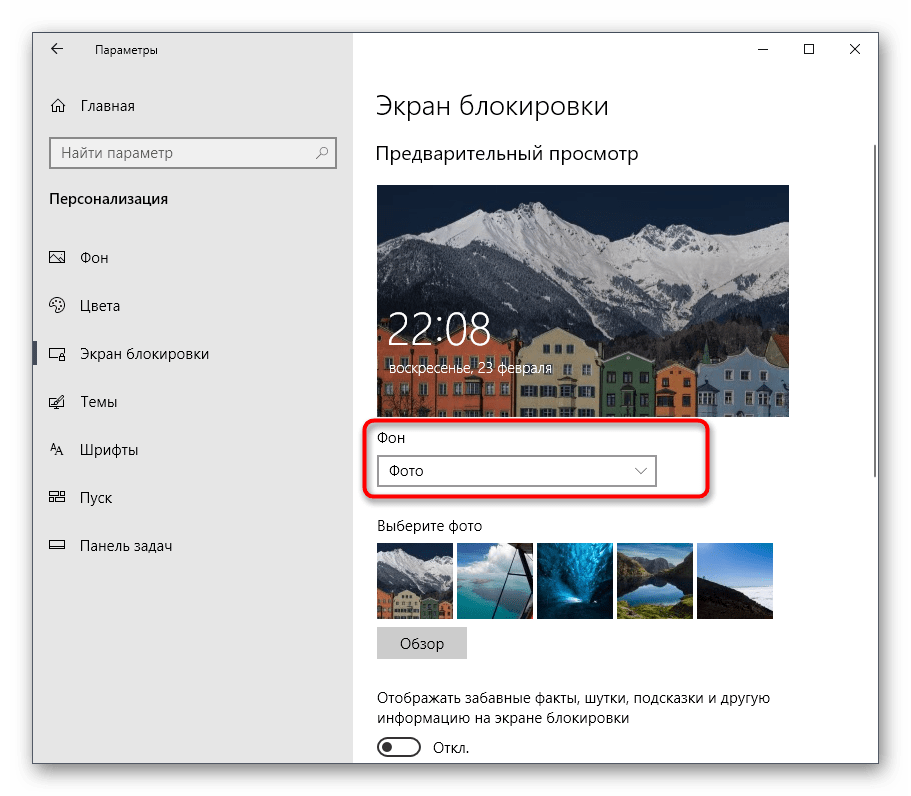
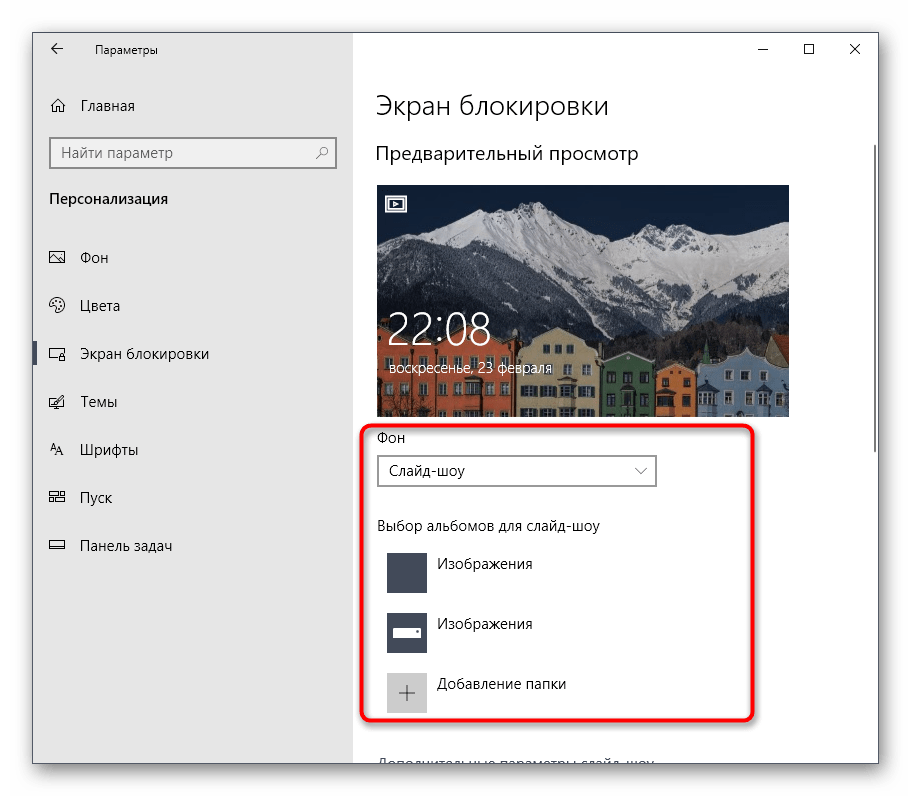
Фоном вы можете выбрать изображения от Microsoft, фото или слайд-шоу.
При выборе слайд-шоу предлагается самостоятельно добавить несколько изображений или даже целую папку.
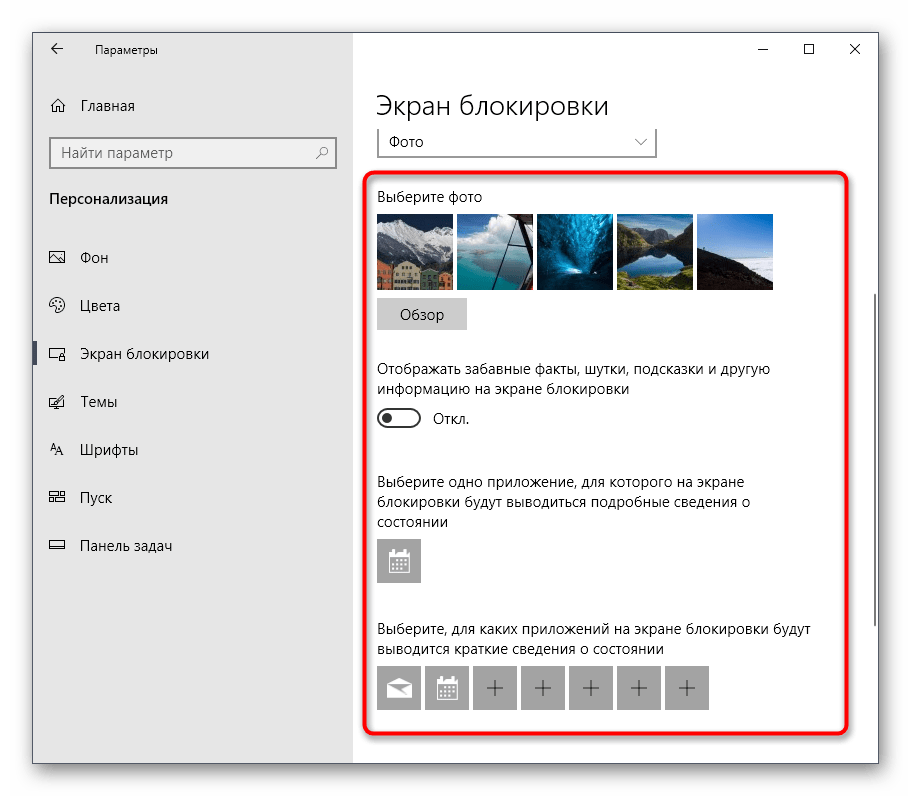
После этого просмотрите дополнительные параметры, где, например, доступен выбор одного приложения, о котором будут выводиться подробные сведения, а также другие инструменты с краткими сведениями.
При взаимодействии с рассмотренным только что окном вы могли заметить, что там присутствует еще множество параметров, связанных с персонализацией. Они не входят в тематику нашей сегодняшней статьи, однако если возникло желание более детально изучить их, ознакомьтесь с другим руководством на нашем сайте по этой теме, кликнув по расположенной далее ссылке.
Теперь вы знакомы с тремя различными методами изменения приветственного окна в Windows 10. Осталось только подобрать понравившийся метод и реализовать его, следуя нашим инструкциям.
How to customize the Lock screen on Windows 10

On Windows 10, the Lock screen is the experience that you always see before signing in to your account, and while it may seem like something unnecessary, it provides some useful functionalities, even before accessing the desktop.
For example, in the Lock screen, you can see the current date and time, show calendar events, and notifications from other apps. You can also interact with Cortana, showcase your favorite background images, personal pictures, and beautiful images from Bing using Windows Spotlight.
In this Windows 10 guide, we’ll walk you through the steps to customize and get the most out of the Lock screen experience.
How to customize background in the Lock screen
Windows 10 allows you to customize the look of the Lock screen using the Windows Spotlight service, a single picture, or you can even showcase a collection of images from one or multiple folders.
Using Windows Spotlight
Spotlight is a feature that connects with Bing to download and set new background images automatically to keep the experience fresh every time you have to sign in to Windows 10. You can enable the feature using these steps:
- Open Settings.
- Click on Personalization.
- Click on Lock screen.
Use the «Background» drop-down menu, and select the Windows Spotlight option.

Once you’ve completed the steps, the Lock screen will now include a new image every time that you sign in to your account.
If you’re having problems getting Spotlight to work, you can use this guide to troubleshoot and fix most common issues.
Using a single image
If you want to see always a particular image, you can customize the Lock screen to display a single image with these steps:
- Open Settings.
- Click on Personalization.
- Click on Lock screen.
- Use the «Background» drop-down menu, and select the Picture option.
Click the Browse button to locate the image you want to use.
In addition, you may want to turn off the Get fun facts, tips, and more from Windows and Cortana on your lock screen toggle switch to get a cleaner experience.
Using image collection
Alternatively, you can use the following steps to showcase a collection of images from one or multiple folders in the Lock screen:
- Open Settings.
- Click on Personalization.
- Click on Lock screen.
Use the «Background» drop-down menu, and select the Slideshow option.
Click the Add a folder button.
Quick Tip: Using this option, you can add one or more folders with images.
Click the Choose this folder button.
If you want to customize the experience further, click the Advanced slideshow settings option, and select enable or disable the options that you want to use while showing a collection of photos in the Lock screen, including:
- Include Camera Roll folders from this PC and OneDrive: In addition to the folders you selected, turning on this toggle switch, the Lock screen will also display images stored in your Camera Roll and OneDrive Camera Roll folders, which usually include the photos from your phone and other devices.
- Only use pictures that fit my screen: If you have multiple sizes of images in the folder, only those that will fit the screen will be displayed.
- When my PC is inactive, show lock screen instead of turning off the screen: This option is similar to setting up a screensaver on Windows 10. In addition, you can use the drop-down menu to specify when to turn off the screen after the slideshow played for a period of time.

Finally, you may also want to turn off the Get fun facts, tips, and more from Windows and Cortana on your lock screen toggle switch to get a cleaner experience.
How to customize apps notifications in the Lock screen
The Lock screen is also capable of showing notifications from apps. Using this feature, you can set a single app to display detailed notifications, and you can show quick notifications for multiple apps.
Setting app detailed status
To set an app to show detailed status, use these steps:
- Open Settings.
- Click on Personalization.
- Click on Lock screen.
Under «Choose an app to show detailed status» section, click the Plus (+) button to select the app you want to see more details in the Lock screen. (Using the None option will disable this feature.)
Once you’ve completed the steps, notifications with detailed information from the app that you specified will appear in the bottom-left corner of the Lock screen.
Setting apps quick status
To set one or more apps to show the number of unseen updates, use these steps:
- Open Settings.
- Click on Personalization.
- Click on Lock screen.
Under «Choose an app to show quick status» section, click the Plus (+) button to select the app you want to see more details in the Lock screen. (Using the None option removes the item from the experience.)
After completing the steps, in the bottom-left corner of the screen, you’ll see icons with badges letting you know the number of unseen updates for each application that you configured to appear in the Lock screen.
How to disable the Lock screen background in the sign-in screen
Using the Lock screen settings, you can even decide if the Sign-in screen uses the same background image as the Lock screen:
- Open Settings.
- Click on Personalization.
- Click on Lock screen.
Turn off the Show lock screen background picture on the sign-in screen toggle switch.
Once you’ve completed the steps, the sign-in screen will no longer include the same image as the Lock screen. Instead, it’ll show a solid color background from the current scheme configured in the Personalization settings.
How to allow Cortana above the Lock screen
If your device is equipped with a microphone, you can also use Cortana while in the Lock screen to query basic questions. Here’s how:
- Open Settings.
- Click on Personalization.
- Click on Lock screen.
Click the Cortana lock screen settings option.
Under the Lock screen section, turn on the Use Cortana even when my device is locked toggle switch.
After completing the steps, you can say the command «Hey Cortana» followed by your question, such as «How’s the weather?» to interact with the assistant in the Lock screen.
How to set screen timeout in the Lock screen
Also, if you always lock your device as you step out of the office using Dynamic lock or manually (Windows key + L), it’s also possible to set the time before the screen turns off automatically. Here’s how:
- Open Settings.
- Click on Personalization.
- Click on Lock screen.
Click the Screen timeout settings option.
Use the «Screen» drop-down menu to specify when your display should turn off when the device is plugged in.
Quick Tip: If you’re changing these settings on a laptop, you’ll also see the option to adjust the screen settings when your computer is running on battery.
Once you’ve completed the steps, the screen will turn off automatically after the device is not active for the amount of time you specified.
More Windows 10 resources
For more helpful articles, coverage, and answers to common questions about Windows 10, visit the following resources:
![]()
Microsoft’s Surface Duo is not ‘failing up’
Microsoft announced this week that it was expanding Surface Duo availability to nine new commercial markets. While Surface Duo is undoubtedly a work in progress, this is not a sign of a disaster. It’s also doesn’t mean that Surface Duo is selling a ton either. Instead, the reason for the expansion is a lot more straightforward.
![]()
Here’s what you can do if Windows 10 update KB5001330 is causing issues
In this guide, we’ll show you the steps to get rid of the update KB5001330 to fix profile, gaming, and BSoD problems with the Windows 10 October 2020 Update and May 2020 Update.
![]()
Review: NZXT made its first AMD motherboard and it’s brilliant
NZXT made its first motherboard with an AMD chipset. The N7 B550 supports the latest AMD Ryzen processors and there’s plenty to love about this platform. To differentiate the N7 B550, NZXT made notable changes to the layout of the motherboard to make it easy to create a clean PC build.
![]()
These are the best PC sticks when you’re on the move
Instant computer — just add a screen. That’s the general idea behind the ultra-portable PC, but it can be hard to know which one you want. Relax, we have you covered!


