- Как правильно настроить боковую панель Finder на Mac
- Как настроить боковую панель Finder на Mac
- Расставьте теги
- Расставьте элементы на боковой панели Finder
- Добавьте больше элементов на боковой панели Finder
- Заключение
- Как настроить Боковое меню Finder на Mac
- Настройка пунктов Бокового меню
- Настройка Тегов
- Добавление пунктов
- Get to know the Finder on your Mac
- Change how your files are displayed
- Use the sidebar in Finder windows
- Search for files
- Delete files
- Show or Hide the Mac Finder Window Sidebar
- Show & Hide the Mac Finder Sidebar with a Keystroke
- How to Show & Hide the Sidebar in Mac OS X Finder Manually
- How to Modify the Mac Finder Sidebar
- Get more out of Finder with these easy sidebar tweaks
- What to Know
- How to Hide or Show the Finder Sidebar
- How to Customize the Finder Sidebar
- How to Add a Folder to the Finder Sidebar
- How to Add an Application to the Finder Sidebar
- How to Rearrange Items in the Finder Sidebar
- How to Remove Items From Finder Sidebar
Как правильно настроить боковую панель Finder на Mac
Finder для Mac является совершенно необходимой вещью. Этот удобный инструмент позволяет получить доступ ко всем файлам, папкам и программам, хранящимся в macOS. Если научиться правильно настроить Finder, то это значительно повысит эффективность использования.
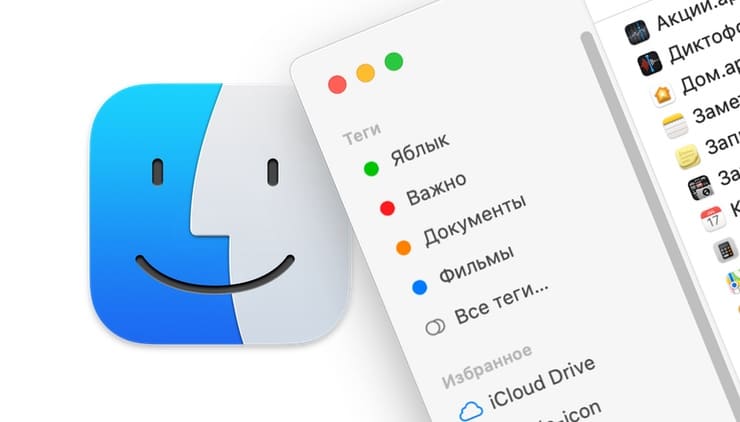
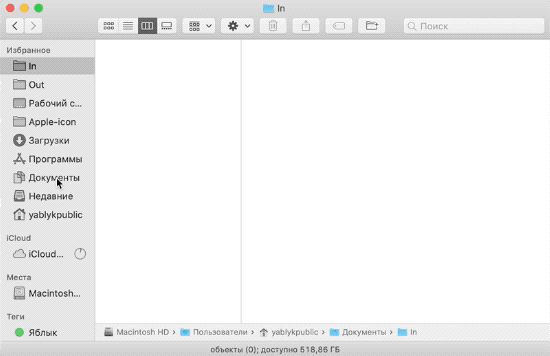
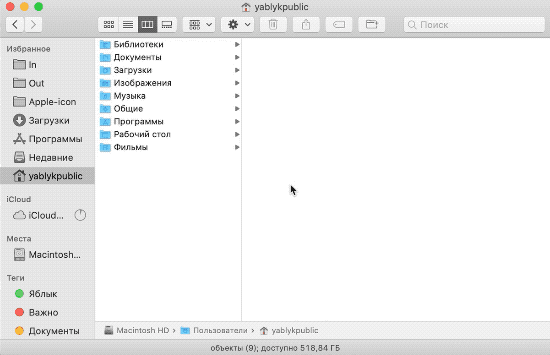
Боковая панель Finder позволяет удобно просматривать папки, накопители и теги, что дает возможность быстрого перемещения по ним. Именно поэтому настройка этого меню имеет определенный смысл. Разместите на боковой панели наиболее часто используемые элементы, а неиспользуемые – удалите. Расположение же элементов боковой панели сделайте таким, чтобы это полностью удовлетворяло вашим потребностям.
Как настроить боковую панель Finder на Mac
1. Для начала откройте приложение Finder. Для этого кликните на иконку приложения в Док-панели.
2. В строке меню выберите Finder → Настройки.
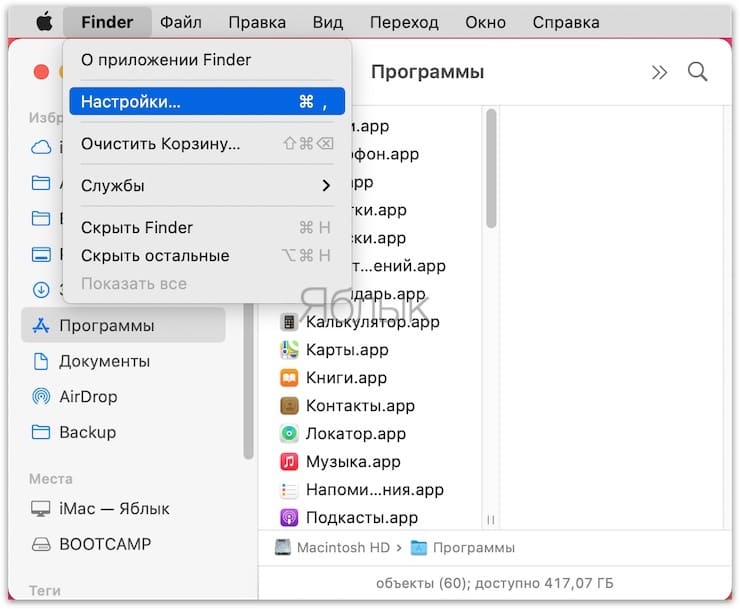
3. Откройте вкладку «Боковое меню».
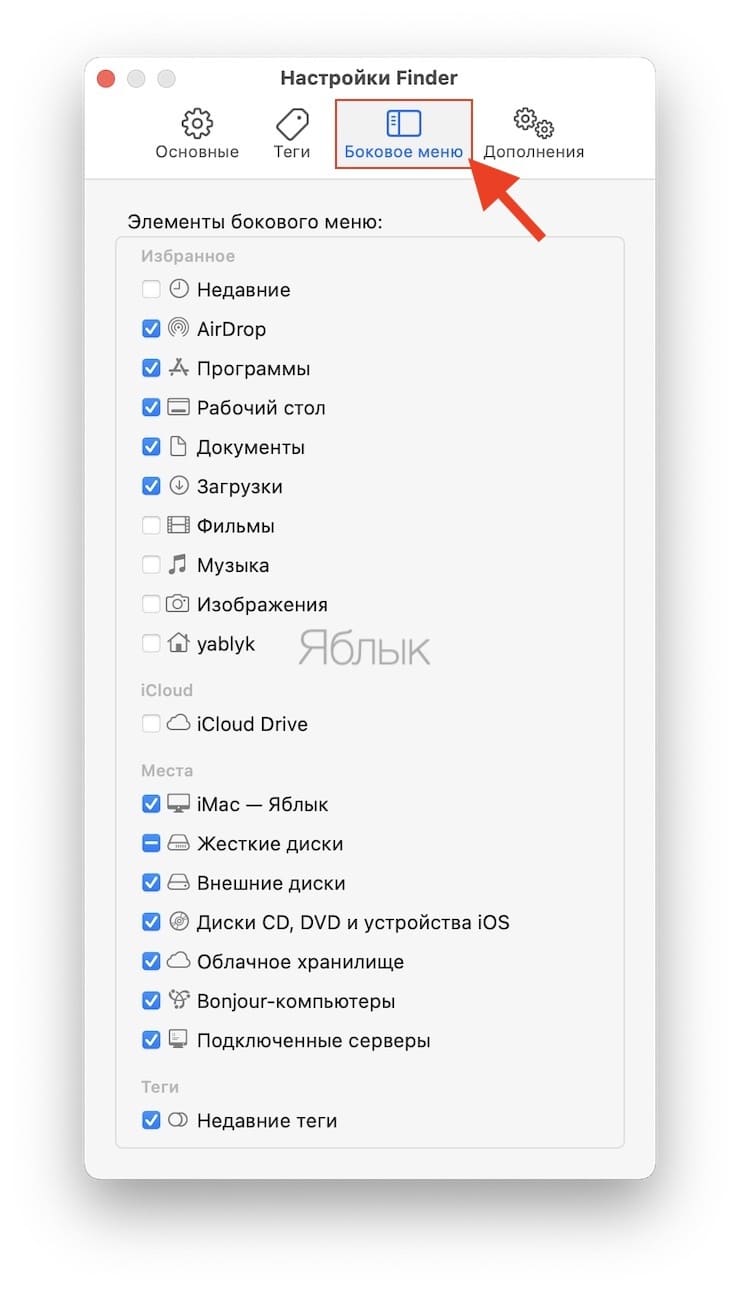
Для каждого раздела: Избранное, Места и Теги отметьте элементы, которые вы хотите видеть на боковой панели.
После этого можно закрыть окно настроек Finder, вы сразу увидите обновленную боковую панель.
Расставьте теги
Если вы отметили флажком раздел с тегами на боковой панели, то их можно еще и расположить в нужном порядке.
1. С открытым Finder в строке меню выберите Finder → Настройки.
2. Откройте вкладку «Теги».
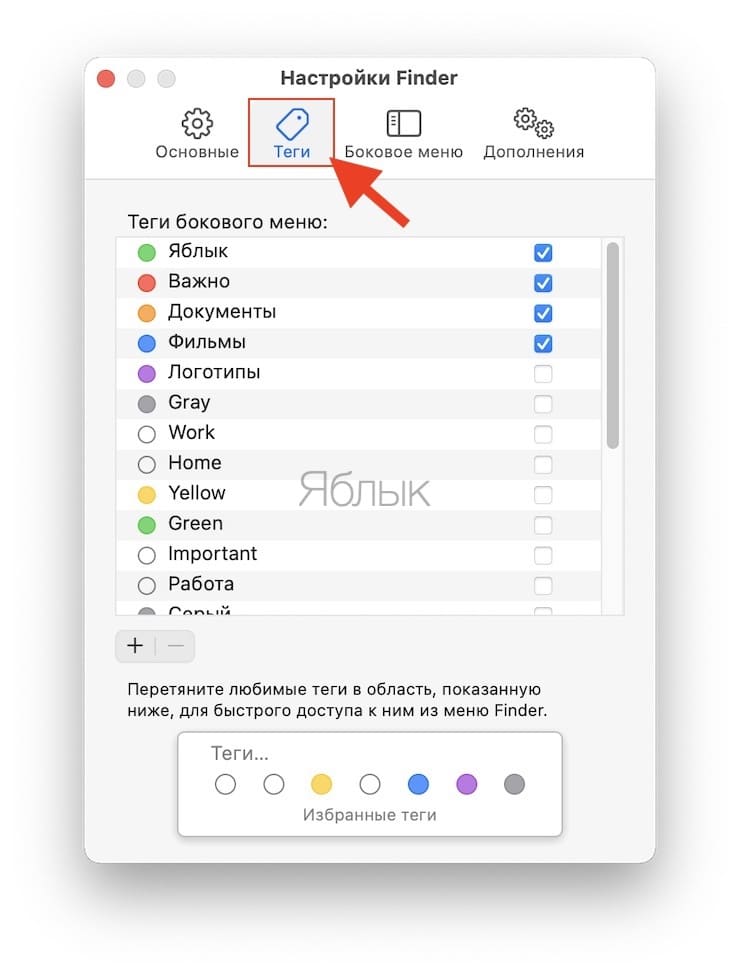
Отметьте те теги, которые вы хотите видеть на боковой панели. Для изменения их порядка просто нажмите на нужный элемент и передвиньте его в требуемое место списка, где и отпустите.
Расставьте элементы на боковой панели Finder
Можно также поменять местами все отмеченные для отображения на боковой панели элементы. Для этого просто щелкните по одному из них и перетащите на новое место в списке.
Добавьте больше элементов на боковой панели Finder
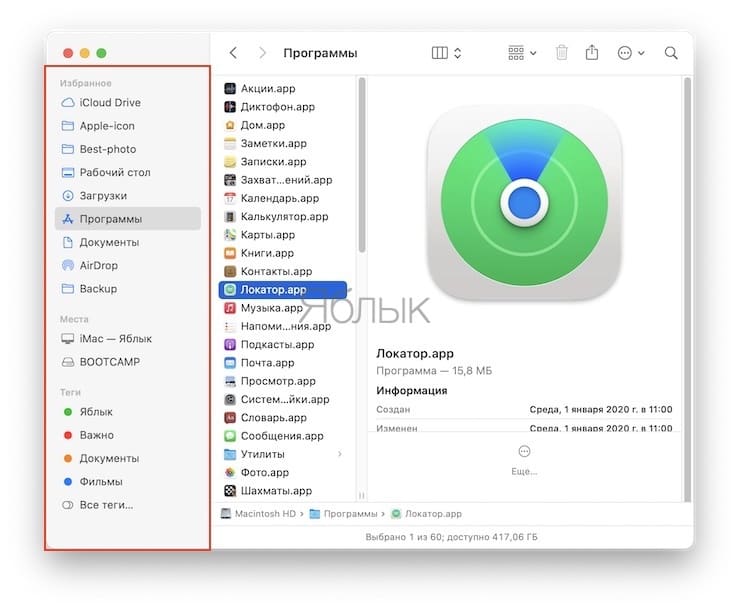
Помимо тех элементов, которые вы отметили в окне настроек Finder для отображения на боковой панели, вы можете добавить и другие.
Например, если вы часто обращаетесь к какой-то папке, то ее тоже можно разместить на боковой панели. Выберите нужный элемент из его местоположения. Это может быть, например, окно поиска или рабочий стол. Теперь перетащите элемент в нужное место на боковой панели Finder и отпустите.
Заключение
Несложная настройка позволит разместить на боковую панель Finder для быстрого доступа наиболее часто используемые элементы. Эти изменения сделать просто, они смогут сделать вашу работу за Mac приятнее и эффективнее.
Источник
Как настроить Боковое меню Finder на Mac
Finder на Mac – это одна из важнейших программ, через которую вы получаете доступ ко всем своим данным. Поэтому её нужно максимально настроить под свои потребности.
В Боковом меню Finder отображаются все ваши папки, жёсткие диски и заметки, так что его стоит настроить на свой вкус. Туда можно добавить то, чем вы пользуетесь чаще всего, и убрать ненужные элементы. Ниже мы расскажем, как это сделать.
Настройка пунктов Бокового меню
Для начала вам нужно открыть новое окно. Нажмите значок Finder в Доке или откройте программу через меню Файл > Новое окно Finder. Затем следуйте шагам ниже.
1) На панели меню выберите Finder > Настройки.
2) Выберите вкладку Боковое меню.
Здесь отметьте галочками все пункты, которые нужны вам в Боковом меню.

Закройте настройки, и вы сразу увидите, как изменилось ваше меню.
Настройка Тегов
Если вы поставили галочку рядом с «Теги», вы можете настроить их отдельно.
1) В меню выберите Finder > Настройки.
2) Выберите вкладку Теги.

Отметьте Теги, которые хотите видеть в Боковом меню. Чтобы изменить их порядок, просто перетяните их куда нужно в списке.
Вы также можете изменить порядок всех пунктов в Боковом меню. Для этого их тоже можно перетянуть в нужные места.

Добавление пунктов

Вы можете добавить и другие пункты в Боковое меню помимо тех, которые отметили галочками в настройках.
К примеру, если вы часто используете какую-то папку, то можно добавить её в Боковое меню. Выберите её в новом окне или на рабочем столе, а затем просто перетяните в Боковое меню Finder. Теперь папка всегда будет здесь отображаться.
Вот так с помощью нескольких простых настроек вы можете сделать свою работу удобнее и продуктивнее.
Источник
Get to know the Finder on your Mac
Learning about the Finder is the first step toward finding and organizing your documents, media, folders, and other files.
The Finder is the first thing that you see when your Mac finishes starting up. It opens automatically and stays open as you use other apps. It includes the Finder menu bar at the top of the screen and the desktop below that. It uses windows and icons to show you the contents of your Mac, iCloud Drive, and other storage devices. It’s called the Finder because it helps you to find and organize your files.

Change how your files are displayed
To change how files are displayed in Finder windows, use the View menu in the menu bar, or the row of buttons at the top of the Finder window. You can view files as icons , in a list , in columns , or in a gallery . And for each view, the View menu provides options to change how items are sorted and arranged, such as by kind, date, or size. Learn more about customizing views.
Gallery View, showing the sidebar on the left and the Preview pane on the right.
When you view files in a gallery, you can browse your files visually using large previews, so it’s easy to identify images, videos, and all kinds of documents. Gallery View even lets you play videos and scroll through multipage documents. Earlier versions of macOS have a similar but less powerful gallery view called Cover Flow .
Use the sidebar in Finder windows
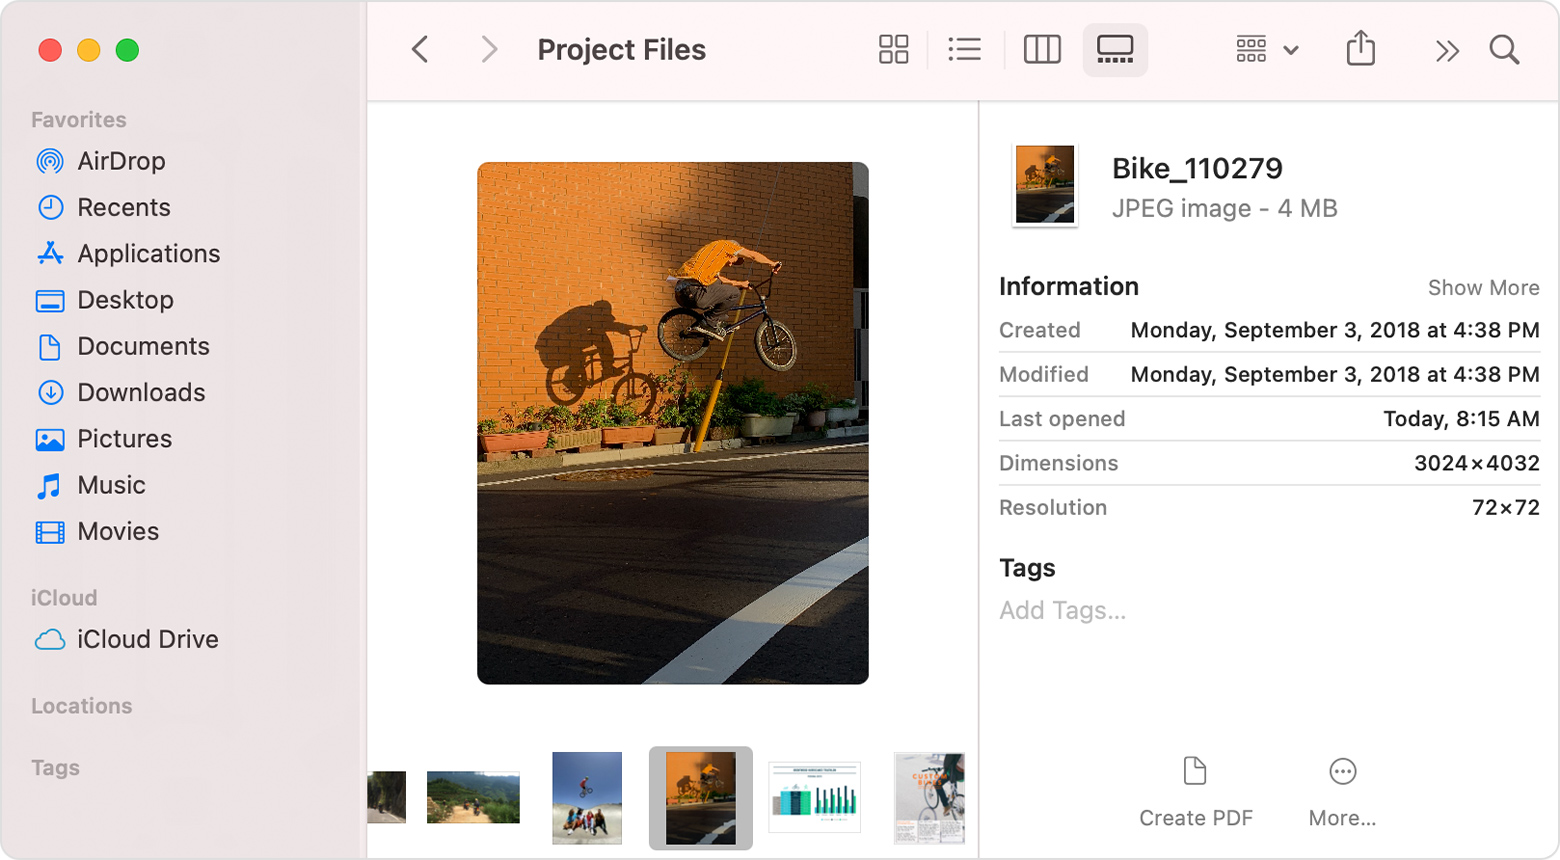
The sidebar in Finder windows contains shortcuts to AirDrop, commonly used folders, iCloud Drive, devices such your hard drives, and more. Like items in the Dock, items in the sidebar open with just one click.
To change the items in your sidebar, choose Finder > Preferences from the Finder menu bar, then click Sidebar at the top of the preferences window. You can also drag files into or out of the sidebar. Learn more about customizing the sidebar.
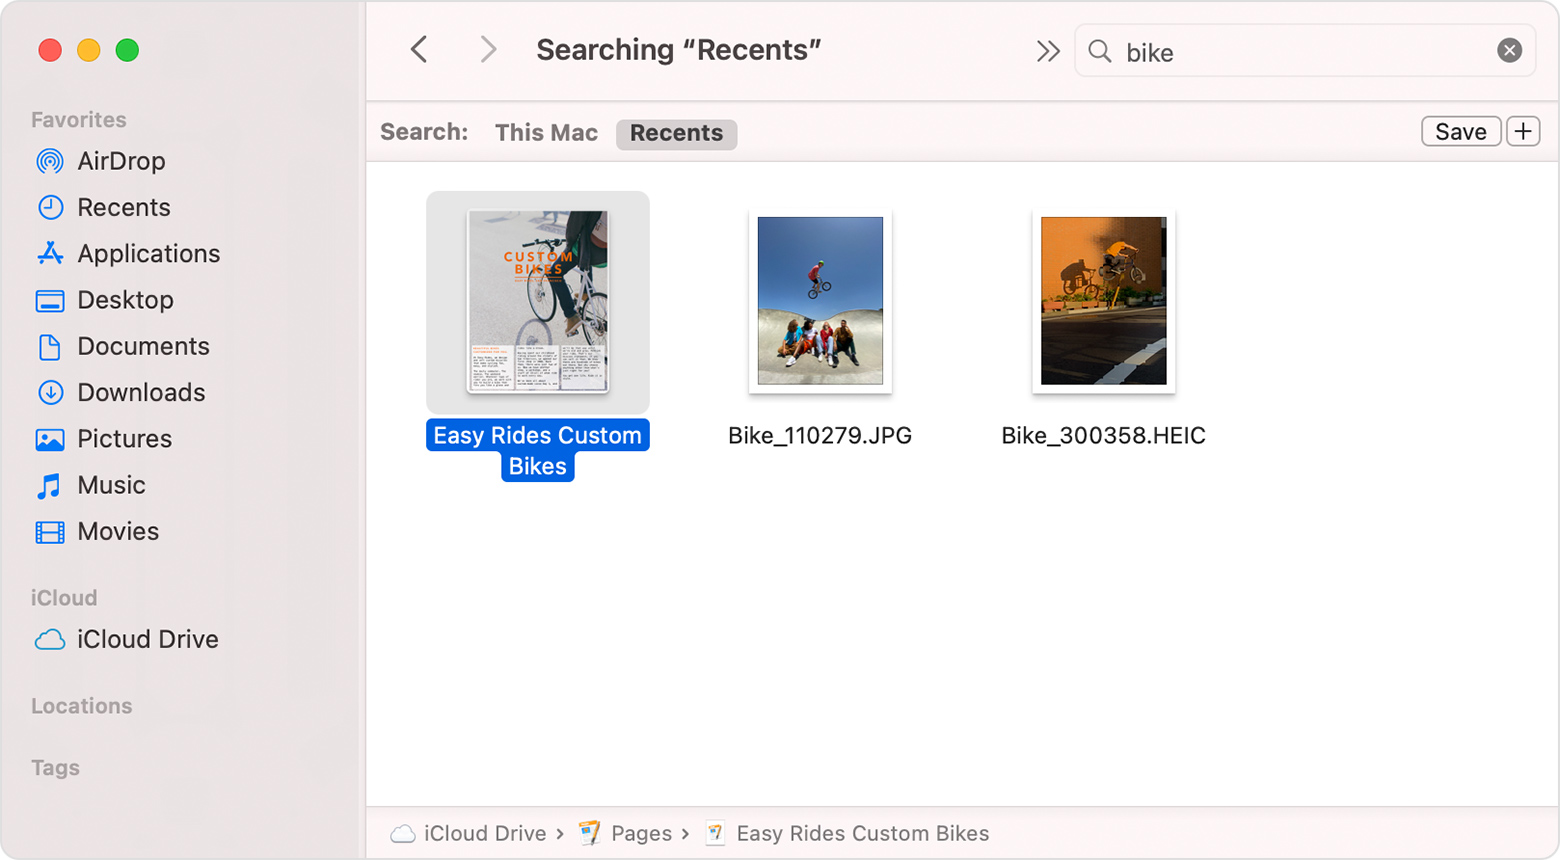
Search for files
To search with Spotlight, click the magnifying glass in the menu bar, or press Command–Space bar. Spotlight is similar to Quick Search on iPhone or iPad. Learn more about Spotlight.
To search from a Finder window, use the search field in the corner of the window:
When you select a search result, its location appears at the bottom of the window. To get to this view from Spotlight, choose “Search in Finder” or “Show all in Finder” from the bottom of the Spotlight search results.
Delete files
To move a file to the Trash, drag the file to the Trash in the Dock. Or select one or more files and choose File > Move To Trash (Command-Delete).

To remove a file from the Trash, click the Trash to open it, then drag the file out of the Trash. Or select the file and choose File > Put Back.
To delete the files in the Trash, choose File > Empty Trash. The storage space used by those files then becomes available for other files. In macOS Sierra, you can set up your Mac to empty the trash automatically.
Источник
Show or Hide the Mac Finder Window Sidebar
 The Finder window sidebar makes navigation in Mac OS X easier, with quick access points to various aspects of a users home directory, as well as throughout the file system.
Users can choose to show the Finder sidebar, or to hide the Finder sidebar, depending on their individual preferences.
Show & Hide the Mac Finder Sidebar with a Keystroke
You can hide or show the sidebar from Mac Finder windows by hitting Command+Option+S, this command keeps the window toolbar buttons intact across making it different than than clicking on the grey pill-button.
Toggling the keystroke again will reverse the prior selection, either showing or hiding the sidebar of Finder windows.
How to Show & Hide the Sidebar in Mac OS X Finder Manually
If you’re not a fan of keyboard shortcuts, you can also select this option manually through the View menu in the macOS X Finder:
- Pull down “View” menu from a Mac Finder window
- Choose “Hide Sidebar” (or Show Sidebar if you want to see it, conversely)
The settings change is immediate.
This change will affect all Mac OS X Finder windows unless otherwise specified.
Источник
How to Modify the Mac Finder Sidebar
Get more out of Finder with these easy sidebar tweaks
What to Know
- To hide or show the Finder sidebar, go to Finder >View >Hide Sidebar or Show Sidebar.
- To customize the sidebar, go to Finder >Preferences >Sidebar and select changes.
- To add a folder to the Finder sidebar, go to Finder and drag the folder to Favorites.
This article explains how to show or hide the sidebar, add items to and delete items from it, and rearrange the items that appear in it in Finder in Mac OS X Jaguar (10.2) and later.
How to Hide or Show the Finder Sidebar
Beginning with OS X Snow Leopard (10.6) and subsequent releases of the macOS operating system, you can hide the Finder sidebar or display the sidebar for easy access to folders and locations. To hide or show the Finder sidebar, complete the following steps:
Open a Finder window by selecting the Finder icon in the Dock.
:max_bytes(150000):strip_icc()/001-add-files-folders-and-apps-with-finder-sidebar-2260877_-d0dc553c377f4b6aaee902a63eca1382.jpg)
By default, the Finder displays a sidebar when it opens. If you prefer to hide the sidebar, in the Finder menu bar, select View > Hide Sidebar.
:max_bytes(150000):strip_icc()/003-add-files-folders-and-apps-with-finder-sidebar-2260877_-bb860f39db47497d82eb500f4b9ad058.jpg)
To reopen the sidebar after you close it, select View > Show Sidebar from the Finder menu bar.
:max_bytes(150000):strip_icc()/002-add-files-folders-and-apps-with-finder-sidebar-2260877-0b439f56211e41a2a33de99150d913b7.jpg)
You can also use the keyboard shortcut Option+Command+S to toggle between viewing and hiding the sidebar.
How to Customize the Finder Sidebar
To customize the items that appear in the Finder sidebar out of the box, complete the following steps:
Open a Finder window by selecting the Finder icon in the Dock.
Select Finder in the menu bar and choose Preferences.
:max_bytes(150000):strip_icc()/004-add-files-folders-and-apps-with-finder-sidebar-2260877_-18aa4267a8514bf588dee56292c07e72.jpg)
In Finder Preferences, select Sidebar at the top of the screen.
:max_bytes(150000):strip_icc()/005-add-files-folders-and-apps-with-finder-sidebar-2260877_-a359d18a64c84b89b69a4527313bbeb3.jpg)
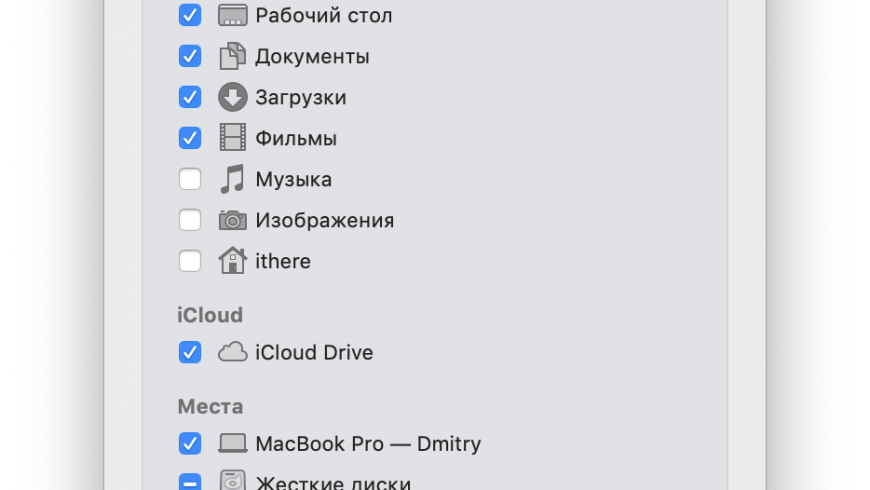
Items in the Finder sidebar fall into four categories: Favorites, iCloud, Locations, or Tags.
Select or clear the check box, as appropriate, for each item in the list. The items you check appear in the Finder sidebar until you change the preferences again.
Close the Finder Preferences to save your choices.
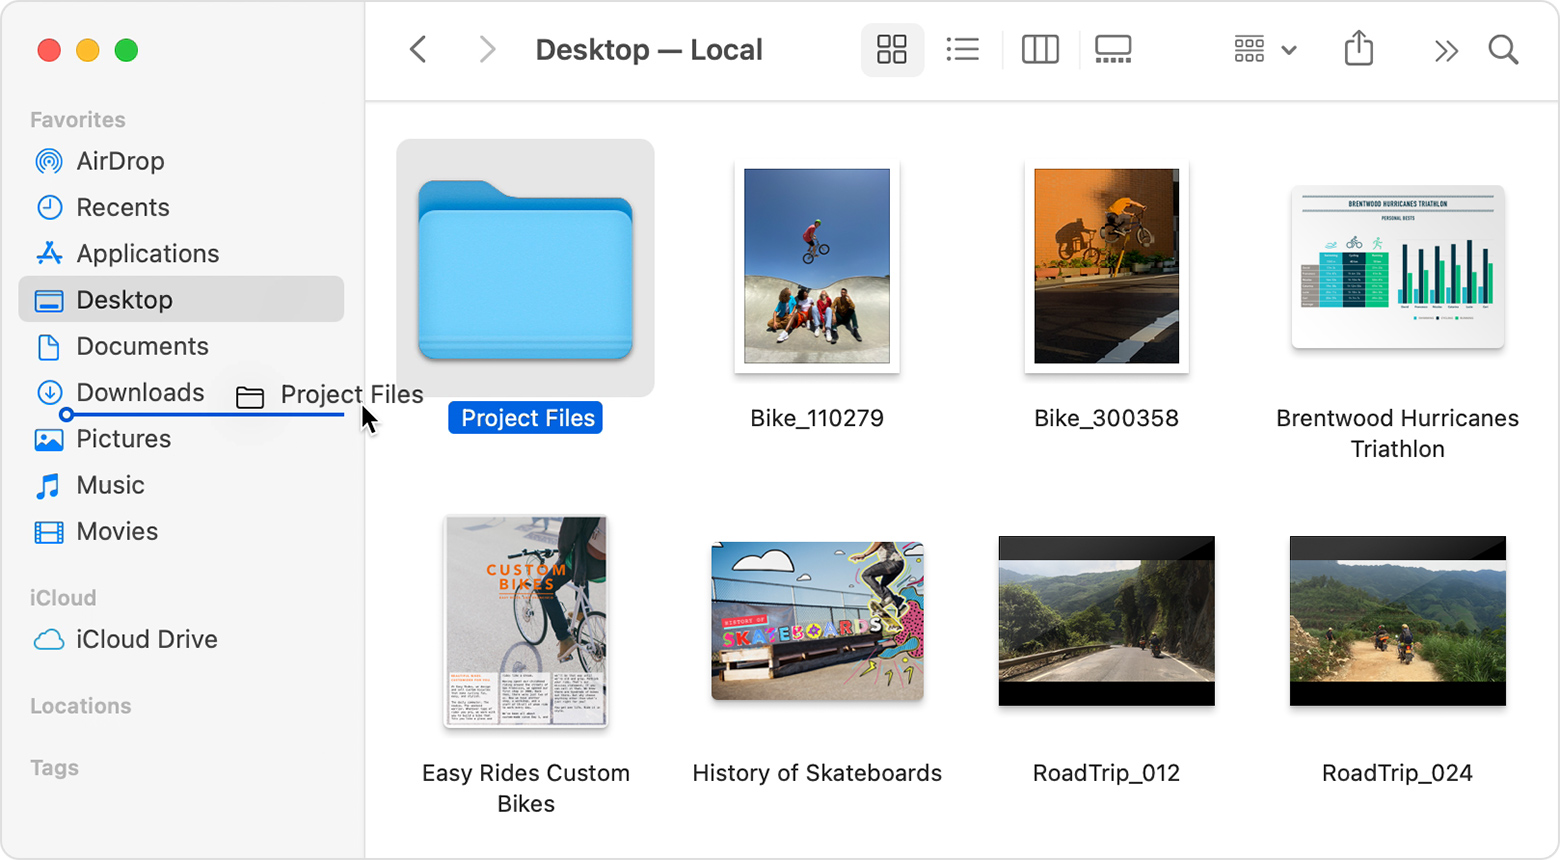
How to Add a Folder to the Finder Sidebar
You can add your most often used folders to the Finder sidebar for easy access whenever you open a Finder window. To add a folder to the sidebar, complete the following steps:
Open a Finder window by selecting the Finder icon in the Dock.
Locate a folder in the main Finder window and drag it to the Favorites section of the sidebar. A horizontal line appears, indicating the location the folder will occupy when you release the mouse button.
:max_bytes(150000):strip_icc()/006-add-files-folders-and-apps-with-finder-sidebar-2260877_-0f5052af268742328ab40af467ba9dea.jpg)
If the Favorites section doesn’t appear in the Finder sidebar, select Finder > Preferences, select Sidebar, and then select the check box for at least one item in the Favorites section.
Release the mouse button to add the folder to the Finder sidebar.
When you add a folder, app, or disk to the Finder sidebar, you only create a shortcut to that item. The item remains in its original location.
How to Add an Application to the Finder Sidebar
The Finder sidebar gives you quick access to more than folders. You can create shortcuts to the applications you use most often, as well.
Depending on the version of macOS or OS X you’re using, you may need to change the Finder view to List before you can drag an app to the sidebar.
To add an application to the Finder sidebar, complete the following steps:
Open a Finder window by selecting the Finder icon in the Dock.
In the Finder menu bar, select Go and choose Applications in the menu.
:max_bytes(150000):strip_icc()/007-add-files-folders-and-apps-with-finder-sidebar-2260877_-458c9e5a39c24184acccf6b058f96e14.jpg)
Locate the application you want to add to the sidebar, press and hold the Command key, and drag the application to the Favorites section of the Finder sidebar.
Position the application where you want it to appear and then release the mouse button.
How to Rearrange Items in the Finder Sidebar
You can rearrange most items in the sidebar as you like. To do so, drag the item to its new target location. The other items in the sidebar rearrange themselves to make room for the item you’re moving.
How to Remove Items From Finder Sidebar
Like the desktop, the Finder sidebar can become cluttered. To tidy things up, you can remove folders, disks, or applications you’ve added by dragging the item’s icon out of the sidebar. It disappears in a puff of smoke.
If you don’t mind forgoing the dramatic puff of smoke, you can remove an item from the Finder sidebar by pressing and holding the Control key, selecting the item, and then selecting Remove from Sidebar.
Источник


