- Создание загружаемого установщика для macOS
- Что нужно для создания загружаемого установщика:
- Загрузка macOS
- Использование команды createinstallmedia в приложении «Терминал»
- How to reinstall macOS
- Start up from macOS Recovery
- Apple silicon
- Intel processor
- Reinstall macOS
- Other macOS installation options
- Как переустановить macOS используя Internet Recovery
- Как переустановить macOS
- Лонгриды для вас
- How to start up your Mac in Internet Recovery Mode
- The difference between standard Recovery and Internet Recovery
- Things you can do in Internet Recovery Mode
- How to enter Internet Recovery Mode
- Internet Recovery Mode requirements
- Requirements for installing macOS in Recovery Mode
- What to do when Internet Recovery is unavailable
- Related tutorials
Создание загружаемого установщика для macOS
В качестве загрузочного диска для установки операционной системы на компьютер Mac можно использовать внешний диск или дополнительный том.
Эти расширенные инструкции предназначены в первую очередь для системных администраторов и других пользователей, имеющих опыт работы с командной строкой. Загружаемый установщик не требуется для обновления macOS или переустановки macOS, но он может оказаться удобен, если требуется выполнить установку на несколько компьютеров, не загружая установщик заново каждый раз.
Что нужно для создания загружаемого установщика:
- USB-накопитель или другой дополнительный том, отформатированный в Mac OS Extended, на котором есть не менее 14 ГБ свободного пространства;
- загруженный установщик для macOS Big Sur, Catalina, Mojave, High Sierra или El Capitan.
Загрузка macOS
- Загрузка macOS Big Sur, macOS Catalina, macOS Mojave или macOS High Sierra
Эти элементы загружаются в папку «Программы» в виде приложения с именем «Установка macOS [ название версии ]». Если после загрузки запустится установщик, завершите его работу без продолжения установки. Чтобы получить подходящий установщик, выполняйте загрузку с компьютера Mac, на котором используется macOS Sierra 10.12.5 или более поздней версии либо El Capitan 10.11.6. Корпоративным администраторам следует производить загрузку с сайта Apple, а не с сервера обновления ПО, размещенного в локальной сети. - Загрузка OS X El Capitan
В результате этого действия загрузится образ диска с именем InstallMacOSX.dmg. На компьютере Mac, совместимом с El Capitan, откройте образ диска и запустите с него установщик с именем InstallMacOSX.pkg. Приложение с именем «Установка OS X El Capitan» будет установлено в папку «Программы». Загружаемый установщик создается именно из этого приложения, а не из образа диска или установщика .pkg.
Использование команды createinstallmedia в приложении «Терминал»
- Подключите USB-накопитель или другой том, используемый для загружаемого установщика.
- Откройте приложение «Терминал» в подпапке «Утилиты» папки «Программы».
- Введите или вставьте в приложение «Терминал» одну из следующих команд. Предполагается, что установщик находится в папке «Программы», а имя MyVolume обозначает USB-накопитель или другой используемый вами том. Укажите вместо MyVolume имя своего тома в следующих командах.
Big Sur*:
Catalina*:
Mojave*:
High Sierra*:
El Capitan:
* Если на компьютере Mac установлена операционная система macOS Sierra или более ранней версии, включите аргумент —applicationpath и путь установки аналогично тому, как это делается в случае команды для El Capitan.
После набора команды
- Нажмите «Ввод», чтобы ввести команду.
- При появлении запроса введите пароль администратора и нажмите клавишу «Ввод» еще раз. При вводе пароля приложение «Терминал» не отображает вводимые символы.
- При появлении запроса нажмите клавишу Y , чтобы подтвердить удаление всех данных на томе, затем клавишу «Ввод». Приложение «Терминал» показывает прогресс по мере стирания тома.
- После стирания тома может быть отображено предупреждение о том, что приложению «Терминал» требуется доступ к файлам на съемном томе. Нажмите «OK», чтобы продолжить копирование.
- Когда приложение «Терминал» сообщит о завершении процесса, имя тома будет совпадать с именем загруженного установщика, например «Установка macOS Big Sur». После этого можно закрыть приложение «Терминал» и извлечь том.


Источник
How to reinstall macOS
Use macOS Recovery to reinstall the Mac operating system.
Start up from macOS Recovery
Apple silicon
Turn on your Mac and continue to press and hold the power button until you see the startup options window. Click the gear icon labeled Options, then click Continue.
Intel processor
Make sure that your Mac has a connection to the internet. Then turn on your Mac and immediately press and hold Command (⌘)-R until you see an Apple logo or other image.
If you’re asked to select a user you know the password for, select the user, click Next, then enter their administrator password.
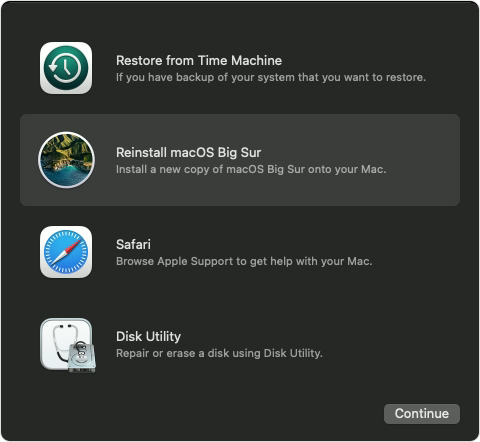
Reinstall macOS
Select Reinstall macOS from the utilities window in macOS Recovery, then click Continue and follow the onscreen instructions.
Follow these guidelines during installation:
- If the installer asks to unlock your disk, enter the password you use to log in to your Mac.
- If the installer doesn’t see your disk, or it says that it can’t install on your computer or volume, you might need to erase your disk first.
- If the installer offers you the choice between installing on Macintosh HD or Macintosh HD — Data, choose Macintosh HD.
- Allow installation to complete without putting your Mac to sleep or closing its lid. Your Mac might restart and show a progress bar several times, and the screen might be empty for minutes at a time.
After installation is complete, your Mac might restart to a setup assistant. If you’re selling, trading in, or giving away your Mac, press Command-Q to quit the assistant without completing setup. Then click Shut Down. When the new owner starts up the Mac, they can use their own information to complete setup.
Other macOS installation options
When you install macOS from Recovery, you get the current version of the most recently installed macOS, with some exceptions:
- On an Intel-based Mac: If you use Shift-Option-Command-R during startup, you’re offered the macOS that came with your Mac, or the closest version still available. If you use Option-Command-R during startup, in most cases you’re offered the latest macOS that is compatible with your Mac. Otherwise you’re offered the macOS that came with your Mac, or the closest version still available.
- If the Mac logic board was just replaced, you may be offered only the latest macOS that is compatible with your Mac. If you just erased your entire startup disk, you may be offered only the macOS that came with your Mac, or the closest version still available.
You can also use these methods to install macOS, if the macOS is compatible with your Mac:
- Use the App Store to download and install the latest macOS.
- Use the App Store or a web browser to download and install an earlier macOS.
- Use a USB flash drive or other secondary volume to create a bootable installer.
Источник
Как переустановить macOS используя Internet Recovery
Почему многие пользователи при выборе компьютера отдают предпочтение Mac? Ответ очевиден: это надежность, безопасность, простота использования и высокая стабильность работы. Последние версии macOS настолько отточены, что пользователи почти не встречаются с программными ошибками. Однако, если это всё же случилось и устранить сбой не удается подручными средствами — можно выполнить чистую установку macOS. Тем более, что сделать это совсем не сложно.
В отличие от Windows, процедура переустановки macOS максимально упрощена. С этой задачей, без преувеличения, справится даже неопытный пользователь. Всё, что необходимо — это надежное подключение к Интернету и немного вашего личного времени.
Как переустановить macOS
Первый шаг — необходимо подключить к Mac адаптер питания. Далее потребуется перейти в режим восстановления и определиться с типом установки. Есть три возможных сценария.
Чтобы перейти в режим Internet Recovery, сразу после включения или перезагрузки Mac необходимо удерживать одно из следующих комбинаций клавиш, вплоть до появления логотипа глобуса:
- Command + R: Установка последней версии macOS, на которой работал этот Mac.
- Option + Сommand + R: Обновление до последней версии macOS, совместимой с этим Mac.
- Shift + Option +Command + R: Установка macOS, с которой компьютер поставлялся по умолчанию.
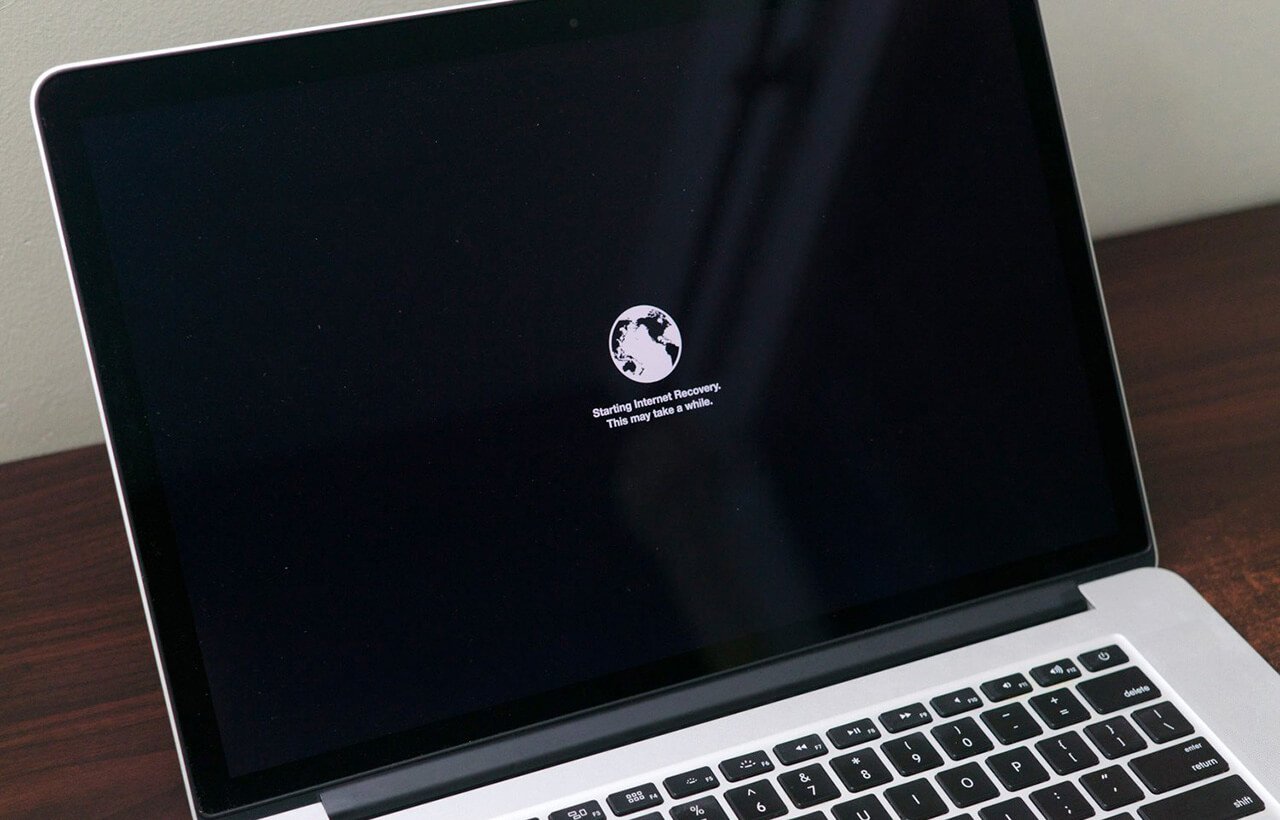
После запуска нужно будет немного подождать: при наличии обновления Internet Recovery, будет автоматически загружена последняя его версия.
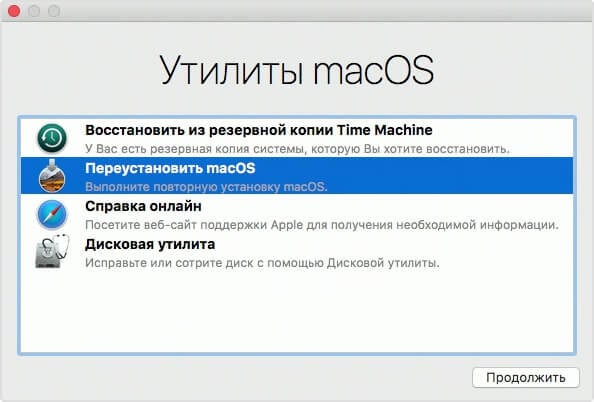
Если вы сделали всё верно — через некоторое время отобразится окно «Утилиты». Если вы хотите получить чистую операционную систему, имеет смысл полностью отформатировать диск в «Дисковой Утилите» и указать следующие параметры:
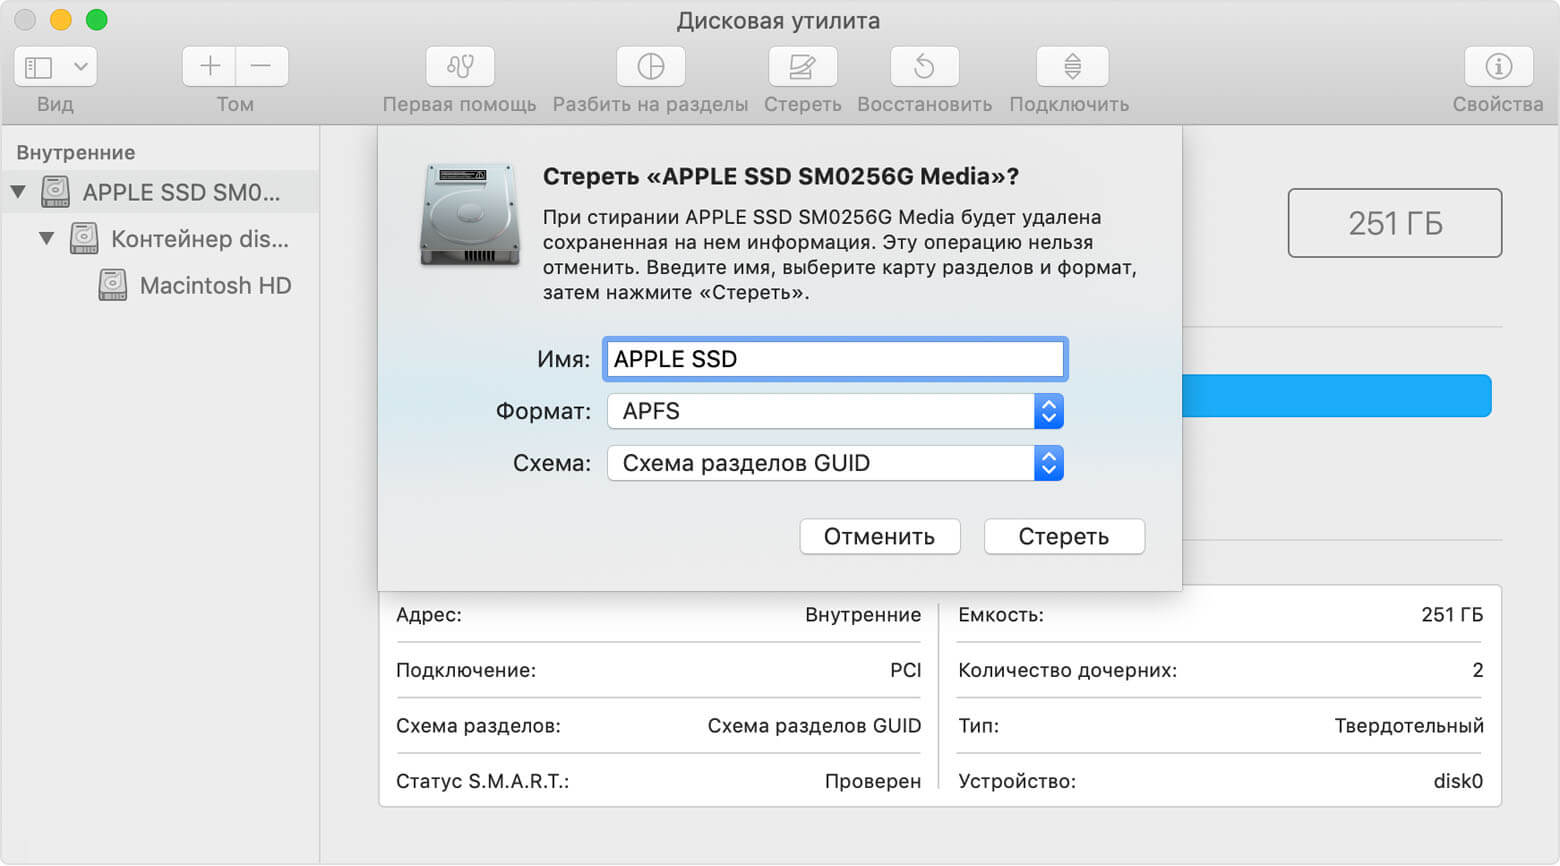
- Имя диска: название тома может быть любым. По умолчанию используется Macintosh HD.
- Формат: для форматирования диска используем файловую систему APFS при установке High Sierra и новее или Mac OS Extended (Journaled) для более старых версий.
- Схема: выбираем «Схема разделов GUID».
После очистки диска можно приступить к самой установке разумеется, предварительно указав нужный накопитель. В процессе установки Mac может несколько раз перезагрузиться — это нормальное явление. Как правило, вся процедура занимает не более 30 минут (при условии, что установка производится на твердотельный накопитель).
Если всё прошло успешно — нас встретит «Ассистент настройки» и мы сможем настроить все начальные параметры компьютера, а также войти в учетную запись Apple ID. Всё готово!
Как часто вам приходиться переустанавливать macOS? Дайте знать в комментариях или в нашем Telegram-чате.

Новости, статьи и анонсы публикаций
Свободное общение и обсуждение материалов


Лонгриды для вас

Поехавшие оглавление и шрифты, неправильная нумерация страниц — со всем этим сталкивается каждый пользователь Mac при экспорте файлов в Word. Пакет офисных приложений — первое, что необходимо новому пользователю. Предлагаем вам бесплатные аналоги Microsoft Office на Mac OS.
iPhone застрял на логотипе яблока при включении? Такое бывало практически у всех. Как правило, причина этого в недостатке свободной памяти. Разбираем все способы снова вернуть iPhone к жизни

Чем отличается стекло 3D от 9D? Что означает параметр 9H? Сделали подробный разбор основных типов защитных стекол для iPhone и отобрали лучшие из них, чтобы у вас больше не возникало таких вопросов.
Lozana, Я как раз с помощью онлайн установщика откатился с мохаве на сиеру. Mac 15 года
Источник
How to start up your Mac in Internet Recovery Mode
In addition to the startup volume which holds a bootable copy of the operating system along with your applications and data, your Mac’s disk contains a hidden recovery partition that you can boot from in order to reinstall macOS, perform a quick check of connected disks and more.
But what if the recovery partition gets damaged, for instance? Enter Internet Recovery Mode, an Internet-based version of Recovery Mode found on newer Macs, which loads recovery tools from Apple’s servers.
With Internet Recovery Mode, you can reinstall macOS and troubleshoot issues in the unfortunate scenario of your Mac’s startup disk having become corrupted or completely unreadable. In this tutorial, you’ll learn everything there is about Internet Recovery Mode and how to use it to your advantage if your disk encounters an issue or the startup drive has been replaced or erased.
The difference between standard Recovery and Internet Recovery
Your Mac’s recovery partition contains an up-to-date copy of the macOS installer so booting in Recovery Mode lets you reinstall the most recent version of macOS.
However, Internet Recovery Mode allows you to reinstall the macOS version that was factory-preloaded on your Mac at the time of purchase. You should use Internet Recovery if your Mac’s internal disk is damaged or you’ve replaced it with a faster, more capacious model and you’ve forgotten to create a bootable version of El Capitan on USB media.
To sum up, in Recovery Mode you can install or reinstall the most recent version of macOS that was previously present on this computer. Internet Recovery, on the other hand, will download the version of macOS that originally came with your computer, which in most cases won’t be the most up-to-date macOS version available. In addition, Internet Recovery will automatically run a quick test of the Mac’s memory and disks to check for hardware issues.
Things you can do in Internet Recovery Mode
Like standard Recovery Mode, Internet Recovery Mode lets you:
If both your Mac’s startup volume and its recovery partition have become corrupted or physically damaged, the computer will automatically enter Internet Recovery Mode.
How to enter Internet Recovery Mode
To enter this mode at any time, do the following:
1) In the Apple menu, choose Restart or power on your Mac.
2) As the computer restarts, hold down the Command – Option – R combination immediately upon hearing the startup chime.
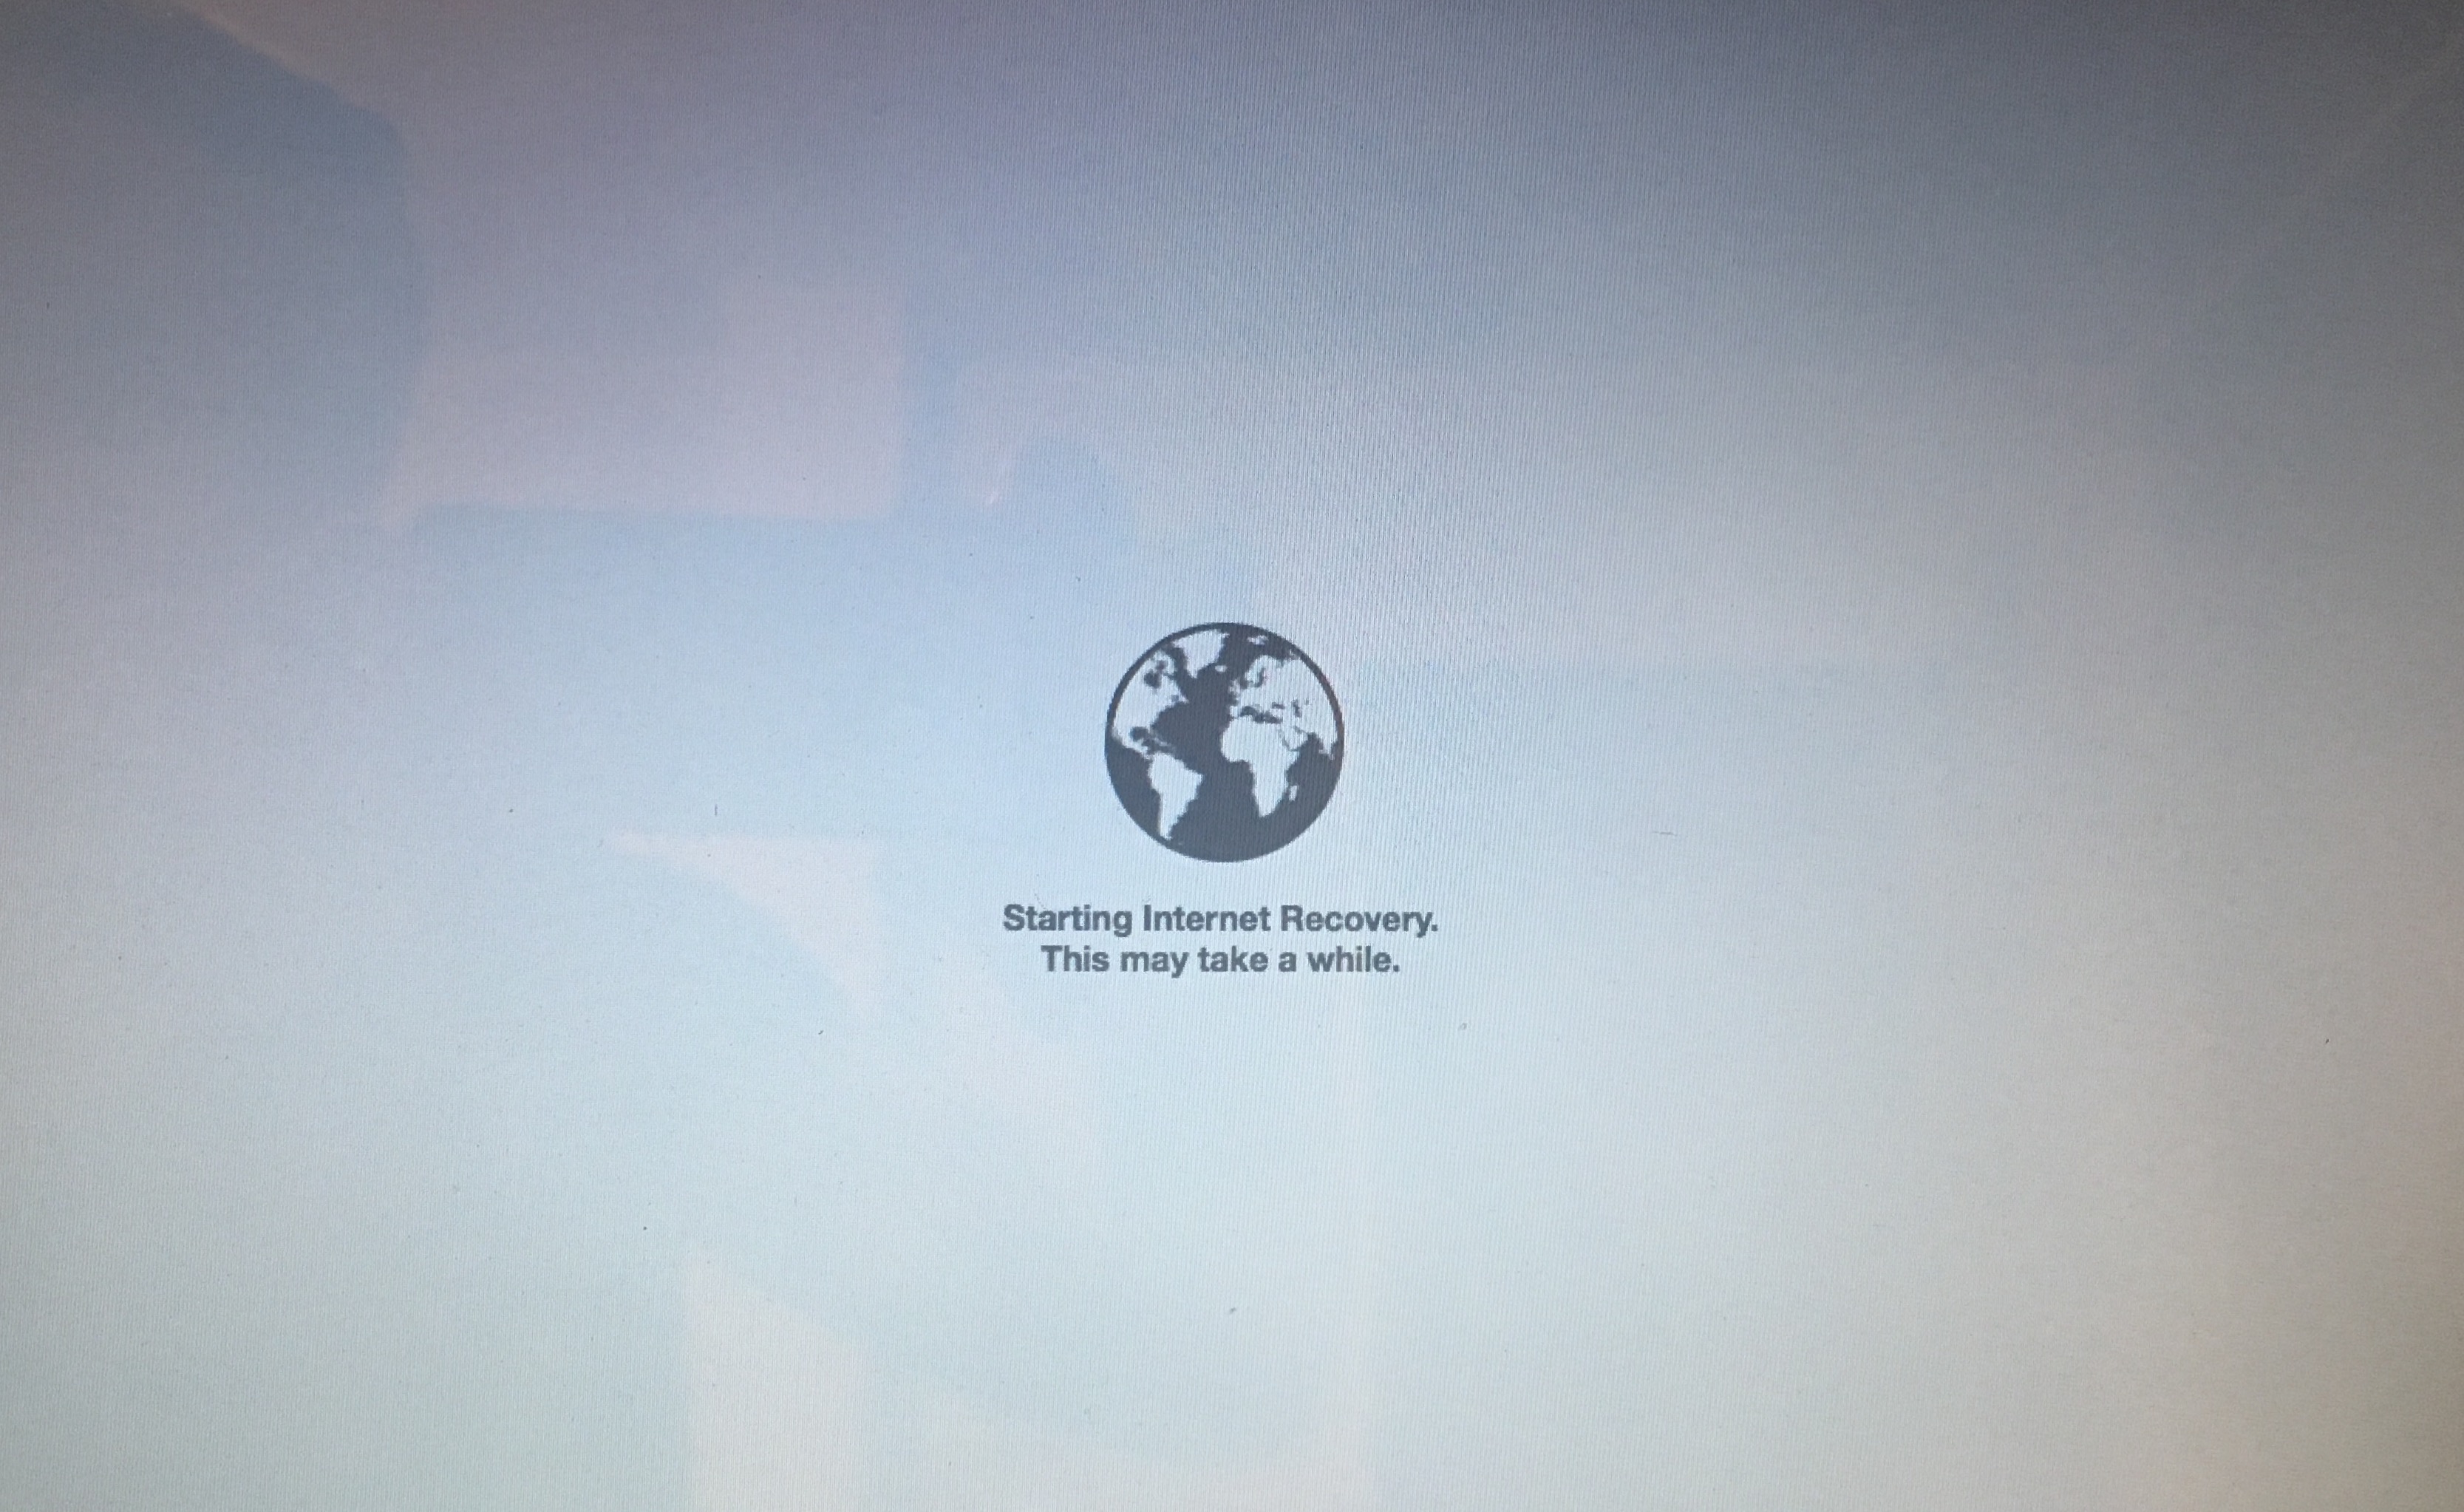
Hold the keys until the animated globe appears on the screen. “Starting Internet Recovery,” the message reads. ”This may take a while.”
Tip: If you own a Mac notebook, make sure you’re using the built-in keyboard to enter Internet Recovery Mode as the keystroke may not register on external keyboards.
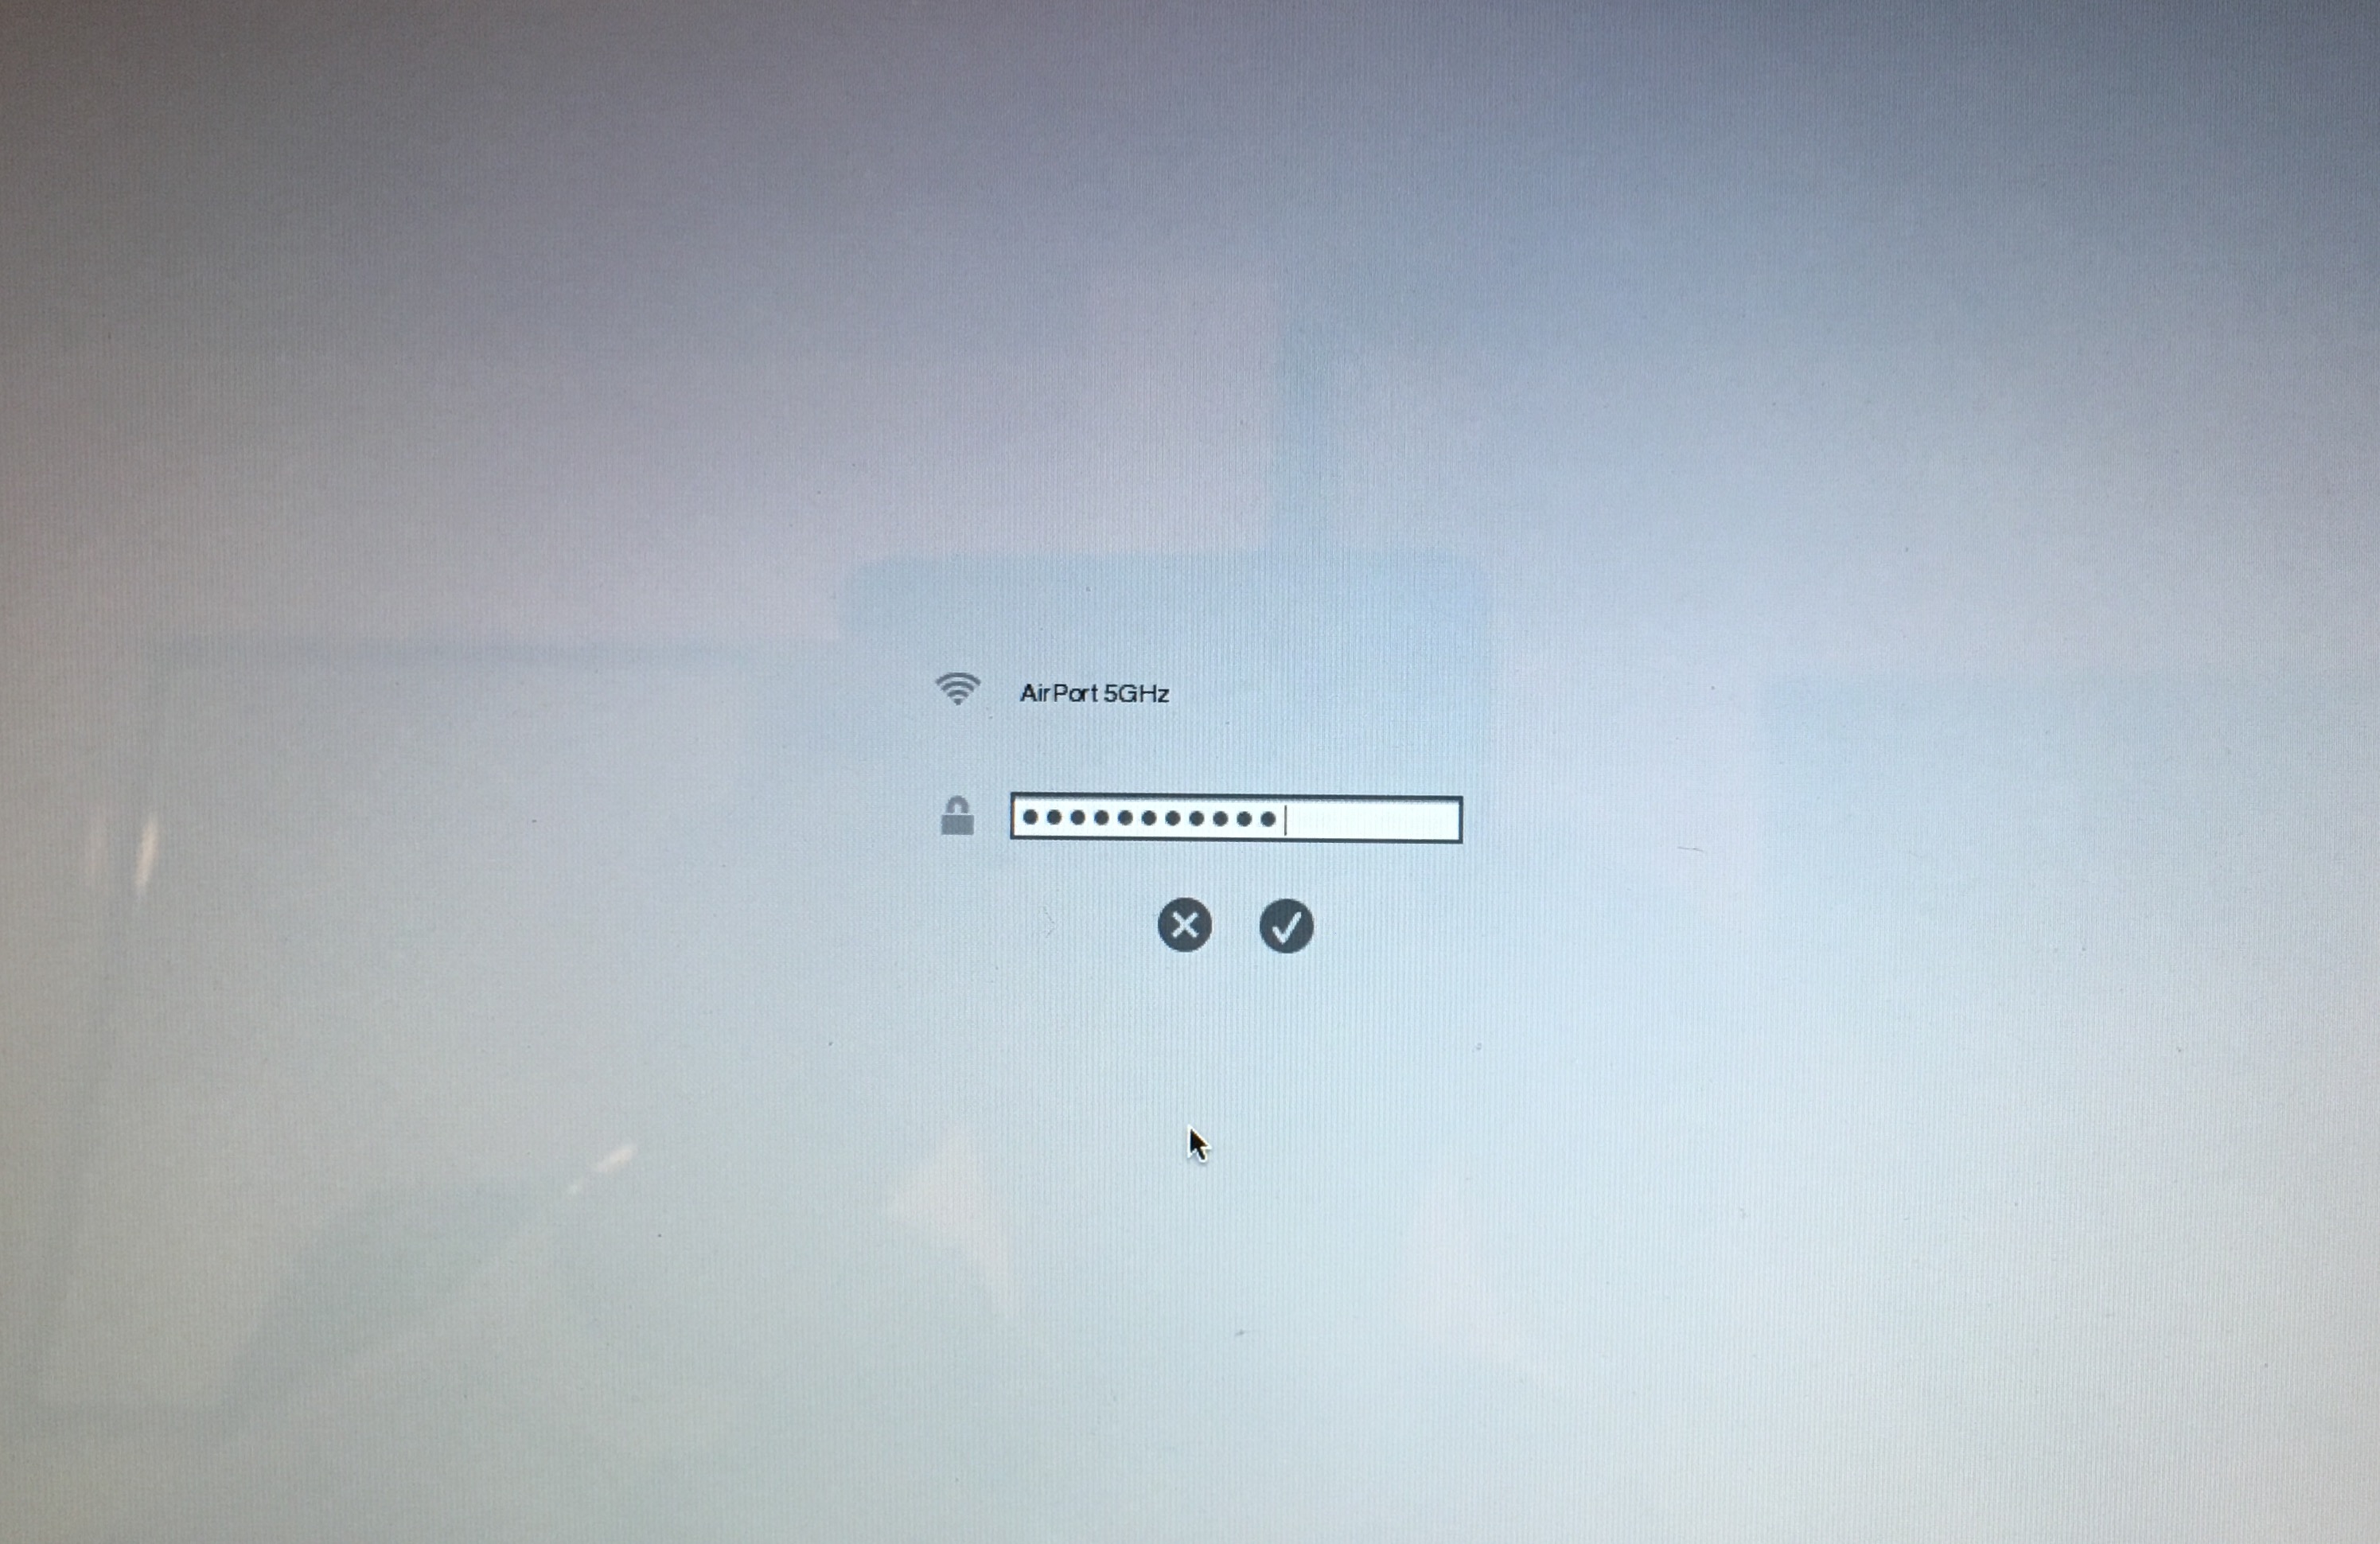
3) In the next step, a Wi-Fi menu appears. Internet Recovery needs an Internet connection to load the recovery tools from Apple’s servers. Click the menu to display the available Wi-Fi networks, and then select one to connect to.
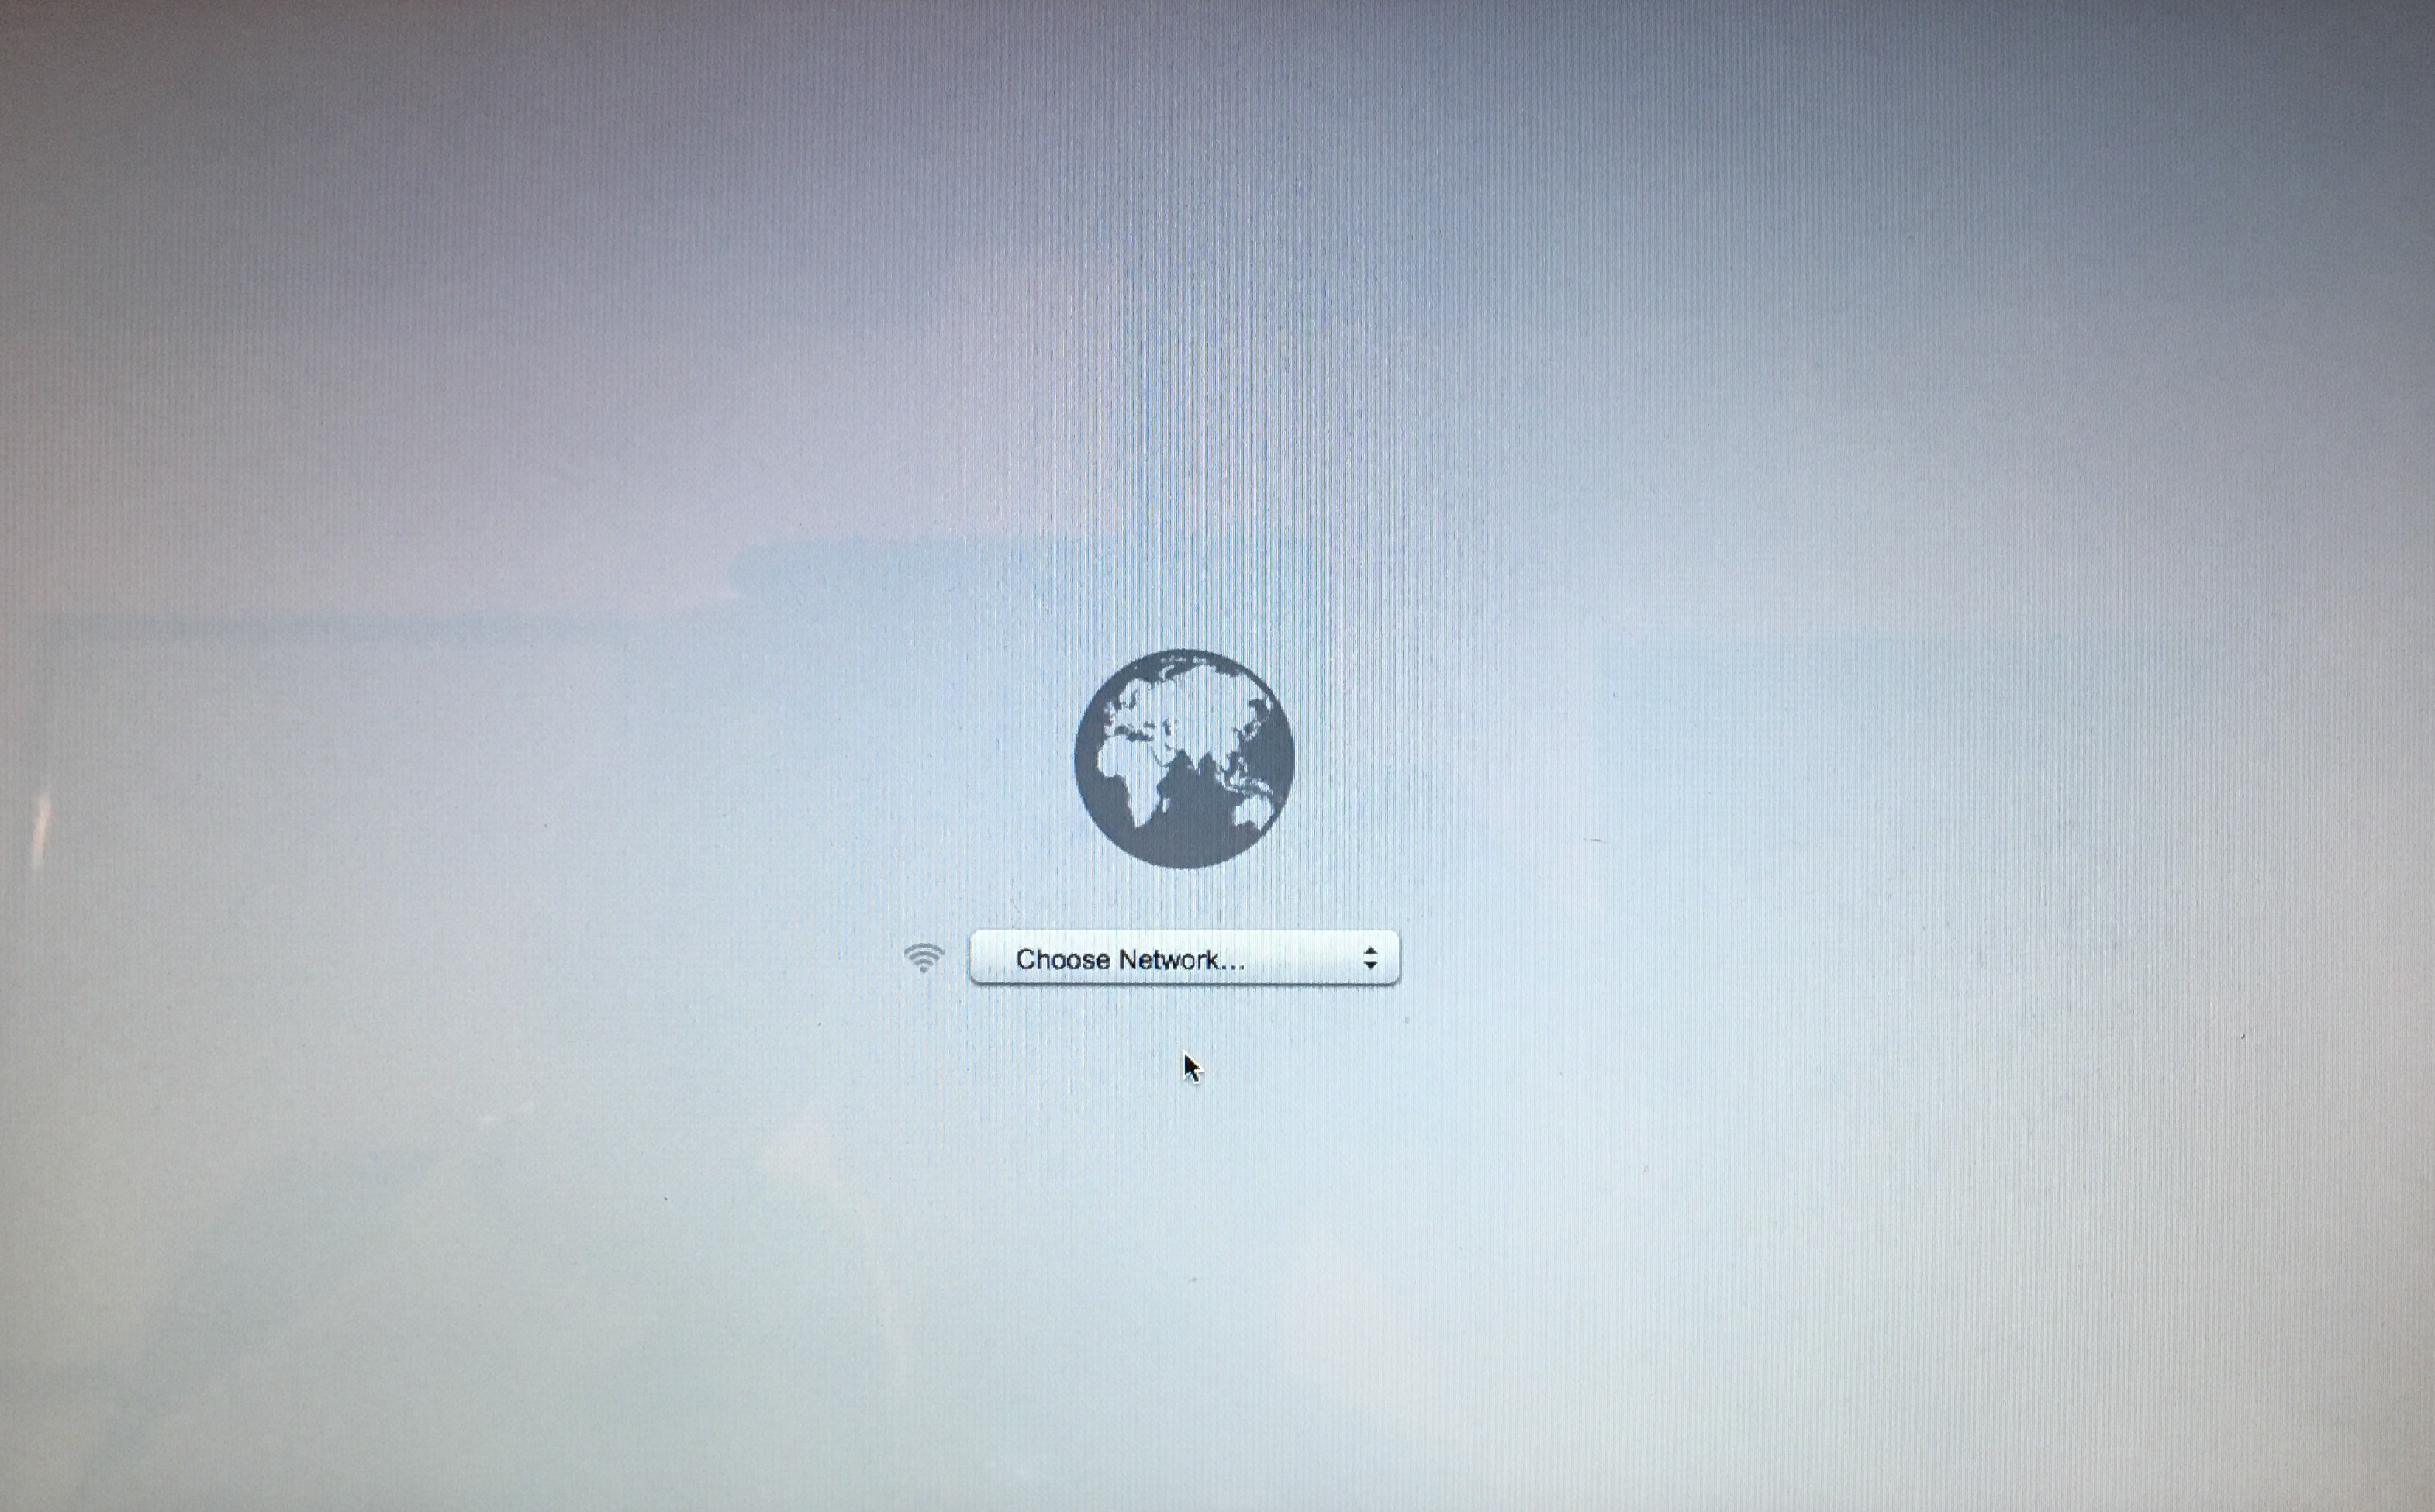
Tip: If you’re using an Ethernet connection, you don’t have to connect to a Wi-Fi network during Internet Recovery.
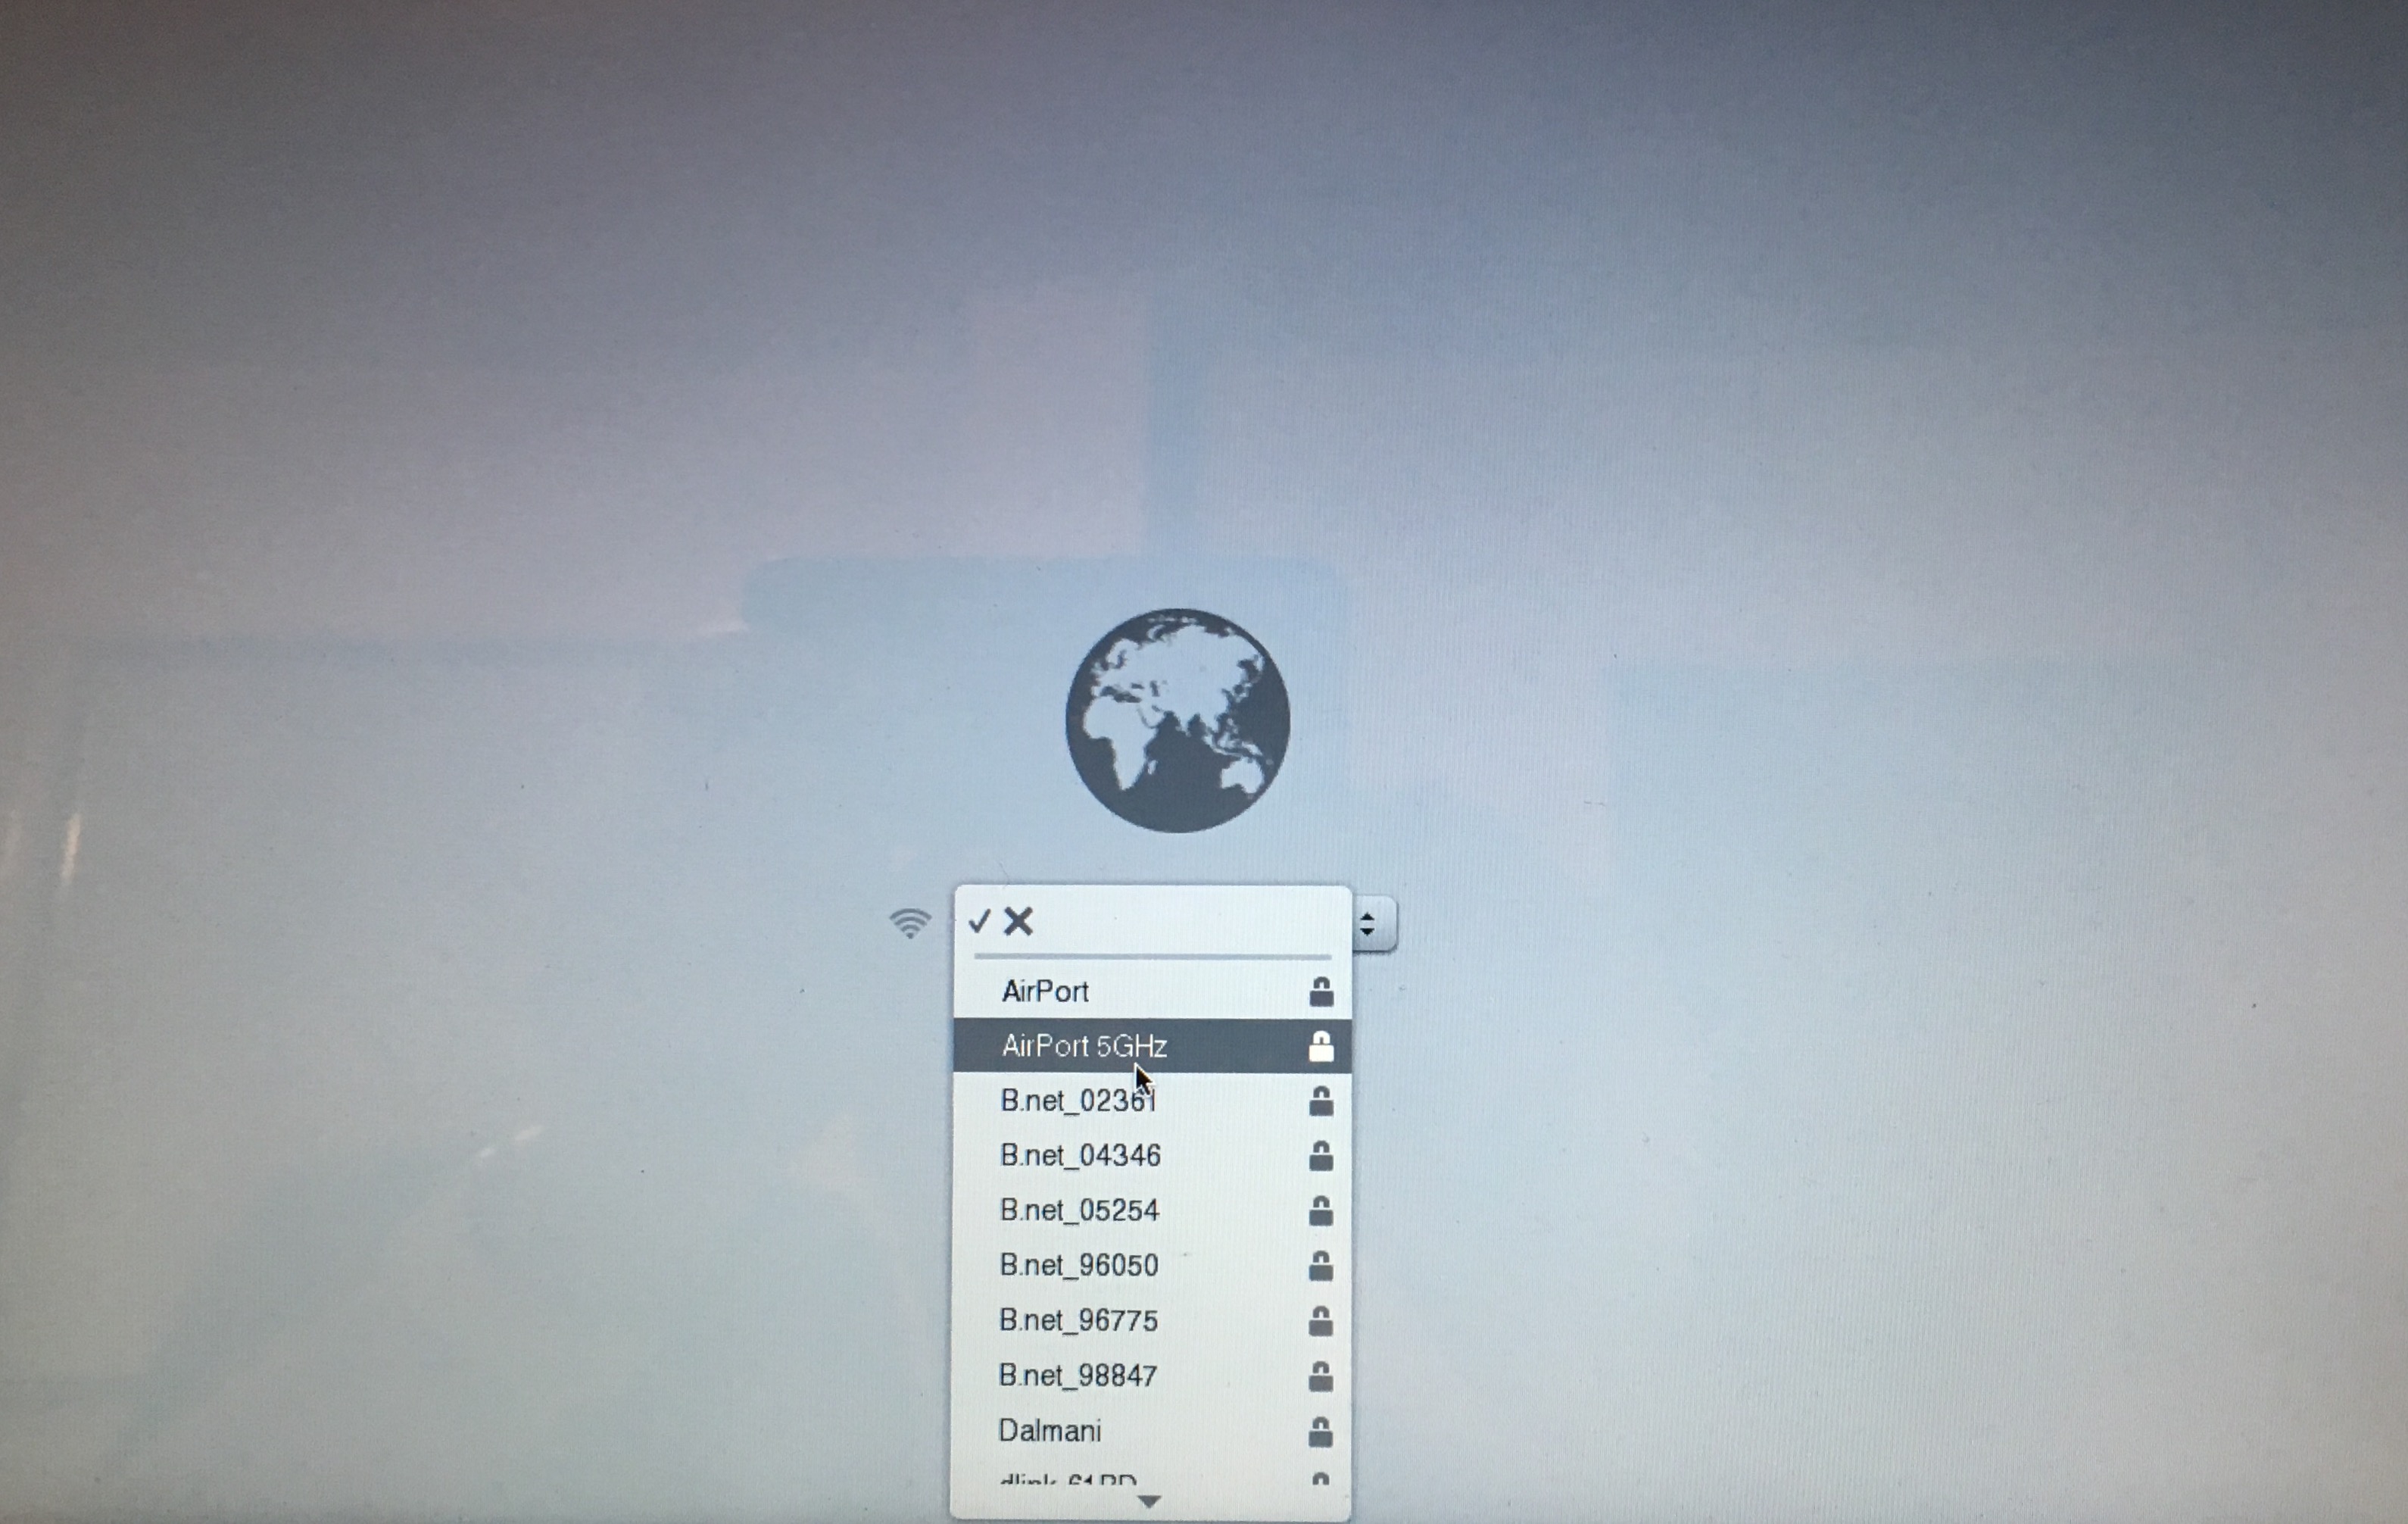
4) If this isn’t an open Wi-Fi network, you’ll have to type in your password. Press Enter on the keyboard or click the checkmark symbol to continue.
5) After your Mac has connected to the Wi-Fi network, it’ll download a recovery system image from Apple’s servers and start from it, giving you access to the recovery tools.

Depending on your Internet connection, this may take anywhere from a couple of minutes to up to an hour, or longer. Connect your Mac to the power adapter so that it doesn’t run out of juice whilst it’s loading Internet Recovery from Apple’s servers.
6) If all goes well, you’ll see the macOS Utilities window.
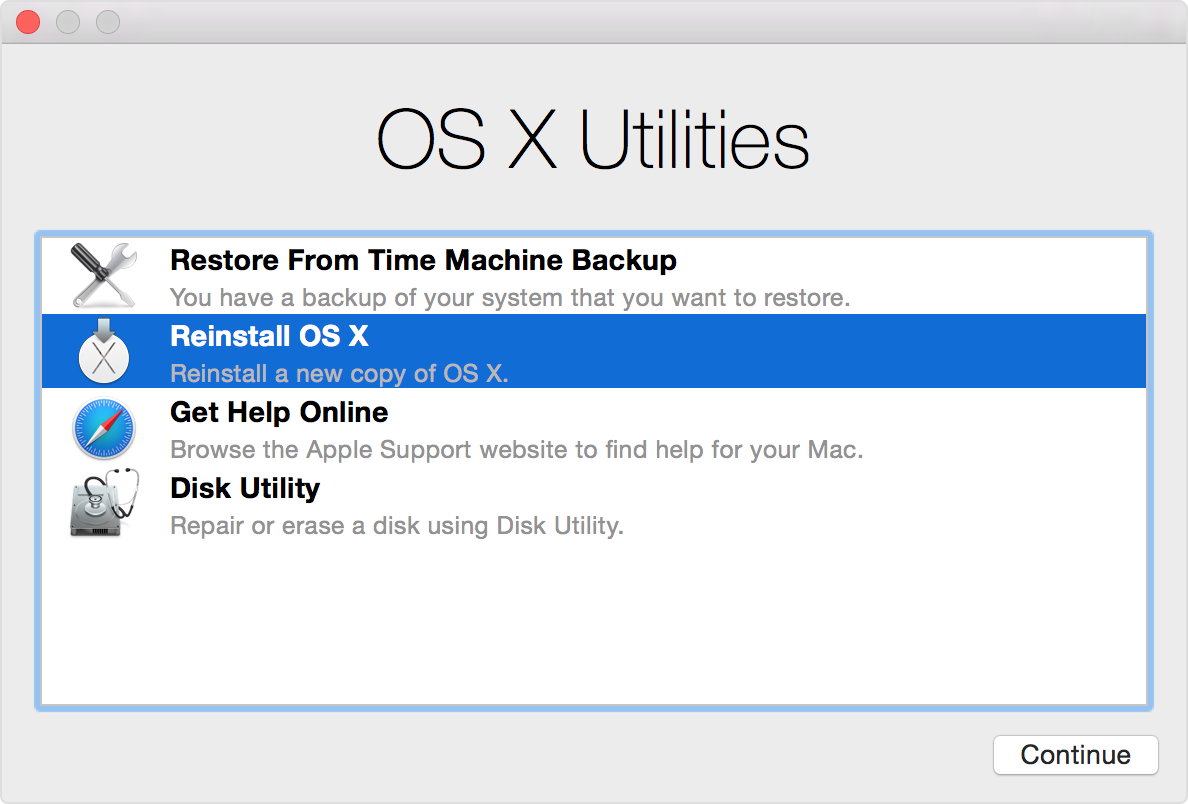
Choose the option you want to use in this window or via the Utilities menu.
The recovery tools let you:
- Reinstall the version of macOS that originally came with your Mac
- Restore the computer from a Time Machine backup
- Check the connected disks for errors with Disk Utility
- Search for help online using Safari
Internet Recovery Mode requirements
“Some Macs that came with OS X Snow Leopard can use Internet Recovery after installing OS X Lion or later and a firmware update,” notes Apple.
If your Mac is one of the models listed below, or older, you may upgrade it to use macOS Internet Recovery by downloading and installing an updated EFI Firmware ROM:
- MacBook Pro (13-inch, 15-inch, 17-inch, Early 2011)
- iMac (21.5-inch, Mid 2011)
- iMac (27-inch, Mid 2011)
- MacBook (13-inch, Mid 2010)
- MacBook Pro (13-inch, Mid 2010)
- Mac mini (Mid 2010)
- MacBook Pro (15-inch and 17-inch, Mid 2010)
- iMac (21.5-inch and 27-inch, Mid 2010)
- MacBook Air (11-inch and 13-inch, Late 2010)
Newer machines running at least OS X Lion support Internet Recovery out of the box.
Requirements for installing macOS in Recovery Mode
After entering Internet Recovery Mode and choosing to install or reinstall macOS, your Mac will need to download the installer for the version of macOS that came preloaded on your Mac when you took it out of the box.
If OS X Recovery is used for reinstallation, your Mac must use DHCP on a Wi-Fi or Ethernet network and WPA/WPA2 as a security method on Wi-Fi.
You cannot reinstall macOS over a Wi-Fi or Ethernet network that uses the following authentication protocols:
- WEP
- WPA-Enterprise
- Certificate-based authentication / 802.1x
- Proxies (where specific proxy servers must be configured in network preferences)
- Captive Wi-Fi networks (where you click an “Agree” button to access the Internet)
- PPPoE (where there is no router handling the PPPoE connection)
The network requirements listed above also apply to the version of Safari that comes with macOS’ Internet Recovery and standard Recovery Mode.
If your Internet connection has requirements that are unsupported by macOS Recovery, change the settings to a supported configuration for the duration of the macOS installation.
What to do when Internet Recovery is unavailable
If the recovery partition on your Mac has been damaged and you cannot enter standard Recovery Mode and Internet Recovery is unavailable, you can still start the computer from an external drive with a bootable version of OS X.
We highly recommend creating a bootable copy of the macOS installer on a USB thumb drive. You can use it to install macOS on multiple Macs without needing to re-download the installer on each machine.
Just plug a USB flash drive containing an macOS installer into your Mac. Then restart the computer, and hold down the Option key after hearing the startup chime.
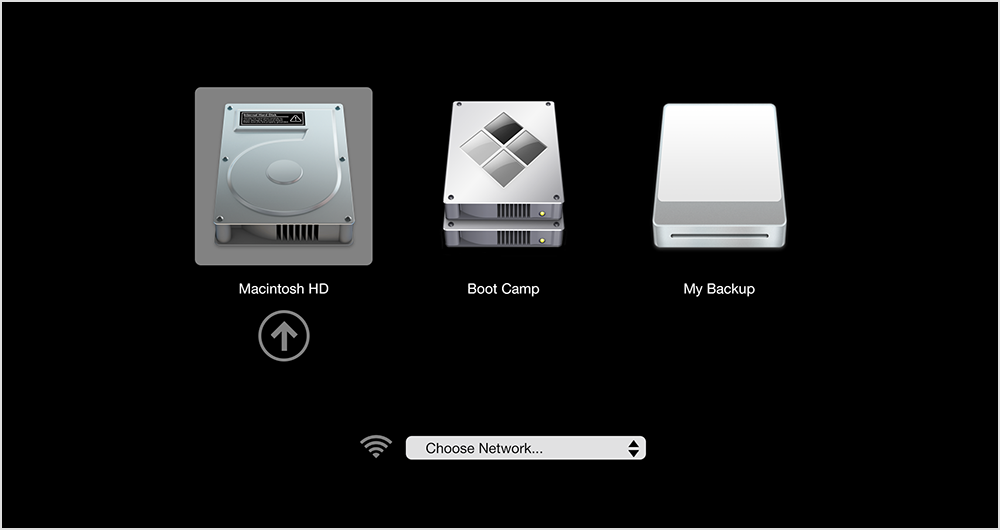
This will bring up the Startup Manager, so you can start up your Mac from any connected drive or external storage device that has a bootable copy of macOS on it.
Finally, some drive partition configurations can result in macOS’ installer reporting that it cannot create a recovery partition for Recovery Mode. If you see this message, quit the installer and install macOS on an external drive connected to your Mac.
This will put a recovery partition on the external disk. You can continue installing macOS on the startup drive after creating a recovery system on an external drive.
You cannot use macOS’ FileVault disk encryption unless the recovery partition is present on the startup drive. Also, using RAID partitions or non-standard Boot Camp partitions on the startup drive might prevent macOS from installing a local recovery partition.
Related tutorials
Check out these resources that cover a myriad of ways you can start up your Mac:
Источник


