- Тестирование настройки MIDI
- Если из MIDI-модулей не слышен звук
- Set up MIDI devices using Audio MIDI Setup on Mac
- View a MIDI configuration
- Create a MIDI configuration
- Edit a MIDI configuration
- The best MIDI keyboards for Mac and Logic Pro
- Native Instruments Komplete MIDI Keyboards:
- Arturia KeyLab/KeyStep:
- AKAI MPK Mini MKII 25-Key USB MIDI Controller:
- Budget Options:
- Guides
- Logic Pros
- Music and Audio
- About the Author
- Justin Kahn
Тестирование настройки MIDI
Используйте программу «Настройка Audio-MIDI» на компьютере Mac для тестирования настройки MIDI.
Ниже приведены инструкции по тестированию настройки MIDI с помощью программы «Настройка Audio-MIDI».
- Подключите MIDI-контроллер (такой как клавиатура) к компьютеру Mac. Если используется MIDI-интерфейс, подключите его к компьютеру Mac, а контроллеры подключите к MIDI-интерфейсу.
- Откройте программу «Настройка Audio-MIDI» в подпапке «Утилиты» папки «Программы».
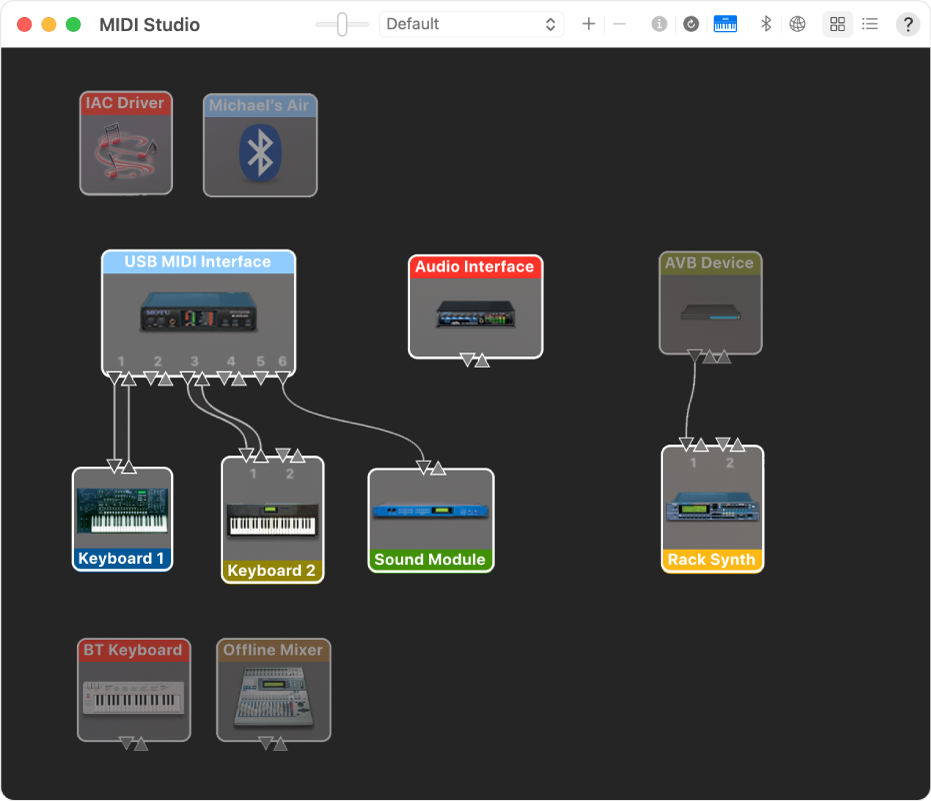
- Выберите «Окно» > «Показать MIDI‑студию». Устройства MIDI, подключенные к компьютеру Mac, отображаются в окне «MIDI-студия» значками. Значки устройств, которые не подключены в данный момент, затенены.
- Выберите устройство, которое требуется протестировать, затем щелкните в меню MIDI-студии.

- Чтобы протестировать входящий MIDI-сигнал на устройстве, щелкните стрелку вниз на значке для выбранного устройства. Каждый MIDI-порт на устройстве имеет собственный набор стрелок. Если на устройстве есть индикаторы состояния для передачи данных MIDI, индикатор для соответствующего порта должен светиться. Если устройство подключено для аудиовывода и настроено для приема на том же самом канале MIDI, оно также будет издавать звук.
- Чтобы протестировать MIDI-вывод устройства, воспроизведите ноту на MIDI-контроллере. При получении этого сигнала компьютером Mac в MIDI-студии будет выделена стрелка вверх для соответствующего порта MIDI-вывода на устройстве.
- Чтобы остановить тестирование, щелкните .

Если MIDI-контроллер или интерфейс не отвечают во время выполнения любого из этих тестов, убедитесь, что они совместимы с версией macOS на компьютере Mac. Обратитесь к производителю за поддержкой. Если обновление доступно, следуйте инструкциям производителя для обновления устройства или ПО.
Если из MIDI-модулей не слышен звук
Если индикаторы на MIDI-интерфейсе горят во время тестирования, убедитесь, что кабели из MIDI-портов на интерфейсе подключены к MIDI-портам на модуле.
Если звук по-прежнему не слышен, убедитесь, что аудиовыходы модулей подключены к микшеру или другой системе усиления. Если модуль оснащен разъемом для наушников, попробуйте подключить к модулю наушники для проверки звука.
Информация о продуктах, произведенных не компанией Apple, или о независимых веб-сайтах, неподконтрольных и не тестируемых компанией Apple, не носит рекомендательного или одобрительного характера. Компания Apple не несет никакой ответственности за выбор, функциональность и использование веб-сайтов или продукции сторонних производителей. Компания Apple также не несет ответственности за точность или достоверность данных, размещенных на веб-сайтах сторонних производителей. Обратитесь к поставщику за дополнительной информацией.
Источник
Set up MIDI devices using Audio MIDI Setup on Mac
If you use MIDI devices or a MIDI interface connected to your Mac, you can use Audio MIDI Setup to describe the configuration of your MIDI devices. There’s a default configuration already created, but you can set up your own.
You can use this configuration information for apps that work with MIDI, such as sequencers, to control your MIDI devices.
Note: Make sure your MIDI devices are connected to your Mac. If you’re using an interface device, connect any other MIDI devices you’re using to the interface. Also check that any software provided by the manufacturer of the MIDI devices has been installed. For more information, see the documentation that came with your devices.
View a MIDI configuration
In the Audio MIDI Setup app  on your Mac, choose Window > Show MIDI Studio.
In the MIDI Studio window, click the Choose MIDI Configuration pop-up menu (it may show Default), then choose the configuration you want to view.
In the toolbar, click the following buttons to change how the configuration is shown:
Show Icon View  : Devices in the configuration are shown as icons. If a device isn’t connected, its icon is dimmed. To view information about a device, such as channel properties and ports, and to add or remove ports, double-click the device’s icon.
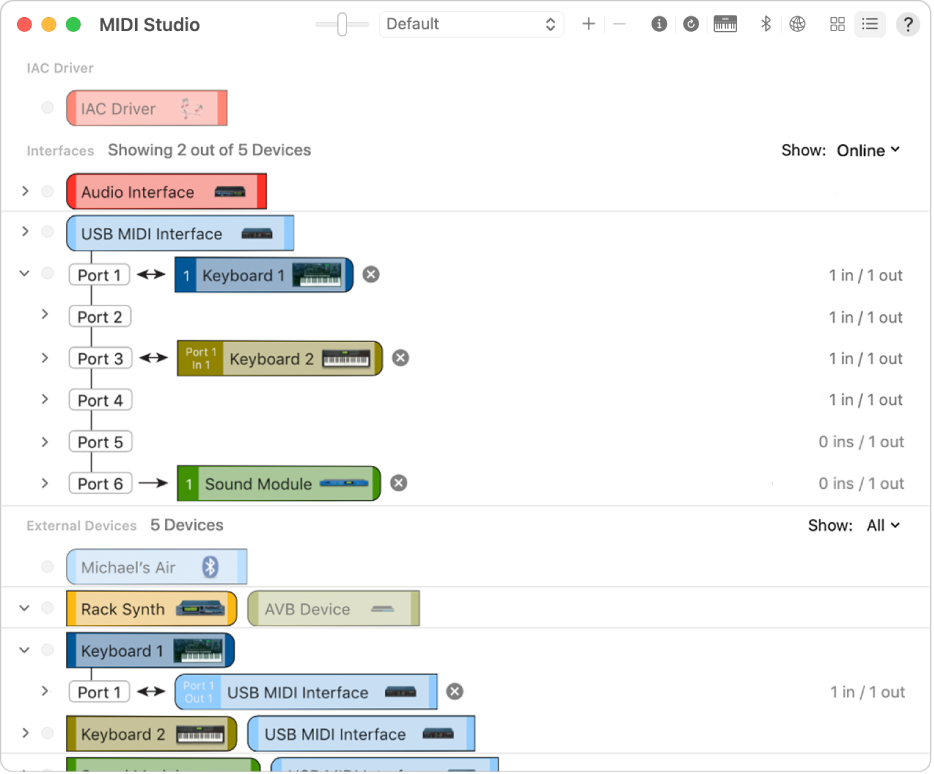
Show List View  : Devices in the configuration are shown in a list, organized by type (such as Interface or External Device). If a device isn’t connected, it’s dimmed. To filter which devices are shown, click the Show pop-up menu, then choose an option (such as Online or Connected). To view information about a device, double-click the device. To view its ports, or to connect or disconnect devices, click the device’s disclosure triangle.
Create a MIDI configuration
In the Audio MIDI Setup app on your Mac, choose Window > Show MIDI Studio.
In the MIDI Studio window, click the Choose MIDI Configuration pop-up menu (it may show Default), then choose New Configuration.
Enter a name for the new configuration, then click OK.
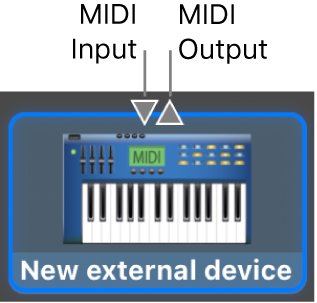
To add a new external MIDI device, click the Add button  in the MIDI Studio toolbar.
To set properties and add or remove ports for the MIDI device, double-click the device, or select it, then click the Device Info button  in the toolbar.
In the Properties window, do any of the following:
Describe the device: Enter a name for the MIDI device; the name appears in apps you use with the device. If you know the manufacturer and model, you can enter those.
Change the device icon: Click the MIDI device’s icon to open the Icon Browser, select a different icon to represent the device, then click the new icon to close the Icon Browser.
Change the device color: Click the color well, select a different color to use for the MIDI device, then close the Colors window.
Set the device channels and other properties: Click Properties, then click the channels to use for transmitting and receiving audio. To deselect a channel, click it again. Also select whether to use the MIDI Beat Clock, the MIDI Time Code, or both, then select other features.
Add or remove ports: Click Ports, click the Add button below the list of ports, then specify the MIDI In and MIDI Out connectors for the port. To delete a port, select it in the list, then click the Remove button  .
.
Select MIDI-CI profiles for interface devices: If an interface device supports MIDI-CI, click MIDI-CI to see the profiles available on each channel. To turn a profile on or off, select or deselect its checkbox.
Repeat steps 4 through 7 for each MIDI device you want to include in the configuration.
In the MIDI Studio window, specify the connection between MIDI devices:
In Icon View , drag the In or Out connectors at the top of a device icon to the corresponding connector on another device icon.
In List View , click a device’s disclosure triangle, click the Port disclosure triangle, click the Add Connection icon, then use the pop-up menus to specify the connections.
If you have a MIDI interface connected to the USB port on your Mac, it should appear in the MIDI Studio window. If it doesn’t, see If a connected MIDI device isn’t shown.
You can’t specify a “MIDI thru” connection between two MIDI devices. To indicate a MIDI thru connection, connect the two MIDI devices to the same port of the MIDI interface device.
Edit a MIDI configuration
In the Audio MIDI Setup app on your Mac, choose Window > Show MIDI Studio.
In the MIDI Studio window, click the Choose MIDI Configuration pop-up menu (it may show Default), then choose Edit Configurations.
Select a configuration, then click Duplicate, Rename, or Delete.
When you’re finished making changes, click Done.
Источник
The best MIDI keyboards for Mac and Logic Pro
— May. 24th 2017 1:08 pm PT
Now that we are well in to 2017, we thought it was a good time to re-assess the MIDI keyboard situation for Mac users. We have some new contenders on the block that have pushed some old favorites to the side, while AKAI, Native Instruments and more continue to bring some of the best and most affordable controllers to market. I f you are just getting into making music with virtual instruments on your Mac and Logic Pro X, a MIDI controller of some kind is a must and a keyboard option is usually the best point of entry.
Head below for our 2017 picks of the best MIDI keyboards for Mac users:
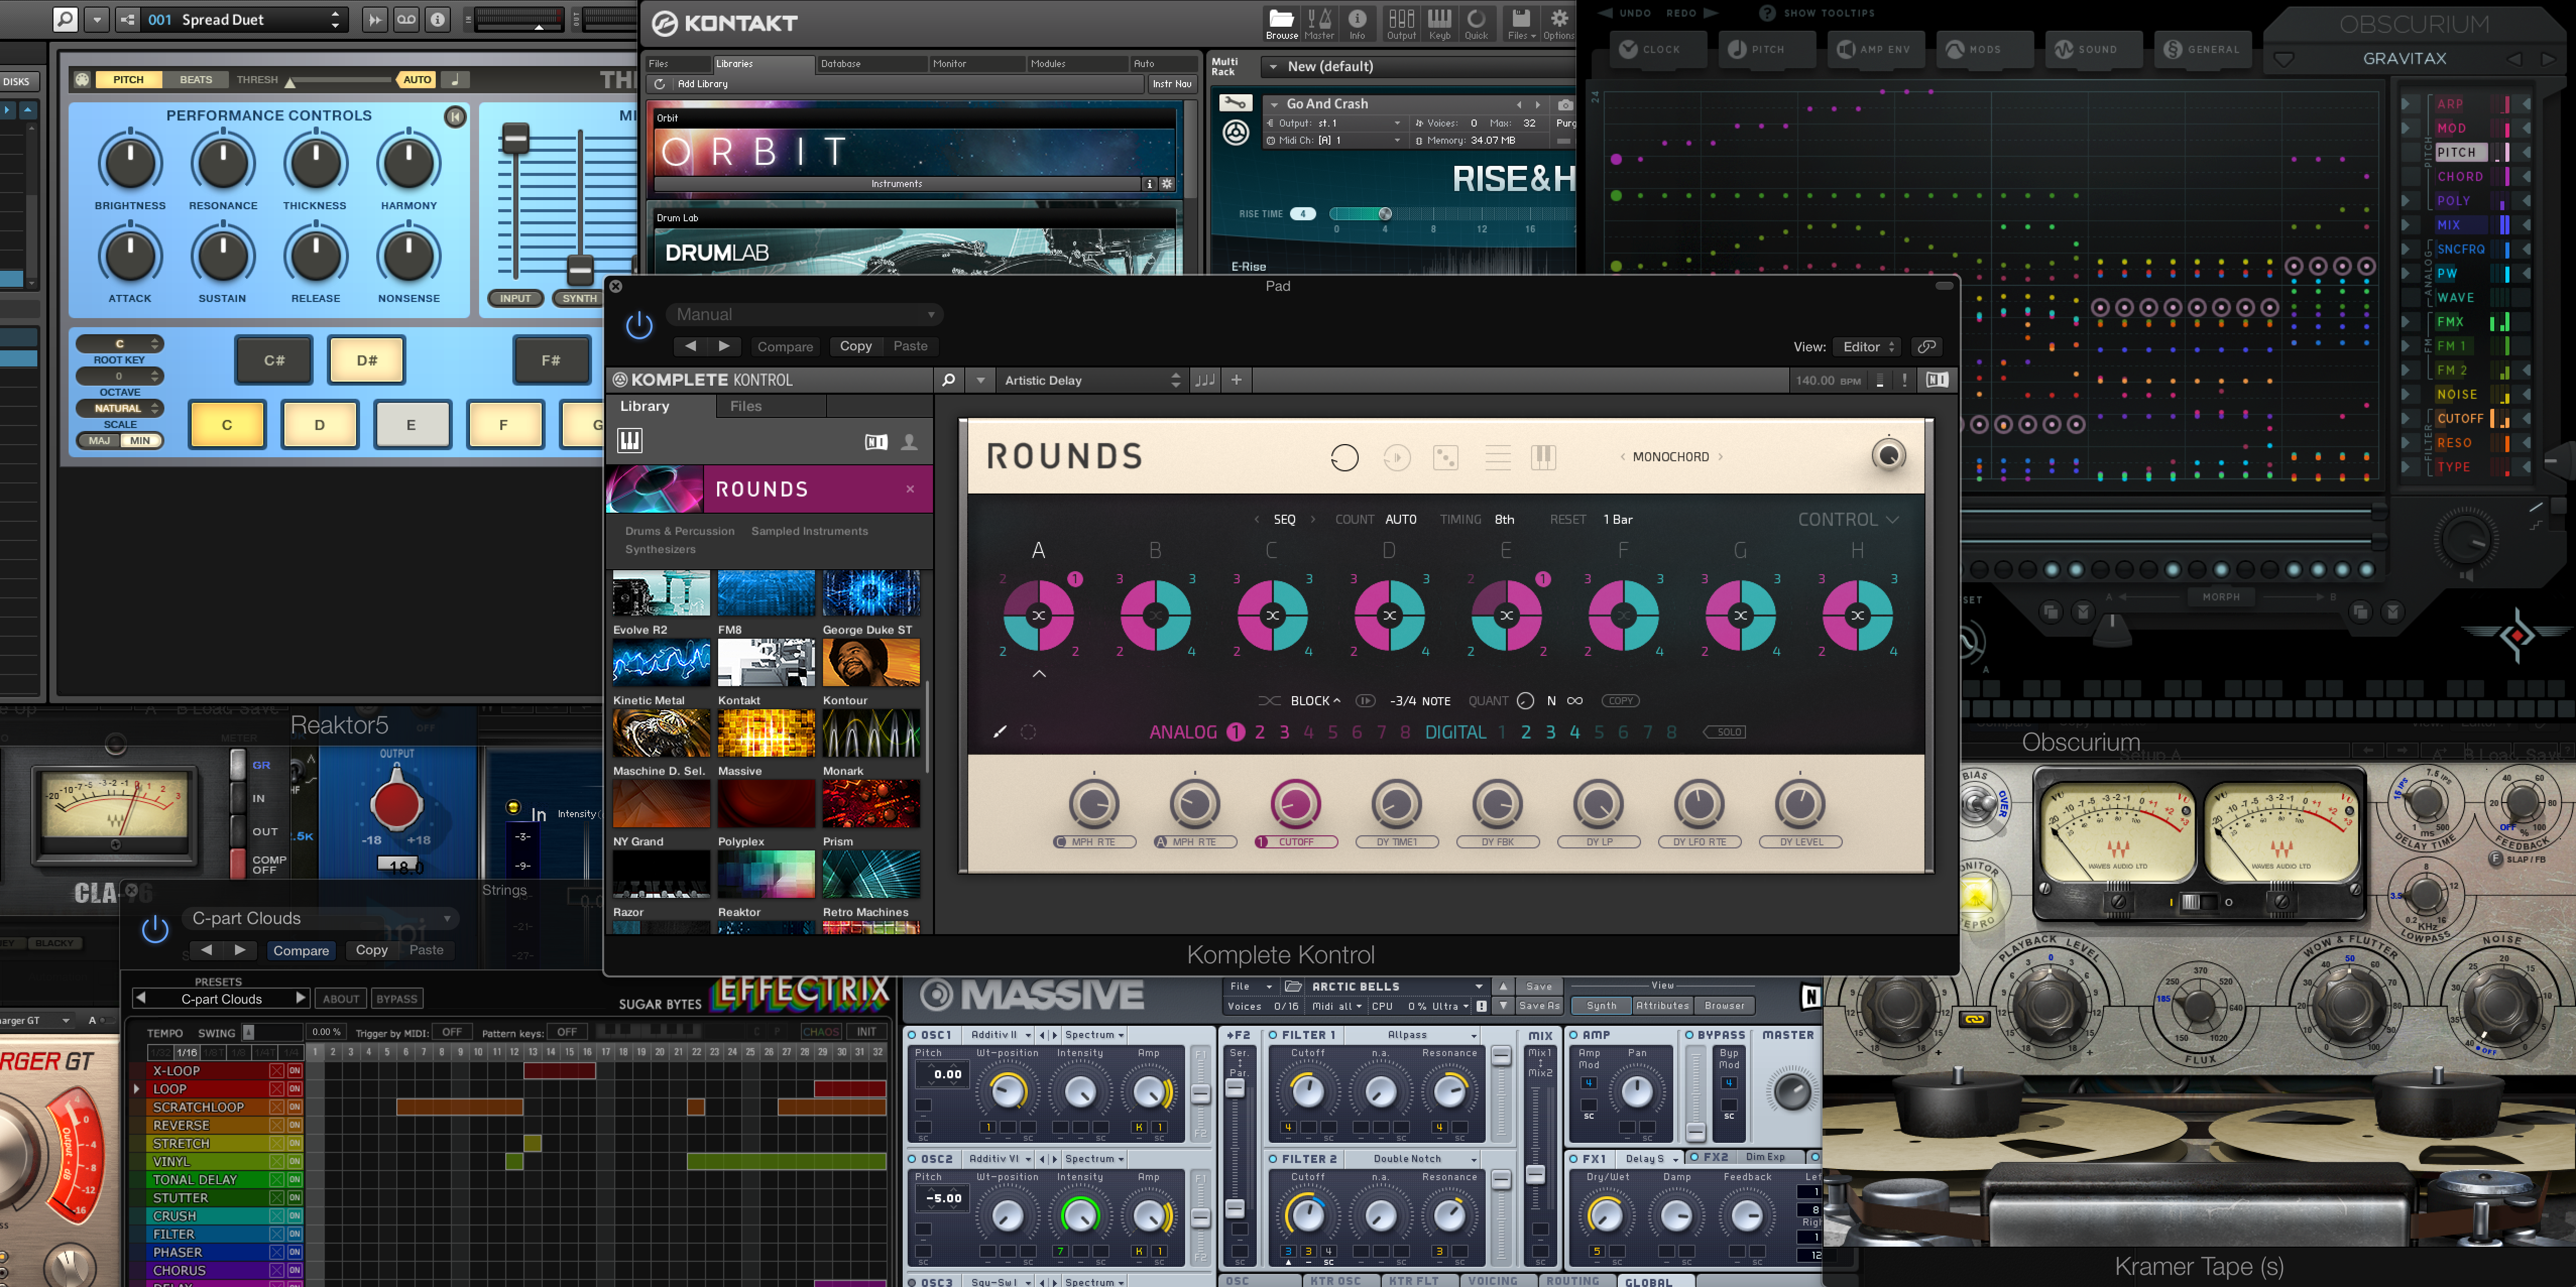
Native Instruments Komplete MIDI Keyboards:
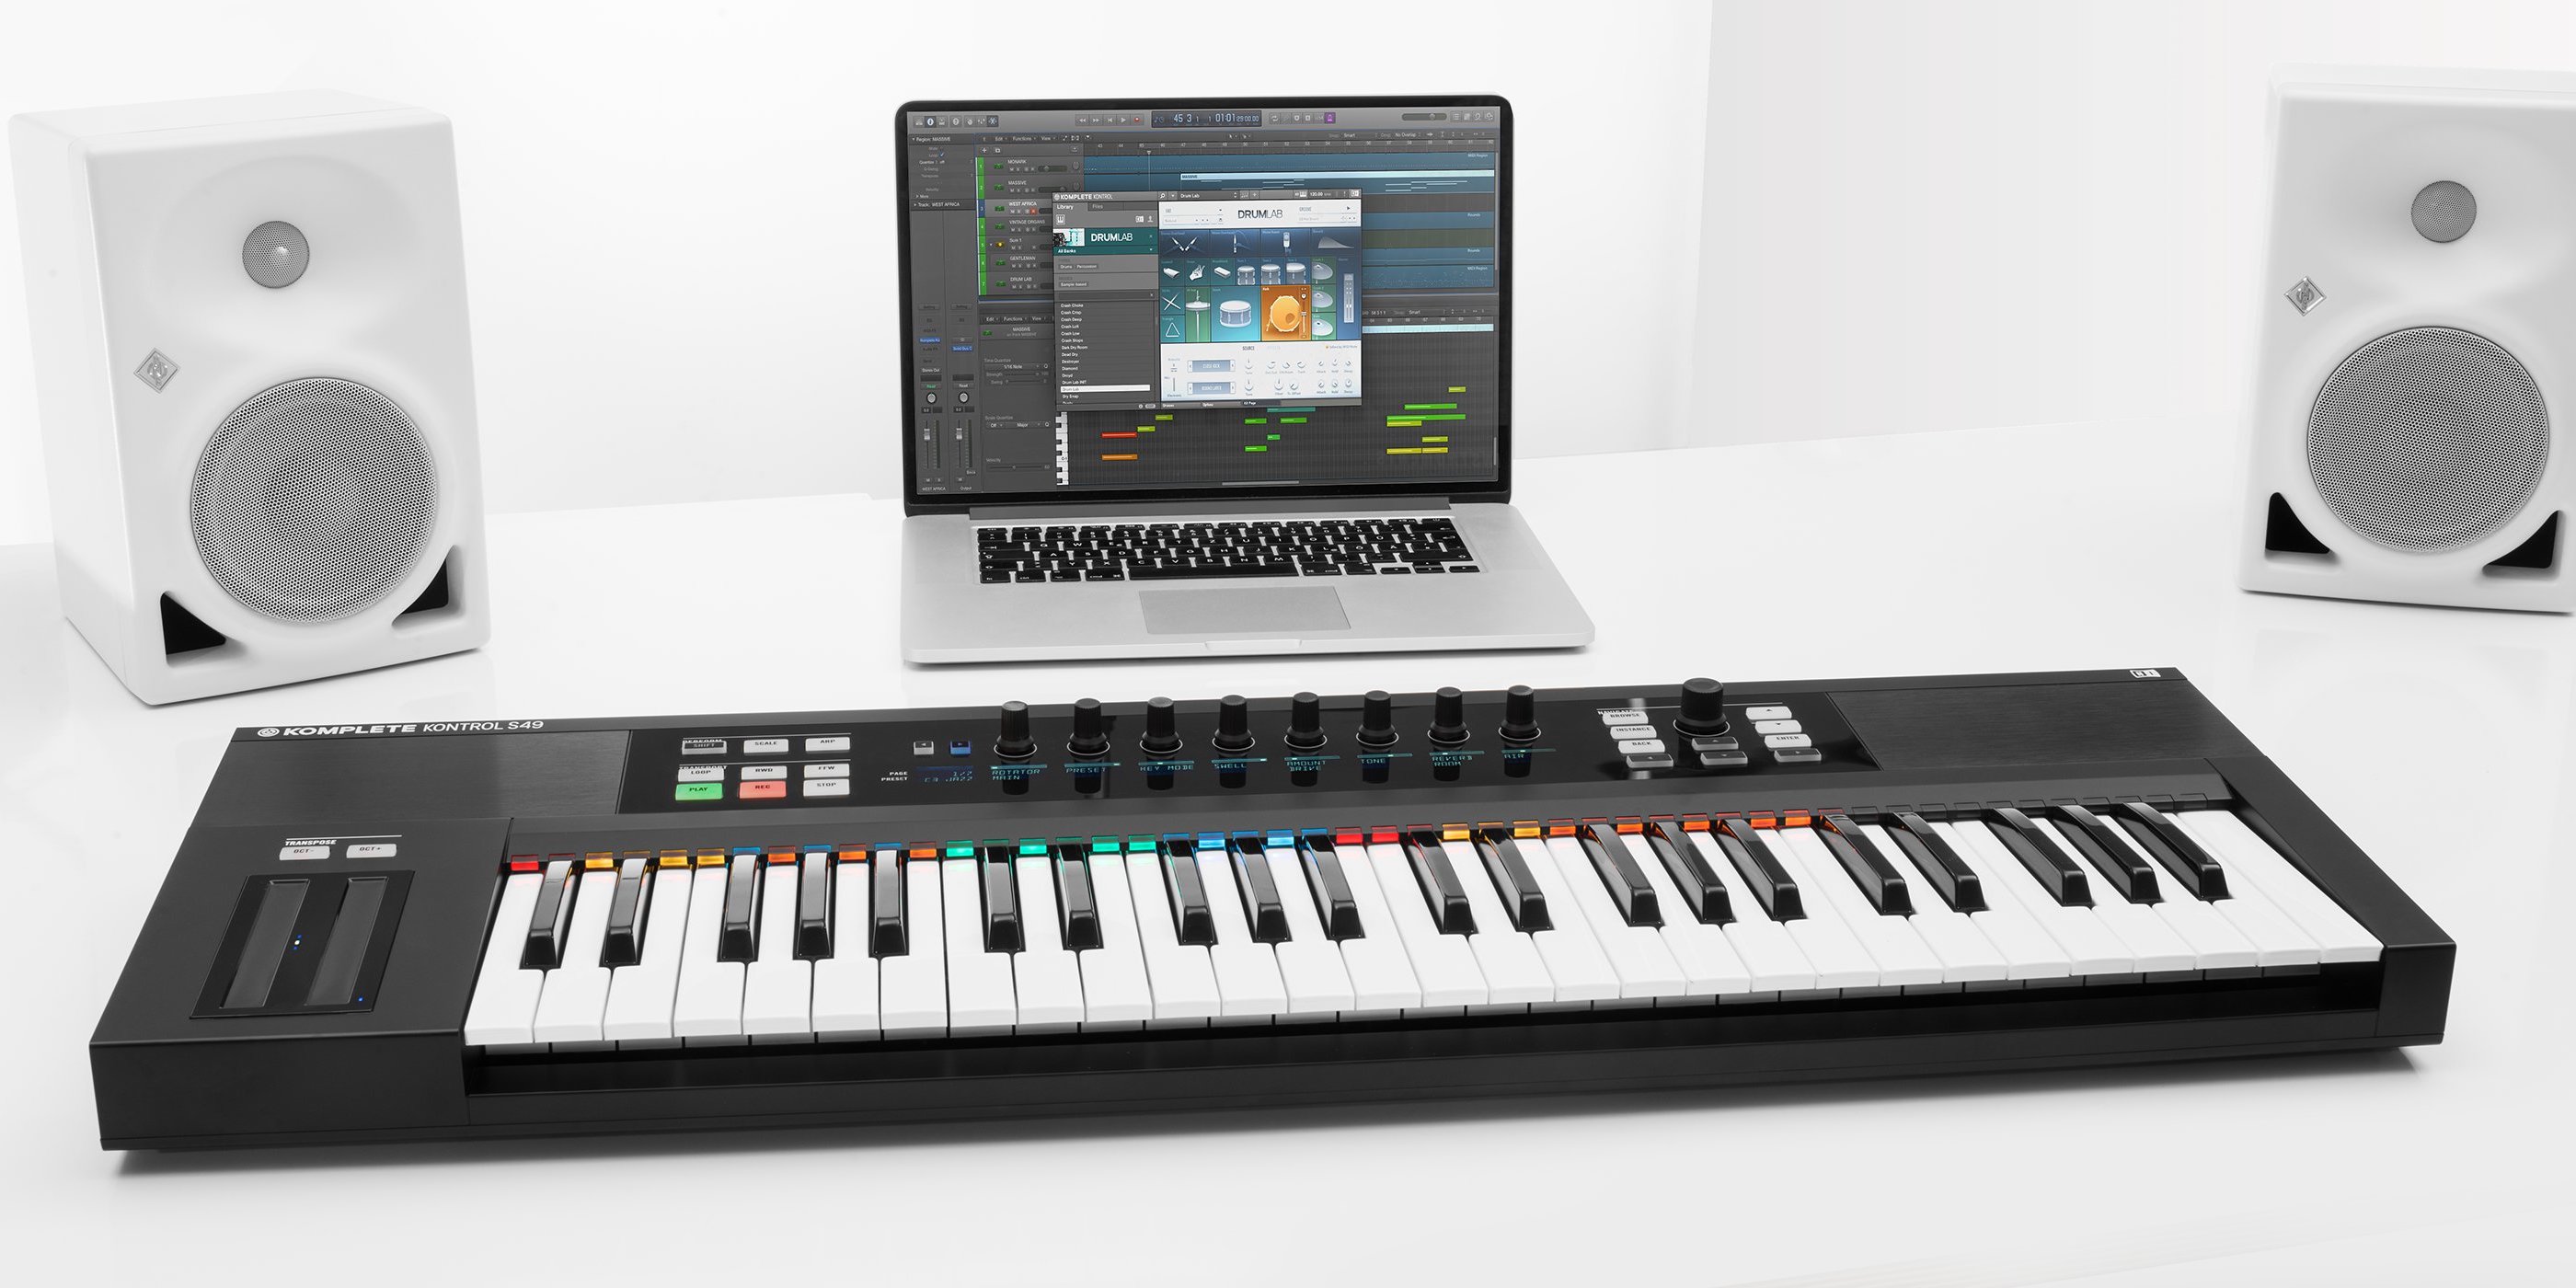
Native Instruments has remained a dominant force in the virtual instrument/effects space for as many years as I can remember now, and it is slowly taking over the hardware controller world too. Its Maschine and Komplete Kontrol MIDI keyboards have an integrated collection of sounds and instruments unlike any other platform there is. And they play perfectly well with Logic Pro X and other major DAWs.
In our hands-on review of the Komplete Kontrol keyboards we found them to be a fantastic investment for anyone already using NI’s incredible suite of virtual gear. A solid build and extremely tight hardware control over the software side of things make these one of the best options in the price range.
Native Instruments Komplete Kontrol Keyboards come in 4 size variations:
- Komplete Kontrol S25 25-Key $399
- Komplete Kontrol S49 49-Key $599
- Komplete Kontrol S61 61-Key $699
- Komplete Kontrol S88 88-Key $999
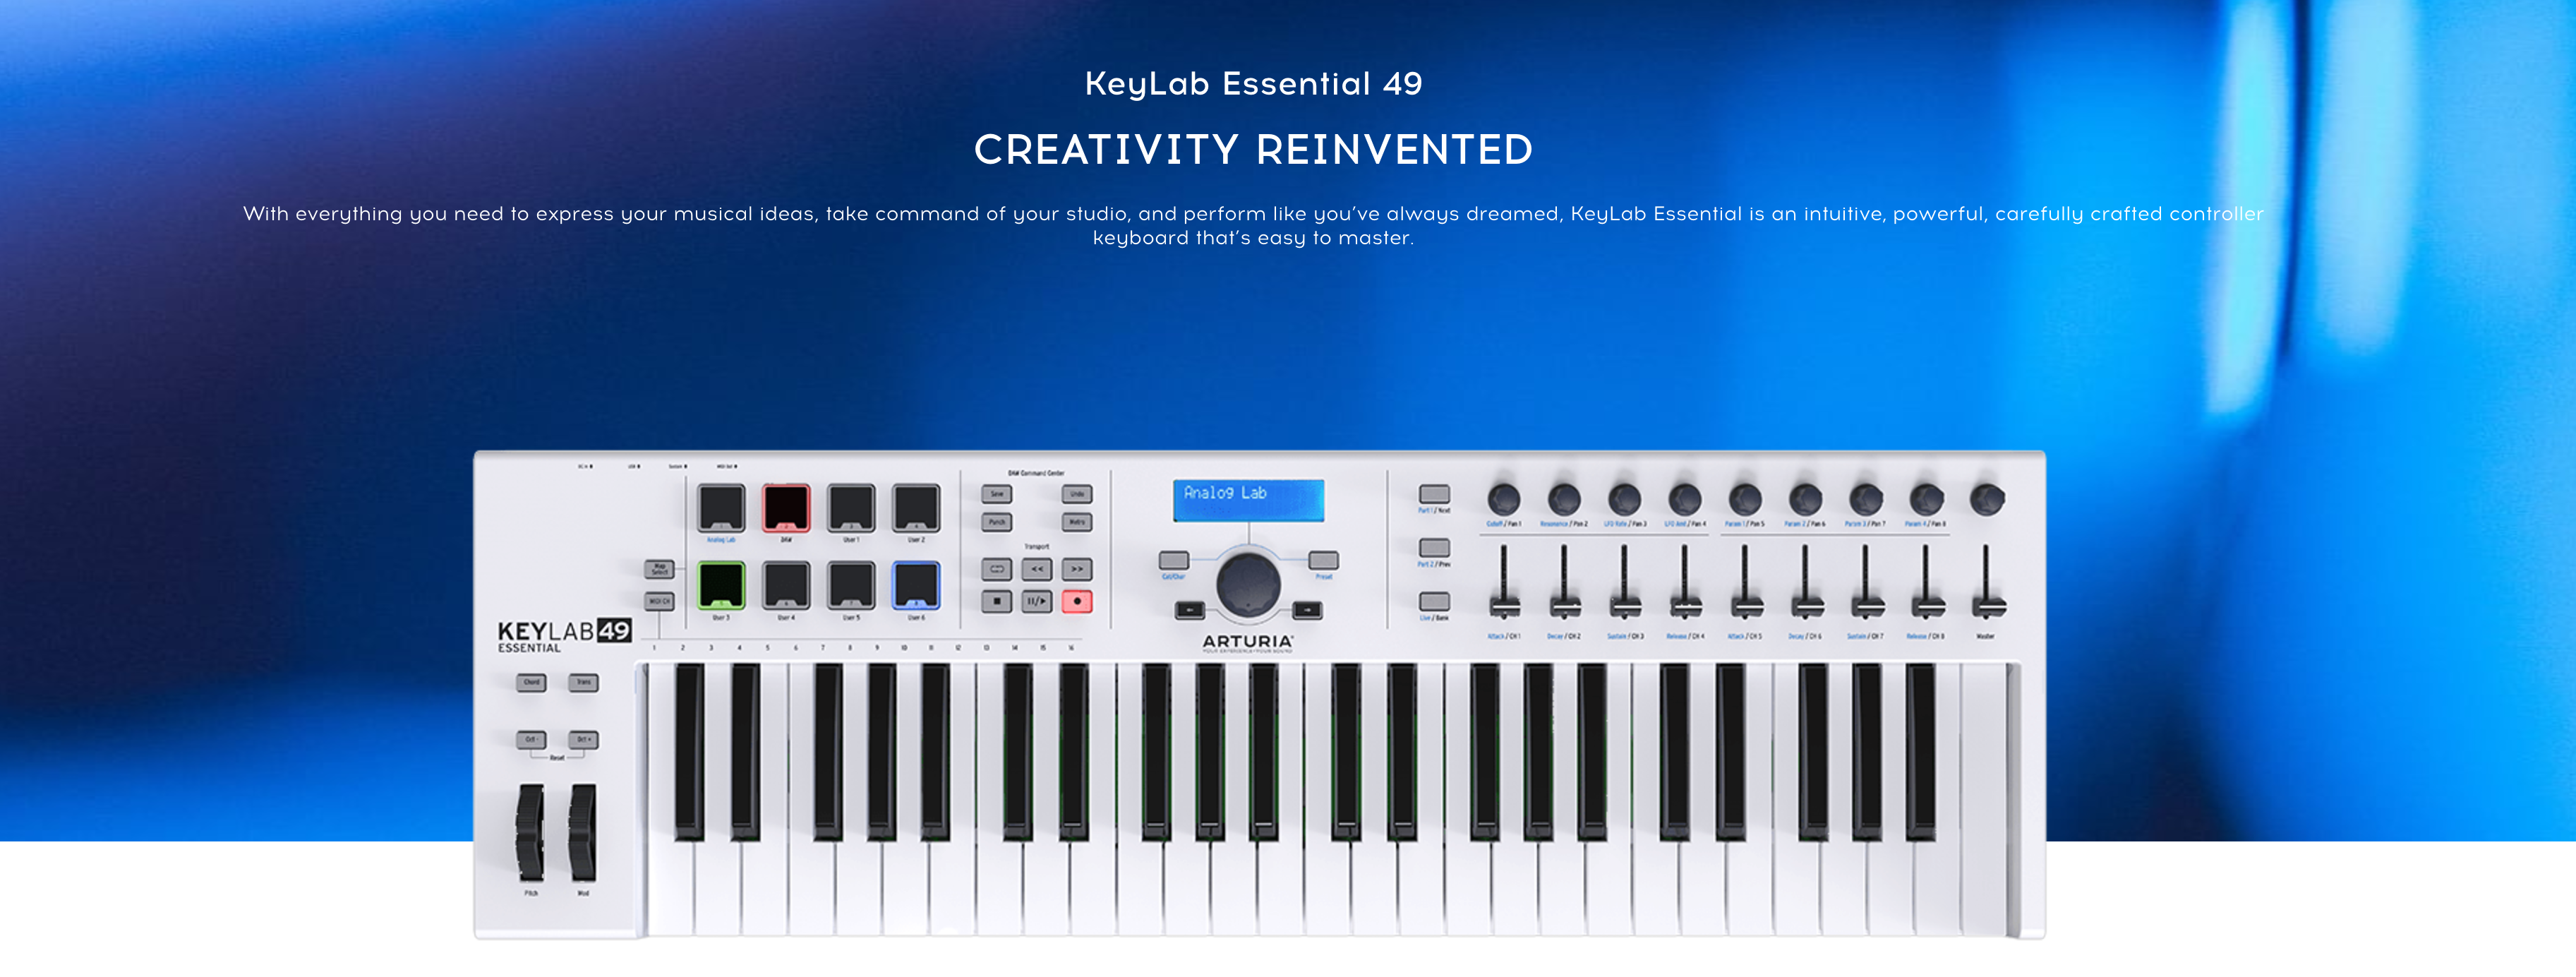
Arturia KeyLab/KeyStep:
The Arturia KeyLab products, like the Complete Kontrol, line are tightly connected with Arturia’s Analog Lab software. However, not only do you get a solid USB/MIDI keyboard controller, but over 5,000 synths from inside the software included for the price. Recently the line was updated with “Essential” models and even more sounds packed in. Whether you go with the KeyLab (25, 49, 61 or 88) or the new Essential model, you’ll be getting a solid keyboard that works with your Mac right out of the box.
Arturia has been doing some fantastic things as of late, even its KeyStep keyboard offers up great value for a mini MIDI keyboard along with full CV control for modular synth users. I happen to be a big fan of the Beat Step Pro sequencer, which recently released with a special black colorway.
- Arturia KeyStep 32-Key USB/CV/MIDI Keyboard $119
- Arturia KeyLab 25 Hybrid USB/MIDI Keyboard Controller $189
- Arturia KeyLab 49 Hybrid USB/MIDI Keyboard Controller $349
- Arturia KeyLab 88 Hybrid USB/MIDI Keyboard Controller $799
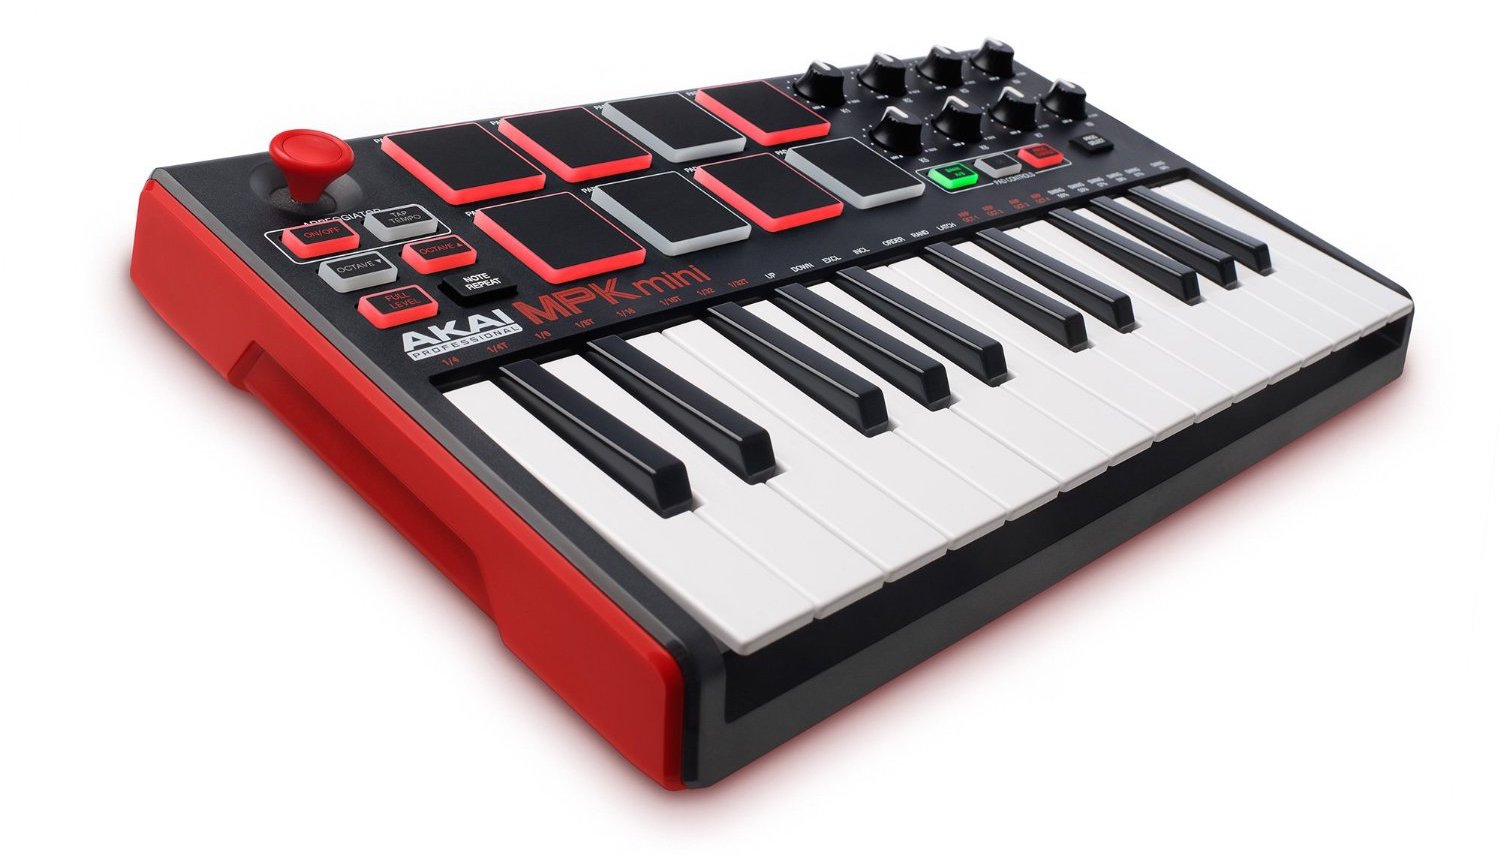
AKAI MPK Mini MKII 25-Key USB MIDI Controller:
When it comes to the $100 range or so, we are still loving AKAI’s MPK Mini MKII 25-Key USB MIDI Controller . It is an Amazon best-seller for a reason. AKAI makes really good quality gear (especially the MPK line, I have been using it for years). So to be able to bring one of its pro controllers home for under $100 , its major win for anyone looking to get a good quality controller without breaking the bank. It doesn’t skimp out on the features either: 25-keys, 8 rubber drum pads, 8 fully-assignable control knobs a dedicated note repeat function and more.
But Akai also makes some other fantastic controller options in various sizes. Here are your best options:
- Akai Pro LPK25 25-Key Portable MIDI Keyboard $57
- Akai MPK Mini MKII 25-Key USB MIDI Keyboard $99
- Akai Pro MPK225 MKII 49-Key USB MIDI Keyboard $249
- Akai Pro MPK249 MKII 49-Key USB MIDI Keyboard $399
- Akai Pro MPK261 MKII 61-Key USB MIDI Keyboard $499
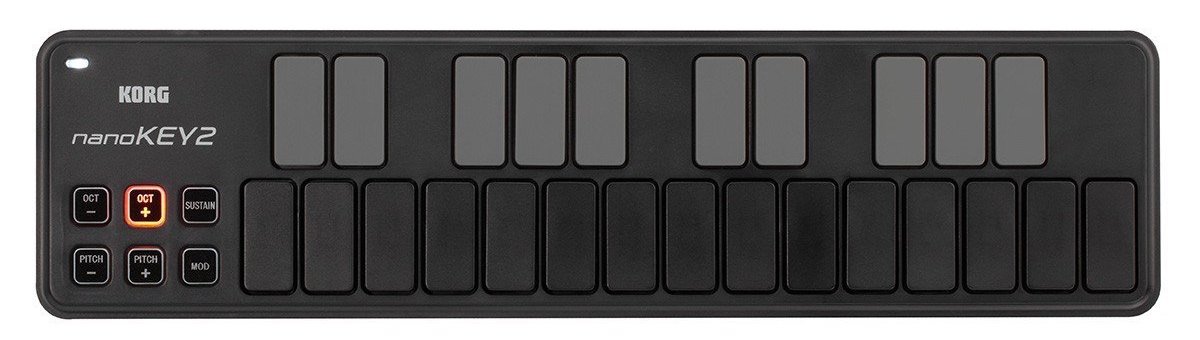
Budget Options:
If you’re just getting going, and looking for something really inexpensive to start with, here are some options floating around $50 that will get you jamming in minutes:
- Korg nanoKEY2 Slim-Line USB Keyboard $50
- midiplus AKM320 MIDI Keyboard Controller $40
- IK Multimedia iRig Keys MINI 25-key Keyboard $79
For all things Mac and iOS music production stay locked to our Logic Pros series.
Want more Logic Pros? Check out the archives here and stay tuned for a new installment each week in 2017.
FTC: We use income earning auto affiliate links. More.
Guides
Logic Pros
Logic Pros on 9to5Mac exploring music creation on Mac and iOS devices.

Music and Audio
About the Author
Justin Kahn
Justin is a senior editor covering all things music for 9to5Mac, including our weekly Logic Pros series exploring music production on Mac and iOS devices. Justin is an audio engineer/producer with over 10 years experience in the music industry.
Источник


