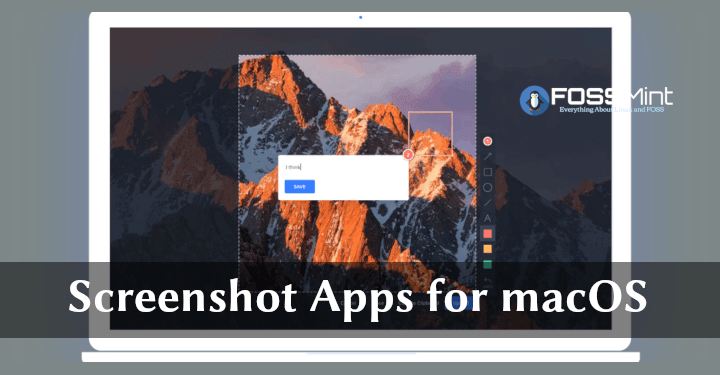
- 10 Best Screenshot Apps for macOS
- 1. Snappy
- 2. CloudApp
- 3. Quicktime
- 4. Lighshot
- 5. Monosnap
- 6. Skitch
- 7. Jing
- 8. Screenie
- 9. Teampaper Snap
- 10. CleanShot
- Take screenshots or screen recordings on Mac
- Take pictures or screen recordings using Screenshot
- Take pictures using keyboard shortcuts
- Как снимать любые скриншоты на Mac. 5 лучших способов
- 1. Стандартные возможности OS X
- 2. Утилита Снимок экрана
- 3. Skitch
- 4. Lightshot Screenshot
- 5. Joxi Screenshoter
- Артём Суровцев
10 Best Screenshot Apps for macOS
macOS comes with built-in options for taking screenshots but it doesn’t offer users sufficient annotation options or advanced features like encryption, conversion to GIF, etc.
Today, we bring you a list of the 10 best screenshot apps available for macOS and they all have their unique features.
1. Snappy
Snappy is a beautiful feature-rich screenshot tool with so many advanced features I am surprised that it is free. It was designed for taking quick shots (referred to as snaps) and organizing them for you into collections.
Snappy also supports annotation, sharing, iCloud sync, and password encryption.
Snappy Snapshot Tool for Mac
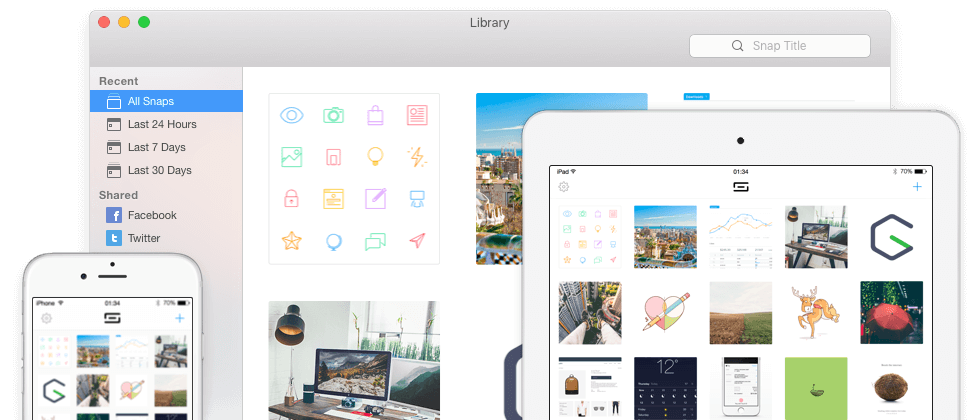
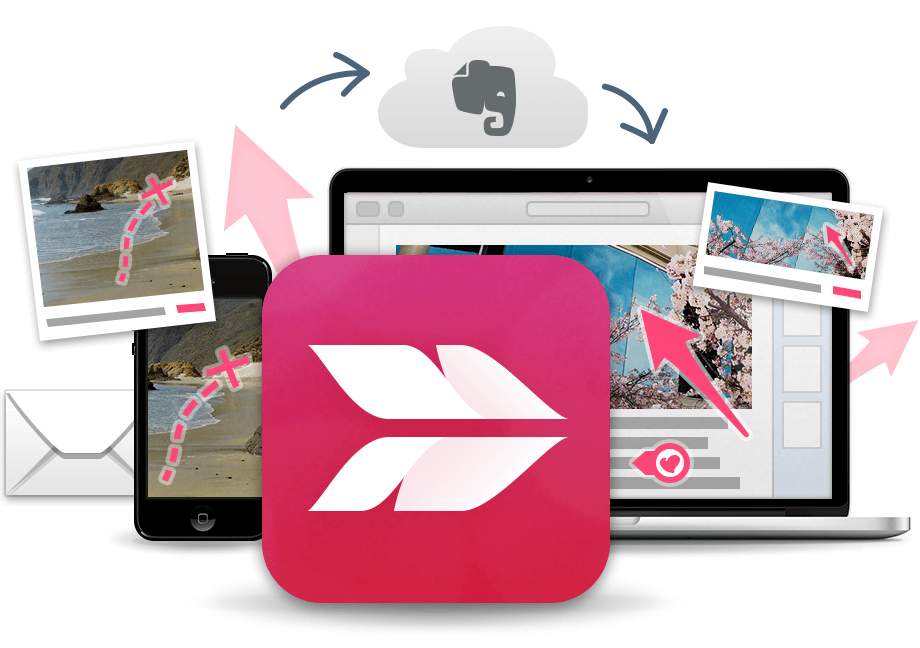
2. CloudApp
CloudApp enables you to record videos, webcam, annotate screenshots, and create GIFs that you can save to the cloud.
It is free to use forever (after a 14-day free trial) and it is on our list because the free version offers all that you will need for typical and even somewhat advanced screenshotting tasks.
CloudApp Screen Capture Tool for Mac
3. Quicktime
macOS ships with Quicktime so you don’t need to go looking for a download link. If you didn’t already know, Quicktime is a beautiful video player that you can use to record your screen.
Quicktime is excellent for those who want to take screenshots without the need for making annotations or adding effects. You can record your screen by heading to File > New Screen Recording.
Select the screen area that you want to capture, choose whether you want to record video, and hit the record button.
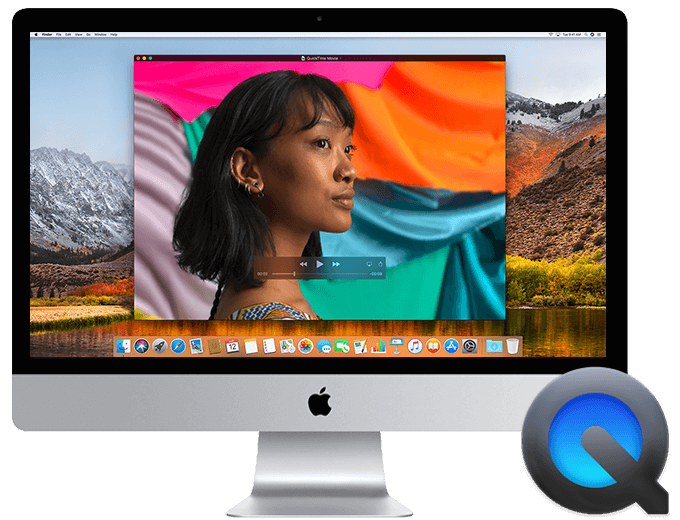
Quicktime Screen Capture Player for Mac
4. Lighshot
Lightshot is a lightweight screenshot app for taking quick captures of your screen. All you have to do is drag the selection tool to cover the area you want to capture and save it either locally or online on prntscr.com where it will be publicly available.
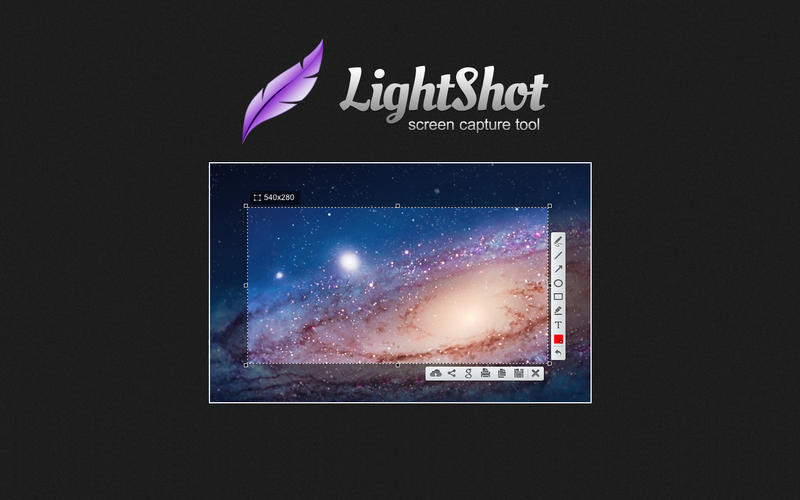
Lightshot Screenshot Tool for Mac
5. Monosnap
Monosnap is a free screenshot utility that allows you to annotate images as soon as they are captured. You can decide to export your captures to JPG or PNG, or even export them to external apps like Gimp.

Monosnap Screenshot Editor for Mac
6. Skitch
Skitch is an app that was created to work with Evernote. You can use it to create screenshots and it has a variety of annotation tools that you can easily use to mark up images.
Skitch Screenshot Tool for Mac
7. Jing
Jing is a free screenshotting tool brought to you by the makers of Snag It. It provides an avenue for home and office users to create visual elements and share with others. It also supports a seamless integration with Screencast.
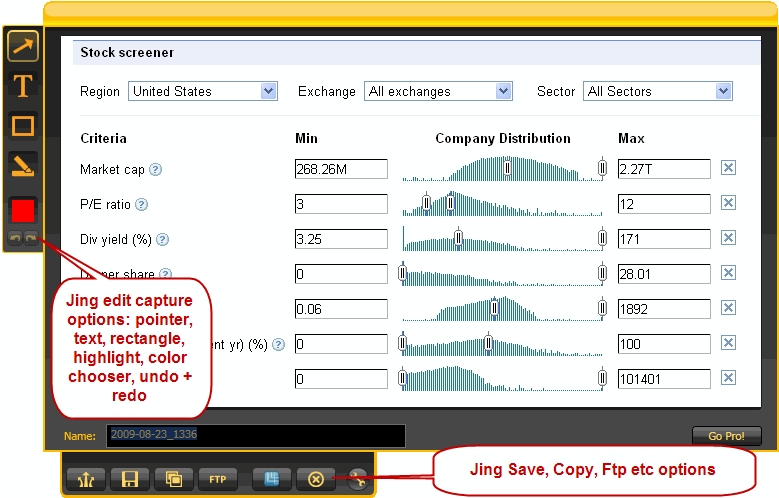
Jing Screenshot Tool for Mac
8. Screenie
Screenie is a free screenshotting tool that also works as an image manager. It features the ability to filter and search through images, change screenshot filetypes to JPG, PSD, etc., and to take timed desktop screenshots using the touch bar.
Screenie Screenshot Tool for Mac
9. Teampaper Snap
Teampaper Snap is a modern screenshotting app that allows you to take screenshots of a selected area. It works in the menu bar with copy & paste support. It also allows you to share your screenshots with third parties via links.
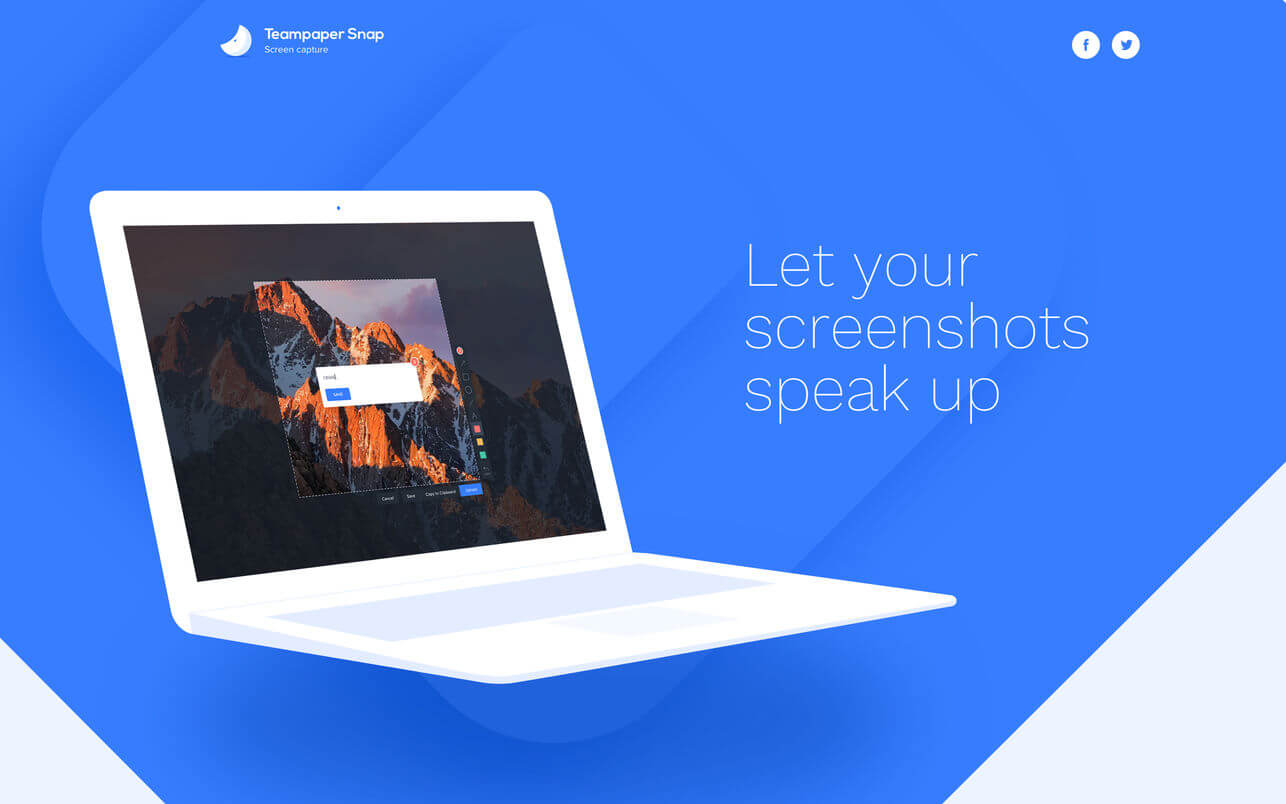
Teampaper Snap Screenshot Tool for Mac
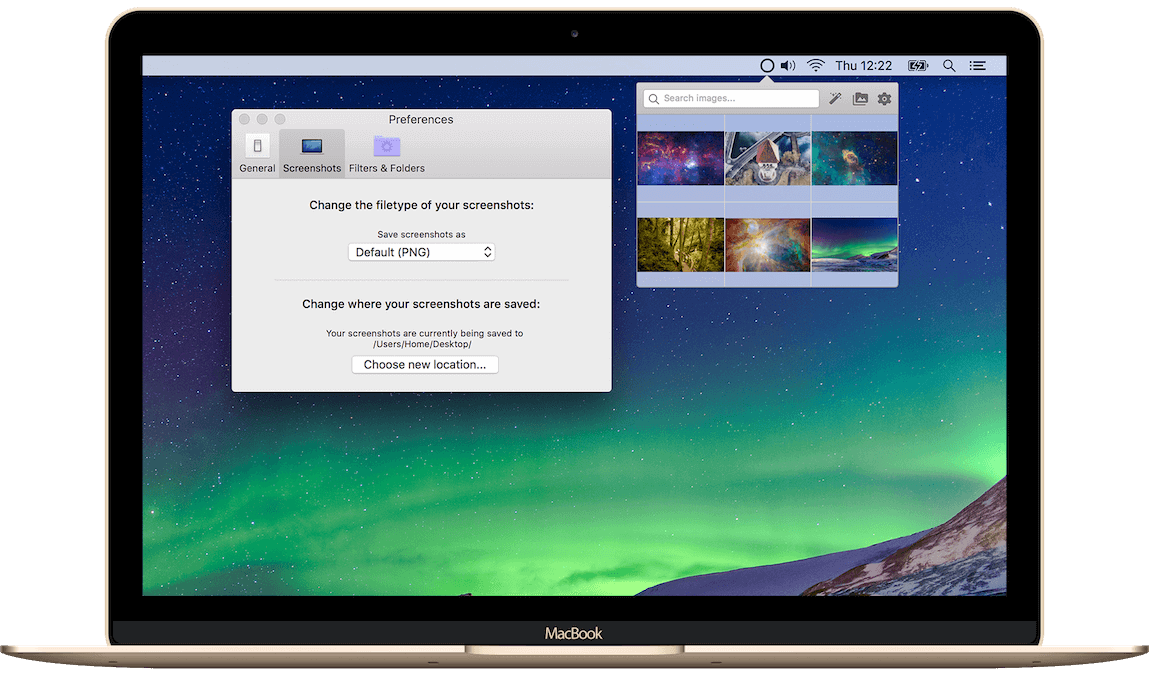
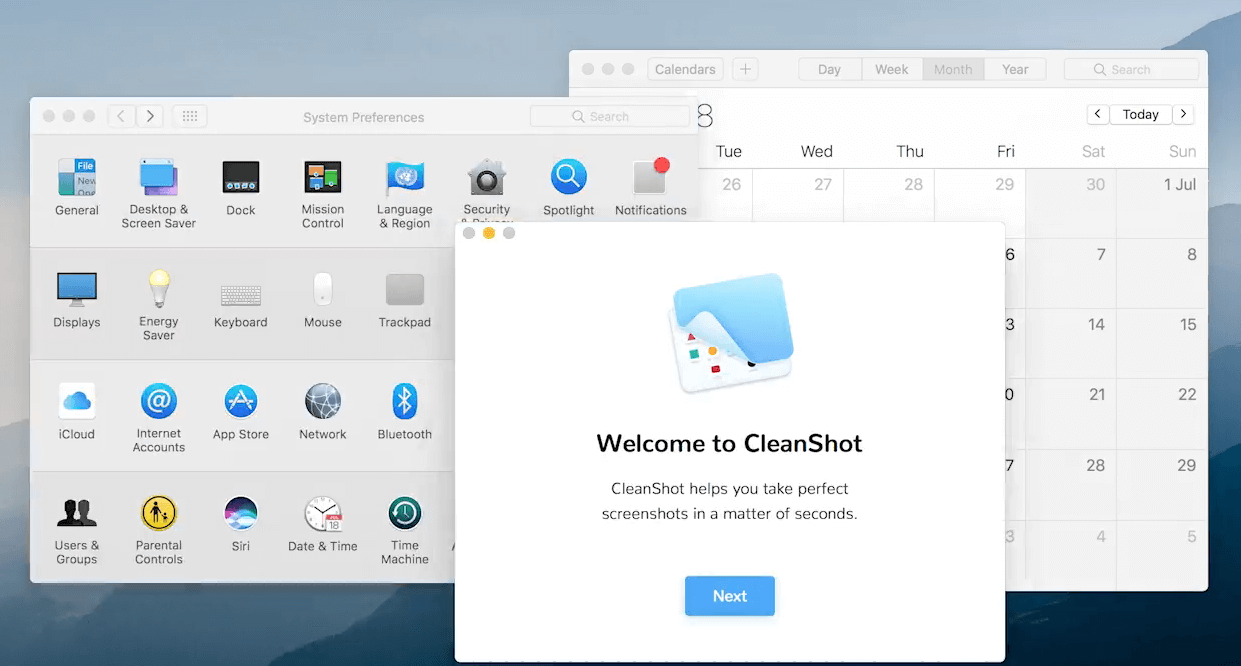
10. CleanShot
The last but definitely not the least is the awesome CleanShot. It enables you to take clutter-free screenshots of your Desktop. That’s right, you don’t have to worry about your desktop icons being all over the place.
What’s even cooler is that you can generate correctly aligned window screenshots with your wallpaper as a background, customize keyboard shortcuts, record your screen, etc.
CleanShot is the only non-free app on our list and it will cost you a whole $15. You decide if it’s worth it.
CleanShot Tool for Mac
Did I mention any of your favourite screenshot app for Mac or I leave it out? Drop your comments in the section below.
Источник
Take screenshots or screen recordings on Mac
You can take pictures (called screenshots) or recordings of the screen on your Mac using Screenshot or keyboard shortcuts. Screenshot provides a panel of tools that let you easily take screenshots and screen recordings, with options to control what you capture — for example, you can set a timer delay or include the pointer or clicks.
Take pictures or screen recordings using Screenshot
On your Mac, press Shift-Command-5 (or use Launchpad) to open Screenshot and display the tools.

Click a tool to use to select what you want to capture or record (or use the Touch Bar).
For a portion of the screen, drag the frame to reposition it or drag its edges to adjust the size of the area you want to capture or record.
Capture the entire screen

Capture a window

Capture a portion of the screen

Record the entire screen

Record a portion of the screen

Click Options if you want.
The available options vary based on whether you’re taking a screenshot or a screen recording. For example, you can choose to set a timed delay or show the mouse pointer or clicks, and specify where to save the file.
The Show Floating Thumbnail option helps you work more easily with a completed shot or recording — it floats in the bottom-right corner of the screen for a few seconds so you have time to drag it into a document, mark it up or share it before it’s saved to the location you specified.
Start the screenshot or screen recording:
For the entire screen or a portion of it: Click Capture.
For a window: Move the cursor to the window, then click the window.
For recordings: Click Record. To stop recording, click the Stop Recording button  in the menu bar.
When the Show Floating Thumbnail option is set, you can do any of the following while the thumbnail is briefly displayed in the bottom-right corner of the screen:
Swipe right to immediately save the file and make it disappear.
Drag the thumbnail into a document, an email, a note or a Finder window.
Click the thumbnail to open a window where you can mark up the screenshot or trim the recording, or share it.
Depending on where you chose to save the screenshot or recording, an app may open.
Take pictures using keyboard shortcuts
You can use various keyboard shortcuts on your Mac to take pictures of the screen. The files are saved to the desktop.
Tip: To copy a screenshot so you can paste it somewhere — like in an email or to another device — press and hold the Control key while you press the other keys. For example, to copy the whole screen, press Shift-Command-Control-3.
Capture the entire screen
Capture a portion of the screen
Press Shift-Command-4, then move the crosshair pointer to where you want to start the screenshot. Press the mouse or trackpad button, drag over the area you want to capture, then release the mouse or trackpad button.
Capture a window or the menu bar
Press Shift-Command-4, then press the Space bar. Move the camera pointer over the window or the menu bar to highlight it, then click.
Capture a menu and menu items
Open the menu, press Shift-Command-4, then drag the pointer over the menu items you want to capture.
Press Shift-Command 5.
Capture the Touch Bar
You can customise these keyboard shortcuts in the Shortcuts pane of Keyboard preferences. On your Mac, choose Apple menu

> System Preferences, click Keyboard, then click Shortcuts.
Screenshots are saved as .png files and screen recordings are saved as .mov files. Filenames begin with “Screenshot” or “Screen Recording” and include the date and time.
You may not be able to take pictures of windows in some apps, such as DVD Player.
Источник
Как снимать любые скриншоты на Mac. 5 лучших способов
Стандартными и сторонними средствами.
1. Стандартные возможности OS X

В Mac есть отличный стандартный механизм для создания скриншотов. Большинству пользователей таких возможностей хватит с головой, давайте разберемся во всех тонкостях его работы.
Для создания снимка всего экрана потребуется нажать не самую очевидную комбинацию клавиш Command + Shift + 3. Такое положение дел часто расстраивает бывших пользователей Windows, где за подобное действие отвечала одна специальная кнопка Print Screen.
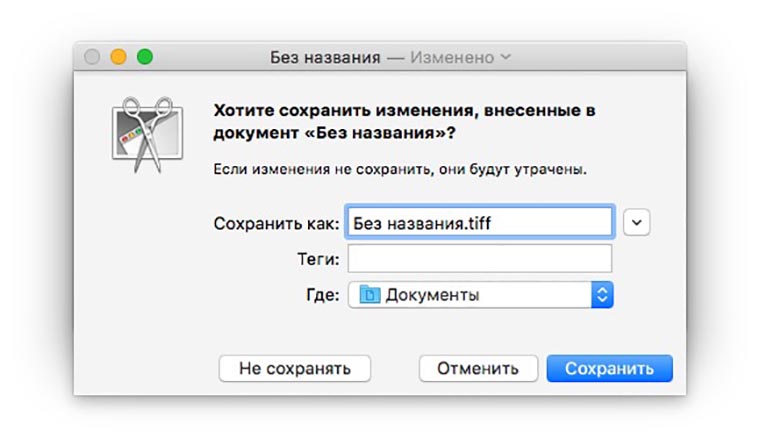
Сразу после создания скриншота на Mac на рабочем столе оказывается файл с расширением *.png.
Сочетение клавиш Command + Shift + 4 активирует режим выделения. После нажатия этих кнопок останется выделить нужную область и снимок экрана захватит только указанное пространство. Для удобства в момент выделения мы видим высоту и ширину будущего снимка в пикселях, отменить выделений можно нажатием на Escape.
Если после нажатия Command + Shift + 4 нажать еще и Пробел, то мы перейдем к фотографированию окон программ (курсор изменится на пиктограмму камеры). Достаточно навести курсор на нужное приложение и нажать на левую клавишу мыши, чтобы сохранился снимок указанной программы.
Таким способом можно сделать снимок строки меню или любого системного либо программного контекстного меню.
Всего за несколько минут можно настроить формат сохраняемого снимка экрана, его имя и исходную папку. 
Изменить сочетание клавиш для создания скриншотов на более удобное можно в приложении Системные настройки. Достаточно перейти в раздел Клавиатура – Сочетание клавиш, выбрать раздел Снимки экрана и указать подходящий шорткат.
2. Утилита Снимок экрана
Кроме вышеописанных возможностей в OS X есть специальная утилита для сохранения скриншотов. Найти её можно в Launchpad или через поиск Spotlight. Из особенностей приложения стоит отметить отображение курсора на скриншотах, инспектор изображений с параметрами снимка, другие горячие клавиши и наличие меню сохранения фото. 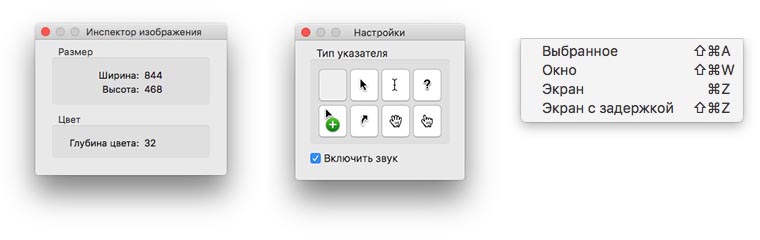
Если возможностей OS X будет недостаточно, можно поискать приложения с подобными функциями в App Store.
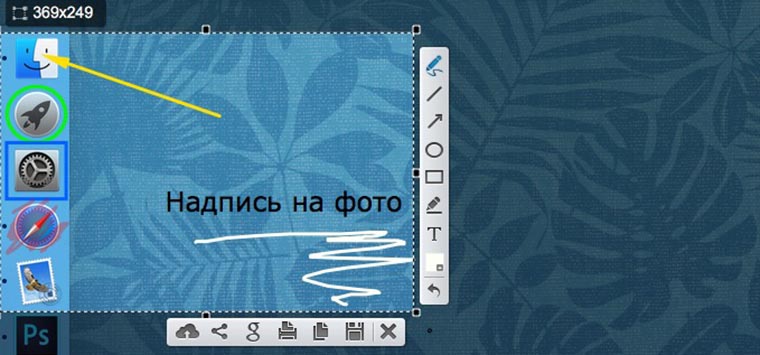
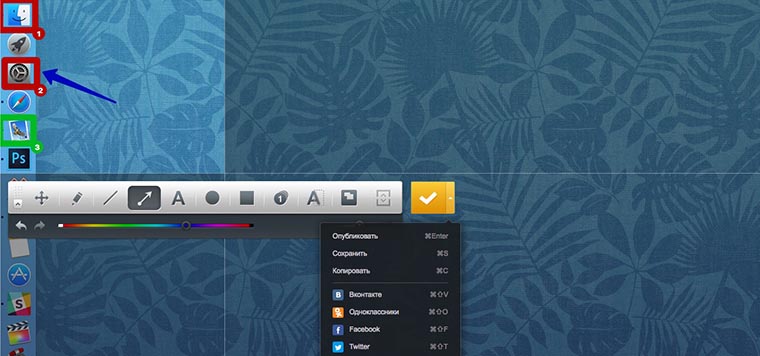
3. Skitch
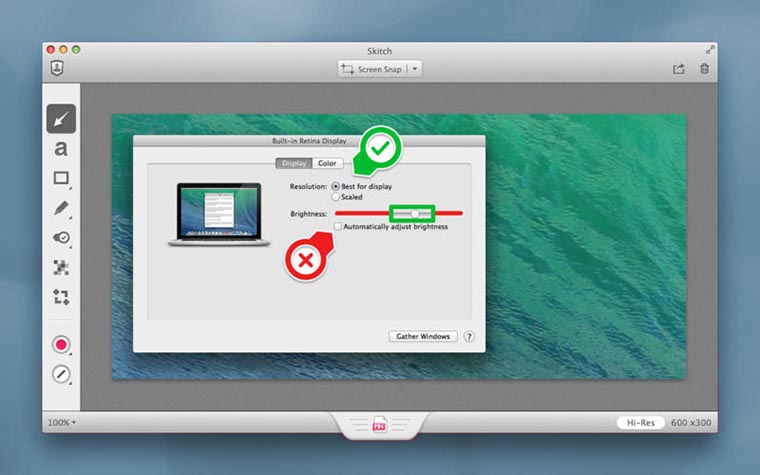
Приложение, которое позволяет не только делать снимки экрана, но и редактировать их. На выбор предоставлены самые популярные инструменты, с помощью которых можно обрезать фото, изменить размеры, нанести текст поверх изображения, добавить стрелочки, маркеры, геометрические фигуры, выделить текст или замазать ненужный фрагмент.
В большинстве случаев этого будет достаточно, чтобы не запускать Photoshop и быстро привести картинку к нужному виду. 
По части создания снимков экрана есть все необходимое: снимок всего экрана или его области и снимок с таймером. К сожалению, сделать снимок окна выбранного приложения, как в стандартной утилите OS X, не получится.
Скачать Skitch бесплатно [Mac App Store].
4. Lightshot Screenshot
Небольшая утилита, которая поселится в строке меню и будет делать снимки экрана, распространяется бесплатно в Mac App Store.
Пусть вас не смущает минимум настроек и отсутствие полноценного интерфейса. Стоит лишь задать сочетание клавиш для активации Lightshot Screenshot, нажать их и программа предстанет во всей красе. 
Сначала указываем нужную область для создания снимка и сразу же наносим все дополнительные пометки, текст, стрелки, выделения. При помощи специальных кнопок можно в одно нажатие сохранить фото, сохранить его в облако, скопировать в буфер обмена или отправить на печать.
Скачать Lightshot Screenshot бесплатно [Mac App Store].
5. Joxi Screenshoter
Принцип работы данной программы похож на Lightshot Screenshot. Изначально мы активируем режим съемки, выбираем область, которую хотим запечатлеть, и добавляем всевозможные пометки, маркеры или текст.
Далее можно сохранять снимок экрана и делиться им в социальных сетях. Joxi Screenshoter является кроссплатформенным решением и разработчики выделяют 1 ГБ облачного хранилища для переноса картинок из одной системы в другую. 
В программе присутствует большое количество настроек, особенно будут рады любители настраивать горячие клавиши для основных действий приложения.
Скачать Joxi Screenshoter бесплатно [Mac App Store].
Вот так выглядят самые полезные и популярные приложения для создания и обработки скриншотов на Mac. Все утилиты распространяются бесплатно, а значит – можно попробовать каждую и выбрать подходящую.
Скриншот можно использовать для разных целей. Так мы показываем друзьям и знакомым глюки, возникающие в процессе работы за компьютером, делимся интересными моментами или достижениями в играх, делаем обучающие инструкции по использованию тех или иных программ для пожилых родственников.
![]()
Артём Суровцев
Люблю технологии и все, что с ними связано. Верю, что величайшие открытия человечества еще впереди!
Источник


