- Lists of available trusted root certificates in macOS
- Blocking Trust for WoSign CA Free SSL Certificate G2
- About trust and certificates
- macOS Trust Store
- Use an SSL certificate in macOS Server
- How to install an SSL certificate on Mac OS servers
- How to Install SSL Certificate on a Mac OS X Server
- Mac OS X Server SSL Installation Steps
- Step: 1
- Step: 2
- Step: 3
- Step: 4
- Step: 5
- Allocate SSL Certificate for Services
- For Mail Services:
- For Web Services:
- Important Resources
- Guides on How to Move SSL Certificate from One Server to Another Server
- SSL Certificate for OS X Server
Lists of available trusted root certificates in macOS
The macOS Trust Store contains trusted root certificates that are preinstalled with macOS.
Blocking Trust for WoSign CA Free SSL Certificate G2
Certificate Authority WoSign experienced multiple control failures in their certificate issuance processes for the WoSign CA Free SSL Certificate G2 intermediate CA. Although no WoSign root is in the list of Apple trusted roots, this intermediate CA used cross-signed certificate relationships with StartCom and Comodo to establish trust on Apple products.
In light of these findings, we took action to protect users in a security update. Apple products no longer trust the WoSign CA Free SSL Certificate G2 intermediate CA.
To avoid disruption to existing WoSign certificate holders and to allow their transition to trusted roots, Apple products trust individual existing certificates that were issued from this intermediate CA and published to public Certificate Transparency log servers by 2016-09-19. They will continue to be trusted until they expire, are revoked, or are untrusted at Apple’s discretion.
As the investigation progresses, we will take further action on WoSign/StartCom trust anchors in Apple products as needed to protect users.
Further steps for WoSign
After further investigation, we have concluded that in addition to multiple control failures in the operation of the WoSign certificate authority (CA), WoSign did not disclose the acquisition of StartCom.
We are taking further actions to protect users in an upcoming security update. Apple products will block certificates from WoSign and StartCom root CAs if the «Not Before» date is on or after 1 Dec 2016 00:00:00 GMT/UTC.

About trust and certificates
Each macOS Trust Store listed below contains three categories of certificates:
- Trusted certificates establish a chain of trust that verifies other certificates signed by the trusted roots—for example, to establish a secure connection to a web server. When IT administrators create Configuration Profiles for macOS, these trusted root certificates don’t need to be included.
- Always Ask certificates are untrusted but not blocked. When one of these certificates is used, you’ll be prompted to choose whether or not to trust it.
- Blocked certificates are believed to be compromised and will never be trusted.
macOS Trust Store
Information about products not manufactured by Apple, or independent websites not controlled or tested by Apple, is provided without recommendation or endorsement. Apple assumes no responsibility with regard to the selection, performance, or use of third-party websites or products. Apple makes no representations regarding third-party website accuracy or reliability. Contact the vendor for additional information.
Источник
Use an SSL certificate in macOS Server
The server can use an SSL certificate to identify itself electronically and communicate securely with users’ computers and other servers on the local network and the Internet.
You can use the self-signed certificate created for your server when you set it up, or a self-signed certificate you created. However, users’ apps won’t trust self-signed certificates and will display a messages asking if the user trusts your certificate. Using a signed certificate relieves users from the uncertainty and tedium of manually accepting your certificate in these messages. A man-in-the-middle spoofing attack is possible with a self-signed certificate.
Select Certificates in the Server app  sidebar.
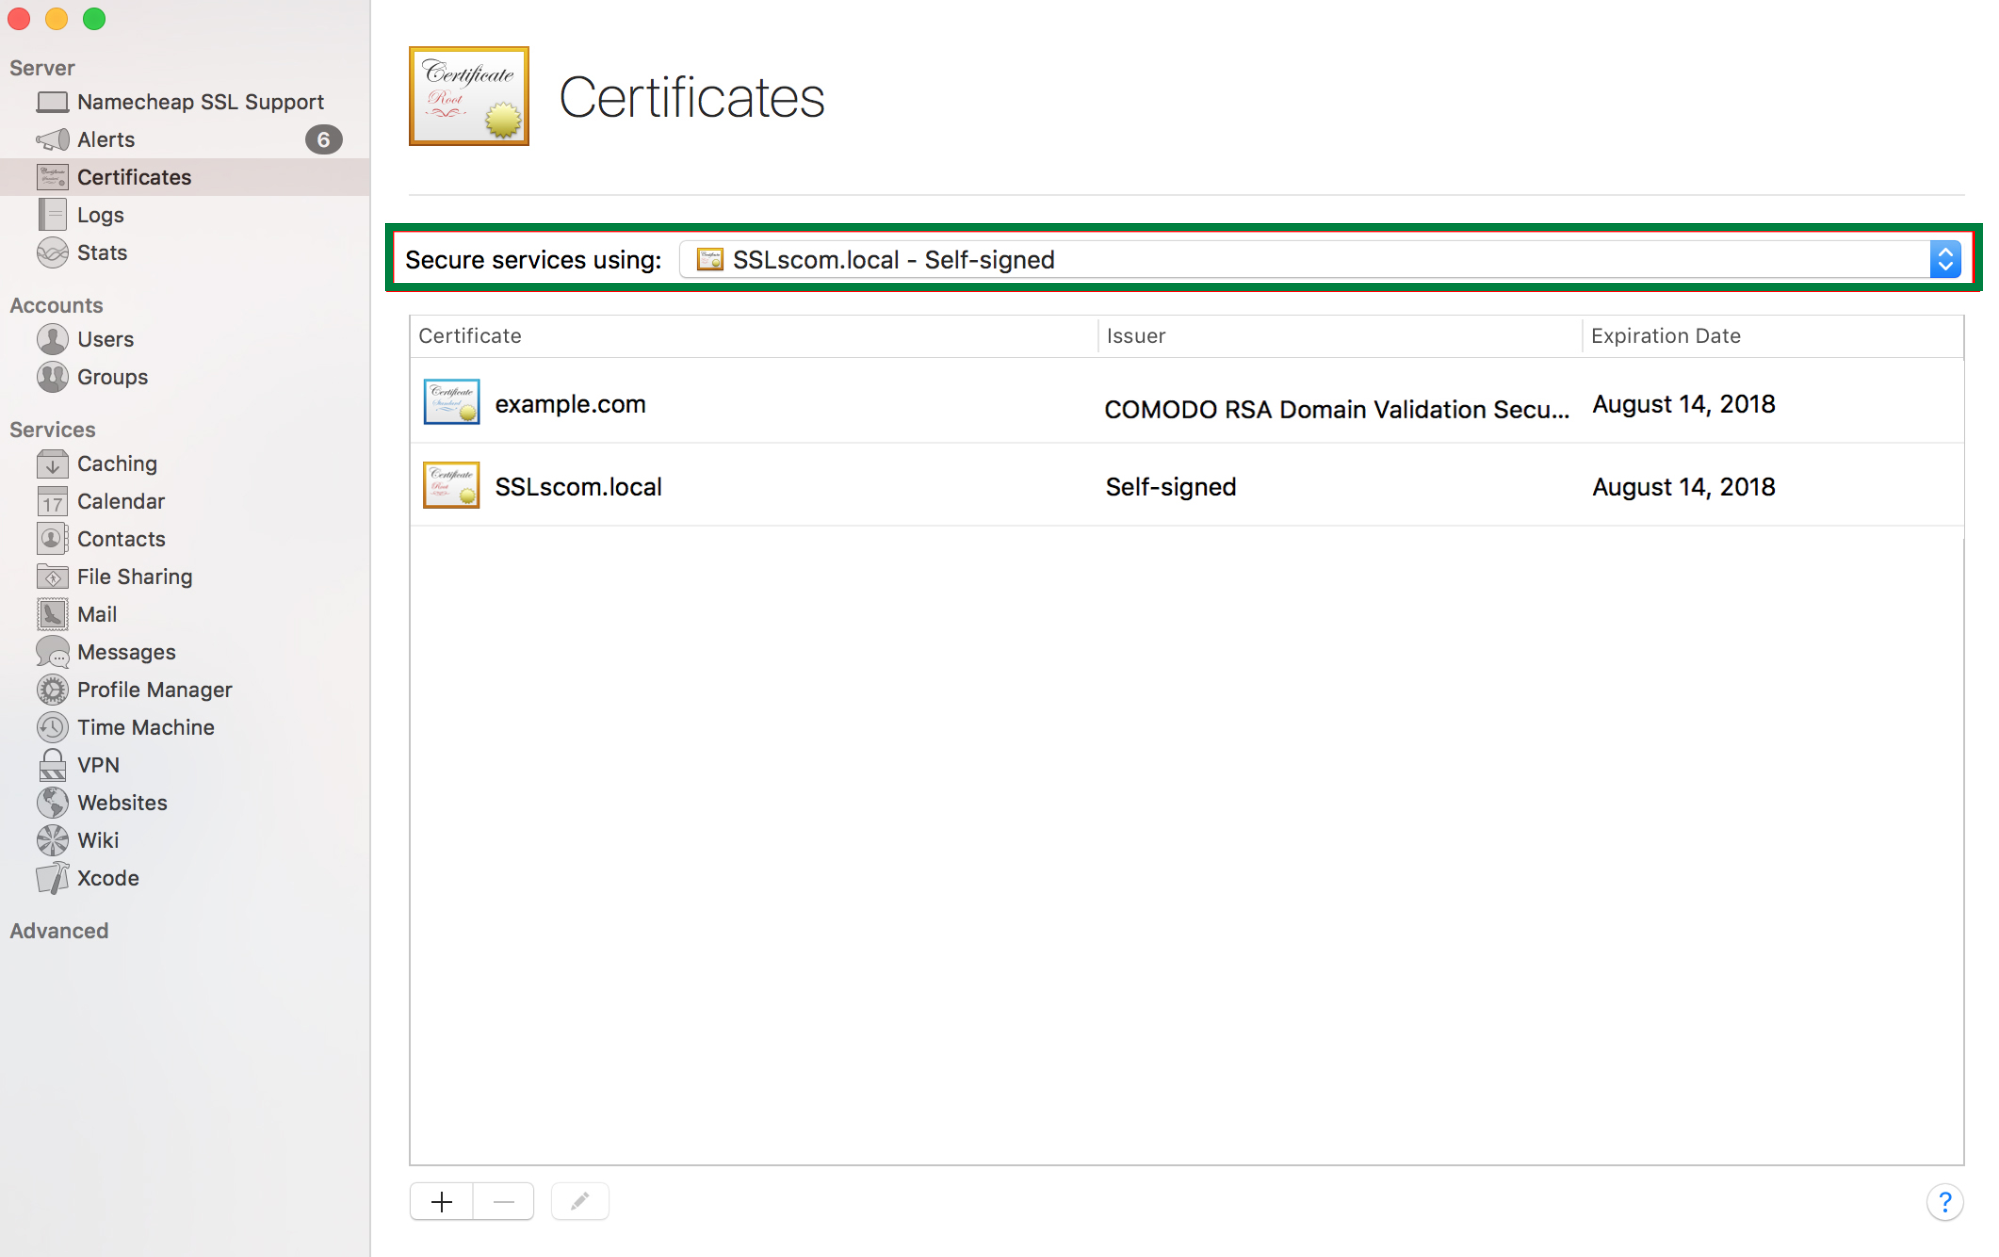
To use one certificate for all services, choose a certificate from the “Secure services using” pop-up menu.
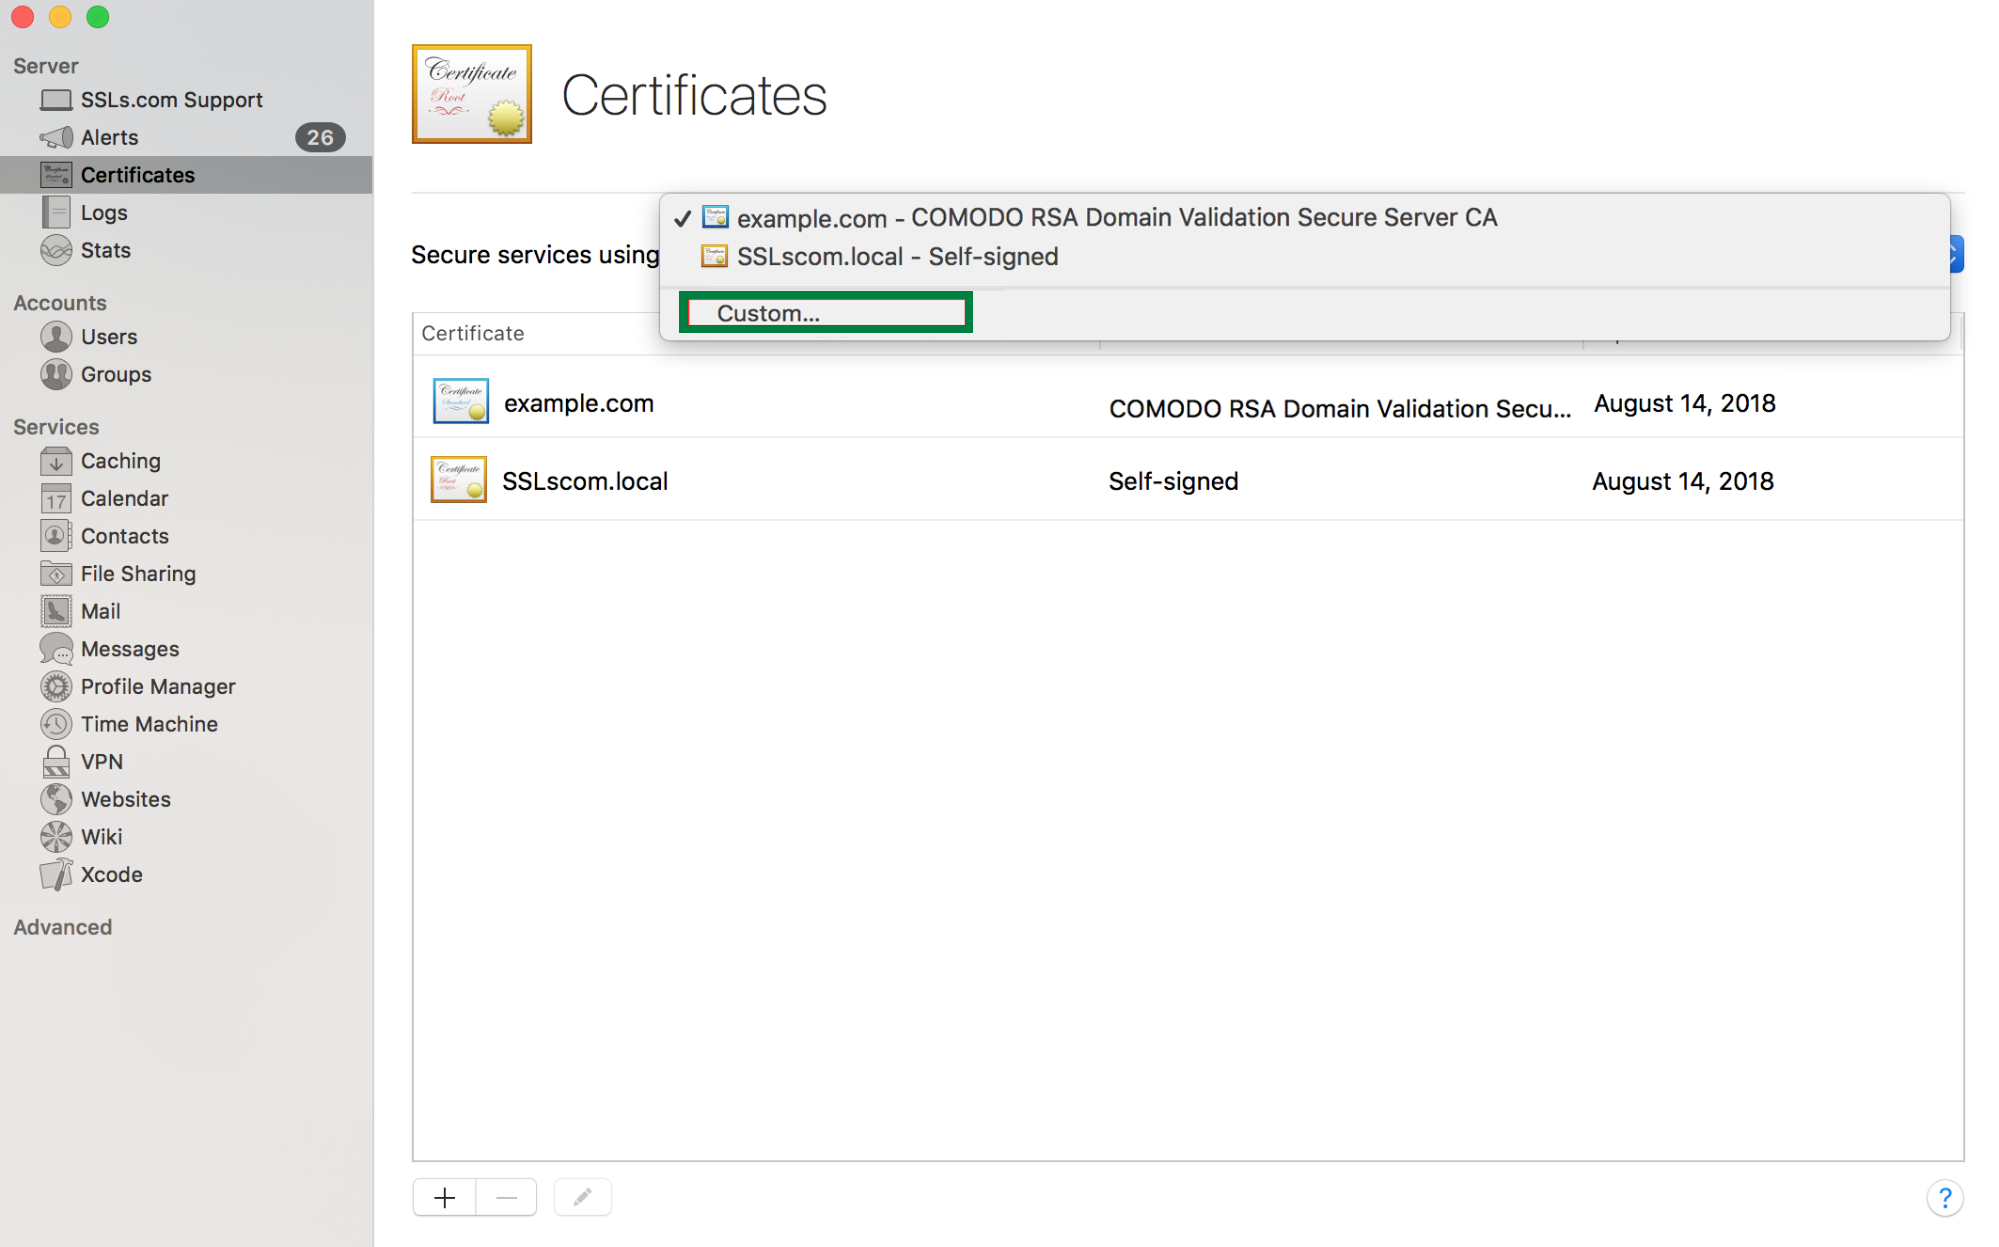
To use different certificates for each service, choose Custom from the “Secure services using” pop-up menu, then choose an available certificate for each service.
If the pop-up menu doesn’t contain certificates, create a self-signed certificate. For instructions, see Create a self-signed certificate in macOS Server.
To use a previously generated SSL certificate, import it.
To disable secure connections, choose None.
Источник
How to install an SSL certificate on Mac OS servers
Once you have your certificate activated , validated and issued (the issued certificate will be emailed to your administrative contact email mentioned during the activation or can be downloaded from the account by following this guide ), it will be necessary to install it along with its CA bundle on your server and assign the certificate to different services, such as Mail (IMAP, POP and SMTP), File Sharing (iOS), Messages and Websites if needed.
CA bundle installation
CA bundle is a file that contains root and intermediate certificates. It is required to improve compatibility of the certificates with web browsers and other kind of clients so that browsers recognize your certificate and no security warnings appear.
If the certificate has been imported to the server without the CA bundle, it will be shown as “signed by an unknown authority”:

Note: If you installed the CA bundle for the same type of the certificate previously (e.g., this time you install a renewal certificate), there is no need to go through the whole procedure of the CA bundle installation once again. Thus, you can proceed with the installation of the certificate itself.
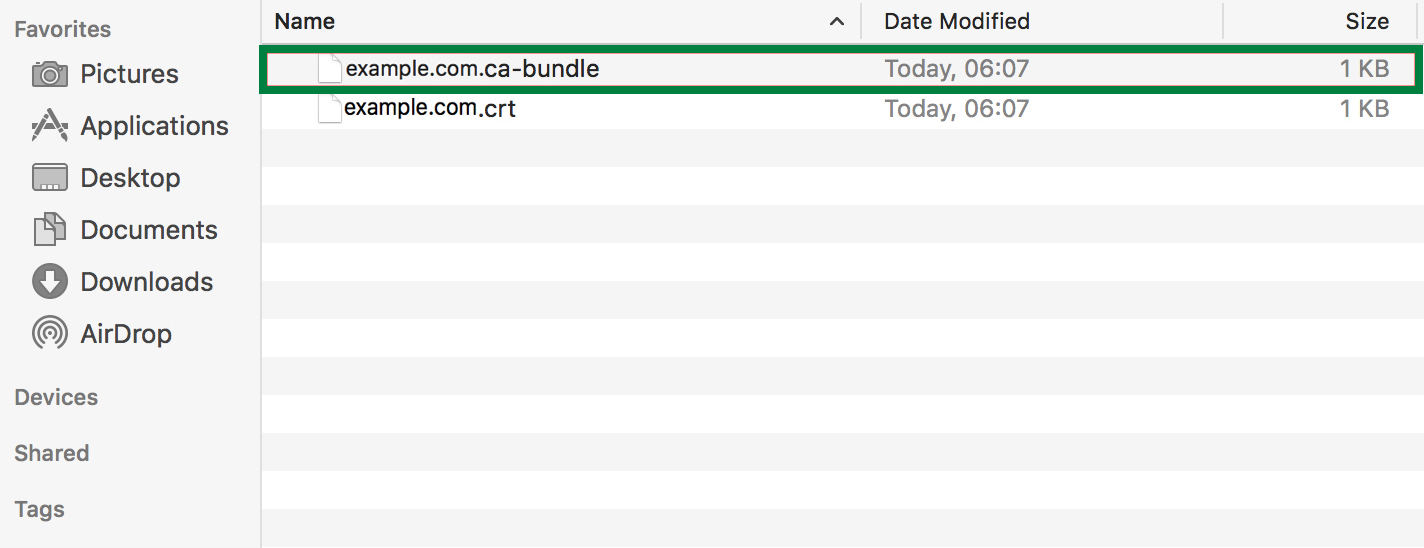
- First of all, you need to add the CA bundle ( .ca-bundle ) file you received to the keychain so the certificate can be trusted and signed by the Certificate Authority, Comodo CA (now Sectigo CA) in this case. In order to do this, please find the CA bundle that was received along with your issued certificate. The file in question has the .ca-bundle extension :

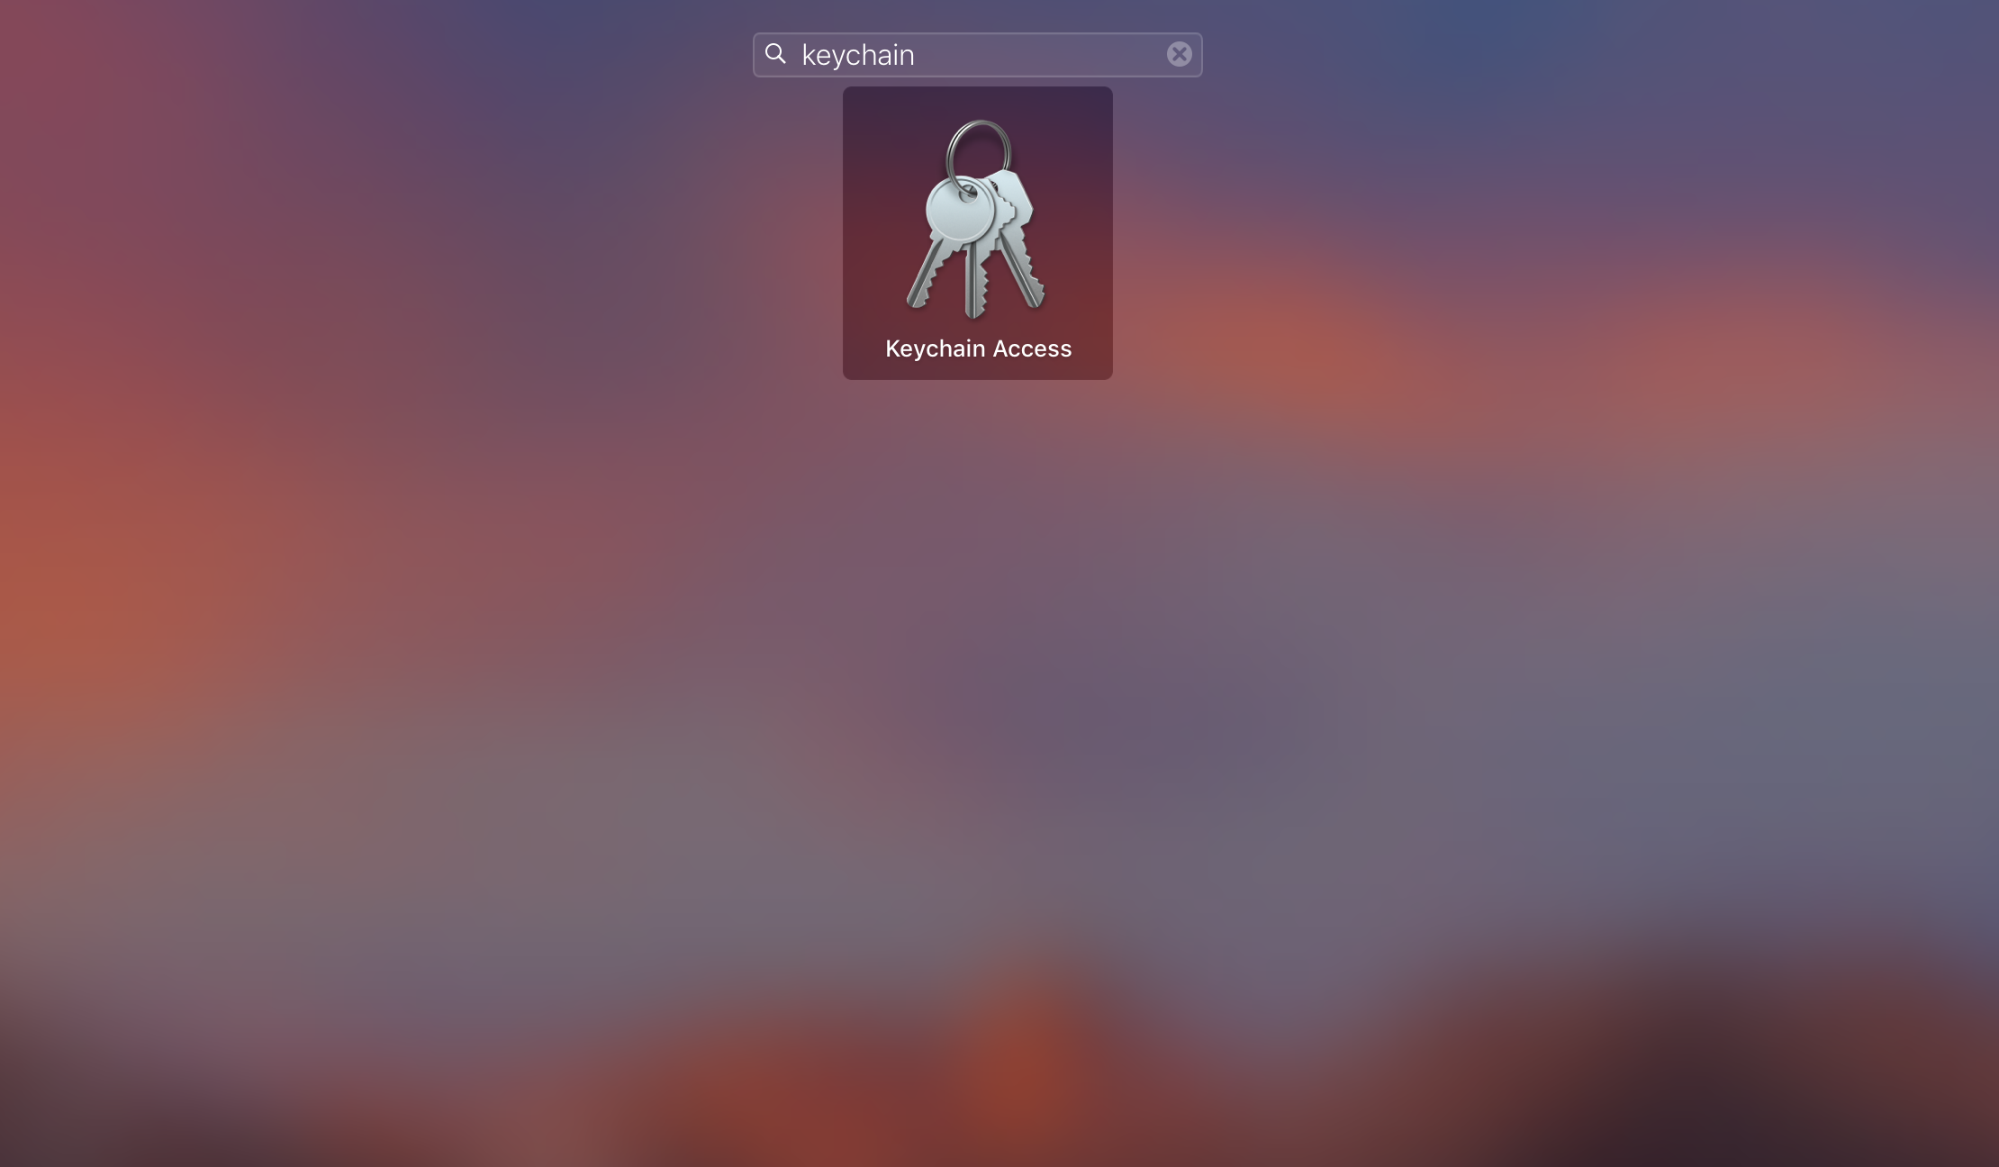
- Find Keychain Access on your Mac:
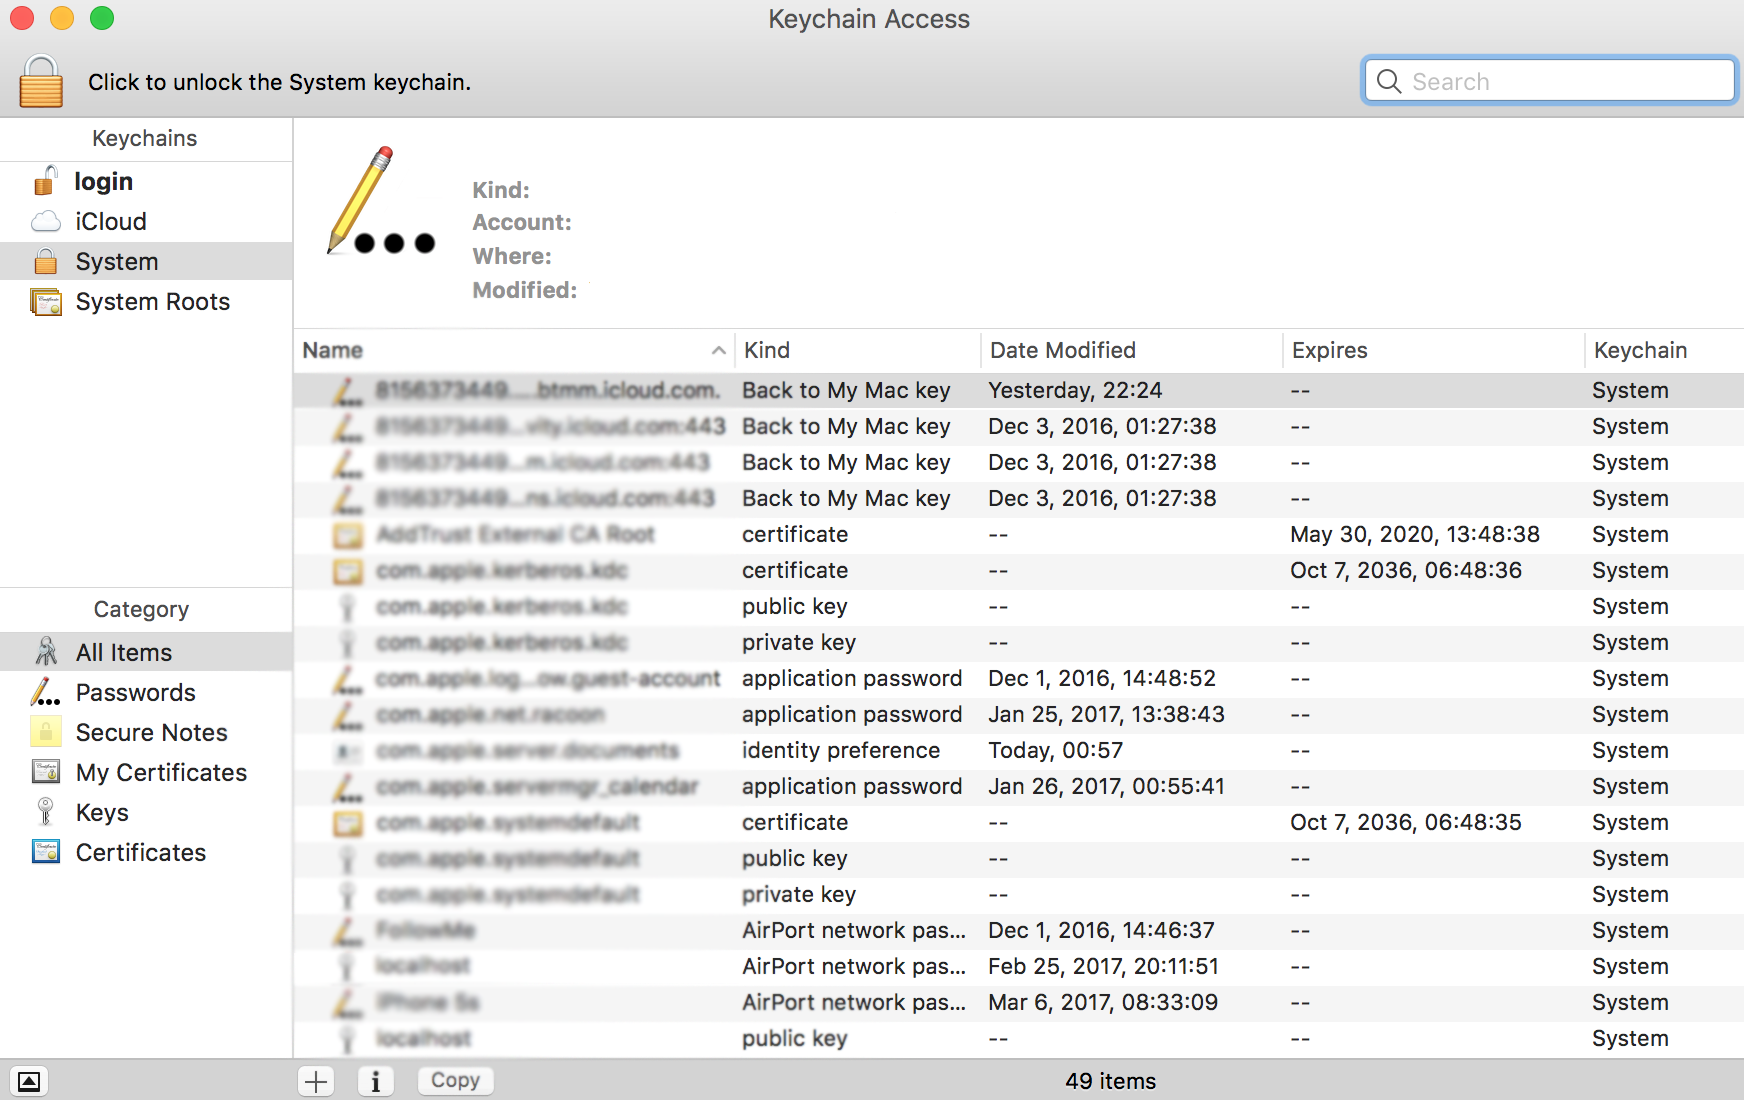
- Open Keychain then and drag the .ca-bundle file into the window appeared:
- To check if the intermediate certificates were added, enter “Comodo” (or “Sectigo” if this was the part of the name of the certificates you imported) into the search bar: Intermediate certificates have blue icons unlike root ones (root CA certificates have yellow icons).
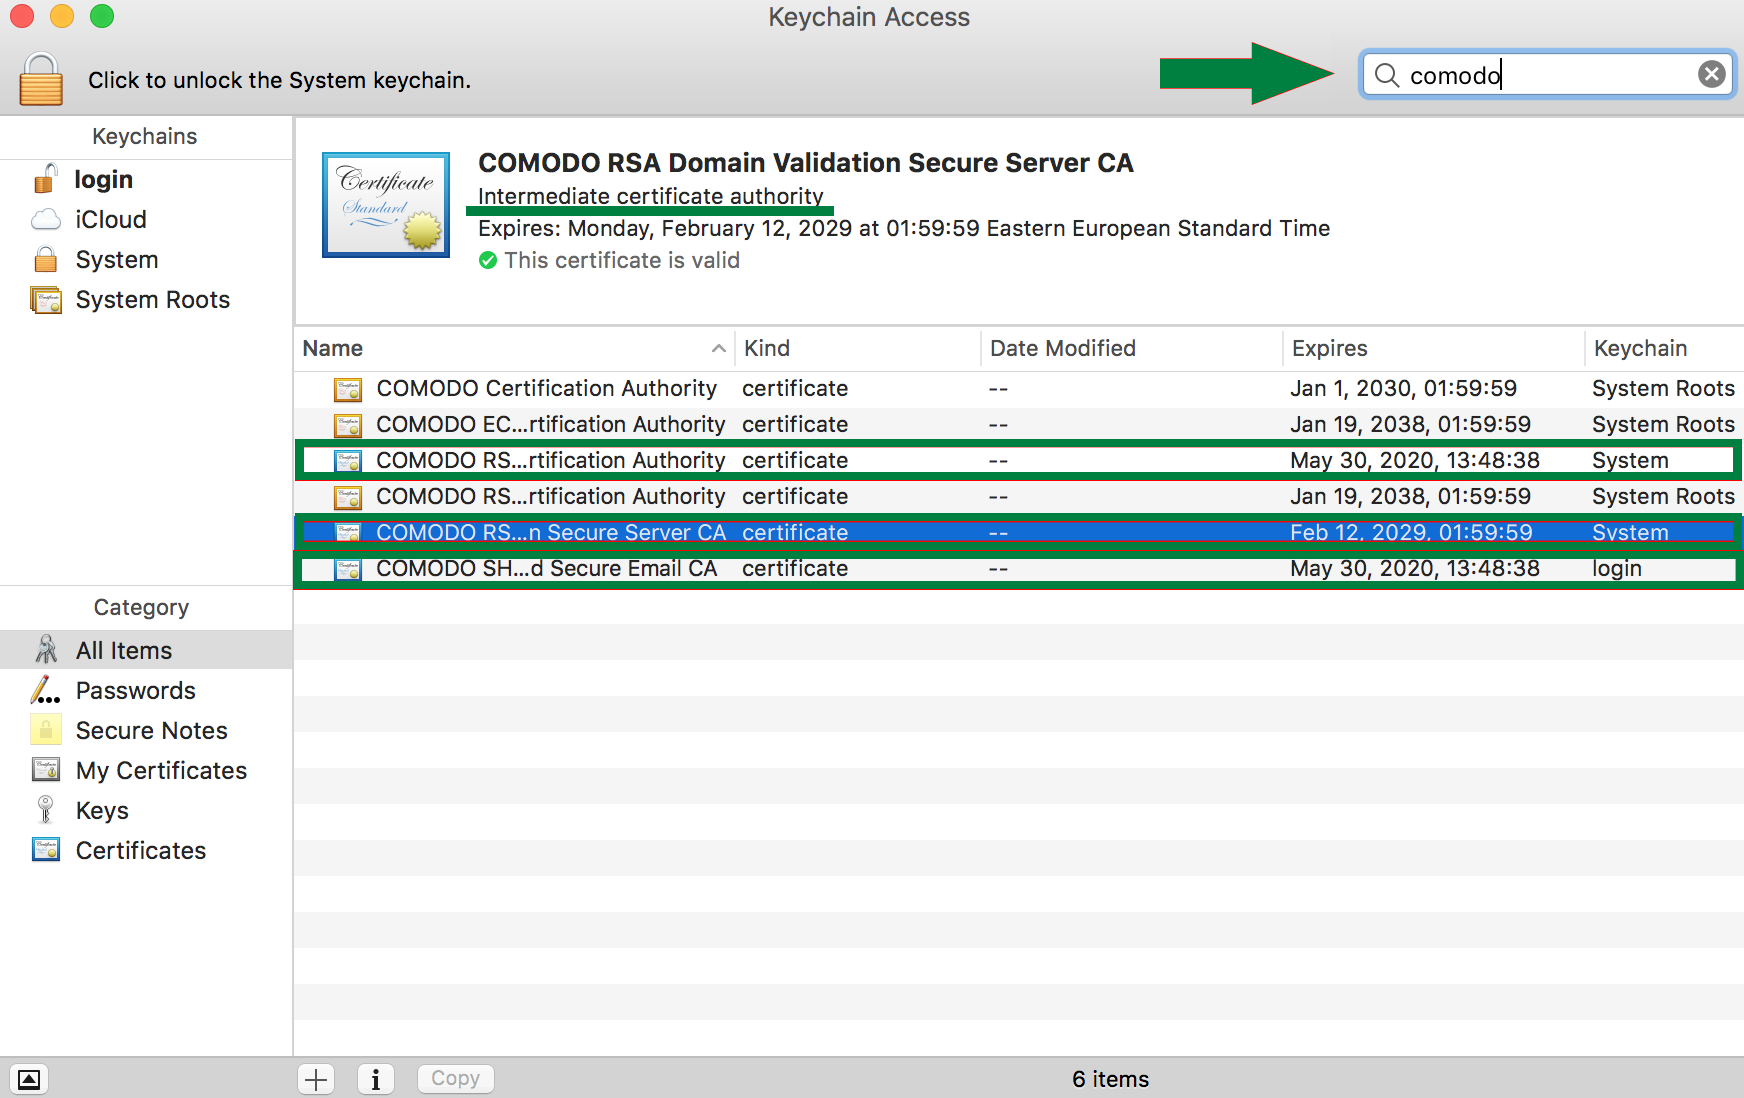 Intermediate certificates have blue icons unlike root ones (root CA certificates have yellow icons).
A s soon as the CA bundle is added to the Keychain of the system, feel free to proceed with the certificate installation:
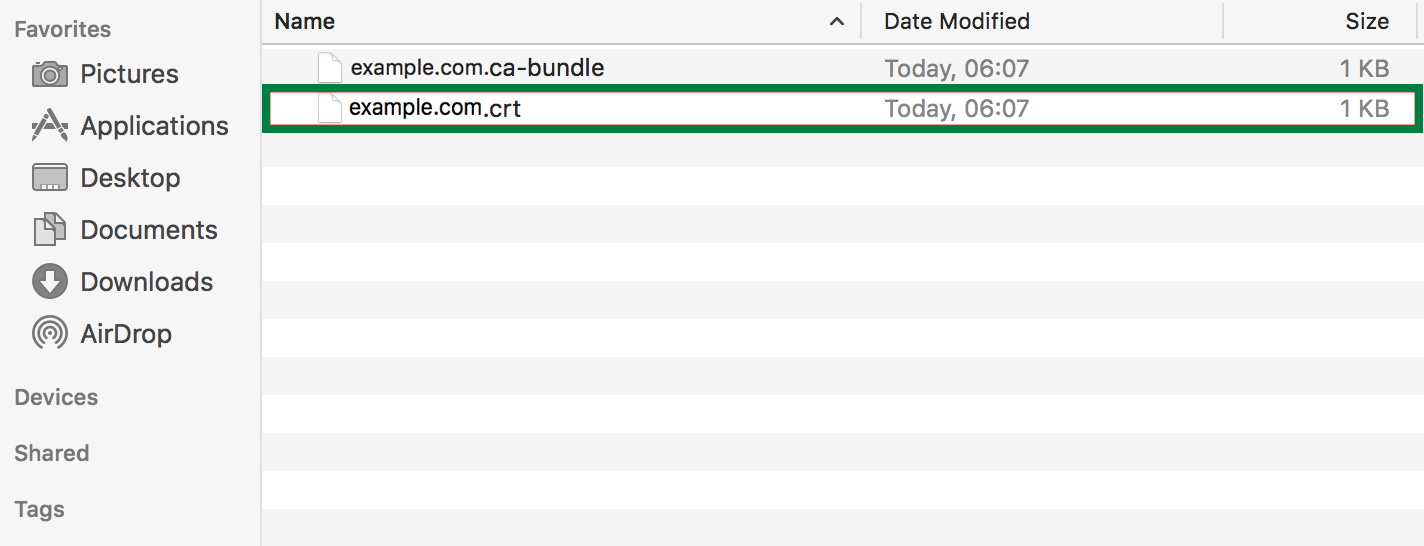
- Find the .crt file you received from the Certificate Authority or downloaded from your account:
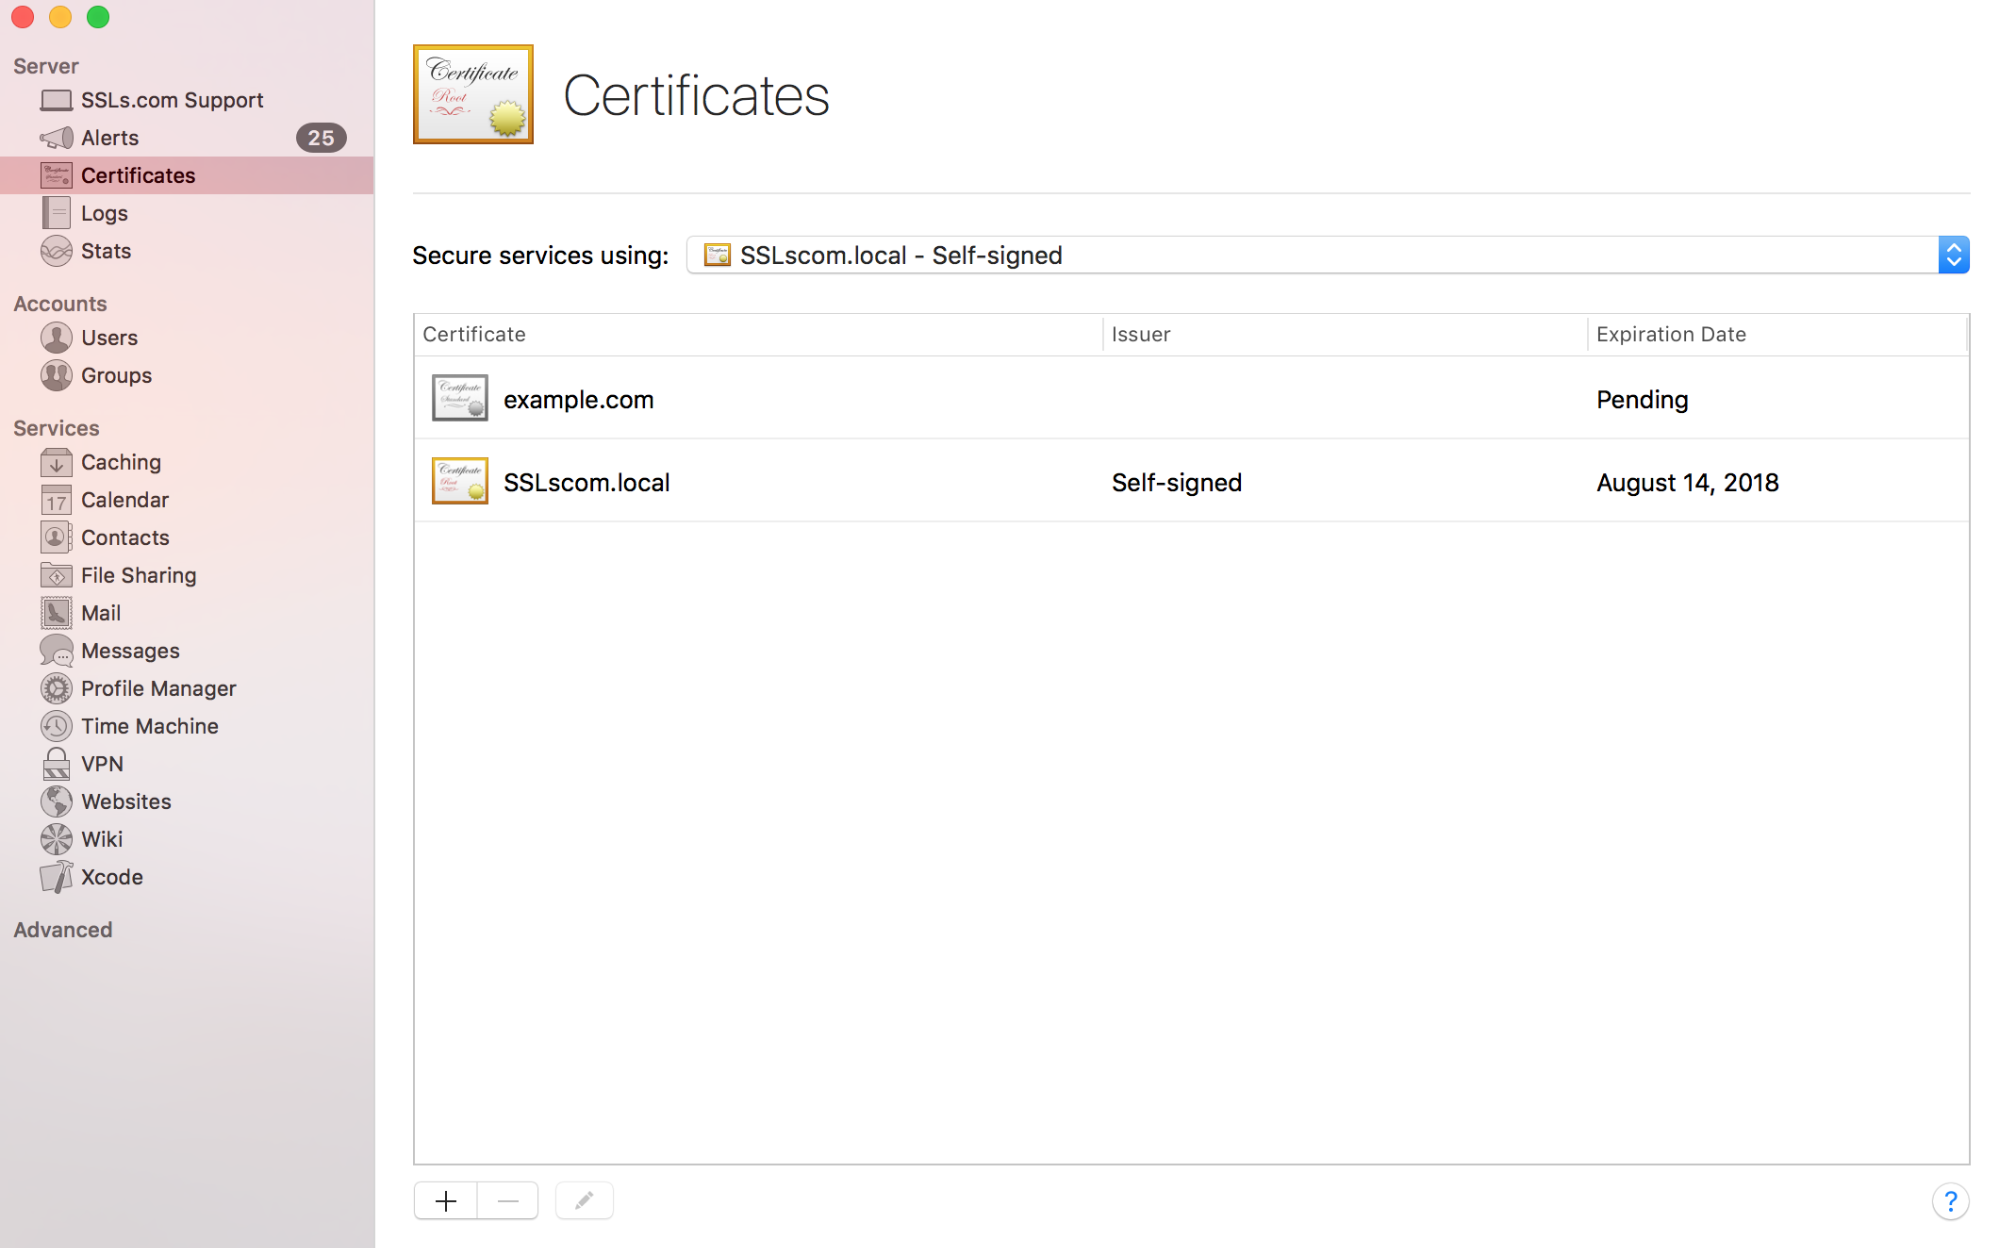
- In the Certificates section under Server , find your pending certificate that was created along with the CSR code:
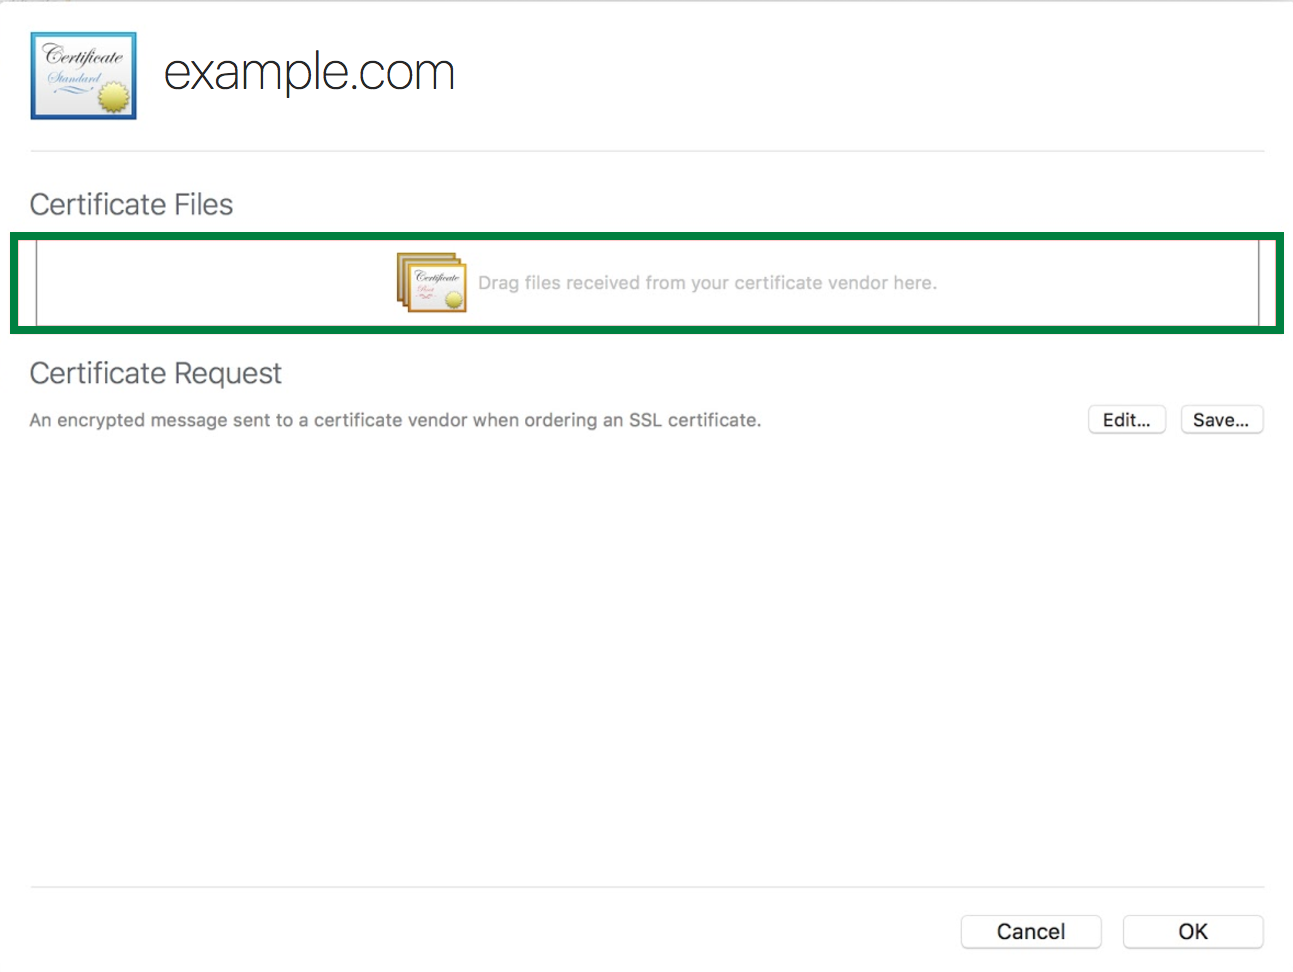
- Double-click the certificate in question so you can see the following window:
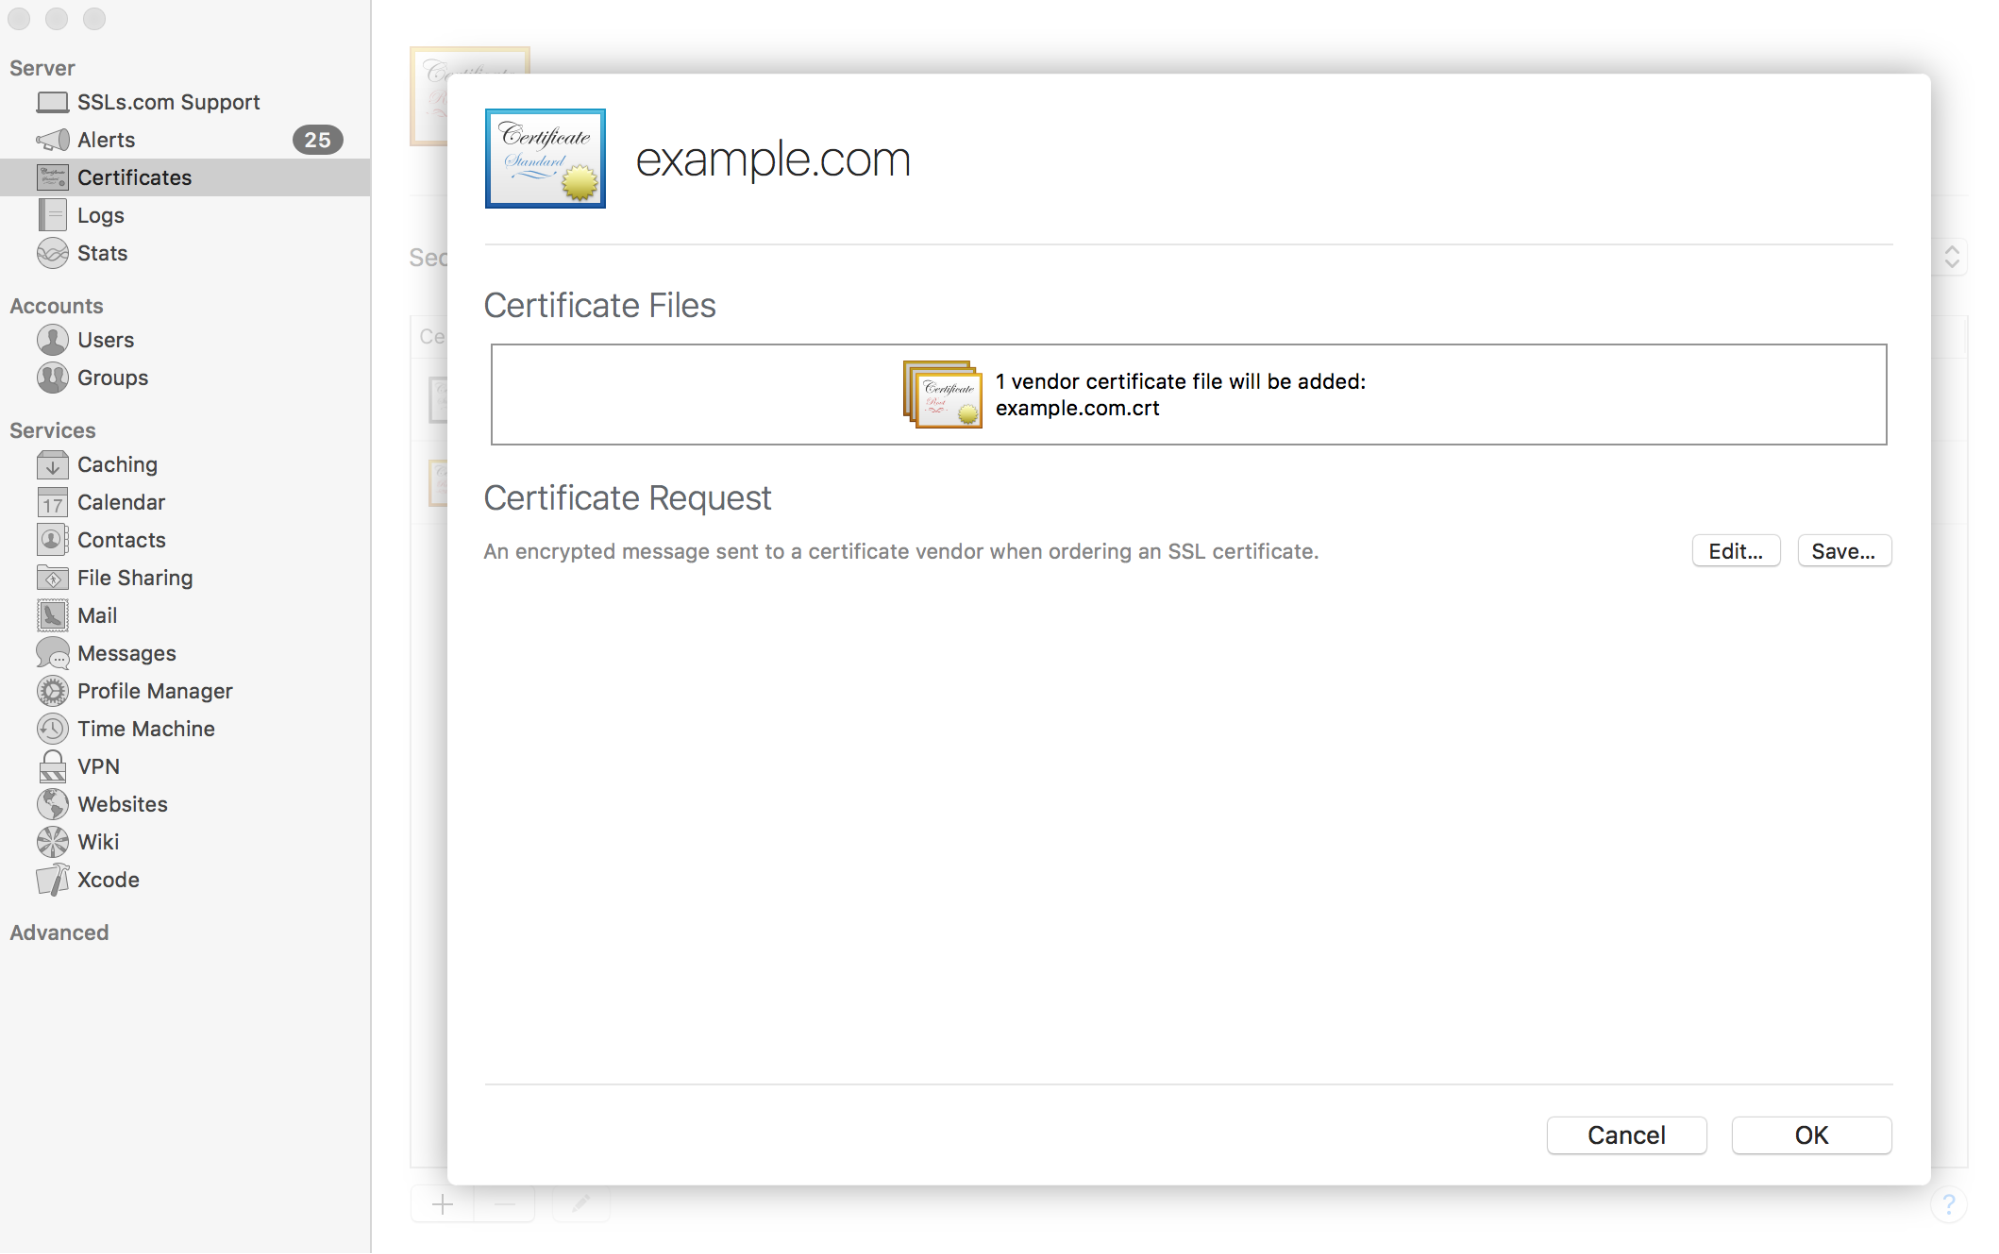
- Drag and drop the “yourdomain_tld.crt” file into the box.
- Click OK to complete the installation process:
- Once done, your valid certificate will appear in the list of the certificates installed on your server:
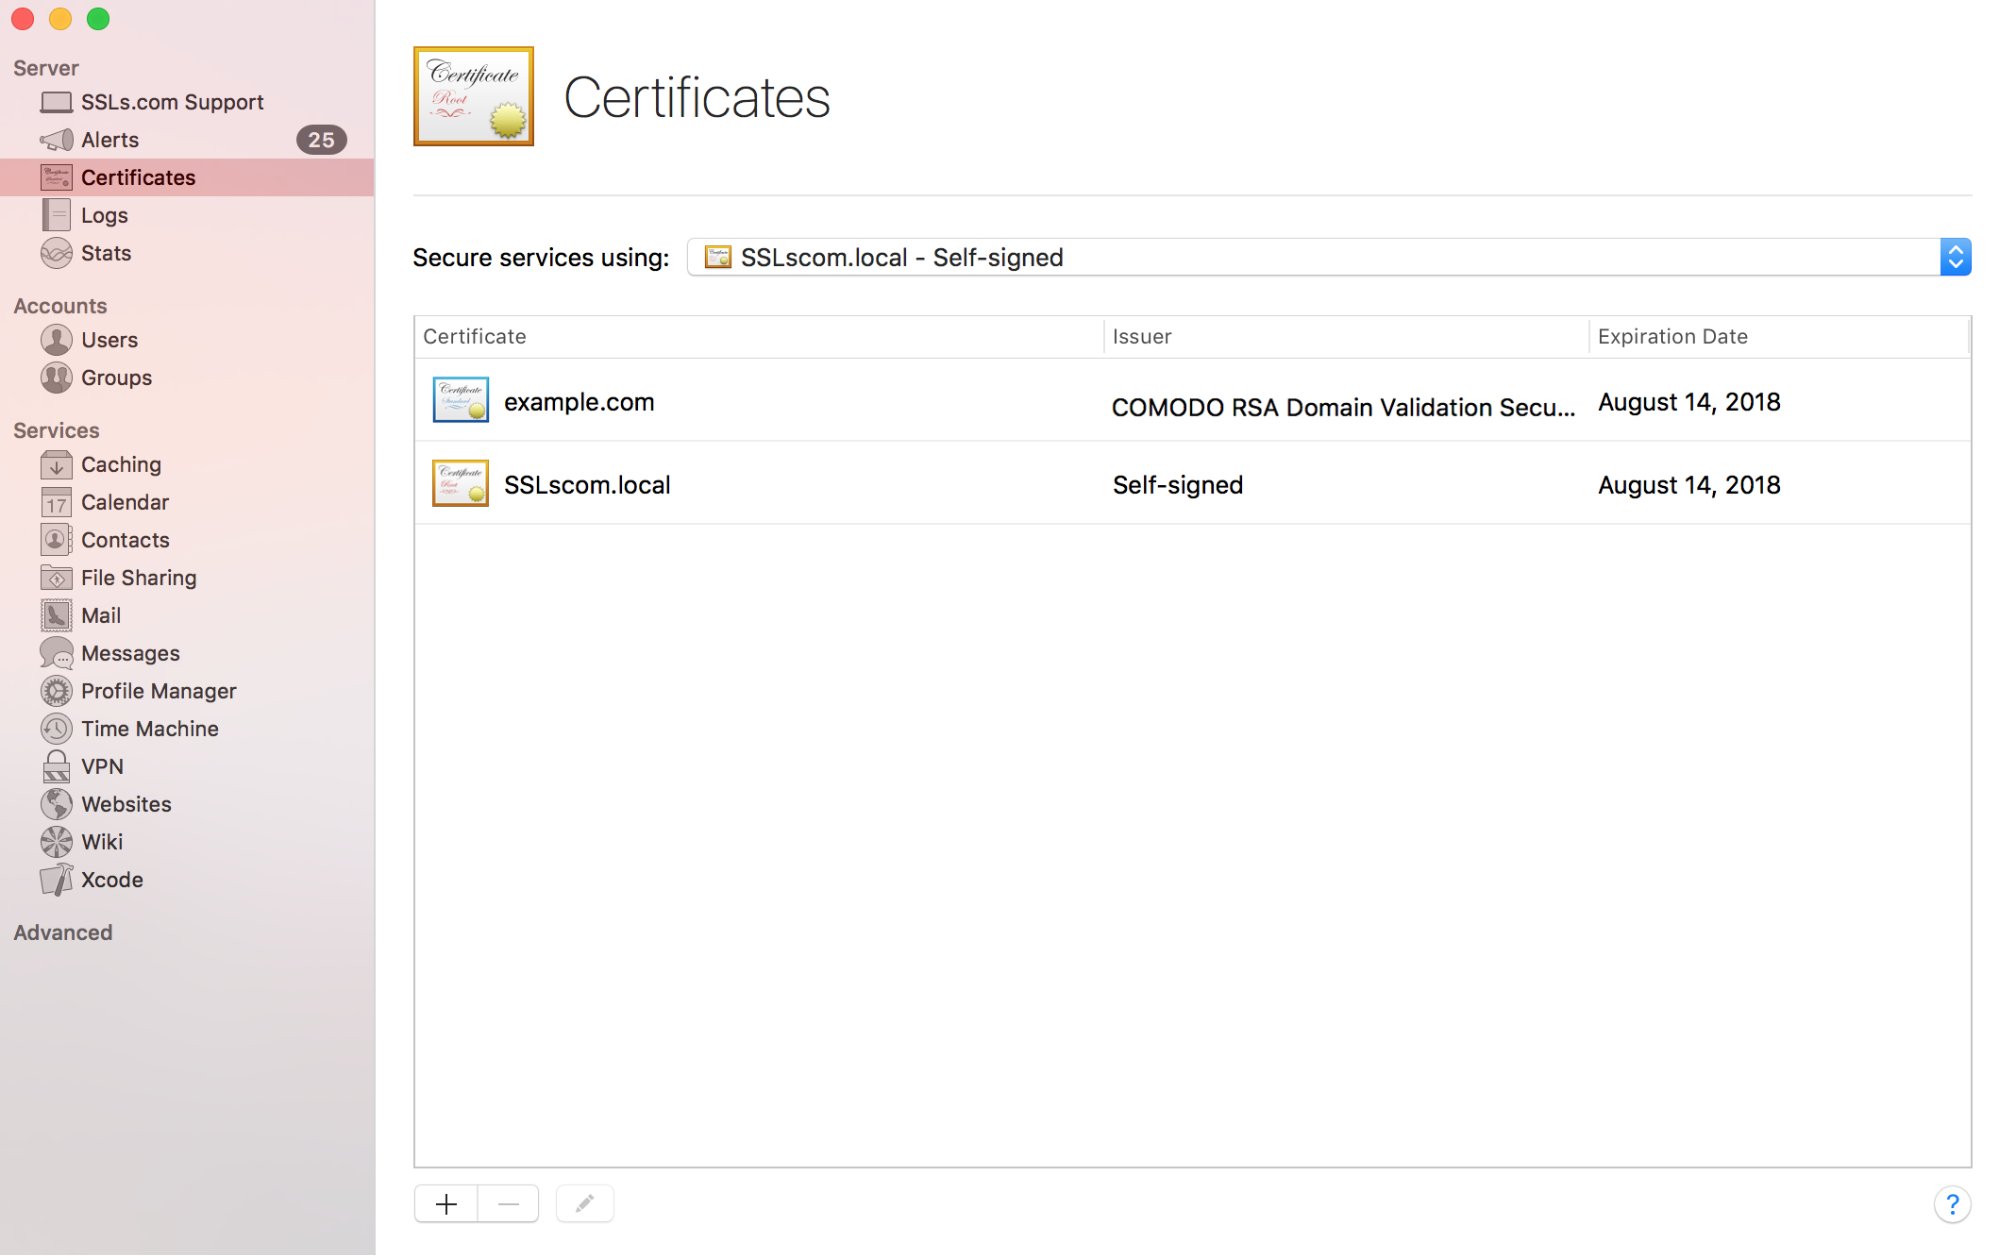
Now we can assign the certificate to the services we would like to use it for:
- Select your certificate in the Secure services using :
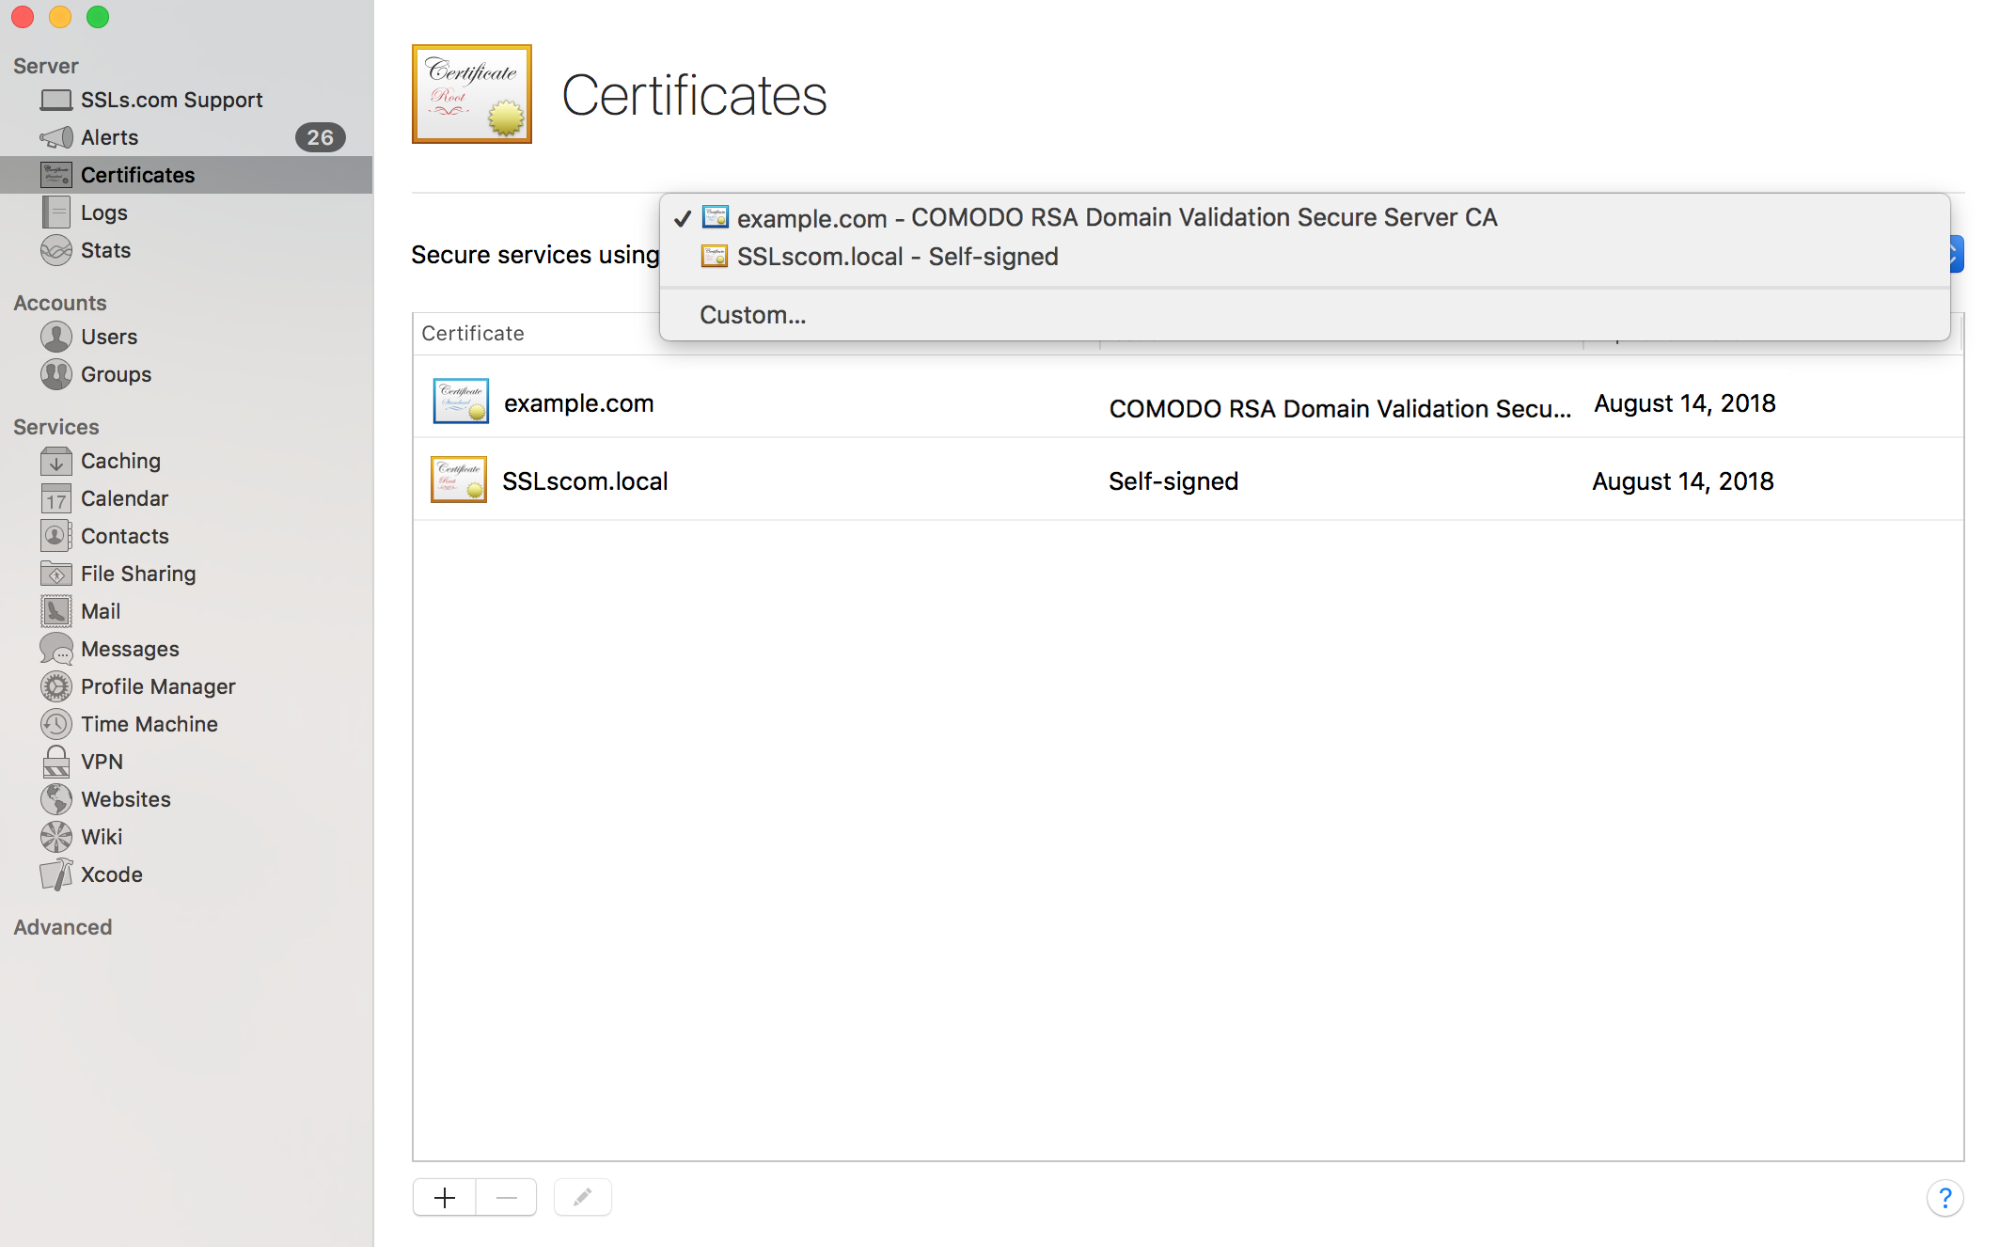
If you want to assign your certificate to custom services (like Mail services, file sharing, etc.), click the corresponding button:
If you face any difficulties during the process or need any assistance, please do not hesitate to contact our Support Team via ticket or click a blue bubble icon in the lower right corner of the page to start a Live Chat. We are available 24/7 for you.
HTTPS redirect
In order to set up HTTPS redirect on your Mac Server, you need to locate the Websites section in your Server.app: 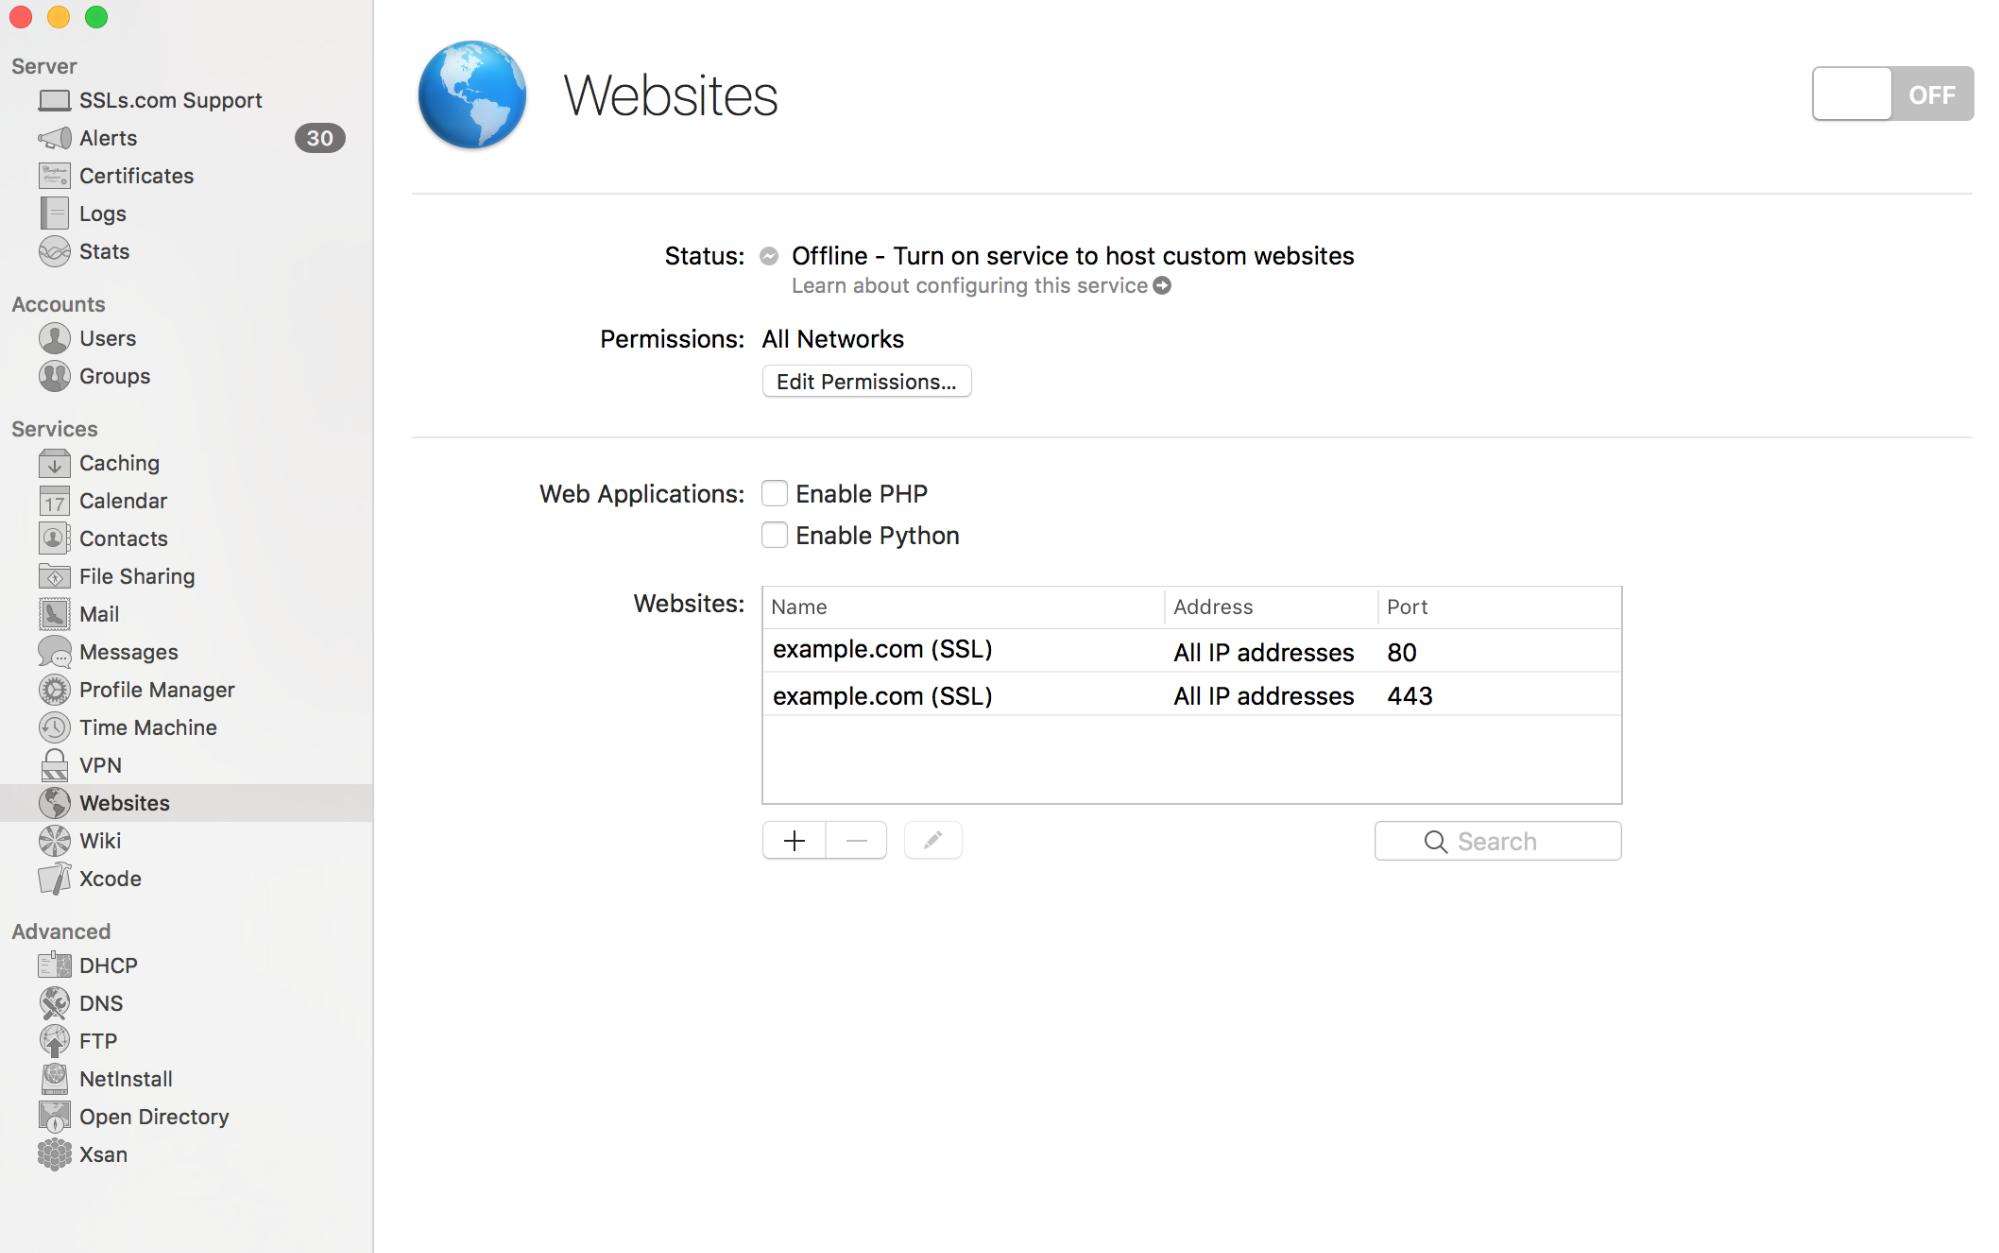
Select your website with port 80 configuration and click on the “pen” icon: 
Click Edit in the Redirects row: 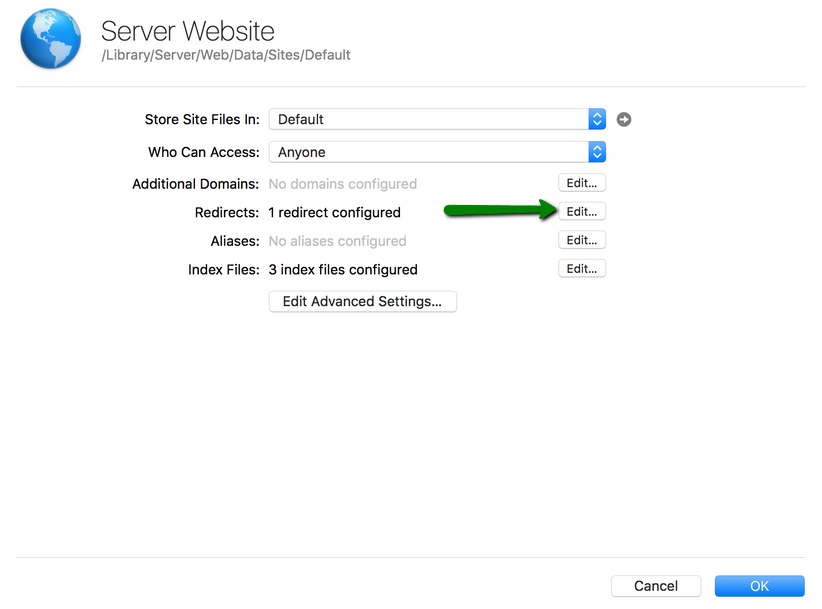
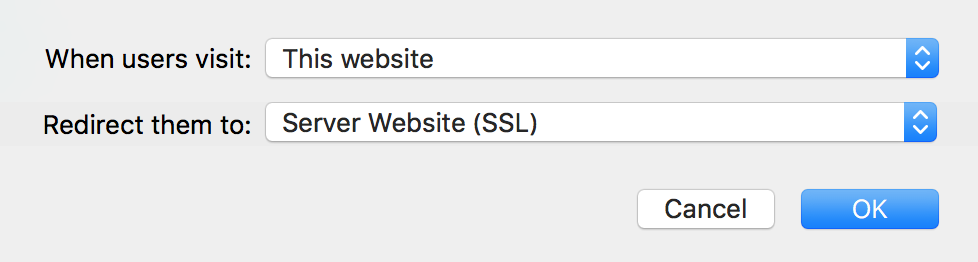
There may be a default rule already set up for the website, and in this case, all you need to do is to click on the “pen” icon and adjust the following settings: When a user visits this website, redirect them to Website (SSL) : 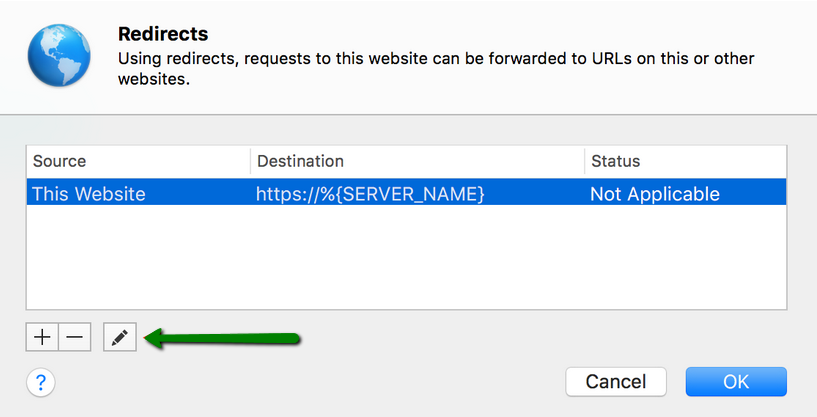
If you do not have a default rule listed under the Redirects section, you will need to create a new one. To create a new rule, please click the plus (+) button:
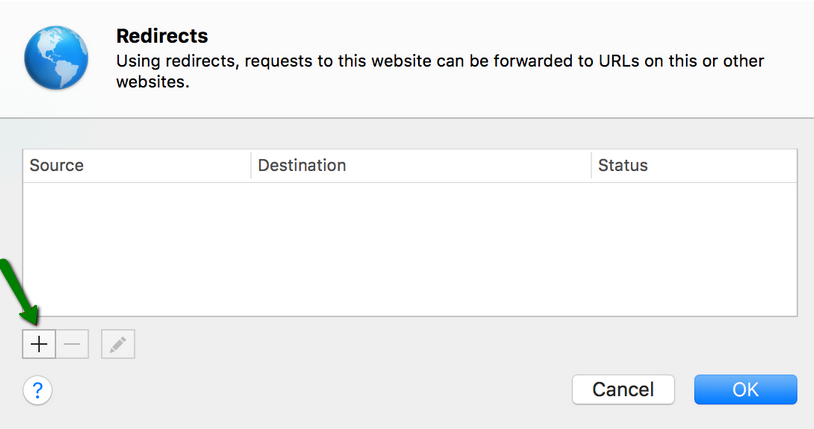
Create a rule with the following conditions:
When a user visits: A URL matching the following path http://example.com
Because: The original has permanently moved
That’s it. Now when the users of your website try to access the http:// version of the website, they will be redirected to the https:// (secure) one.
Источник
How to Install SSL Certificate on a Mac OS X Server
Mac OS X Server SSL Installation Steps
Step: 1
When your SSL Certificate order received via email, store the yourdomainname.zip file in your server, and extract these two files “yourdomianname.crt” & “certificateauthority.crt” on a same folder.
Step: 2
Next step is to double click on certificateauthority.crt file and choose to import option from Add Certificate window. In Keychain, Select System option from drop-down menu and click on Add button.
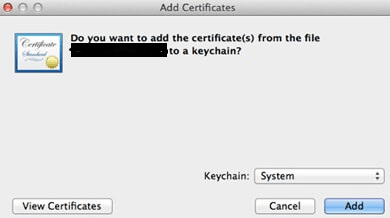
Note: For further installation process, you need to log in with administration’s password.
Step: 3
Now open Mac OS X Server Admin and click on Certificates from the menu. Click on Setting Gear icon and in drop down menu select “Add Signed or Renewed Certificate from Certificate Authority”.
Step: 4
Once you select that option, it will display the information of existing or new certificate. When you select “Add Signed or Renewed Certificate from Certificate Authority” option, just Drag “yourdomainname.crt” file into pop-up window.
Step: 5
Once you finish the drag and drop process, click on “OK” button.
Allocate SSL Certificate for Services
For Mail Services:
- Click on Mail option which is available at left window panel.
- Open Setting option and select Security option under Advanced
- Now, allocate installed SSL certificate to IMAP or SMTP Services.
For Web Services:
- First, open Web and select Sites
- Select website which you wish to secure with a certificate
- Tick the Checkbox to Enable Secure Sockets Layer (SSL) under Security Tab Option & select the certificate.
- Alert Dialog appears “Do you want to restart Web now?”
- Click on Restart & Restart your web server
Now Your SSL Certificate has successfully installed on Mac OS X Server.
Important Resources
- SSL Certificate Installation Checker
- Apple Mac OS X Server Support
- Quick CSR Generation
- Install SSL Certificates on OS X Lion 10.7 server
Guides on How to Move SSL Certificate from One Server to Another Server
SSL Certificate for OS X Server
OS X Exchange Server only accepts SSL Certificate from a genuine and trusted SSL Certificate Authority. Buy trusted SSL Certificate from at a cheap price with heavy discount rates.
Источник


