- Как снимать любые скриншоты на Mac. 5 лучших способов
- 1. Стандартные возможности OS X
- 2. Утилита Снимок экрана
- 3. Skitch
- 4. Lightshot Screenshot
- 5. Joxi Screenshoter
- Артём Суровцев
- Как сделать снимок экрана на Mac
- Take screenshots or screen recordings on Mac
- Take pictures or screen recordings using Screenshot
- Take pictures using keyboard shortcuts
- How to take a screenshot on Mac [2021 Guide]
- Mac Screenshot Basics
- How to screenshot on Mac
- Capture screen with the screenshot menu
- Print screen of a selected area
- How to take screenshots using the Touch Bar
- Third-party macOS screenshot apps
- How to print screen on Mac with Preview
- Pre-Mojave Mac screenshot commands
- macOS screenshot organization
- How to share Apple screenshots
- Conclusion
Как снимать любые скриншоты на Mac. 5 лучших способов
Стандартными и сторонними средствами.
1. Стандартные возможности OS X

В Mac есть отличный стандартный механизм для создания скриншотов. Большинству пользователей таких возможностей хватит с головой, давайте разберемся во всех тонкостях его работы.
Для создания снимка всего экрана потребуется нажать не самую очевидную комбинацию клавиш Command + Shift + 3. Такое положение дел часто расстраивает бывших пользователей Windows, где за подобное действие отвечала одна специальная кнопка Print Screen.
Сразу после создания скриншота на Mac на рабочем столе оказывается файл с расширением *.png.
Сочетение клавиш Command + Shift + 4 активирует режим выделения. После нажатия этих кнопок останется выделить нужную область и снимок экрана захватит только указанное пространство. Для удобства в момент выделения мы видим высоту и ширину будущего снимка в пикселях, отменить выделений можно нажатием на Escape.
Если после нажатия Command + Shift + 4 нажать еще и Пробел, то мы перейдем к фотографированию окон программ (курсор изменится на пиктограмму камеры). Достаточно навести курсор на нужное приложение и нажать на левую клавишу мыши, чтобы сохранился снимок указанной программы.
Таким способом можно сделать снимок строки меню или любого системного либо программного контекстного меню.
Всего за несколько минут можно настроить формат сохраняемого снимка экрана, его имя и исходную папку. 
Изменить сочетание клавиш для создания скриншотов на более удобное можно в приложении Системные настройки. Достаточно перейти в раздел Клавиатура – Сочетание клавиш, выбрать раздел Снимки экрана и указать подходящий шорткат.
2. Утилита Снимок экрана
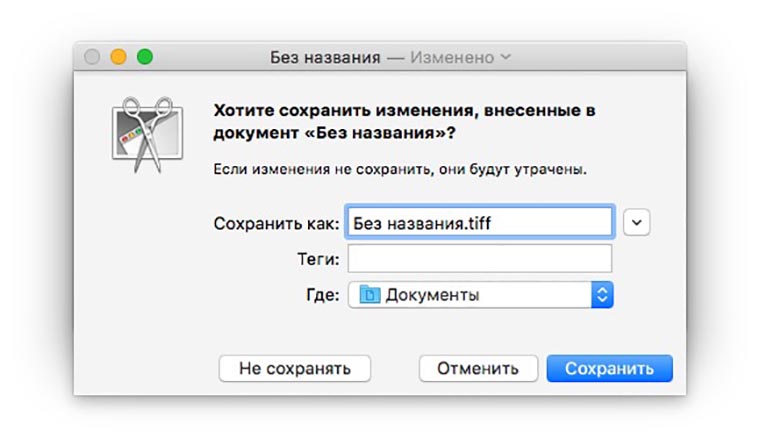
Кроме вышеописанных возможностей в OS X есть специальная утилита для сохранения скриншотов. Найти её можно в Launchpad или через поиск Spotlight. Из особенностей приложения стоит отметить отображение курсора на скриншотах, инспектор изображений с параметрами снимка, другие горячие клавиши и наличие меню сохранения фото. 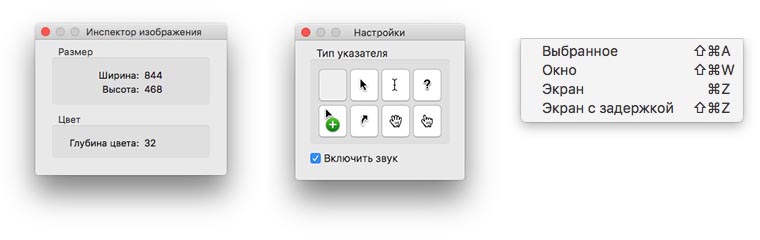
Если возможностей OS X будет недостаточно, можно поискать приложения с подобными функциями в App Store.
3. Skitch
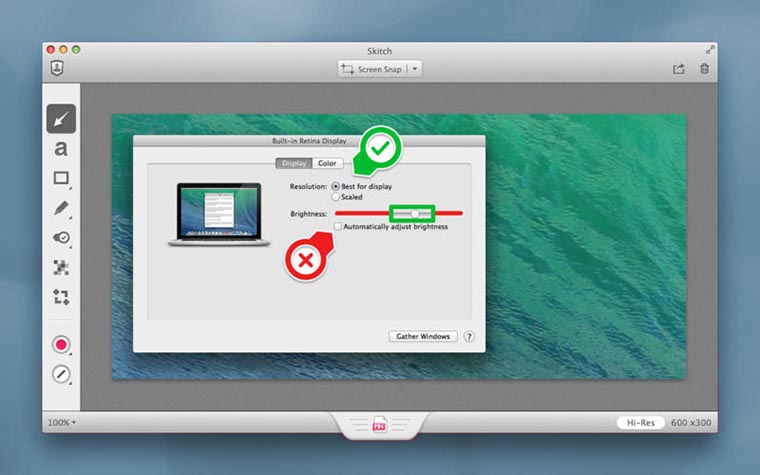
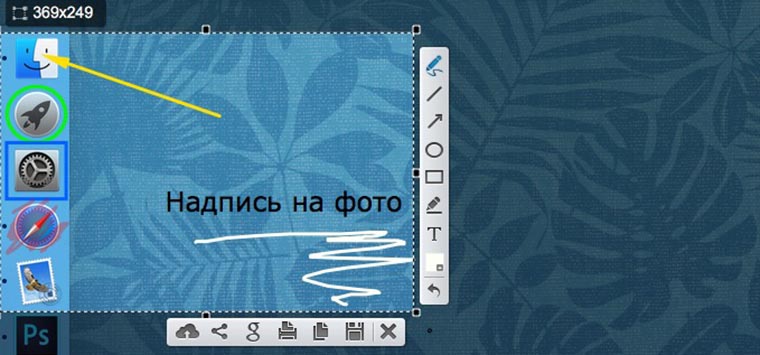
Приложение, которое позволяет не только делать снимки экрана, но и редактировать их. На выбор предоставлены самые популярные инструменты, с помощью которых можно обрезать фото, изменить размеры, нанести текст поверх изображения, добавить стрелочки, маркеры, геометрические фигуры, выделить текст или замазать ненужный фрагмент.
В большинстве случаев этого будет достаточно, чтобы не запускать Photoshop и быстро привести картинку к нужному виду. 
По части создания снимков экрана есть все необходимое: снимок всего экрана или его области и снимок с таймером. К сожалению, сделать снимок окна выбранного приложения, как в стандартной утилите OS X, не получится.
Скачать Skitch бесплатно [Mac App Store].
4. Lightshot Screenshot
Небольшая утилита, которая поселится в строке меню и будет делать снимки экрана, распространяется бесплатно в Mac App Store.
Пусть вас не смущает минимум настроек и отсутствие полноценного интерфейса. Стоит лишь задать сочетание клавиш для активации Lightshot Screenshot, нажать их и программа предстанет во всей красе. 
Сначала указываем нужную область для создания снимка и сразу же наносим все дополнительные пометки, текст, стрелки, выделения. При помощи специальных кнопок можно в одно нажатие сохранить фото, сохранить его в облако, скопировать в буфер обмена или отправить на печать.
Скачать Lightshot Screenshot бесплатно [Mac App Store].
5. Joxi Screenshoter
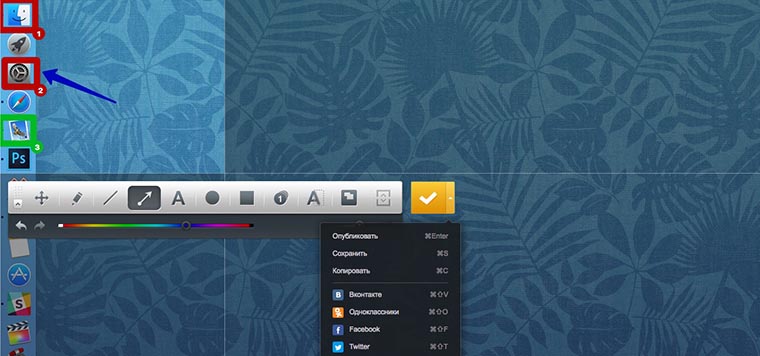
Принцип работы данной программы похож на Lightshot Screenshot. Изначально мы активируем режим съемки, выбираем область, которую хотим запечатлеть, и добавляем всевозможные пометки, маркеры или текст.
Далее можно сохранять снимок экрана и делиться им в социальных сетях. Joxi Screenshoter является кроссплатформенным решением и разработчики выделяют 1 ГБ облачного хранилища для переноса картинок из одной системы в другую. 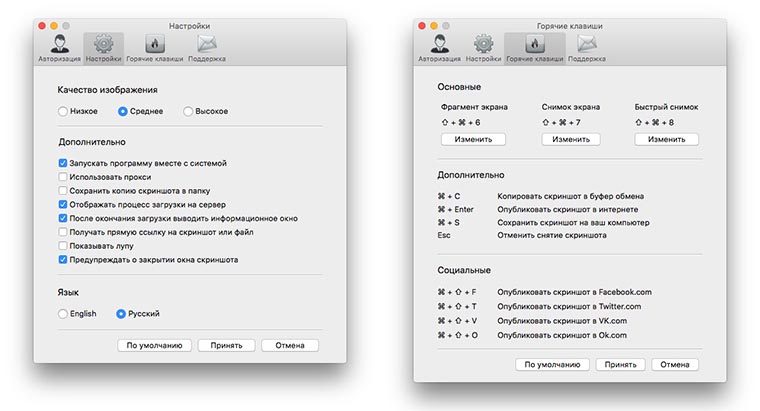
В программе присутствует большое количество настроек, особенно будут рады любители настраивать горячие клавиши для основных действий приложения.
Скачать Joxi Screenshoter бесплатно [Mac App Store].
Вот так выглядят самые полезные и популярные приложения для создания и обработки скриншотов на Mac. Все утилиты распространяются бесплатно, а значит – можно попробовать каждую и выбрать подходящую.
Скриншот можно использовать для разных целей. Так мы показываем друзьям и знакомым глюки, возникающие в процессе работы за компьютером, делимся интересными моментами или достижениями в играх, делаем обучающие инструкции по использованию тех или иных программ для пожилых родственников.
![]()
Артём Суровцев
Люблю технологии и все, что с ними связано. Верю, что величайшие открытия человечества еще впереди!
Источник
Как сделать снимок экрана на Mac
В меню «Снимок экрана» можно найти все необходимые элементы управления для создания снимков и записей экрана. Вы также можете записывать голос при создании записи экрана. Оптимизированный процесс работы в приложении позволяет Вам делать фото и видео экрана, а затем без труда публиковать, редактировать или сохранять их.
Доступ к элементам управления для работы со снимком экрана. Нажмите сочетание клавиш Command-Shift-5. Вы можете сделать снимок всего экрана, выбранного окна или области окна. Можно также сделать запись всего экрана или его области.
Используйте значки в нижней части экрана, чтобы сделать снимок выбранной области  , сделать запись экрана
  и др. Нажмите «Параметры», чтобы изменить место сохранения снимка, установить таймер перед созданием снимка, настроить параметры аудио и микрофона или показать указатель мыши. Нажмите «Снять» или «Записать», чтобы сделать снимок или видеозапись экрана.
По завершении создания снимка или видеозаписи экрана в углу экрана появляется миниатюра. Можно перетянуть миниатюру в документ или папку, смахнуть по ней вправо для быстрого сохранения или нажать ее для редактирования или отправки.
Примечание. Также можно открыть утилиту «Снимок экрана» из папки «Другие» в Launchpad или из папки «Программы» > «Утилиты» в Finder.
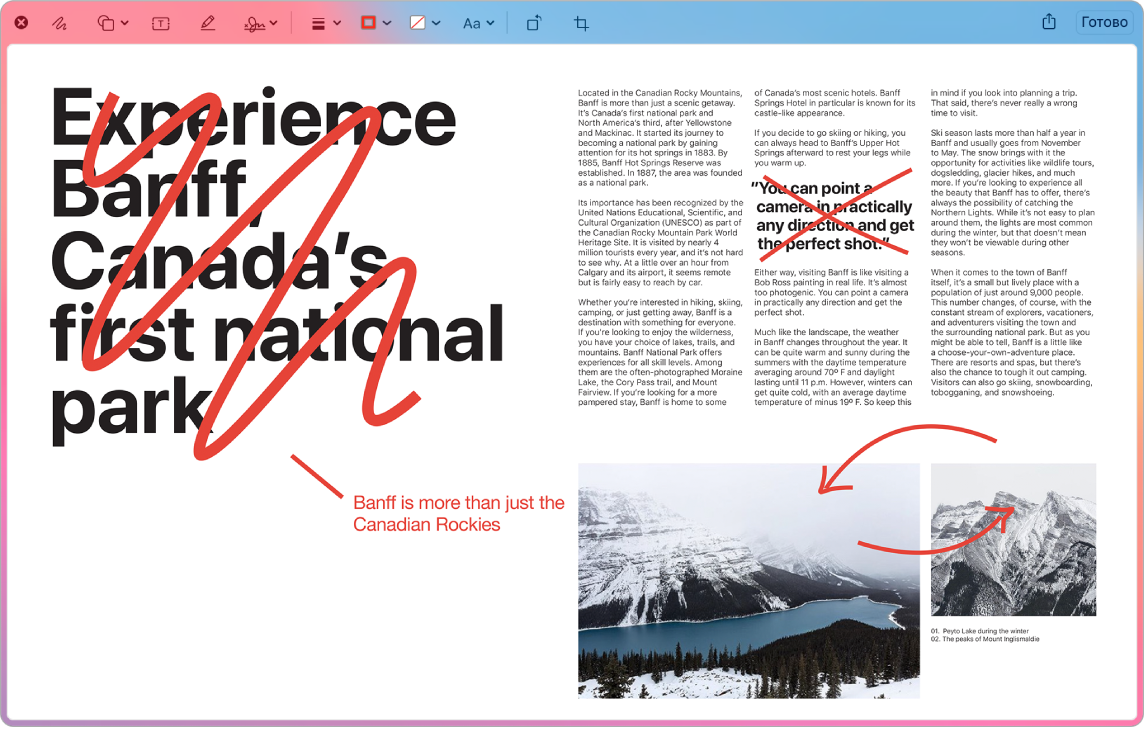
Разметка снимка экрана. Нажмите на миниатюру снимка экрана, чтобы использовать инструмент «Разметка» и добавить к нему аннотации. Чтобы сразу отправить размеченный снимок экрана коллегам или друзьям, нажмите «Поделиться»  . См. раздел Добавление примечаний к файлам на Mac в Руководстве пользователя macOS.
Подробнее. См. раздел Создание снимков экрана и записей экрана на Mac в Руководстве пользователя macOS.
Источник
Take screenshots or screen recordings on Mac
You can take pictures (called screenshots) or recordings of the screen on your Mac using Screenshot or keyboard shortcuts. Screenshot provides a panel of tools that let you easily take screenshots and screen recordings, with options to control what you capture — for example, you can set a timer delay or include the pointer or clicks.
Take pictures or screen recordings using Screenshot
On your Mac, press Shift-Command-5 (or use Launchpad) to open Screenshot and display the tools.

Click a tool to use to select what you want to capture or record (or use the Touch Bar).
For a portion of the screen, drag the frame to reposition it or drag its edges to adjust the size of the area you want to capture or record.
Capture the entire screen

Capture a window

Capture a portion of the screen

Record the entire screen

Record a portion of the screen

Click Options if you want.
The available options vary based on whether you’re taking a screenshot or a screen recording. For example, you can choose to set a timed delay or show the mouse pointer or clicks, and specify where to save the file.
The Show Floating Thumbnail option helps you work more easily with a completed shot or recording — it floats in the bottom-right corner of the screen for a few seconds so you have time to drag it into a document, mark it up or share it before it’s saved to the location you specified.
Start the screenshot or screen recording:
For the entire screen or a portion of it: Click Capture.
For a window: Move the cursor to the window, then click the window.
For recordings: Click Record. To stop recording, click the Stop Recording button  in the menu bar.
When the Show Floating Thumbnail option is set, you can do any of the following while the thumbnail is briefly displayed in the bottom-right corner of the screen:
Swipe right to immediately save the file and make it disappear.
Drag the thumbnail into a document, an email, a note or a Finder window.
Click the thumbnail to open a window where you can mark up the screenshot or trim the recording, or share it.
Depending on where you chose to save the screenshot or recording, an app may open.
Take pictures using keyboard shortcuts
You can use various keyboard shortcuts on your Mac to take pictures of the screen. The files are saved to the desktop.
Tip: To copy a screenshot so you can paste it somewhere — like in an email or to another device — press and hold the Control key while you press the other keys. For example, to copy the whole screen, press Shift-Command-Control-3.
Capture the entire screen
Capture a portion of the screen
Press Shift-Command-4, then move the crosshair pointer to where you want to start the screenshot. Press the mouse or trackpad button, drag over the area you want to capture, then release the mouse or trackpad button.
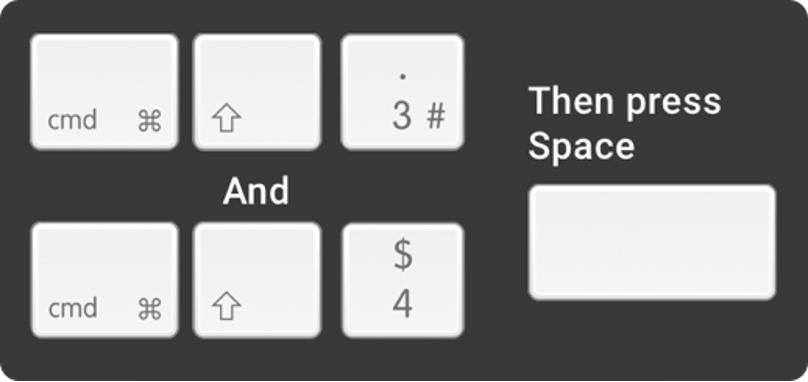
Capture a window or the menu bar
Press Shift-Command-4, then press the Space bar. Move the camera pointer over the window or the menu bar to highlight it, then click.
Capture a menu and menu items
Open the menu, press Shift-Command-4, then drag the pointer over the menu items you want to capture.
Press Shift-Command 5.
Capture the Touch Bar
You can customise these keyboard shortcuts in the Shortcuts pane of Keyboard preferences. On your Mac, choose Apple menu

> System Preferences, click Keyboard, then click Shortcuts.
Screenshots are saved as .png files and screen recordings are saved as .mov files. Filenames begin with “Screenshot” or “Screen Recording” and include the date and time.
You may not be able to take pictures of windows in some apps, such as DVD Player.
Источник
How to take a screenshot on Mac [2021 Guide]
Best screen capturing app
For many new Apple users, particularly those who are migrating from Windows and are used to that Prt Scrn (Print Screen) button, the answer to the question of how to screenshot on Mac isn’t immediately obvious.
Although it only takes pressing a couple of keys to take a screenshot on Mac, the fact remains that Mac screen capture is something that hasn’t historically felt all that intuitive. For example, in addition to different key commands for screenshotting windows vs. smaller selections, recording video of your screen, for a long time, was only possible through QuickTime Player.
Best screenshot apps for macOS
Get the ultimate screen capture on Mac — download and test the best screenshot apps. All utilities in one pack, give it a go!
Although macOS Mojave has changed much of this, how to take a screenshot on Mac remains a heavy-hitting search query, as not everyone uses the latest version of macOS. Below you’ll find more information on taking a screenshot on Mac (and capturing video), as well as some useful tools to make your Apple screenshot life easier.
Mac Screenshot Basics
There’s no dedicated button for the print screen on Apple products, but there is a dedicated menu. And some even argue it’s much better! With the release of macOS Mojave, Apple really revolutionized their Mac screenshot utility by adding a single command that opens a screen capture menu. Once you master this command, taking screenshots will feel easy and intuitive.
Still, Apple’s native screenshot tool only gives you five options on how to capture Mac’s screen. And as you read on, you’ll discover there are many more available with third-party apps. So let’s see what works best for you.
How to screenshot on Mac
On macOS Mojave and latere, you can either open the screenshot menu and then choose your way of capturing the screen or use dedicated keyboard shortcuts for every action such as capturing a window or a selected area. macOS versions released before Mojave don’t have the screen capturing menu, but have the commands to capture part of the screen or whole screen.
Capture screen with the screenshot menu
If you’re a Mojave, Catalina, Big Sur, or Monterey user, you can use ⌘ + Shift + 5 to bring up a screen capture menu that will allow you to:
- Capture Entire Screen
- Capture Selected Window(s)
- Capture Selected Portion
- Record Entire Screen
- Record Selected Portion.

At the right-hand side of this menu, there’s the Options button that lets you (among other things) select where your MacBook screenshot and video output is saved. In other words, anyone looking for an easy answer to the question “how do I take a screenshot on my Mac?” could do a lot worse than upgrading to Mojave in order to streamline the process.
Print screen of a selected area
We can bet that in 80% cases you take a screenshot of a specific area on your screen. Grab an image, capture a joke from your work chat, or show something on your screen — there are tons of use cases that justify why you print screen a selected area so often. And the obvious thing: if you choose to capture a selected area, you might as well use this method to capture the whole screen — just select it all. This is why, no matter what screenshotting methods you prefer, remember this command: ⌘ + Shift + 4 . It will let you quickly print screen a selected area.
How to take screenshots using the Touch Bar
If you still think you can’t live without that Windows-style print screen button. does your Mac have the Touch Bar? If yes, you can create a dedicated button for taking screenshots! Here’s how it works:
- Access System Preferences > Keyboard
- Click “Customize Control Strip”
- Choose the location of your screenshot button on the Touch Bar, drag and drop it there, and save the changes.
Now you can screen grab Mac using nothing but your Touch Bar. Click the screenshot button — this will bring up a screen capture menu. Click “Save To” if you want to change where your screenshots are saved to. Choose what you want to capture: the entire screen, selected area, or window. Then just move your cursor to take a screenshot.
Third-party macOS screenshot apps
You might notice that, even with the inclusion of ⌘ + Shift + 5 Mac screen capturing menu, the options for taking a MacBook screenshot remain pretty basic. What if you want to take a scrolling capture? The native tool can’t do that. If you’re looking for a snipping tool for Mac that can do a little more, you need to turn to a third-party developer.
CleanShot X is unbeatable here. The app is tailored for 50+ different changes, which makes it the ultimate screen capturing tool for Mac. You can use CleanShot X to capture screen — whether it’s a window, full screen, area, or even scrolling content, as well as record video and GIFs. While capturing anything on your desktop, you can choose to hide all desktop clutter and disable desktop notifications. Once you have your clean screenshot, open it from the overlay window that pops up, and start editing. You can add annotations, blur specific parts, or draw — CleanShot X will help you customize virtually anything.
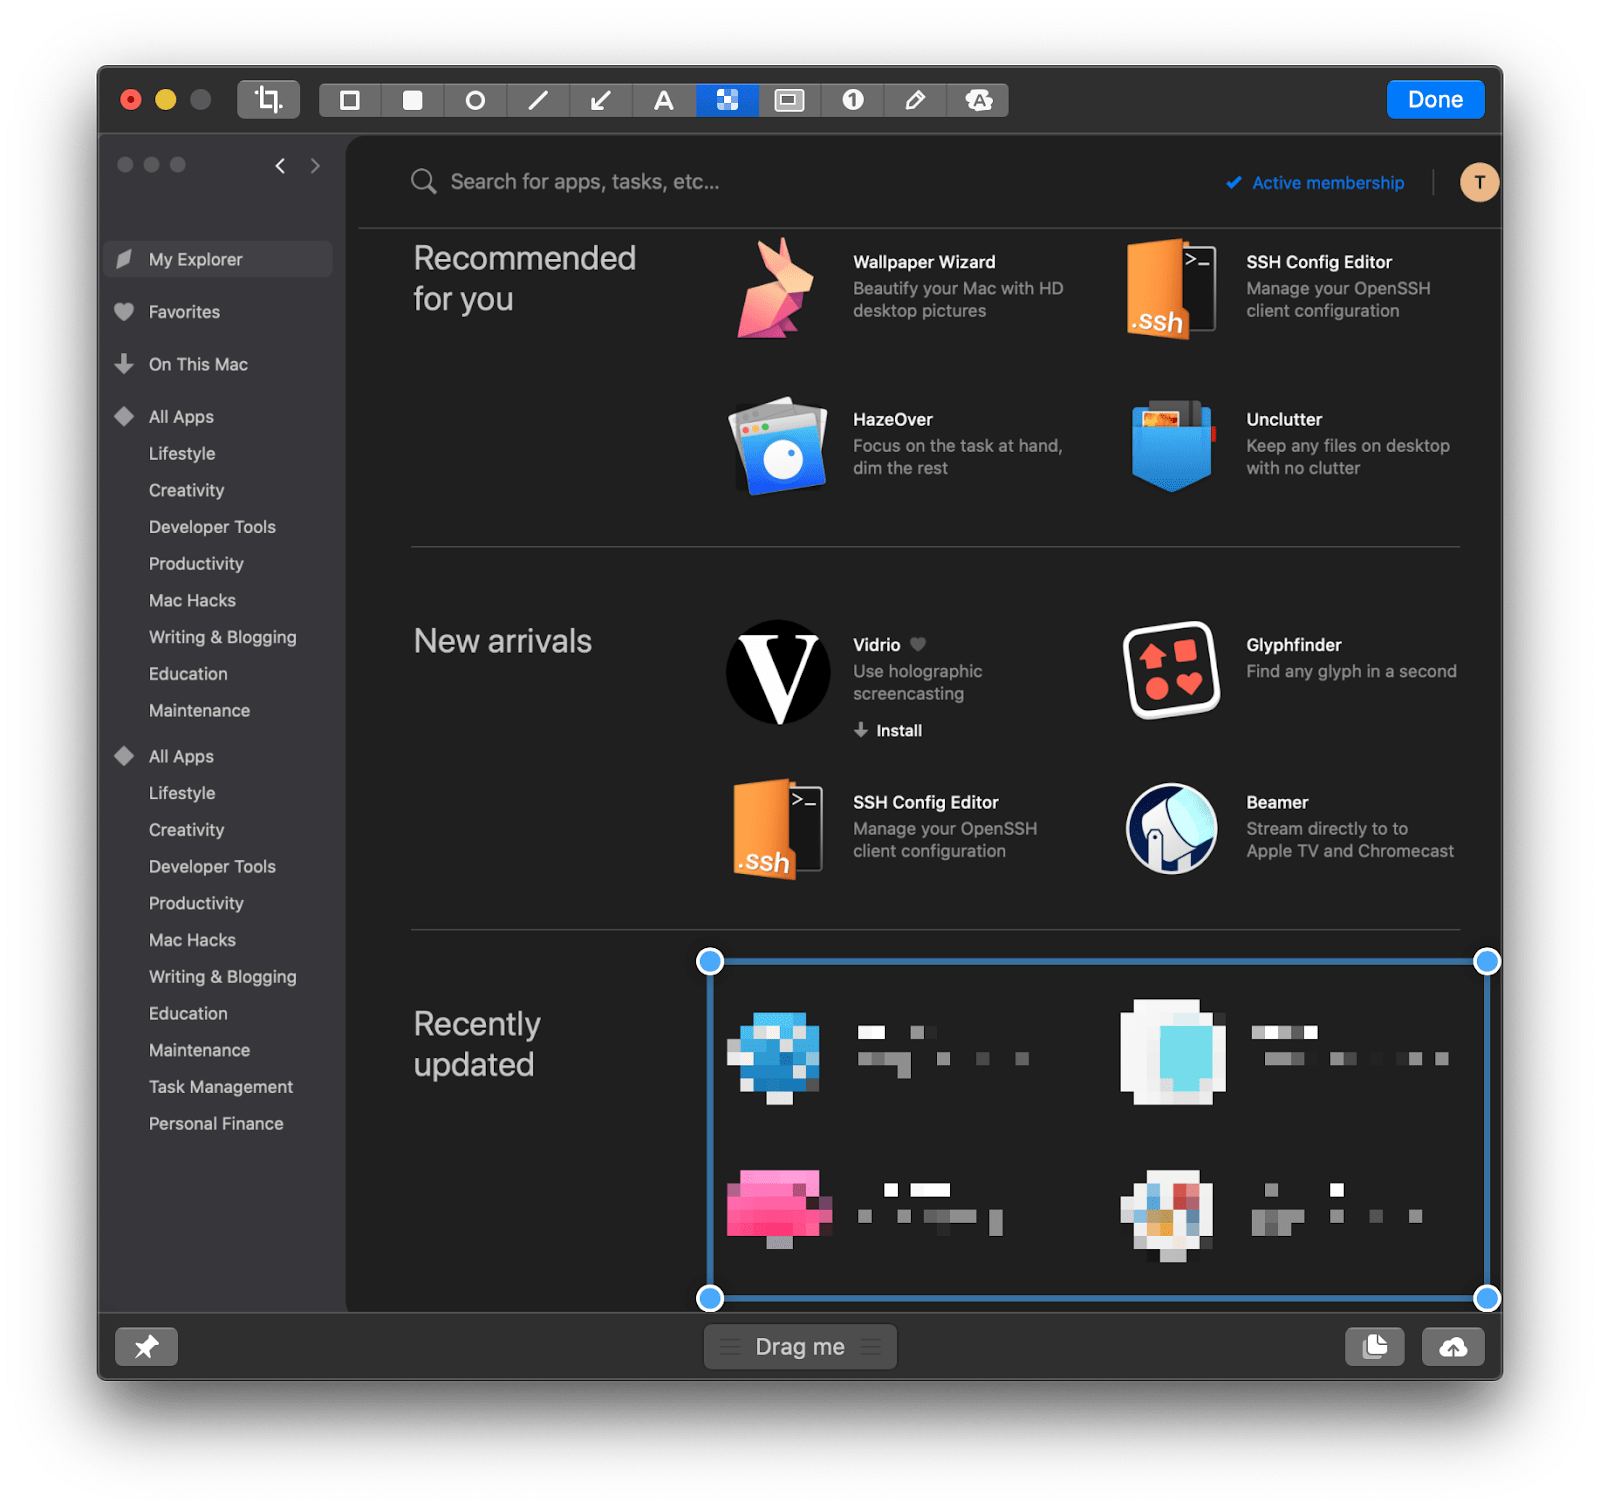
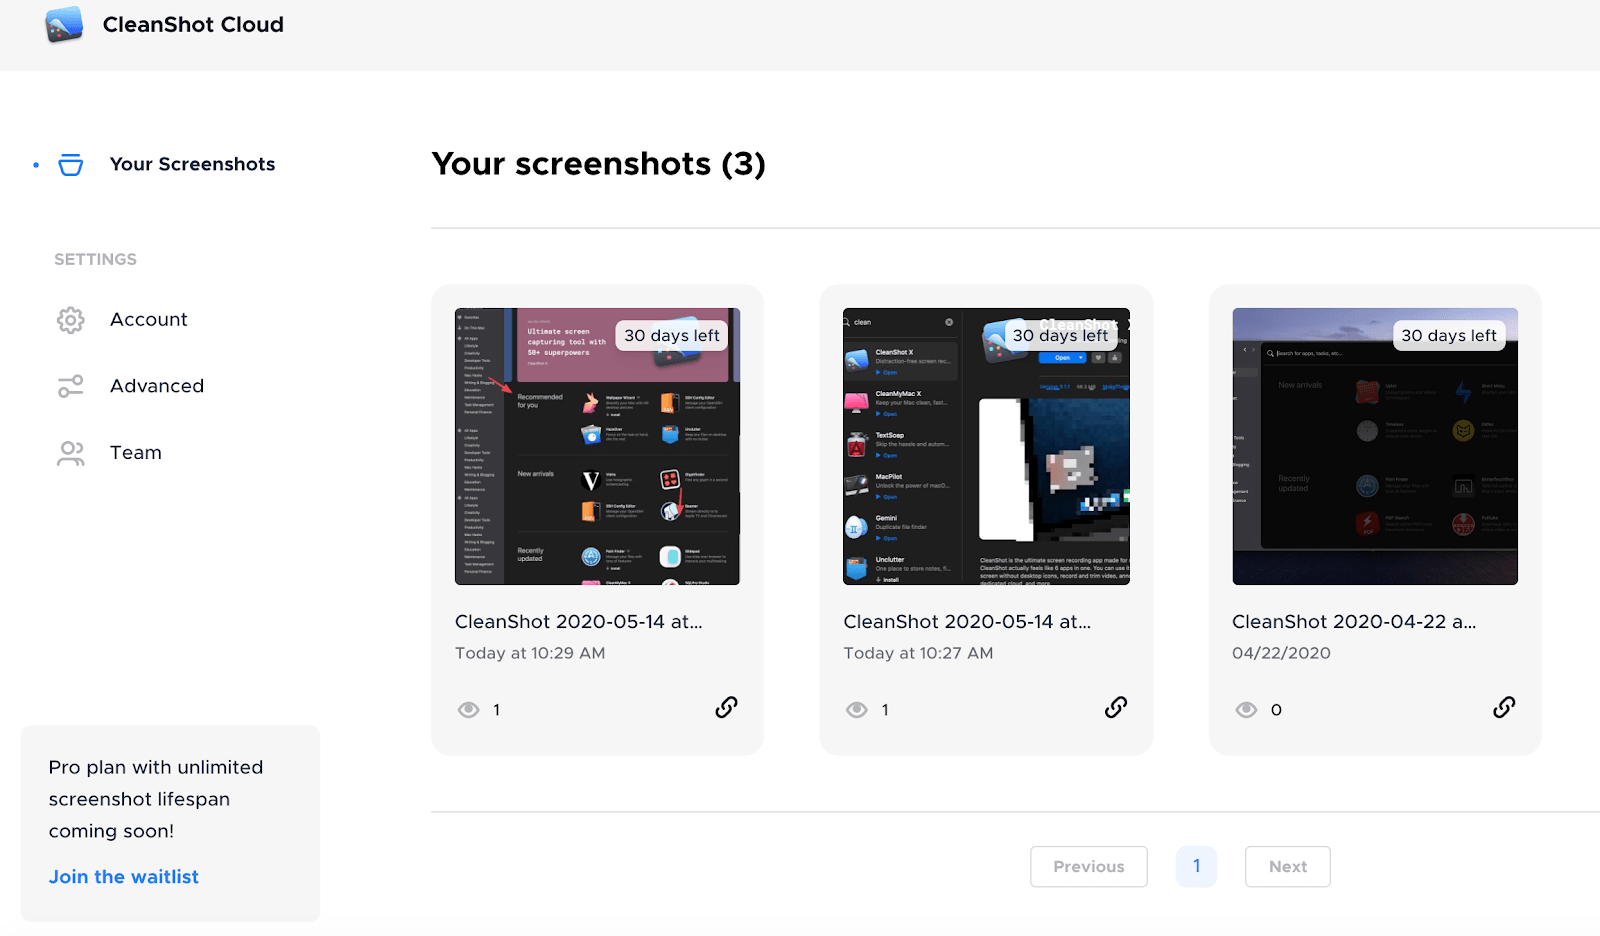
A few not-so-obvious yet cool features to mention are self-timer, screenshot pinning, and internal cloud. Want to capture something with a delay? CleanShot X has a self-timer that will help you pick the right moment. If you want your screenshot to be visible on the screen, pin it to the desktop. Finally, save your screen captures to the internal CleanShot Cloud and get shareable links in a flash.
If you’re looking for something with a little more emphasis on screen recording, we recommend Capto. In addition to recording video, or just taking a snapshot on Mac, you can also annotate and edit captures in an intuitive iMovie-esque interface.
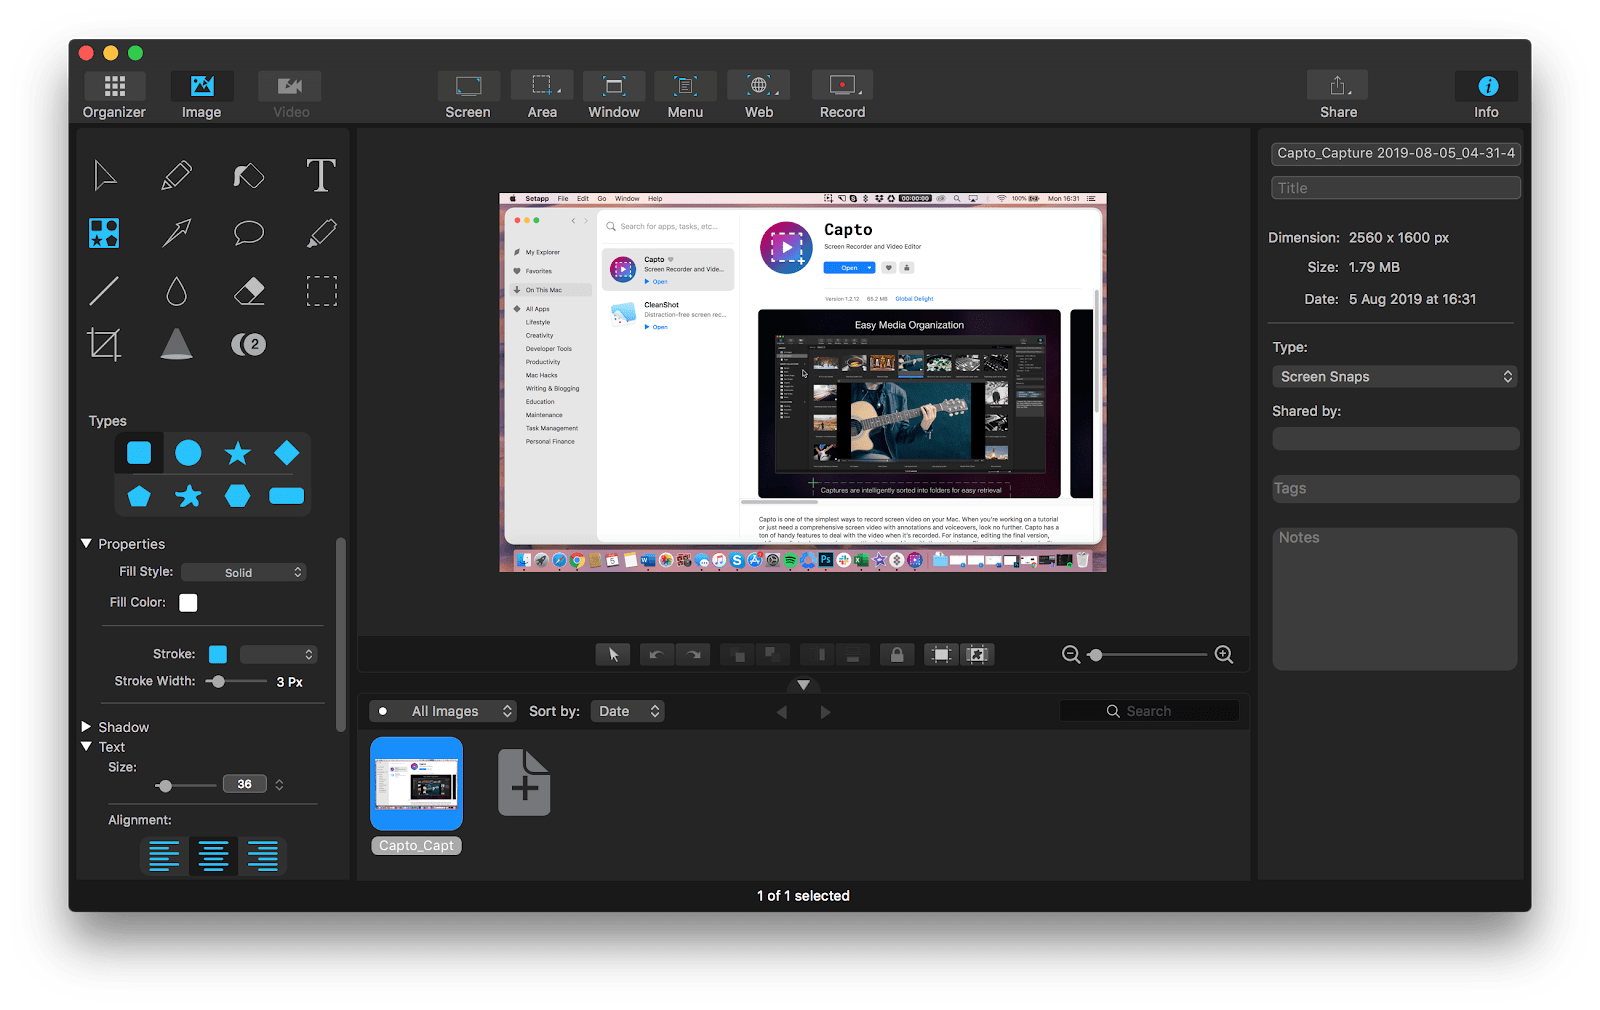
Capto does wonders if you want to record a video tutorial and share it anywhere. And given its strong visual component, it’s also perfect for those with auditory shyness who would rather add captions than a voiceover. Capto’s built-in organizer is pretty helpful for keeping track of your screenshots too.
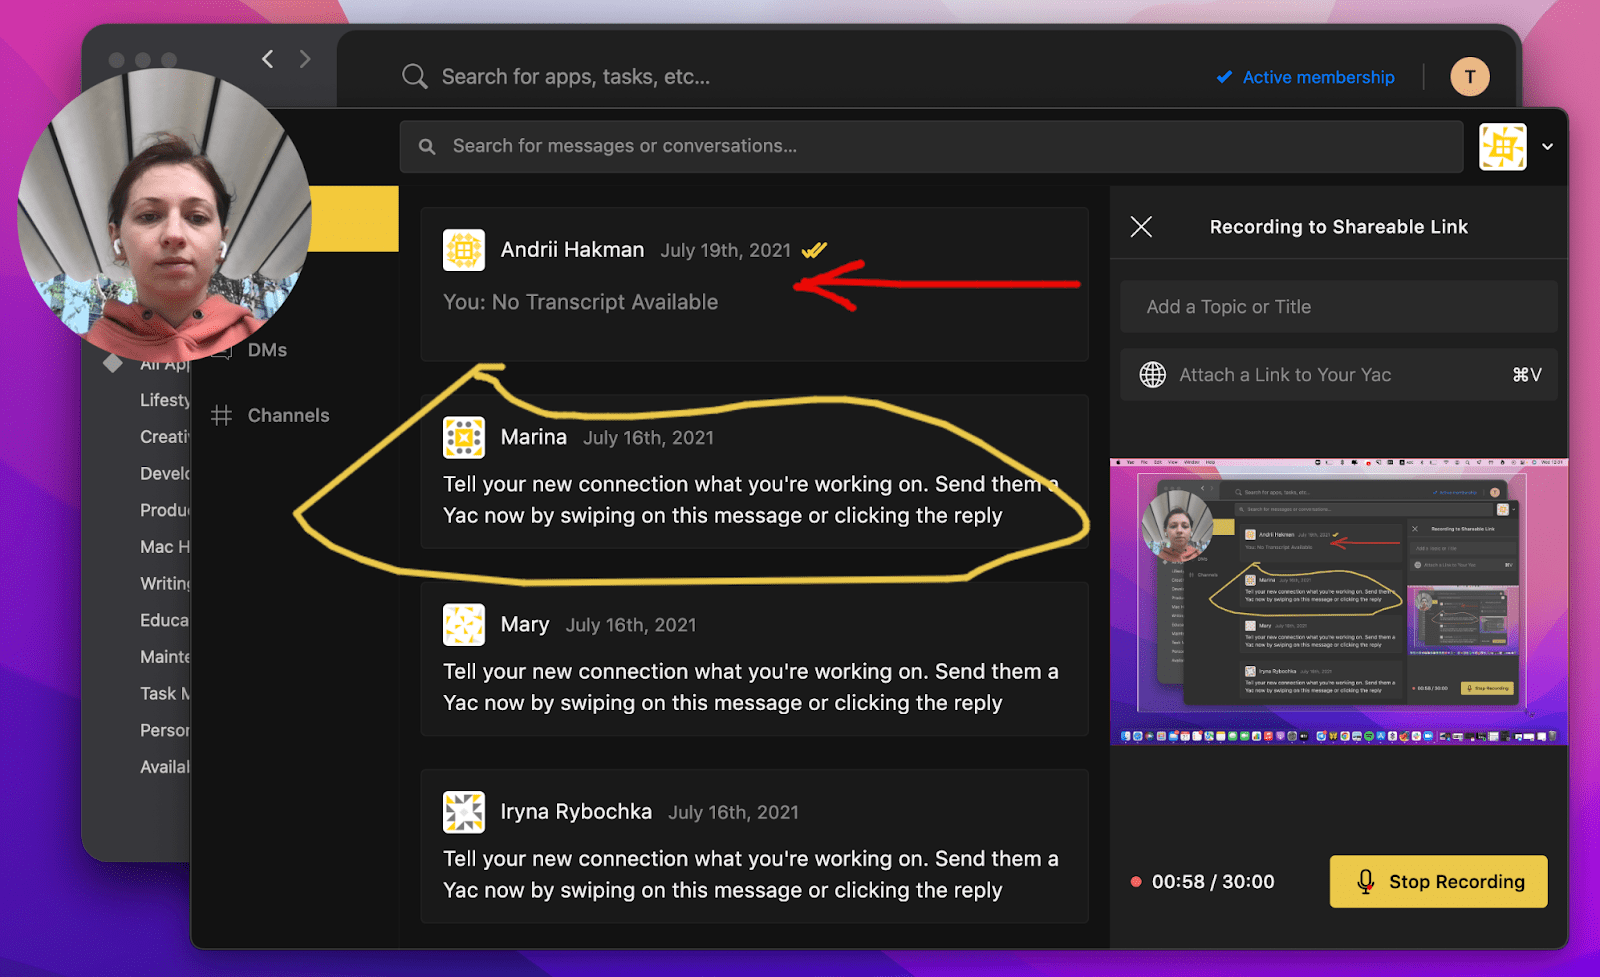
Yac is the app you should consider if you need a quick way to share information with your colleagues, without distracting them with calls. We’ve had way too many virtual meetings in our calendars lately, haven’t we? Instead, try this asynchronous voice and video messaging tool, loved by millions of remote workers around the world.
Just record a quick voice message — you can add a screen recording with annotations and show webcam if you like — and let your teammates check it out when it’s convenient for them. It’s possible to integrate Yac with Slack, so you get notified when someone sends you a yac.
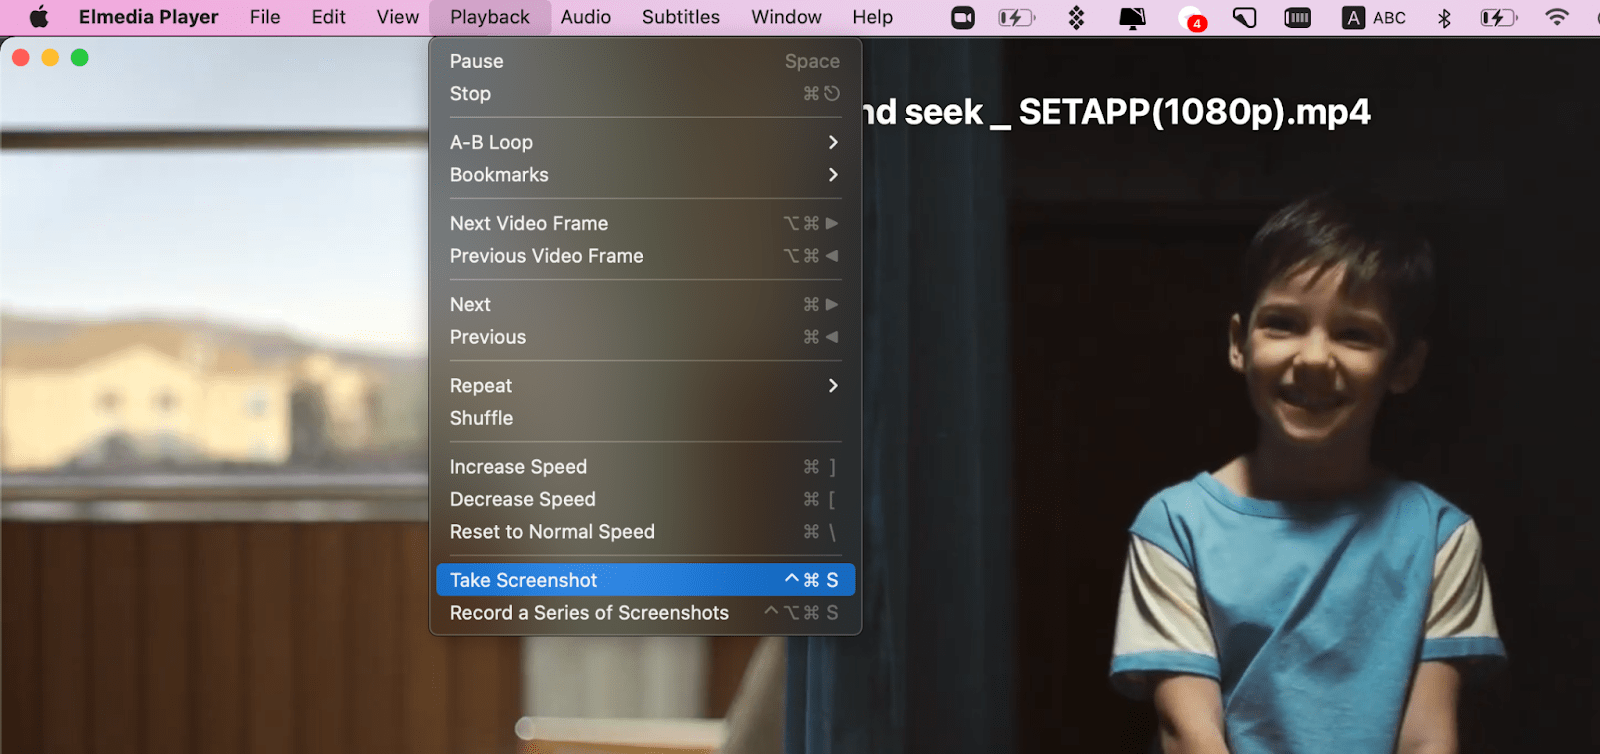
Finally, lots of advanced media players have a screenshot tool. This is very handy if you want to capture specific moments in a movie or video — you usually can’t do it when you watch a movie online because most streaming services block screenshot tools. Instead, consider using Elmedia Player to play any media content and capture screenshots on the fly.
All these third-party apps are available with Setapp, so you can try all of them for free.
How to print screen on Mac with Preview
Preview is Apple’s native image and PDF viewer — probably an essential part of your workflow. Its screenshot tool allows you to grab a part of the screen, window, or entire screen. The benefit of taking screenshots in Preview is that it automatically opens the screenshot you’ve taken in a new Preview window, so you can edit it — resize, add annotations, etc.
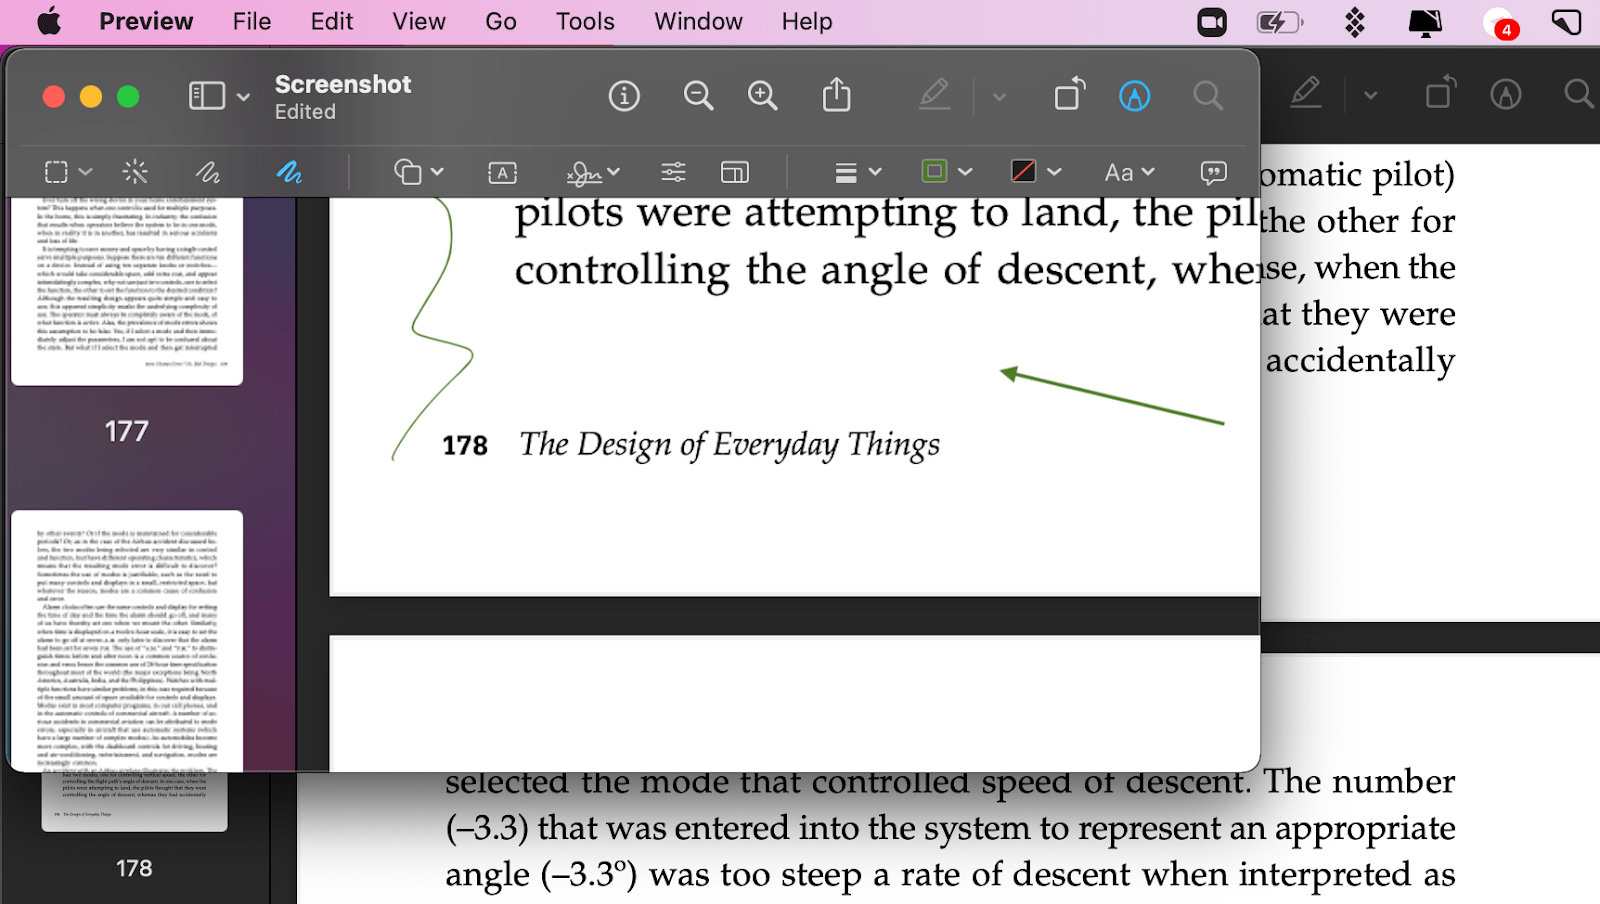
How do you take a screenshot on your Mac using Preview? It’s simple. In the app menu, select File > Take Screenshot > choose which part of the screen you want to capture > take a screenshot. From there, you’re free to edit and save your screenshot to any location on Mac.
Pre-Mojave Mac screenshot commands
If for whatever reason you don’t want to use macOS screenshot menu or third-party apps, then you’ll need to familiarize yourself with two key Mac screenshot shortcut options:
The first is probably the easiest to get to grips with, and the quickest one to take advantage of when taking a screenshot on Mac, as it captures the entire screen at once. If you’re using multiple screens, it takes a screenshot in macOS for every screen you’re using simultaneously.
The second of the commands represents a slightly more nuanced way to screen capture Mac. Rather than capturing your entire screen, it prompts you to select the area you want to capture. If you follow it up with a press of Space, it allows you to choose the window you want to screencap instead.
Overall, while these commands do let you print screen Mac, they feel sort of like an afterthought rather than a fully-fledged feature of macOS. With so many people looking into how to screenshot on Mac, it’s not surprising that Apple decided to make it easier with Mojave.
macOS screenshot organization
If you take a lot of screenshots, you’re probably used to your Downloads folder or Desktop being clogged with images like “Screen Shot 2019-XX-XX at 21.36.15.” Not particularly helpful for keeping all of your images in check, especially when macOS is prone to heavily abbreviating filenames.
While it’s possible to use Finder in conjunction with Preview to view all of your caps, that still isn’t a satisfying visual experience. One of the best solutions is PhotoBulk, a bulk image editor designed to rename, resize, and compress photos in bulk. Simply drag and drop the screenshots you want to rename, type in the name for the group, and click Start. All your renamed images will be tucked neatly into their own folder.
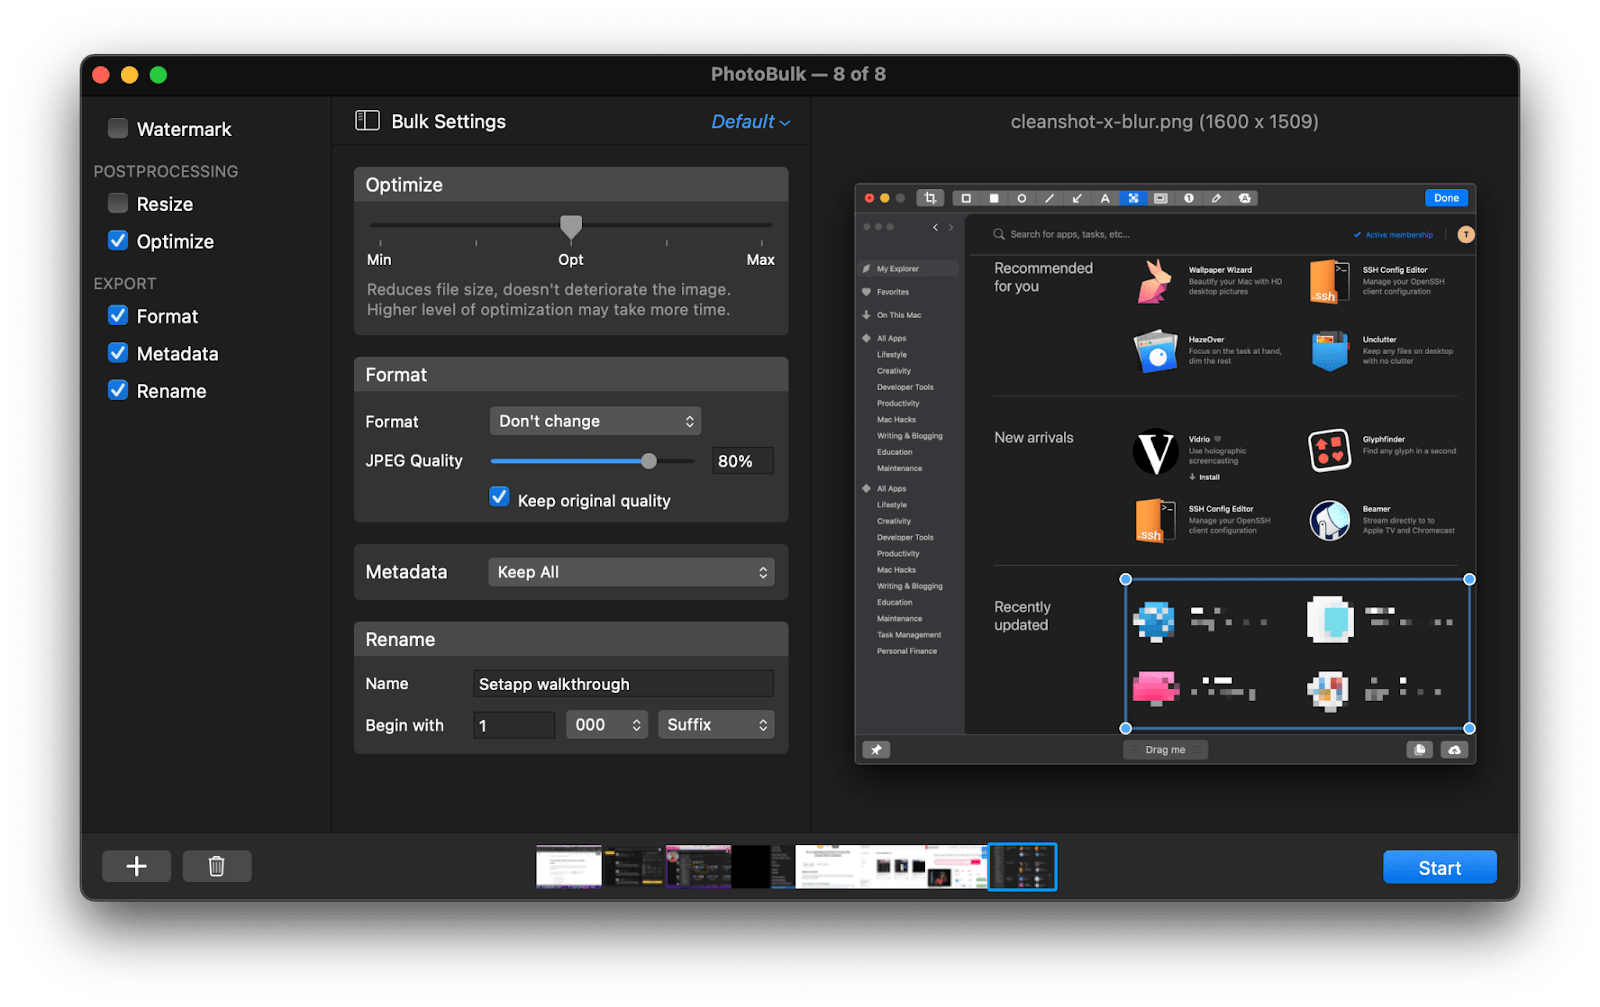
Pro tip: You can set the exact format of your image names and pick the exact number the count starts from.
How to share Apple screenshots
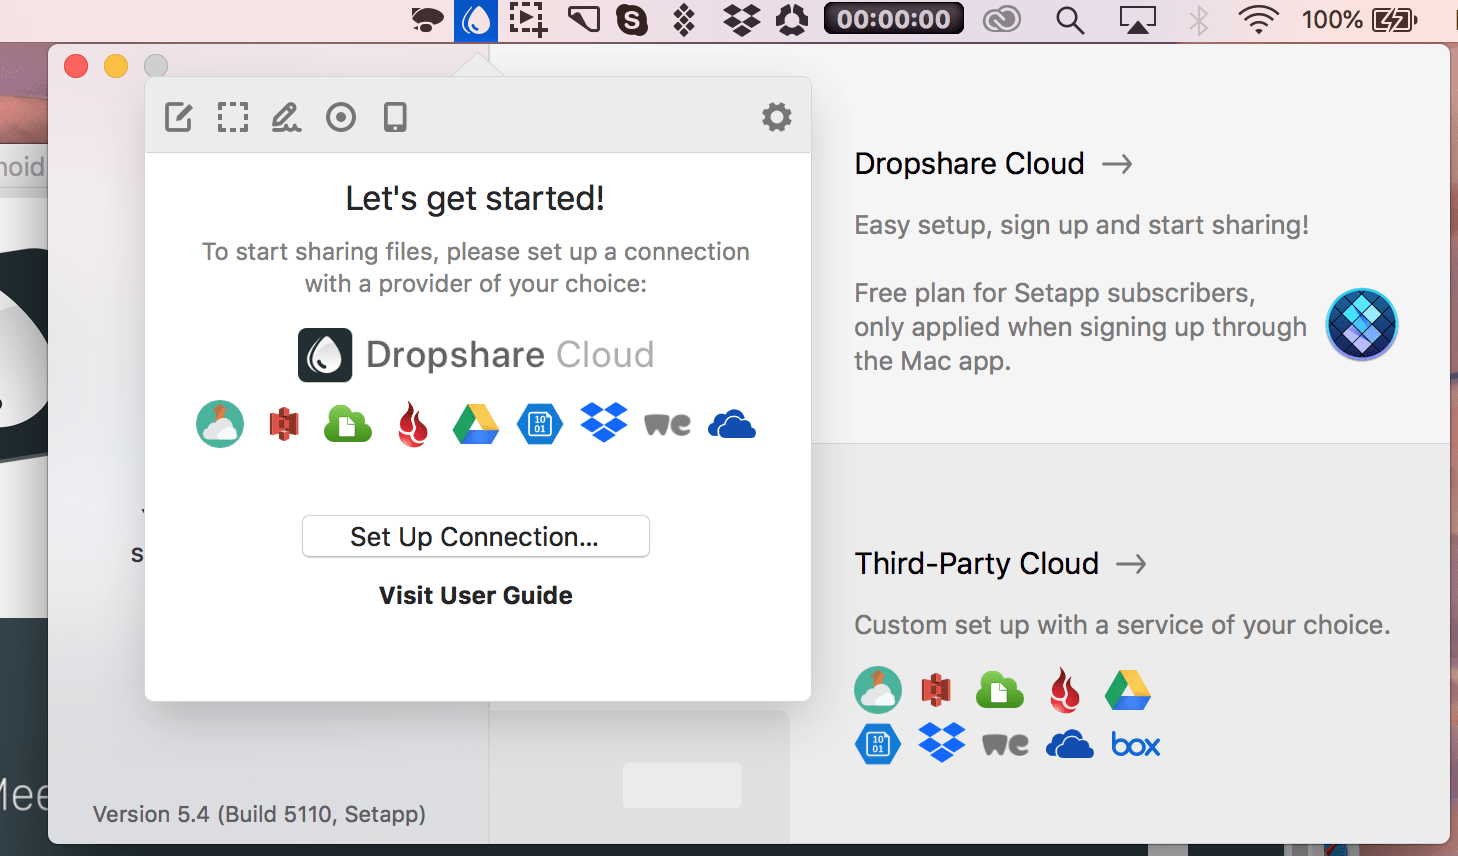
But even once you’ve solved the question of how to snapshot on Mac, sharing those screenshots with, say, colleagues or friends isn’t necessarily the easiest thing to do. Rather than emailing files back and forth, or having to upload everything to a public Google Drive, you might consider a solution like Dropshare. As the name suggests, it makes sharing screenshots (and other files) as simple as dropping them into the relevant area.
Dropshare connects with a range of major third-party cloud apps, but you can also lean on proprietary Dropshare Cloud if you prefer, which is helpful if you want to keep your Mac screen capture sharing separate from your other sharing activity.
Conclusion
As you can see from above, learning how to screenshot on Mac isn’t particularly difficult — in fact, now easier than ever thanks to the addition of a dedicated MacBook screenshot and video capture menu in macOS.
It’s clear from this new feature that Apple understands the print screen Mac trouble for Windows switchers, so you can likely expect to see further improvements to the process in the future. In the meantime, there are some excellent options in the snipping tool for Mac market that facilitate the process and offer a range of diverse features you won’t find among those built-in options for taking a screenshot on Mac.
Best of all, you can try all the apps mentioned here: CleanShot X, Capto, Elmedia Player, Yac, PhotoBulk, and Dropshare absolutely free with a 7-day trial of Setapp, a membership with over 200 essential apps for any task at hand. Now you’re all set for your screenshotting game.
Источник


