- Question: Q: How to use SCP (Secure Copy Protocol) in Terminal
- All replies
- Configuring SCP for macOS/OS X
- Configuration steps
- Step 1: Creating a key pair
- Step 2: Configuring a user account for SCP access
- Step 3: Downloading and installing Cyberduck
- Step 4: Establishing an SCP server connection
- Move and copy files in Terminal on Mac
- Move a file or folder locally
- Copy a file or folder locally
- Copy a file or folder remotely
- Перемещение и копирование файлов с помощью Терминала на Mac
- Локальное перемещение файла или папки
- Локальное копирование файла или папки
- Удаленное копирование файла или папки
- SSH SCP локальный файл на удаленный в терминале Mac Os X
- 3 ответов
Question: Q: How to use SCP (Secure Copy Protocol) in Terminal
Would someone help me do a scp command using Terminal? The client is telling me to use the following command:
pscp v -2 C P 8080 username pw pswd FILE address
Posted on Sep 13, 2005 7:12 PM
All replies
Loading page content
Page content loaded
I actually used that command for the first time a few minutes ago, to send a file to a colleague — he told me what to type:
scp path-to-file user@machine:directory/
It asked Are you sure you want to continue connecting?, then asked for the password.
Sep 14, 2005 6:09 AM
Applications>Utilities>Terminal.app
(ugly black screen, blocky cursor waiting for your command. this is Terminal mode. The line that ends with yourname and a $, is called the prompt)
A good place to pause and reflect, might be to open Help, once you open Terminal, before you start using it.
At at the prompt, type your command, follwed by the Enter, or Return key
You need to know:
your username
your password
and the «path/to/the/file» (like /Users/dan/documents/fakefile.doc)
This app can be the geekiest, and the most useful tool that OSX provides, though some may argue with me on «most helpful».
Sep 14, 2005 7:37 AM
‘pscp’ is actually a Windows client for implementing scp (because Windows doesn’t ship with SSH installed by default).
The command and arguments you’ve been told to use will not work on anything other than a Windows machine with pscp installed.
That’s not to say you can’t use scp — you can, you just can’t use the command in the way they’re telling you to.
In general scp requires two things — a source and a destination. Either source or destination can be on a local or a remote system. If ‘source’ is remote and ‘destination’ is local, then you’re download something from the server to your machine, and if ‘source’ is local and ‘destination’ is remote you’re uploading to the server.
The basic format is:
scp source destination
where either source or destination is a local or a remote path.
If local this is simply the path to the file on your system. If you’re already in the directory you can just type the filename, otherwise you’ll need to include the path to the file.
If remote then the format is hostname:/path/to/file where ‘hostname’ is the DNS hostname or IP address of the server. If you need to log into the server using a different username you can use the form username@hostname:/path/to/file
So, assuming you want to upload the file /path/to/file to the /var/tmp/ directory on server ‘homer’, you would use:
scp /path/to/file homer:/var/tmp/
You’ll be prompted for your password on homer, then the file will be uploaded.
To download a file simply reverse the parameters:
This will download the file /var/tmp/file from homer and save it in your home directory.
Now, the big gotcha here is the additional switches you’ve been told to use with pscp. The ‘-P 8080’ tells me they’re running on a non-standard port number (8080) rather than the normal port 22. If that’s the case you may need to tell scp to use a non-standard port, too which coincidentally uses the -P switch.
The rest of the pscp switches are mostly irrelevant. -v adds verbose messages (so you can see the progress). -2 uses SSH v2 which is the default under Mac OS X. We covered -P 8080, and there’s no way we’ll add the password on the command line (bad, bad, bad idea).
So, the equivalent scp command to what you’ve been told to do with pscp is:
scp -P 8080 FILE username@address
If you substitute the appropriate parameters you should be all set.
Источник
Configuring SCP for macOS/OS X
This topic describes how to configure and use secure encrypted data transfer with macOS (previously OS X) via Secure Copy Protocol (SCP). File transfer is often needed for data exchange when integrating external systems with Optimizely Campaign .
Configuration steps
Step 1: Creating a key pair
- From the Utilities folder, open Terminal.
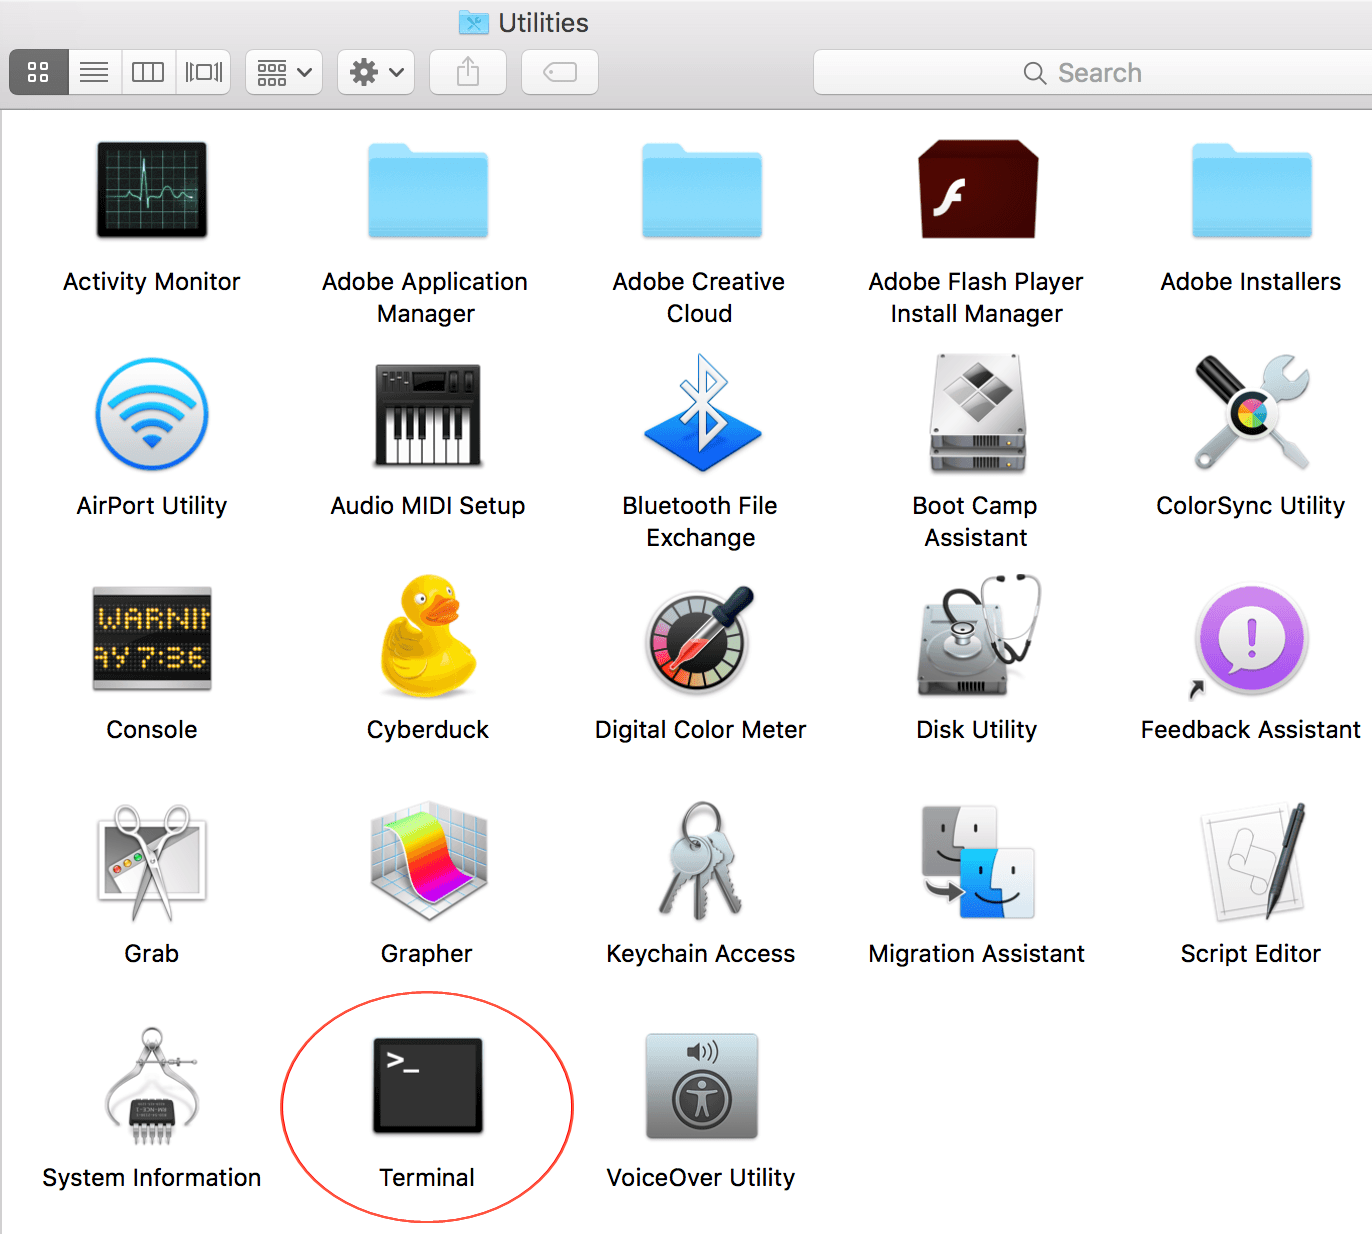
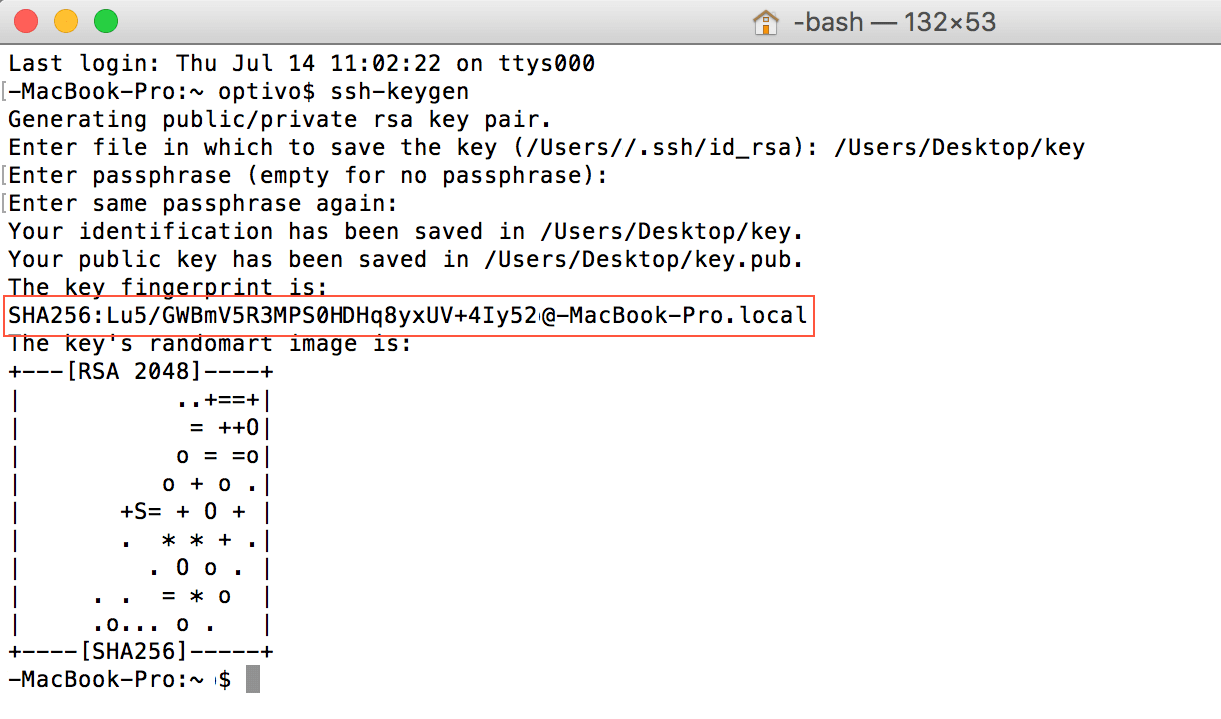
Enter ssh-keygen and press Enter.

Enter a file path and file name for the key pair. For example, to save the key pair to your desktop in a file called key, enter /Users/ /Desktop/key . Press Enter to confirm.

By default, Terminal suggests the hidden .ssh folder in your user folder as the file location, and the id_rsa as the file name. Unless changed, the key pair is saved in that directory using that file name. The private key is given the id_rsa file name, while the public key is assigned the .pub extension. In this example, the public key name is id_rsa.pub.
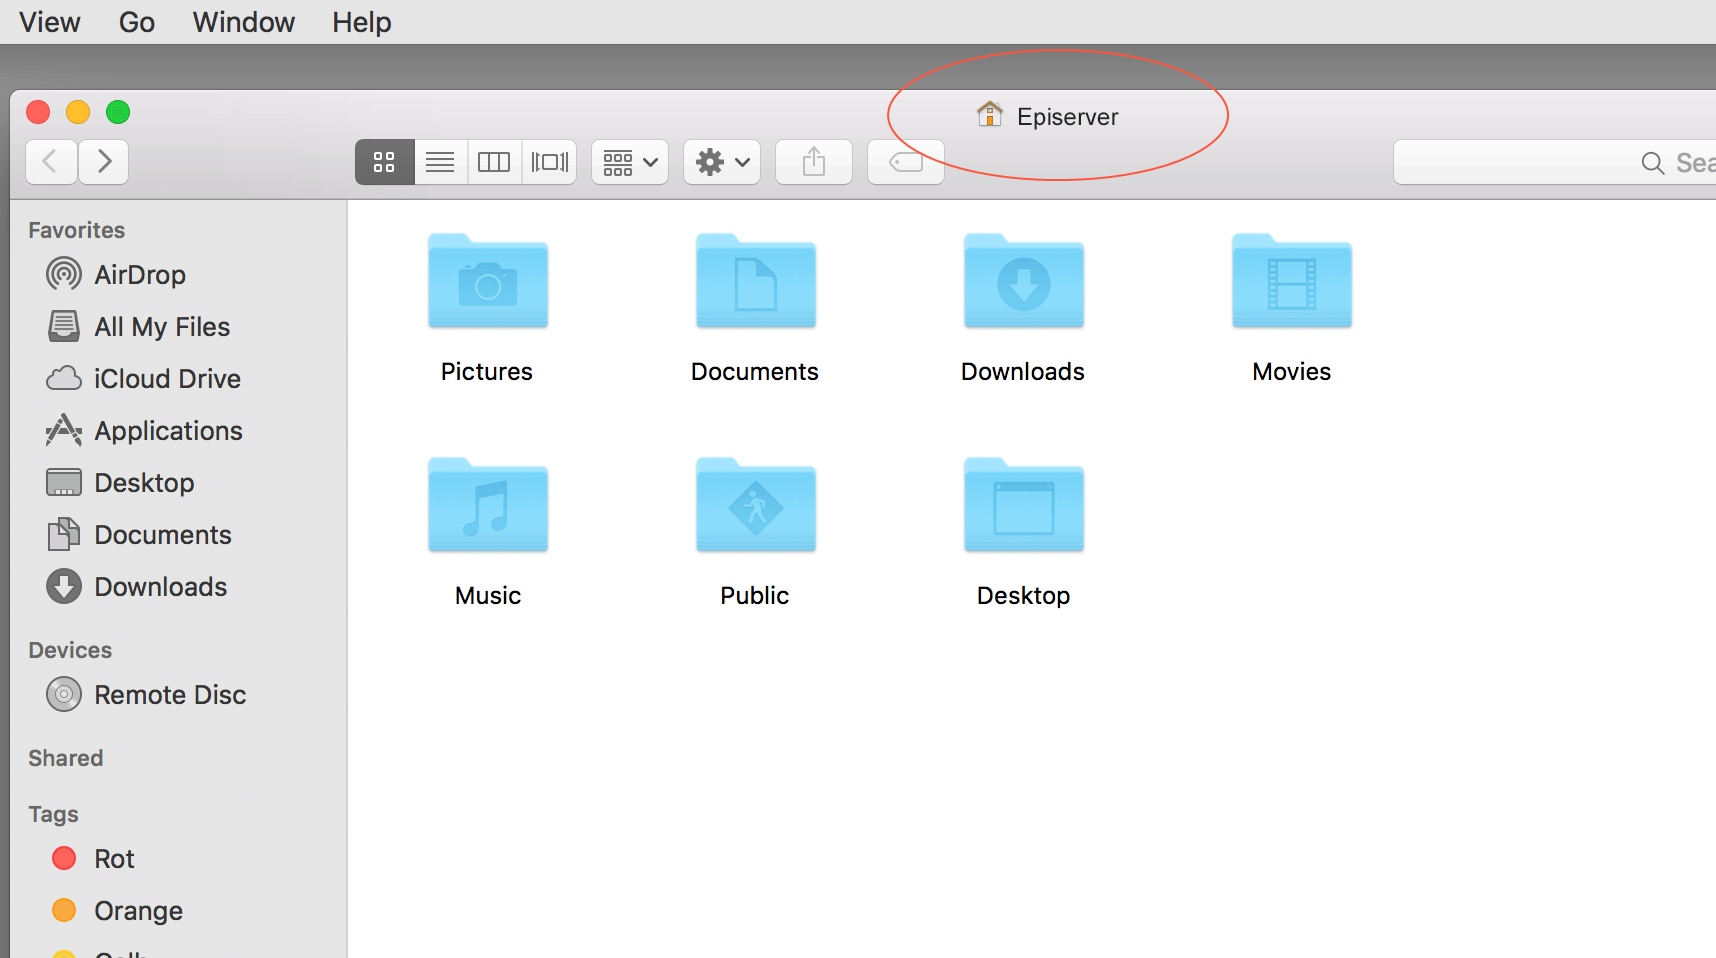
To see the name of your user folder, click Go>User folder in the MacOS Finder menu. Finder opens a window with the user folder name at the top.
In the Enter passphrase dialog box, enter your password (not visible).

Remember your password, you need it later to establish a server connection.
Step 2: Configuring a user account for SCP access
- Email your public key (file with .pub extension) to Optimizely customer support.
- In a separate email, send your key fingerprint to Optimizely customer support.
For security reasons, do not send the public key and key fingerprint together.
Step 3: Downloading and installing Cyberduck
Cyberduck is a free program used for establishing a connection to the server.
- Using a browser, go to https://cyberduck.io.
- Click Download Cyberduck for Mac.
- When the download finishes, open the folder with Cyberduck. No specific installation is required.
- Optional: move Cyberduck to a permanent folder, such as Programs or Utility programs.
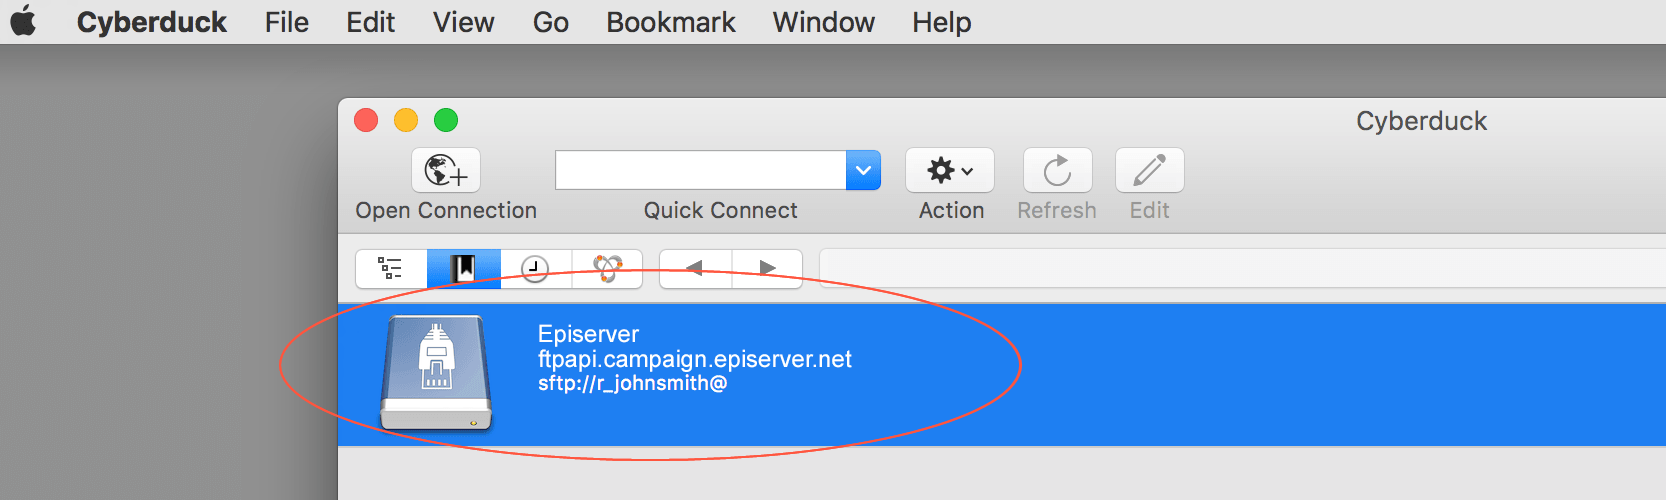
Step 4: Establishing an SCP server connection
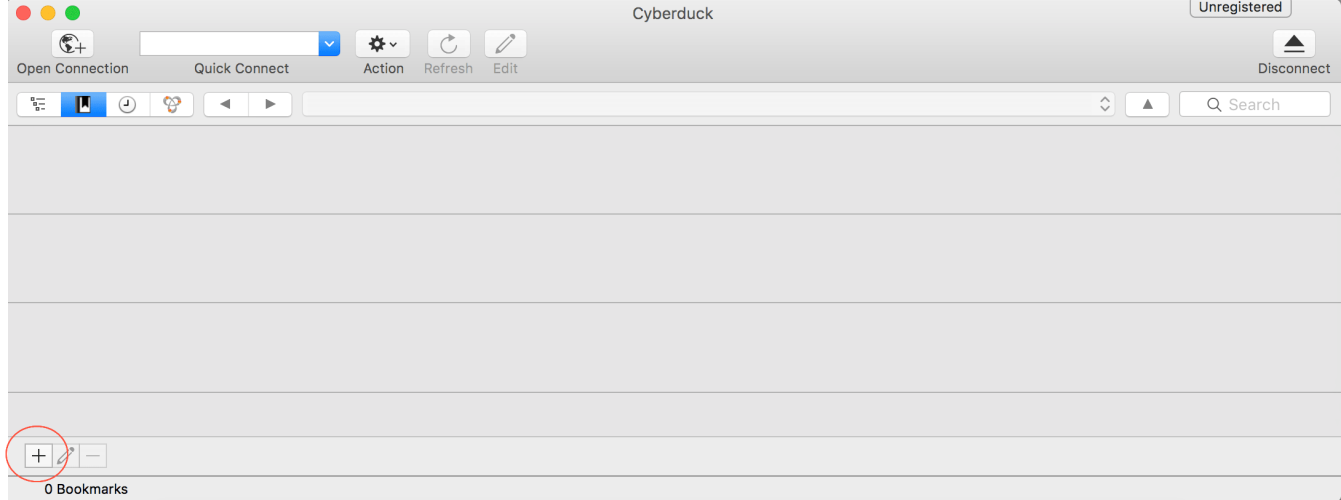
- Open Cyberduck.
- To create a bookmark for connecting to the server, click the plus icon + at the bottom.
Click the top options menu and select SFTP (SSH File Transfer Protocol).
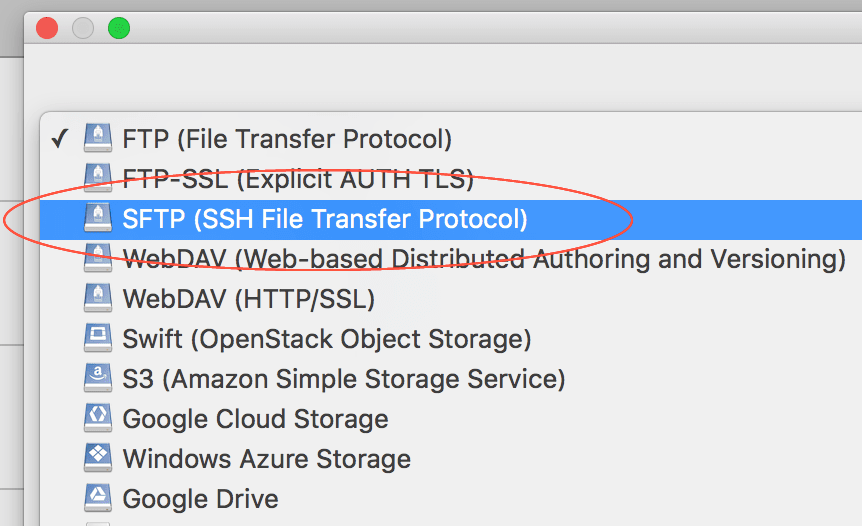
Fill out the information as follows.
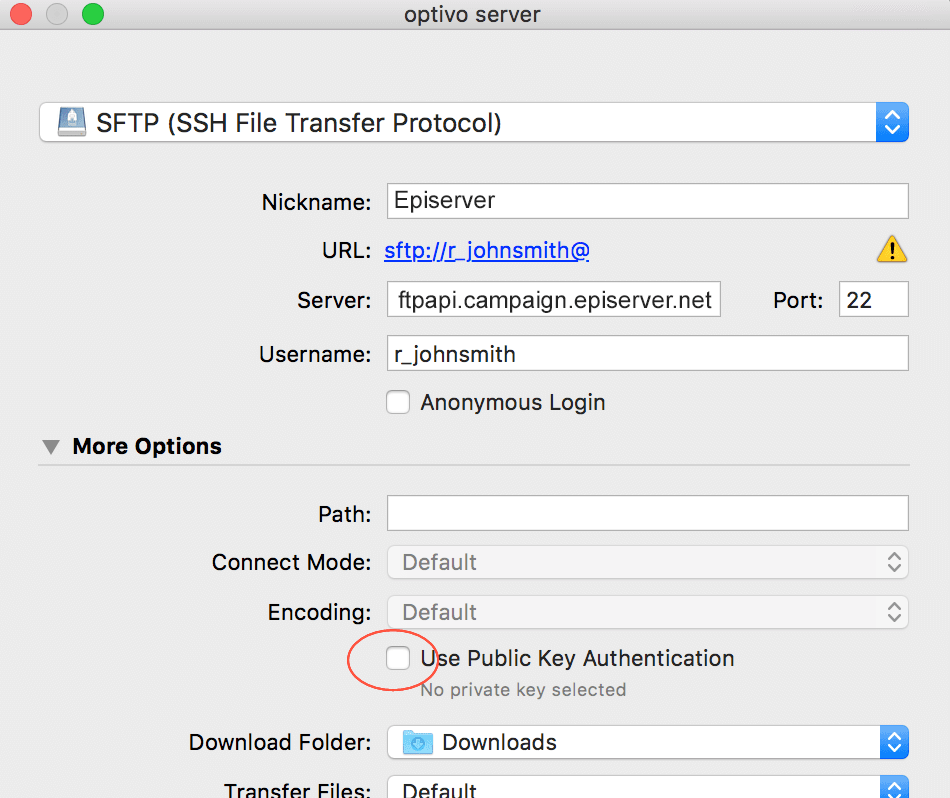
- Nickame: Enter a name to the bookmark.
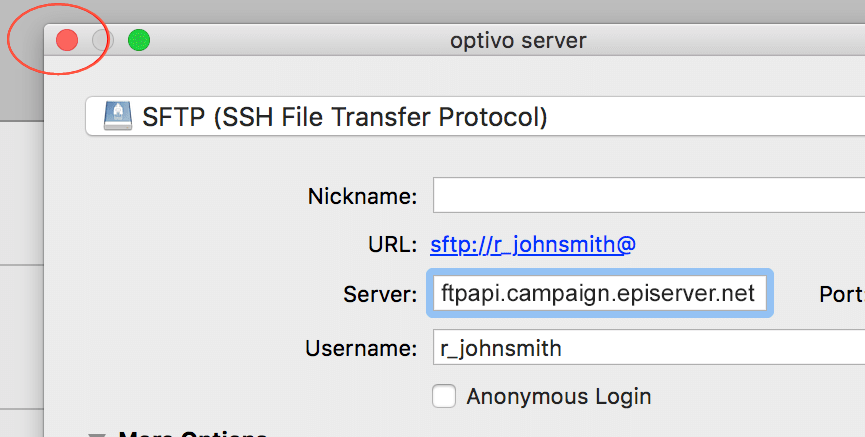
- Server: Enter the address ftpapi.campaign.episerver.net .
- Username: Enter name as provided by Optimizely .
- Open More options and enable Use Public Key Authentication.
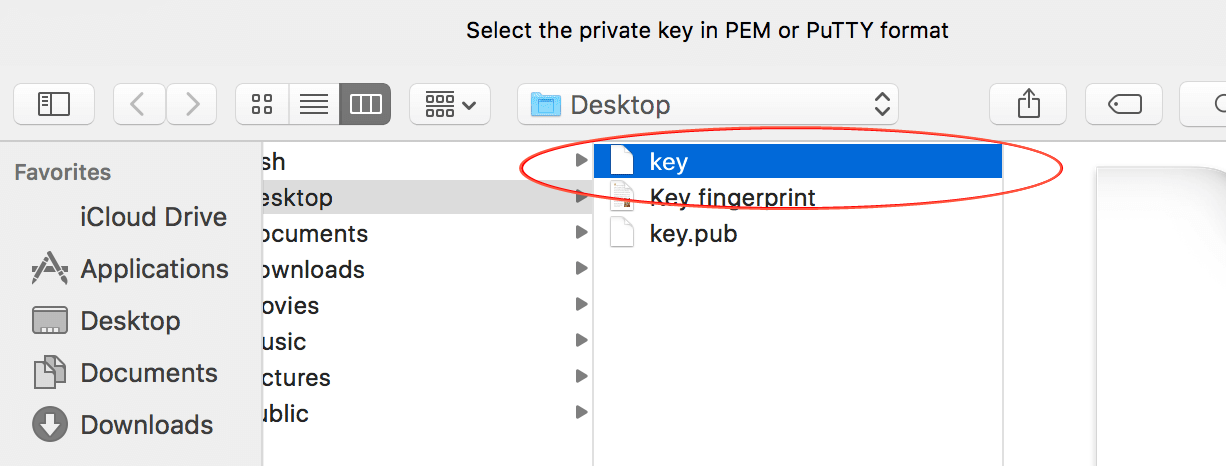
Do not confuse the private key with the public key. For the Use Public Key Authentication option, use your private key.
To establish a server connection, double-click the saved bookmark.
Источник
Move and copy files in Terminal on Mac
In Terminal, you can move and copy files locally or remotely using the mv , cp , and scp command-line tools.
Tip: It’s easier to move and copy files using the Finder. See Organize files in folders.
Move a file or folder locally
In the Terminal app  on your Mac, use the mv command to move files or folders from one location to another on the same computer. The mv command moves the file or folder from its old location and puts it in the new location.
For example, to move a file from your Downloads folder to a Work folder in your Documents folder:
You can also change the name of the file as it’s moved:
Copy a file or folder locally
In the Terminal app on your Mac, use the cp command to make a copy of a file.
For example, to copy a folder named Expenses in your Documents folder to another volume named Data:
The -R flag causes cp to copy the folder and its contents. Note that the folder name does not end with a slash, which would change how cp copies the folder.
Copy a file or folder remotely
In the Terminal app on your Mac, use the scp command to copy a file or folder to or from a remote computer.
scp uses the same underlying protocols as ssh .
For example, to copy a compressed file from your home folder to another user’s home folder on a remote server:
You’re prompted for the user’s password.
The -E flag preserves extended attributes, resource forks, and ACL information.
The -r flag, which isn’t used in this example, causes scp to copy a folder and its contents.
Источник
Перемещение и копирование файлов с помощью Терминала на Mac
В Терминале можно перемещать и копировать файлы локально или удаленно с помощью инструментов командной строки mv , cp и scp .
Совет. Копировать и перемещать файлы легче в Finder. См. Группировка файлов по папкам.
Локальное перемещение файла или папки
В приложении «Терминал»  на Mac можно ввести команду mv для перемещения файлов или папок внутри компьютера. Команда mv удаляет файл или папку из старого местоположения и помещает их в новое местоположение.
Например, чтобы переместить файл из папки «Downloads» в папку «Work», которая находится в папке «Documents», введите:
Можно также изменить имя файла при перемещении:
Локальное копирование файла или папки
В приложении «Терминал» на Mac можно ввести команду cp для создания копии файла.
Например, чтобы скопировать папку с именем Расходы из папки «Документы» на другой том с именем Данные, введите:
Флаг -R сообщает cp о том, что папку нужно скопировать вместе с содержимым. Учтите, что имя папки не оканчивается на косую черту; это бы повлияло на то, как cp копирует папку.
Удаленное копирование файла или папки
В приложении «Терминал» на Mac можно ввести команду scp для копирования файла или папки с удаленного компьютера или на удаленный компьютер.
scp использует те же основные протоколы, что и ssh .
Например, чтобы скопировать сжатый файл из Вашей папки пользователя в домашнюю папку другого пользователя на удаленном сервере, введите:
Потребуется ввести пароль пользователя.
Флаг -E означает, что нужно сохранить расширенные атрибуты, ветви ресурсов и информацию ACL.
Флаг -r (не используется в этом примере) сообщает scp о том, что папку нужно скопировать вместе с содержимым.
Источник
SSH SCP локальный файл на удаленный в терминале Mac Os X
Я пытаюсь скопировать локальный файл ‘ magento.смола.gz ‘ с моей локальной машины на удаленный сервер с использованием SSH через VPN. Это подключение к внутреннему IP-адресу виртуальной машины, который я использовал как xx.X. X. xx здесь.
у меня есть полный доступ «sudo»на учетной записи SSH, поэтому не должно быть никаких проблем с копированием. Я попробовал следующее:
я попробовал следующее (magento.смола.файл gz уже находится в локальном корневом каталоге)
этот просит ввести локальный пароль. Потом возвращается cp: user@xx.x.x.xx/var/www: Not a directory
возвращает то же самое.
мне нужно включить SSH в любом месте?
мне нужно сначала подключиться через SSH к сайту?
Примечание: мне удалось подключиться через SSH к серверу, перейти к каталогу и сделать папку и удалить ее с помощью sudo mkdir и т. д. Поэтому у меня определенно есть разрешения.
3 ответов
сначала вам нужно добавить : после IP-адреса, чтобы указать следующий путь:
Я не думаю, что вам нужно sudo на scp . В этом случае это не влияет на удаленную машину, только на локальную команду.
то если user @ХХ.х.х.ХХ не запись к /var/www тогда вам нужно сделать это в 2 раза:
скопировать на удаленный сервер в домашнюю папку ( : представляет вашу удаленную домашнюю папку, используйте :subfolder/ если нужно, или :/home/user/ полный путь):
затем SSH и переместите файл:
чтобы уточнить ответ, данный JScoobyCed, команда scp не может копировать файлы в каталоги, требующие разрешения администратора. Однако можно использовать команду scp для копирования в каталоги, принадлежащие удаленному пользователю.
Итак, чтобы скопировать в каталог, требующий привилегий root, необходимо сначала скопировать этот файл в каталог, принадлежащий удаленному пользователю, с помощью команды scp. Затем вы должны войти в удаленную учетную запись с помощью ssh. После входа в систему вы можете переместите файл в каталог по вашему выбору с помощью команды sudo mv. Короче говоря, команды для использования следующие:
используя scp, скопируйте файл в каталог в учетной записи удаленного пользователя, например каталог документов:
затем войдите в учетную запись удаленного пользователя с помощью ssh, а затем переместите файл в ограниченный каталог с помощью sudo:
Источник


