Tiling WM for OS X
OS X не юзабелен по дефолту, но под руками пока только он. Знаю, что здесь куча маководов, посоветуйте тайловый менеджер. Я привык пользоваться i3wm, хочется чего-то подобного.

а его там разве нет ? Даже на винде запустили

Что он делает то, кроме как окошки располагает(такое я и без него могу замутить на keyboard maestro)? Декорации убирать не научился, кроме как в iTerm, который и располагается в кол-ве 10 штук на почти всех скриншотах. Только, внезапно, iTerm и сам тайлинг умеет.
ТС-у: c извращениями или в линукс, или к врачу. Тут такое не приветствуют.
Имхо, однажды попробовав удобство тайлинга не хочется переходить на стэк.
На мой взгляд kwm лучше.
Имхо, однажды попробовав удобство тайлинга не хочется переходить на стэк.
Упоротым эплофанам этого не понять. Им важно одобрение от Жобса.

я уже много лет использую ShiftIt, альтернативы время от времени появляются, включая полноценные тайлинг-костыли, но как-то скучно на них смотреть, вполне устраивает. Бесплатно, открыто.
Я их конечно же нагуглил, просто хотел услышать отзывы реальных людей об их удобстве/неудобстве.
Я их конечно же нагуглил, просто хотел услышать отзывы реальных людей об их удобстве/неудобстве.
Я раньше использовал wmii, dwm, awesome, xmonad. Все, что я видел для macOS сильно отстает от моего любимого ion3/notion, которым я пользуюсь уже много лет.
Имхо, не сисадмину с 3 соснолями и одним вимом тайлинг ничего интересного предложить мне не может. А в сосноли тайлинг я и без извращений в виде wm прикрутить могу. Более того, я с HazeOver активно затемняю все окна не в фокусе. Ибо многозадачность у людей, это миф.

Имхо, не сисадмину с 3 соснолями и одним вимом тайлинг ничего интересного предложить мне не может.
Может. Простой пример: код с одной стороны, дока с другой, а ещё консолька спрятана (tabbed/stacked).
Более того, я с HazeOver активно затемняю все окна не в фокусе.
Вместо того, чтобы просто кинуть их на другой тег?
Простой пример: код с одной стороны, дока с другой, а ещё консолька спрятана (tabbed/stacked).
Код на одном мониторе, дока на другом, а сосноль вызывается по шорткату. Для продвинутых: код на одном мониторе, сосноль на шорткате а дока вызывается по шорткату через Dash. На втором можно смотреть порнуху и ловить покемонов. Тем более, что я не вижу на ноутах размеров экранов, на котором без микроскопа можно было бы уместить окно ide и браузера рядом.
Вместо того, чтобы просто кинуть их на другой тег?
Если они мне будут нужны на другом десктопе, я их туда и кину. А для этого пусть висят на этом и не мозолят глаза.
Какого-нибудь размера и открывающаяся где-нибудь? Ну, и конечно, нужно каждый раз делать cd и открывать/закрывать.
Да, это помогает.
Если они мне будут нужны на другом десктопе, я их туда и кину.
Удобно держать разные окна на разных тегах, чтобы при переключении достаточно было сменить тег, а не копаться в окнах.
Какого-нибудь размера и открывающаяся где-нибудь?
Такого размер, какого была в прошлый раз и на том же месте. По одному шорткату откроется, закроется и запустится, если не была уже. easy.
Удобно держать разные окна на разных тегах, чтобы при переключении достаточно было сменить тег, а не копаться в окнах.
Не вижу проблем: swipe вверх по тачпаду — mission сontrol, swipe вправо/влево перемещаться между десктопами. Вангую, что я обгоню тебя при возне с тегами в этом процессе. Теги помогут, если задачи у тебя статичны, но это тот самый пример с сисадмином.

Пользуюсь примитивным Spectacle, если что, но я не вхожу в категорию тру-осиляторов тайлингового режима.
Источник
How to Use Tile Window Multitasking in macOS Big Sur & Catalina

macOS Big Sur and Catalina introduced a handy way to tile windows for multitasking, improving upon the split screen multitasking features that were available in previous MacOS releases. These new simple tiling window multitasking options are available from any window, and now you can easily choose to tile a window to the left or right side of the screen, or jump immediately into full screen mode.
This isn’t an entirely new feature in and of itself (Window Snapping and Split View have been around a while), but now it’s arguably easier to use than ever before, and it behaves similar to the Split View feature on iPad. The new Tiling feature is windowed multitasking without you needing to manually position everything, and it’s a great way to make use of any display, small or large.
Apple’s decision to use the same Split View name from iPad is no accident and it does exactly the same thing. By clicking one button you can move a window to the left or right side of the screen. And if you’d prefer you can even have that window fill the screen completely, too.
How to Tile Windows in macOS Big Sur / Catalina
With macOS 10.15 Catalina or later installed, have the app that you want to use on-screen and ready to go.
- Hover over the green button in the top-left of the window. You can also click and hold if you’d prefer.
- “Enter Full Screen”
- “Tile Window to Left of Screen”
- “Tile Window to Right of Screen”
You can then simply click another window or app if you want to have two appear side-by-side.
Using & Adjusting Tiled Windows in Split View in MacOS Catalina
Once you have apps and windows running in Split View you can interact with them like you usually would. You can also move them around too, see the menu bar, and exit at any time:
- Click and drag a window to the other side of the screen to swap positions.
- Drag the vertical line between the windows to adjust their widths.
- See the Menu Bar by moving the mouse pointer to the top of the screen
- Exit out of tiling / split view by clicking the green button in either window
This particular Tile Windows feature of Split View is available to macOS 10.15 Catalina and later, whereas earlier versions of MacOS still have Split Screen app options but they behave a bit differently and aren’t quite as easy to jump into. Similarly, you can use Window Snapping on Mac going back to many prior versions of system software, it’s just not quite as point-and-click as this new Tiling Windows feature.
If you haven’t yet already updated to macOS Catalina be sure to check our guides on what you should consider first, how to prepare, and how to update a Mac to Catalina. And then keep your eyes peeled for the hot new features – like the awesome Sidecar! – that we’re sure you’ll enjoy. As always, we’ll have an ongoing collection of great Mac tips and tricks to share along the way.
Do you use the new Tile Window features for split screening apps in MacOS? Did you use the prior split view method as well? Let us know your thoughts and experiences in the comments below.
Источник
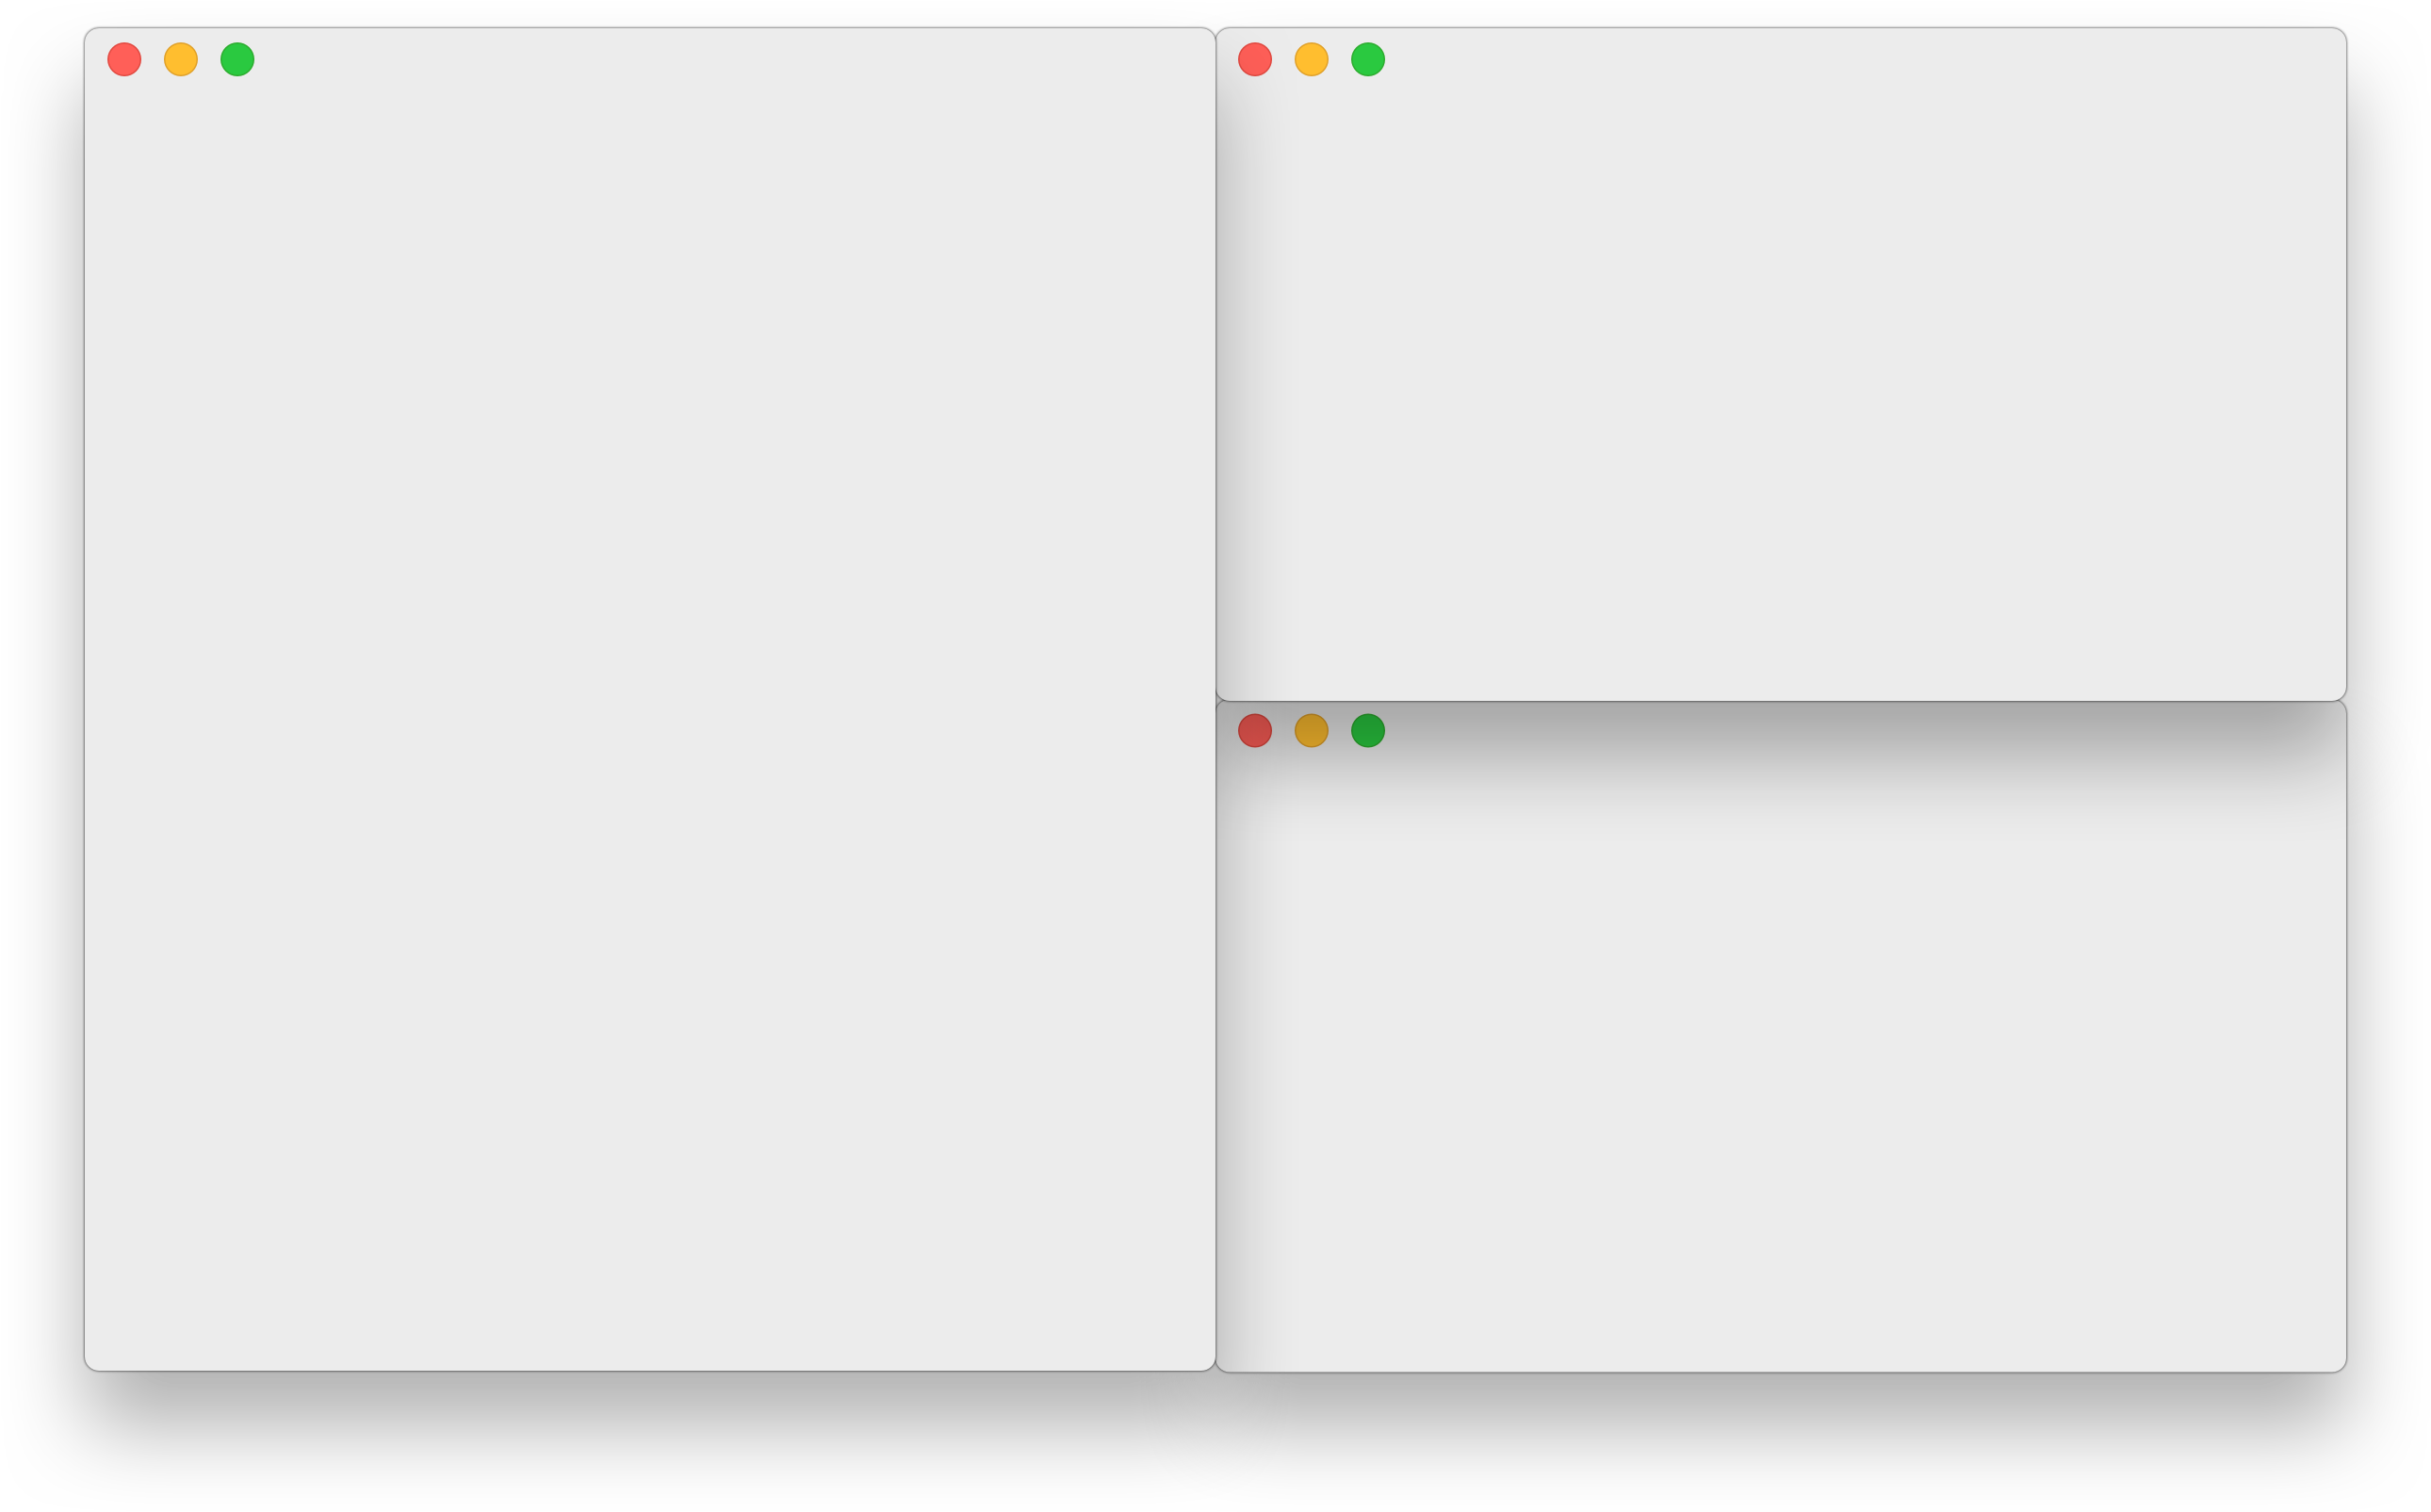
Mac os window tiling

Tiling window management for the Mac.


![]()


yabai is a window management utility that is designed to work as an extension to the built-in window manager of macOS. yabai allows you to control your windows, spaces and displays freely using an intuitive command line interface and optionally set user-defined keyboard shortcuts using ↗ skhd and other third-party software.
The primary function of yabai is tiling window management; automatically modifying your window layout using a binary space partitioning algorithm to allow you to focus on the content of your windows without distractions. Additional features of yabai include focus-follows-mouse, disabling animations for switching spaces, creating spaces past the limit of 16 spaces, and much more.
Installation and Configuration
- The ↗ yabai wiki has both brief and detailed installation instructions for multiple installation methods, and also explains how to uninstall yabai completely.
- Sample configuration files can be found in the ↗ examples directory. Refer to the ↗ documentation or the wiki for further information.
- Keyboard shortcuts can be defined with ↗ skhd or any other suitable software you may prefer.
Requirements and Caveats
Please read the below requirements carefully. Make sure you fulfil all of them before filing an issue.
| Requirement | Note |
|---|---|
| Operating System | macOS High Sierra 10.13.6, Mojave 10.14.4+, Catalina 10.15.0+ and Big Sur 11.0.1+ is supported. |
| Accessibility API | yabai must be given permission to utilize the Accessibility API and will request access upon launch. The application must be restarted after access has been granted. |
| Mission Control | In the Mission Control preferences pane in System Preferences, the setting «Displays have separate Spaces» must be enabled. |
Please also take note of the following caveats.
| Caveat | Note |
|---|---|
| System Integrity Protection | System Integrity Protection needs to be (partially) disabled for yabai to inject a scripting addition into Dock.app for controlling windows with functions that require elevated privileges. This enables control of the window server, which is the sole owner of all window connections, and enables additional features of yabai. If you are running on macOS High Sierra 10.13.6, you can reenable SIP after the scripting addition has been installed. |
| Code Signing | When building from source (or installing from HEAD), it is recommended to codesign the binary so it retains its accessibility and automation privileges when updated or rebuilt. |
| Mission Control | In the Mission Control preferences pane in System Preferences, the setting «Automatically rearrange Spaces based on most recent use» should be disabled for commands that rely on the ordering of spaces to work reliably. |
License and Attribution
yabai is licensed under the ↗ MIT License, a short and simple permissive license with conditions only requiring preservation of copyright and license notices. Licensed works, modifications, and larger works may be distributed under different terms and without source code.
Thanks to @fools-mate for creating a logo and banner for this project and making them available for free.
Thanks to @dominiklohmann for contributing great documentation, support, and more, for free.
Use at your own discretion. I take no responsibility if anything should happen to your machine while trying to install, test or otherwise use this software in any form. You acknowledge that you understand the potential risk that may come from disabling ↗ System Integrity Protection on your system, and I make no recommendation as to whether you should or should not disable System Integrity Protection.
About
A tiling window manager for macOS based on binary space partitioning
Источник
Mac os window tiling


![]()
Tiling window manager for macOS along the lines of xmonad.
A quick screencast of basic functionality can be found here. (It’s rough, and I’d love to see a better one if someone has the skills and inclination to make one.)
Amethyst is available for direct download on the releases page or using homebrew cask.
Note: that Amethyst now is only supported on macOS 10.12+.
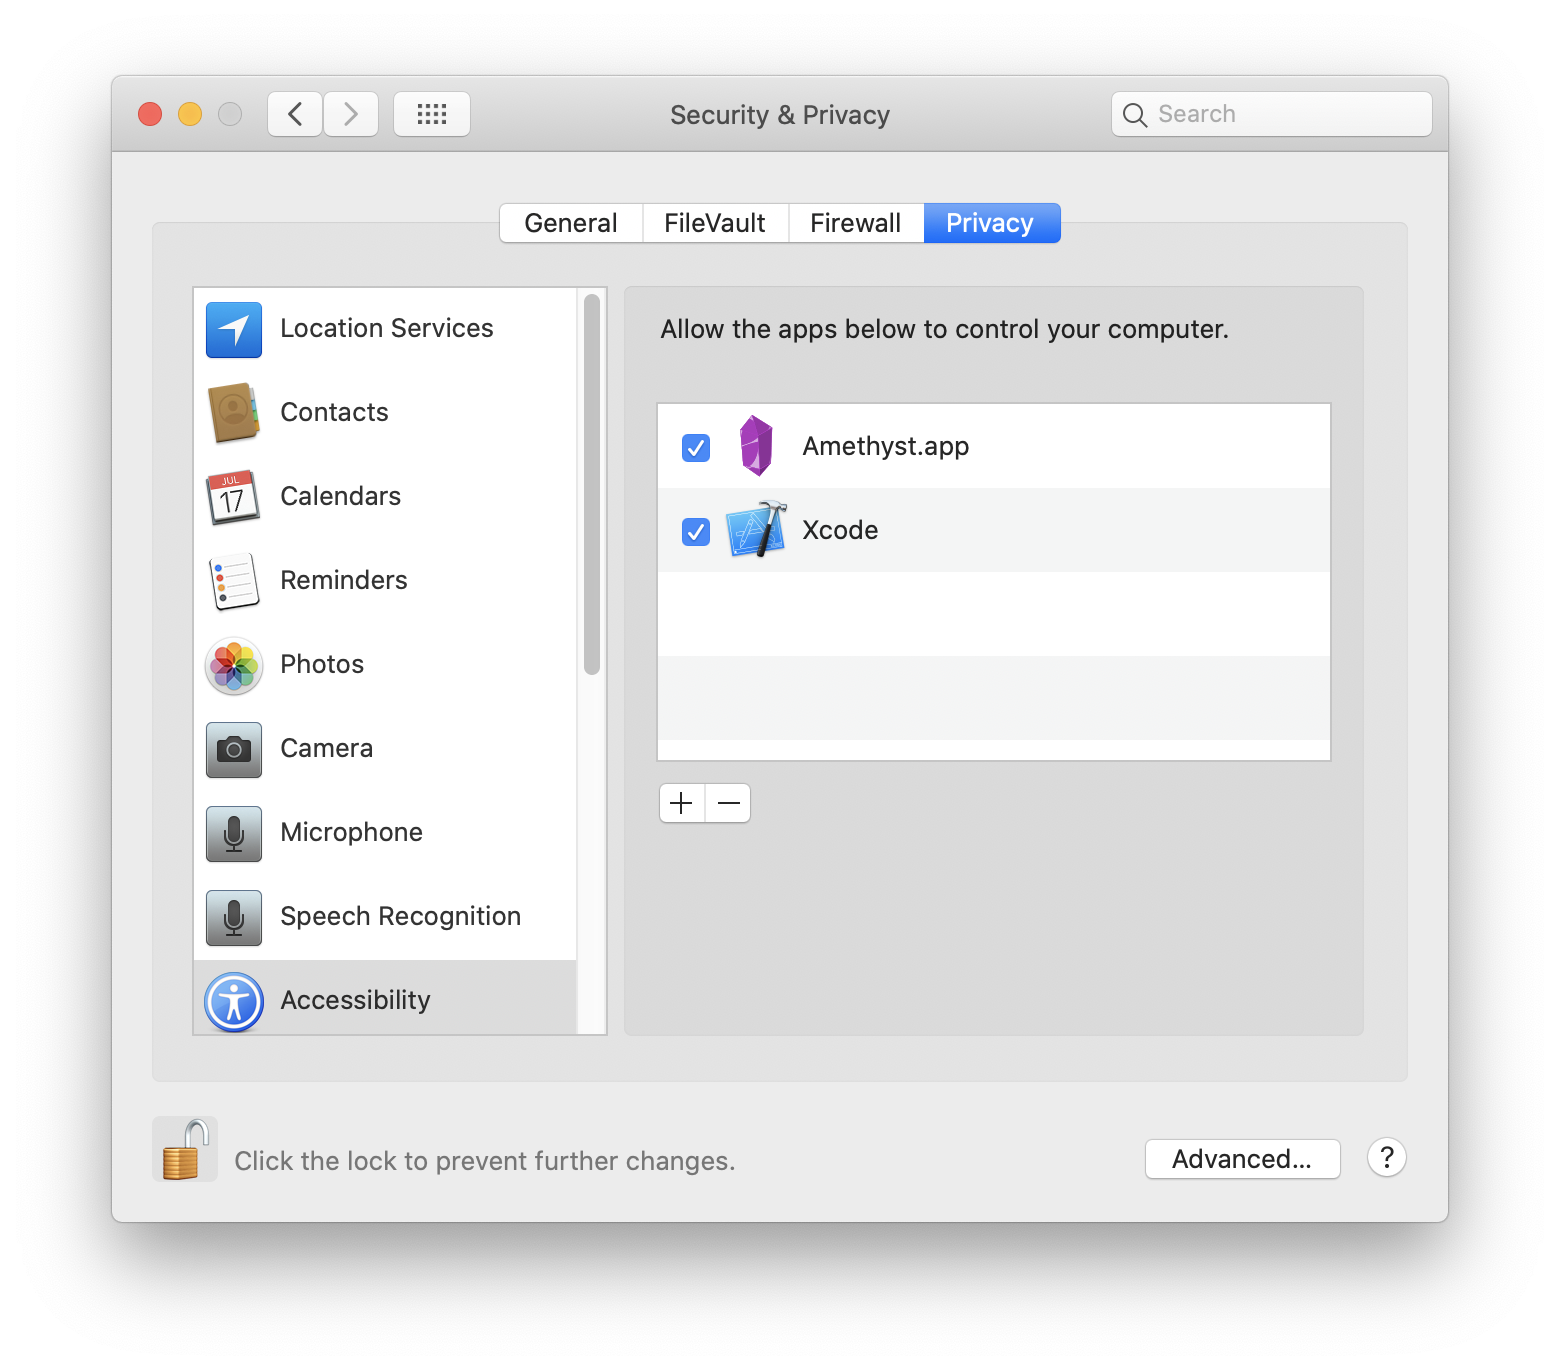
Amethyst must be given permissions to use the accessibility APIs under the Privacy tab of the Security & Privacy preferences pane as shown below.
Important note: You will probably want to disable Automatically rearrange Spaces based on most recent use (found under Mission Control in System Preferences). This setting is enabled by default, and will cause your Spaces to swap places based on use. This makes keyboard navigation between Spaces unpredictable.

Amethyst uses two modifier combinations.
| Default Shortcut | Description |
|---|---|
| mod1 | option + shift |
| mod2 | ctrl + option + shift |
And defines the following commands, mostly a mapping to xmonad key combinations.
| Default Shortcut | Description |
|---|---|
| mod1 + space | Cycle layout forward |
| mod2 + space | Cycle layout backwards |
| mod1 + h | Shrink the main pane |
| mod1 + l | Expand the main pane |
| mod1 + , | Increase main pane count |
| mod1 + . | Decrease main pane count |
| mod1 + j | Move focus counter clockwise |
| mod1 + k | Move focus clockwise |
| mod1 + p | Move focus to counter clockwise screen |
| mod1 + n | Move focus to clockwise screen |
| mod2 + h | Swap focused window to counter clockwise screen |
| mod2 + l | Swap focused window to clockwise screen |
| mod2 + j | Swap focused window counter clockwise |
| mod2 + k | Swap focused window clockwise |
| mod1 + enter | Swap focused window with main window |
| mod1 + z | Force windows to be reevalulated |
| mod2 + z | Relaunch Amethyst |
| mod2 + left | Throw focused window to space left |
| mod2 + right | Throw focused window to space right |
| mod2 + 1 | Throw focused window to space 1 |
| mod2 + 2 | Throw focused window to space 2 |
| mod2 + 3 | Throw focused window to space 3 |
| mod2 + 4 | Throw focused window to space 4 |
| mod2 + 5 | Throw focused window to space 5 |
| mod2 + 6 | Throw focused window to space 6 |
| mod2 + 7 | Throw focused window to space 7 |
| mod2 + 8 | Throw focused window to space 8 |
| mod2 + 9 | Throw focused window to space 9 |
| mod2 + 0 | Throw focused window to space 10 |
| mod1 + w | Focus Screen 1 |
| mod2 + w | Throw focused window to screen 1 |
| mod1 + e | Focus Screen 2 |
| mod2 + e | Throw focused window to screen 2 |
| mod1 + r | Focus Screen 3 |
| mod2 + r | Throw focused window to screen 3 |
| mod1 + q | Focus Screen 4 |
| mod2 + q | Throw focused window to screen 4 |
| mod1 + t | Toggle float for focused window |
| mod1 + i | Display current layout |
| mod2 + t | Toggle global tiling |
| mod1 + a | Select tall layout |
| none | Select tall-right layout |
| mod1 + s | Select wide layout |
| none | Select middle-wide layout |
| mod1 + d | Select fullscreen layout |
| mod1 + f | Select column layout |
| none | Select row layout |
| none | Select floating layout |
| none | Select widescreen-tall layout |
| none | Select bsp layout |
Amethyst allows you to cycle among several different window layouts. Layouts can also be enabled/disabled to control whether they appear in the cycle sequence at all.
The default layout. This gives you one «main pane» on the left, and one other pane on the right. By default, one window is placed in the main pane (extending the full height of the screen), and all remaining windows are placed in the other pane. If either pane has more than one window, that pane will be evenly split into rows, to show them all. You can use the keyboard shortcuts above to control which window(s), and how many, are in the main pane, as well as the horizontal size of the main pane vs. the other pane.
Exactly the same as Tall, but the main pane is on the right, with the other pane on the left.
The rotated version of Tall, where the main pane is on the top (extending the full width of the screen), and the other pane is on the bottom. If either pane has more than one window, that pane will split into columns instead of rows.
A three-column version of Tall, with one main pane on the left (extending the full height of the screen) and two other panes, one in the middle and one on the right. Like Tall, if any pane has more than one window, that pane will be split into rows. You can control how many windows are in the main pane as usual; other windows will be assigned as evenly as possible between the other two panes.
Exactly like 3Column-Left, but the main pane is in the middle, with the other panes on either side. (In previous versions of Amethyst, this layout was known as Middle-Wide.)
Exactly like 3Column-Left, but the main pane is on the right, with the other panes in the middle and on the left.
This mode is like Tall, but if there are multiple windows in the main pane, the main pane splits into columns rather than rows. The other pane still splits windows into rows, like Tall. This layout gets its name because it probably makes the most sense on very wide screens, with a large main pane consisting of several columns, and all remaining windows stacked into the final column. Other layouts that work well on very wide screens include any that allow for more than two columns (to take advantage of the screen width), such as any of the 3Column-* layouts, or Column.
In this layout, the currently focused window takes up the entire screen, and the other windows are not visible at all. You can rotate between each of the windows using the «focus the next window» shortcut, as usual.
This layout has one column per window, with each window extending the full height of the screen. The farthest-left window is considered the «main» window in the sense that you can change its size with the «shrink/expand the main pane» shortcuts; the other windows split the remaining space evenly.
The rotated version of Column, where each window takes up an entire row, extending the full width of the screen.
This mode makes all windows «floating», allowing you to move and resize them as if Amethyst were temporarily deactivated. Unlike the other modes, this will mean that windows can be placed «on top of» each other, obscuring your view of some windows.
Binary Space Partitioning (BSP)
This layout does not have a main pane in the way that other layouts do. When adding windows, any given pane can be split evenly into two panes along whatever axis is longer. This is recursive such that pane A can be split in the middle into pane A on the left and pane B on the right; pane B can then be split into pane B on top and pane C on bottom; pane C can then be split into pane C on the left and pane D on the right; and so on.
If you’d like to contribute please branch off of the development branch and open pull requests against it rather than master . Otherwise just try to stick to the general style of the code. There is a setup script to guide you through the process of installing necessary tools and getting dependencies built. To get started run
If you have questions or feedback your best options are to tweet or to get on gitter.
Amethyst is free and always will be. That said, a couple of people have expressed their desire to donate money in appreciation. Given the current political climate I would recommend donating to one of these organizations instead:
And a bunch of technology-oriented ones:
About
Automatic tiling window manager for macOS à la xmonad.
Источник


