- How to make Ubuntu 20.04 LTS look like Windows 10 or 7
- What is UKUI- Ubuntu Kylin?
- Open command terminal
- Add UKUI PPA Repository
- Update and Upgrade Packages
- Install Windows-like UI on Ubuntu 20.04
- Logout and Login to UKUI- Windows 10 like interface on Ubuntu
- Uninstall UKUI- Ubuntu Kylin Desktop environment
- It’s Now Super Easy to Make Ubuntu Look like Windows
- Caveats
- Install UKUI on Ubuntu 17.04
- Removal
- How to make Ubuntu look like Windows 10 or 7
- Method 1: Install UkUI Desktop Environment
- Method 2: Using Redstone GTK Theme package
How to make Ubuntu 20.04 LTS look like Windows 10 or 7
Do you want to change the interface of Ubuntu 20.04 or 18.04 LTS Linux Distros to make it look like Windows 10 or 7, then here are the steps to follow.
Ubuntu 20.04, 18.03, 19.04, 17.04, or 16.04 out of the box come with GNOME graphical user interface or environment. Although it is very intuitive and easy to use, the users are shifting from Windows 10 or 7 yet find it difficult to operate. Because of the unfamiliar user interface and arrangements of options.
Therefore, if you want to have the benefits of Ubuntu Linux and its packages but with a Windows-like interface then here in this tutorial, we will show some quick commands to install the UKUI Desktop environment on Ubuntu.
What is UKUI- Ubuntu Kylin?
UKUI is a desktop environment for Linux distributions available on Github, it meant to provide a simple and easy to use Windows similar graphical user interface.
So, let’s see its installation on Ubuntu 20.04 LTS, however, the steps will be the same for the previous versions such as 18.04 and 16.04 including Linux Mint and Debian. However, if you don’t want to do the installation of Kylin on Ubuntu 20.04 then go for the official Ubuntu 20.04 Kylin Linux Distro available to download on the official website.
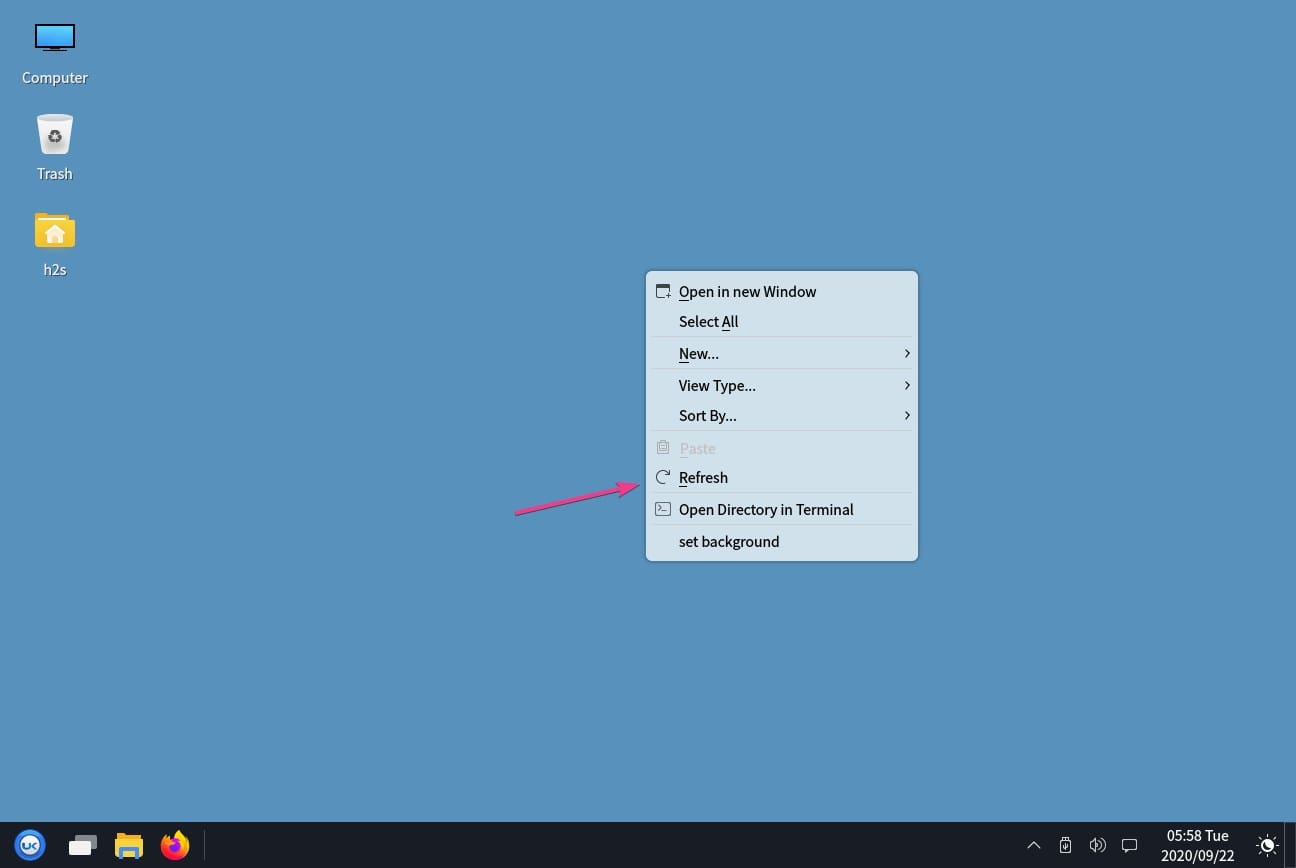
Open command terminal
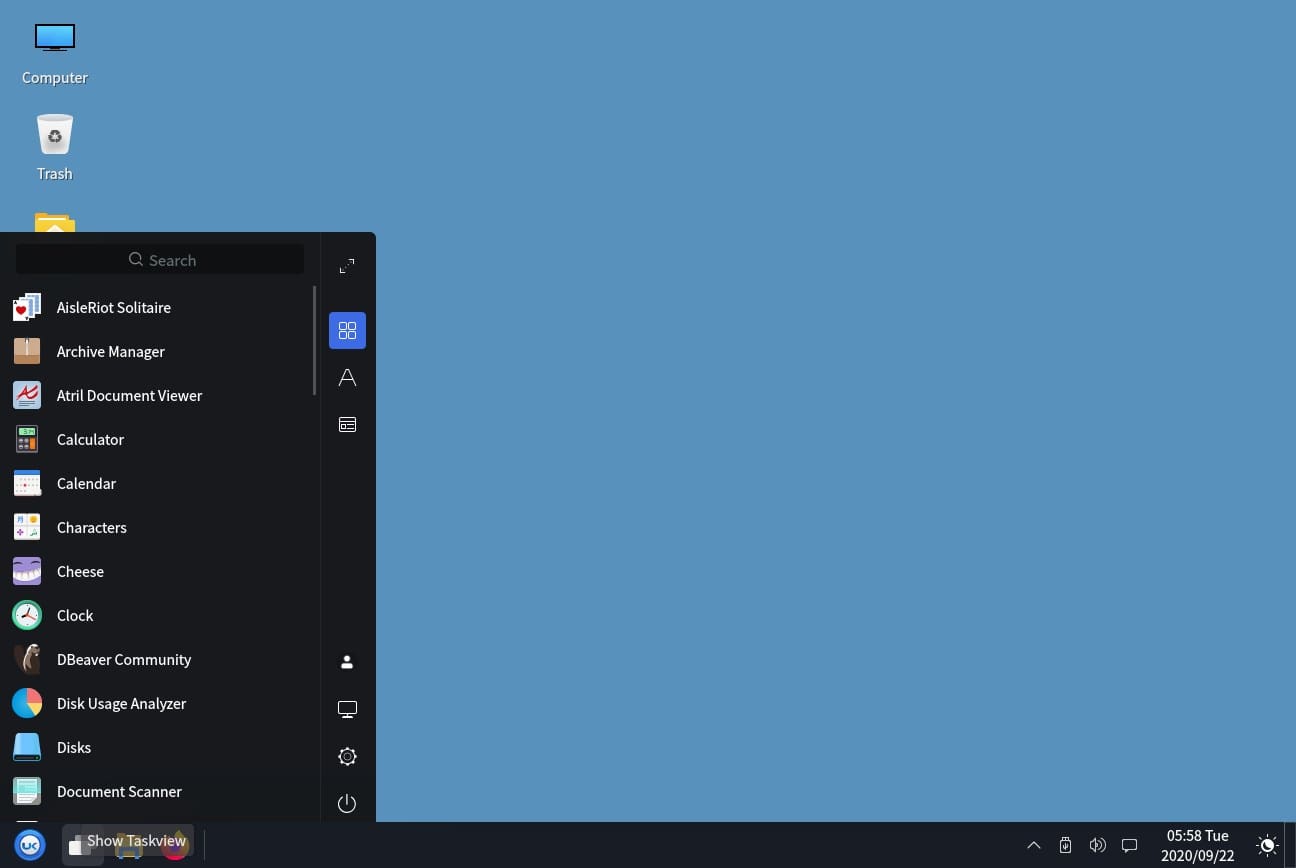
To install Windows 10 interface UI for Linux we need to use the Command line on Ubuntu, to access that either click on “Show Applications” and search for Terminal or simply press Ctrl + Alt + T (shortcut key to open the Command terminal).
Add UKUI PPA Repository
This Linux desktop environment’s packages may not available in the default official repository of Ubuntu Linux, thus we need to add it manually. Therefore, copy-paste the below command in the terminal and press the Enter key.
When it asks for your User password then provide that and then hit the Enter button.
Update and Upgrade Packages
To make sure the added repository get recognized by the system, rebuild the cache and then upgrade the existing packages using below two commands:
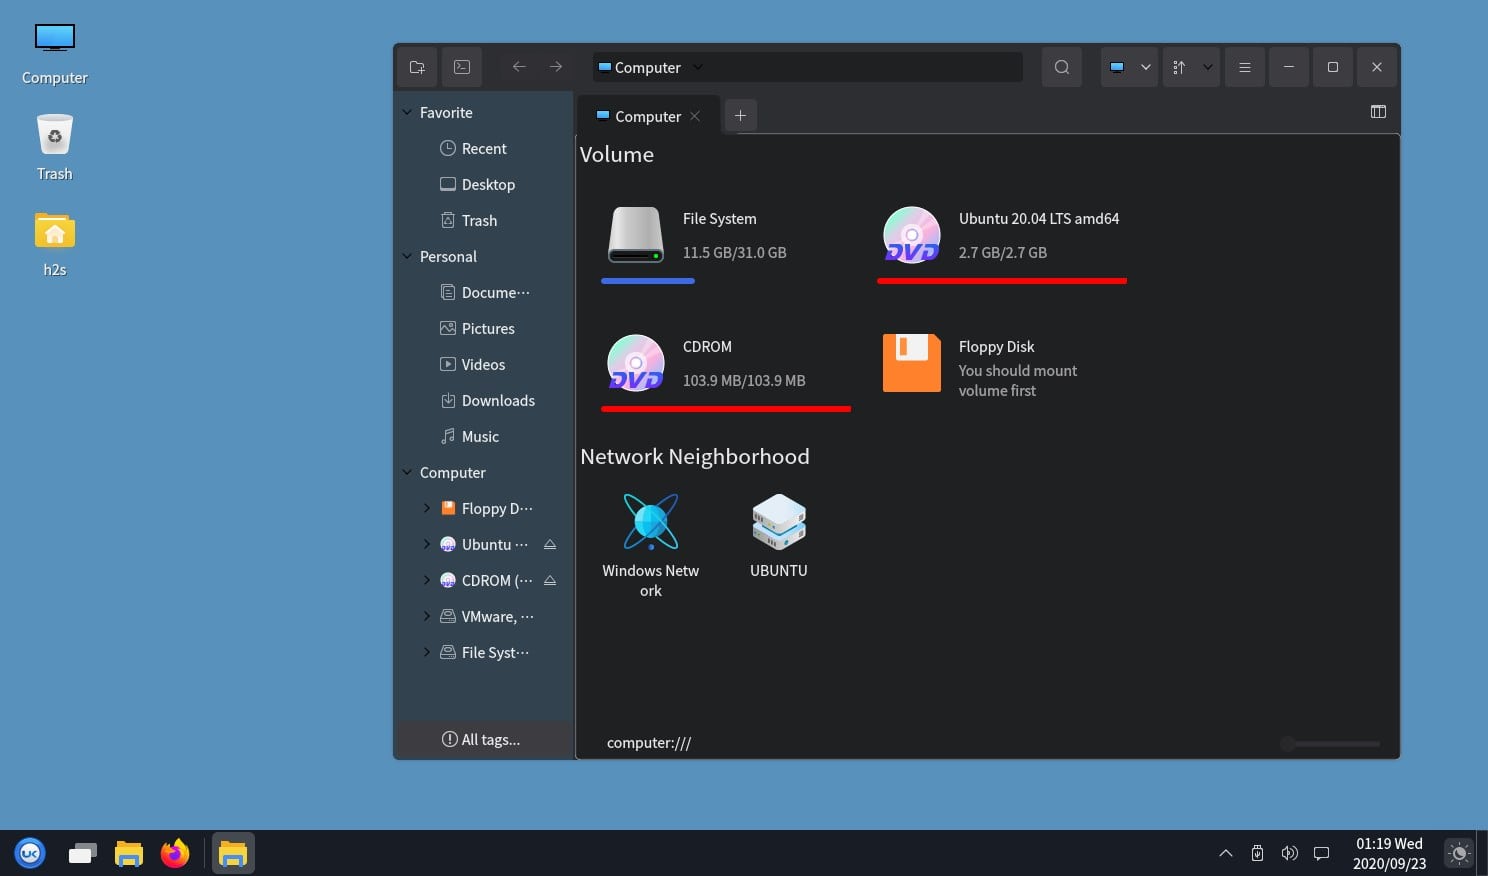
Install Windows-like UI on Ubuntu 20.04
Finally, run a single command as given in this step. It will fetch all the required packages and tools to create a Windows 10 or 7 like the Desktop environment on Ubuntu 20.04 or earlier versions. Hence, here is it.
The output shows, it will take around 559 MB of space on your disk:
Logout and Login to UKUI- Windows 10 like interface on Ubuntu
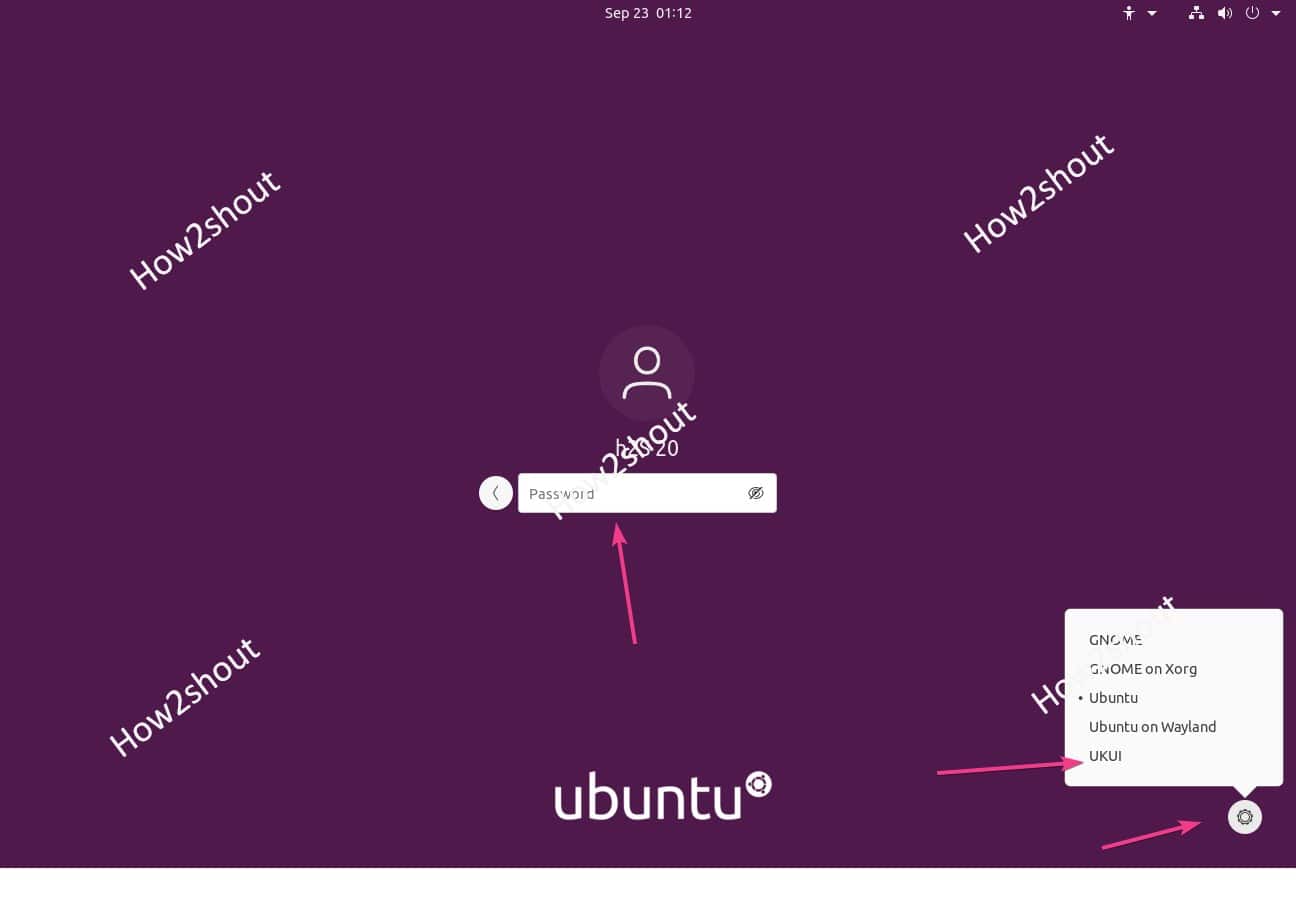
Once the installation gets completed, go to the Ubuntu Taskbar and at the right end, you will see an arrow icon pointed downwards, click that select “power off/log out” and select the Log out option.
Now, click on your user name, and before entering the password, click on the gear icon available at the left bottom side of the screen. Select UKUI and then enter your user password to log in again.
Note: After installing Ubuntu Kylin UI you will have a dual desktop environment on your OS, thus if you want the default one back then again log out and select Ubuntu instead UKUI.
Uninstall UKUI- Ubuntu Kylin Desktop environment
In case you are facing some problem with UKUI- Windows 10 like interface then we can uninstall it completely. To remove the UKUI, log out the system and again click on the Gear icon available on the right bottom side. This time instead of selecting UKUI, select Ubuntu, the default UI.
Now, open the command terminal and run the below command to fully purge and remove this desktop environment, we have installed in this tutorial.
Restart, the system and you will see it would not be available to access any more on your Linux.
It’s Now Super Easy to Make Ubuntu Look like Windows

It’s now even easier to make Ubuntu look like Windows 10.
Ubuntu 17.04 has the UKUI desktop environment, which was specifically designed to feel familiar to Windows users, available in the package archives.
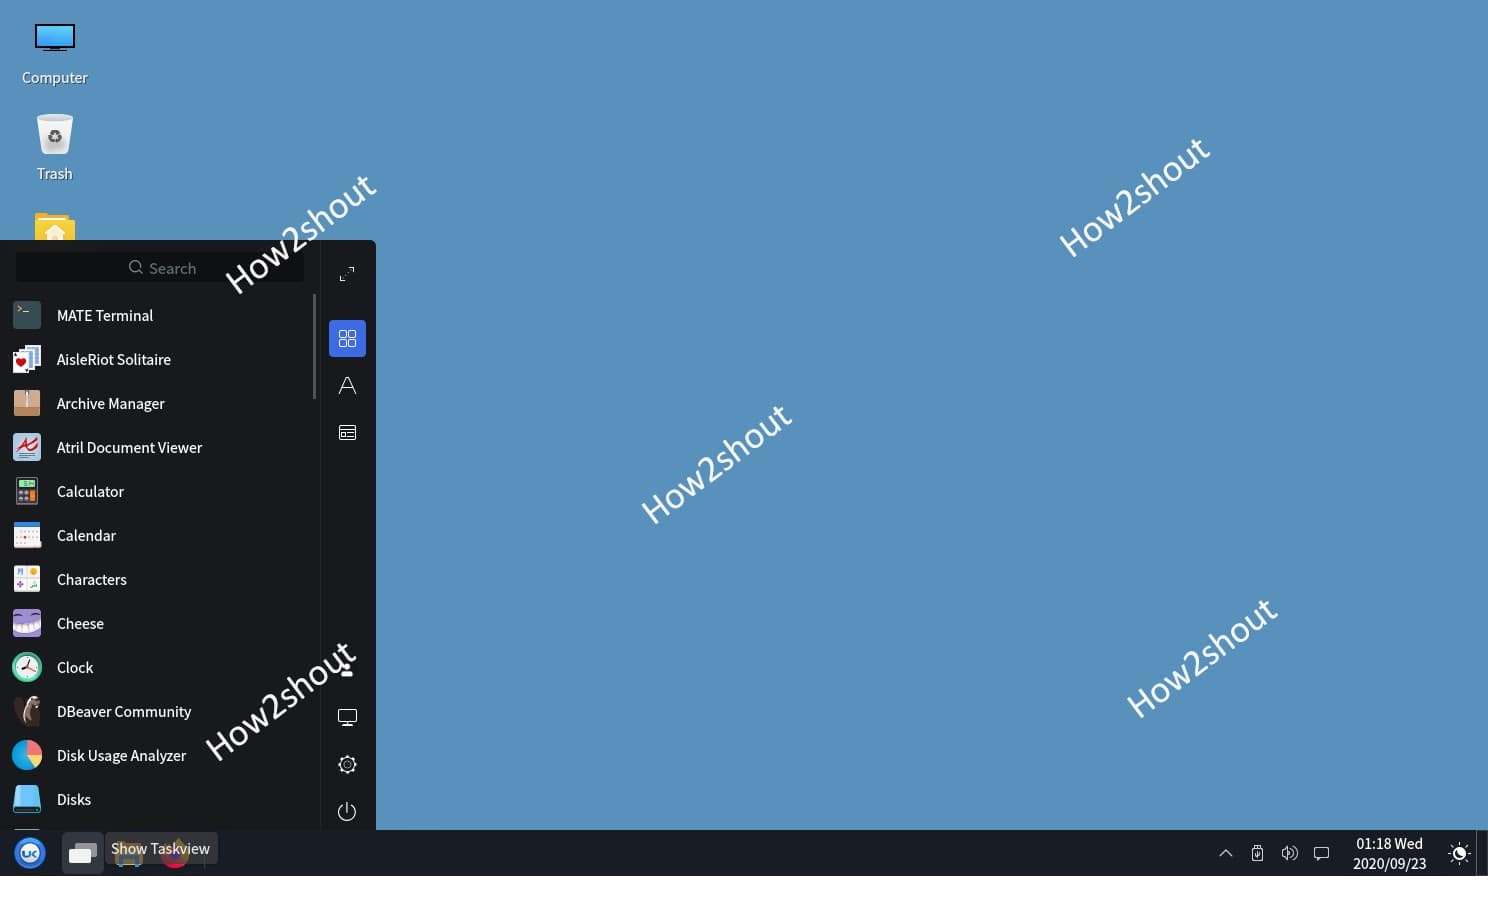
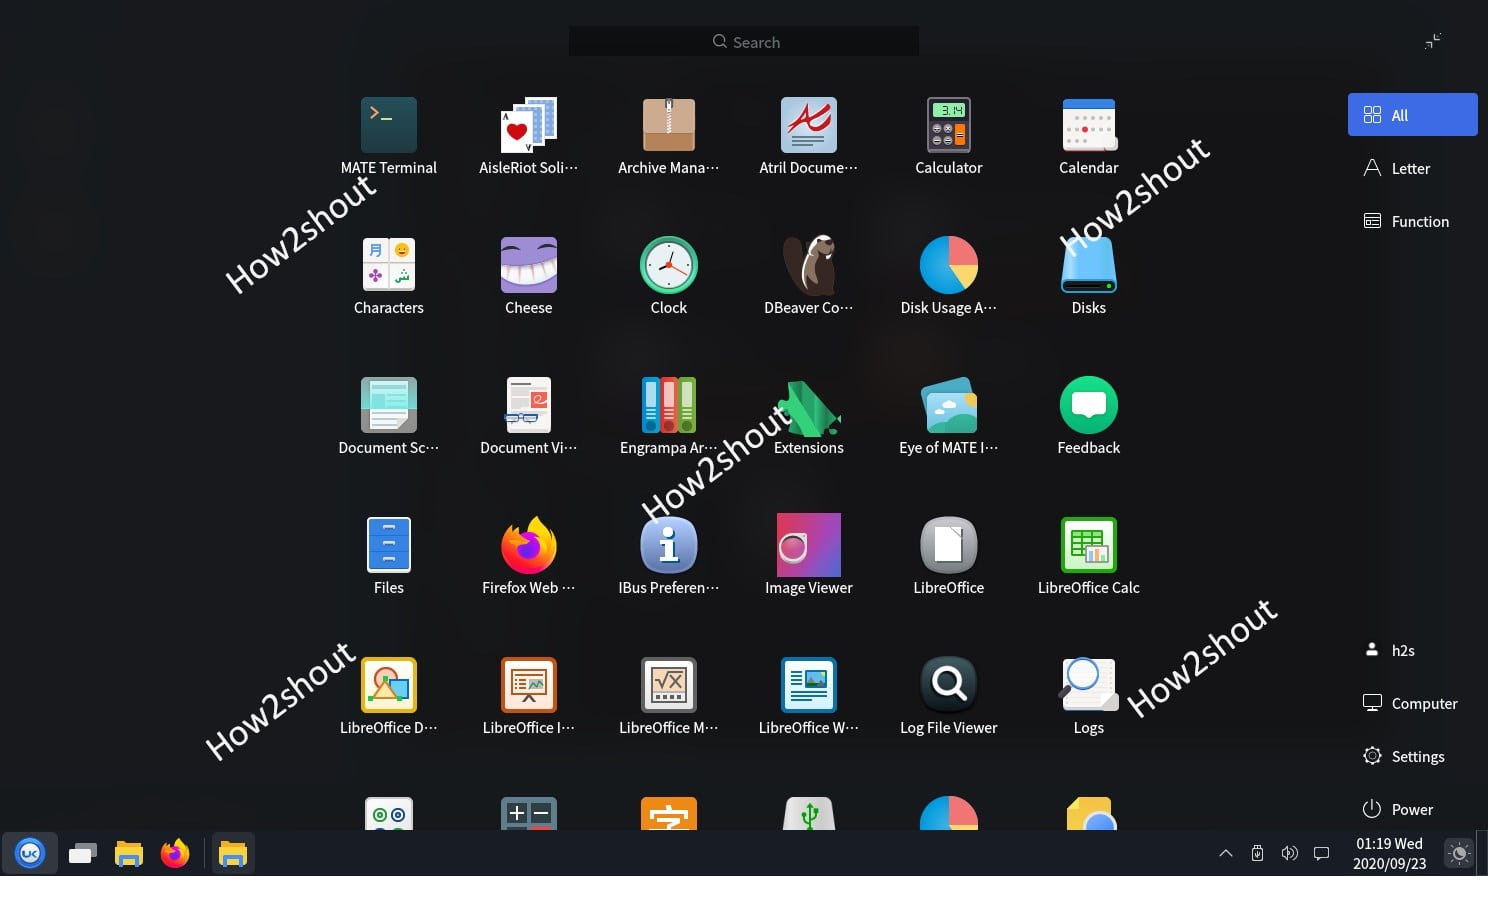
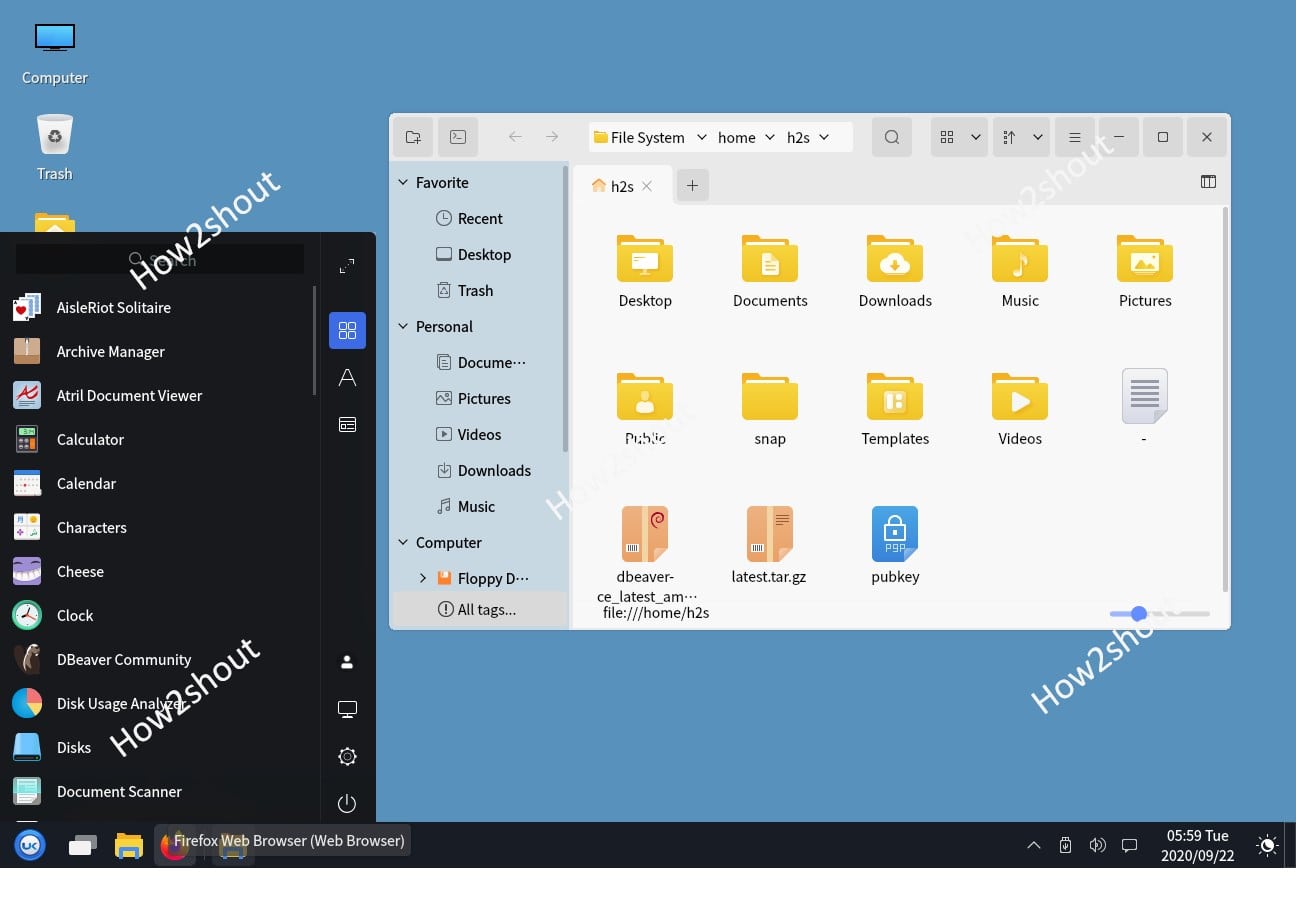
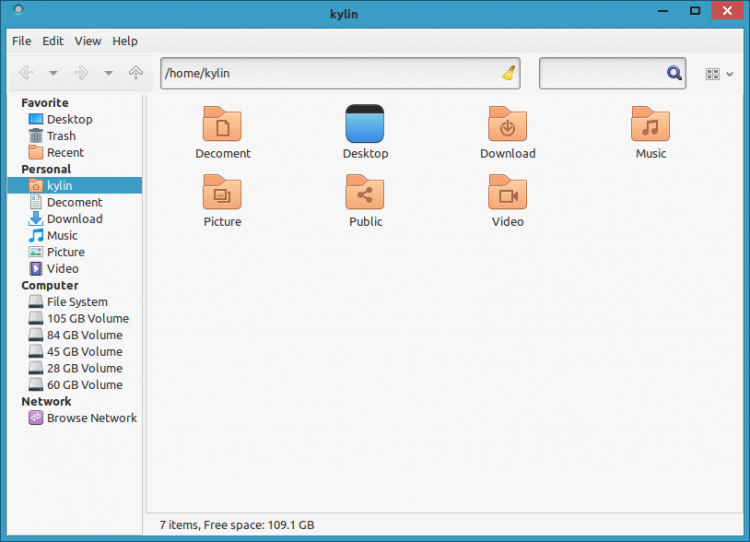
We’ve written about the UKUI desktop before. It’s a MATE-based desktop environment that ships with a custom layout, icon, theme and window style. It features a Windows Explorer style file manager (called ‘Peony’), and a Windows style Start Menu‘.
UKUI is developed by the Chinese community flavor Ubuntu Kylin. For 17.04 Kylin made a last minute switch from Unity to its own MATE-based UKUI desktop, spurred on by Canonical’s announcement that it is to ditch the Unity desktop and switch back to a ‘vanilla’ GNOME experience.
The core UKUI is composed of a single MATE panel with a custom set of applets and indicators, including a Windows-style date/time applet, simple volume slider, and start menu.

The desktop also has its own settings app that is designed to resemble the Windows Control Centre, and its own file manager called Peony.
Peony is a fork of Nautilus that is (yup, you guessed it) designed to resemble Windows Explorer, the Windows file manager.
Thanks to collaborative effort with the MATE desktop team, UKUI is available in the Ubuntu Zesty repos. You can install it alongside Unity, GNOME and other desktop environments, though this isn’t without some caveats (see end of post).
This means you don’t need to download and apply themes, manually create panel layouts, add PPAs or replace core system apps with alternatives.
Caveats
If you install the UKUI desktop environment you will also install the Kylin Greeter (login and lock screen) and Ubuntu Kylin desktop settings. This latter package will affect the default Unity desktop layout by overwriting it with Ubuntu Kylin defaults (e.g, launcher on bottom, Chinese language, etc).
The default UKUI GTK theme lacks proper GTK3 support.
Because the desktop is based on the MATE desktop you will experience issues running them both side by side. For me, installing UKUI after MATE, the latter ended up affected by Kylin defaults, and the former affected by MATE defaults.
All of these “changes” could be manually corrected/reverted if the UKUI is something you really want to play with, and and you won’t miss Unity or the traditional MATE experience too much, the trade off may be worth it.
Install UKUI on Ubuntu 17.04
UKUI is free, open-source software. It is available to install from Ubuntu Software on Ubuntu 17.04:
Removal
To uninstall UKUI — desktop, apps and associated settings — just run this command in a new Terminal window:
You’ll also need to open Software & Updates > Other Software and remove the Ubuntu Kylin repository.
Thanks D. W.
Home » How To » It’s Now Super Easy to Make Ubuntu Look like Windows
How to make Ubuntu look like Windows 10 or 7
Though Windows is the most popular OS around the world, among all kinds of computer users, Linux is now a day also one of the most viable choices among the professionals. Because of the modernized UI and the strong security system, Linux is actually a better choice than MS Windows OS, if a user value data security. Windows 10 is pretty powerful when it comes to security, even the inbuilt anti-virus Windows Security provides great cover from the incoming virus attacks. But Ubuntu is something at a very different level.
Also, Linux Ubuntu is free and open-source, which also makes it more pocket friendly for many Small & Medium Enterprises and individuals. Furthermore, the inbuilt application library provides lots of applications made for almost all the computation needs one may have, and all those applications also come for free. Though Microsoft slowly started following this free software trends and they made their MS Windows 10 a freemium OS application, which can be used for free with limited utility access. But in the case of Linux, it is completely free. Also, Linux Ubuntu is so much powerful, that one can even play many modern video games on it, just like Windows PC.
On other hand Linux Ubuntu hardware requirement is quite low, then MS Windows 10, so with Linux, it is a win-win situation in most of the case. Linux Ubuntu system requirements are just a dual-core CPU with 2 GHz speed, 4GB RAM, 25GB Storage space, and VGA capability of 1024×768 resolution, which you can have even with your 15 years old Potato PC.
Why configure Ubuntu to look like Windows?
The problem arises when a Windows user switches to Linux, and start using the Linux PC for everyday computation and production. Now you may not know, but all most all the applications you used to use in your Windows PC have either a free Linux version for it or it has a great alternative for the Linux users. So, if your job needs you to work with a word processing, coding, photo editing, or graphics designing, you can do any of those with Linux Ubuntu like ease. But the looks of the Ubuntu OS itself can make you feel uncomfortable, which at the end will reduce the productivity capacity of yours. Just like if the setup of your study or working table got changed suddenly you would be uncomfortable for some days, it is the same with switching to Ubuntu from Window.
So, in this article I would teach you about the top ways, how you can configure the default looks of your Linux Ubuntu system, to make it look like a Windows 10 or Windows 7 PC. This way you can use you low-end old PC for work, also you can use your new PC without purchasing the MS Windows if you are in a tight budget, but along with that, you can stay in your comfort zone of using the Windows OS, which you are used to with.
Method 1: Install UkUI Desktop Environment
This is Windows 10 or 7 look-alikes Graphical user interface for Ubuntu, Debian, and Arch Linux. Using it you can change the looks of your Ubuntu PC and make it look like a Windows 10 PC within a couple of minutes. This method is easy to implement and also it is easy to revert back. So, let’s start with this method.
In this method, we would be using the UKUI tool, which is a free tool for tweaking the visual setup of the Linux desktop environment. Using the UKUI tool you can obtain a file manager which almost looks the same as the Windows file manager. Also, the Start menu system like Windows would be enabled in Linux, via using this UKUI tool. Even at the right bottom corner, you would find a system tray icon along with the volume slider and date-time info panel.
To use the UKUI tools, the user does not need to replace any system application, and the tool is available in the Ubuntu Software Repository for free, and anyone can download it from there. Also, you can type the command in Console to ease up the job. Remember though it seems complex to use the command instead of using GUI, once you are habituated with the Console commands, it would prove to be easier and faster.
So open up Console and type in
After installation tries out the different options in the tools, explore it as per your wish. But, if you are not satisfied with the result, or just want to switch back to the default visual config, then you can easily remove the UKUI tool with a simple command at Console.
The UKUI removal command is:
For example, using the UKUI tool you can achieve a result like the below pics.
Method 2: Using Redstone GTK Theme package
This method is not 100 percent applicable sometimes it doesn’t work as it shown by the developers. However, still here it is to go through. In this method, we are going to use an them package called Redstone, which is actually a theme package made for Linux users. The Redstone theme package mainly consists of two versions of themes which are Light mode and Dark mode. You can download any of them or even can try both of them.
Boomerang is free to use Theme so can get it for free. Click here to visit the Redstone download page.
Just click on the given link above and download the app directly to your Linux PC, and then extract the files in any file manager which you like to use. Also to extract the files you can type in the below commands on the terminal panel as well.
Now type in the next command in the Terminal window in order to move the theme to the Linux themes directory.
After that change the file name manually if it is needed. But remember if you are using GNOME, then you have to install GNOME tweaks in order to change the default theme settings. To do that run the following command in the terminal window.
Now confirm your installation when asked and wait for the completion. After its installation is complete, launch the Tweaks from the application launcher. Navigate to Appearance in the left-hand panel, In the open window go to Application under the Theme Section, and select the Windows-10-2.0.1 or whatever the name is there for your PC. If you are using any other versions of Linux distro then the Theme settings procedure may differ, but the rest would be the same. In that case, if you get confused, look for any video tutorial to find out how to change the Theme setting in your Linux distro.
Change Icons
As this is not a full-proof method, however using icons like Windows will tweak the looks even more so that you can achieve a more MS Windows-like looks in your Linux PC. In order to do this, you have to change the icons of your Linux PC to make to a look-alike of Windows OS. To do this you have to go to the Boomerang Windows 10 icon GitHub page. Here click on Download, select the Download zip file.
Now unzip the archive just like we did it with the Boomerang theme with the same kind of Terminal commands.
Then move the extracted file to the directory of themes.
Now, assuming that you are using Ubuntu, open Tweaks from the app menu, go to Appearance, Go to Icons, and then select Windows-10-master.
Remember, if you are using any other Linux distro apart from Ubuntu, then the icon theme changing procedure may differ, but everything rest would be the same.
Wrapping Up
After doing all the steps you Ubuntu / Linux PC would look almost like an MS Windows PC, but there is still one more thing you can do, and that s change the wallpaper. Just download some MS Windows 10 wallpaper, and set it your PC’s wallpaper, it will add the final vibe of Windows PC into your Linux PC.
Doing all these won’t increase or decrease the performance of your Linux PC, neither it is going to change any compatible issues in your PC. The whole point of tweaking the looks is to feel comfortable if you are formally an MS Windows user. If in the end, you do not like the changes it is super easy to go back to the original Linux Ubuntu looks. You can also try other Linux themes from the Linux application repository, and find any suitable looks for your PC. Bye until next time folks.


