- How to: View certificates with the MMC snap-in
- View certificates in the MMC snap-in
- View certificates with the Certificate Manager tool
- To view certificates for the local device
- To view certificates for the current user
- How-To Develop Snap-ins Using MMC
- Snap-ins
- Fix Error MMC Could Not Create the Snap-in (solved)
- How to Fix MMC Could Not Create the Snap-in
- Fix 1 – Turn On .NET Framework
- Fix 2 – Fix the Registry
- Fix 3 – Perform System File Checker Scan
- Fix 4 – Perform DISM Scan
- Fix 6- Alternatively Download and Use RSAT (Remote Server Administration Tools)
- Fix 7 – Rename mmc.exe
How to: View certificates with the MMC snap-in
When you create a secure client or service, you can use a certificate as the credential. For example, a common type of credential is the X.509 certificate, which you create with the X509CertificateInitiatorClientCredential.SetCertificate method.
There are three different types of certificate stores that you can examine with the Microsoft Management Console (MMC) on Windows systems:
Local computer: The store is local to the device and global to all users on the device.
Current user: The store is local to the current user account on the device.
Service account: The store is local to a particular service on the device.
View certificates in the MMC snap-in
The following procedure demonstrates how to examine the stores on your local device to find an appropriate certificate:
Select Run from the Start menu, and then enter mmc.
The MMC appears.
From the File menu, select Add/Remove Snap In.
The Add or Remove Snap-ins window appears.
From the Available snap-ins list, choose Certificates, then select Add.

In the Certificates snap-in window, select Computer account, and then select Next.
Optionally, you can select My user account for the current user or Service account for a particular service.
If you’re not an administrator for your device, you can manage certificates only for your user account.
In the Select Computer window, leave Local computer selected, and then select Finish.
In the Add or Remove Snap-in window, select OK.

Optional: From the File menu, select Save or Save As to save the MMC console file for later use.
To view your certificates in the MMC snap-in, select Console Root in the left pane, then expand Certificates (Local Computer).
A list of directories for each type of certificate appears. From each certificate directory, you can view, export, import, and delete its certificates.
View certificates with the Certificate Manager tool
You can also view, export, import, and delete certificates by using the Certificate Manager tool.
To view certificates for the local device
Select Run from the Start menu, and then enter certlm.msc.
The Certificate Manager tool for the local device appears.
To view your certificates, under Certificates — Local Computer in the left pane, expand the directory for the type of certificate you want to view.
To view certificates for the current user
Select Run from the Start menu, and then enter certmgr.msc.
The Certificate Manager tool for the current user appears.
To view your certificates, under Certificates — Current User in the left pane, expand the directory for the type of certificate you want to view.
How-To Develop Snap-ins Using MMC
Applies To: Windows 10, Windows 7, Windows 8, Windows 8.1, Windows Server 2008, Windows Server 2008 R2, Windows Server 2012, Windows Server 2012 R2, Windows Server Technical Preview, Windows Vista
The primary objective of the MMC 3.0 SDK is to provide a quick snap-in implementation and to facilitate the continuous incremental improvement of the snap-in code when it has been built.
MMC 3.0 presents a significantly more simple model for snap-in development. As a snap-in developer, you must first decide what functionality the snap-in needs to provide, in terms of what management task it is intended to perform. Next, decide what programming elements are to be utilized in creating the snap-in. For example, there are four different view capabilities offered by MMC. Depending on the complexity of the snap-in, you can pick the view that best suits the level of richness in the views and balance it with the development effort. This section contains five basic samples that demonstrate the creation of snap-ins that have different features.
The first step often consists of designing a scope tree that serves as an abstraction of what the user visually sees as the scope of the management application. MMC 3.0 frees you, the snap-in developer, from the task of mapping user requests to core internal structures that may or may not correspond to a node concept. MMC 3.0 automatically provides the routing of messages, and the appropriate abstractions to hide the complexity that is inherent in the MMC COM interfaces that were a part of the programming model in MMC 2.0.
How-To Create a Hello World Snap-in is a basic snap-in sample that shows the essential elements of a basic snap-in.
How-To Create a Snap-in That Uses MMCListView is a snap-in that uses the node, class, and the basic MMC list view classes. It supplies the data that is used to populate the child nodes and the list view. It defines the actions that can be performed on selections and handles the selection events.
How-To Create a Snap-in That Uses Property Pages is a snap-in that demonstrates the use of property pages. A snap-in can choose to associate a unique property page with each item or item type in a view. This snap-in utilizes an MMC supplied property sheet and populates it with a simple property page.
How-To Create an Initialization Wizard is a snap-in that creates a wizard page that pops up when the snap-in gets added to the MMC console. It brings up a dialog box that allows the user to enter a name which is then used in setting the display name for the root node.
How-To Create a Snap-in That Uses WinForm View demonstrates the use of a WinForm view to create a UI that is similar to the list view sample.
When the Windows SDK is installed, a Samples directory is created in which all the MMC 3.0 samples are made available, including the ones mentioned in the above How-To topics. To locate the installation directory for the Windows SDK, click Start\All Programs\Microsoft Windows SDK\Cmd Shell . This opens a command shell showing the path of the Windows SDK installation directory. A typical value of the installation directory is C:\Program Files\Microsoft SDKs\Windows\v6.0 . In the command shell, type «cd Samples\SysMgmt\MMC3.0» to locate the MMC 3.0 Samples directory. For the purpose of this documentation, the MMC 3.0 samples directory will be referred to as .
Snap-ins
An MMC console has no native system or network management functionality, but rather provides a common user interface for whatever management functionality it is populated with in the form of snap-ins.
A snap-in is a Component Object Model (COM) in-process server dynamic-link library (DLL). This COM interface is situated between MMC and the snap-in. MMC does not care how the snap-in communicates with the managed service. Snap-ins can communicate with the managed service through any data protocol that the managed service supports. MMC has no knowledge of the mechanism used for this communication. Both Microsoft developers and independent software vendors (ISVs) can create snap-ins.
There are two types of snap-ins:
A stand-alone snap-in, when loaded in a console, can perform its designated management task as the only snap-in loaded in the console.
An extension snap-in adds functionality to a stand-alone snap-in. Extension snap-ins can add their own nodes as children of the stand-alone snap-in’s node. They can also add context menu items, toolbar buttons, property pages, and taskpad tasks to the stand-alone snap-in’s node. Depending on the item extended, an extension snap-in can further be classified as any combination of the following:
- Namespace extension
- Context menu extension
- Toolbar extension
- Menu button extension
- Property page extension
- Taskpad extension
It is possible for a snap-in to operate as a stand-alone snap-in and also to extend the functionality of another snap-in as an extension snap-in. Snap-ins that take this double role are dual-mode snap-ins. For example, the Event Viewer snap-in reads the event logs of computers. If the Computer Management snap-in’s computer object exists in the console, the Event Viewer snap-in automatically extends each instance of the computer object and provides appropriate event logs. When the Event Viewer snap-in is used as a stand-alone snap-in, an administrator must manually provide a computer name when the snap-in is opened, and the snap-in simply provides the event logs of this one computer.
Fix Error MMC Could Not Create the Snap-in (solved)
November 13, 2020 By Ansh R
MMC or Microsoft Management Console is a Windows app which provides programming framework and GUI (Graphical User Interface). Consoles (collective administration tools) are also created, saved and opened in MMC.
A number of Windows 10 users are facing the problem where this MMC Could Not Create the Snap-in error pops-up with a CLSID folder name. If you are also getting this error, we will help you fix it.
How to Fix MMC Could Not Create the Snap-in
This problem could occur if the snap-in’s registry configuration is broken or if the system files are corrupt. We will try to fix this issue by using our methods. Perform the methods until the issue is fixed.
Fix 1 – Turn On .NET Framework
Turning on Microsoft .NET Framework has worked for most of the users. Follow the steps mentioned below to perform this method.
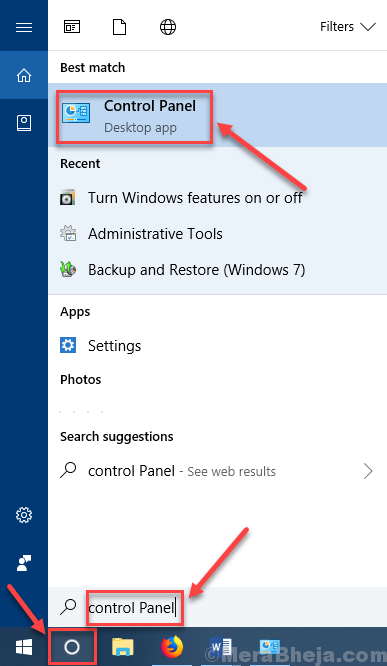
Step 1. Open Control Panel. To open Control Panel, go to Cortana and type Control Panel in the search area. Now, select Control Panel from results.
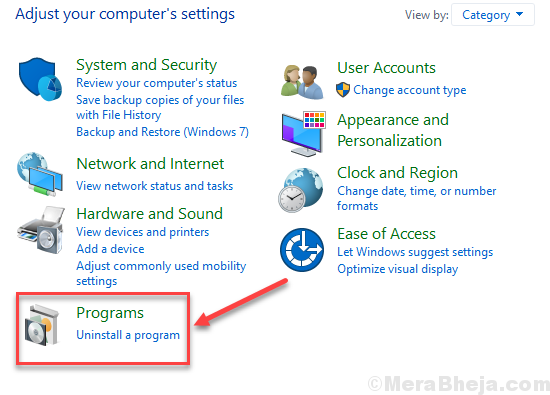
Step 2. The last step will open the Control Panel. Now, go to Programs.
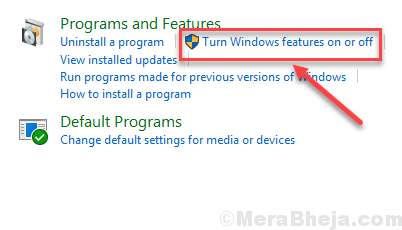
Step 3. In the Programs window, click on Turn Windows features on or off. It will be located under Programs and Features.
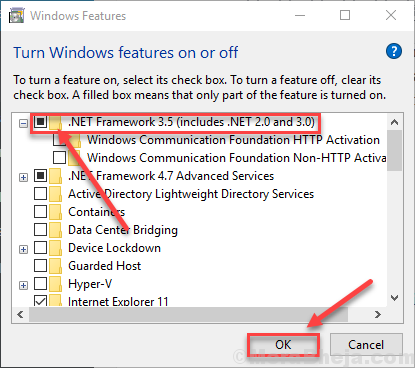
Step 4. The last step will open WIndows Features: Turn Windows features on or off in a small window. Here, mark the box beside .Net Framework 3.5 (includes .NET 2.0 and 3.0). To select its components according to your needs, you can expand it and mark them as well. After that, click on OK.
Step 5. Now, Restart your computer.
This should fix the problem. If the issue is not solved, try the next method.
Fix 2 – Fix the Registry
As registry configuration error can cause this error as well, we will try to fix the registry. Follow the steps to perform this method.
Note: – Before doing anything with registry editor first of all create a registry backup, so that if anything unexpected happens, you can just import the backed up registry file and make everything normal again.
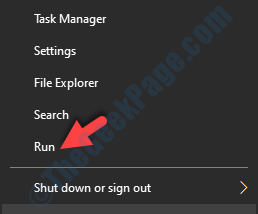
Step 1. Open Run. To open Run, right-click on the Start menu button and select Run.
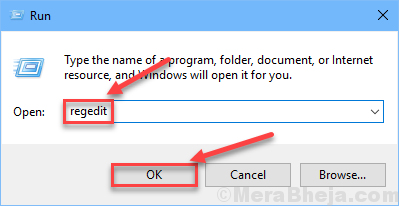
Step 2. The last step will open the Run window. Here, type regedit and click on OK.
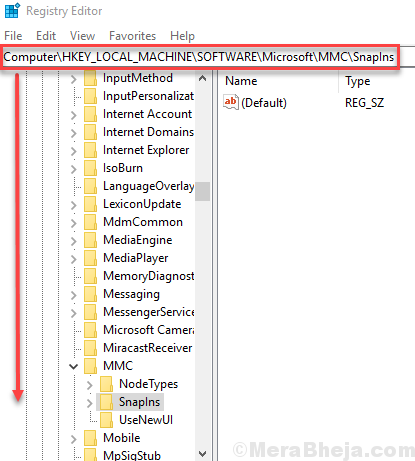
Step 3. The last step will open the Registry Editor. On the left side of the window, follow the following path.
HKEY_LOCAL_MACHINE\SOFTWARE\Microsoft\MMC\SnapIns
Step 4. In the Snapins folder, look for the folder whose name was specified in the error message as CLSID.
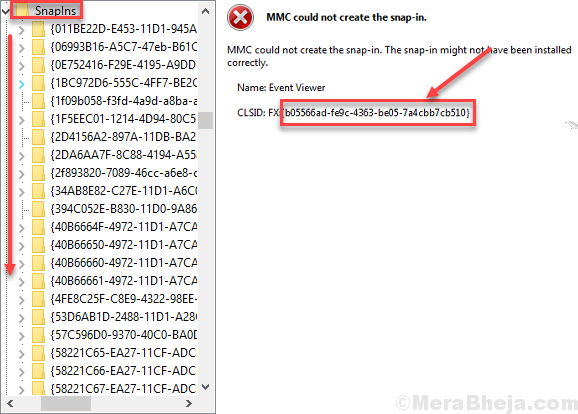
Step 5. After finding the correct folder, right-click on the same folder and select Delete.
When asked for confirmation, click on Yes.
Step 6. Now, Restart your computer.
This should solve the problem. If it didn’t, then follow the next method.
Fix 3 – Perform System File Checker Scan
We will check for corrupt files and try to fix them using System File Checker. SFC scan is an inbuilt Windows 10 tool, which searches and fixes corrupt system files. Corrupt files are one of the reasons behind the error. Follow the steps to perform this method.
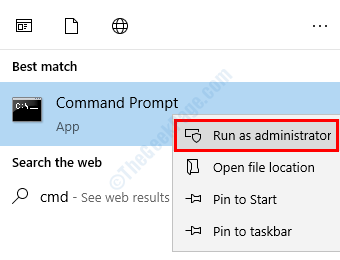
Step 1. Open Command Prompt as Administrator. To do this, go to Cortana and type Command Prompt in the search area. Now, right-click on Command Prompt from search results and select Run as administrator. When prompted with a dialog box to confirm if you want to open Command Prompt in Admin mode, select Yes button.
Step 2. Now, in the Command Prompt window, type following command and press Enter.
sfc /scannow
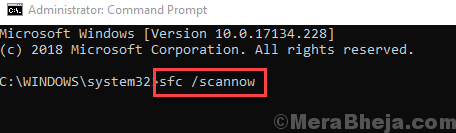
After performing the last step, now you just have to wait for the command to finish its process. The process may take more than 15 minutes, so you will have to be patient. When the SFC is done scanning and fixing the corrupt files, restart your computer.
If this method didn’t work for you and you are still stuck with the error, perform the next method.
Fix 4 – Perform DISM Scan
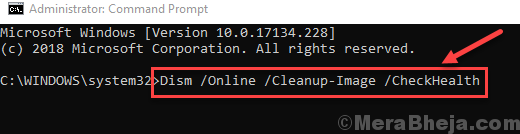
DISM or Deployment Image & Service Management scan is an inbuilt Windows 10 troubleshooter tool that searches and fixes corrupt system files. DISM fixes the corrupt files which SFC Scan wasn’t able to fix. Follow the steps to perform this method.
Step 1. Open Command Prompt as Administrator. To do this, go to Cortana and type Command Prompt in the search area. Now, right-click on Command Prompt from search results and click on Run as administrator. When prompted with a dialog box to confirm if you want to open Command Prompt in Admin mode, select Yes button.
Step 2. The last step will open the Command Prompt window. Now, in the Command Prompt window, type the following commands, one by one, and press Enter after typing each command.
Step 3. Let the scan complete its search and fix operation. This could take up to 20 minutes, so be patient.
Step 4. When the process is done, Restart your computer.
This should fix the problem.
Fix 6- Alternatively Download and Use RSAT (Remote Server Administration Tools)
2. Click On download and choose your windows version.
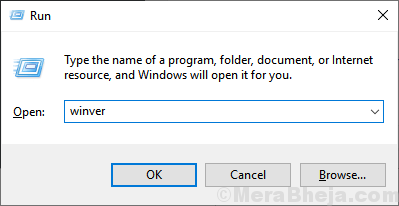
Note: If you do not know your version of windows, just press windows key + r together to open run and write winver in it. Click OK.
We hope we were able to help you fix this issue. If you solved the problem using some other method, or if you have any questions regarding the issue, please mention them below in comments.
Fix 7 – Rename mmc.exe
1. Open file explorer and browse to the following location:-
2. Now, rename mmc.exe to mmc.exe.backup

Now, try again and see if the issue gets resolved or not.


