- Installing MongoDB on a Mac
- What’s MongoDB?
- Prerequisites
- Installation Overview
- Install and Run MongoDB with Homebrew
- Install and Run MongoDB by Downloading it Manually
- Installing MongoDB on Mac (Catalina and non-Catalina)
- Preparations (Before MacOS Catalina)
- Preparations (MacOS Catalina onwards)
- Using MongoDB
- Starting MongoDB
- Checking if MongoDB is running
- The Mongo Shell
- Stopping MongoDB
- Aliases to make these easier
- What’s next?
- How to start a mongodb service on mac OS X?
- 10 Answers 10
- Use brew
- for specify version
- only running not want bootable
- check status
- Manually
- The mongo Shell
- Download the mongo Shell
- Start the mongo Shell and Connect to MongoDB
- Prerequisites
- macOS Security Verification
- Local MongoDB Instance on Default Port
- Local MongoDB Instance on a Non-default Port
- MongoDB Instance on a Remote Host
- MongoDB Instance with Authentication
- Connect to a MongoDB Replica Set
- TLS/SSL Connection
- Working with the mongo Shell
- Format Printed Results
- Multi-line Operations in the mongo Shell
Installing MongoDB on a Mac
What’s MongoDB?
MongoDB is a document database which belongs to a family of databases called NoSQL — not only SQL. In MongoDB, records are documents which behave a lot like JSON objects in JavaScript. Values in documents can be looked up by their field’s key. Documents can have some fields/keys and not others, which makes Mongo extremely flexible.
This is different than SQL databases like MySQL and PostgreSQL, where fields correspond to columns in a table and individual records correspond to rows.
Prerequisites
- You should have some familiarity with the Mac Terminal application since you’ll need to use it to install and run MongoDB.
- Dependencies. This guide goes over the two main ways to install MongoDB on a Mac. One of the methods requires Homebrew.
- Homebrew. Homebrew is a package manager for the Mac – it makes installing most open source software (like MongoDB) as simple as writing brew install mongodb . Follow the instructions in the How to Install Homebrew on a Mac instruction guide.
Installation Overview
There are two primary ways to install MongoDB on a Mac. The best way to install MongoDB is with Homebrew. The other way to install MongoDB is by downloading it from the the MongoDB website.
Install and Run MongoDB with Homebrew
- Open the Terminal app and type brew update .
- After updating Homebrew brew install mongodb
- After downloading Mongo, create the “db” directory. This is where the Mongo data files will live. You can create the directory in the default location by running mkdir -p /data/db
Make sure that the /data/db directory has the right permissions by running
Install and Run MongoDB by Downloading it Manually
- Go to the MongoDB website’s download section and download the correct version of MongoDB.
After downloading Mongo move the gzipped tar file (the file with the extension .tgz that you downloaded) to the folder where you want Mongo installed. In this case, we’ll say that we want Mongo to live in our home folder, and so the commands might look something like this:
Extract MongoDB from the the downloaded archive, and change the name of the directory to something more palatable: > cd
/ > tar -zxvf mongodb-osx-x86_64-3.0.7.tgz > mv mongodb-osx-x86_64-3.0.7 mongodb
Make sure that the /data/db directory has the right permissions by running
/mongodb/bin/mongod . This will start the Mongo server.
Run the Mongo shell, with the Mongo daemon running in one terminal, type
/mongodb/bin/mongo in another terminal window. This will run the Mongo shell which is an application to access data in MongoDB.
Источник
Installing MongoDB on Mac (Catalina and non-Catalina)
I had to reconfigure my Macbook after sending it for repairs. During the reconfiguration period, I noticed the instructions I linked to in “Setting up a local MongoDB connection” were outdated.
Here’s an updated version on how to install MongoDB on a Mac.
There are a few steps:
First, you install Homebrew. If you’re curious about what Homebrew is, read this article.
Second, find the MongoDB tap.
Third, install MongoDB.
MongoDB is now installed on your computer.
Preparations (Before MacOS Catalina)
Before you can use MongoDB, you need to create a /data/db folder on your computer to use MongoDB. You can create this folder with the following command:
You also need to give permissions to use it:
Now you can follow the rest of the article to set up your MongoDB connection.
Preparations (MacOS Catalina onwards)
Apple created a new Volume in Catalina for security purposes. If you’re on Catalina, you need to create the /data/db folder in System/Volumes/Data .
Use this command:
Then, use this command to give permissions:
Using MongoDB
In the past, I can run the mongod command to start MongoDB. This no longer works out for the box from MongoDB v4.2.3 onwards.
The best way to start MongoDB now is via brew services .
Starting MongoDB
Use this command:
MongoDB will start as a background service. Here’s what you’ll see:
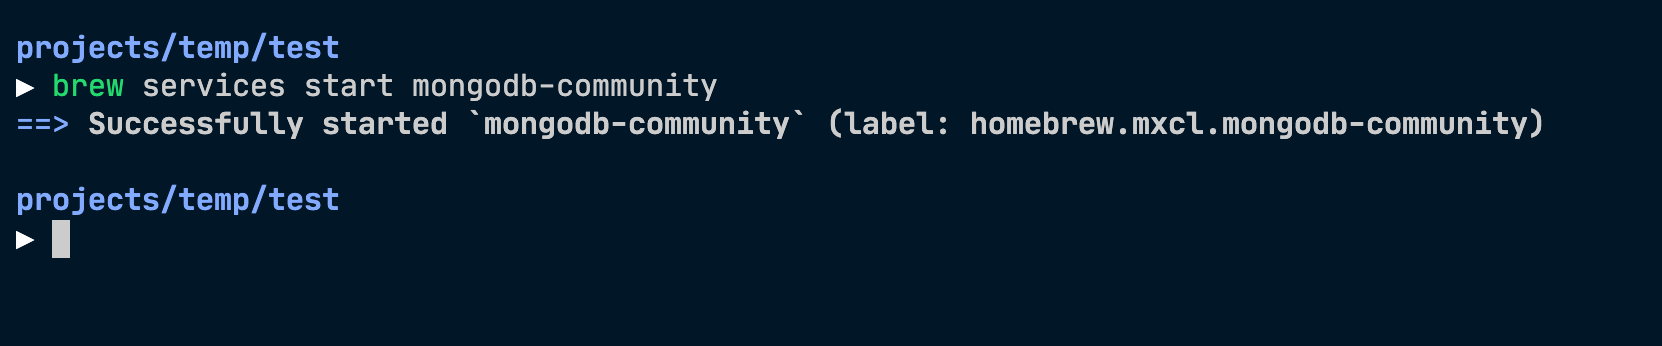
You can use start instead of run . start will start MongoDB automatically when you login into your Macbook. I prefer run since I don’t want MongoDB to be running all the time.
Checking if MongoDB is running
Use this command:
Homebrew will list all running services. If MongoDB is running, mongodb-community will have a status set to started .

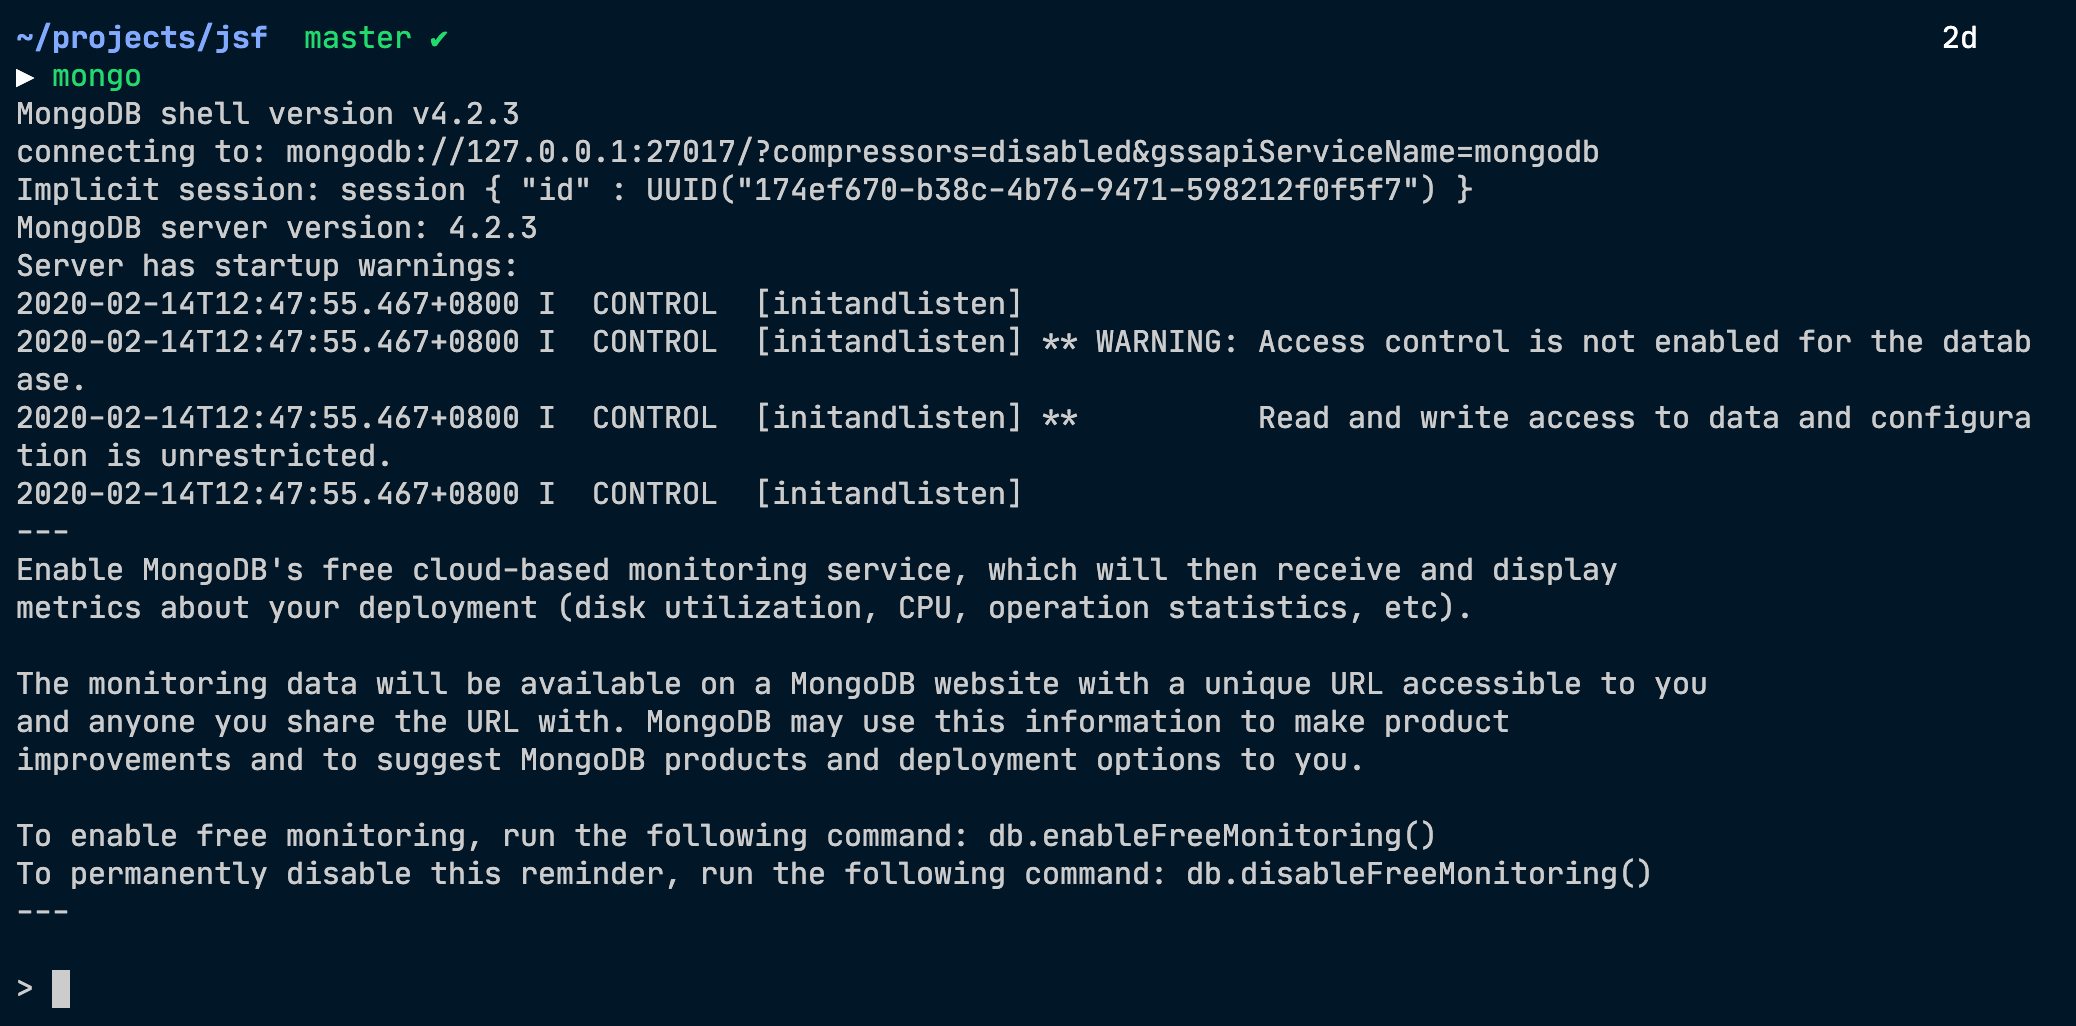
The Mongo Shell
If MongoDB is running, you should be able to access the Mongo shell with the mongo command.
Stopping MongoDB
Use this command:
Homebrew will stop MongoDB and let you know.

Aliases to make these easier
It’s a chore typing brew services run mongodb-community every time I want to start MongoDB.
I created some aliases to make things easier for me. Here are my aliases:
What’s next?
If you haven’t already, you should learn how to set up a local MongoDB connection.
If you enjoyed this article, please tell a friend about it! Share it on Twitter. If you spot a typo, I’d appreciate if you can correct it on GitHub. Thank you!
Источник
How to start a mongodb service on mac OS X?
I have already installed Mongodb on my mac but the process is currently not running. How do I start the Mongodb service so that I can start using the commands?

10 Answers 10
If you used homebrew to install MongoDB on macOS you type the following in terminal. Should do the trick in most cases.
Try the following steps in Terminal:
This will output the path to your mongod , but if it is not in your $PATH the command output will be empty. So you need to find your executable:
In the output of this command, you will see many lines, one of which will be like bin/mongod , e.g. /usr/local/mongodb/bin/mongod . In that case take the whole absolute path and do the following:

Just do brew services start mongodb-community . Example:
Of course, depends on your installation. This is the typical brew install.
As now is 2021 year, so start mongodb on Mac:
Use brew
- brew services start mongodb-community
- for installed by: brew install mongodb-community
for specify version
- brew services start mongodb-community@4.2
- for installed by: brew services install mongodb-community@4.2
only running not want bootable
the start means start and enable start at launch/boot
for only run currently, use run :
- brew services run mongodb-community
check status
after start, check status use:
Manually
for old version mongodb , the command is mongod :
- Directly run: mongodb
- Run with config: mongod —config /usr/local/etc/mongod.conf
- the default config file path is: /usr/local/etc/mongod.conf
- Run with only pass some parameter:
- with database path: mongod —dbpath /data
- /data is common mongodb database path
- with database path: mongod —dbpath /data

To start the mongodb, you should only have to run the «mongod» command on the terminal.
Just go into a folder where you want mongodb to store all the database files and run the command

Install and Run MongoDB with Homebrew
Open the Terminal app and type
After updating Homebrew
After downloading Mongo, create the “db” directory. This is where the Mongo data files will live. You can create the directory in the default location by running
Make sure that the /data/db directory has the right permissions by running
Run the Mongo daemon, in one of your terminal windows run
brew services start mongodb-community
This should start the Mongo server. Run the Mongo shell, with the Mongo daemon running in one terminal, type mongo in another terminal window. This will run the Mongo shell which is an application to access data in MongoDB. To exit the Mongo shell run quit() To stop the Mongo daemon hit ctrl-c
Источник
The mongo Shell
The mongo shell is an interactive JavaScript interface to MongoDB. You can use the mongo shell to query and update data as well as perform administrative operations.
Download the mongo Shell
The mongo shell is included as part of the MongoDB server installation . If you have already installed the server, the mongo shell is installed to the same location as the server binary.
Alternatively, if you would like to download the mongo shell separately from the MongoDB Server, you can install the shell as a standalone package by following these steps:
Access the Download Center for your Edition of MongoDB:
Select your preferred Version and Platform from the dropdowns.
Select the Package to download according to your platform:
| Platform | Download Package |
|---|---|
| Windows | Select the zip package to download an archive which includes the mongo shell. |
| macOS | Select the tgz package to download an archive which includes the mongo shell. |
| Linux | Select the tgz package to download the mongo shell. |
Copy the mongo shell from the archive to a location on your filesystem.
For additional installation guidance specific to your platform, or to install the mongo shell as part of a MongoDB Server installation, see the installation guide for your platform .
Start the mongo Shell and Connect to MongoDB
Once you have downloaded the mongo shell, you can use it to connect to your running MongoDB server.
Starting in MongoDB 4.2 (and 4.0.13), the mongo shell displays a warning message when connected to non-genuine MongoDB instances as these instances may behave differently from the official MongoDB instances; e.g. missing or incomplete features, different feature behaviors, etc.
Prerequisites
The MongoDB server must be installed and running before you can connect to it from the mongo shell. Follow the steps in the installation tutorial for your platform to install and start the MongoDB server if required.
Once you have verified that the mongod server is running, open a terminal window (or a command prompt for Windows) and go to your shell installation dir> directory:
Adding your shell installation dir> to the PATH environment variable allows you to type mongo directly instead of having to first go to the shell installation dir> directory or specify the full path to the binary. Alternatively, you can copy the mongo shell to a location on your filesystem that is already present in your PATH , such as /usr/bin on Linux.
macOS Security Verification
For macOS users:
macOS may prevent the mongo shell from running after installation. If you receive a security error when starting the mongo shell indicating that the developer could not be identified or verified, do the following to grant the mongo shell access to run:
- Open System Preferences
- Select the Security and Privacy pane.
- Under the General tab, click the button to the right of the message about the mongo shell, labelled either Open Anyway or Allow Anyway depending on your version of macOS.
Local MongoDB Instance on Default Port
You can run mongo shell without any command-line options to connect to a MongoDB instance running on your localhost with default port 27017:
Local MongoDB Instance on a Non-default Port
To explicitly specify the port, include the —port command-line option. For example, to connect to a MongoDB instance running on localhost with a non-default port 28015:
MongoDB Instance on a Remote Host
To explicitly specify the hostname and/or port,
You can specify a connection string . For example, to connect to a MongoDB instance running on a remote host machine:
You can use the command-line option —host :
. For example, to connect to a MongoDB instance running on a remote host machine:
You can use the —host and —port
command-line options. For example, to connect to a MongoDB instance running on a remote host machine:
MongoDB Instance with Authentication
To connect to a MongoDB instance requires authentication:
You can specify the username, authentication database, and optionally the password in the connection string . For example, to connect and authenticate to a remote MongoDB instance as user alice :
If you do not specify the password in the connection string, the shell will prompt for the password.
You can use the —username and —password , —authenticationDatabase command-line options. For example, to connect and authenticate to a remote MongoDB instance as user alice :
If you specify —password without the user’s password, the shell will prompt for the password.
Connect to a MongoDB Replica Set
To connect to a replica set:
You can specify the replica set name and members in the connection string .
If using the DNS Seedlist Connection Format , you can specify the connection string:
Use of the +srv connection string modifier automatically sets the ssl option to true for the connection.
You can specify the replica set name and members from the —host set name>/ :
. command-line option. For example, to connect to replica set named replA :
TLS/SSL Connection
For TLS/SSL connections,
You can specify the ssl=true option in the connection string .
If using the DNS Seedlist Connection Format , you can include the +srv connection string modifier:
Use of the +srv connection string modifier automatically sets the ssl option to true for the connection.
You can specify —ssl command-line option. For example, to connect to replica set named replA :
For more information on the options used in the connection examples as well as other options, see mongo reference and examples of starting up mongo .
Working with the mongo Shell
To display the database you are using, type db :
The operation should return test , which is the default database.
To switch databases, issue the use helper, as in the following example:
See also db.getSiblingDB() method to access a different database from the current database without switching your current database context (i.e. db ).
To list the databases available to the user, use the helper show dbs . [1]
You can switch to non-existing databases. When you first store data in the database, such as by creating a collection, MongoDB creates the database. For example, the following creates both the database myNewDatabase and the collection myCollection during the insertOne() operation:
- db refers to the current database.
- myCollection is the name of the collection.
If the mongo shell does not accept the name of a collection, you can use the alternative db.getCollection() syntax. For instance, if a collection name contains a space or hyphen, starts with a number, or conflicts with a built-in function:
The mongo shell prompt has a limit of 4095 codepoints for each line. If you enter a line with more than 4095 codepoints, the shell will truncate it.
For more documentation of basic MongoDB operations in the mongo shell, see:
- Getting Started Guide for the mongo Shell
- Insert Documents
- Query Documents
- Update Documents
- Delete Documents
- mongo Shell Methods
| [1] | If the deployment runs with access control, the operation returns different values based on user privileges. See listDatabases Behavior for details. |
Format Printed Results
The db.collection.find() method returns a cursor to the results; however, in the mongo shell, if the returned cursor is not assigned to a variable using the var keyword, then the cursor is automatically iterated up to 20 times to print up to the first 20 documents that match the query. The mongo shell will prompt Type it to iterate another 20 times.
To format the printed result, you can add the .pretty() to the operation, as in the following:
In addition, you can use the following explicit print methods in the mongo shell:
- print() to print without formatting
- print(tojson( )) to print with JSON formatting and equivalent to printjson()
- printjson() to print with JSON formatting and equivalent to print(tojson( ))
For more information and examples on cursor handling in the mongo shell, see Iterate a Cursor in the mongo Shell . See also Cursor Help for list of cursor help in the mongo shell.
Multi-line Operations in the mongo Shell
If you end a line with an open parenthesis ( ‘(‘ ), an open brace ( ‘<' ), or an open bracket ( '[' ), then the subsequent lines start with ellipsis ( ". " ) until you enter the corresponding closing parenthesis ( ')' ), the closing brace ( '>‘ ) or the closing bracket ( ‘]’ ). The mongo shell waits for the closing parenthesis, closing brace, or the closing bracket before evaluating the code, as in the following example:
You can exit the line continuation mode if you enter two blank lines, as in the following example:
Источник


