- How to Mount an NFS Share Using a Windows 10 Machine
- NFS Only Works in Windows 10 Enterprise
- Install the NFS Client (Services for NFS)
- Enable Write Permissions for the Anonymous User
- How to Mount an NFS Share
- Read Next
- How To Mount NFS Share In Linux and Windows?
- Install NFS Server
- Ubuntu, Debian, Mint, Kali Client Packages
- Fedora, CentOS, Fedora Client Packages
- Ubuntu, Debian, Mint, Kali Server Packages
- Fedora, CentOS, Fedora Server Packages
- Check NFS Service Status
- Start NFS Service
- Create NFS Share
- Enable Exports
- Mount NFS Share For Linux
- List NFS Mounts
- Unmount NFS Share For Linux
- Mount NFS Share For Windows
- Setting Up NFS Share on Windows
- Environment
- Situation
- Resolution
- Additional Information
- Mount Ubuntu 16.04 | 17.10 | 18.04 NFS Shares on Windows 10 Client
- Step 1: Installing NFS Server on Ubuntu
- Step 2: Export NFS Share
- Step 3: Restart NFS Service
- Step 4: Connect Windows 10 Machine
How to Mount an NFS Share Using a Windows 10 Machine
By Tony Mackay В· 08 Dec 2016
Mounting an NFS (Network File System) share using a Unix-like operating system is pretty straight forward. But how do you mount an NFS share of a UNIX system from a Windows 10 machine? Keep reading to find out how.
NFS Only Works in Windows 10 Enterprise
Update 2012-04-20 – These instructions should now work on Windows 10 Pro (Version 10.0.14393 and above) as mentioned by EyeDocGeek in the comments.
This tutorial only applies to the enterprise version of Windows 10 because it is the only version which includes the Services for NFS feature. If you don’t have the enterprise version of Windows, then you might be better off exposing your share using Samba which should work on all versions of Windows.
With that said let’s install the Services for NFS feature and mount an NFS share.
Install the NFS Client (Services for NFS)
The first thing we need to do is install the NFS Client which can be done by following the steps below:
Step 1: Open Programs and Features.

Step 2: Click Turn Windows features on or off.

Step 3: Scroll down and check the option Services for NFS, then click OK.

Step 4: Once installed, click Close and exit back to the desktop.
Enable Write Permissions for the Anonymous User
With the default options you will only have read permissions when mounting a UNIX share using the anonymous user. We can give the anonymous user write permissions by changing the UID and GID that it uses to mount the share.
The image below shows the a share mounted using the default settings.

To change the UID and GID we need to make a simple change to the Windows registry by performing the following steps:
- Open regedit by typing it in the search box end pressing Enter.
- Browse to HKEY_LOCAL_MACHINE\SOFTWARE\Microsoft\ClientForNFS\CurrentVersion\Default.
- Create a new New DWORD (32-bit) Value inside the Default folder named AnonymousUid and assign the UID found on the UNIX directory as shared by the NFS system.
- Create a new New DWORD (32-bit”) Value inside the Default folder named AnonymousGid and assign the GID found on the UNIX directory as shared by the NFS system.

- Restart the NFS client or reboot the machine to apply the changes.

The output of the mount command should now look like this:
Notice the 0 value applied to the UID and GID. This means the share is mounted using the root user.
How to Mount an NFS Share
Assuming your NAS device is on the same network as your Windows machine and the IP address of the device is 10.1.1.211, the following command will mount a share on the NFS system at /mnt/vms.
The share is now mounted and we can access the data by navigating to the Z: drive.

That’s it, we can now write to the NAS device. Although, I did notice that trying to open the share for the first time takes a long time.
Read Next
Tony is the founder and editor of GraspingTech, a blog which provides tutorials for Cloud Architects, DevOps Engineers and System Administrators. He has written over one hundred tech tutorials which have been read by more than a million people.
Connect with Tony on LinkedIn or contact him by email.
How To Mount NFS Share In Linux and Windows?
Network File System or NFS is a network-based filesystem protocol which is mainly used to share files and folders over the network. NFS is a UNIX based technology but can be used by most of the operating systems like Linux, Ubuntu, Debian, Kali, Mint, Fedora, CentOS, RedHat and Windows operating systems Windows 7, Windows 8, Windows 10, Windows Server 2008, Windows Server 2012, Windows Server 2016.
Install NFS Server
NFS packages mainly divided into two parts. First is the server side packages which will install related kernel modules and server tools.
Ubuntu, Debian, Mint, Kali Client Packages
Fedora, CentOS, Fedora Client Packages
Ubuntu, Debian, Mint, Kali Server Packages
After the installation is complete the nfs-server service will be also created automatically.
Fedora, CentOS, Fedora Server Packages
Check NFS Service Status
As the NFS shares will be served over nfs-server we need to the if it is working. We will use systemctl status command with the nfs-server service name.
 Check NfS Service Status
We can see that the service is active and working properly.
Start NFS Service
If the service is not started or stopped in any way we need to start the nfs-server service. We will use systemctl start command with the nfs-server service name like below.
Create NFS Share
NFS main configuration is stored in the /etc/exports file. Each share is created line by line. For example, if we want to share /mnt with the IP address 192.168.10.10 we will use the following configuration.
But generally, we share the files and folders with everyone who has access to the NFS server. We can use the following configuration to share everyone.
Enable Exports
After creating the share configuration we need to refresh the NFS table where the shares are stored. We can simply use exportfs command with the -a option which will add current configuration to the NFS table.
Mount NFS Share For Linux
We can use mount command in order to mount NFS share. We will specify the filesystem type as nfs to the mount command with the -t option like below. The server IP address is 192.168.142.144 and share is /mnt . We will mount to the /home/ismail/poftut1 .
List NFS Mounts
After mounting the NFS share we can check it by listing the NFS mount. We will use mount command and filter NFS shares with the grep command like below.
 List NFS Mounts
Unmount NFS Share For Linux
We can unmount already mounted NFS shares with the umount command. We will just specify the mount path to the umount command with the sudo command like below.
Mount NFS Share For Windows
First, we will enable NFS modules or features on Windows operating systems. Open Start > Control Panel > Programs. Select Turn Windows Features on or off. Select Services for NFS. Click OK.
We can mount NFS shares in Windows operating systems too. We will use mount command. We will also provide nolock option and other parameters like remote NFS server IP address and local drive which is Z in this case.
Alternatively, we can use net use command which can also mount NFS shares. We will provide the partition name which is z and remote NFS server.
Setting Up NFS Share on Windows
Environment
Situation
Resolution
To set up and configure NFS share on Windows follow these instructions:
Installing NFS Server
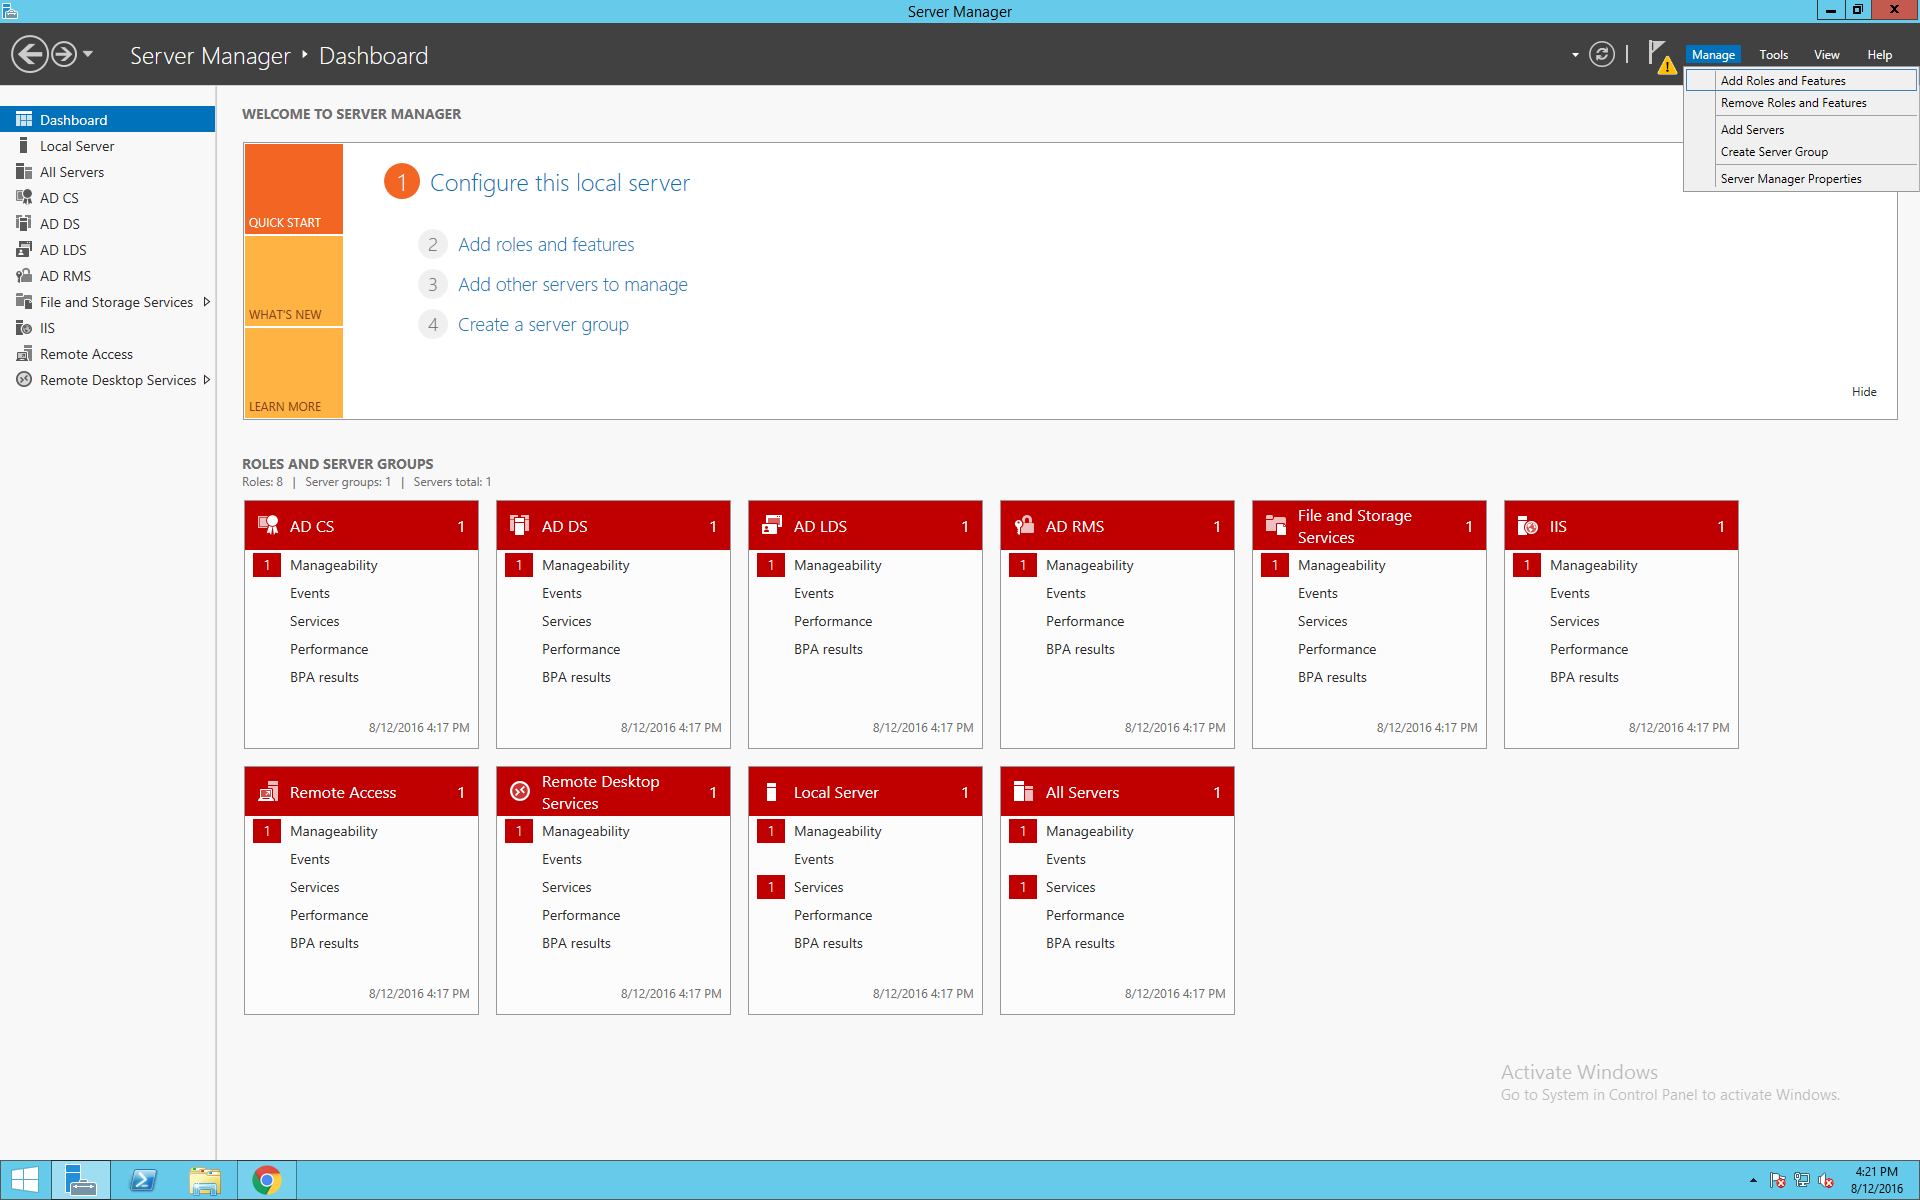
1. Go to Server Manager
2. Click on Add Roles and Features . This will pull up the Add Roles and Features Wizard. Click Next
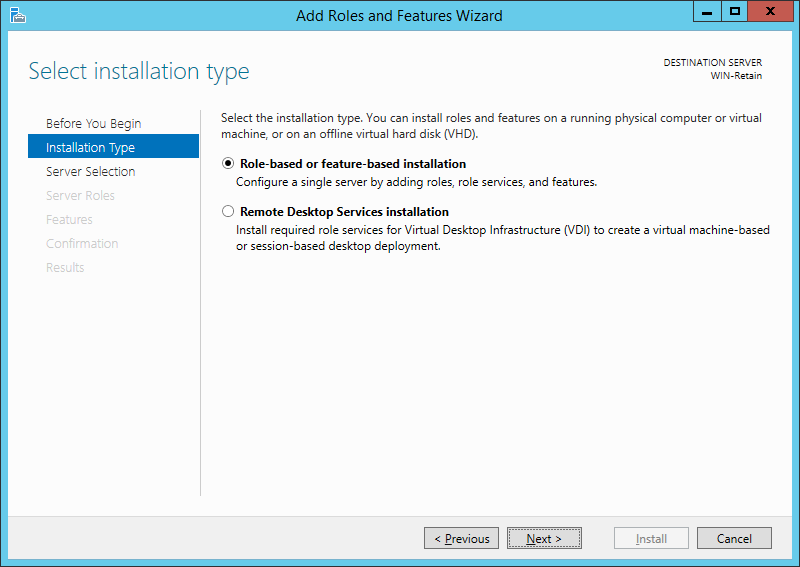
3. On the Installation Type, select the Role-based or feature based installation , and click Next.
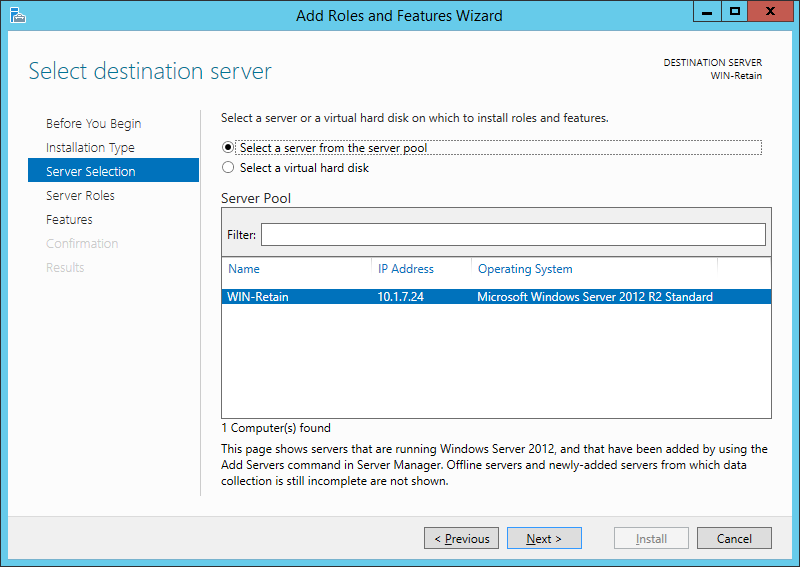
4. Select the Server, in the Server Pool section with what you want to be the NFS server. Click Next
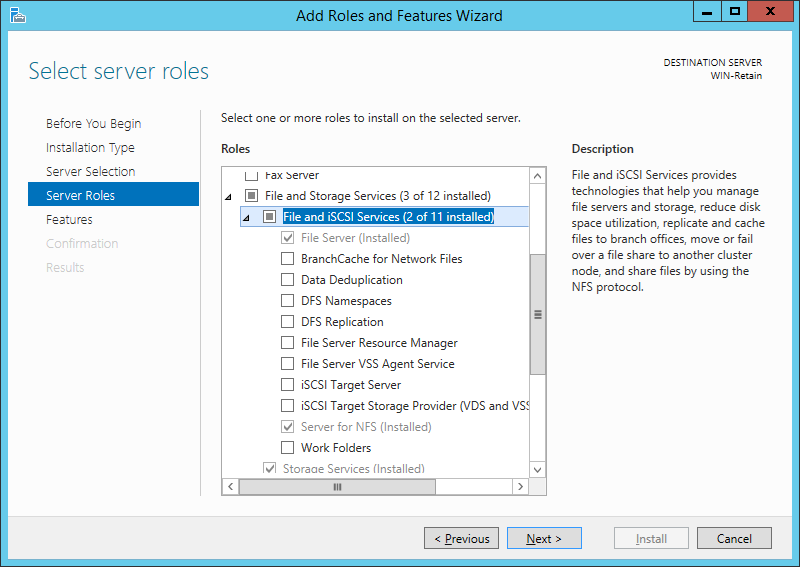
5. In Server Roles look for File and Storage Services and expand. Then expand File and iSCSI Services.
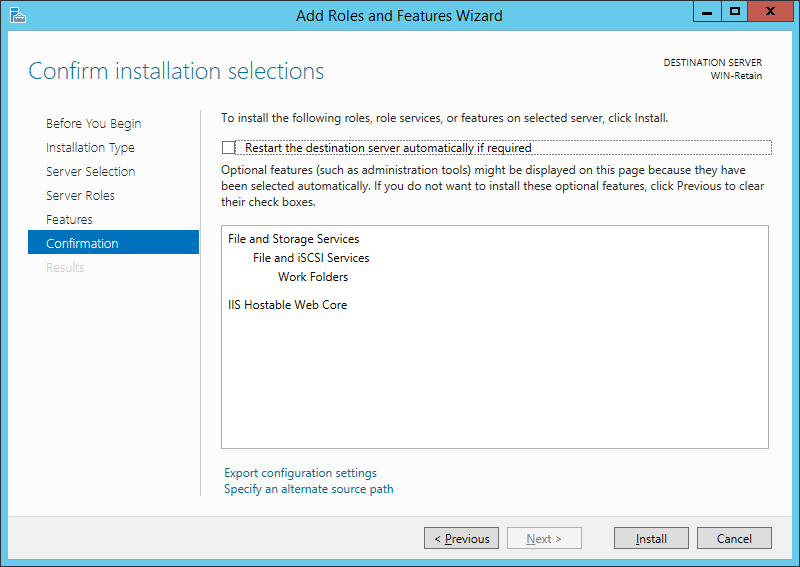
Check the box Server for NFS . This will bring up a prompt to Add features that are required for NFS. Click on Add Features . Click Next .
6. Click Next on features.
7. Click Install.
Setting Up An NFS Share
Once the NFS Server is installed, the next step is to setup the NFS Share. You can do this by following the steps:
1. Provision a directory for Server for NFS Share
a. Click File and Storage Services
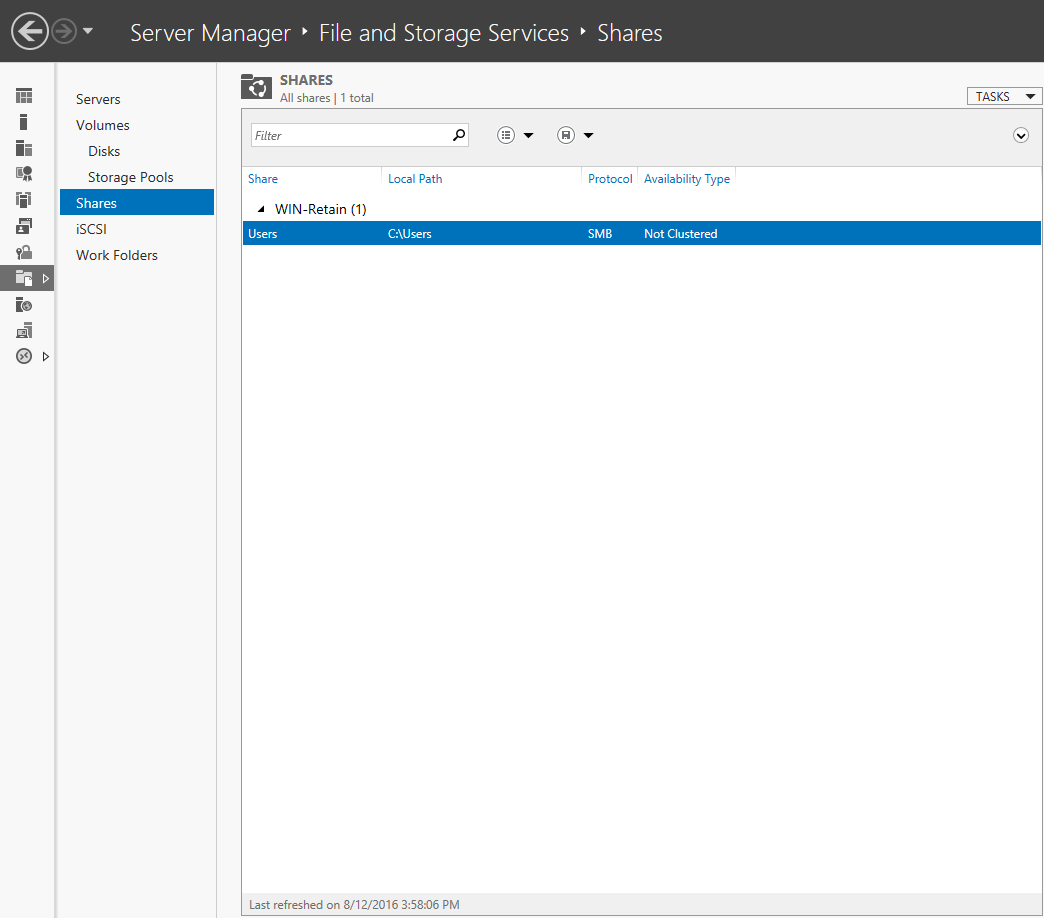
c. Create a File Share either by clicking the link, or right clicking and clicking New Share
d. Select NFS Share — Quick
.png)
e. The next screen will ask you to Select the server and path for the share. Share by selecting custom path. Type in the path to where you want to share. Click Next
.png)
f. Browse to a directory that is on the server that has been previously shared.
Note: Be sure to create a directory first before you begin the NFS share.
g. Type in the share name. This will need to be remembered for the mount point on the Linux box.
.png)
h. For authentication check the boxes: No Server authentication (AUTH_SYS)
Enable unmapped user access
Allow unmapped user access by UID/GID
.png)
i. Specify the permission by clicking Add. Add in the host, and add in the ipaddress or host name of the Linux server.
Click on the drop down for Share permissions and set to read/write
Click on Allow root access. Click Add
.png)
j. On the next screen, specify permissions to control access, click on Next. Nothing to do. (screen shot)
k. Click Create. This will successfully create your NFS share.
Mounting NFS Share on Linux
The next step is to mount the directories on a Linux box, and point it to the NFS Shares that were created. Create a directory in the /mnt directory. This is the local mount path. Once created, be sure you are inside the directory when you mount the nfs share on the Windows system.
Type in the following command on the Linux box to mount the share (mounting is similar to mapping a drive in Windows)
- mount -t nfs :/ /
- EXAMPLE: mount -t nfs WinServer1:/grpwise/po1 /mnt/reload/po1 (be sure to create /mnt/reload/po1)
Test the mount by creating a text file within the new NFS Share and check that you can see it on both systems.
Additional Information
Feedback service temporarily unavailable. For content questions or problems, please contact Support.
Micro Focus uses cookies to give you the best online experience. If you continue to use this site, you agree to the use of cookies. Please see our cookie policy for details.
Mount Ubuntu 16.04 | 17.10 | 18.04 NFS Shares on Windows 10 Client
If you ever want to get NFS enabled in Windows environment, then the steps below is a great place to start… It shows you how to connect Windows 10 machines to NFS shares hosted on Ubuntu 16.04 / 17.10 and 18.04 servers…
NFS or Network File System, is a distributed file system that can be enabled in a client/server environment. NFS is very easy to configure for those wanting to allow NFS client machines to access NFS mount points on a server using NFS protocol.
This brief tutorial shows students and users how to setup NFS mount points on a server for client access. It will also show you how to enable Windows 10 clients to connect and mount the NFS shares..
For this tutorial, we’re going to be using two systems:
- Ubuntu Computer with IP address 10.0.2.7
- Windows Computer with IP address 10.0.2.4
Step 1: Installing NFS Server on Ubuntu
To get NFS server working you must install the server packages. To do that run the commands below:
When the server packages are installed… go and configure the folder you want to shares… for this tutorial, we’re going to be sharing an already existing folder.. the Home folder for users…
Step 2: Export NFS Share
So now that NFS server package has been installed on Ubuntu, open its exports file by running the commands below… then share the /home folder to all client on the local subnet (10.0.2.0/24)..
sudo nano /etc/exports
Then add the line below into the exports file… this enable the /home folder to be shared with local NFS client omn the local subnet… You can choose to share to the entire subnet or a single computer… just make sure to specify the machine IP address in the definition file…
/home 10.0.2.0/24 (rw,no_root_squash)
Save the file and exit.
The two definations are defined as:
- no_root_squash = Turn off root squashing. This option is mainly useful for disk-less clients.
- rw = Allow both read and write requests on a NFS volume.
Step 3: Restart NFS Service
After defining the folder you want to share, run the commands below to restart the NFS service on Ubuntu
sudo systemctl restart nfs-server
Step 4: Connect Windows 10 Machine
After sharing the folder on the NFS server, open Windows 10 machine and go to Control Panel ==> Programs ==> Programs and Features
Then click on Turn Windows features on or off as shown in the image below

When the config pane opens, select and enable Services for NFS

Click Ok and close out.
That should enable Windows clients to mount NFS shares… now that this feature is enabled on your Windows machine, open the command prompt and mount the share from the NFS server…
mount 10.0.2.7:/home Z:\
You should see Windows mount the share…
You can now go to Windows File Explorer and see the mounted share…


