- How to Customize Mouse Pointer on Windows 10 and Change Scheme
- How to Customize Mouse Pointer on Windows 10
- How to Change Scheme of Mouse Pointer in Windows 10
- How to Customize Individual Mouse Pointers in Windows 10
- How to Delete Mouse Pointer Scheme in Windows 10
- How to Customize Mouse Pointer on Windows 10 through Settings app
- How to Change mouse pointer size in Windows 10
- How to Change mouse pointer color in Windows 10
- How to change mouse pointer thickness in Windows 1o
- Customize Mouse on Windows 10 from Settings application
- How to Set Right or Left handed mouse and switch in Windows 10
- How to Customize Roll the mouse wheel to Scroll in Windows 10
- How to customize Scroll Inactive Windows Setting in Windows 10
- Mouse Cursor Disappears on Windows 10 [Solved]
- Method 1: Re-enable your mouse
- Method 2: Update your mouse driver
- Method 3: Switch to ChromeOS
How to Customize Mouse Pointer on Windows 10 and Change Scheme
Ways to Customize Mouse Pointer on Windows 10 and Change Scheme.

Most of you are using the default scheme of mouse pointer and cursor set by Windows 10. In the Windows 10 tips here, We will take you through the details of the ways to customize Mouse Pointer on Windows 10, change the scheme, and all other things that you can do with Mouse cursor.
Mouse acts as the steering wheel for a Windows PC. When you are running Windows 10, the latest version of Windows on your PC, to customize mouse pointer for your convenience is a very important job and this version provides you lots of setting to make it suitable for yourself. Mouse cursor is a graphical pointer on our computer monitor which indicates where the mouse pointer is and where the text alphabet typed will be entered. We are mainly here on this topic to let you know How to Customize Mouse Pointer on Windows 10 and Change Scheme.
How to Customize Mouse Pointer on Windows 10
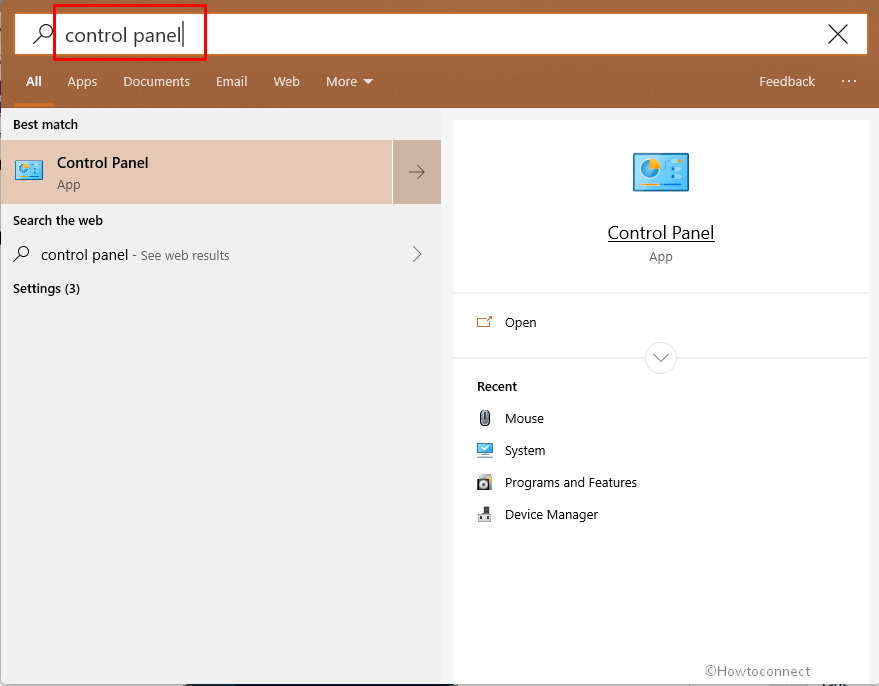
- Press Windows logo key, type control panel and then hit Enter on the keyboard.
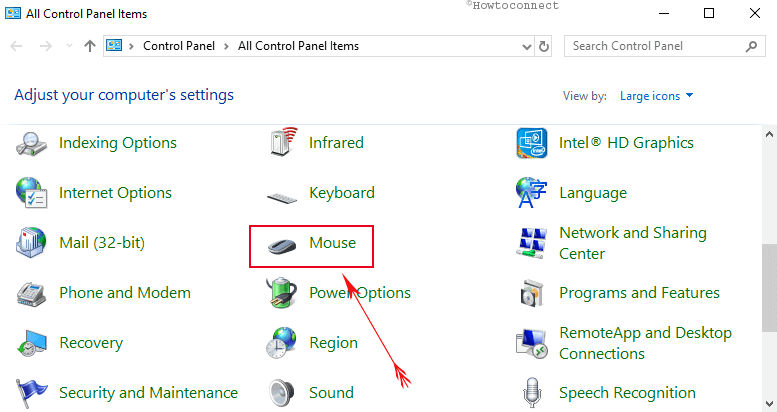
- Control Panel window emerges on your screen. Click Mouse link.
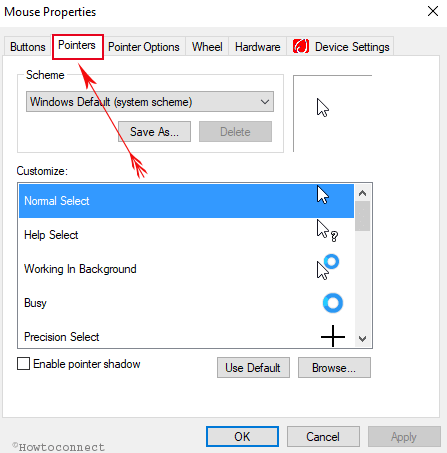
- A new Mouse Properties wizard pops up on the screen. By default, you will be taken to the Device Settings tab. Click Pointers tab.
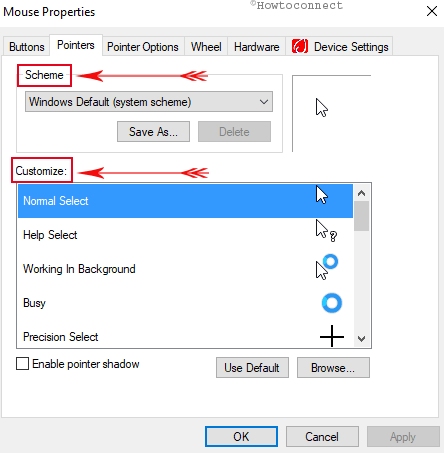
- There you can see that the Mouse Properties window is divided into two sections – Scheme and Customize.
- Click the drop-down menu under the Schemes section and see what other pointer schemes are built-in.
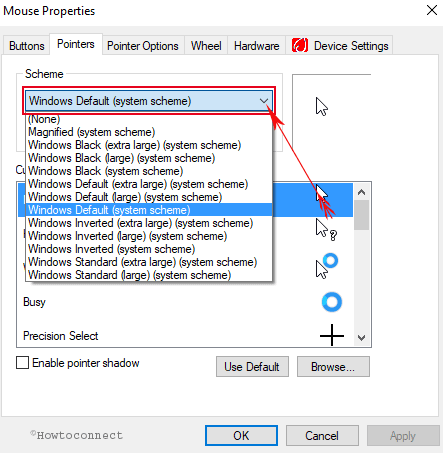
- Once you select the pre-installed scheme then you can see different cursor shapes under the Customize section.
How to Change Scheme of Mouse Pointer in Windows 10
- Use the drop down menu of the Scheme section and take a look into the pre-installed schemes.
- Select any one of the Pre-installed schemes.
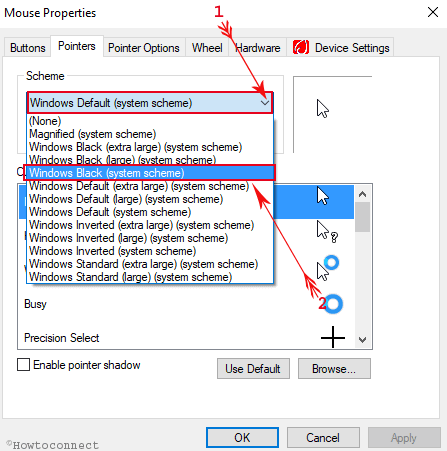
- After selecting the scheme, you can see various cursors of different shapes and sizes under the customize section.
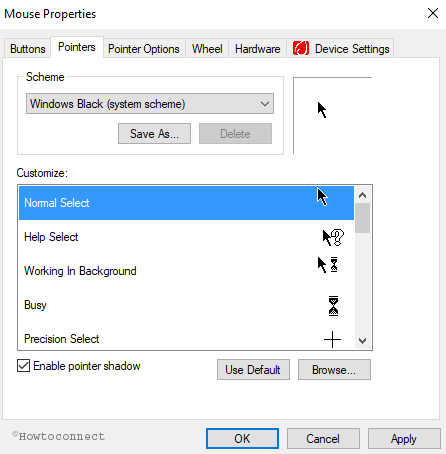
- There is a description at the side of every cursor.
- Click on the Enable pointer shadow option if you wish to have a shadow to your mouse cursor.
- After doing the necessary changes, tap on the Apply option followed by Ok.
How to Customize Individual Mouse Pointers in Windows 10
It might happen that you did not like the shapes or sizes of the cursors of the scheme that you chose to use. We have a solution to it also in this article How to Customize Mouse Pointer on Windows 10. Follow the steps below –
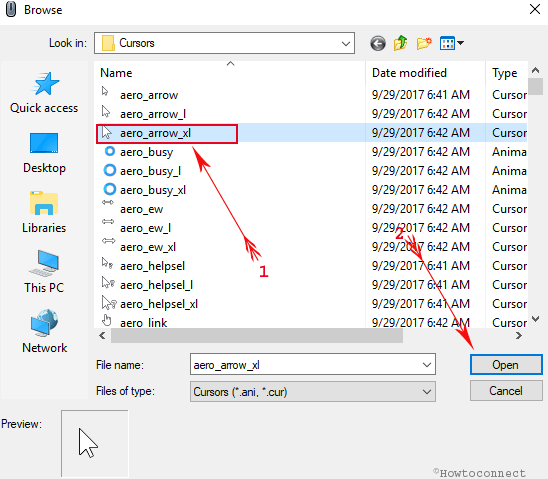
- Click on the Browse link which is under the Pointers tab of Mouse Properties window.
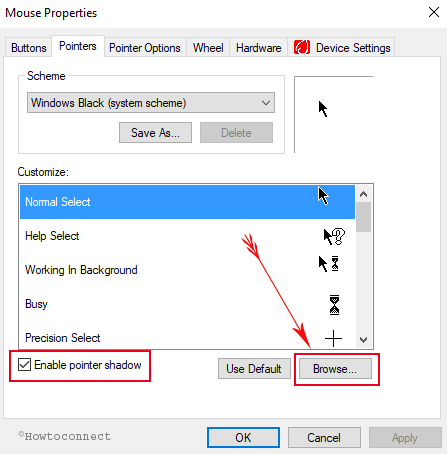
- It will take you to the folder where all the cursor images are stored.
- Scroll down the page and click on the option you like to choose the one as per your preference.
- After changing the cursors as per your preferences, Windows will ensure it as a new theme.
- Make sure to Save the changes and do not forget to give a name to your new theme.
How to Delete Mouse Pointer Scheme in Windows 10
- If you want to remove the built-in schemes you won’t be able to do so.
- After making a change to a theme and saving it with a name, you can delete it.
- Select that particular theme and click on the Delete option.
These are various ways to Customize Mouse Pointer on Windows 10.
With the Embark of Windows 10, technology had been up to the next level of advancement. There are so many customization options available for you to do. And I am sure Windows 10 will definitely fulfill all your preferences.
How to Customize Mouse Pointer on Windows 10 through Settings app
- Launch Settings application by pressing Win and I keys altogether.
- Click on Ease of access.

- When the next window appears, select Cursor & pointer from the left pane.

- You will experience multiple options to Customize Mouse Pointer on Windows 10 in the corresponding right pane –
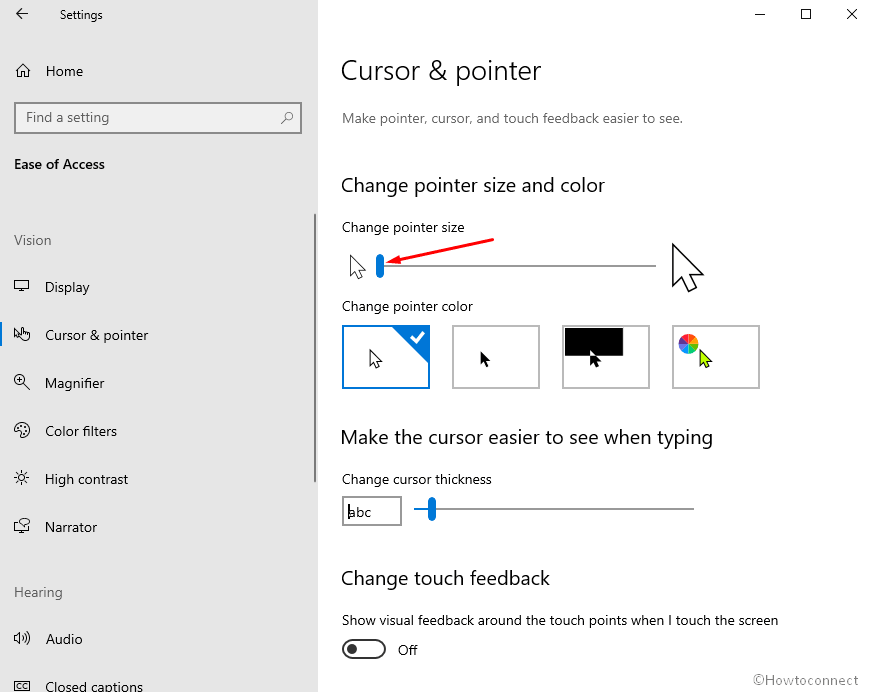
How to Change mouse pointer size in Windows 10
- Simply use the slider on the control bar to Change the pointer size. Dragging it into the right direction will increase and into the left will decrease the cursor size.
How to Change mouse pointer color in Windows 10
- To change, select either of the 3 color blocks given under Change pointer color.
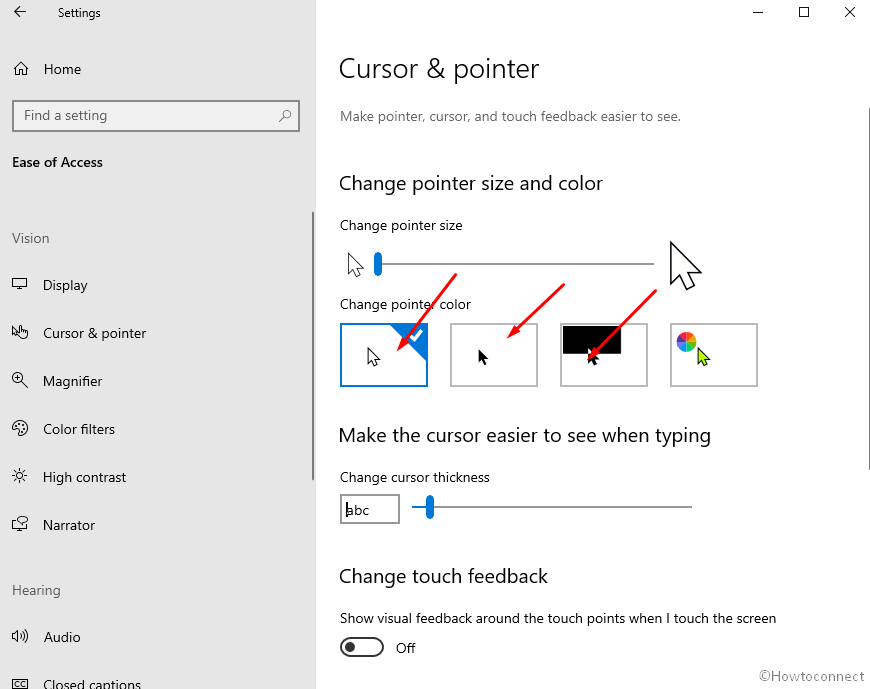
- If you are not satisfied with them click on the last block. Use Suggested pointer color to select your desired one.

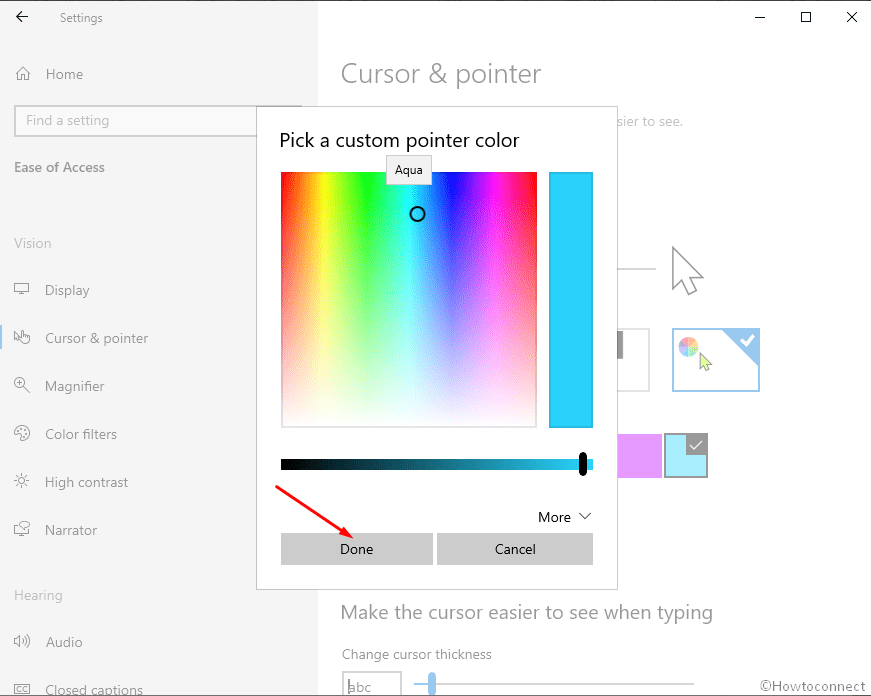
- Still, looking for better; click on [+] Pick a custom pointer color.

- Prepare the desirable using the controls on the color palette and choose Done.
How to change mouse pointer thickness in Windows 1o
- Use the Change cursor thickness control to make it slim or bulky.

Customize Mouse on Windows 10 from Settings application
- Open Windows Settings Using “Win+I” Shortcut combination.
- Select Devices.

- Go to the right-hand side section and click on Mouse.
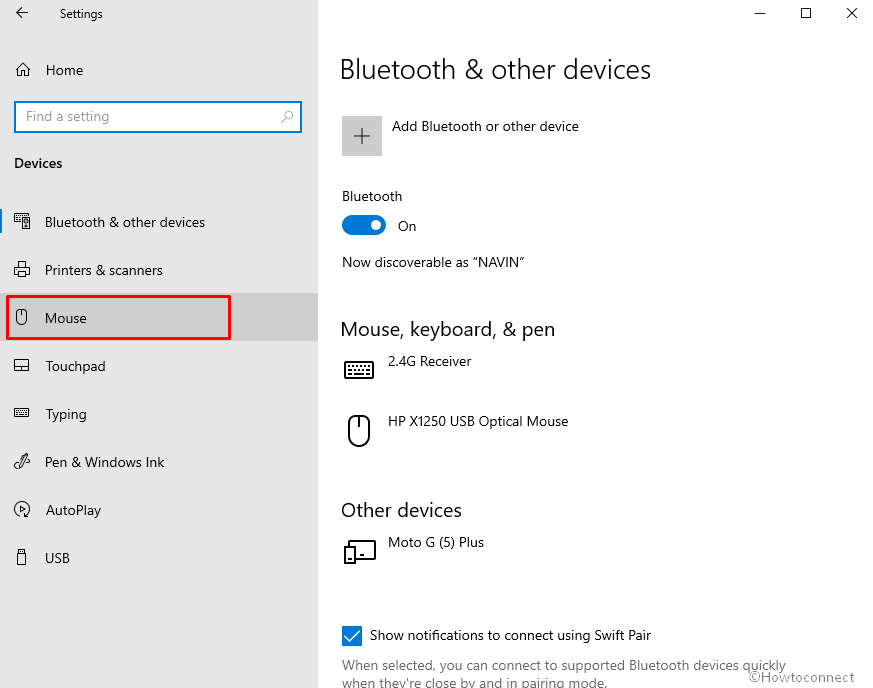
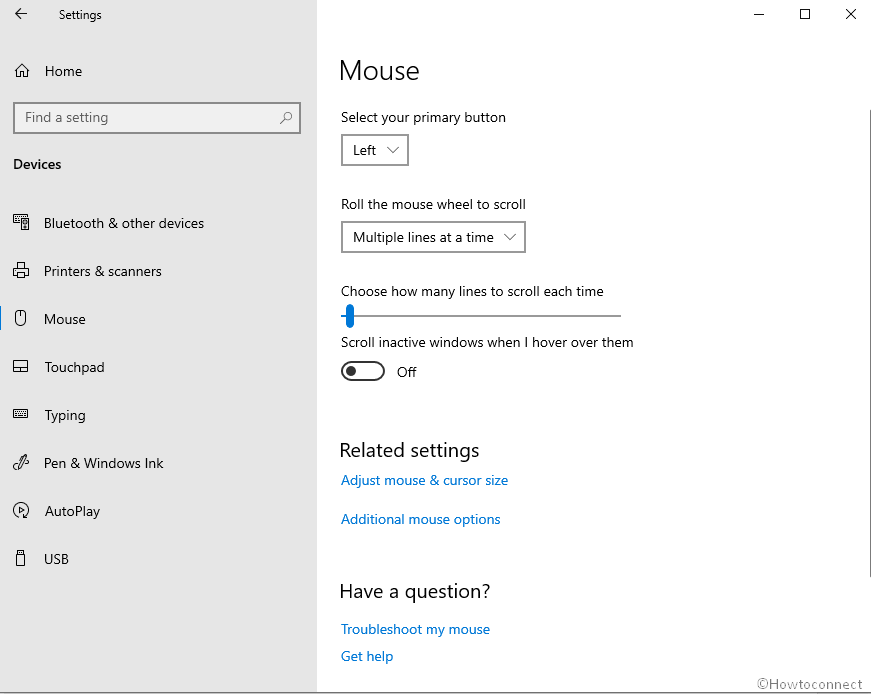
- You see here a collection of options, dropdowns, Control slider, and Toggle button in the right pane under “Mouse”.
How to Set Right or Left handed mouse and switch in Windows 10
- Click on the dropdown under Select your primary button.
- Choose Left or Right matching your preference. Obviously, Right allows using the right-handed mouse and left refers left-handed.
How to Customize Roll the mouse wheel to Scroll in Windows 10
You are able to increase or decrease the scroll speed when using your mouse wheel from the built-in Settings app. Let’s see the way –
- Click Roll the mouse wheel to scroll drop down in the right part of the appearing page.
- Select one from the 2 options – 1] One Screen at a time and 2] Multiple lines at a time.
One Screen at a time – will scroll directly next screen when you scroll up or down and thus it fastens the speed.
Multiple lines at a time – This will display only next few lines (as you will set) on scrolling up or down.

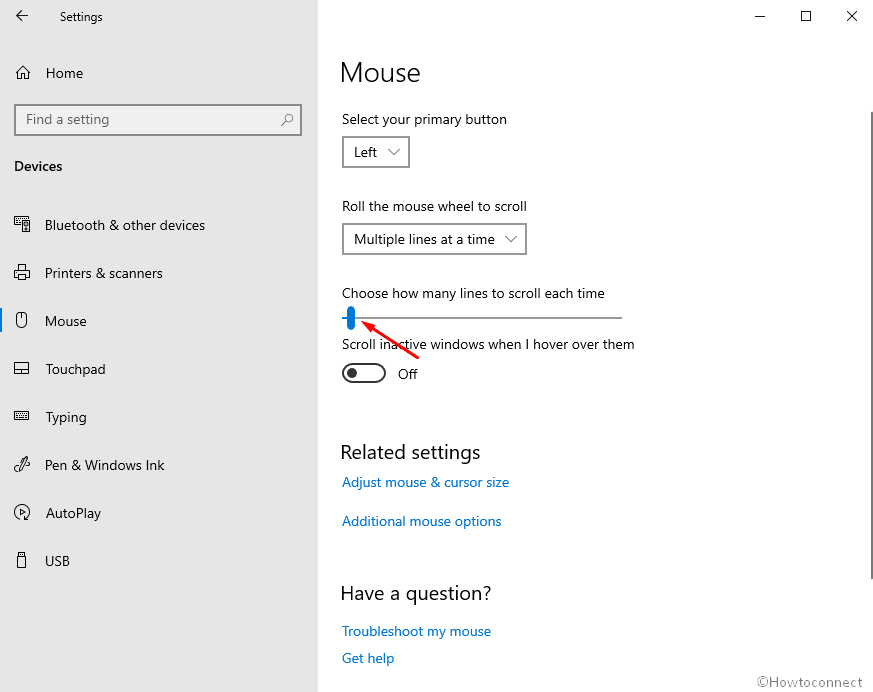
- Use the control bar slider to Choose how many lines to scroll each time.
How to customize Scroll Inactive Windows Setting in Windows 10
“Scroll inactive Windows Settings” determine the scroll of a Window when you are running multiple windows. When you disable this you will be unable to scroll over a window until you make it active means click on it with your cursor. If you want to understand in the opposite way, you can only scroll on the active windows (in focus) on which you are doing your job. Just hovering on an inactive window will not work.
- Click on the toggle switch under Scroll inactive windows when I hover over them turn on or off according to your preference.

Mouse Cursor Disappears on Windows 10 [Solved]
Last Updated: 1 year ago
Many Windows 10 users have reported that their mouse pointer or cursor has disappeared. This usually happens when they have just upgraded from previous versions of Windows or woken their computer up from sleep mode.
This is a very annoying problem – and quite scary. You’re probably thinking, “I can’t even use Windows without a mouse! How am I supposed to fix a problem like this without one?”
But don’t panic! It’s possible to fix this problem – even without your mouse. Here are a few fixes you should try:
Method 1: Re-enable your mouse
Windows may have disabled your mouse during the upgrade from a previous version or while your computer was in sleep mode. This will make your mouse unusable and your mouse cursor disappear. You should re-enable your mouse in order to restore its cursor.
There are two ways you can re-enable your mouse:
A. If you are using a laptop, you should try pressing the key combination on your laptop keyboard that can turn on/off your mouse. Usually, it is the Fn key plus F3, F5, F9 or F11 (it depends on the make of your laptop, and you may need to consult your laptop manual to find it out).
B. You can also enable your mouse in the mouse settings. To do so:
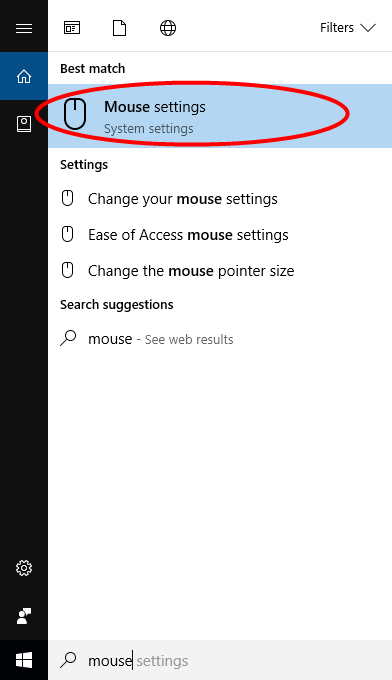
1) Press the Win key on your keyboard, then type “mouse“. When you see “Mouse settings“ appear in the menu above, press the up or down arrow on your keyboard to highlight it, then press Enter.
2) In Mouse settings, press Tab on your keyboard until Additional mouse options (under Related Settings) is highlighted. Press Enter on your keyboard to select it.

3) In the Mouse Properties window, press Tab on your keyboard until the Buttons tab in the window is highlighted (with a dotted border.)

4) Press right arrow key on your keyboard until Device Settings in the window is opened. (The name of this tab could be different, depending on the mouse you use.)

5) If your device is disabled, press Tab on your keyboard until the Enable button is high lighted, and press Enter to enable the device.

6) If this method solves the problem, you will be able to see your mouse pointer again.
Method 2: Update your mouse driver
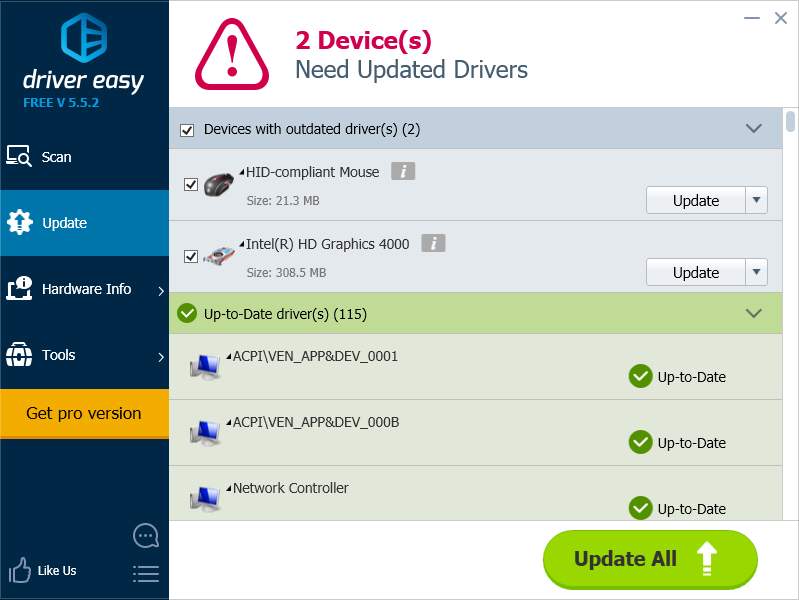
Your mouse pointer may disappear if you are using the wrong mouse driver or it’s out of date. So you should update your mouse driver to see if it fixes your problem. If you don’t have the time, patience or skills to update the driver manually, you can do it automatically with Driver Easy.
Driver Easy will automatically recognize your system and find the correct drivers for it. You don’t need to know exactly what system your computer is running, you don’t need to be troubled by the wrong driver you would be downloading, and you don’t need to worry about making a mistake when installing.
You can update your drivers automatically with either the FREE or the Pro version of Driver Easy. But with the Pro version it takes just 2 steps (and you get full support and a 30-day money back guarantee):
1) Download and install Driver Easy.
2) Run Driver Easy and click the Scan Now button. Driver Easy will then scan your computer and detect any problem drivers.

3) Click the Update button next to the mouse driver to automatically download this driver, then you can manually install it. Or click Update All to automatically download and install the correct version of all the drivers that are missing or out of date on your system (this requires the Pro version – you’ll be prompted to upgrade when you click Update All).
 You can do it for free if you like, but it’s partly manual.
Method 3: Switch to ChromeOS
Windows is a very old technology. Sure, Windows 10 is relatively new, but it’s still just the latest iteration of a decades-old operating system, designed for a bygone era (pre-internet).
Now that we have the internet, fast connection speeds, free cloud storage, and endless web apps (like Gmail, Google Docs, Slack, Facebook, Dropbox and Spotify), the entire Windows way of doing things – with locally installed programs and local file storage – is totally outdated.
Why is that a problem? Because when you’re constantly installing uncontrolled third-party programs, you’re constantly opening the door to viruses and other malware. (And Windows’ insecure permission system compounds this problem.)
Plus the way Windows manages installed software and hardware has always been a problem. If your computer shuts down unexpectedly, or a program installs, uninstalls or updates incorrectly, you can get ‘registry’ corruptions. That’s why Windows PCs always slow down and become unstable over time.
Also because everything’s installed and saved locally, it doesn’t take long before you run out of disk space, and your disk gets fragmented, which makes everything even slower and more unstable.
For most people, the simplest way to solve Windows problems is to ditch Windows altogether, and switch to a faster, more reliable, more secure, easier to use and cheaper operating system…
ChromeOS feels much like Windows, but instead of installing heaps of programs to email, chat, browse the internet, write documents, do school presentations, create spreadsheets, and whatever else you normally do on a computer, you use web apps. You don’t need to install anything at all.
That means you don’t have virus and malware problems, and your computer doesn’t slow down over time, or become unstable.


