- Ubuntu Documentation
- Step 1: Booting through Rescue CD
- Step 2: Create new partition
- Step 3: Clone Ubuntu partition to new location
- Step 4: Generate and update UUID
- Step 5: Update grub and fstab
- Step 6: Update MBR to point the new grub
- How to move Linux root partition to another drive quickly
- Just “dd” it…
- Now the tricky part
- And that’s almost it
- How To Transfer A Linux Installation To Another Hard Drive
- Requirements
- Create Live Disk
- Load Gparted Live
- Copying Partition Layouts
- Using DD
Ubuntu Documentation
The purpose of this how-to is to describe how to move your Ubuntu Linux partition to a different partition either in same hard-disk or different hard-disk.
Many other article of same subject in Internet seems to be outdated on following parts:
- Grub2 (Ubuntu 9.10 and later)
- UUID for partition identification (Ubuntu 6.10 and later)
Hence, the main purpose of this article to fill in the gap as well as one stop reference for the entire steps.
Following are outlines of steps involved:
- Create new target partition
- Clone current Linux partition to target partition
- Generate and update UUID for target partition
- Update grub and fstab
- Update MBR to point the new grub.
Few assumptions I make are:
- Your Ubuntu is 9.10 or later
- Your Ubuntu is on ext4 partition (gparted should be to copy/paste any other file-system as well, however these steps were tested on ext4)
- Your Ubuntu configuration is of standard (not too customized)
- Grub2 is your boot loader
SystemRescueCd — I prefer this rescue CD as it comes with gparted utility
If any of above assumptions do not apply to your system, then you will need to execute following steps with cautions.
Step 1: Booting through Rescue CD
A copy of SystemRescueCd can be obtain from here.
- You may need to change configuration in your bios to enable boot up from CD
Step 2: Create new partition
- Launch gparted from start menu
- Using gparted create a new partition on your target hard-disk.
Make sure the size new partition is same or bigger than your current Ubuntu partition used space.
- You may also mount current Ubuntu partition to clean up unnecessary files in the partition to reduce the size.
- And once you are done, make sure to unmount
Step 3: Clone Ubuntu partition to new location
- On gparted window, right-click on Ubuntu partition and select «Copy»
- Then right-click on the new partition you have just created and select «Paste»
- gparted will start step-by-step copy process. This may take a while.
- You may also opt to use dd for the same purpose, but I prefer gparted because
- It does calculate optimal way to copy over the data (block size)
- It able to verbose current progress status
Step 4: Generate and update UUID
- Since step 3 copy and paste produce the new partition with exact same UUID, this will conflict and grub not able to tell the partitions apart. Hence we need to update UUID information on new partition.
- Following is to check current UUID (You should notice duplicate UUID)
- And following is to generate and update UUID.
- Verify UUID (All UUIDs should be unique now)
Step 5: Update grub and fstab
- Reboot your system from Rescue system back to normal Ubuntu
Once you have booted to your original Ubuntu, mount the partition via gnome -> Places option
Note that you should edit grub.cfg from new partition and not from «/boot/grub/grub.cfg»
- Using gedit, find and replace every «(hdX,Y)» appropriately
- X and Y should be replaced based on your new partition’s /dev/sdZY or /dev/hdZY, if Z is ‘a’ then X should be ‘0’, if Z is ‘b’ then X should be ‘1’ and so on.
Using gedit, find and replace every «—fs-uuid —set » based on new generated UUID.
- Also still within the same file, find and replace every ‘menuentry ‘Ubuntu. » to «menuentry ‘UBUNTU. «. This is just to verify which grub is used for main boot menu. This will be overwritten by grub-update later.
- Edit fstab file from new partition
Note that you should edit grub.cfg from new partition and not from «/etc/fstab» Using gedit, find and replace root mount point’s (line with «/») based on new generated UUID.
Step 6: Update MBR to point the new grub
- By now, you have 2 proper bootable Ubuntu in your system, and the idea now is to make the new Ubuntu partition self bootable without any dependencies to old Ubuntu partition. And to get ride the old Ubuntu partition eventually.
- Before updating MBR, backup current MBR data
Mount the partition via gnome -> Places option (if is not mounted)
Where [instance] is the version you want to make bootable
- Update new ubuntu partition as bootable
- Find and select your old Ubuntu partition to highlight the partition
- Click the «Settings» gear button and select «Edit Mount Options»
- Uncheck «Mount at Startup» and click «OK»
- Find and select your new Ubuntu partition to highlight the partition
- Click the «Settings» gear button and select «Edit Mount Options»
- Set «Automatic Mount Options» to OFF
- Check «Mount at startup»
- «Show in user interface» and «Require additional authorization to mount» should NOT be checked
- Mount options should be «errors=remount-ro»
- Mount point should be «/»
- Click «OK»
- Reboot you machine again
- On booting, make sure new partition’s grub menu is displayed as.
- Finally, once rebooted successfully on new Ubuntu partition.
- Refresh the GRUB 2 menu
- Make sure Ubuntu from new partition is perfectly fine before deleting the old Ubuntu partition.
- In case to revert back to old Ubuntu partition, all you need to do is restore the backed-up MBR image.
Источник
How to move Linux root partition to another drive quickly
Jun 21, 2019 · 4 min read
There’s a bunch of information over internet on how to clone the Linux drives or partitions between other drives and partitions using solution like partclone , clonezilla , partimage , dd or similar, and while most of them are working just fine, they’re not always the fastest possible way to achieve the result.
Today I want to show you another approach that combines most of them, and I am finding it the easiest and fastest of all.
- You are using GRUB 2 as a boot loader
- You have two disks/partitions where a destination one is at least the same size or larger than the original one.
Let’s dive in into action.
Just “dd” it…
First thing that we h ave to do, is to create a direct copy of our current root partition from our source disk into our target one.
Before you start, you have to know what are the device names of your drives, to check on that type in:
You should see the list of all the disks and partitions inside your system, along with the corresponding device names, most probably something like /dev/sdx where the x will be replaced with proper device letter, in addition to that you’ll see all of the partitions for that device prefixed with partition number, so something like /dev/sdx1
Based on the partition size, device identifier and the file-system, you can say what partitions you’ll switch your installation from and which one will be the target one.
I am assuming here, that you already have the proper destination partition created, but if you do not, you can utilize one of the tools like GParted or similar to create it.
Once you’ll have those identifiers, let’s use dd to create a clone, with command similar to.
Where /dev/sdx1 is your source partition, and /dev/sdy1 is your destination one.
It’s really important to provide the proper devices into if and of arguments, cause otherwise you can overwrite your source disk instead!
The above process will take a while and once it’s finished you should already be able to mount your new partition into the system by using two commands:
There’s also a chance that your device will be mounted automatically but that varies on a Linux distro of choice.
Once you execute it, if everything went smoothly you should be able to run
And as the outcome you should see all the files from the core partition, being stored in the new location.
It finishes the first and most important part of the operation.
Now the tricky part
We do have our new partition moved into shiny new drive, but the problem that we have, is the fact that since they’re the direct clones both of the devices will have the same UUIDs and if we want to load your installation from the new device properly, we’ll have to adjust that as well.
First, execute following command to see the current disk uuid’s
You’ll see all of the partitions with the corresponding UUID.
Now, if we want to change it we have to first generate a new one using:
which will generate a brand new UUID for us, then let’s copy it result and execute command similar to:
where in place of /dev/sdy1 you should provide your target partition device identifier, and in place of -U flag value, you should paste the value generated from uuidgen command.
Now the last thing to do, is to update our fstab file on new partition so that it’ll contain the proper UUID, to do this, let’s edit it with.
you’ll see something similar to the code below inside:
The bold part is important for us, so what we want to do, is to paste our new UUID replacing the current one specified for the / path.
And that’s almost it
The last part you have to do is to simply update the grub.
There are a number of options here, for the brave ones you can edit the /boot/grub/grub.cfg
Another option is to simply reinstall grub into our new drive with command:
And if you do not want to bother with editing or reinstalling grub manually, you can simply use the tool called grub-customizer to have a simple and easy GUI for all of those operations.
Источник
How To Transfer A Linux Installation To Another Hard Drive
Apr 2, 2018
Comment
On Linux and need to move lots of data from one hard drive to another? If so, consider using the Gparted partition editing tool for Linux. Aside from editing hard drive layouts, it can quickly clone any partition onto multiple hard drives (or even duplicate partitions on the same hard drive) making it a great tool to transfer a Linux installation to a different hard drive.
Copying partitions with Gparted is very easy, but it doesn’t work with mounted partitions. You’ll need to make sure that the hard drive you’re working with isn’t in use with the primary system. It is possible just to install the tool to your Linux distribution, and use it from there, but it’s best to work with a live system. Having a live system ensures that no partitions are currently in use.
Requirements
To get started with the live disk, download the latest version of the Gparted ISO image. Also, get out a USB flash stick of at least 1GB in size, and download the freshest version of the Etcher USB tool.
Create Live Disk
Plug in the USB stick and open up Etcher to start the live disk creation process. Inside Etcher, select the ISO file and click the “flash” button to create the disk. Etcher will take a bit of time, but when it’s complete, reboot your PC and load up the BIOS. Using the BIOS on your PC, change the bootloader, so it loads the Gparted live disk first.
Load Gparted Live
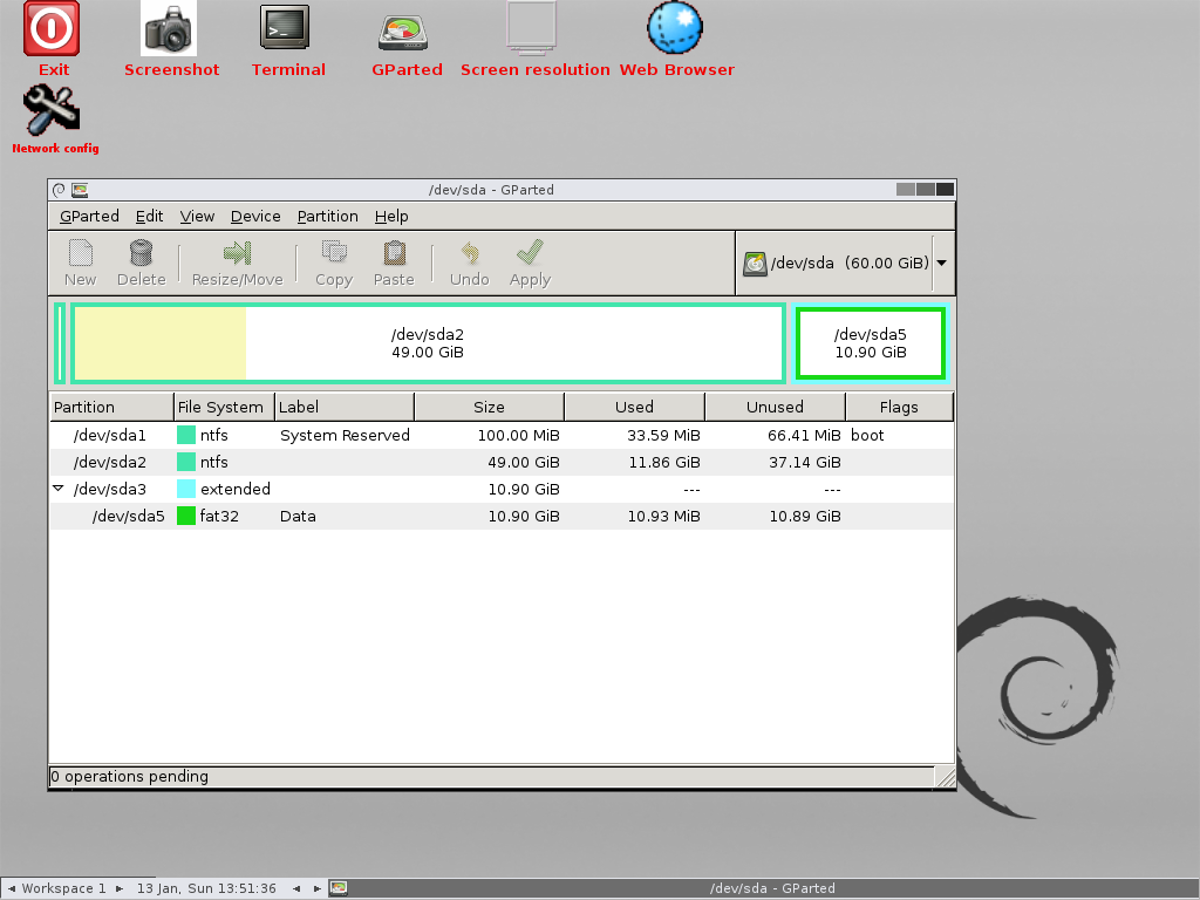
Even though this live disk is a graphical tool, it doesn’t start out that way. Go through the instructions on the screen to select your language and keyboard layout. Then, enter “startx” into the prompt, and it’ll load up the live desktop environment. From here, find “Gparted” and double-click on it to open the partitioning tool.
When it opens, the tool scans every hard drive that is connected to your system and readable. Using the drop-down menu on the right, select the drive you’d like to copy data from. In this article, the drive we’ll be copying data from is /dev/sda, and the drive that will be receiving the reproduced data is /dev/sdb.
Copying Partition Layouts
A straightforward way to transfer a Linux installation from one hard drive to another is by using the “copy partition” function in the Gparted partition tool. Keep in mind that the drive you’re copying a partition from must be blank. To blank it, open up a terminal window and follow our guide on how to securely erase a hard drive. When the process is complete, go back to Gparted and select the drive (in our example, this hard drive is /dev/sdb).
Click “Device,” then “create partition table.” Keep in mind that this hard drive MUST have the same scheme as the one giving the data. If /dev/sda is a GPT partition with EFI, /dev/sdb must also be, and vice versa.
Instead of creating a fresh partition with the dialog on /dev/sdb, go to the hard-drive selection menu and select /dev/sda. Look for the partition that holds your data. In this example, we’ll be copying our /home folder, and its label is/dev/sda2.
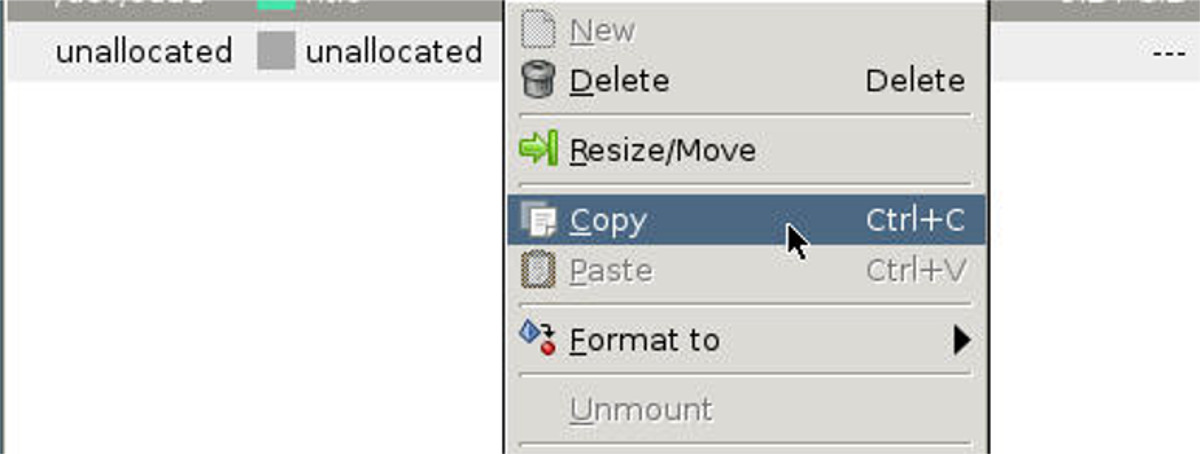
Right-click on the partition and click “copy” (or Ctrl + C), then, once again, go back to the hard drive selection menu and move back to /dev/sdb. Right-click on the white-space, and select “Paste” (or Ctrl + V). Selecting the paste option will start a partition copying sequence, which will take a long time (depending on how large the partition is). Let Gparted do its thing, and eventually, your data will be moved to the new drive!
Using these instructions, feel free to do it as many times as you like, to copy multiple partitions over from one hard drive to another.
When Gparted finishes copying the data, feel free to close it. Then, reboot your PC. All of your data should be moved over.
Using DD
Aside from using Gparted, there are other ways to transfer a Linux installation from one hard drive to another. The best and fastest way to directly clone a partition is with DD. To do this, open up a terminal and use the lsblk command to reveal hard drives on the system. Like in the Gparted method, the source hard drive is /dev/sda, and the destination hard drive is /dev/sdb. To clone the home partition from the source drive, you’ll need to blank the disk.
Once /dev/sdb is clear, use the parted command to create a new partition table.
Create a new partition table and make sure that it’s the same as the source (if the source is EFI, use GPT. If it is MBR, use MS-DOS).
For EFI/GPT
For BIOS/MBR
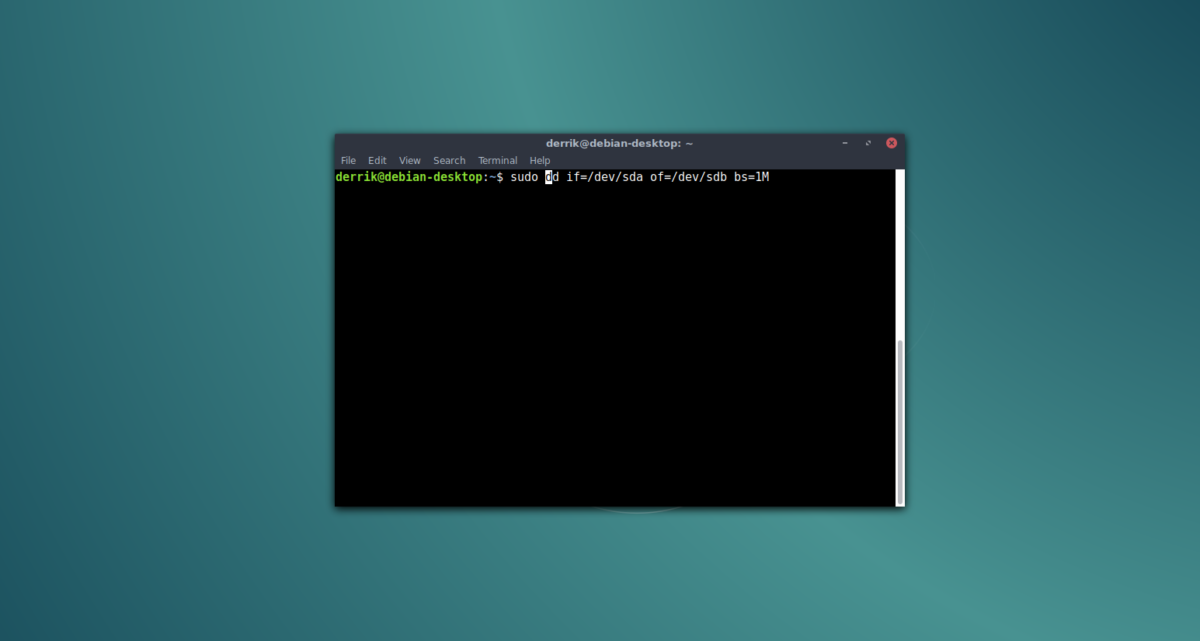
Next, use the DD command to start a copy of /dev/sda to /dev/sdb.
When the terminal is usable again, DD is finished.
Источник


