- Moving Through a Window
- Find Command
- Go to Address Command
- Moving to a Specific Line
- Move a Window with the Keyboard in Windows 7/8/10
- Method 1 – Incremental Move
- Method 2 – Windows Snap
- Method 3 – Multi-Monitor Setups
- Please log in or register
- Look through the windows while in playerhouse — EN
- File information
- Last updated
- Original upload
- Created by
- Uploaded by
- Virus scan
- Tags for this mod
- About this mod
- Off-site requirements
- Mods requiring this file
- Credits and distribution permission
- Author notes
- File credits
- Donation Points system
- Version 1.0.9
- Version 1.0.8
- Version 1.0.7
- Version 1.0.6
- Version 1.0.5 beta
- Version 1.0.4
- Version 1.0.3
- Version 1.0.2
- Version 1.0.1
- Version 1.0.0
Moving Through a Window
There are several ways of moving through a debugging information window.
If a scrollbar appears in the window, you can use it to display more of the window.
In addition, some windows support the Find, Go to Address, or Go to Line commands. These commands only change the WinDbg display. They do not affect the execution of the target or any other debugger operations.
Find Command
You can use the Find command in the Debugger Command window or in a Source window.
When one of these windows is active, click Find on the Edit menu or press CTRL+F. The Find dialog box opens.
Enter the text that you want to find in the dialog box, and select Up or Down to determine the direction of your search. The search begins wherever the cursor is in the window. You can put the cursor at any point by using the mouse.
Select the Match whole word only check box if you want to search for a single whole word. (If you select this check box and you enter multiple words, this check box is ignored.) Select the Match case check box to perform a case-sensitive search.
If you close the Find dialog box, you can repeat the previous search in a forward direction by clicking Find Next on the Edit menu or pressing F3. You can repeat the search in a backward direction by pressing SHIFT+F3.
Go to Address Command
The Go to Address command searches for an address in the application that you are debugging. To use this option, click Go to Address on the Edit menu or press CTRL+G.
When the View Code Offset dialog box appears, enter the address that you want to search for. You can enter this address as an expression, such as a function, symbol, or integer memory address. If the address is ambiguous, a list appears with all of the ambiguous items.
After you click OK, the debugger moves the cursor to the beginning of the function or address in the Disassembly window or a Source window.
You can use the Go to Address command regardless of which debugging information window is open. If the debugger is in disassembly mode, the debugger finds the address that you are searching for in the Disassembly window. If the debugger is in source mode, the debugger tries to find the address in a Source window. If the debugger cannot find the address in a Source window, the debugger finds the address in the Disassembly window. If the needed window is not open, the debugger opens it.
Moving to a Specific Line
The Go to Line command searches for a line number in the active Source window. If the active window is not a Source window, you cannot use the Go to Line command.
To activate this option, click Go to Line on the Edit menu or press CTRL+L.
When the Go to Line dialog box appears, enter the line number that you want to find and then click OK. The debugger moves the cursor to that line. If the line number is larger than the last line in the file, the cursor moves to the end of the file.
Move a Window with the Keyboard in Windows 7/8/10
Comes in handy once in a blue moon
So for those of you who do not like to use a mouse, it would be pretty cool if you could move a window using just the keyboard in Windows 7 right? Well, there are a couple of ways to do this and even though you may not need to do it very often, it does come in handy on the rare occasion!
In this article, I’ll tell you how to move a window in small increments to the exact position you want, how to snap a window to the left or right and how to move a window between monitors on a multi-monitor setup, all by just using the keyboard!
Method 1 – Incremental Move
For exact positioning, you first need to click on the window. Now this is obviously going to only work for windows that are not fully maximized. If it’s fully maximized, there is really nowhere to move the window.
Step 1: Either click on the window or if you want to use the keyboard, press ALT+TAB and make the window you want to move active.
Step 2: Now go ahead and press ALT+SPACEBAR and you’ll see a small menu appear in the window.
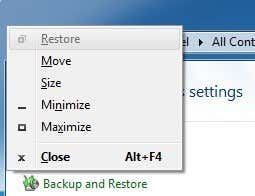
Step 3: Now press M, which will basically choose the Move option in the menu.
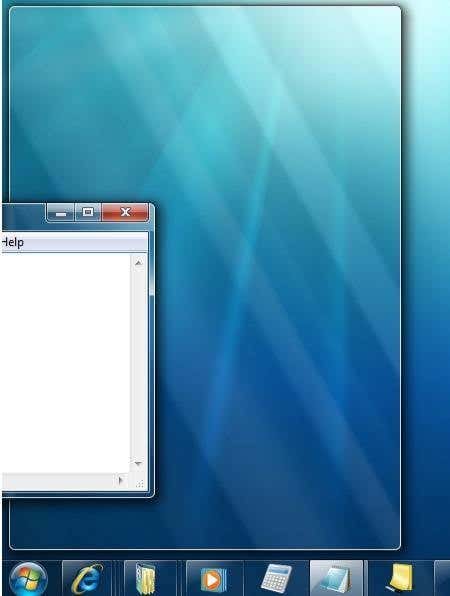
Step 4: Now use the arrow keys on your keyboard to move the window to the new position that you desire.
Step 5: Press the Enter key to get out of the move mode. Also, if you want to have the window go back to the original position before you started the move, press the Esc key instead.
Method 2 – Windows Snap
Windows has a nifty feature that lets you snap windows to the left-hand or right-hand side of the screen. If you drag a window to the right or left, it will automatically resize and snap to the side.
To do this using the keyboard, press the Windows Key + the right or left arrow. Make sure to hold down the Windows key while pressing the left and right arrow keys. It’s actually pretty neat and much faster than dragging the window around the screen.
Method 3 – Multi-Monitor Setups
Lastly, for moving between multiple monitors, all you have to do is add SHIFT to the above key combo, so it would simply be Windows Key + Shift + right or left arrow.
For the power users who really want to control their windows, moving may not be enough. So here’s a few other shortcuts that could come in handy if you are left with nothing but a keyboard and Windows:
End – Will display the bottom of the active window (in case you need to scroll using the keyboard)
Home – Will display the top of the active window
F11 – Will either maximize or minimize the active window
Ctrl + Tab – If you have a window with tabs, then this will move you forward through the tabs
Ctrl + Shift + Tab – Will move you back through the tabs
Windows Key + Shift + Up Arrow – This will stretch a window to the top and bottom of the screen.
Founder of Help Desk Geek and managing editor. He began blogging in 2007 and quit his job in 2010 to blog full-time. He has over 15 years of industry experience in IT and holds several technical certifications. Read Aseem’s Full Bio
Please log in or register
To enjoy the benefits of Nexus Mods, please log in or register a new account
- All games
- Enderal
- Mods
- Locations — Homes
- Look through the windows while in playerhouse — EN
Look through the windows while in playerhouse — EN


File information
Last updated
Original upload
Created by
Uploaded by
Virus scan
Tags for this mod
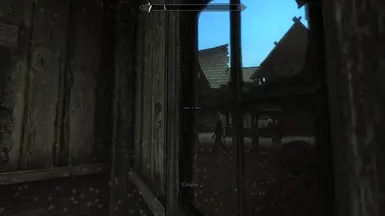
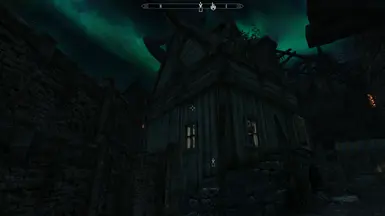
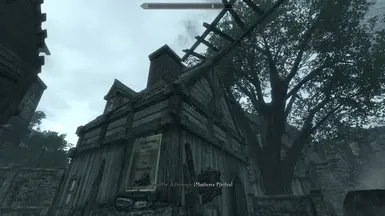
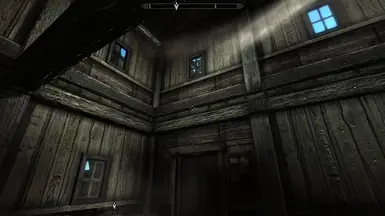
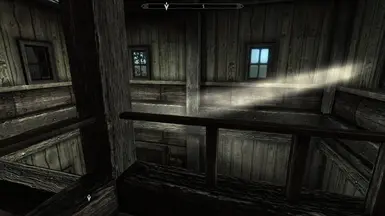
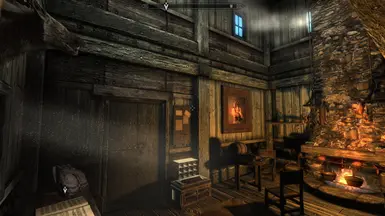
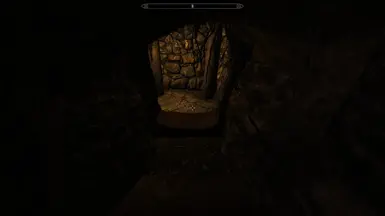
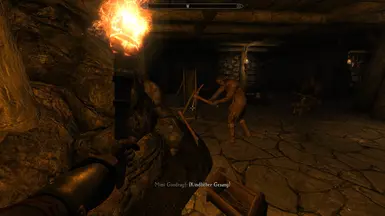
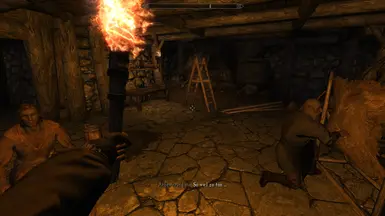
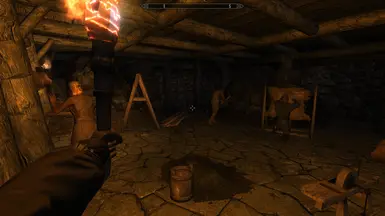
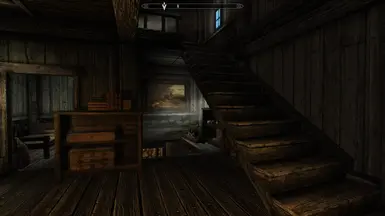
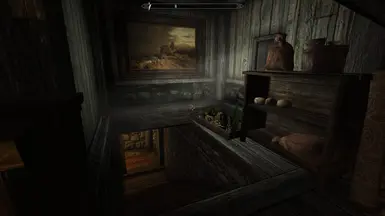
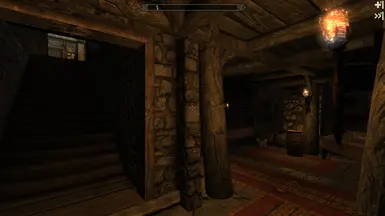
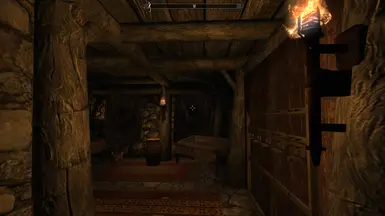
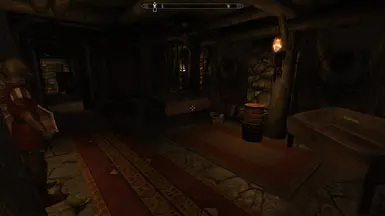
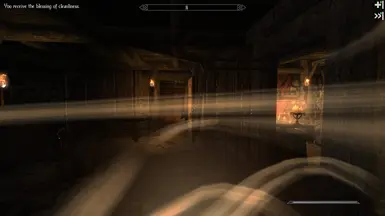
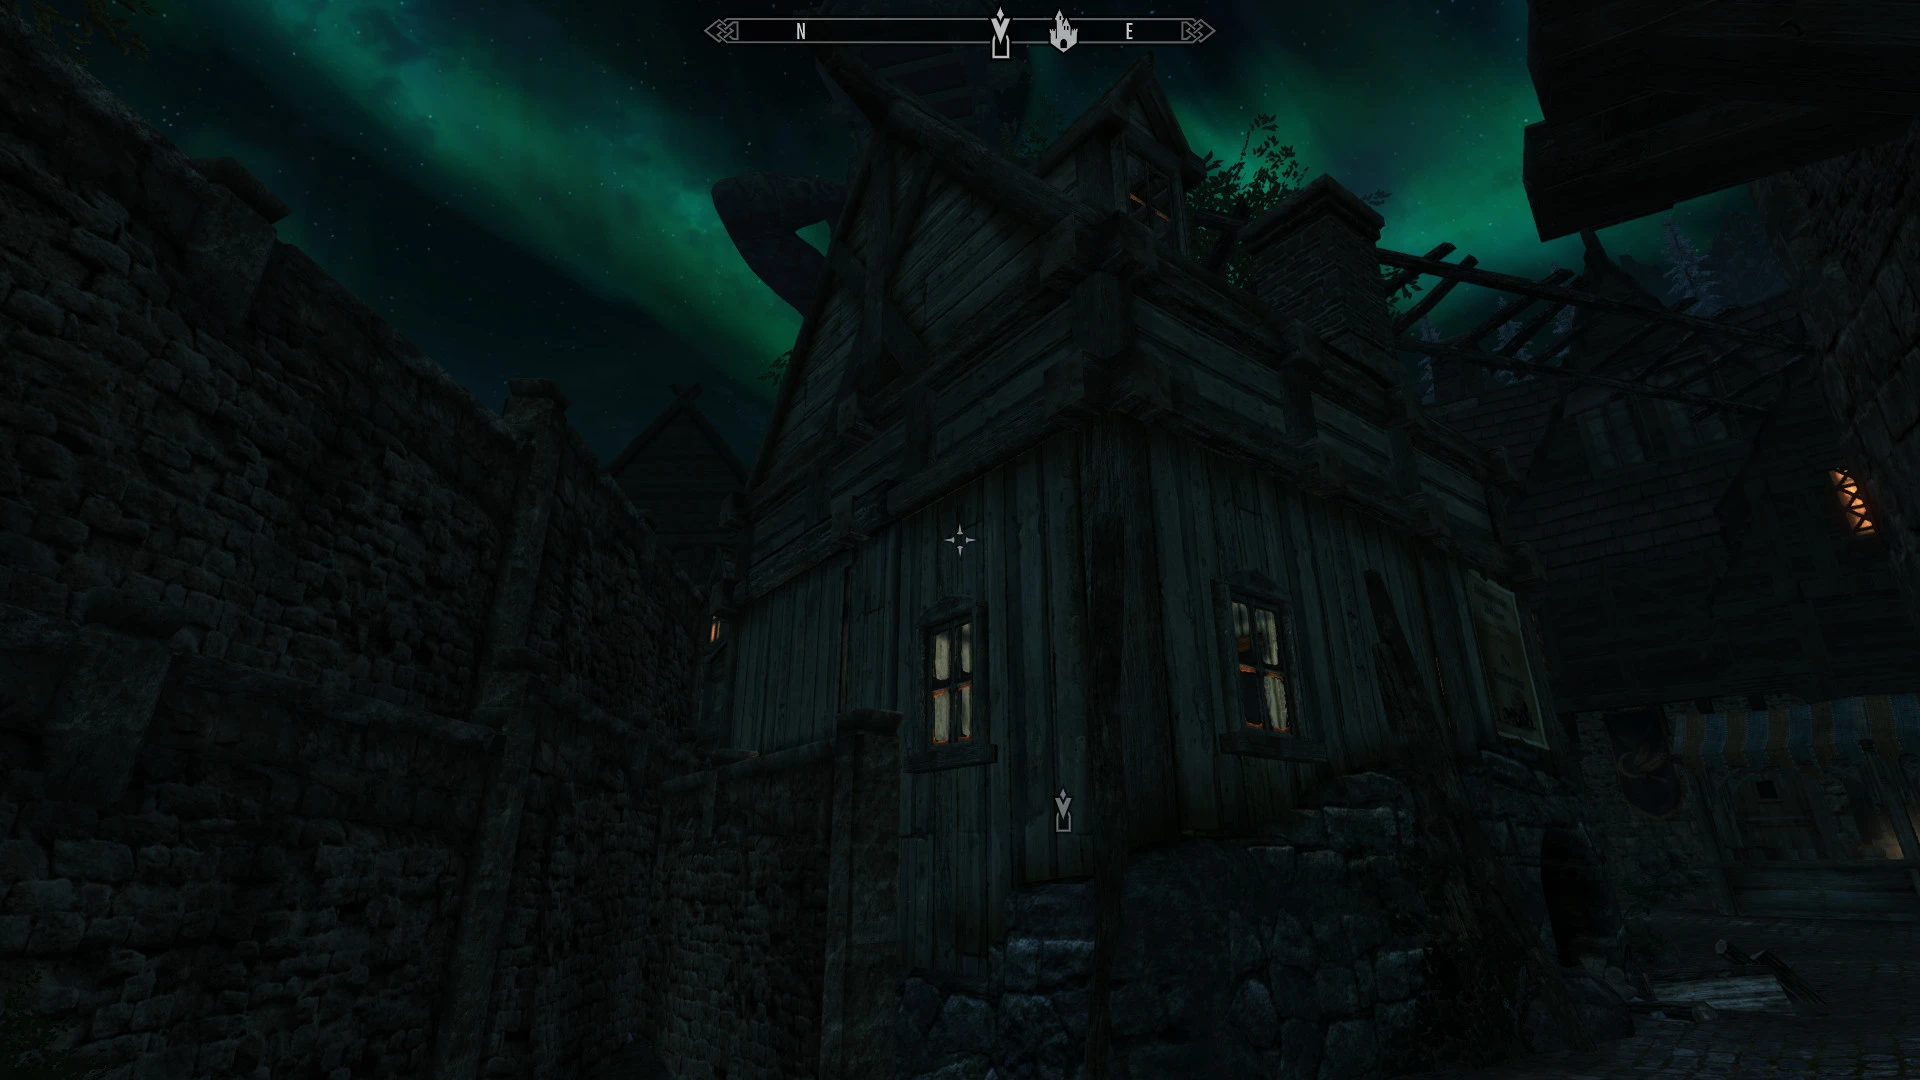
About this mod
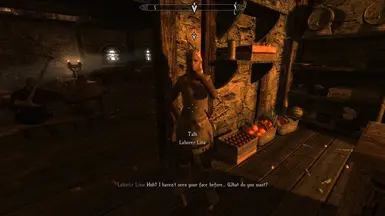
(Workers Apartment on Market Square in Ark)
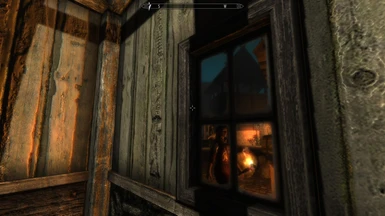
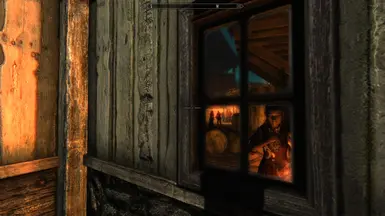
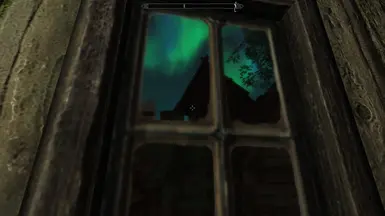
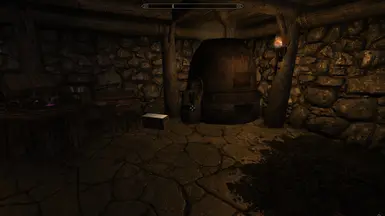
Player house with transparent windows, through these you can
watching the hustle and bustle in the market square in Ark.
Through a mini quest, the house can be extended in 3 stages (Last level: cellar).
Off-site requirements
Mods requiring this file
Credits and distribution permission
- Other user’s assets Some assets in this file belong to other authors. You will need to seek permission from these authors before you can use their assets
- Upload permission You are not allowed to upload this file to other sites under any circumstances
- Modification permission You must get permission from me before you are allowed to modify my files to improve it
- Conversion permission You are not allowed to convert this file to work on other games under any circumstances
- Asset use permission You must get permission from me before you are allowed to use any of the assets in this file
- Asset use permission in mods/files that are being sold You are not allowed to use assets from this file in any mods/files that are being sold, for money, on Steam Workshop or other platforms
- Asset use permission in mods/files that earn donation points You are not allowed to earn Donation Points for your mods if they use my assets
Author notes
This mod is released under the Creative Commons License — CC BY-NC-SA
http://creativecommons.org/licenses/by-nc-sa/3.0/
File credits
Bethesda :
Thanks for the Skyrim Creation Kit.
daJbot Pyros Software :
Thanks for Guidelines ReadMe and Description Page generator.
InsanitySorrow :
Used Towelrack from Insanity’s Bath Towels 1.0
plymster :
Used Meshes and scripts (adapted by me) from Single Object Bookshelves
The SKSE team :
Thanks for tireless work.
The SkyUI team :
Thanks for awesome improvements.
The Skyrim Nexus :
Thanks for hosting.
The SureAI Team :
Thanks for your awesome TC-Mod.
The Tes5Edit team :
Thanks for their tools.
Donation Points system
This mod is not opted-in to receive Donation Points
Version 1.0.9
- (-) Bugfix : The daylight control on the windows did not work properly.
- (-) Bugfix : The torch behavior (put away torch / light) of the NPCs was incorrect.
- (
) Changed: Light sources in the outside area of the player house slightly improved.
Version 1.0.8
- (beta on Steam-Workshop): (+) Added : In bad weather you can now see the rain through the windows.
- (beta on Steam-Workshop): (
) Changed: Daylight on the windows is dimmed in bad weather.
Version 1.0.7
- (+) Added : Made compatible with the mod «EnableWaitNoHeal».
Version 1.0.6
- (-) Bugfix : After uninstalling the mod, all safe chests were no longer there.
- (-) Bugfix : Sugar mint had no model in the inventory.
- (-) Bugfix : Player can sometimes be very difficult to get out of the bath tub. Collision marker installed.
- (-) Bugfix : Sometimes the workers would lie down in the players bed in the evening.
- (
) Changed: Install / uninstall routine has been improved.
Version 1.0.5 beta
- (-) Bugfix : After enderal patch to 1.0.5.8, the game crashed upon completion of level 3 (build basement).
- (-) Bugfix : Failsafe for female game characters: Despite fix (v1.0.4) some could not start the quest level 3 (build basement).
- (-) Bugfix : Fixed several dirty edits. Uninstall routine revised.
- (
) Changed: The armor dolls no longer move to the basement.Instead, 2 new armor dolls are installed in the basement.
(
) Changed: The door to the Phasmalisttable in basement room now opens in a different direction.
Version 1.0.4
- (-) Bugfix : Female characters can now start the quest Level 3 (Build basement). Male players do not need this hotfix.
- Male characters do not need this hotfix.
Version 1.0.3
- (-) Bugfix: Missed files in .bsa archive.
Version 1.0.2
- (-) Bugfix : Fixed bug in the female mannequin’s mesh.
- (+) Added : Added secure and linked «blueprints stack».
Version 1.0.1
- (-) Bugfix : Location Xmarker: The current position of the player in the player house is now displayed correctly on the paper map.
- (-) Bugfix : Random Conversion NobleWomens: Empty script property filled.
- (-) Bugfix : In the magic menu the effect «Blessings of cleanliness» is now displayed correctly.
Version 1.0.0
- 2019/01/07 — Initial Release EN Version
Für die deutsche Version klicke bitte hier
For people who play Enderal FS in another language
For the Spanish / Italian / French / Russian version
please download the corresponding INI file here under Files -> Optional files :
Download this zip in addition to the main file, unzip it into the DATA directory and
overwrite the INI file (JCDEnderalWorkersApartment.ini).
The texts, dialogues and voice lines are still in English.
Description
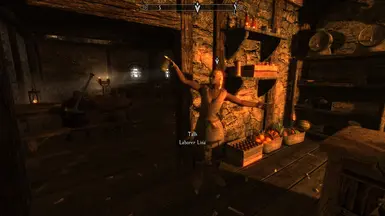
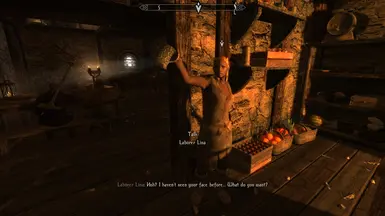
Player house with transparent windows, through these you can
watching the hustle and bustle in the market square in Ark.
Through a mini quest, the house can be extended in 3 stages (Last level: cellar).
However, this will cost you 5530 pennies without rhetoric (at 100% Rhetork maximum half)
ATTENTION!
This mod is only executable under «Enderal: Forgotten story»!
Version : 1.0.9
Date : 2020/04/04
Category : Player Homes
Forumpage : https://forum.sureai.net/viewforum.php?f=110
Features
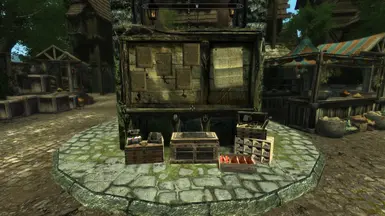
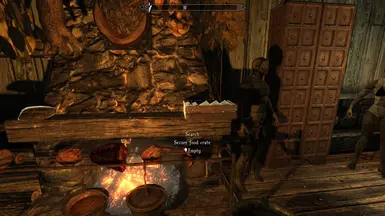
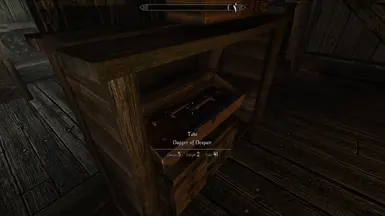
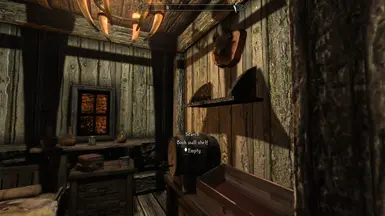
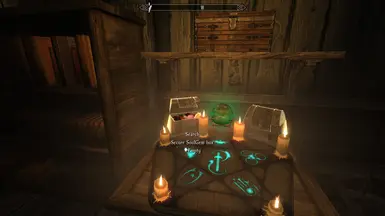
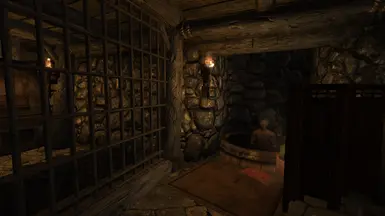
- New linked secure chests/containers (including ingredients bag /food crate / SoulGem Box) in the house and in the outside world on all secure chests (They also have the loot info «Empty»)..
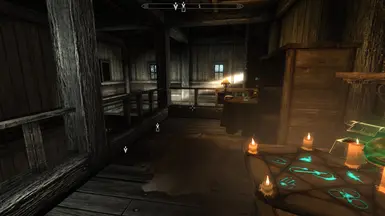
- There are two new windows in the bedroom.
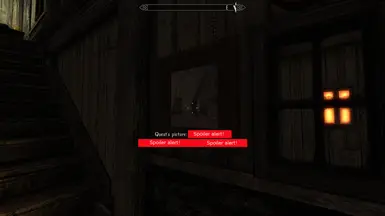
- Depending on the quest decisions, appropriate paintings hang on the walls.
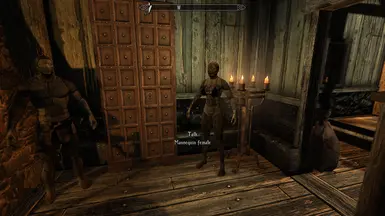
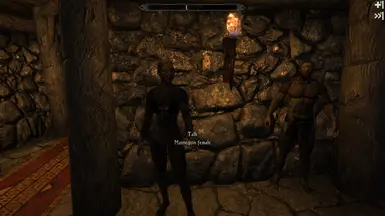
- 4 armor dolls, including two female.
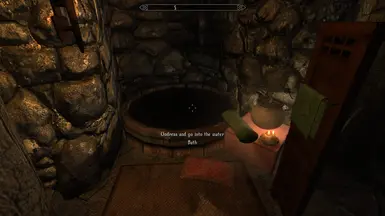
- The bath in the basement gives you a buff once a day. (8 ingame hours increase in health + stamina by 10 points)
- The outside weather (incl. rain) is displayed in the cell and its sound can be heard.
- Day/Night control of the lights and exterior sound of the marketplace.
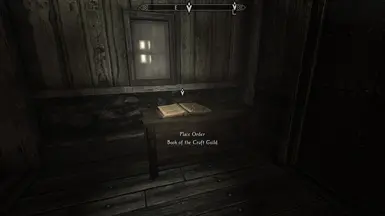
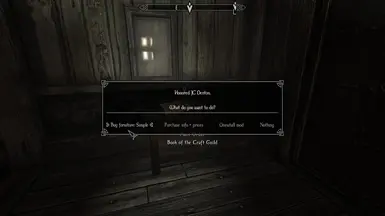
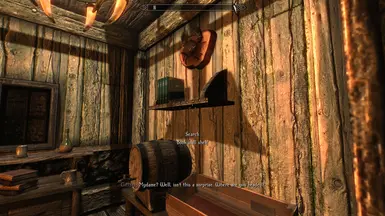
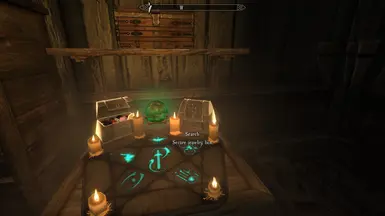
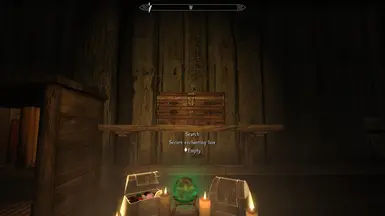
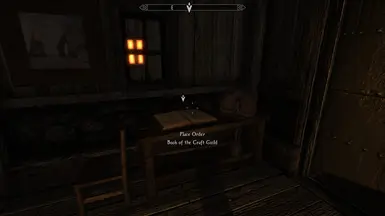
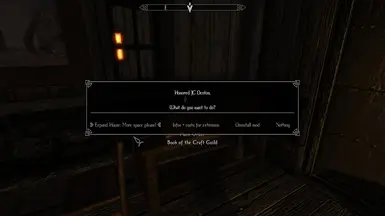
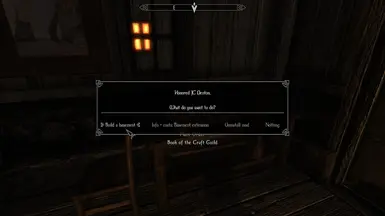
In the book menu on the table next to the front door you can control the upgrade of the home furnishings of your house.
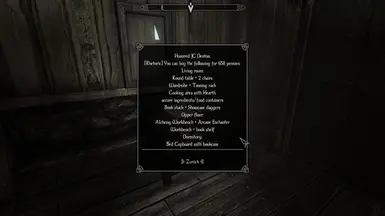
1st stage: Simple
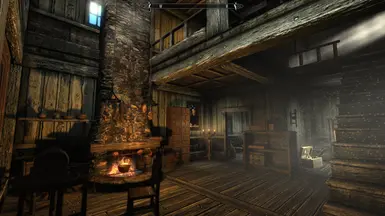
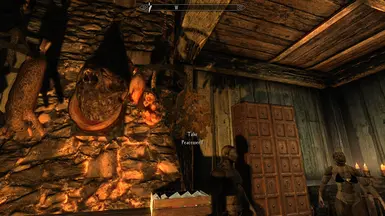
- Living room: Round table with 2 chairs, wardrobe, Cooking area with Hearth and secure ingredients/food containers, shelf with display case for daggers, Tanning rack.
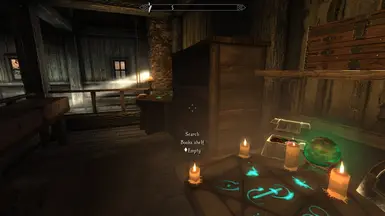
- Dormitory: Bed Cupboard with bookcase.
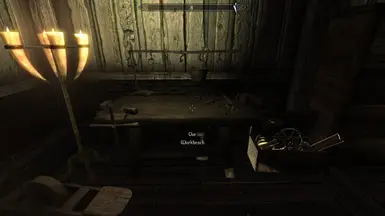
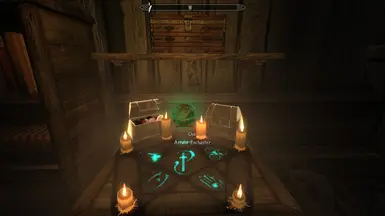
- Upper floor: Alchemy Workbench + Arcane Enchanter, Workbench + book shelf.
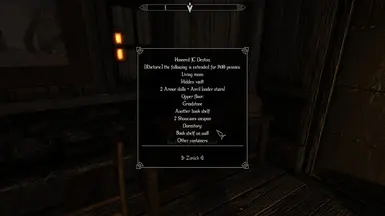
2nd stage: Expand
- Living room: Hidden vault, 2 armor dolls and Anvil (under stairs).
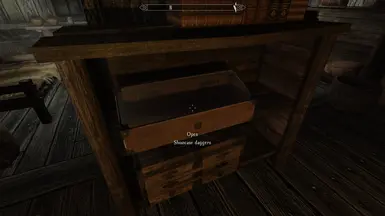
- Dormitory: Book shelf on wall, other containers and Showcase daggers.
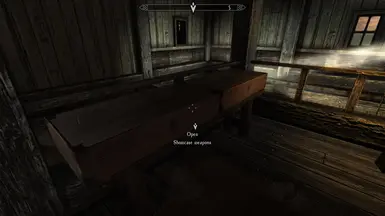
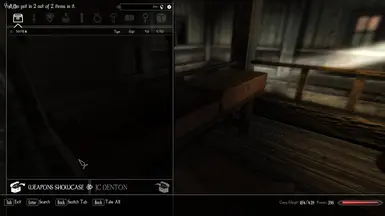
- Upper floor: Grindstone, another book shelf and 2 Showcases weapons.
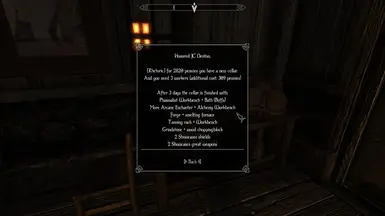
3rd stage: After 3 days the cellar is finished with
- Phasmalist Workbench.
- More Arcane Enchanter + Alchemy Workbench.
- Bathing Area (You get a buff).
- Forge (replacement for anvil in the living area) and smelting furnace.
- Tanning rack (moved from living room) , Workbench and Grindstone (moved from the upper floor).
- 2 more armor dolls
- Wood choppingblock.
- 2 Showcases great weapons, 2 Showcases shields, Weapon rack and Container for magic wands.
Important NOTE!:
Before you activate this mod, you should definitely create a MANUAL gamesave!
If you have already set up the house (mid-game), then the following steps are necessary:
- Take all items from the chests/containers and put them in the secure chest (at the entrance).
- Remove all placeable items and put them in your inventory.
- In the vanilla expansion board, dissolve the apartment furnishings, go out of the house, create a new gamesave and exit the game.
Then install:
Installing Nexus version:
Extract the files to a temporary location and
place the following files in the DATA folder:
The folder and its contents » seq «
and
JCDEnderalWorkersApartment.esp
JCDEnderalWorkersApartment.bsa
JCDEnderalWorkersApartment.ini
Installing Workshop version:
In your Enderal Launcher, select the Steam Workshop and click on the link to search for new mods.
Select «Look through the windows while in playerhouse — EN» and subscribe.
Back to enderal steam workshop tool and install.
Activate in the Launcher (Nexus / Workshop version):
Start the Enderal launcher, choose «Games Files» and set the checkmark on JCDEnderalWorkersApartment.esp .
Possibly note loading order (see below), then save all changes and have fun!
An installscript of the mod does everything else,
among other things, a new gamesave is created before and after the installation:
«JCDWAbeforeInstall«
«JCDWAAfterInstall«
If you use my mod ‘Enable Wait No Heal’, then
this mod must be behind or below.
So:
.
JCDEnderalEnableWaitNoHeal.esp
JCDEnderalWorkersApartment.esp
.
Just overwrite everything.
An update script of the mod does everything else,
among other things, a new gamesave is created before and after the installation:
«JCDWAbeforeUpdate«
«JCDWAAfterUpdate«
Please select the book-menu «Uninstall mod«.
You will be guided through the necessary steps,
among other things, a new gamesave is created before and after the installation:
«JCDWAuninstallSave01«
«JCDWAuninstallSave02«
Nexus-Version:
Then Remove the following files in the DATA folder:
JCDEnderalWorkersApartment.esp
JCDEnderalWorkersApartment.bsa
JCDEnderalWorkersApartment.ini
And in the folder «seq» remove the file JCDEnderalWorkersApartment.seq .
Workshop-Version:
De-Subscribe this mod in the workshop.
The following files in the DATA folder SHOULD BE NO LONGER:
JCDEnderalWorkersApartment.esp
JCDEnderalWorkersApartment.bsa
JCDEnderalWorkersApartment.ini
And in the folder «seq» the file JCDEnderalWorkersApartment.seq .
(Maybe the seq folder is not there after the uninstall, that’s okay.)
Then you load the game save «JCDWAuninstallSave02«
(There comes a warning message that you can ignore) and
make directly a save («Clean Save»).
) Changed: Light sources in the outside area of the player house slightly improved.
[ 1.0.8 ] 2020/04/01 — beta version on steam-workshop
(+) Added : In bad weather you can now see the rain through the windows.
(
) Changed: Daylight on the windows is dimmed in bad weather.
(-) Bugfix : Armor dolls lost their content after 7-10 days.
[ v1.0.7 ] 2020/02/20
(+) Added : Made compatible with the mod «EnableWaitNoHeal».
[ v1.0.6 ] 2020/02/20
(-) Bugfix : After uninstalling the mod, all safe chests were no longer there.
(-) Bugfix : Sugar mint had no model in the inventory.
(-) Bugfix : Player can sometimes be very difficult to get out of the bath tub. Collision marker installed.
(-) Bugfix : Sometimes the workers would lie down in the players bed in the evening.
(
) Changed: Install / uninstall routine has been improved.
[ v1.0.5 beta] 2020/02/18
(-) Bugfix : After enderal patch to 1.0.5.8, the game crashed upon completion of level 3 (build basement).
(-) Bugfix : Failsafe for female game characters: Despite fix (v1.0.4) some could not start the quest level 3 (build basement).
(-) Bugfix : Fixed several dirty edits. Uninstall routine revised.
(
) Changed: The armor dolls no longer move to the basement.
Instead, 2 new armor dolls are installed in the basement.
(
) Changed: The basement door to the Phasmalisttable in basement room now opens in a different direction.
[ v1.0.4 ] 2019/08/22
(-) Bugfix : Female characters can now start the quest Level 3 (Build basement).
Male characters do not need this hotfix.
[ v1.0.3 ] 2019/07/21
(-) Bugfix : Missed files in .bsa archive.
[ v1.0.2 ] 2019/07/19
(-) Bugfix : Fixed bug in the female mannequin’s mesh.
(+) Added : Added secure and linked «blueprints stack».
[ v1.0.1 ] 2019/07/04
(-) Bugfix : Location Xmarker: The current position of the player in the player house
is now displayed correctly on the paper map.
(-) Bugfix : Random Conversion NobleWomens: Empty script property filled.
(-) Bugfix : In the magic menu the effect «Blessings of cleanliness» is now displayed correctly.
[ v1.0.0 ] 2019/07/01
— Initial Release EN version
Bethesda :
Thanks for the Skyrim Creation Kit.
daJbot Pyros Software :
Thanks for Guidelines ReadMe and Description Page generator.
InsanitySorrow :
Used Towelrack from Insanity’s Bath Towels 1.0
plymster :
Used Meshes and scripts (adapted by me) from Single Object Bookshelves
The SKSE team :
Thanks for tireless work.
The SkyUI team :
Thanks for awesome improvements.
The Skyrim Nexus :
Thanks for hosting.
The SureAI Team :
Thanks for your awesome TC-Mod.
The Tes5Edit team :
Thanks for their tools.


