- Fix: Printer Driver is Unavailable
- Solution 1: Uninstalling the Printer
- Solution 2: Reinstalling Latest drivers manually
- Solution 3: Installing Generic Printer driver
- Printer driver is unavailable on Windows 10
- What can I do if the printer driver is unavailable?
- 1. Install drivers automatically
- DriverFix
- 2. Reinstall the driver
- 3. Install drivers manually
- Fix printer problems in Windows 7 and Windows 8.1
- Connecting your printer
- To install a printer
- To install (add) a local printer
- To install a network, wireless, or Bluetooth printer
- Troubleshoot printer problems
- Start by checking your hardware
- Use a troubleshooter
- Update drivers
- For Windows 8.1
- For Windows 7
Fix: Printer Driver is Unavailable
The error “Printer driver is unavailable” means that the driver installed against your printer is either not compatible or is outdated. It may also mean that the driver is corrupt and the computer fails to recognize it.
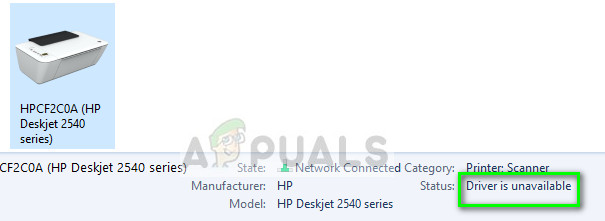
If the computer cannot recognize the driver or function with it, you will not be able to access your printer and use it to print jobs. This issue is very common in the printing world and can be fixed with a few tweaks here and there. Take a look at the solutions listed below.
Solution 1: Uninstalling the Printer
There are mostly two main solutions which you can use to counter the error ‘Printer driver is unavailable’. Either you can uninstall the printer, all the related software and then install it in the system. Either this or you can go through all the drivers available and select the right one for your device.
We will uninstall the printer and all the related software and then try connecting it. This will, in turn, install the default drivers.
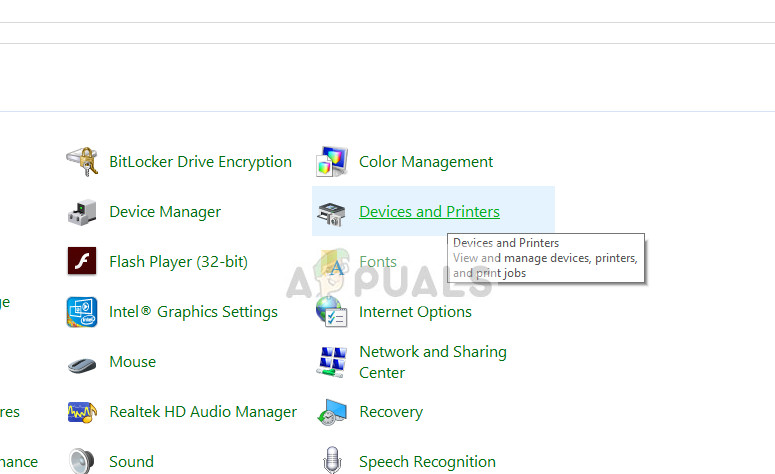
- Press Windows + R, type “control” in the dialogue box and press Enter. Once in the control panel, make sure that the option View by: Large icons is selected. Now click Devices and Printers.
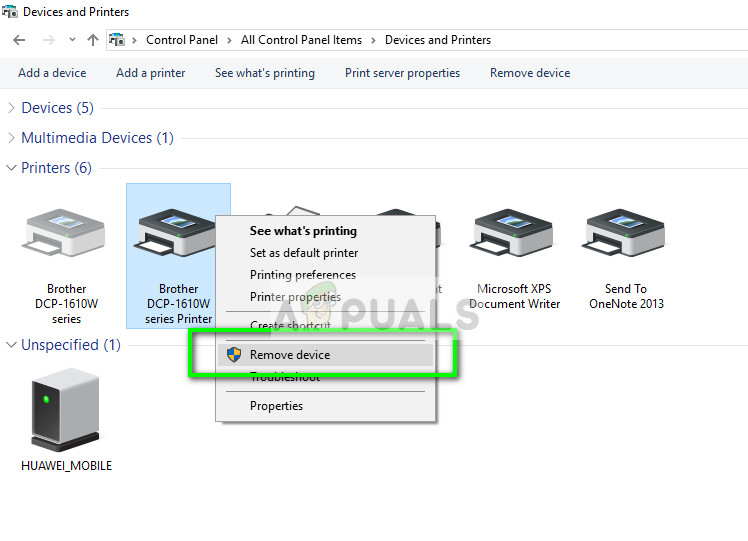
- Here all the printers will be listed. Right-click on the printer which is causing the problem and select “Remove device”.
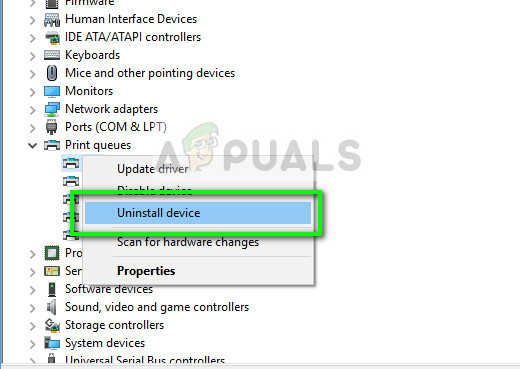
- Now press Windows + R again and type “devmgmt.msc”. Navigate to the category “Print queues”, right-click your printer and select “Uninstall device”. This may not be present after you remove your printer from the control panel so nothing to worry about if you don’t have it.
- Now press Windows + R, type “appwiz.cpl” in the dialogue box and press Enter. Here all the applications will be listed. Right-click on all your printer application and select “Uninstall”.
- After performing all the above steps, disconnect your printer from your computer if it is connecting via a USB connection or disconnect it from the router if it is using wireless. Shut down your computer, printer, and your router. Plug out the power supply of all of them.
- After waiting for around 10 minutes, plug everything back and start all the modules. Connect the printer with your computer using a USB cable initially. Wait for the detection and let it install the required drivers.
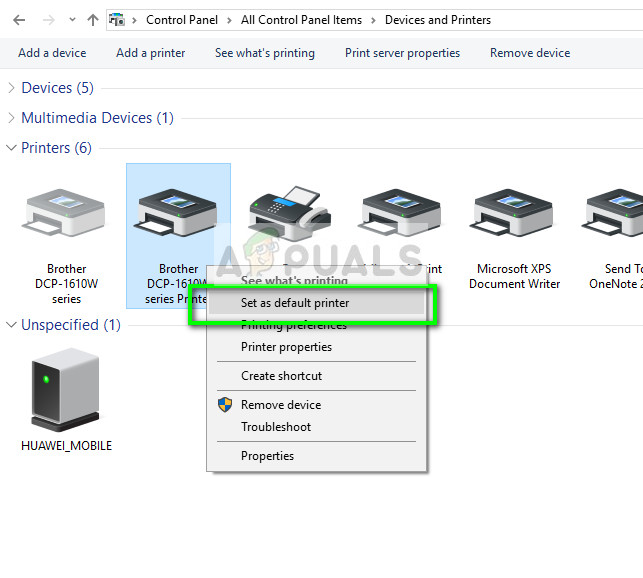
- Now navigate back to the control panel, right-click on the device and select “Set as default printer”. Now try printing a test page and check if the problem is solved.
Solution 2: Reinstalling Latest drivers manually
If the above solution doesn’t work, we will try updating the printer drivers manually. There are also some cases where the printer is working perfectly but due to a Windows update, it gets broken. The updated drivers from Windows might be problematic and may not work for all systems. This case was particularly noted with HP printers. One way to counter this issue is to update the selected driver manually by downloading it from the manufacturer’s website and then disabling Windows update from updating the driver.
Before you proceed, make sure that you navigate to the manufacturer’s website and download the specific drivers meant for your hardware to an accessible location.
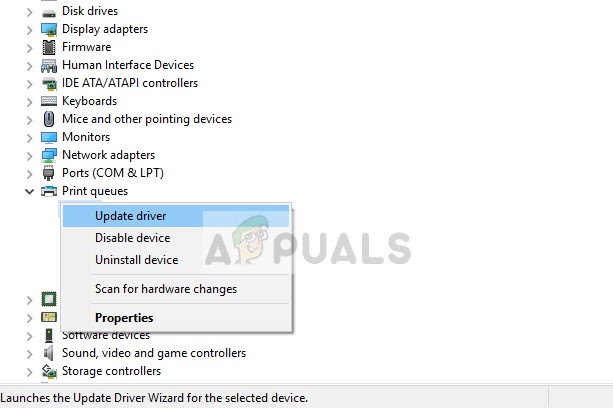
- Press Windows + R to launch the Run Type “devmgmt.msc” in the dialogue box and hit Enter. This will launch your computer’s device manager.
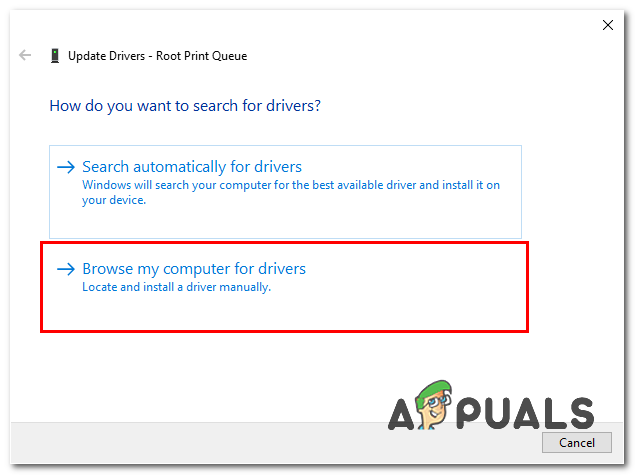
- Navigate through all the hardware, open the sub-menu “Print queues”, right click on your printer hardware and select “Update driver”.
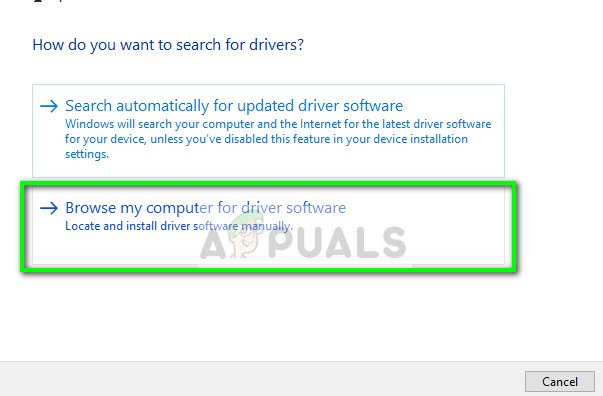
- Now Windows will pop a dialogue box asking you which way do you want to update your driver. Select the second option (Browse my computer for driver software) and proceed.
Select the driver file you downloaded using the browse button when it appears and update it accordingly.
Note: In some cases, the printer may not be visible in the device manager. In that situation, just run the installer and the driver will be installed automatically.
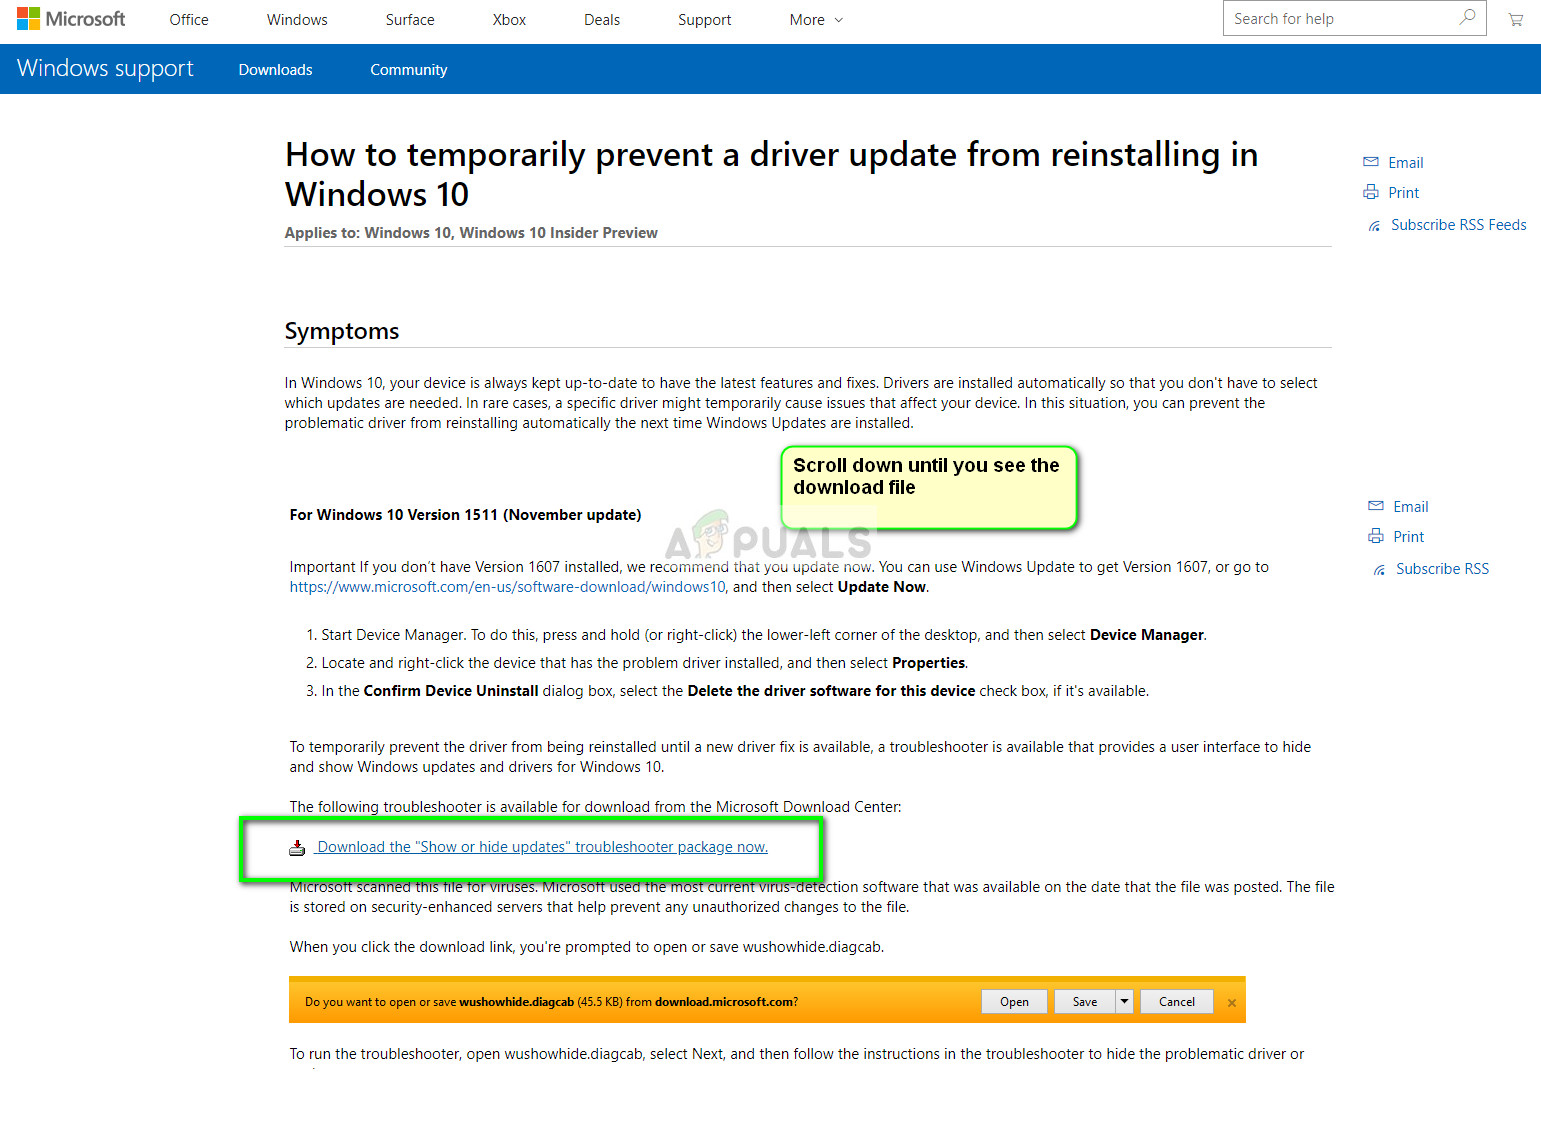
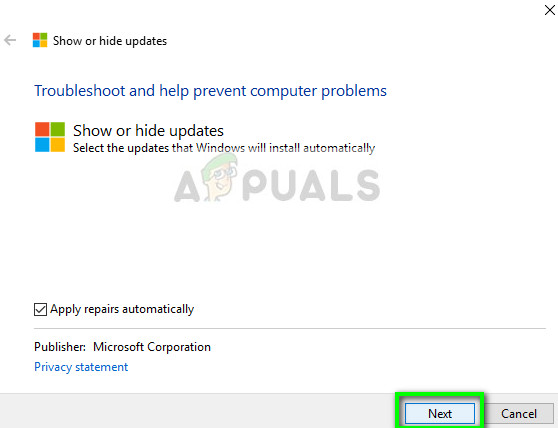
- Check if the printer is working properly at this point. If it is, navigate to the official Microsoft website and download the package “wushowhide.diagcab”.
- Run the package and click Next.

- Now select Hide updates from the option given.
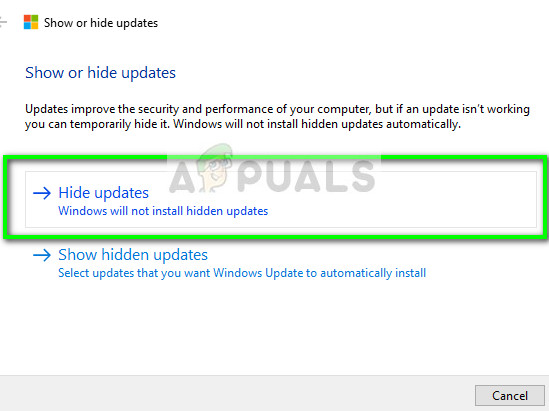
- Now select the printer update (if any) and continue. Now Windows update will not automatically update the drivers of the printer until you tell it to.

Solution 3: Installing Generic Printer driver
If none of the methods above worked for you, it’s possible that your Printer isn’t being detected by your computer or it is stuck as an Unknown device. In that case, you will have to manually Install default generic printer drivers for your Printer. Follow these steps:-
- Press and hold the Windows key then press X. Now select “Device Manager”.
- Once Device Manager is opened locate your Printer. If you can’t find it check in the category named “Unknown Devices”
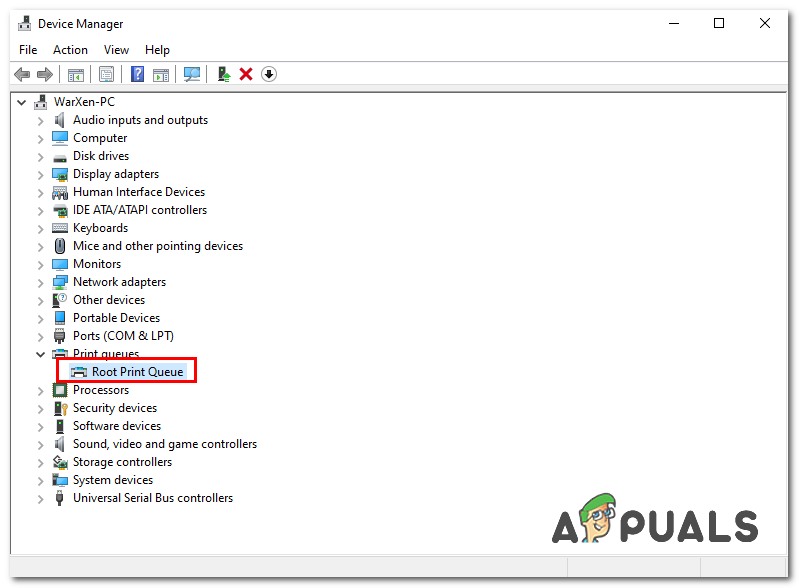 Locating your Printer
 Installing Default Driver
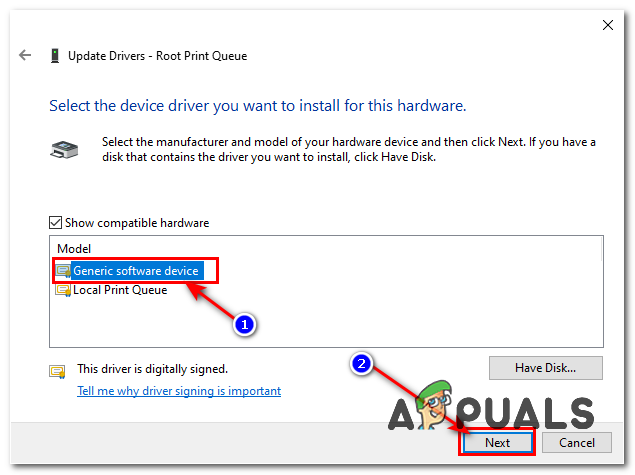 Installing Generic Driver
 Keep in mind that installing this driver might stop some functionality of your Printer but it will make it usable to say at least.
Printer driver is unavailable on Windows 10

- Finding a proper set of drivers to accompany your printer often turns into a daunting task.
- If the printer driver is unavailable, feel free to use DriverFix to easily install drivers automatically.
- With this issue solved, also check out the best printer management software and make a choice.
- Similar problems do appear from time to time, so bookmark this Computer Peripherals Hub.
- Download and install here this Driver Updater tool
- Once installed, click Scan to find outdated and bad printer drivers
- Click the Update Your Drivers Now after the scan to start the repair/update process
Fix all printer
related issues right now!
- Download DriverFix now for free (secured download)
- Launch the program and press the Scan icon
- Wait for the scan to finish and start installing the needed drivers
- DriverFix has been successfuly downloaded by 0 readers this month.
Finding the appropriate drivers to accompany your hardware can certainly be a painful experience.
That shouldn’t be the case for Windows 10, but it certainly is for some users who tried installing printer drivers after migrating to Windows 10.
They were met with an error informing them that the driver for the said printer is unavailable. If you’re stuck with this problem, we encourage you to check the two solutions we enlisted below.
What can I do if the printer driver is unavailable?
- Install drivers automatically
- Reinstall the driver
- Install drivers manually
1. Install drivers automatically

Downloading and installing drivers manually may be a big problem, especially when the wrong driver version is installed. This may lead to serious malfunctions.
We strongly suggest you update your driver automatically by using DriverFix. This tool is the best-automatized solution that you can find.
All you need to do is to install it and let it s can your PC for missing and out-of-date device drivers. The best part is yet to come. Well, you can choose to download all of your faulty device drivers at once.

On top of all these, the latest device drivers are added daily to the extensive DriverFix database, so you don’t have to worry about a thing.
DriverFix
2. Reinstall the driver
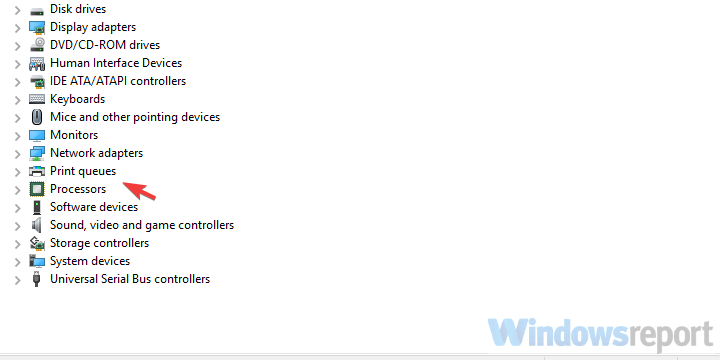
- Right-click Start and open Device Manager from the Power User menu.
- Navigate to Print queues and expand this section.
- Right-click on the affected printer and choose Uninstall device from the contextual menu.
- Restart your PC and open Device Manager again.
- Click on the Scan for hardware changes icon and the driver should install automatically.
Let’s start with the obvious step. This error is quite common when it comes to older printers, and Windows 10 tends to enforce random generic drivers.
This, of course, might work for some users, but others will be met with the error at hand.
Generic drivers are hardly adequate for newer printers which fully support Windows 10, not to speak about 5 or 10-years-old machines.
But, this doesn’t mean that the driver provided by Windows Update won’t work. If you uninstall it, the system should look for another one and that one might be the right fit.
So, we encourage you to navigate to Device Manager and uninstall the printer driver. After that, a simple restart (network connection is a must), and Windows Update should install a proper driver.
3. Install drivers manually
- Download proper drivers and store them on your local storage.
- Disable the Internet connection temporarily.
- Open Device Manager, expand Printer queues, and uninstall the device. Do not restart your PC.
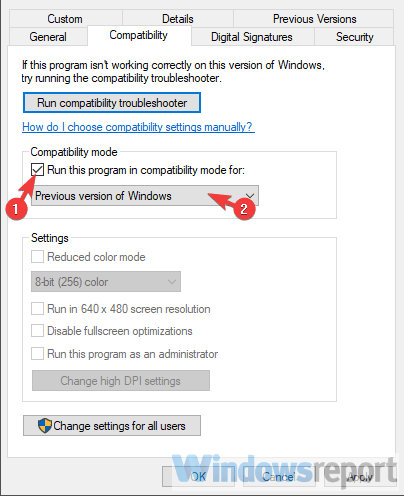
- Now, right-click on the driver setup you’ve downloaded from the official manufacturer’s website. Open Properties.
- Select the Compatibility tab.
- From the Run this program in Compatibility mode drop-down menu, choose previous versions of Windows.
- Confirm changes and run the driver installer.
- After the installation is complete, restart your PC.
If the aforementioned solution can’t fix your error and you’re still missing a functional driver, we encourage you to install it by hand.
Now, searching for the appropriate printer driver can be like searching for the needle in a haystack, especially if you’re using a legacy printer.
However, most of them, when running in the compatibility mode, should work just fine on Windows 10.
In order to find and obtain a proper driver, you’ll need to know the exact model code and OEM. After that, a simple lookup on Google should get you to the official website.
We suggest avoiding suspicious third-party websites, but if you have no alternative, some of them might provide you with the necessary drivers.
That’s it. If you’re still unable to install a proper printer driver, we encourage you to contact the support and ask for the resolution.
Furthermore, make sure to share your experience with us in the comments section below.
Fix printer problems in Windows 7 and Windows 8.1
Connecting your printer
When you connect a printer to your PC or add a new printer to your home network, you can usually start printing right away. Windows supports most printers, and you probably won’t have to go out of your way to install special printer software. If you’re using Windows 8.1 or Windows RT 8.1, additional printer support and drivers are available through Windows Update.
To install a printer
In most cases, all you have to do to set up a printer is to connect it to your PC. Simply plug the USB cable from your printer into an available USB port on your PC, and turn the printer on.
For wireless printers with Windows 8.1:
Note: If you have a new wireless printer that hasn’t been added to your home network, read the instructions that came with the printer to learn how to add it. Check the printer manufacturer’s website to learn more and to get up-to-date software for your printer.
Swipe in from the right edge of the screen, tap Settings, and then tap Change PC settings. (If you’re using a mouse, point to the lower-right corner of the screen, move the mouse pointer up, click Settings, and then click Change PC settings.)
Tap or click PC and devices, and then tap or click Devices. If your printer is installed, it should appear under Printers.
If your printer isn’t listed, tap or click Add a device, and then select your printer to install it.
To install (add) a local printer
Click the Start button, and then, on the Start menu, click Devices and Printers.
Click Add a printer.
In the Add Printer wizard, click Add a local printer.
On the Choose a printer port page, make sure that the Use an existing port button and the recommended printer port are selected, and then click Next.
On the Install the printer driver page, select the printer manufacturer and model, and then click Next.
If your printer isn’t listed, click Windows Update, and then wait while Windows checks for additional drivers.
If none are available and you have the installation CD, click Have Disk, and then browse to the folder where the printer driver is located. (For additional help, consult the printer manual.)
Complete the additional steps in the wizard, and then click Finish.
Tip: You can print a test page to make sure the printer is working correctly. If you’ve installed the printer but it doesn’t work, check the manufacturer’s website for troubleshooting information or driver updates.
To install a network, wireless, or Bluetooth printer
If you’re trying to add a network printer at the office, you’ll usually need the name of the printer. If you can’t find it, contact your network administrator.
Click the Start button, and then, on the Start menu, click Devices and Printers.
Click Add a printer.
In the Add Printer wizard, click Add a network, wireless or Bluetooth printer.
In the list of available printers, select the one you want to use, and then click Next. (If your computer is connected to a network, only printers listed in Active Directory for your domain are displayed in the list.)
If prompted, install the printer driver on your computer by clicking Install driver.  If you’re prompted for an administrator password or confirmation, type the password or provide confirmation.
Complete the additional steps in the wizard, and then click Finish.
Tip: Available printers can include all printers on a network, such as Bluetooth and wireless printers or printers that are plugged into another computer and shared on the network. You might need permission to install some printers. You can confirm the printer is working by printing a test page.
Note: After your printer is installed, you can keep it up to date with automatic Windows 7driver updates.
Troubleshoot printer problems
Start by checking your hardware
Make sure that the printer’s electrical cord is plugged into an electrical outlet and that the power switch is turned on. If you’re printing to a shared printer or a printer on a network, make sure that all necessary computers and routers are turned on too. If your printer or other equipment is plugged in to a surge protector or a backup power supply, make sure that hardware is plugged in and turned on as well.
If you’re using a wired printer, make sure that the printer cable is properly connected from the printer to your PC.
For wireless printers, check the wireless connection. Make sure the printer’s wireless option is turned on and available. Many printers have a button that displays a blue wireless icon when wireless is available.
Next, run the printer’s wireless connectivity test. Read the instructions that came with the printer or check the printer manufacturer’s website for instructions about how to do this.
Use a troubleshooter
A troubleshooter is an automated tool that can find and automatically fix some problems with your PC. The printing troubleshooter can fix problems with installing and connecting to a printer.
Update drivers
Most printers require driver software to work properly. If you recently upgraded from one version of Windows to another, it’s possible that the current printer driver is for the previous version of Windows. If you’ve had recent power outages, viruses, or other computer problems, it’s possible that the drivers have become damaged. Downloading and installing the latest driver for your printer can resolve these types of problems.
Three ways to find and install a driver:
Use Windows Update. Windows Update might have an updated version of your printer driver.
Install software from the printer manufacturer. If your printer came with a disc, that disc might contain software that installs a driver for the printer.
Download and install the driver yourself . You can search for a driver on the manufacturer’s website. Try this if Windows Update can’t find a driver for your printer, and the printer didn’t come with software that installs a driver.
For Windows 8.1
To print webpages using Internet Explorer, click the Tools button, select Print, and then select Print again. See what the printed page will look like by selecting Print Preview. Or, print pages by pressing Crtl + P.
To print only a picture from a page (and not the whole page), right-click on the picture, and select Print. In the Print dialog box, select Print again.
For Windows 7
To print webpages using Internet Explorer, press Crtl + P and choose which of your installed printers to print from.


