- Fix NVIDIA control panel not showing In Windows 10 [Solved]
- Methods To Fix NVIDIA Control Panel Missing
- #1 – Restart NVIDIA Services To fix NVIDIA Control Panel Missing Issue
- #2 – Manually Launch NVIDIA Control Panel to get back Missing NVIDIA Control Panel
- #3 – Reinstall Nvidia Control panel App from Microsoft store
- #4 – Unhide NVIDIA Control Panel
- #5 – Permanent Solution to NVIDIA Control Panel Missing by NVIDIA Support
- #6 – Update NVIDIA Graphics Driver To Fix NVIDIA Control Panel Missing Issue
- #7 – Reinstall NVIDIA Graphics Driver
- Finally,
- Nvidia Control Panel not opening [Complete Fix]
- What can I do if Nvidia Control Panel won’t open?
- 1. Update your drivers and system
- DriverFix
- 2. End Nvidia Display Contain process
- 3. Check your antivirus
- Run a System Scan to discover potential errors
- 4. Make sure that the necessary services are running
- 5. Start the application directly from the installation directory
- 6. Disable Fast Boot option in Windows 10
- 7. Reinstall the driver from NVIDIA GeForce Experience
- 8. Make sure that Nvidia Control Panel isn’t hidden
Fix NVIDIA control panel not showing In Windows 10 [Solved]
Many NVIDIA Graphics Card users have reported NVIDIA Control Panel not showingissue. This control panel that lets users control properties of NVIDIA Graphics Card installed on users PC goes missing from Desktop Context menu, Start menu, or from Desktop out of the blue. This could be a result of a faulty graphics card driver, because of latest updates, missing registry subkeys and values, or some random error here and there.
If your NVIDIA Control Panel is missing as well, do not panic. Give the following methods to fix missing NVIDIA Control Panel in Windows 10 a try, and you will be all set.
Methods To Fix NVIDIA Control Panel Missing
The following steps include basic troubleshooting as well as some advanced techniques. Do not skip the advanced ones if the easier ones do not help to get back your missing NVIDIA Control Panel.
#1 – Restart NVIDIA Services To fix NVIDIA Control Panel Missing Issue
It may happen that NVIDIA Control Panel went missing from the Desktop context menu as well as the System Tray. Another basic method for you to try is to restart the NVIDIA specific services. Let us see how to restart these services on your PC:
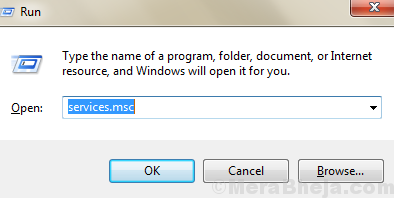
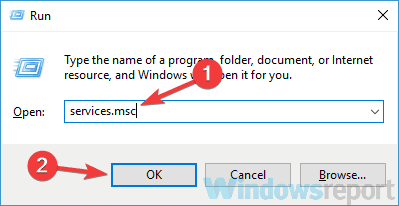
Step 1: Open the Run box by pressing Windows + R keys together. Now, type services.msc in the Run box and press Enter button.
Step 2: This will open the Services window. Here, you will find all the running services on your PC. In the list of services, look for services whose name start with NVIDIA. Select each NVIDIA service and click on the Restart button available on the left side of the window.
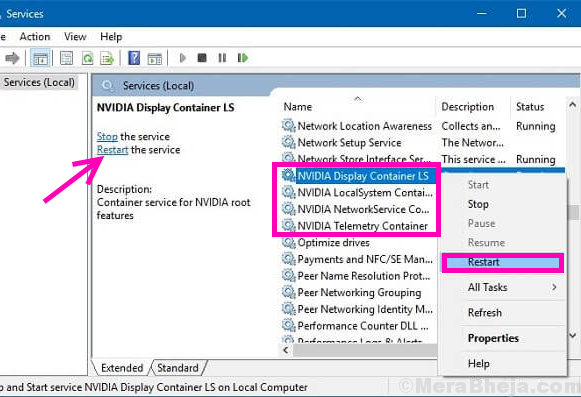
If the service is not running, right click and click on Start.
If it gives an Error 14109 with message saying windows cannot start Nvidia Display Container Service, follow the steps below.
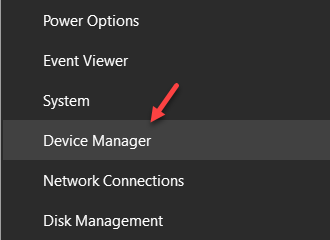
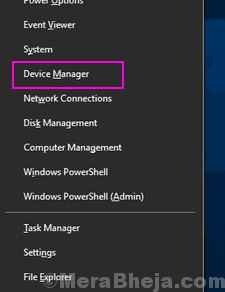
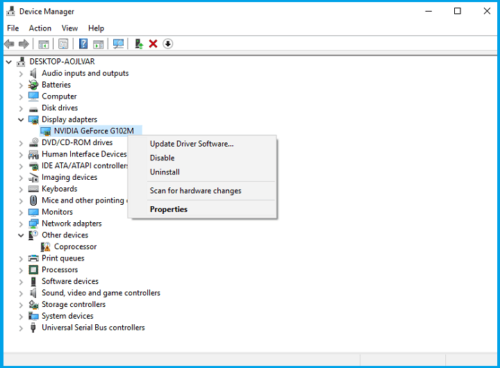
1. Right click on Start button and Click on Device manager to open it.
2. Expand Display Adaptors.
3. Right click and Uninstall Nvidia driver.
4. Restart your PC.
See if this method brought back the missing NVIDIA Control Panel. If it didn’t, restart your PC and check again. If nothing happens, try the next method.
#2 – Manually Launch NVIDIA Control Panel to get back Missing NVIDIA Control Panel
Till the time you cannot find a permanent fix, you could also try to manually launch the NVIDIA Control Panel on your system to fix the issue. Here are the steps to follow to manually launch and create desktop shortcut of NVIDIA Control Panel:
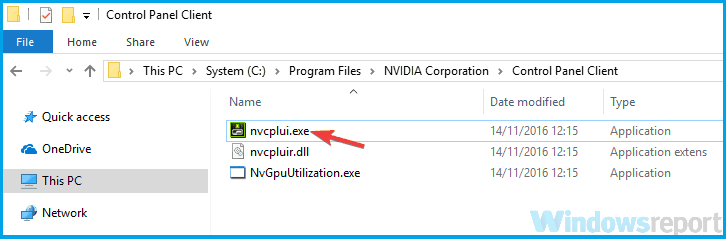
Step 1: Open My Computer folder. There, go to C Drive folder and look for Program Files folder. In the Program Files folder, you will find NVIDIA Corporation folder. If you can’t find NVIDIA Corporations folder in there, look for the same in Program Files (x86) folder. Once you are in NVIDIA Corporation folder, open the Control Panel Client. In this folder look for nvcplui file.
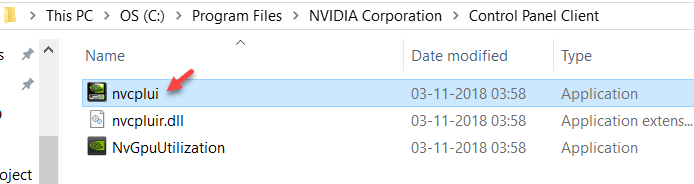
Step 2: Right-click on the nvcplui file and click on Run as administrator option.
You can also create a Desktop Shortcut of the NVIDIA Control Panel from the right-click menu of nvcplui.
#3 – Reinstall Nvidia Control panel App from Microsoft store
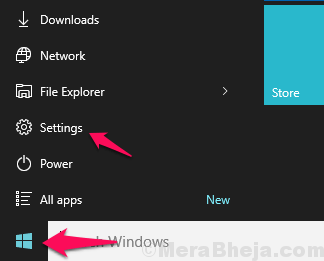
1. Click on the start button and then gear shaped icon to open settings
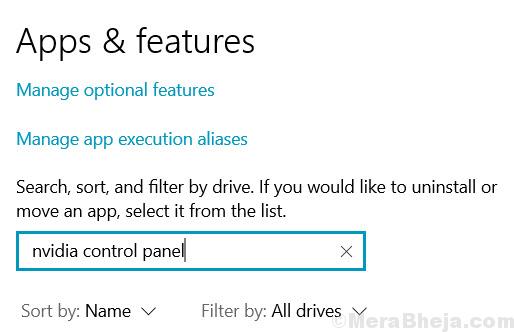
2. Click on Apps

3. Click on Apps & Features from the left menu.
4. Search Nvidia Control panel in the search box.
If Nvidia Control panel is already installed on your System. Uninstall it.
#4 – Unhide NVIDIA Control Panel
If you can’t find NVIDIA Control Panel on your Desktop Context Menu or Start Menu, there’s a possibility it might be hidden. This happens mostly when you update the NVIDIA graphics card software. Let ‘s see how to get back NVIDIA Control Panel with the following steps:
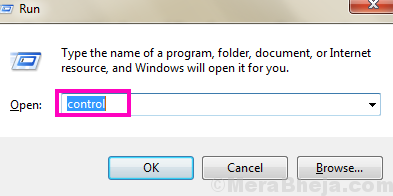
Step 1: Open the Control Panel. To do so, press Windows + R keys at a time, type Control in the Run box, and press Enter.
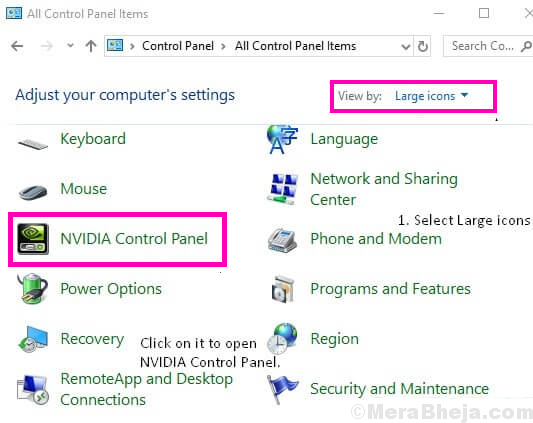
Step 2: In the Control Panel that opens, view the options by Large Icons, then double click on the NVIDIA Control Panel option.
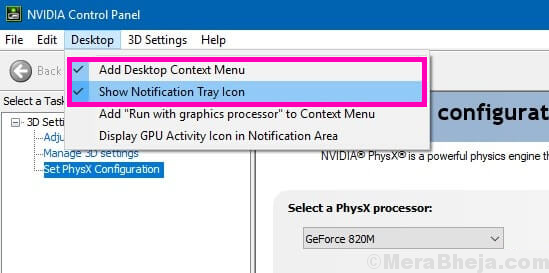
Step 3: Look for Desktop or View menu, click on it, then select the Add Desktop Context Menu option from the drop-down.
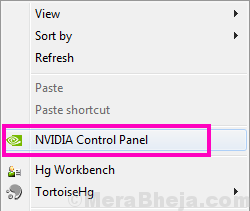
Go to your PC’s Desktop and see if the NVIDIA Control Panel appears in the Desktop context menu.
#5 – Permanent Solution to NVIDIA Control Panel Missing by NVIDIA Support
Even though other methods were capable of fixing the missing NVIDIA Control Panel, some users reported they were getting this error again and again. So, NVIDIA support provided a permanent solution to this issue. Follow these simple steps to give this method a try:
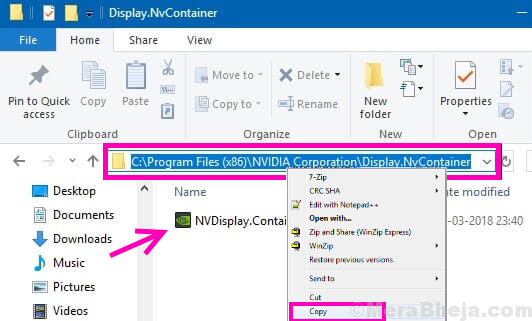
Step 1: Open My Computer and follow the below-given folder path:
Program Files (x86)
Note: If you cannot locate the NVIDIA folder in Program Files (x86) folder, look for it in Program Files folder.
Step 2: In the Display.NvContainer folder, you will find a file named Display.NvContainer. Right click on it and slect the Copy option.
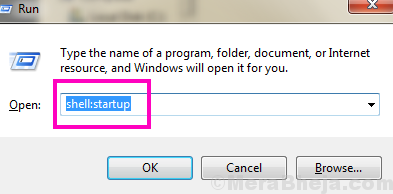
Step 3: Open Startup Folder. To do that, Press Windows + R keys together and open Run box. In the Run box, type shell:startup and press Enter button.
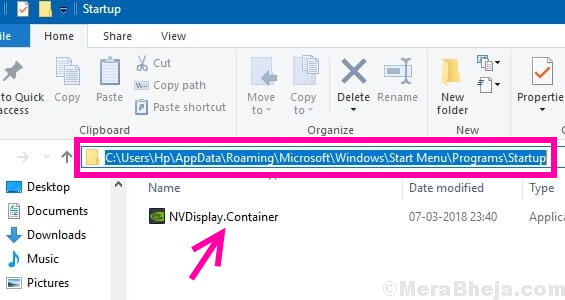
Step 4: In the Startup folder that opened, do a right-click and Paste the copied Display.NvContainer file.
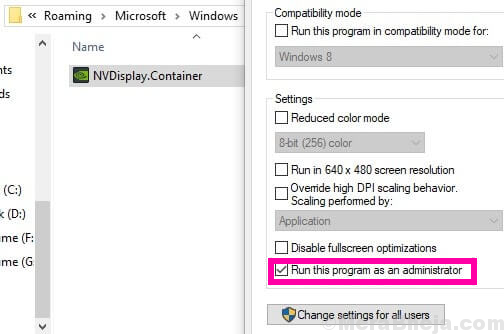
Step 5: Right-click on the Display.NvContainer file you pasted in Startup folder, and select the Properties option.
Step 6: In the Properties window, go to the Compatibility tab. There, you will get a Run this program as administrator checkmark option; select it. Then click Ok to apply the settings.
After completing these steps, restart your PC to find the missing NVIDIA Control Panel back on your desktop context menu and system tray.
#6 – Update NVIDIA Graphics Driver To Fix NVIDIA Control Panel Missing Issue
If the above method didn’t work for you, then there must be a driver problem. In such case, go to Device Manager and update your NVIDIA Graphics Driver to fix missing NVIDIA Control Panel in Windows 10. Follow these steps:
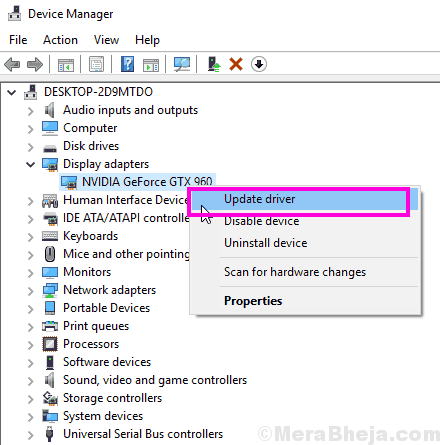
Step 1: On your keyboard, press the Windows + X keys together to open Win + X menu. From the menu, click on Device Manager option to open it.
Step 2: In Device Manager, look for Display adapters option. Expand it to find NVIDIA graphics card driver. Right-click on the driver and click on Update driver option.
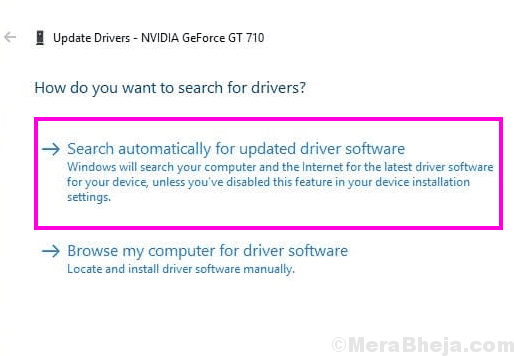
Step 3: A new window will open; click on Search automatically for updated driver software option. This will automatically look for a driver update and install it if available. If no update is available, it will inform you that as well.
If the update didn’t help the case of missing NVIDIA Control Panel, try reinstalling the driver.
#7 – Reinstall NVIDIA Graphics Driver
Updating the NVIDIA Graphic Driver didn’t work for you? Try reinstalling it if you cannot find NVIDIA Control Panel in the desktop context menu and system tray. Here are the steps that will help you do so:
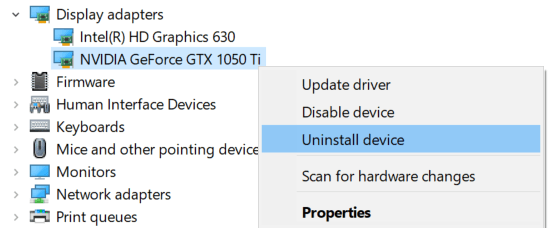
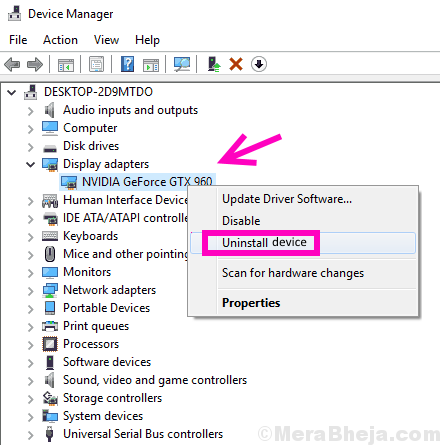
Step 1: Open the Device Manager by pressing Windows + X keys together, and selecting Device Manager from the list that appears.
Step 2: Expand the Display adapters option from the list of drivers in Device Manager. Right-click on the NVIDIA Graphics Card driver and select the Uninstall device option.
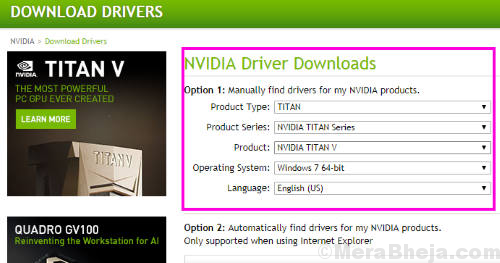
Step 3: After successfully uninstalling the driver, go to NVIDIA – Download Drivers webpage. There, select the appropriate Product Type, Product Series, and Product options from the respective drop-down menus according to your computer’s configuration to download the latest driver. Once downloaded, install the driver on your PC.
Restart your PC and see if the NVIDIA Control Panel is available now in the Desktop context menu and system tray.
Finally,
Although the method #4 and method #5 are the ultimate solution to fix NVIDIA Control Panel missing in Windows 10, you should always begin with the methods mentioned at the top of the article. If these methods also fail for you, try raising a query on NVIDIA Forum. Till then, you can use Method #6 to manually open NVIDIA Control Panel and access the graphics options.
Nvidia Control Panel not opening [Complete Fix]

- Nvidia Control Panel is a useful software used to manage various settings related to your Nvidia graphics card.
- Some users claimed that Nvidia Control Panel won’t open . This could be due to outdated drivers, or hung processes.
- If you can’t open Nvidia Control Panel, you should update your drivers by using a proper tool found below.
- Also, you should check your antivirus if it’s interfering with it. Continue reading to learn what you can do about it.
- Download Restoro PC Repair Tool that comes with Patented Technologies (patent available here).
- Click Start Scan to find Windows issues that could be causing PC problems.
- Click Repair All to fix issues affecting your computer’s security and performance
- Restoro has been downloaded by 0 readers this month.
Nvidia drivers come with certain software, but many users reported that they can’t open Nvidia Control Panel on their PC.
This can be a problem, especially if you want to fine-tune your graphics card settings. However, there’s a way to fix this problem.
Many users use Nvidia Control Panel to customize their graphics card settings, but some users reported that they can’t open Nvidia Control Panel at all. Here are some similar problems that users reported:
- Nvidia Control Panel has stopped working Windows 10 – Perhaps the problem is your antivirus. Read more about Nvidia Control Panel stopped working in Windows.
- Nvidia Control Panel not working Windows 7 64 bit – This issue can appear on older versions of Windows, but you should be able to fix that problem with one of our solutions.
- Can’t find Nvidia Control Panel – If you can’t find Nvidia Control Panel, simply go to its installation directory, create a shortcut on your desktop and the problem should be resolved.
- Nvidia Control Panel missing – Many users reported that Nvidia Control Panel is missing on their PC, but there’s not the case. Simply open Control Panel and you should be able to access it.
- Nvidia Control Panel not showing – This happens when it wasn’t installed with the drivers, or it simply stopped working.
- Nvidia Control Panel won’t launch – Users reported trying unsuccessfully to open Nvidia Control Panel from the Windows Control Panel, and it’s probably caused by the bad driver.
What can I do if Nvidia Control Panel won’t open?
1. Update your drivers and system
- Right-click Start, and select Device Manager.
- You’ll see the list of all your hardware listed in Device Manager.
- Right-click on Nvidia driver, and choose to Update driver software.

- If a driver update is available, the wizard will automatically install it, if not, your driver is already up to date.
- Restart your PC.
If you can’t open Nvidia Control Panel on your PC, the problem might be your drivers. Your Nvidia drivers might be out of date, and that can cause this and many other errors to appear.
To fix this issue, it’s advised that you update your Nvidia drivers. Visit Nvidia’s website and download the latest drivers for your graphics card. Install them on your PC and the problem should be resolved.
If you don’t want to manually search for drivers, you can always use a great third-party tool.
By using this tool you update your graphics card and all other outdated drivers on your system automatically, so be sure to try it out.
It will also keep your system safe from permanent damage by manually downloading and installing the wrong driver versions.
DriverFix
In addition to your drivers, many users are suggesting that you update your system as well. This is also quite simple to do, and you can do it by doing the following:
- Press the Windows Key + I to open the Settings app.
- Go to the Update & Security section.
- In the right pane, click Check for updates button.

If any updates are available they will be downloaded automatically in the background and installed as soon as you restart your PC. Once your system and drivers are up to date, the problem should be resolved completely.
2. End Nvidia Display Contain process
- Press Ctrl + Shift + Esc to open Task Manager.
- Locate the Nvidia Display Container process, right-click it and choose End Task from the menu.

After doing that, the process will restart itself, and you should be able to open Nvidia Control Panel. Bear in mind that this is just a workaround, so it’s rather likely that you’ll have to repeat it once you restart your PC.
Sometimes certain glitches can occur on your system, and that can cause issues with some processes.
If you can’t open Nvidia Control Panel, perhaps you can fix the problem simply by ending Nvidia Display Container process.
3. Check your antivirus
According to users, a common problem with applications can be your antivirus. Sometimes you can’t open Nvidia Control Panel because your antivirus is interfering with it.
To fix the problem, it’s advised to check your antivirus settings and make sure that your antivirus isn’t blocking Nvidia Control Panel.
If that’s not the issue, try disabling certain antivirus features and check if that helps. In addition, you can also try disabling your antivirus altogether and check if that helps. In the worst cases scenario, you can even try removing your antivirus.
Several users reported that AVG antivirus caused this issue to appear, but after removing it the problem was resolved. Even if you don’t use AVG, you can try removing your antivirus and check if that solves the problem.
If removing the antivirus solves the problem, you should consider switching to a different antivirus solution.
Run a System Scan to discover potential errors


There are many great antivirus tools on the market, but if you want maximum protection that won’t interfere with your system, you should consider using our antivirus recommendation below.
4. Make sure that the necessary services are running
- Press the Windows Key + R and enter services.msc. Now press Enter or click OK.
- When Services window opens, locate Nvidia Display Container LS and double-click it to open its properties.
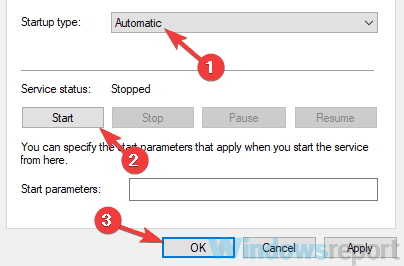
- Now set the Startup type to Automatic and click the Start button to start the service. Click Apply and OK to save changes.
- Now locate Nvidia Network Service Container, set its Startup type to Automatic and make sure that the service is running.
After doing that, the problem with Nvidia Control Panel should be completely resolved.
In order for your system to work properly, certain services need to be running. The same goes for Nvidia Control Panel, and if you can’t open Nvidia Control Panel, perhaps the necessary services aren’t running.
According to users, Nvidia Control Panel relies on two services, and if they aren’t running, you might encounter this or some other issue. To enable the required services, you just need to follow the above steps.
5. Start the application directly from the installation directory
- Go to the C:Program FilesNVIDIA CorporationControl Panel Client directory.
- Locate and run nvcplui.exe.
After doing that, the Nvidia Control Panel should start without any problems. If you want, you can create a shortcut of this application on your desktop and use it to quickly start Nvidia Control Panel.
If you want, you can also force Nvidia Control Panel to start automatically with your system. To do that, you just need to create a shortcut of Nvidia Control Panel and put it in the following directory: C:Program/Data/Microsoft/Windows/Start Menu/Programs/StartUp
By doing so, the application will start automatically with your system every time.
If you can’t open Nvidia Control Panel on your PC anymore, you might be able to solve this issue simply by starting the application right from the installation directory.
6. Disable Fast Boot option in Windows 10
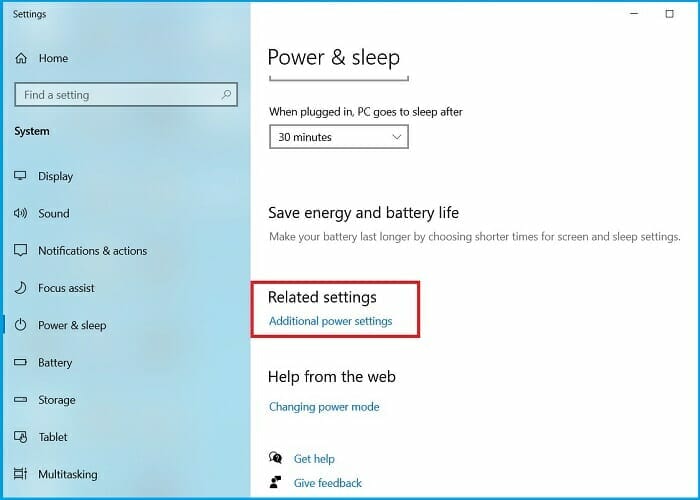
- Press the Windows Key + S and enter power settings.
- Choose Power & sleep settings from the menu.
- In the right pane, scroll down to the Related settings section.
- Click on Additional power settings.
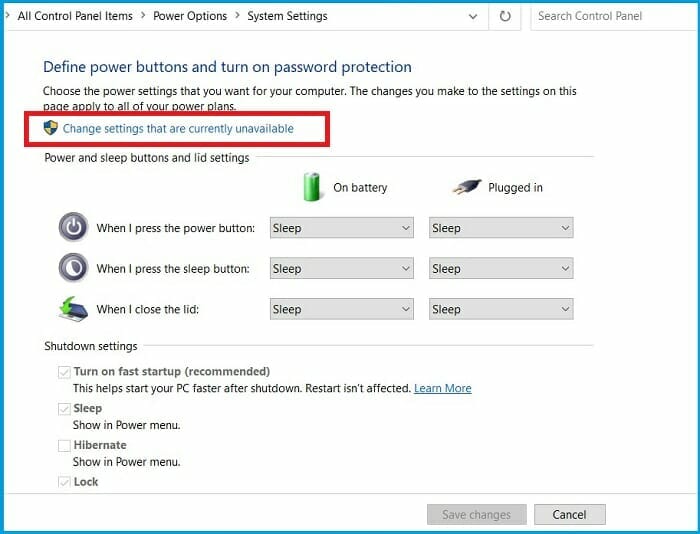
- Power Options window will now open. From the menu on the left select Choose what the power button does.
- Click on Change settings that are currently unavailable.
- Uncheck Turn on fast startup (recommended) option and click Save changes.
After doing that, the Fast Boot option should be disabled completely. Bear in mind that your system will start a bit slower than before, but the problem with Nvidia Control Panel should be resolved.
Windows 10 has a useful feature called Fast Boot, and thanks to it your system will boot faster than in previous versions of Windows. This feature won’t completely turn off your PC which will allow it to boot faster.
However, this feature can cause various issues such as this one. If you can’t open Nvidia Control Panel, perhaps you can solve the problem simply by disabling Fast Boot.
7. Reinstall the driver from NVIDIA GeForce Experience

- Open NVIDIA GeForce Experience.
- Now head over to the Drivers section.
- Select Re-install the driver option and choose Quick install.
- Follow the instructions on the screen to complete the reinstall process.
- Once the driver is reinstalled, check if the problem is still there.
According to users, you might be able to fix the problems with Nvidia Control Panel simply by reinstalling the driver.
Several users reported that they fixed the problem simply by reinstalling the driver from NVIDIA GeForce Experience application.
8. Make sure that Nvidia Control Panel isn’t hidden
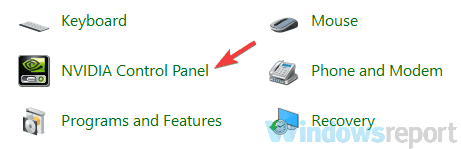
- Press the Windows key + S and enter control panel.
- Choose Control Panel from the list of results.
- When Control Panel opens, choose Nvidia Control Panel.
- Go to Desktop and select Add Desktop Context Menu and Show Notification Tray Icon.

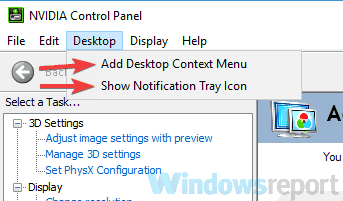
After doing that, you should see Nvidia Control Panel in your Taskbar and in your context menu.
Sometimes you can’t open Nvidia Control Panel simply because it’s hidden. Certain software or Windows update can hide it, but there’s a way to fix this problem.
Not being able to open Nvidia Control Panel can be a big problem, especially if you want to fine-tune your graphics card.
However, we hope that you managed to solve this issue by using one of our solutions. For more suggestions, please access the comments section below.


