- MultiBoot/DualBoot OpenCore with Windows, macOS & Linux
- So let’s get started,
- MAKE SURE:
- HARDWARE WE’LL BE USING IN THIS GUIDE:
- Tools Needed Throughout the Guide:
- macOS Catalina 10.15.4 :
- What the Heck is OpenCore Bootloader and What it means to Hackintosh Community? | Kextcache
- Opencore Bootloader is the new bootloader popping out of nowhere and is getting lots of love from the Hackintosh…
- [GUIDE] Make Intel 700$ Hackintosh Build Using OpenCore Bootloader | Kextcache
- Before you start, first to know about What is Hackintosh and OpenCore, If you are new to this don’t be scared as 90% of…
- Windows:
- [GUIDE] How To Optimise Windows 10 for Gaming in 2020 | Kextcache
- Wish to Optimize Windows 10 for gaming however, don’t know the place to start out? Here are 20 knowledgeable tips about…
- LINUX:
- # Installing and using BootCamp utilities
- # Preparations
- # Installation
- # Troubleshooting
- # Can’t find Windows/BootCamp drive in picker
- # «You can’t change the startup disk to the selected disk» error
- # Booting Windows results in BlueScreen or Linux crashes
- # OpenCore Boot Issues
- # Stuck on a black screen before picker
- # Stuck on no vault provided!
- # Stuck on OC: Invalid Vault mode
- # Can’t see macOS partitions
- # Stuck on OCB: OcScanForBootEntries failure — Not Found
- # Stuck on OCB: failed to match a default boot option
- # Stuck on OCB: System has no boot entries
- # Stuck on OCS: No schema for DSDT, KernelAndKextPatch, RtVariable, SMBIOS, SystemParameters.
- # Stuck on OC: Driver XXX.efi at 0 cannot be found
- # Receiving «Failed to parse real field of type 1»
- # Can’t select anything in the picker
- # SSDTs not being added
- # Booting OpenCore reboots to BIOS
- # OCABC: Incompatible OpenRuntime r4, require r10
MultiBoot/DualBoot OpenCore with Windows, macOS & Linux


The hottest bootloader is now dropped OpenCore 0.5.8 and you wanted to multiboot your system with macOS Catalina, Windows 10 & Linux but don’t know how to do it, Well this typical bootloader is not as typical how it seems. Turns out you can actually dual-boot or multiboot your OpenCore System either AMD or Intel.
So let’s get started,
MAKE SURE:
- YOU’LL NEED 3 Separate SSD’s FOR INSTALLING EACH OPERATING SYSTEM.
- CONNECT ONLY 1 DRIVE, IN EVERY OS INSTALLATION. DISCONNECT ALL OTHER SSD/HDD’s
HARDWARE WE’LL BE USING IN THIS GUIDE:
- Intel i5 9400F
- 16GB Corsair RAM (2 x 8GB)
- Crucial MX500 500GB SSD
- Cooler Master 450W Power Supply
- MSI B360M-PRO-VDH.
- Sapphire RX580 8GB
- Corsair K95 Platinum RGB Keyboard
- Logitech G402 Mouse.
- Logitech G433 Headset.
Tools Needed Throughout the Guide:
- Working macOS System.
- 3 USB PenDrives.
- Internet
- OC-Configurator — For Fine Tuning our Config.plist
macOS Catalina 10.15.4 :
CONNECT THE DRIVE, IN WHICH YOU WANT TO INSTALL macOS CATALINA.
Install the macOS as usual with OpenCore USB Drive, If you don’t know how to install it check these resources out,
What the Heck is OpenCore Bootloader and What it means to Hackintosh Community? | Kextcache
Opencore Bootloader is the new bootloader popping out of nowhere and is getting lots of love from the Hackintosh…
[GUIDE] Make Intel 700$ Hackintosh Build Using OpenCore Bootloader | Kextcache
Before you start, first to know about What is Hackintosh and OpenCore, If you are new to this don’t be scared as 90% of…
Windows:
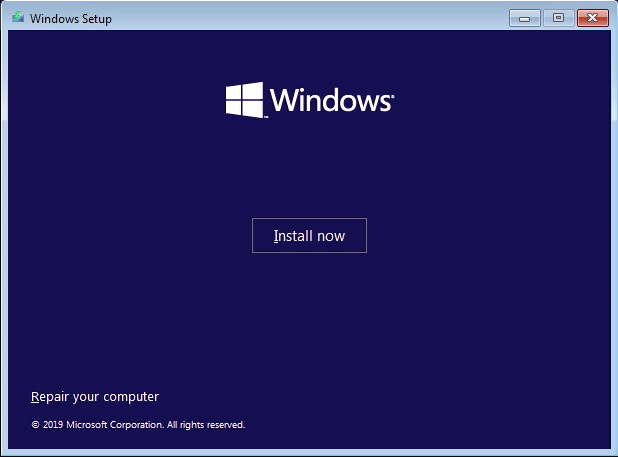
Install Windows as usual in GPT-UEFI mode, if you don’t know how to to that follow the steps below.
1. On any Existing Windows machine go to Rufus.ie and Download Rufus 64Bit.
2. make a Bootable Installation USB with GPT Format.
3. Plug the USB in and Start the Installation Process.
4. Choose the Partition which we made and format it.
5. Complete the Installation.
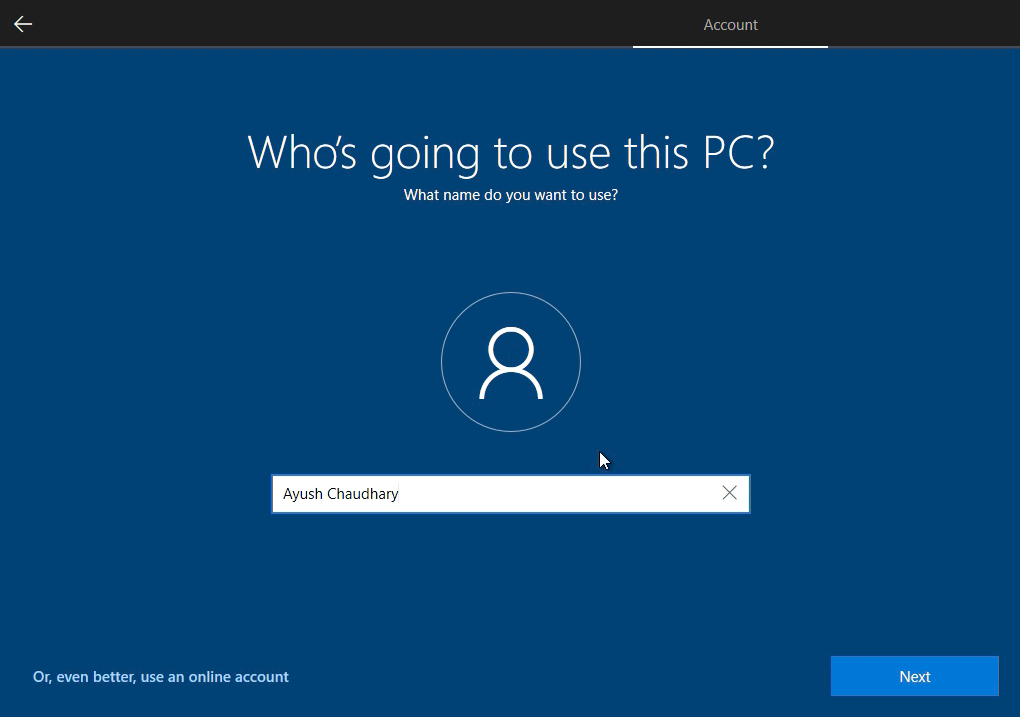
6. Make sure you Successfully Get into the Windows Desktop.
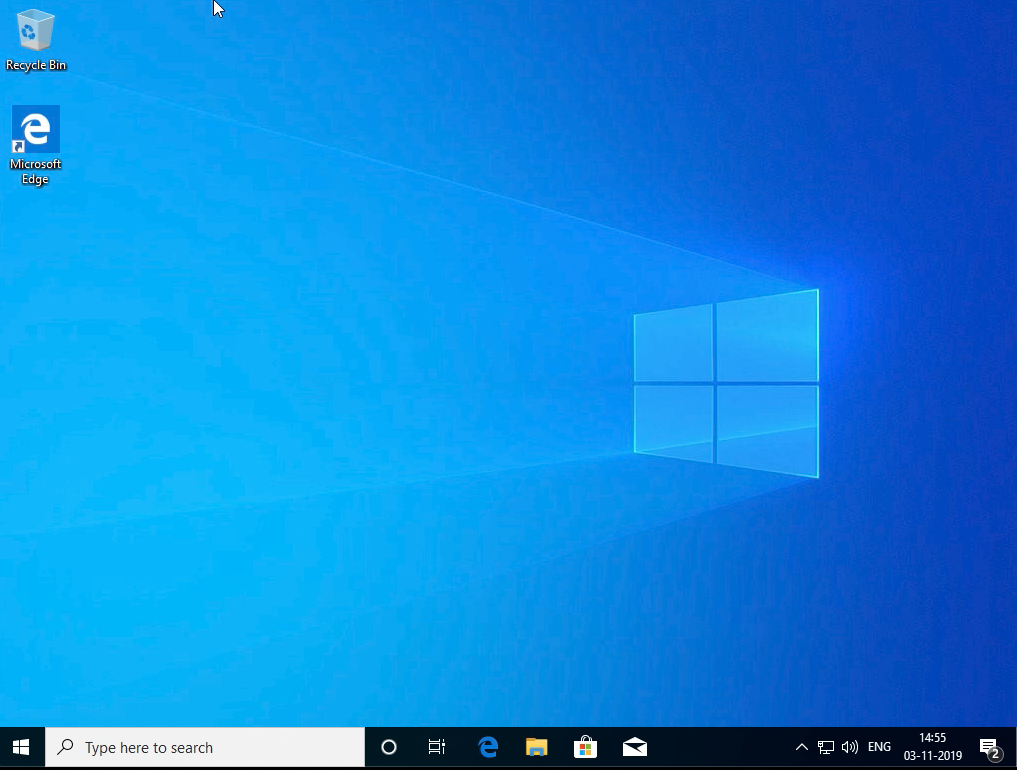
Before Restarting make sure to check for Windows Update, if you want everything up-to-date.
[GUIDE] How To Optimise Windows 10 for Gaming in 2020 | Kextcache
Wish to Optimize Windows 10 for gaming however, don’t know the place to start out? Here are 20 knowledgeable tips about…
LINUX:
DISCONNECT macOS CATALINA SSD AND CONNECT THE 2ND DRIVE, IN WHICH YOU WANT TO INSTALL macOS CATALINA.
For this Specific hack, I’ll use Manjaro KDE 20.0 as it has beautiful UI and Power of Arch Linux, you can use any other Linux build duh.
Keep in Mind GRUB Bootloader is no GAME, Remove All the Other SSD/HDD’s Before Proceeding.
So Just Follow Along with the Step-by-step Screenshots Posted Below and Understand the Process. DON’T RUSH. ask for help if you stuck somewhere.
Download the Latest ISO From Manjaro Website and Rufus, make bootable USB.
Insert The USB and Select Install ManjaroLinux x64
2. Select Your Region
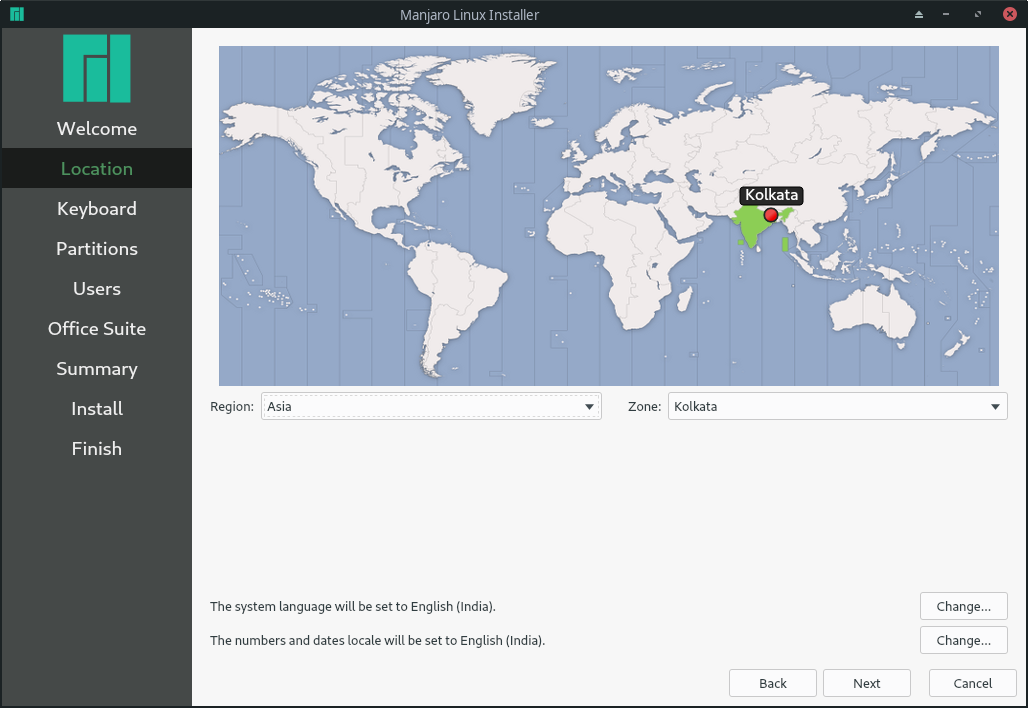
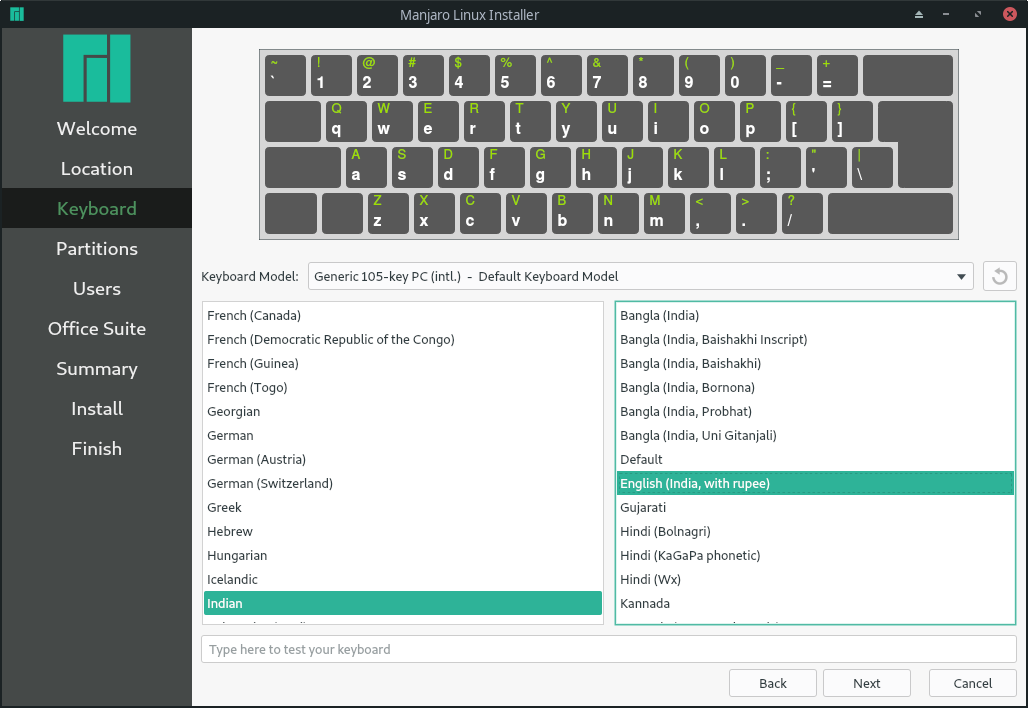
3. Select your Keyboard Layout.
4. Select SSD and Erase and Format with Swap/Hibernate
# Installing and using BootCamp utilities
So a neat feature of OpenCore is the ability to avoid the BIOS entirely and use Startup disk solely for multiboot. Problem comes in when we try to boot windows and have no way of setting the boot option back to macOS. That’s where the BootCamp utilities come in.
- Note: This guide will not cover the creation of the Windows installer, only the installation of BootCamp drivers.
- Reminder: Windows MUST be GPT/GUID based, OpenCore will not boot legacy installs
- Example of Windows installer creation: Build a Bootable Windows ISO
(opens new window)
# Preparations
To start we’ll need the following:
- Windows already installed
- MUST be UEFI/GPT based
- Brigadier
(opens new window)
- To download the BootCamp drivers
- SMBIOS injection enabled
- As the drivers have a SMBIOS check
- Setup LauncherOption
- Not required but can help alleviate headaches when Windows erases the BOOTx64.efi OpenCore uses
# Installation
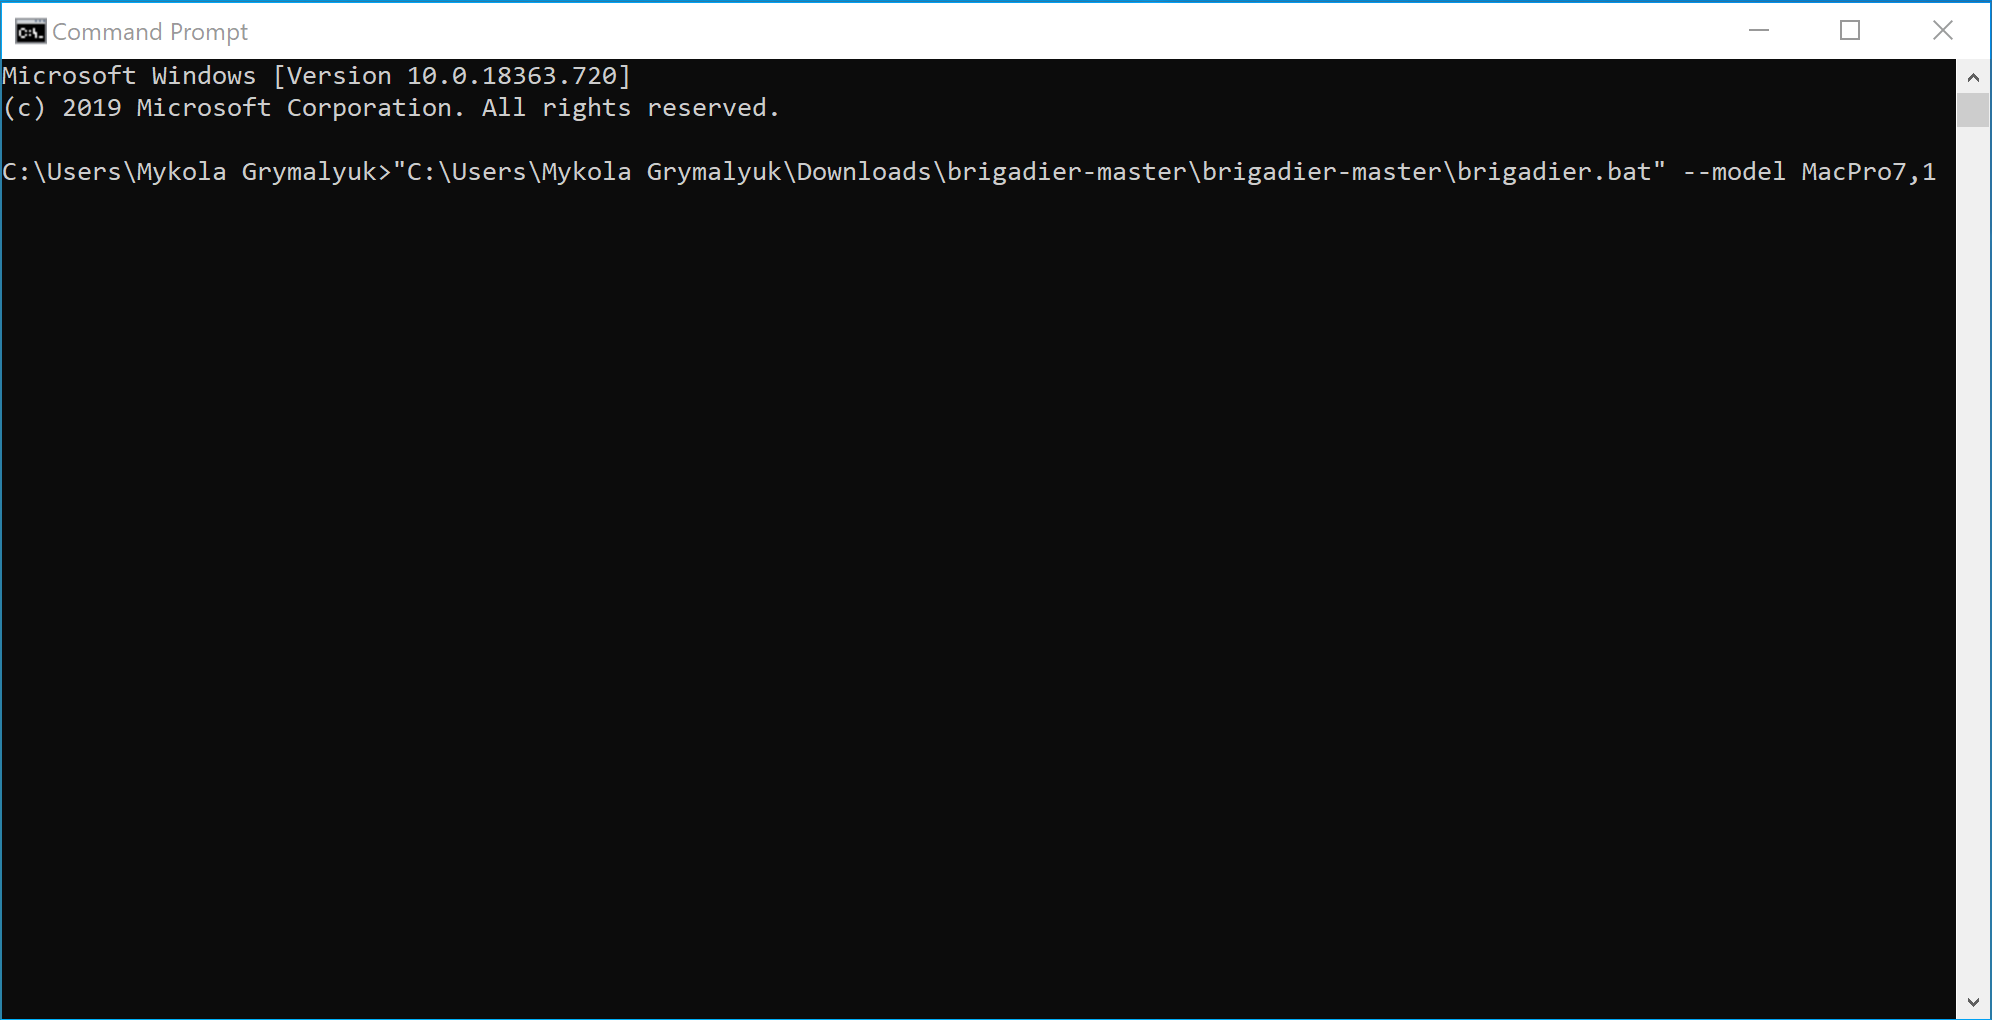
To install, it’s as simple as grabbing Brigadier
(opens new window) and running either Brigadier.bat for Windows or Brigadier.command for macOS. If the SMBIOS you’re currently using either has BootCamp issues or want to download for another SMBIOS, you can add — model
- Note: Older versions of the BootCamp installer(6.0) do not support APFS, you’ll need to either choose a newer SMBIOS that would have it bundled(ie. iMac 19,1) or after installation update your bootcamp software. See below for more details on troubleshooting: Windows Startup Disk can’t see APFS drives
Next you will find our bootcamp drivers under either:
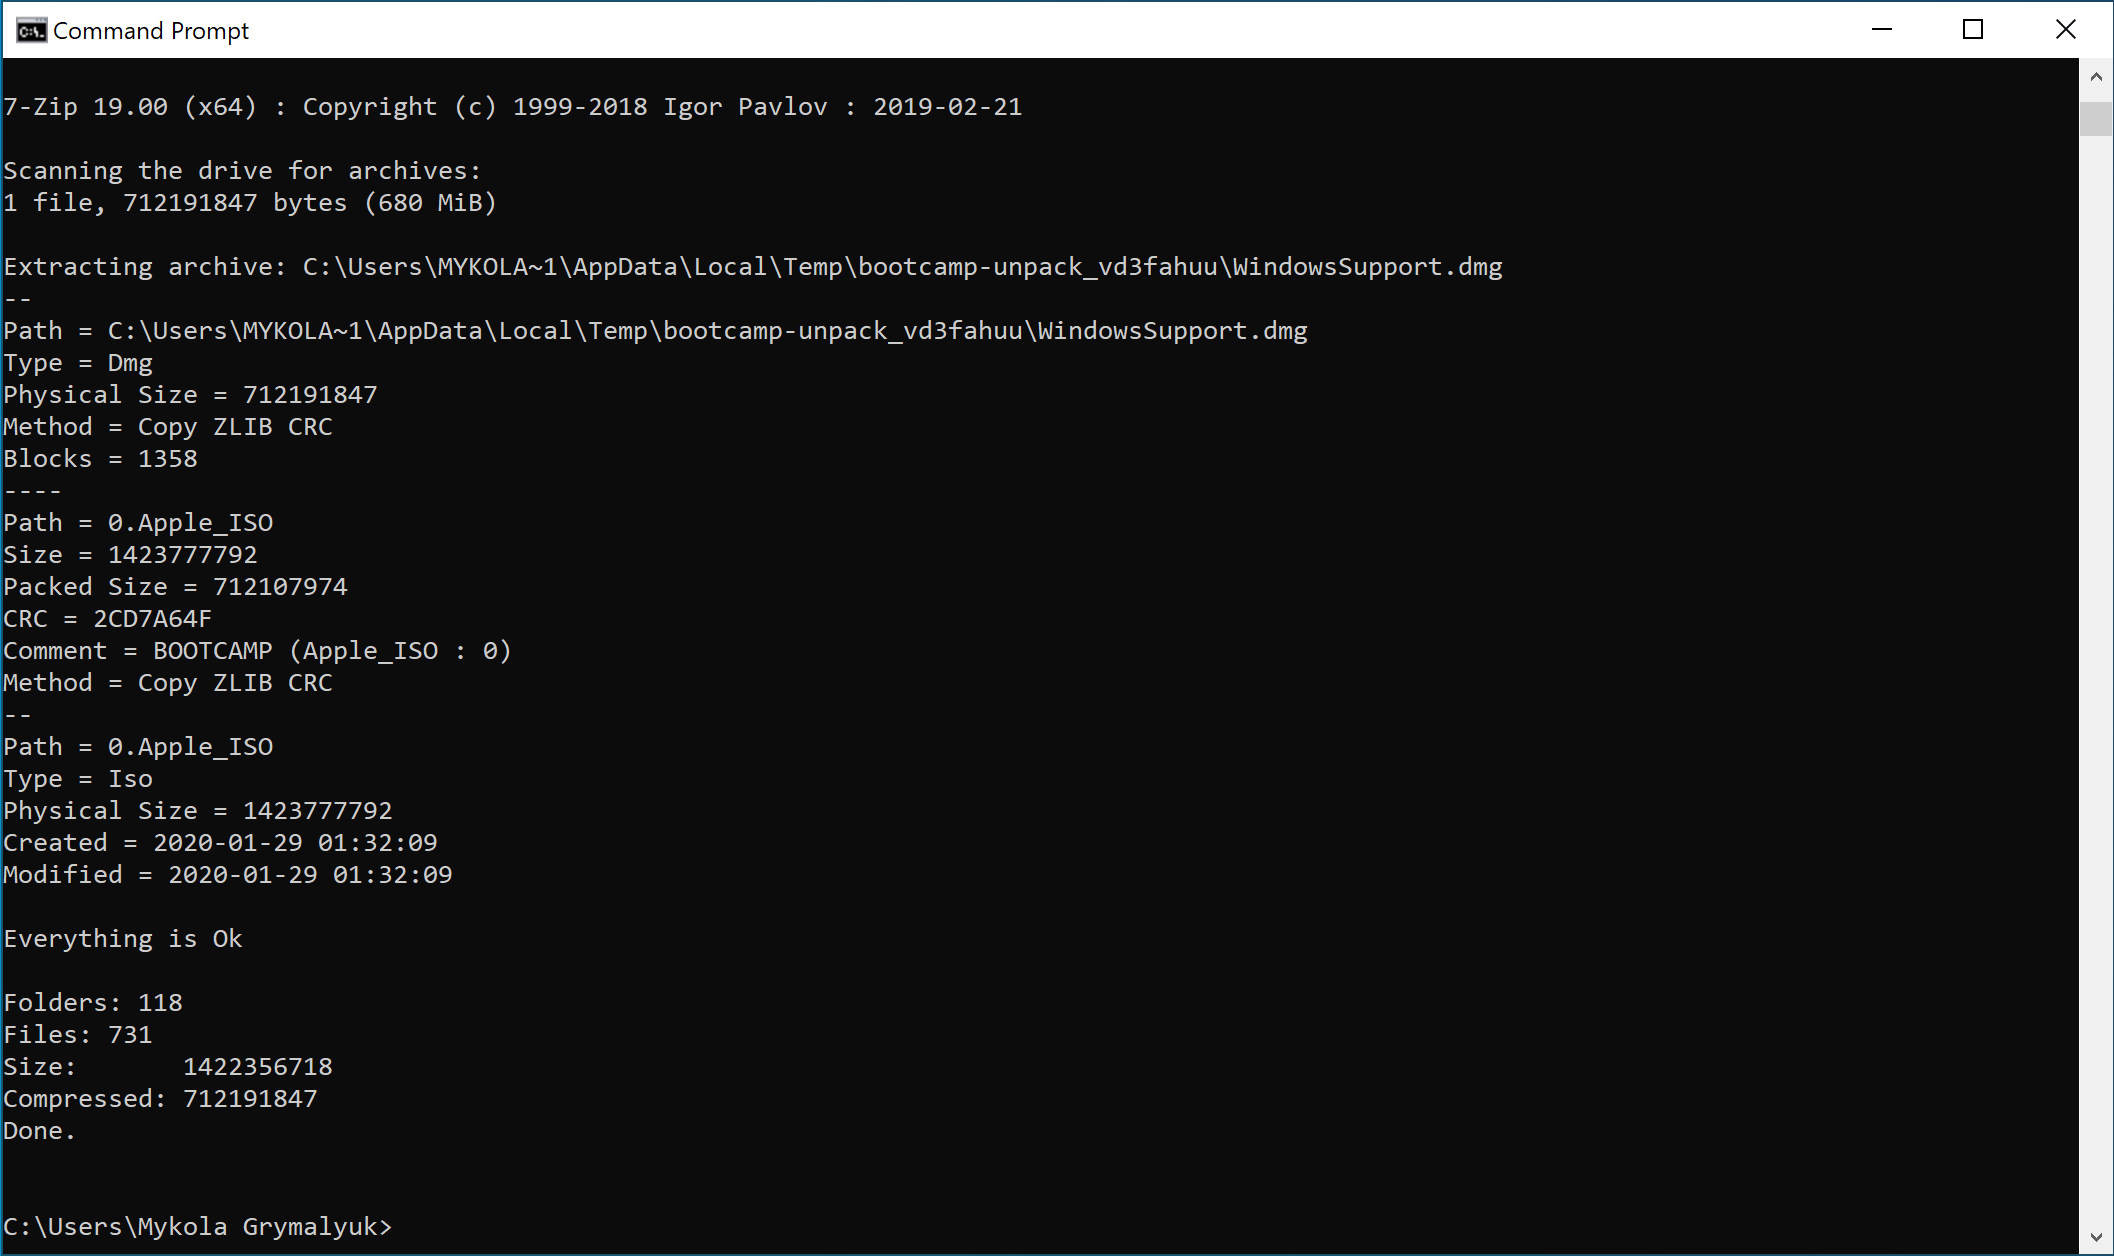
macOS users will next need to expand WindowsSupport.dmg and place it somewhere Windows can get.
Next navigate to the bootcamp-
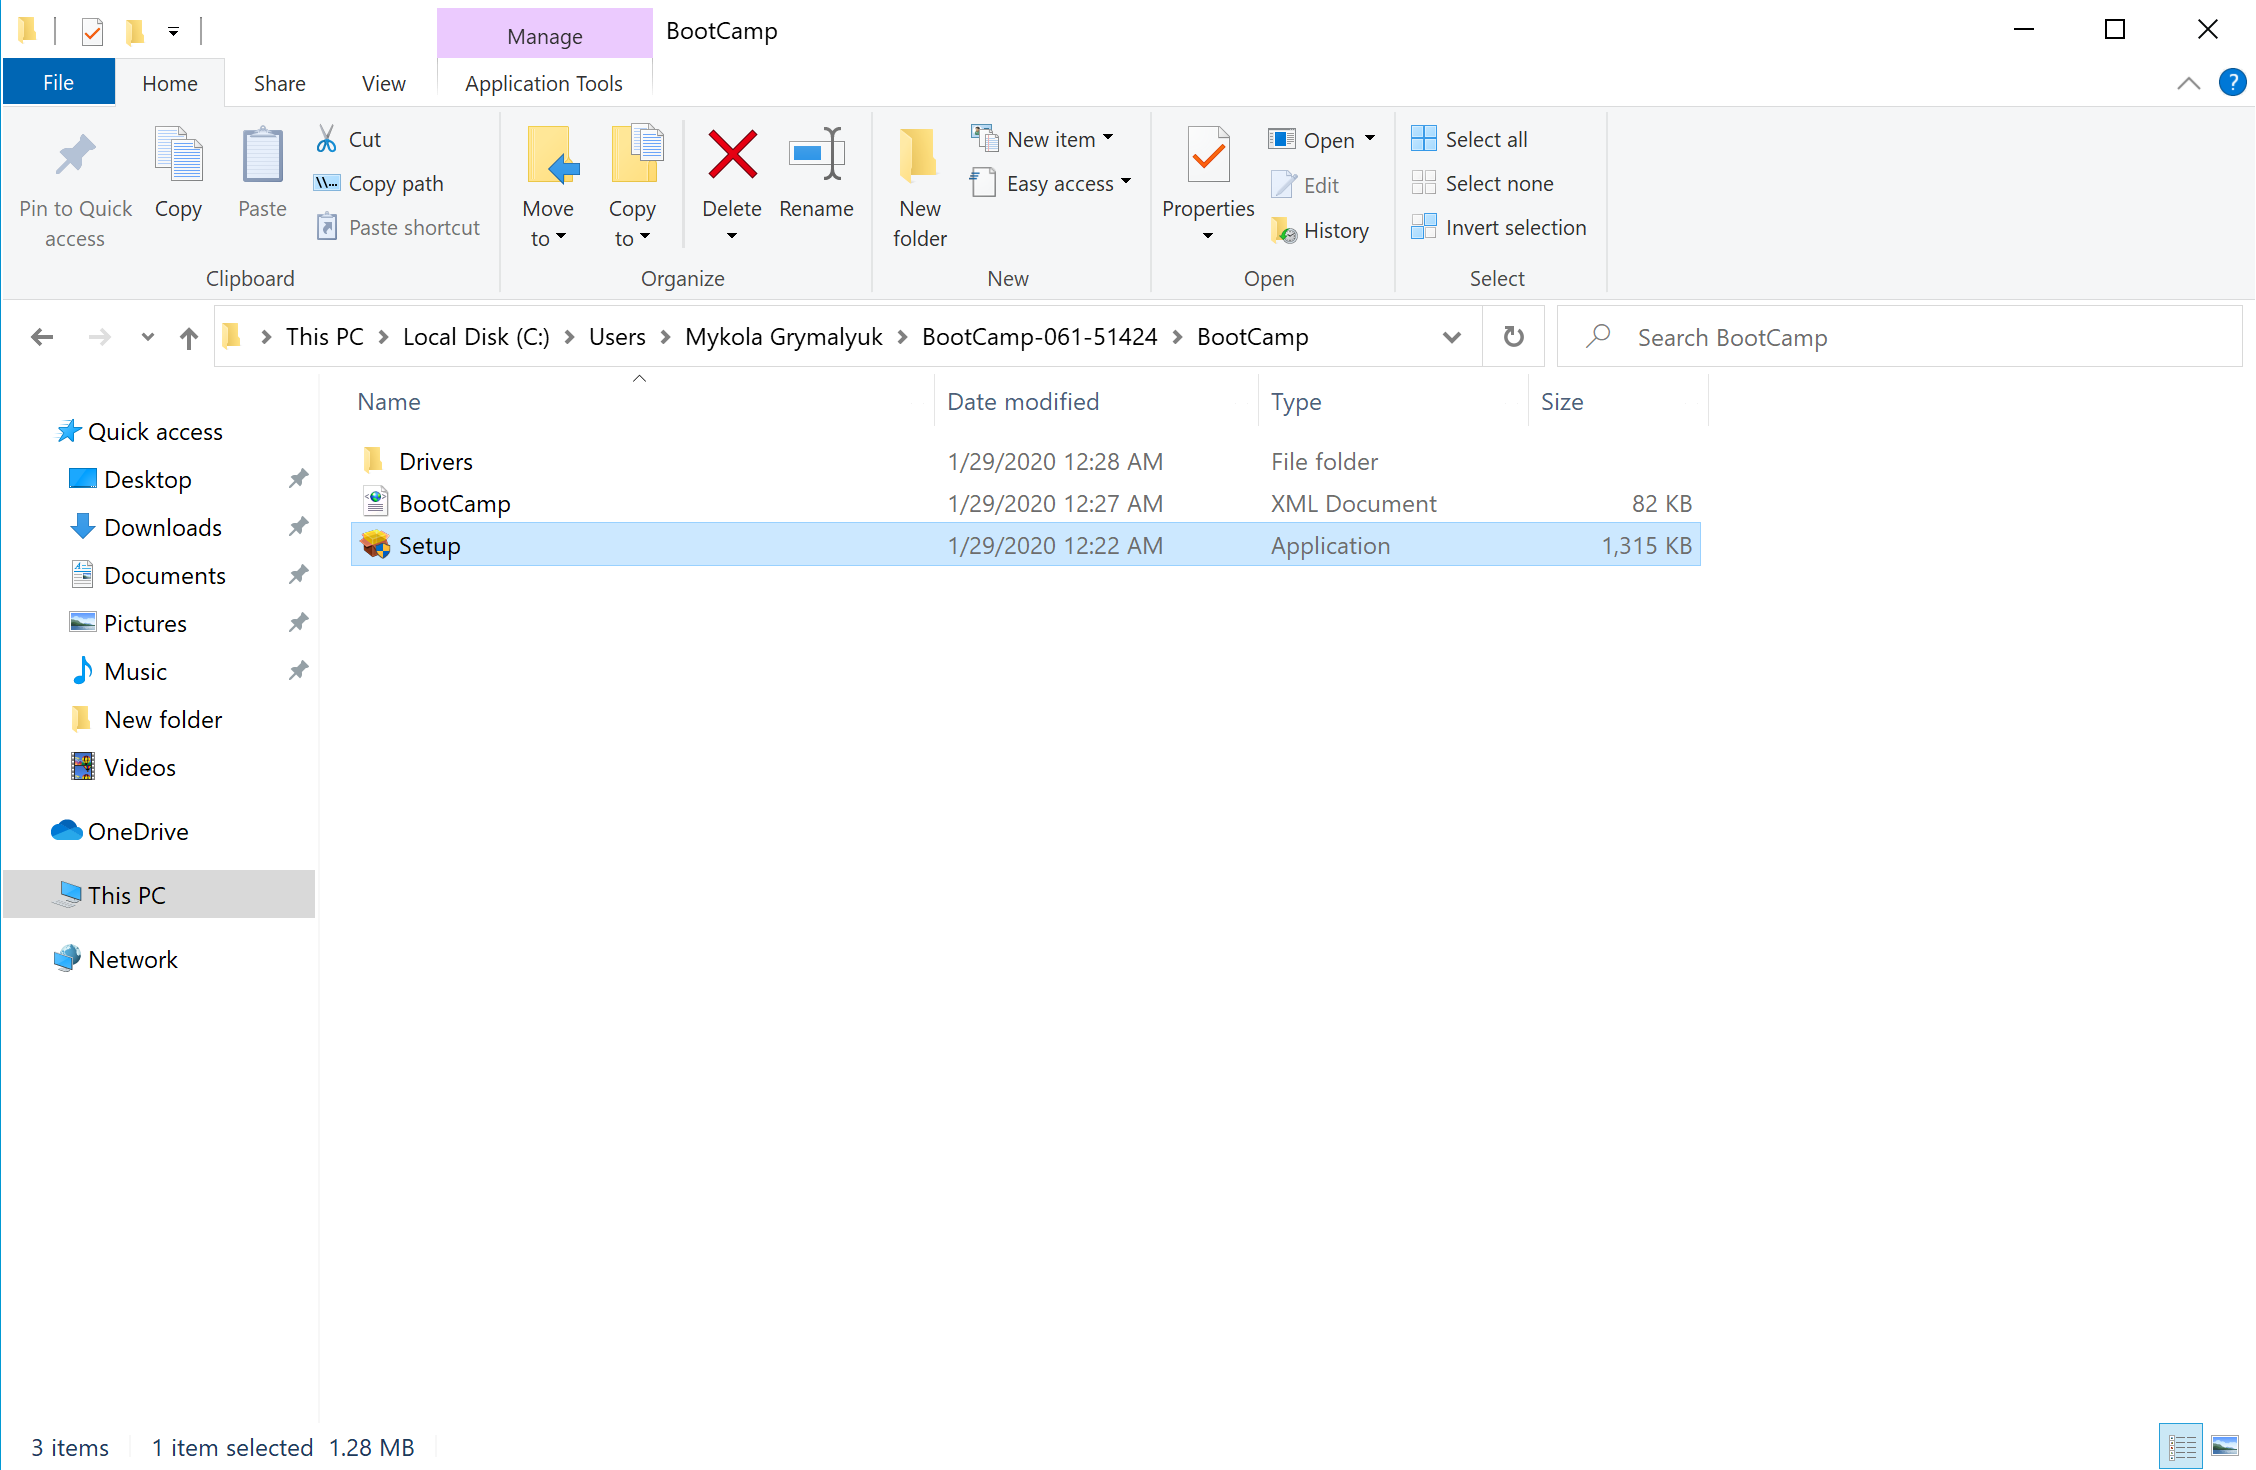
Once all is finished, you now have BootCamp switching! There should be a little BootCamp icon in you tray now that you can select which drive to boot to.
- Note: For those no needing the extra drivers BootCamp provides, you can delete the following:
- $WinPEDriver$ : DO NOT delete the folder itself, just the drivers inside
- Apple Wifi card users will want to keep the following:
- $WinPEDriver$/BroadcomWireless
- $WinPEDriver$/BroadcomBluetooth
- $WinPEDriver$/AppleBluetoothBroadcom
- Apple Wifi card users will want to keep the following:
- BootCamp/Drivers/.
- DO NOT delete BootCamp/Drivers/Apple
- Apple Wifi card users will want to keep the following:
- BootCamp/Drivers/Broadcom/BroadcomBluetooth
- $WinPEDriver$ : DO NOT delete the folder itself, just the drivers inside
# Troubleshooting
# Can’t find Windows/BootCamp drive in picker
So with OpenCore, we have to note that legacy Windows installs are not supported, only UEFI. Most installs now are UEFI based but those made by BootCamp Assistant in macOS are legacy based, so you’ll have to find other means to make an installer(Google’s your friend). This also means MasterBootRecord/Hybrid partitions are also broken so you’ll need to format the drive you want to install onto with DiskUtility.
Now to get onto troubleshooting:
- Make sure Misc -> Security -> ScanPolicy is set to 0 to show all drives
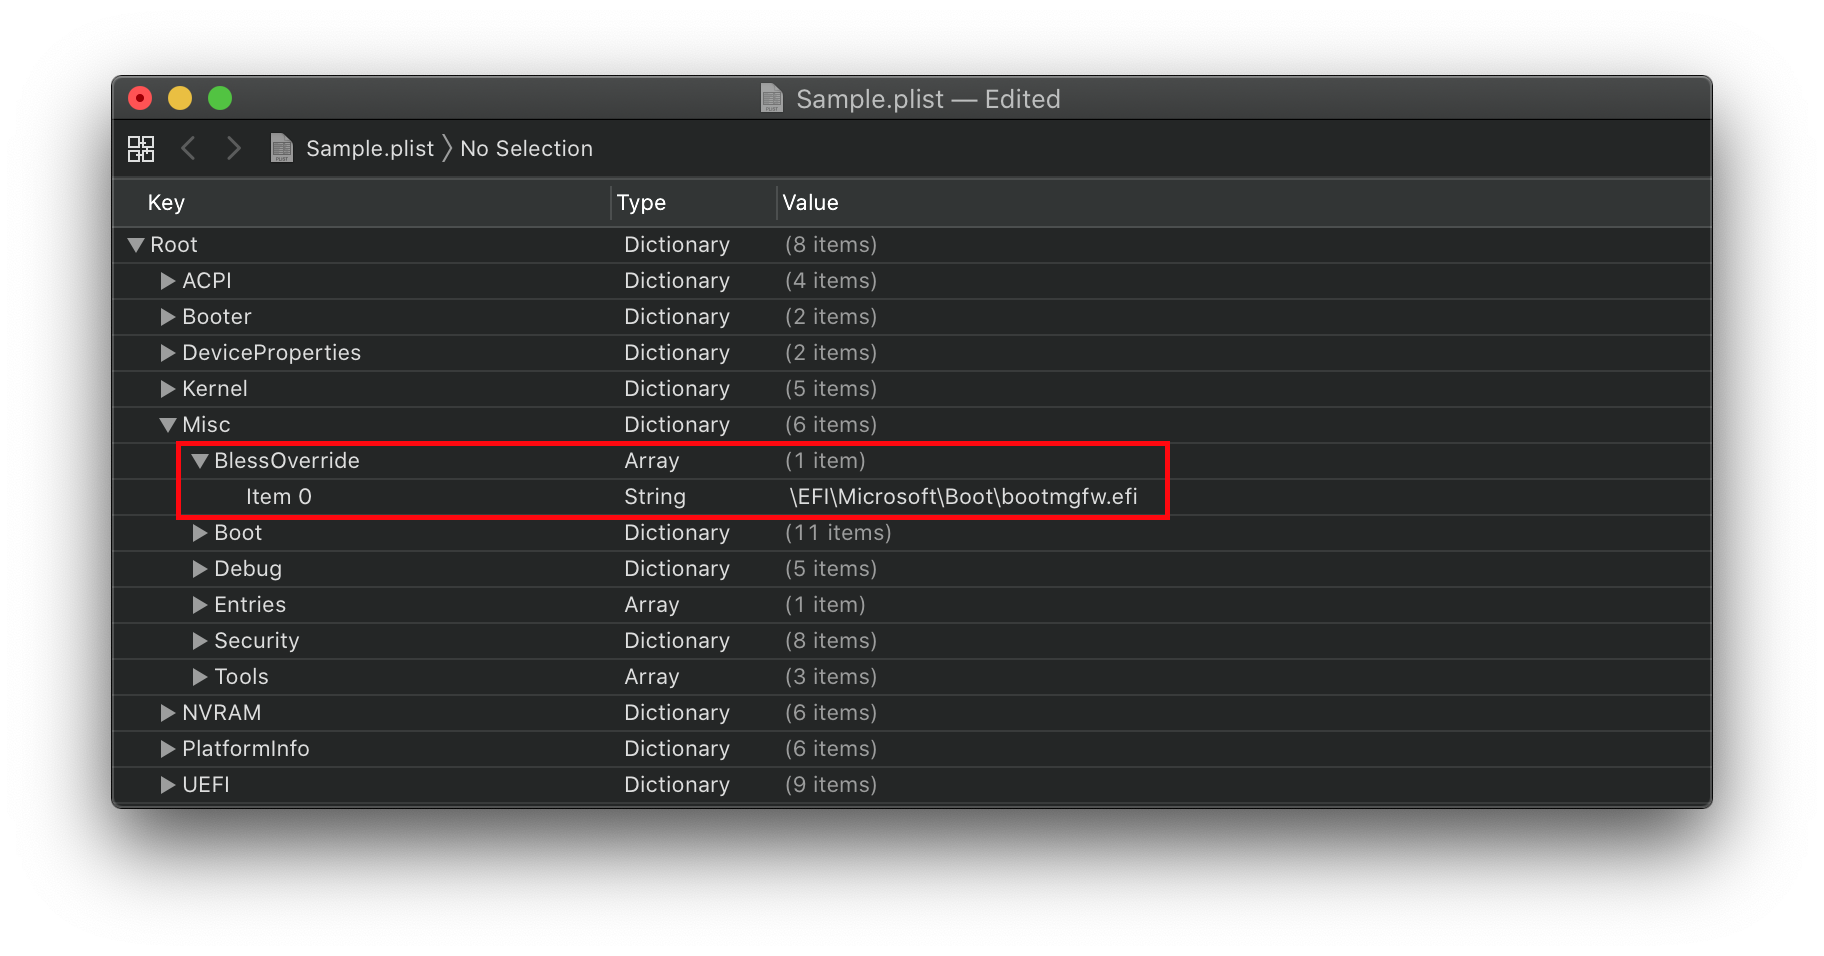
If Windows and OpenCore’s boot loaders are on the same drive, you’ll need to add a BlessOverride entry:
- Note: As of OpenCore 0.5.9, this no longer needs to be specified. OpenCore should pick up on this entry automatically
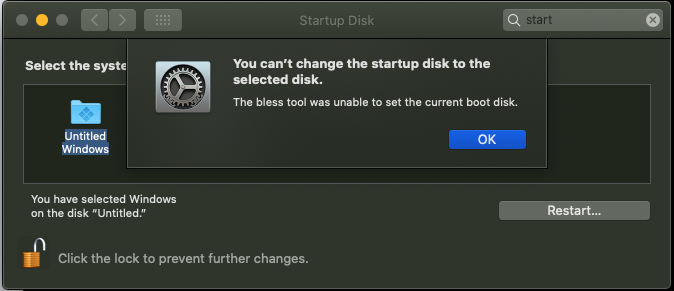
# «You can’t change the startup disk to the selected disk» error
This is commonly caused by either:
- 3rd Party NTFS Drivers(ie. Paragon)
- Irregular partition setup of the Windows drive, specifically that the EFI is not the first partition.
To fix the former, either disable or uninstall these tools.
To fix the latter, we need to enable this quirk:
- PlatformInfo -> Generic -> AdviseWindows -> True
# Booting Windows results in BlueScreen or Linux crashes
This is due to alignment issues, make sure SyncRuntimePermissions is enabled on firmwares supporting MATs. Check your logs whether your firmware supports Memory Attribute Tables(generally seen on 2018 firmwares and newer)
For Z390 and newer motherboards, you’ll also want to enable ProtectUefiServices to ensure OpenCore’s patches are applying correctly.
If your firmware is quite old(generally 2013 and older), you’ll want to enable ProtectMemoryRegions .
Due to the variations of firmwares from vendor to vendor, you’ll need to play around with the combination of these 3 quirks and see which works best.
# OpenCore Boot Issues
Issues surrounding from initial booting the USB itself to right before you choose to boot the macOS installer
# Stuck on a black screen before picker
This is likely some error either on your firmware or OpenCore, specifically it’s having troubles loading all the drivers and presenting the menu. The best way to diagnose it is via OpenCore’s DEBUG Build and checking the logs whether OpenCore actually loaded, and if so what is it getting stuck on.
Situations where OpenCore did not load:
- If there are no logs present even after setting up the DEBUG version of OpenCore with Target set to 67, there’s likely an issue either with:
- Incorrect USB Folder Structure
- See Booting OpenCore reboots to BIOS for more info
- Firmware does not support UEFI
- You’ll need to setup DuetPkg, this is covered in both the macOS and Windows install pages
- Incorrect USB Folder Structure
Situations where OpenCore did load:
- Check the last line printed in your logs, there will likely be either a .efi driver that’s been loaded or some form of ASSERT
- This is recommended for CPUs that do not support RDRAND, mainly relevant for 3rd gen Ivy bridge i3 and older
- VBoxHfs.efi
(opens new window) is another option however is much slower than HfsPlus’s version
- HiiDatabase.efi load issues:
- Likely your firmware already supports HiiDatabase, so the driver is conflicting. Simply remove the driver as you don’t need it.
- For ASSERT’s, you’ll want to actually inform the developers about this issue here: Acidanthera’s Bugtracker
(opens new window)
For .efi drivers getting stuck, check over the following:
- HfsPlus.efi load issues:
- Try using HfsPlusLegacy.efi
(opens new window) instead
# Stuck on no vault provided!
Turn off Vaulting in your config.plist under Misc -> Security -> Vault by setting it to:
If you have already executed the sign.command you will need to restore the OpenCore.efi file as the 256 byte RSA-2048 signature has been shoved in. Can grab a new copy of OpenCore.efi here: OpenCorePkg
Note: Vault and FileVault are 2 separate things, see Security and FileVault
# Stuck on OC: Invalid Vault mode
This is likely a spelling mistake, options in OpenCore are case-sensitive so make sure you check closely, Optional is the correct way to enter it under Misc -> Security -> Vault
# Can’t see macOS partitions
Main things to check:
- ScanPolicy set to 0 to show all drives
- Have the proper firmware drivers such as HfsPlus(Note ApfsDriverLoader shouldn’t be used in 0.5.8)
- Set UnblockFsConnect to True in config.plist -> UEFI -> Quirks. Needed for some HP systems
- Set SATA Mode: AHCI in BIOS
- Set UEFI -> APFS to see APFS based drives:
- EnableJumpstart: YES
- HideVerbose: NO
- If running older versions of High Sierra(ie. 10.13.5 or older), set the following:
- MinDate: -1
- MinVersion: -1
# Stuck on OCB: OcScanForBootEntries failure — Not Found
This is due to OpenCore being unable to find any drives with the current ScanPolicy, setting to 0 will allow all boot options to be shown
- Misc -> Security -> ScanPolicy -> 0
# Stuck on OCB: failed to match a default boot option
Same fix as OCB: OcScanForBootEntries failure — Not Found , OpenCore is unable to find any drives with the current ScanPolicy, setting to 0 will allow all boot options to be shown
- Misc -> Security -> ScanPolicy -> 0
# Stuck on OCB: System has no boot entries
Same fix as the above 2:
- Misc -> Security -> ScanPolicy -> 0
# Stuck on OCS: No schema for DSDT, KernelAndKextPatch, RtVariable, SMBIOS, SystemParameters.
This is due to either using a Clover config with OpenCore or using a configurator such as Mackie’s Clover and OpenCore configurator. You’ll need to start over and make a new config or figure out all the garbage you need to remove from your config. This is why we don’t support configurators, they are known for these issues
- Note: These same issues will also occur if you mix outdated configs with newer versions of OpenCore. Please update them accordingly
# Stuck on OC: Driver XXX.efi at 0 cannot be found
This is due to an entry being in your config.plist, however not present in your EFI. To resolve:
- Ensure your EFI/OC/Drivers matches up with your config.plist -> UEFI -> Drivers
- If not, please run Cmd/Ctrl+R with OpenCore to re-snapshot your config.plist
Note that the entries are case-sensitive.
# Receiving «Failed to parse real field of type 1»
This is due to a value set as real when it’s not supposed to be, generally being that Xcode converted HaltLevel by accident:
To fix, swap real for integer :
# Can’t select anything in the picker
This is due to either a few things
Incompatible keyboard driver:
- Disable PollAppleHotKeys and enable KeySupport , then remove OpenUsbKbDxe
(opens new window) from your config.plist -> UEFI -> Drivers
If the above doesn’t work, reverse: disable KeySupport , then add OpenUsbKbDxe
(opens new window) to your config.plist -> UEFI -> Drivers
Missing PS2 keyboard driver(Ignore if using a USB keyboard):
- While most firmwares will include it by default, some laptops and older PCs may still need Ps2KeyboardDxe.efi
(opens new window) to function correctly. Remember to add this to your config.plist as well
# SSDTs not being added
So with OpenCore, there’s some extra security checks added around ACPI files, specifically that table length header must equal to the file size. This is actually the fault of iASL when you compiled the file. Example of how to find it:
The Length and checksum value is what we care about, so if our SSDT is actually 347 bytes then we want to change Length to 0x0000015B (347) (the 015B is in HEX)
Best way to actually fix this is to grab a newer copy of iASL or Acidanthera’s copy of MaciASL
(opens new window) and remaking the SSDT
- Note: MaciASL distributed by Rehabman are prone to ACPI corruption, please avoid it as they no longer maintain their repos
# Booting OpenCore reboots to BIOS
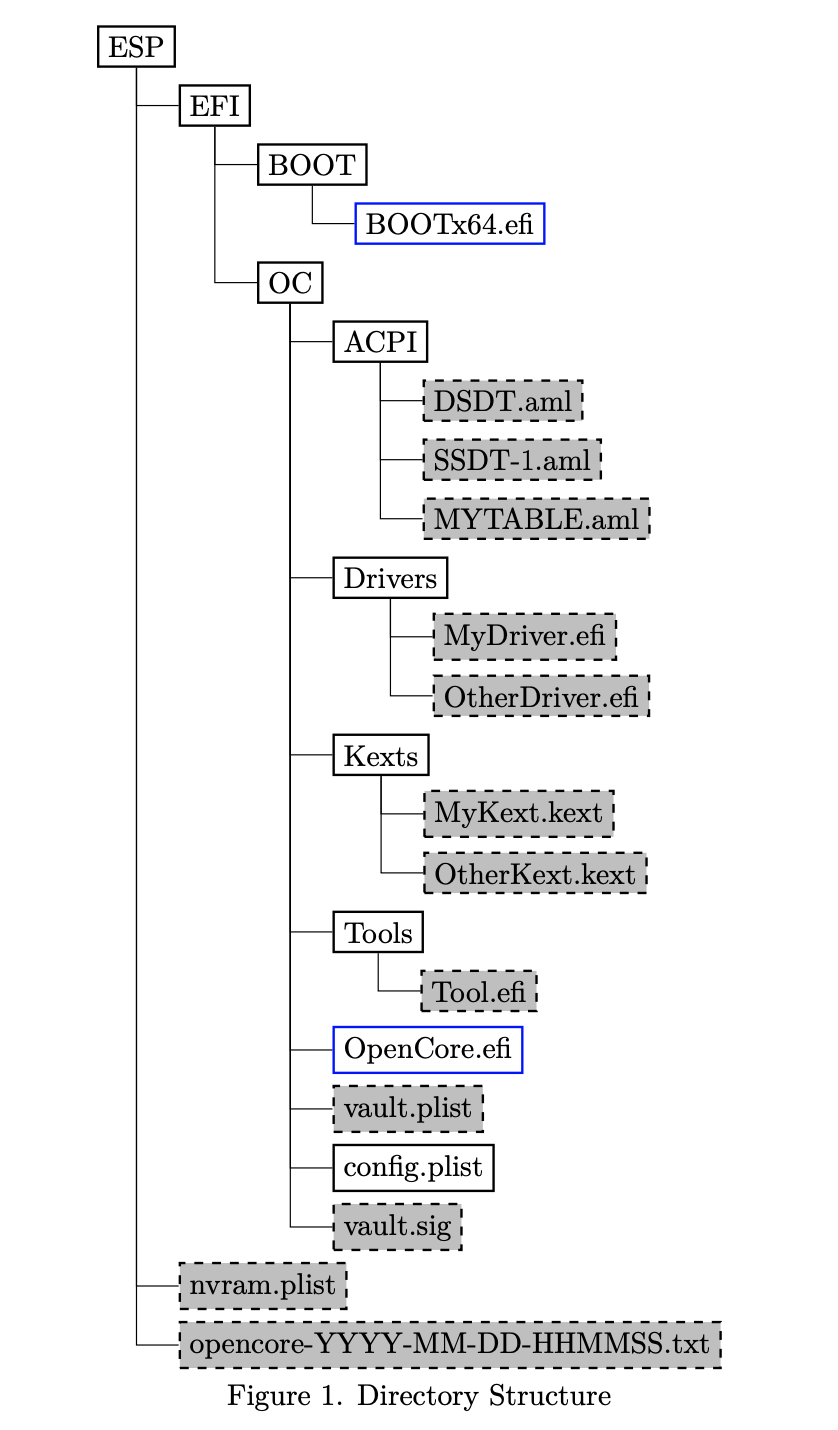
- Incorrect EFI folder structure, make sure all of your OC files are within an EFI folder located on your ESP(EFI system partition)
Example of folder structure
# OCABC: Incompatible OpenRuntime r4, require r10
Outdated OpenRuntime.efi, make sure BOOTx64.efi, OpenCore.efi and OpenRuntime are all from the same exact build. Anything mismatched will break booting
- Note: FwRuntimeServices has been renamed to OpenRuntime with 0.5.7 and newer


