- Установка OpenVPN в Ubuntu
- Устанавливаем OpenVPN в Linux
- Шаг 1: Установка OpenVPN
- Шаг 2: Создание и настройка удостоверяющего центра
- Шаг 3: Конфигурация клиентских сертификатов
- Шаг 4: Настройка OpenVPN
- Connecting to Access Server with Linux
- Client software choice
- Linux Packages Discussed
- OpenVPN 3 Linux Client
- OpenVPN open source OpenVPN CLI program
- Ubuntu network management program
Установка OpenVPN в Ubuntu
Некоторые пользователи заинтересованы в создании частной виртуальной сети между двумя компьютерами. Обеспечивается поставленная задача с помощью технологии VPN (Virtual Private Network). Реализовывается соединение через открытые или закрытые утилиты и программы. После успешной установки и настройки всех компонентов процедуру можно считать завершенной, а подключение — защищенным. Далее мы бы хотели детально обсудить осуществления рассмотренной технологии через клиент OpenVPN в операционной системе на базе ядра Linux.
Устанавливаем OpenVPN в Linux
Поскольку большинство юзеров используют дистрибутивы, основанные Ubuntu, сегодня инструкции будут базироваться именно на этих версиях. В других же случаях кардинальной разницы в инсталляции и конфигурации OpenVPN вы не заметите, разве что придется соблюдать синтаксис дистрибутива, о чем вы можете прочесть в официальной документации своей системы. Предлагаем ознакомиться со всем процессом пошагово, чтобы детально разобраться в каждом действии.
Обязательно следует учитывать, что функционирование OpenVPN происходит через два узла (компьютер или сервер), а значит это то, что установка и настройка касается всех участников подключения. Наше следующее руководство будет ориентировано как раз на работу с двумя источниками.
Шаг 1: Установка OpenVPN
Конечно, начать следует с добавления всех необходимых библиотек на компьютеры. Приготовьтесь к тому, что для выполнения поставленной задачи использоваться будет исключительно встроенный в ОС «Терминал».
- Откройте меню и запустите консоль. Сделать это можно также путем нажатия комбинации клавиш Ctrl + Alt + T.
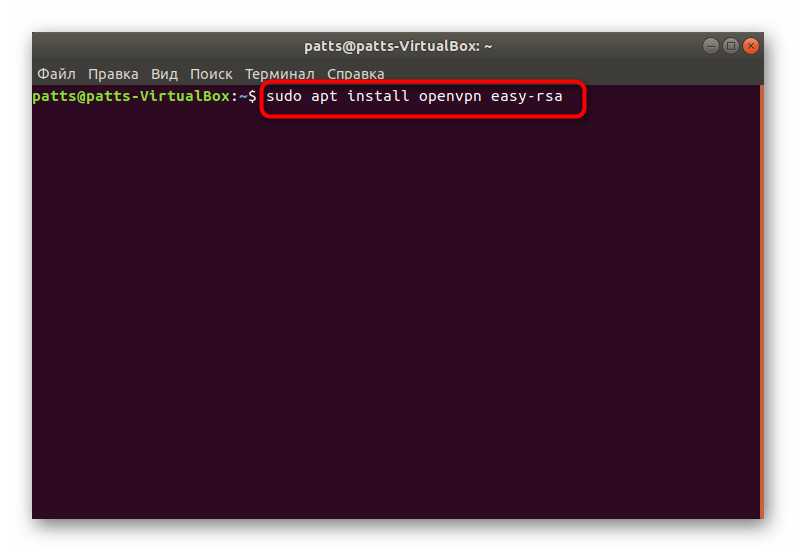
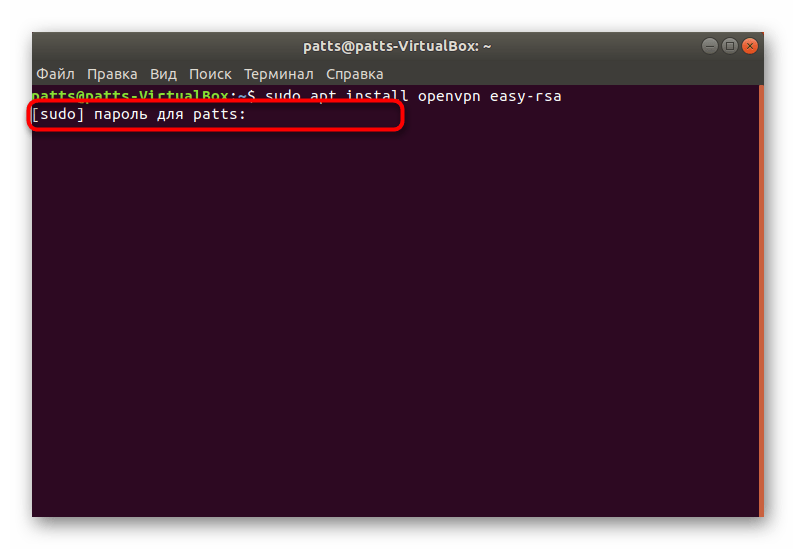
Пропишите команду sudo apt install openvpn easy-rsa для установки всех нужных репозиториев. После ввода нажмите на Enter.
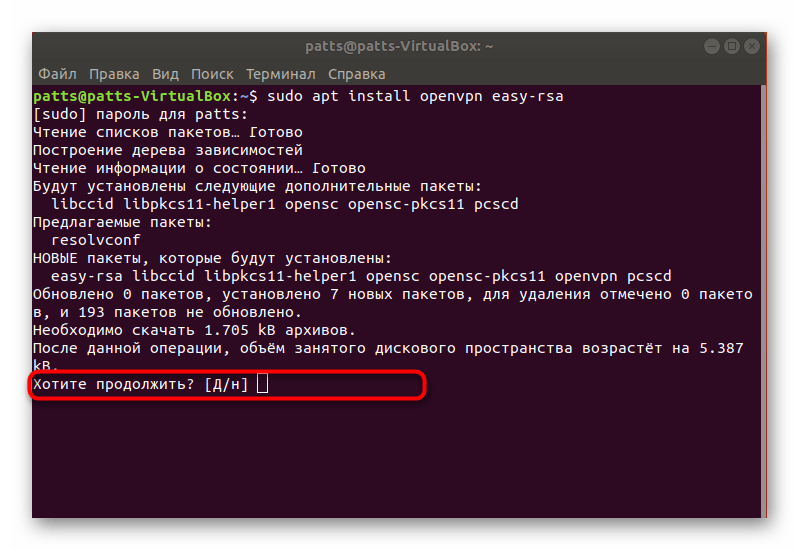
Подтвердите добавление новых файлов, выбрав соответствующий вариант.
Переходите к следующему шагу только тогда, когда инсталляция будет произведена на обеих устройствах.
Шаг 2: Создание и настройка удостоверяющего центра
Центр спецификации отвечает за проверку открытых ключей и обеспечивает надежное шифрование. Создается он на том устройстве, к которому потом будут подключаться другие пользователи, поэтому откройте консоль на нужном ПК и выполните следующие действия:
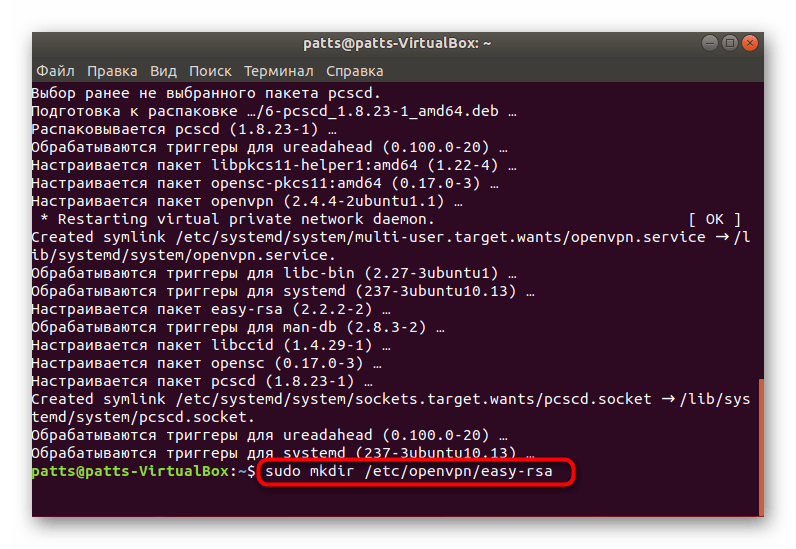
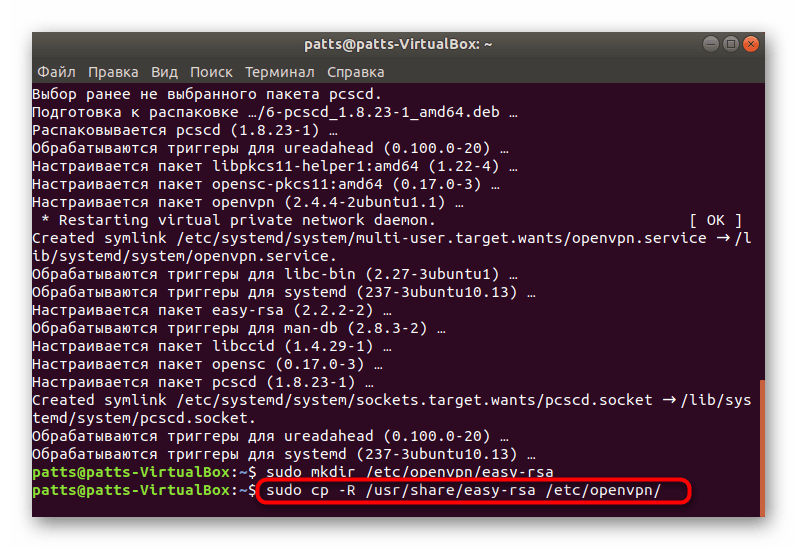
- Первоочередно создается папка для хранения всех ключей. Вы можете расположить ее где угодно, но лучше подобрать надежное место. Используйте для этого команду sudo mkdir /etc/openvpn/easy-rsa , где /etc/openvpn/easy-rsa — место для создания директории.
Далее в эту папку требуется поместить скрипты дополнения easy-rsa, а делается это через sudo cp -R /usr/share/easy-rsa /etc/openvpn/ .
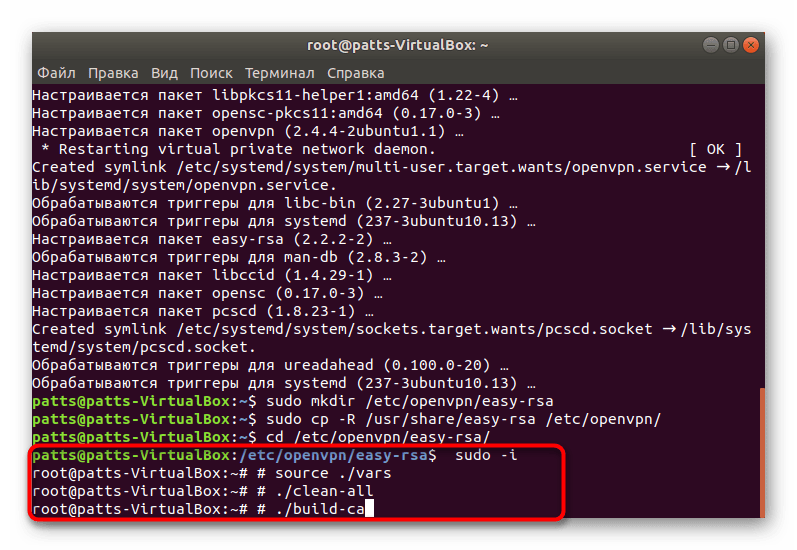
В готовой директории создается удостоверяющий центр. Сначала перейдите в эту папку cd /etc/openvpn/easy-rsa/ .
Затем вставьте в поле следующую команду:
sudo -i
# source ./vars
# ./clean-all
# ./build-ca
Пока серверный компьютер можно оставить в покое и переместиться к клиентским устройствам.
Шаг 3: Конфигурация клиентских сертификатов
Инструкцию, с которой вы будете ознакомлены ниже, потребуется провести на каждом клиентском компьютере, чтобы организовать корректно функционирующее защищенное соединение.
- Откройте консоль и напишите там команду sudo cp -R /usr/share/easy-rsa /etc/openvpn/ , чтобы скопировать все требуемые скрипты инструмента.
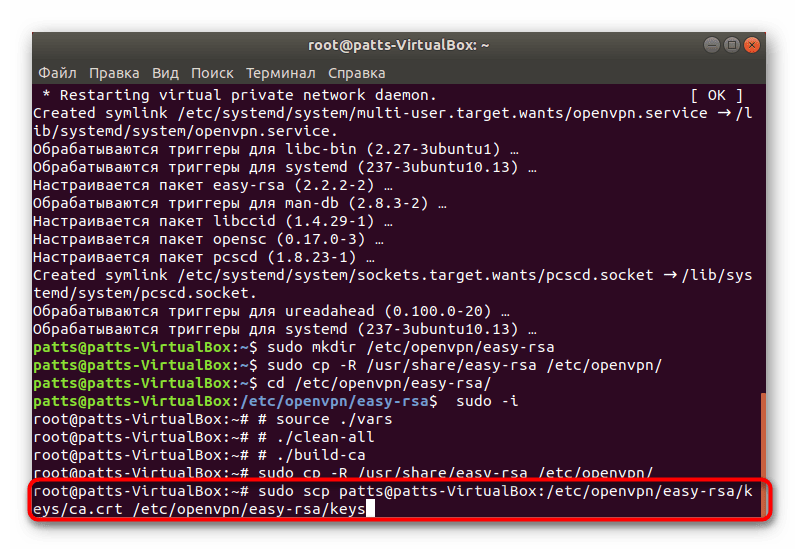
Ранее на серверном ПК был создан отдельный файл с сертификатом. Теперь его нужно скопировать и поместить в папку с остальными компонентами. Проще всего это сделать через команду sudo scp username@host:/etc/openvpn/easy-rsa/keys/ca.crt /etc/openvpn/easy-rsa/keys , где username@host — адрес оборудования, с которого производится скачивание.
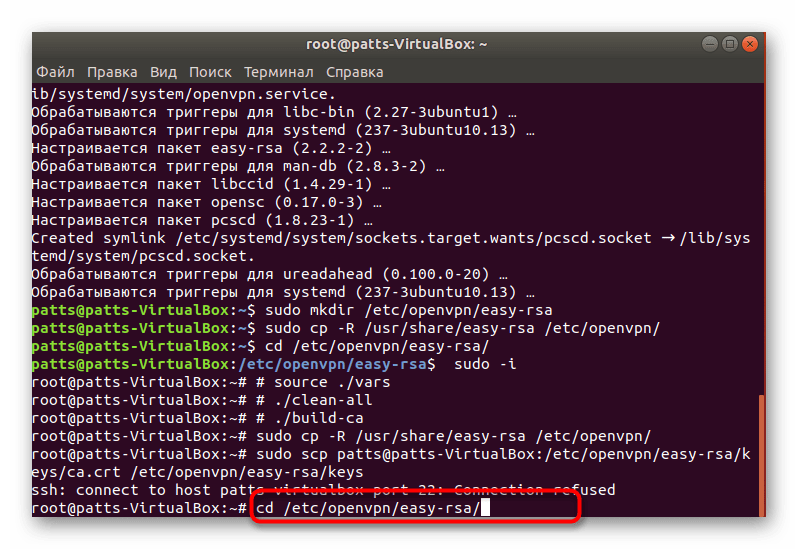
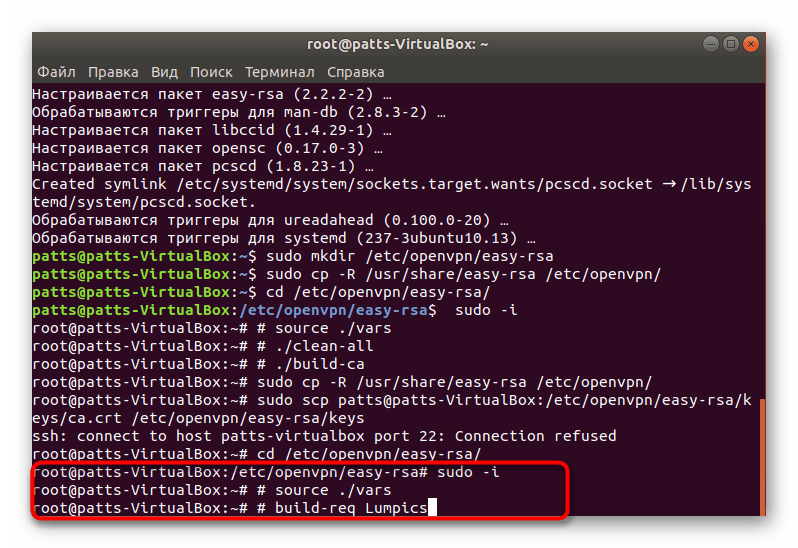
Осталось только создать личный секретный ключ, чтобы в дальнейшем через него осуществлялось соединение. Сделайте это, перейдя в папку хранения скриптов cd /etc/openvpn/easy-rsa/ .
Для создания файла используйте команду:
sudo -i
# source ./vars
# build-req Lumpics
Lumpics в этом случае — заданное название файла. Созданный ключ в обязательном порядке должен находиться в одной и той же директории с остальными ключами.
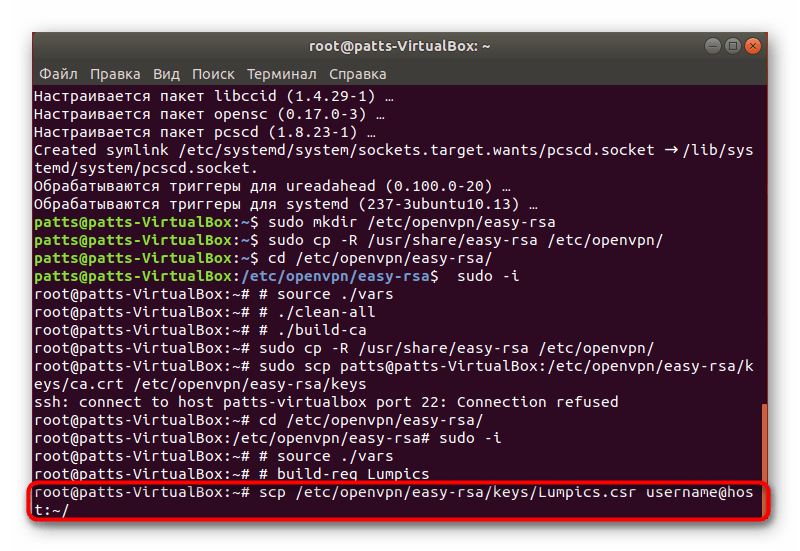
Осталось только отправить готовый ключ доступа на серверное устройство, чтобы подтвердить подлинность своего соединения. Делается это с помощью той же команды, через которую производилось скачивание. Вам нужно ввести scp /etc/openvpn/easy-rsa/keys/Lumpics.csr username@host:
/ , где username@host — имя компьютера для отправки, а Lumpics.csr — название файла с ключом.
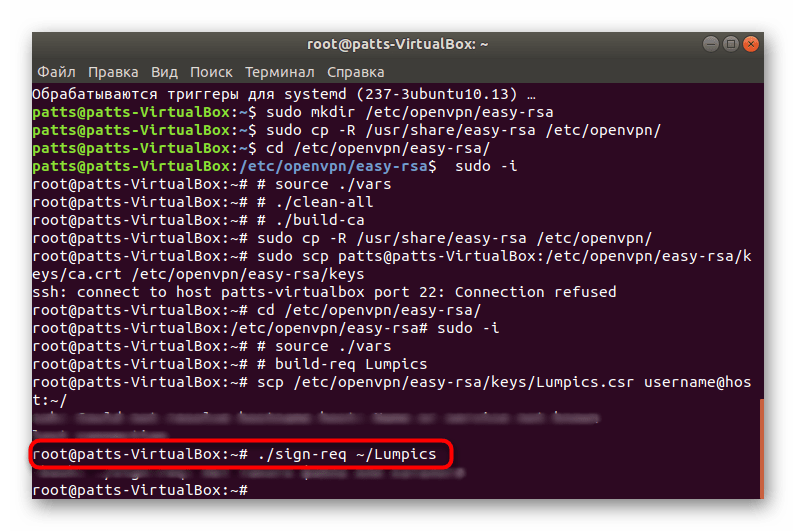
На серверном ПК подтвердите ключ через ./sign-req
/Lumpics , где Lumpics — название файла. После этого верните документ обратно через sudo scp username@host:/home/Lumpics.crt /etc/openvpn/easy-rsa/keys .
На этом все предварительные работы завершены, осталось только привести сам OpenVPN в нормальное состояние и можно начинать использовать частное шифрованное соединение с одним или несколькими клиентами.
Шаг 4: Настройка OpenVPN
Следующее руководство будет касаться и клиентской части, и серверной. Мы все разделим по действиям и предупредим об изменениях машин, поэтому вам остается только выполнить приведенную инструкцию.
- Сначала создайте файл конфигурации на серверном ПК с помощью команды zcat /usr/share/doc/openvpn/examples/sample-config-files/server.conf.gz | sudo tee /etc/openvpn/server.conf . При конфигурации клиентских устройств этот файл также придется создавать отдельно.
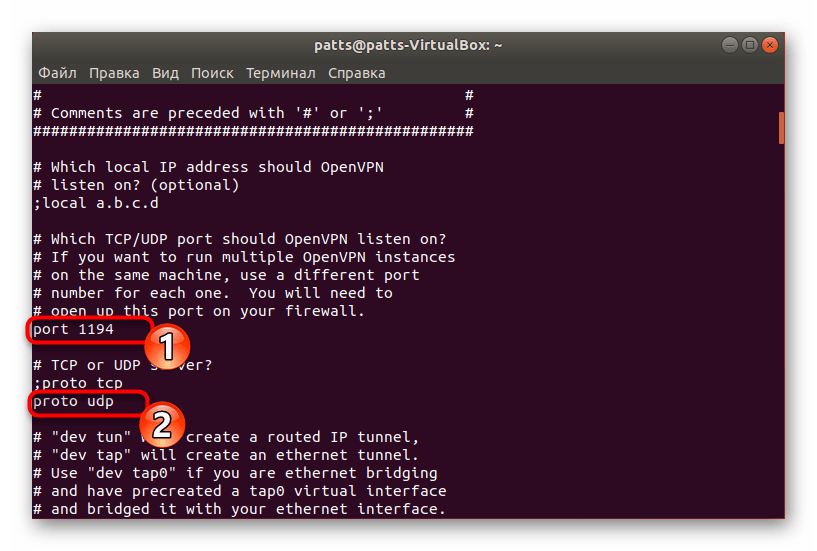
Ознакомьтесь со стандартными значениями. Как видите, порт и протокол совпадает со стандартными, однако отсутствуют дополнительные параметры.
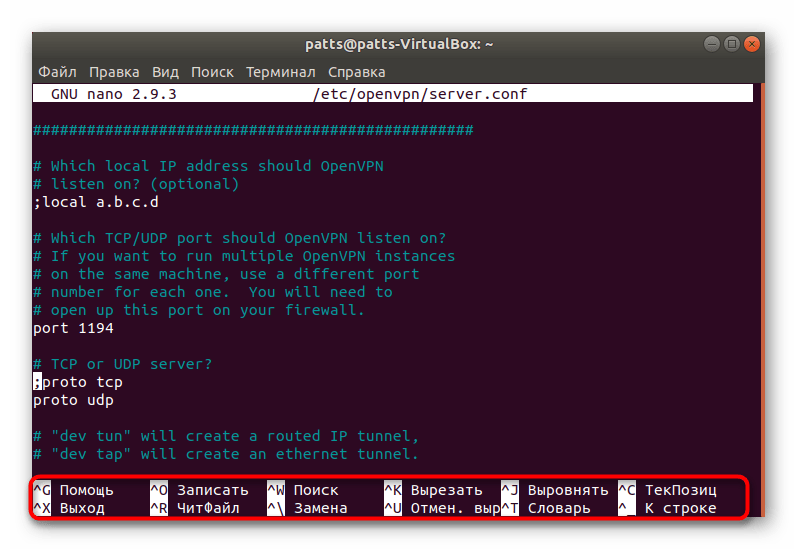
Запустите созданный конфигурационный файл через редактор sudo nano /etc/openvpn/server.conf .
Мы не будем вдаваться в подробности изменения всех значений, поскольку в некоторых случаях они индивидуальны, но стандартные строки в файле должны присутствовать, а выглядит подобная картина так:
port 1194
proto udp
comp-lzo
dev tun
ca /etc/openvpn/easy-rsa/2.0/keys/ca.crt
cert /etc/openvpn/easy-rsa/2.0/keys/ca.crt
dh /etc/openvpn/easy-rsa/2.0/keys/dh2048.pem
topology subnet
server 10.8.0.0 255.255.255.0
ifconfig-pool-persist ipp.txt
После завершения всех изменений сохраните настройки и закройте файл.
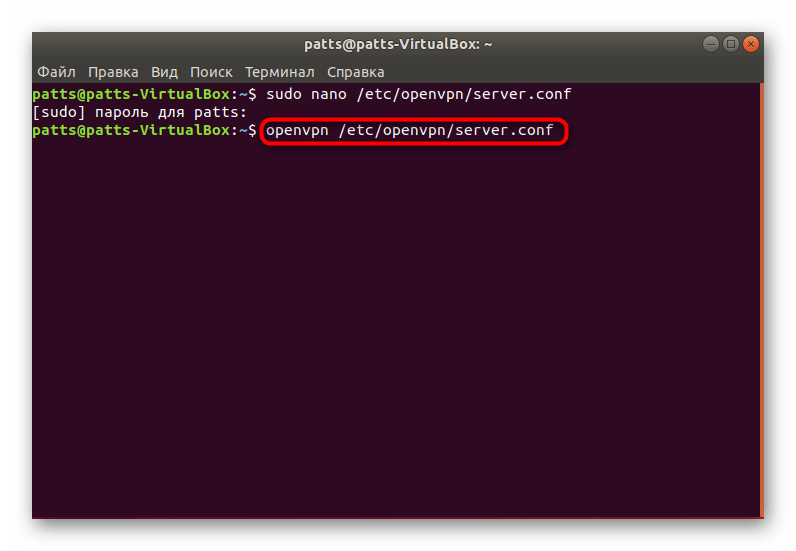
Работа с серверной частью завершена. Запустите OpenVPN через созданный конфигурационный файл openvpn /etc/openvpn/server.conf .
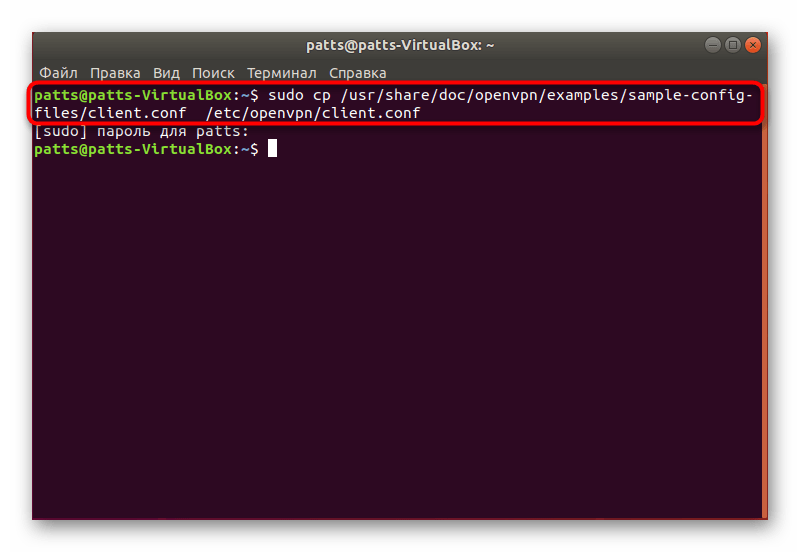
Теперь приступим к клиентским устройствам. Как уже было сказано, здесь тоже создается файл настроек, но на этот раз он не распаковывается, поэтому команда имеет следующий вид: sudo cp /usr/share/doc/openvpn/examples/sample-config-files/client.conf /etc/openvpn/client.conf .
Запустите файл таким же образом, как это было показано выше и внесите туда следующие строки:
client
dev tun
proto udp
remote 194.67.215.125 1194
resolv-retry infinite
nobind
persist-key
persist-tun
ca /etc/openvpn/easy-rsa/keys/ca.crt
cert /etc/openvpn/easy-rsa/keys/Sergiy.crt
key /etc/openvpn/easy-rsa/keys/Sergiy.key
tls-auth ta.key 1
comp-lzo
verb 3 .
По завершении редактирования запустите OpenVPN: openvpn /etc/openvpn/client.conf .
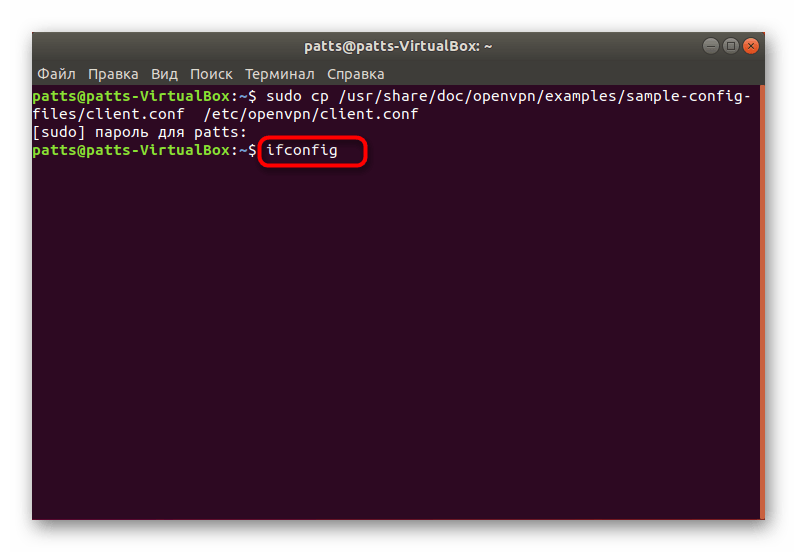
Пропишите команду ifconfig , чтобы удостовериться в работе системы. Среди всех показанных значений обязательно должен присутствовать интерфейс tun0.
Для перенаправления трафика и открытия доступа к интернету для всех клиентов на серверном ПК вам потребуется поочередно активировать указанные ниже команды.
sysctl -w net.ipv4.ip_forward=1
iptables -A INPUT -p udp —dport 1194 -j ACCEPT
iptables -I FORWARD -i tun0 -o eth0 -j ACCEPT
iptables -I FORWARD -i eth0 -o tun0 -j ACCEPT
iptables -t nat -A POSTROUTING -o eth0 -j MASQUERADE
В рамках сегодняшней статьи вы были ознакомлены с процедурой инсталляции и настройки OpenVPN на серверной и клиентской части. Советуем обращать внимание на уведомления, показанные в «Терминале» и изучать коды ошибок, если такие появляются. Подобные действия помогут избежать дальнейших проблем с подключением, ведь оперативное решение проблемы предотвращает появление других вытекающих неполадок.
Помимо этой статьи, на сайте еще 12315 инструкций.
Добавьте сайт Lumpics.ru в закладки (CTRL+D) и мы точно еще пригодимся вам.
Отблагодарите автора, поделитесь статьей в социальных сетях.
Источник
Connecting to Access Server with Linux
Client software choice
Connecting to OpenVPN Access Server from Linux requires a client program. It will capture the traffic you wish to send through the OpenVPN tunnel, encrypting it and passing it to the OpenVPN server. And of course, the reverse, to decrypt the return traffic.
Linux Packages Discussed
| OpenVPN Access Server | openvpn-as |
| OpenVPN 3 Linux Client | openvpn3 |
| OpenVPN open source | openvpn |
OpenVPN 3 Linux Client
The OpenVPN 3 Linux project is a new client built on top of the OpenVPN 3 Core Library. This client is the official OpenVPN Linux Client program. You can find an overview of the features, frequently asked questions, and instructions on installing the openvpn3 package on our OpenVPN 3 for Linux site.
After following the instructions there to install the client, you’ll need a connection profile. This is a file generated by your OpenVPN Access Server installation for your specific user account. It contains the required certificates and connection settings. Go to the Client web interface of your Access Server (the main address, not the /admin portion). Log in with your user credentials. You will be shown a list of files available to download. Pick the user-locked profile or the auto-login profile, and you will be sent a client.ovpn file. Save this file to your Linux operating system.
Once you’ve moved the file to your Linux system, you can import it.
You can start a new VPN session:
You can manage a running VPN session:
And so on. More details can be found here: OpenVPN3Linux.
OpenVPN open source OpenVPN CLI program
The open source project client program can also connect to the Access Server. The package is available in most distributions and is known simply as openvpn. It supports the option to connect to multiple OpenVPN servers simultaneously, and it comes with a service component that can automatically and silently start any auto-login profiles it finds in the /etc/openvpn folder, even before a user has logged in. This service component can be set to automatically start at boot time with the tools available in your Linux distribution if supported. On Ubuntu and Debian, when you install the openvpn package, it is automatically configured to start at boot time.
To install the OpenVPN client on Linux, it is possible in many cases to just use the version that is in the software repository for the Linux distribution itself. If you run into any connectivity problems when using outdated software, it may be due to a possible lack of support for higher TLS versions in older versions of OpenVPN. Follow the instructions found on the open source openvpn community wiki if you wish to install the OpenVPN client on your Linux system.
After installing, you will need a connection profile. This is a file generated by your OpenVPN Access Server installation for your specific user account. It contains the required certificates and connection settings. Go to the Client web interface of your Access Server (the main address, not the /admin portion). Log in with your user credentials. You will be shown a list of files available to you for download. Pick the user-locked profile or the auto-login profile, and you will be sent a client.ovpn file. Save this file to your Linux operating system somewhere. OpenVPN Access Server supports server-locked, user-locked, and auto-login profiles, but the OpenVPN command line client is only able to connect with user-locked or auto-login connection profiles.
We are assuming you are going to start the connection through either the command line as a root user, or via the service daemon. If you want unprivileged users to be able to make a connection, take a look at the community wiki for more information on how to implement that. Here we are going to focus on the simplest implementation; run the connection as root user directly, or via the service daemon.
Start a connection with an auto-login profile manually:
Start a connection with a user-locked profile manually:
If you use Google Authenticator or another extra factor authentication, add the auth-retry parameter:
To start an auto-login connection via the service daemon, place client.ovpn in /etc/openvpn/ and rename the file. It must end with .conf as file extension. Ensure the service daemon is enabled to run after a reboot, and then simply reboot the system. The auto-login type profile will be picked up automatically and the connection will start itself. You can verify this by checking the output of the ifconfig command; you should see a tun0 network adapter in the list.
One major feature that is missing with the command line client is the ability to automatically implement DNS servers that are pushed by the VPN server. It is possible, but it requires you to install a DNS management program such as resolvconf or openresolv, and it may or may not clash with existing network management software in your OS. The idea here, however, is that you use a script that runs when the connection goes up, and when it goes down, that uses resolvconf or openresolv to implement the DNS servers for you. The reason why this client is not able to manage it completely by itself is mainly because in an operating system like Windows, Macintosh, Android, or iOS, there is already an established single method of handling DNS management. It is therefore easy for us to create a software client for those operating systems that already knows how to handle DNS. But Linux is available in so many variations and also supports different programs and methods of implementing DNS servers, and so it was only reasonable to leave built-in DNS support out of the OpenVPN program and instead to provide, where possible, a script that handles DNS implementation. Such a script could even be written by yourself to do whatever tasks are necessary to implement the DNS servers in your unique situation.
Fortunately on Ubuntu and Debian, for example, there is the /etc/openvpn/update-resolv-conf script that comes with the openvpn package that handles DNS implementation for these operating systems. You need only to activate the use of these by following the instructions:
Open your client.ovpn file in a text editor:
At the very bottom simply add these lines:
The first line enables the use of external scripts to handle the DNS implementation tasks. The up and down lines are there to implement DNS servers pushed by the VPN server when the connection goes up, and afterwards to undo it, when the connection goes down.
Ubuntu network management program
There is also the option of connecting through the GUI using the openvpn extension for the Gnome network manager plugin. But this is currently a bit tricky to set up. There is for example the incorrect assumption that all VPNs will be able to redirect Internet traffic, and older versions might not understand the .ovpn file format, requiring you to split up the certificate embedded in it into separate file. And you would likely have to dig into the options to ensure that a default Internet traffic route going through the VPN server is not always enabled by default, especially for servers where you only give access to some internal resources, and not the entire Internet. However the advantage of using the GUI component is that you can start/stop the connection from the desktop environment on Linux.
Источник


