- PacketTracer
- Contents
- Disclaimer
- Installation
- Download source package tarball
- Download Packet Tracer deb package
- Build and install
- End-user License Agreement
- Assessment environment check
- Troubleshooting
- Crashes under Wayland
- Артём Санников
- Установка Cisco Packet Tracer в Ubuntu
- Как установить Cisco Packet Tracer
- Как запустить Cisco Packet Tracer
- Как удалить Cisco Packet Tracer
- Install Packet Tracer on Ubuntu 18.04 LTS
- Downloading Packet Tracer:
- Installing Packet Tracer on Ubuntu 18.04 LTS:
- Using Packet Tracer 7.2:
PacketTracer
Cisco Packet Tracer is a powerful network simulation program that allows students to experiment with network behavior and ask “what if” questions. As an integral part of the Networking Academy comprehensive learning experience, Packet Tracer provides simulation, visualization, authoring, assessment, and collaboration capabilities and facilitates the teaching and learning of complex technology concepts. Source
Contents
Disclaimer
Understand if you have permission from Cisco Systems to use this software. If you do not meet eligibility, discontinue your progress and consider alternatives such as GNS3.
Installation
Download source package tarball
packettracer AUR can not be installed using automated methods (e.g. AUR helper) because the software’s tarball must be installed first before building the package.
Download Packet Tracer deb package
It is time to download the Packet Tracer deb package distributed in Cisco’s website so it can be used to build packettracer AUR for Arch Linux.
- Log into Cisco Networking Academy (netcad) using your Cisco Account. Register an account if you do not have it.
- Once in the Networking Academy portal, download the Packet Tracer from Resources menu >Download Packet Tracer (you should land in here). The downloaded filename should be something like PacketTracer_800_amd64_build212_final.deb .
- Place the .deb file inside the folder where packettracerAUR ‘s build files are located—that is the same folder where the PKGBUILD file is found.
Build and install
With all the build files and the deb file ready, time to build and install:
- Change the directory to where build files (e.g. PKGBUILD ) are (if you are not in there already)
- Build the package; alternatively, build in a clean chroot
- Install the package.
End-user License Agreement
Finally, please read the copyright file at /usr/share/licenses/packettracer/COPYRIGHT for the End-user License Agreement (EULA) and the Supplemental End-user License Agreement (SEULA), and uninstall if you do not agree with them. If you agree, the program can be found under most menu systems in the Internet category, or you run the packettracer binary.
Assessment environment check
 This article or section is out of date.
The Cisco Packet Tracer-based Assessment Environment Check is used to confirm that students can start packet tracer activities for assessments such as practice and final exams. It is critical that you have a working version of Java installed. Perform the check at https://assessment.netacad.net/check/check.html to confirm whether or not this ability is functional.
Troubleshooting
Crashes under Wayland
If Packet Tracer crashes when started in a Wayland session, try running it with the QT_QPA_PLATFORM environment variable set to xcb . See Wayland#Qt for more details.
Источник
Артём Санников


Языки программирования
Базы данных
Программное обеспечение
Операционные системы
Мобильная разработка
Менеджеры пакетов
Сетевые технологии
CMS системы
Математика
SEO продвижение
Социальные сети
Психология
Хостинг провайдер
Смартфоны
Установка Cisco Packet Tracer в Ubuntu
Cisco Packet Tracer — программное обеспечение, которое позиционирует себя как симулятор передачи данных и позволяет строить работоспособные модели сети на базе оборудования cisco. Данное программное обеспечение является кроссплатформенным и распространяется на такие операционные системы, как: Linux, Windows, MacOS, Android и IOS. Сейчас мы рассмотрим процесс установки Packet Tracer в операционной системе Ubuntu.
Как установить Cisco Packet Tracer
Переходим на официальный сайт компании Cisco и загружаем последний релиз Packet Tracer, затем распаковываем архив в любую директорию (из которой будет удобнее произвести установку). В моём случае я распаковал архив на рабочий стол.
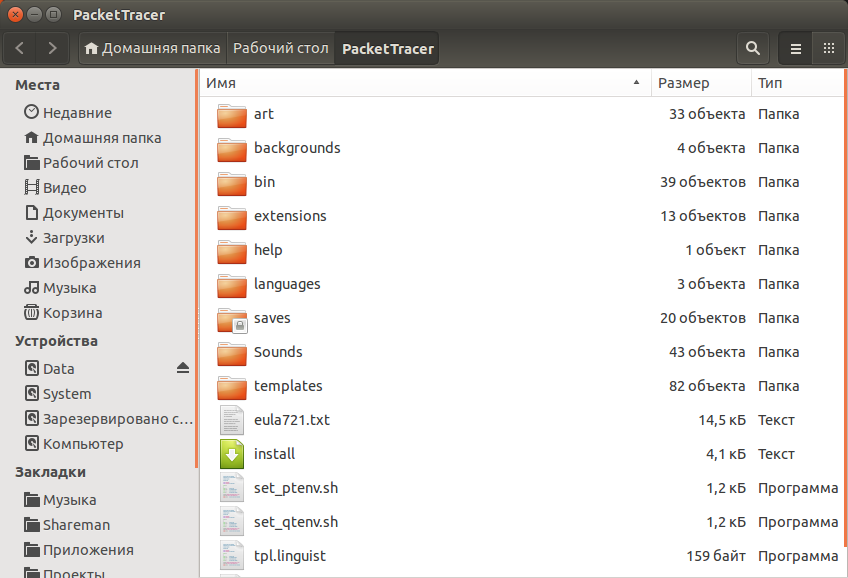
Открываем терминал сочетанием клавиш Ctrl + Alt + T и переходим в директорию с Packet Tracer (куда распаковали архив).
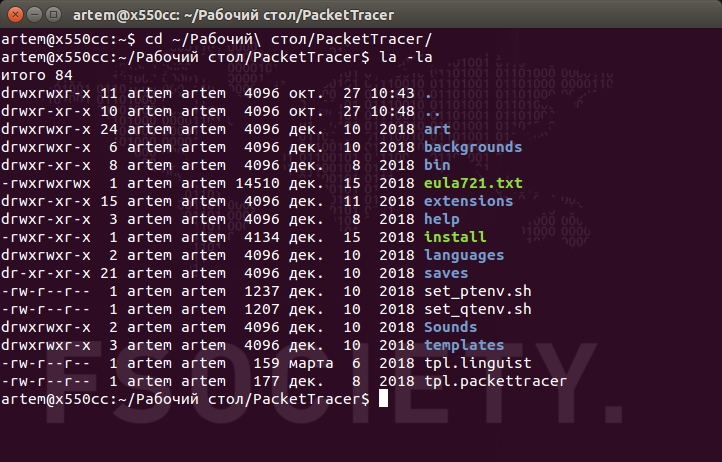
Делаем файл install исполняемым, то есть добавляем разрешение на исполнение к существующим разрешениям.
sudo chmod +x install
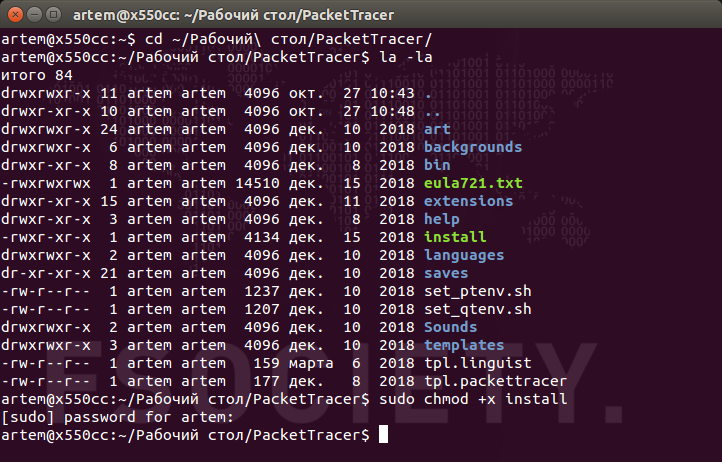
Нажимаем Enter для запуска установочного процесса.
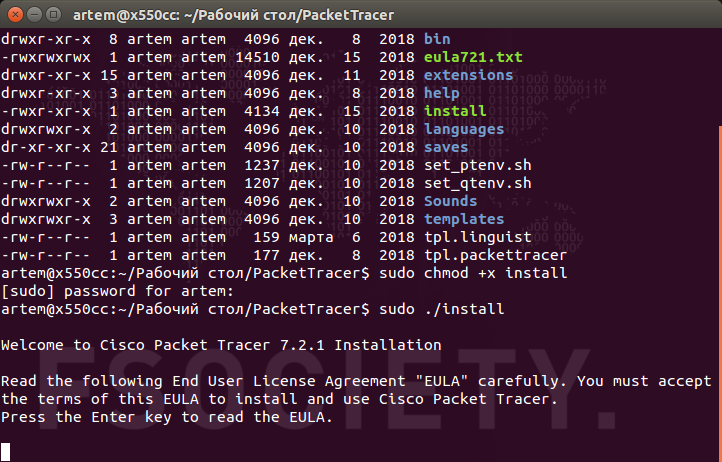
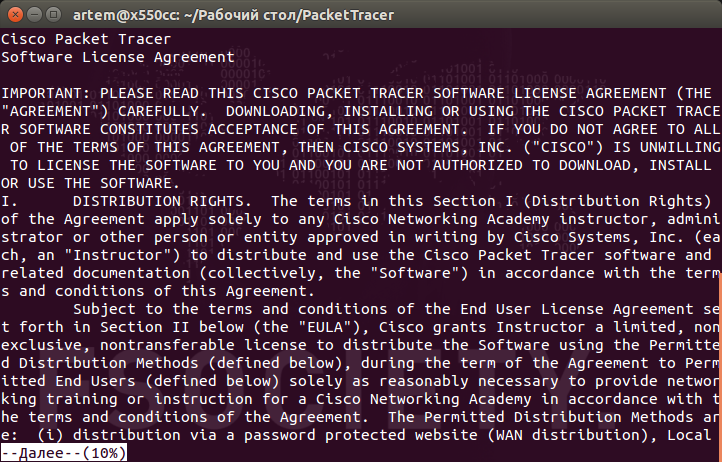
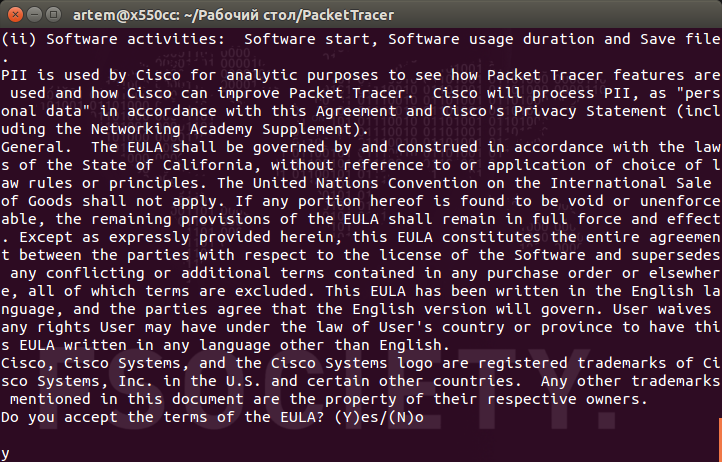
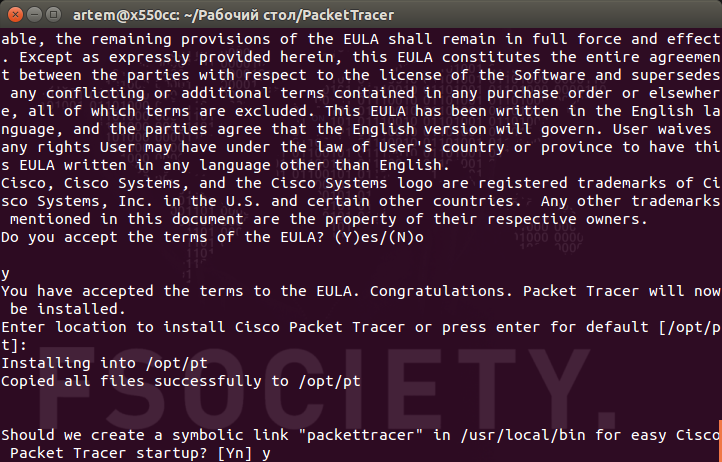
Читаем лицензионное соглашение и соглашаемся с политикой конфиденциальности.
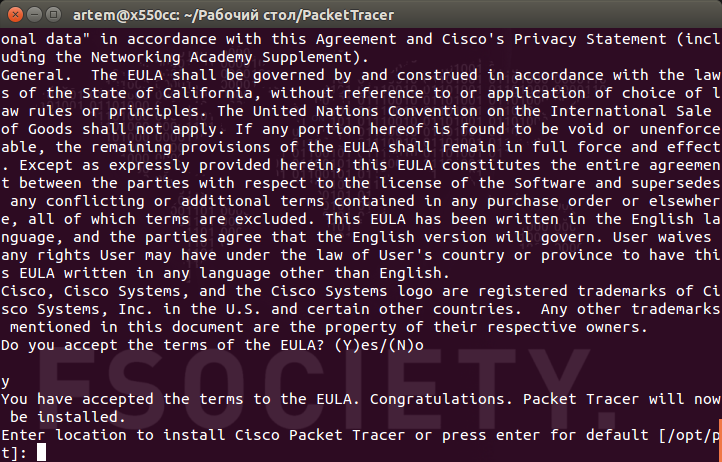
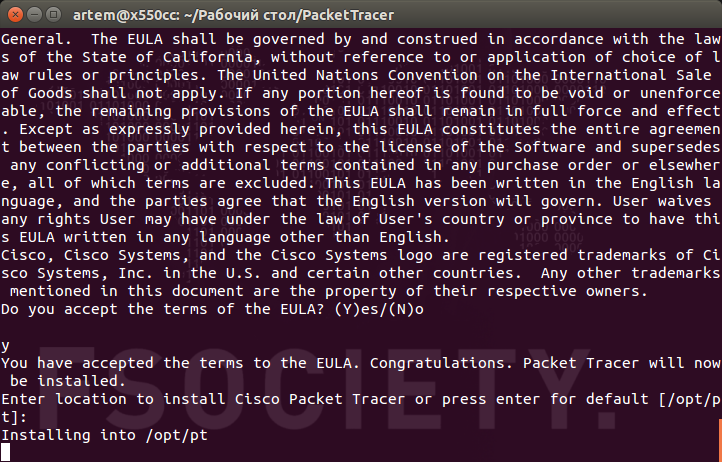
Система предлагает выбрать каталог для установки программного обеспечения. По-умолчанию это каталог /opt/pt/ , если устраивает, нажимаем Enter. А если нужно установить в другой каталог вводим соответствующий путь до директории.
Пошёл процесс копирования
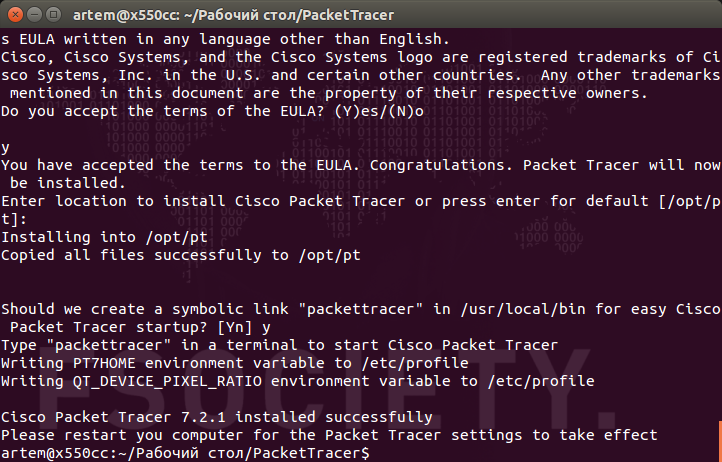
Далее нам предлагают создать символьную ссылку (это позволит запускать программу при помощи одной команды в терминале). Если символьная ссылка нужна, нажимаем Enter, если нет — вводим No.
Программное обеспечение Cisco Packet Tracer успешно установлено.
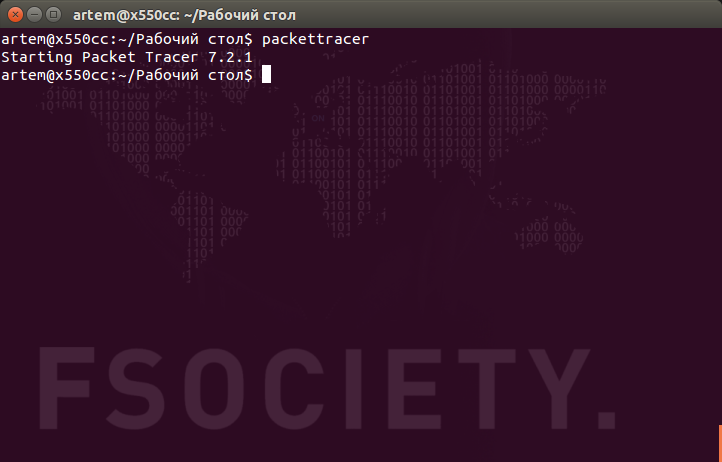
Как запустить Cisco Packet Tracer
Откройте терминал сочетанием клавиш Ctrl + Alt + T , а затем выполните команду:
Как удалить Cisco Packet Tracer
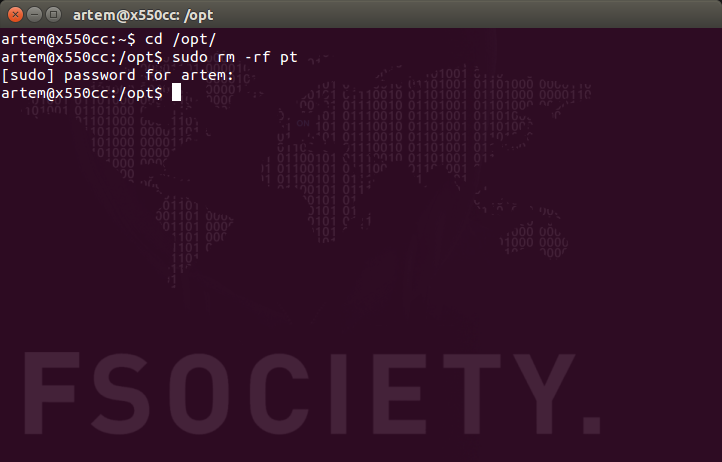
Удалить Packet Tracer не сложно, главное понимать, что и в какой каталог вы установили. По-умолчанию программное обеспечение устанавливается в каталог /opt/pt/ , а символьная ссылка в /usr/local/bin/ .
Первым делом перейдём в каталог /opt/ и удалим директорию /pt/ с программным обеспечением
cd /opt/
sudo rm -rf /pt
Далее переходим в каталог /usr/local/bin/ и удаляем символьную ссылку packettracer .
cd /usr/local/bin/
sudo rm -rf packettracer
Источник
Install Packet Tracer on Ubuntu 18.04 LTS
Cisco Packet Tracer is a network simulation software for simulating Cisco networking devices. You can use Cisco Packet Tracer to design simple to pretty complex network topologies. You can also configure the virtual computers, routers, switches etc in Packet Tracer to test your network topology.
Cisco Packet Tracer can also be used to simulate wireless networks, IP telephony networks (VoIP) and many more.
If you’re aiming for Cisco certification such as CCENT, CCNA etc, then you can use Cisco Packet Tracer to learn to configure Cisco networking devices (such as Switches and Routers) using Cisco IOS commands.
In this article, I will show you how to install and use Cisco Packet Tracer on Ubuntu 18.04 LTS. Let’s get started.
Downloading Packet Tracer:
You can download and use Cisco Packet Tracer for free. You need a Cisco Network Academy account in order to download and use Cisco Packet Tracer. You can create a Cisco Network Academy account for free.
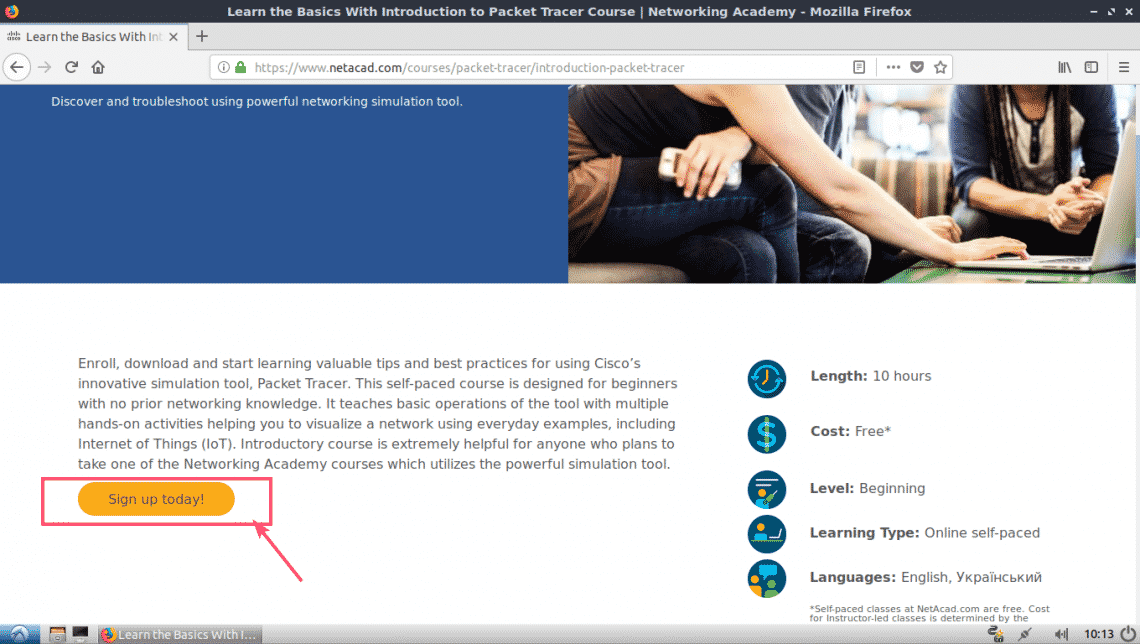
To create a Cisco Network Academy account, visit https://www.netacad.com/courses/packet-tracer from any web browser of your choice and you should see the following page. Now click on Enroll to download Packet Tracer as marked in the screenshot below.

You should see the following page. Now click on Sign up today! as marked in the screenshot below.
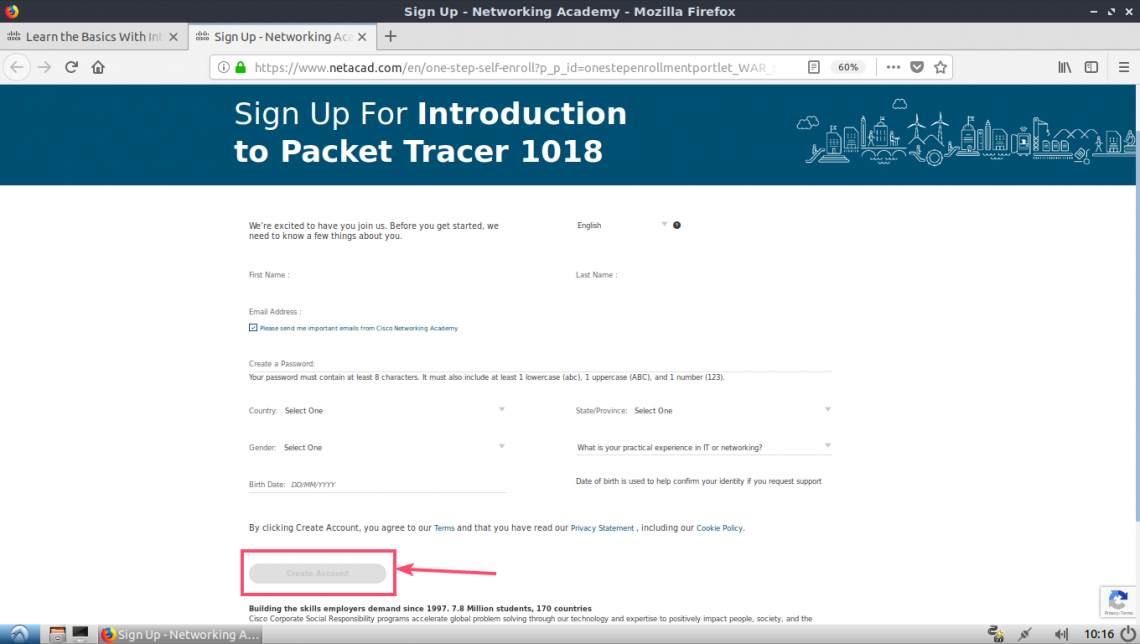
Now click on English.

A sign up page should open. Fill in the details and click on Create Account as marked in the screenshot below.
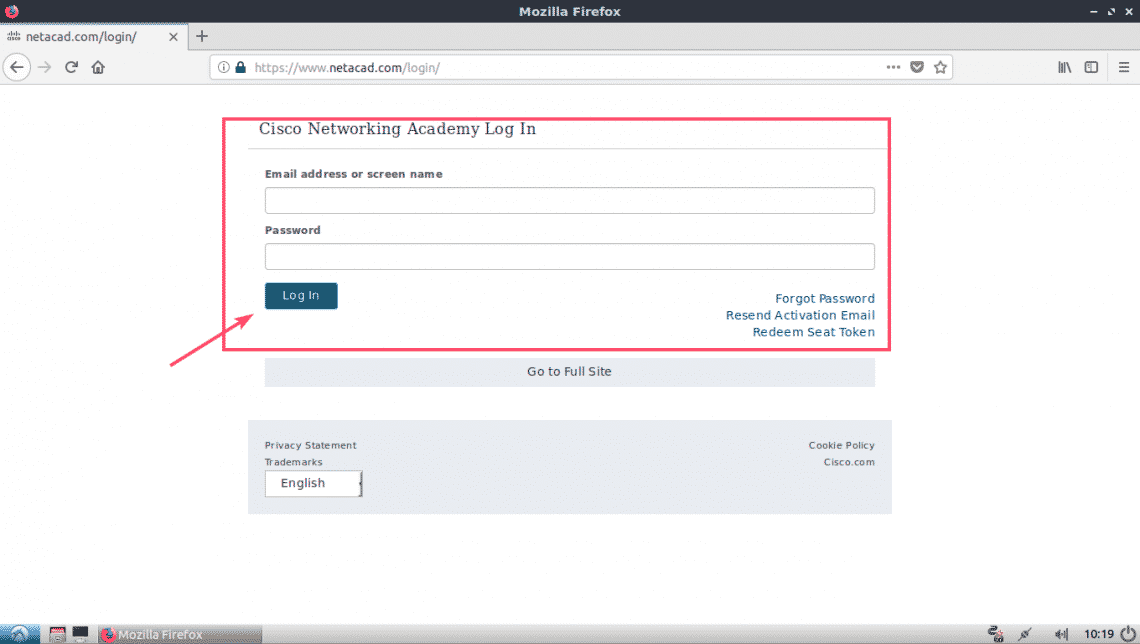
Once you’ve signed up and verified your account, go to https://www.netacad.com/ and you should see the following page. Click on Log In as marked in the screenshot below.

Now type in your email and password and click on Log In.
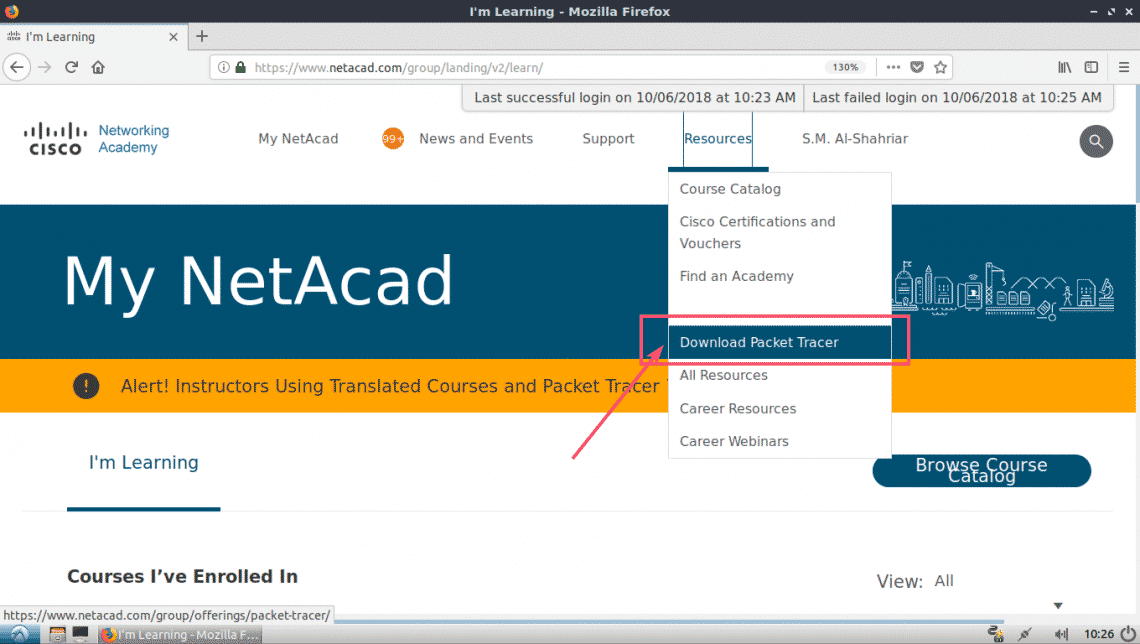
Once you’re logged in, click on Resource > Download Packet Tracer as marked in the screenshot below.
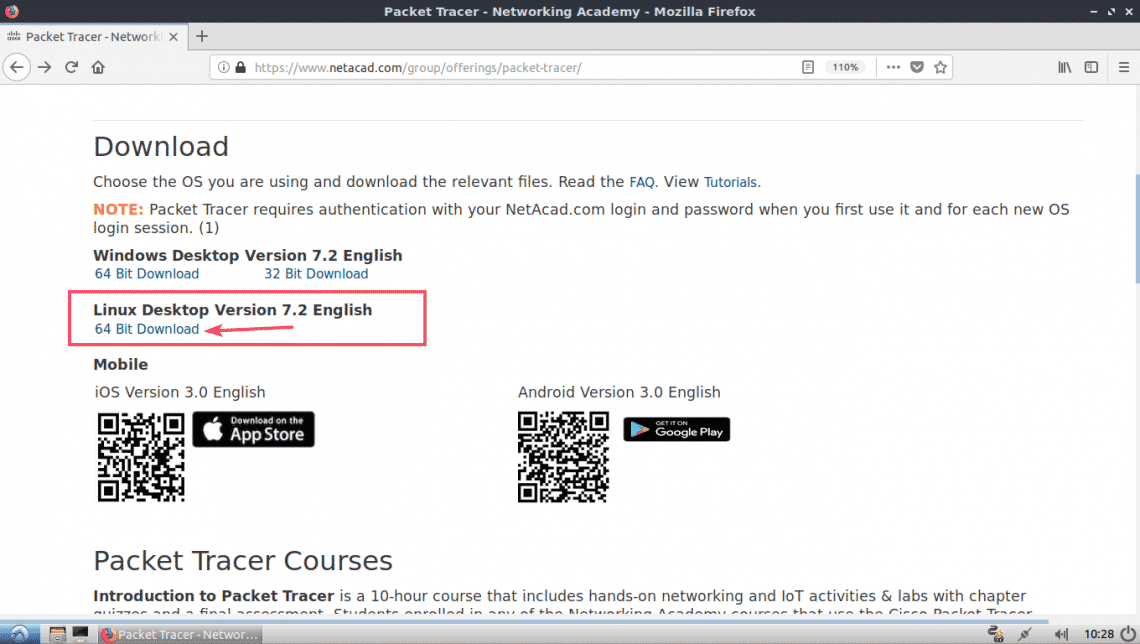
Now navigate to the Download section. At the time of this writing, Packet Tracer 7.2 is the latest version. From the Linux Desktop Version 7.2 English section, click on 64 Bit Download link as marked in the screenshot below.
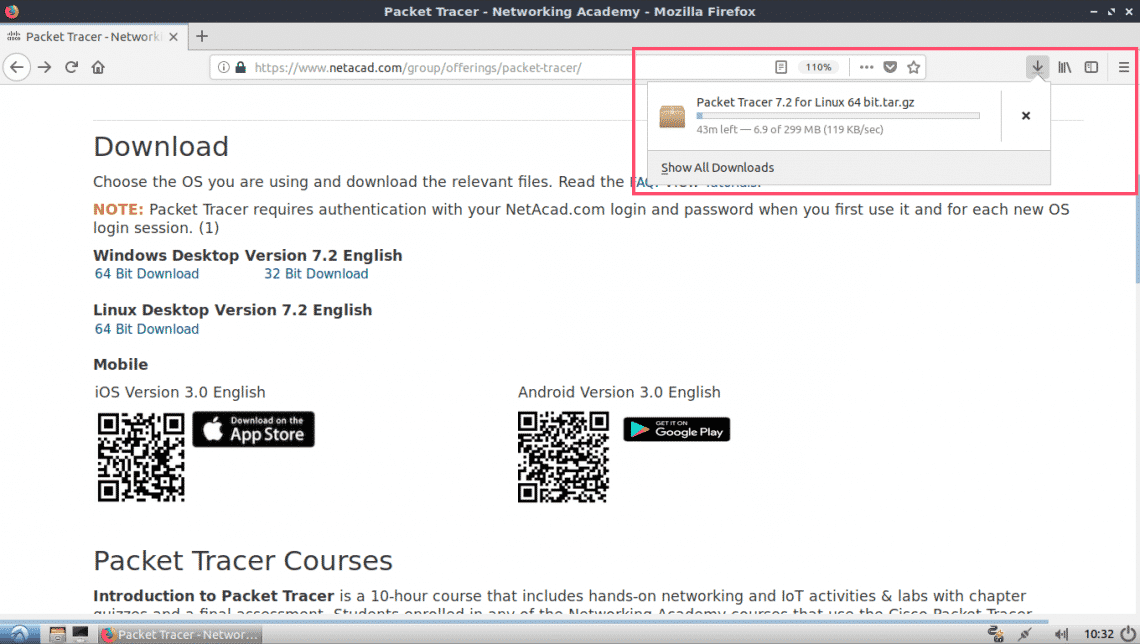
Your browser should prompt you to download Packet Tracer. Click on Save File and click on OK.
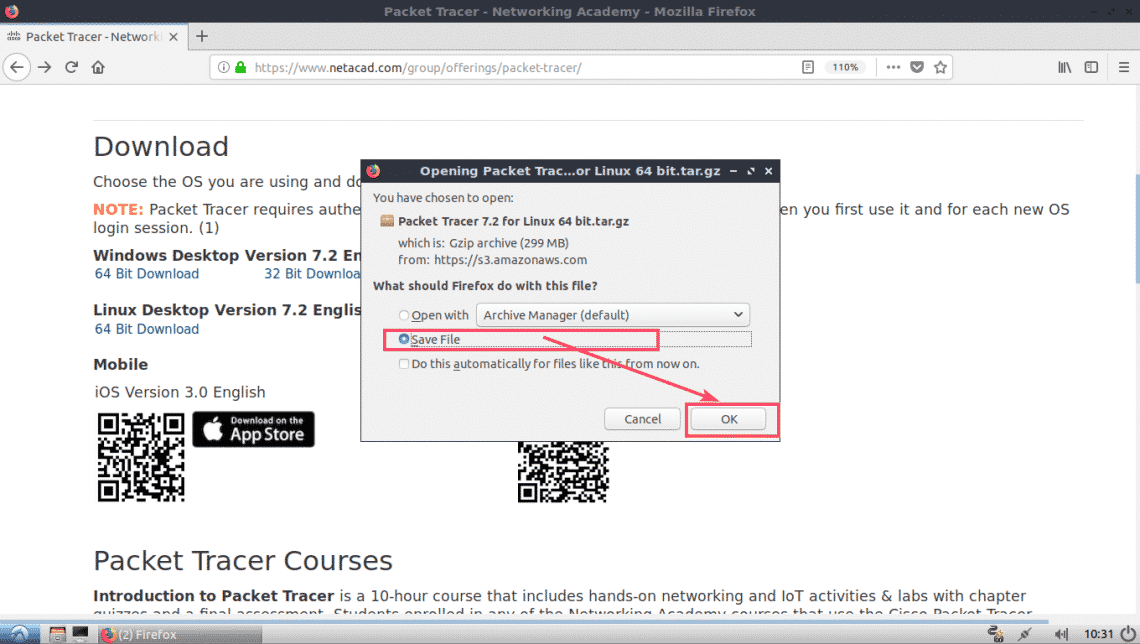
Your download should start.
Installing Packet Tracer on Ubuntu 18.04 LTS:
Now that Packet Tracer is downloaded. It’s time to install it.
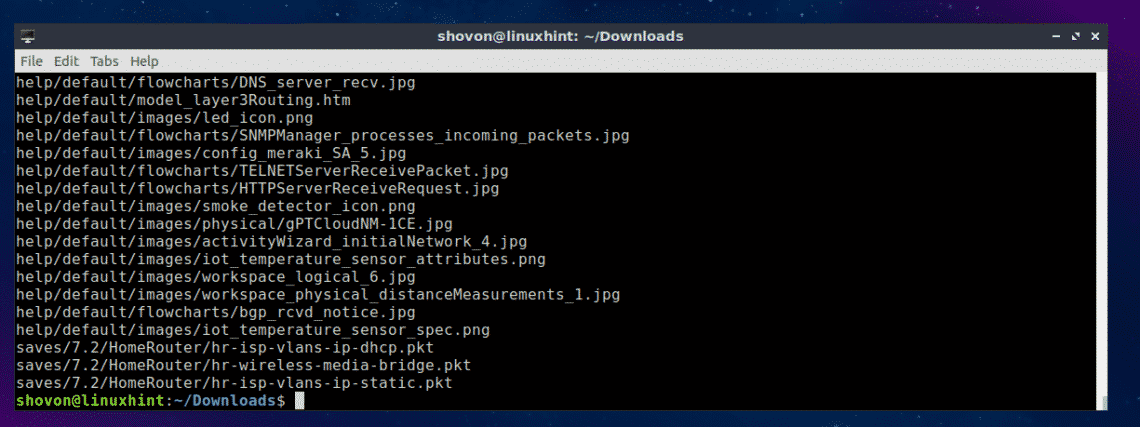
First, navigate to the
/Downloads directory of your Ubuntu 18.04 LTS machine with the following command:

As you can see, Packet Tracer archive is available here.

Now make a new directory (Let’s call it PT72Installer) to extract the installer from the Packer Tracer archive you just downloaded.
Now extract the Packet Tracer archive with the following command:

All the files are extracted to PT72Installer directory.
Now navigate to the PT72Installer/ directory with the following command:

Now start the installer with the following command:

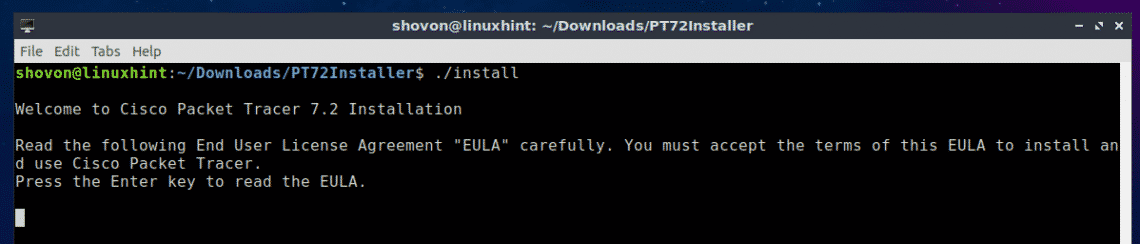
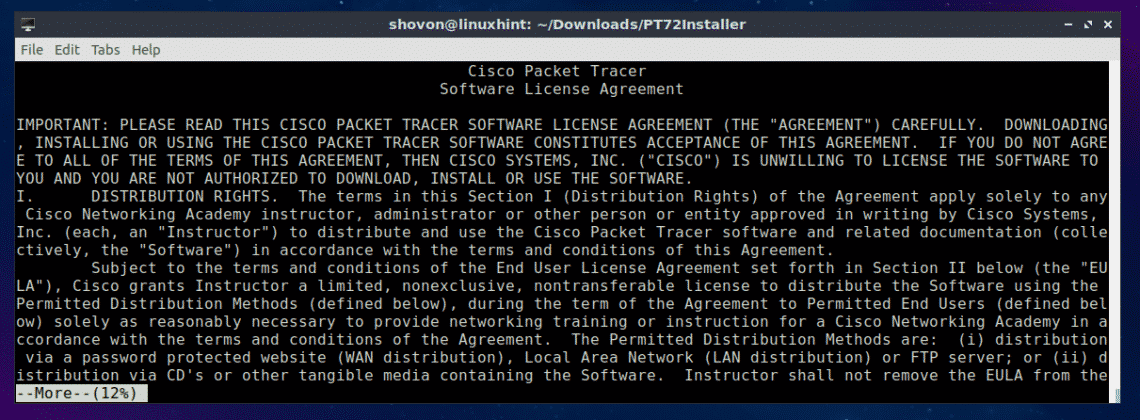
Press a few more times.
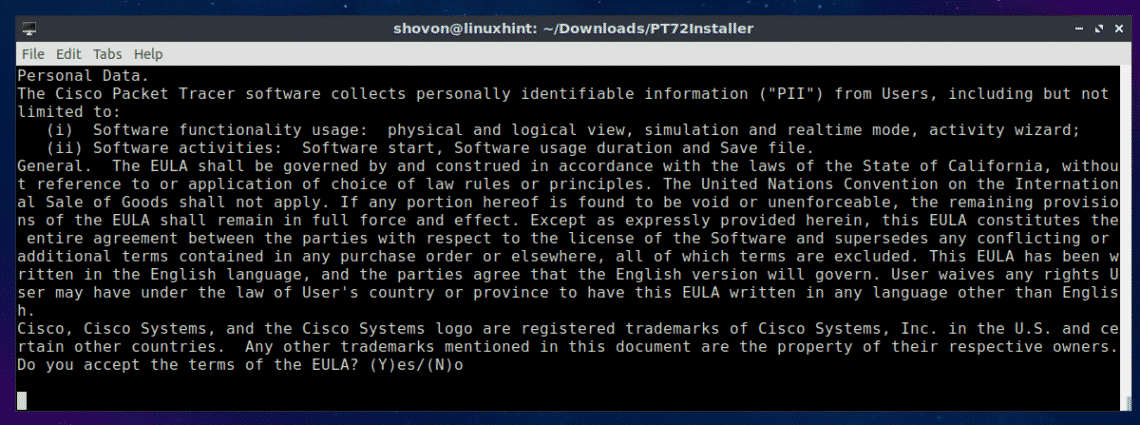
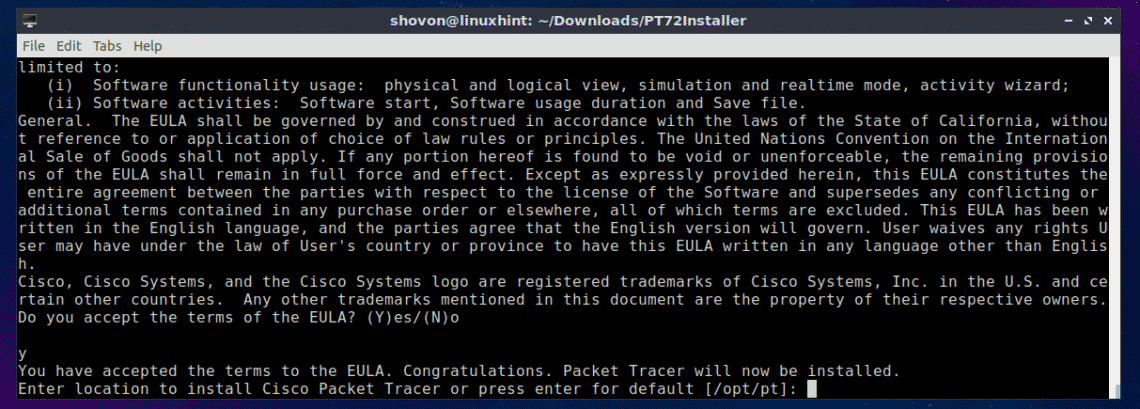
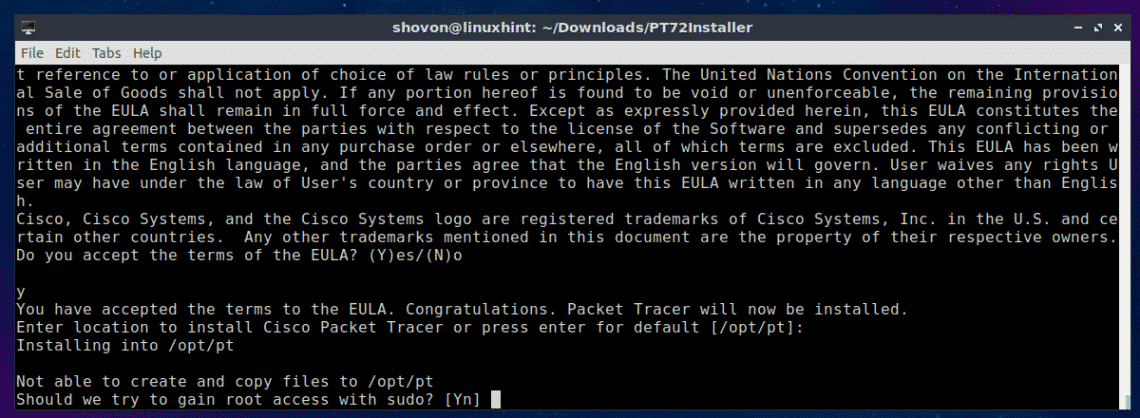
At the end of the License agreement, press y and then press .
Leave the default and press .
Press y and then press .
Press y and then press to continue.

Packet Tracer 7.2 should be installed.
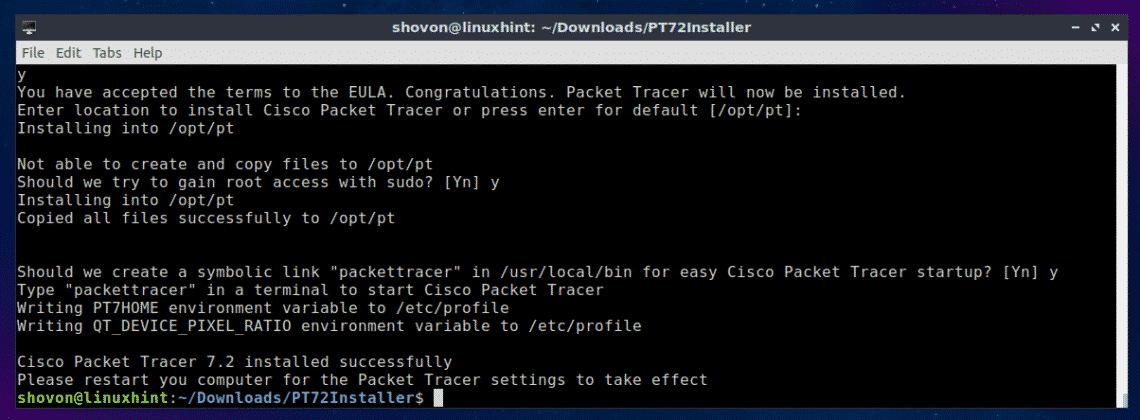
Now restart your computer with the following command:
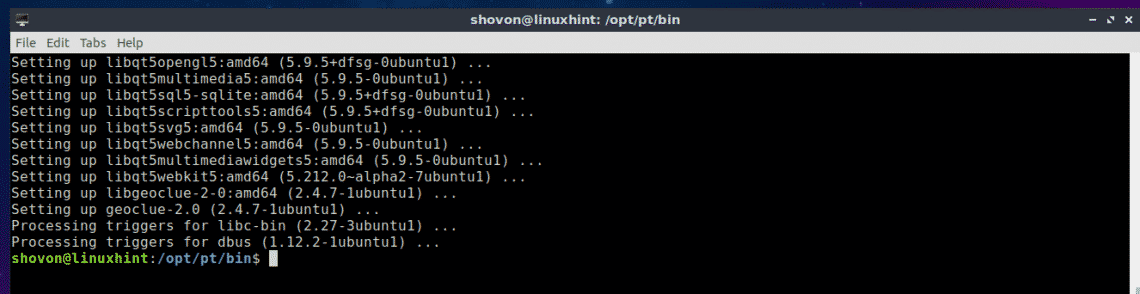
Once your computer starts, navigate to the Packet Tracker directory /opt/pt/bin with the following command:

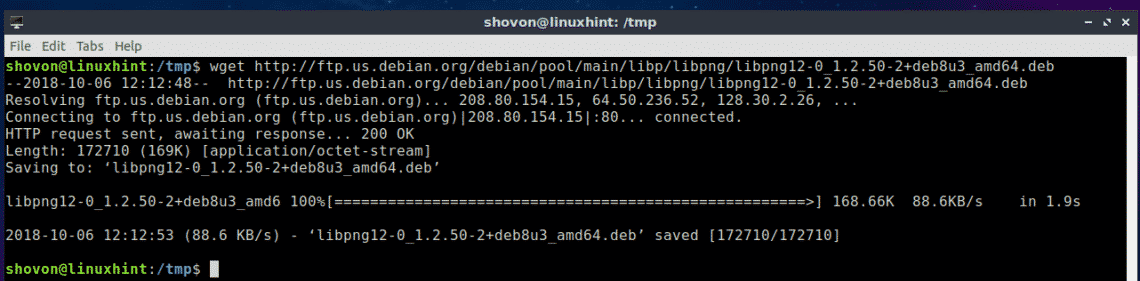
Now if you try to start Packet Tracer, you should see the following error. It means, libpng12.so.0 library file is not available in your computer. The library file is not available in the Ubuntu 18.04 LTS package repository as well. But you can download and install the library package from Debian Jessie package repository. It should solve our problem.

First, navigate to the /tmp directory with the following command:

To download the libpng12-0 library package from Debian Jessie package repository, run the following command:

libpng12-0 should be downloaded.
Now, install libpng12-0 with the following command:

libpng12-0 should be installed.

Now go back to the Packet Tracer directory (/opt/pt/bin) with the following command:
If you try to run Packet Tracer, you may still get some errors! The required Qt libraries are not installed.

To install all the required Qt libraries, run the following command:

Now press y and then press .
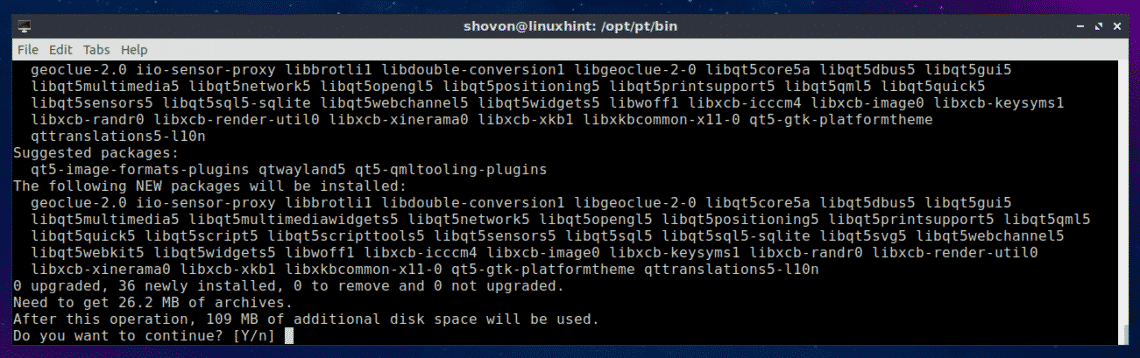
The Qt libraries should be installed.
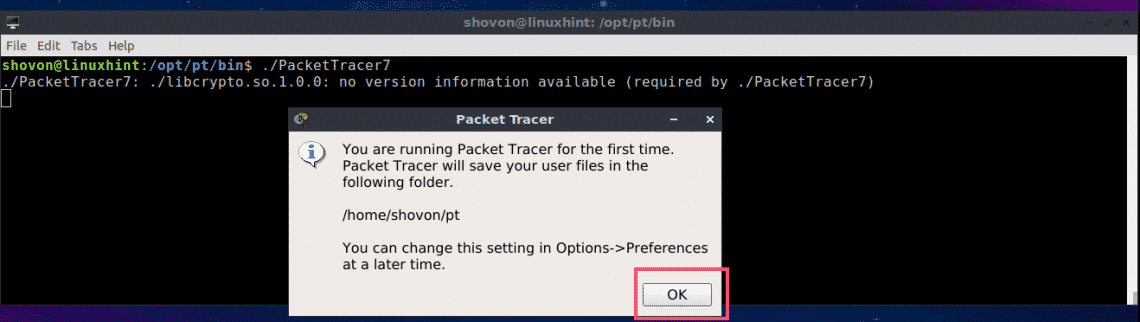
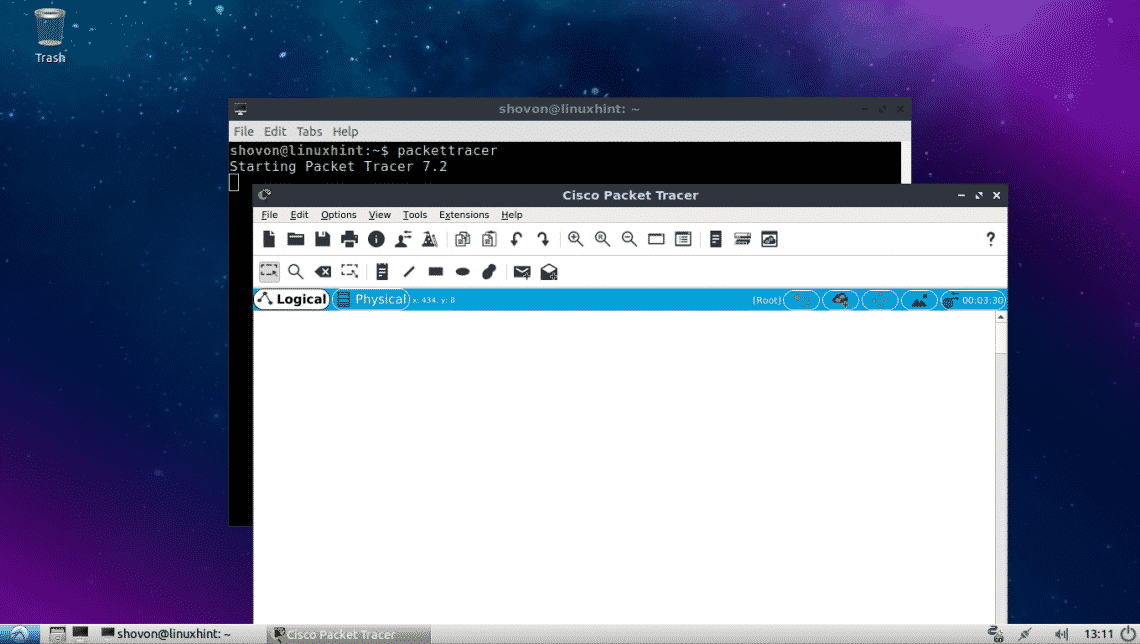
Now try to run Packet Tracer again.
We got a prompt! Click on OK.
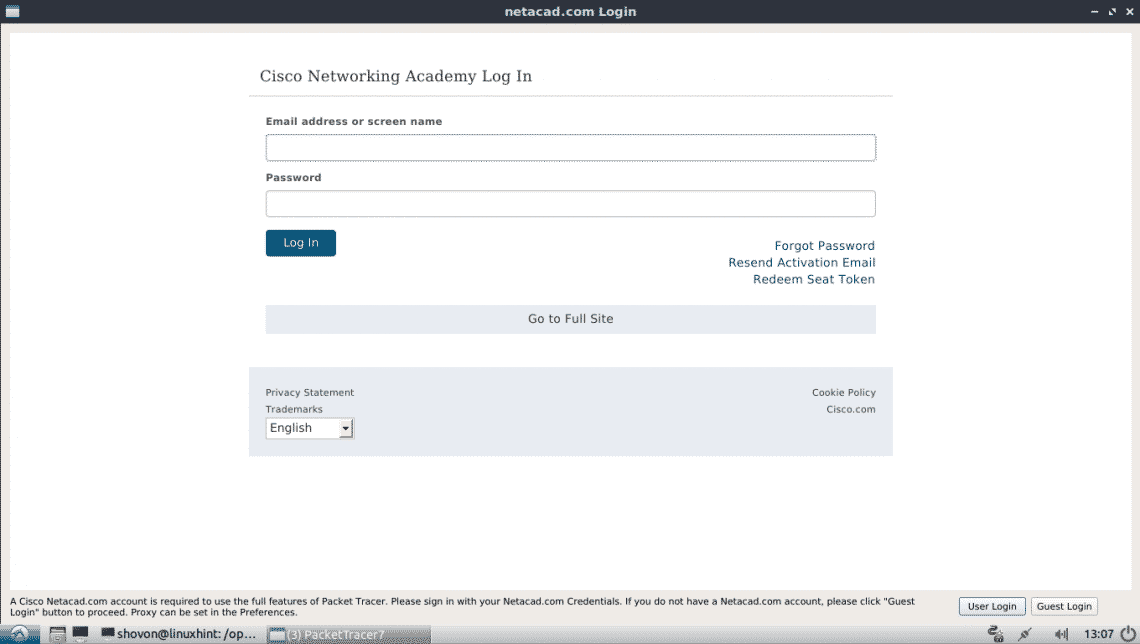
Now you should see the following window. Login to your Cisco Network Academy account.
Packet Tracer 7.2 should start.
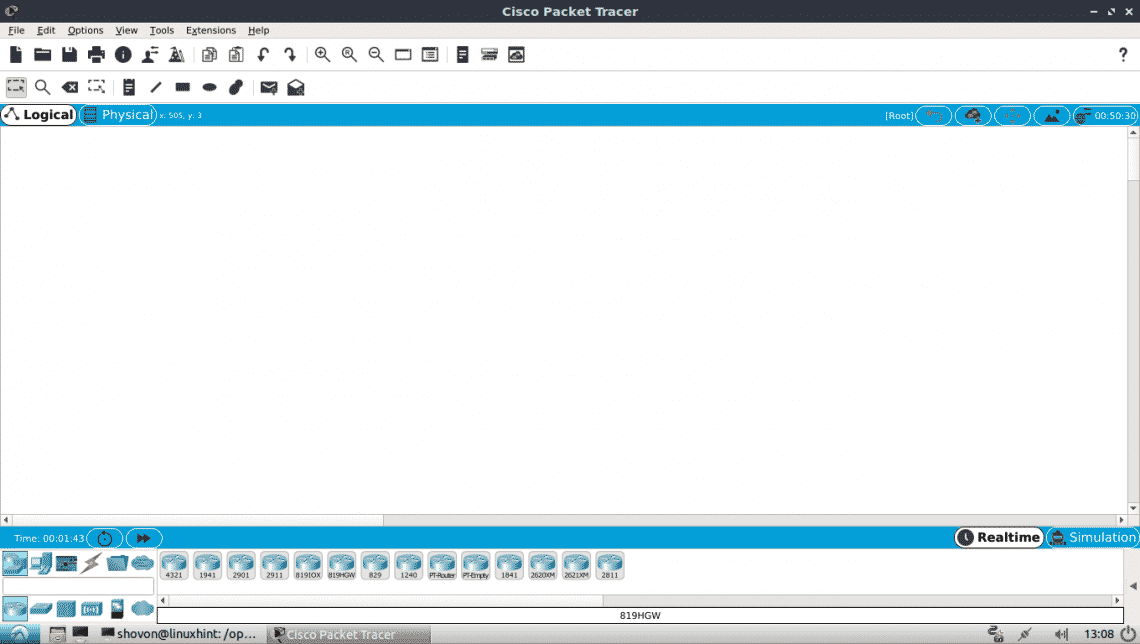
You can also start Packet Tracer 7.2 with the following command:
Using Packet Tracer 7.2:
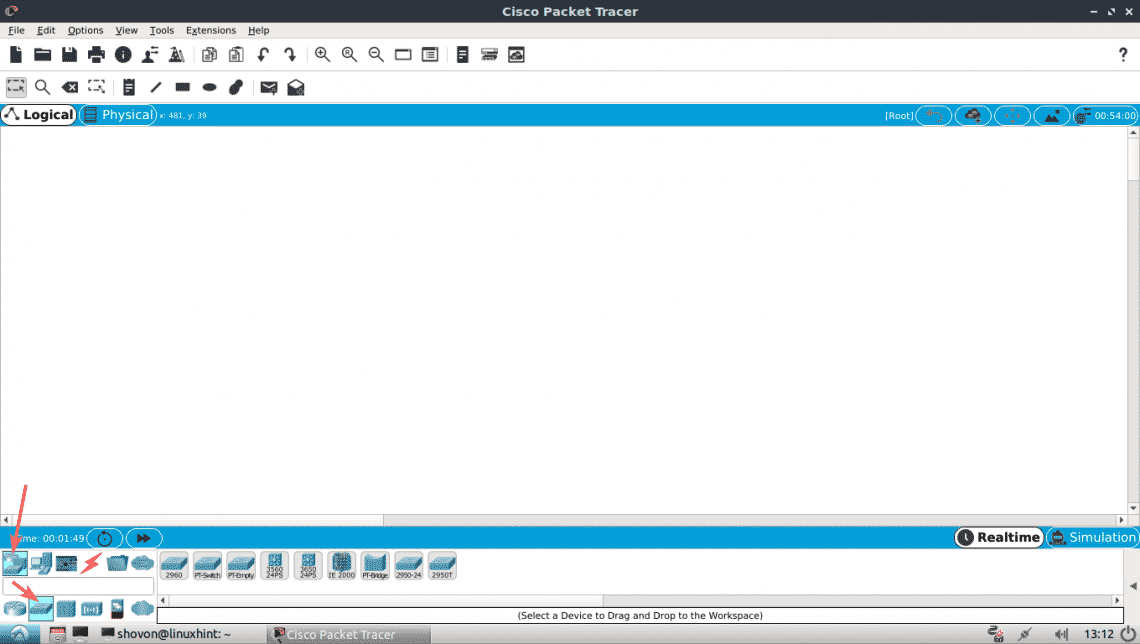
In this section, I will design a simple network topology and show you how Packet Tracer works.
First, start Packet Tracer 7.2. Now click on Network Devices icon and then click on Switches icon as marked in the screenshot below.
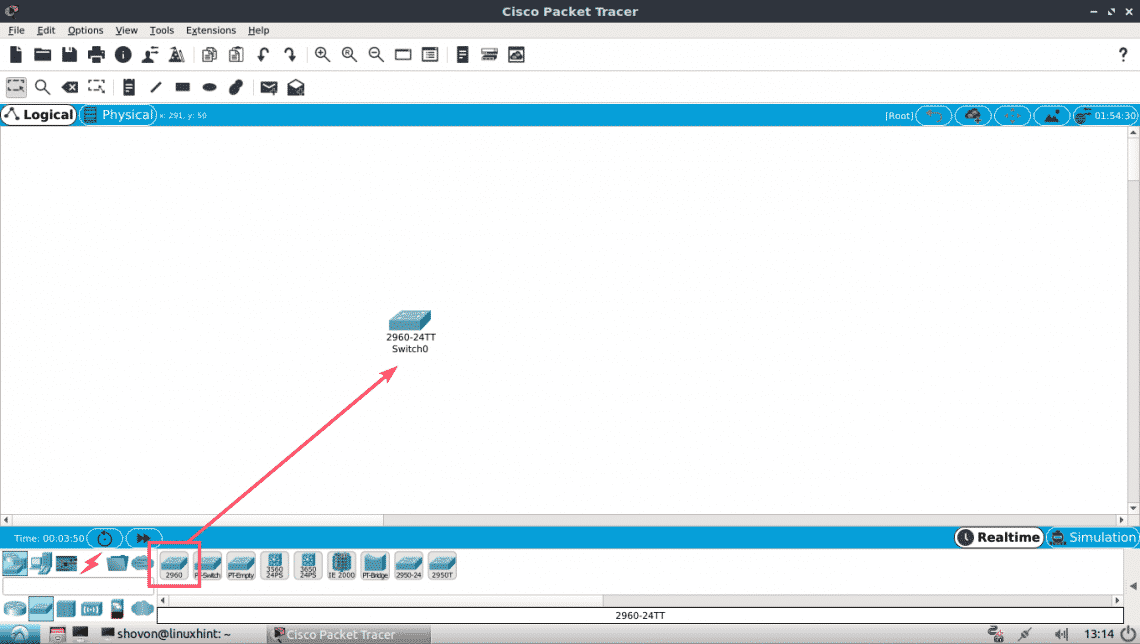
Now click and drag one of the switches to the project window.
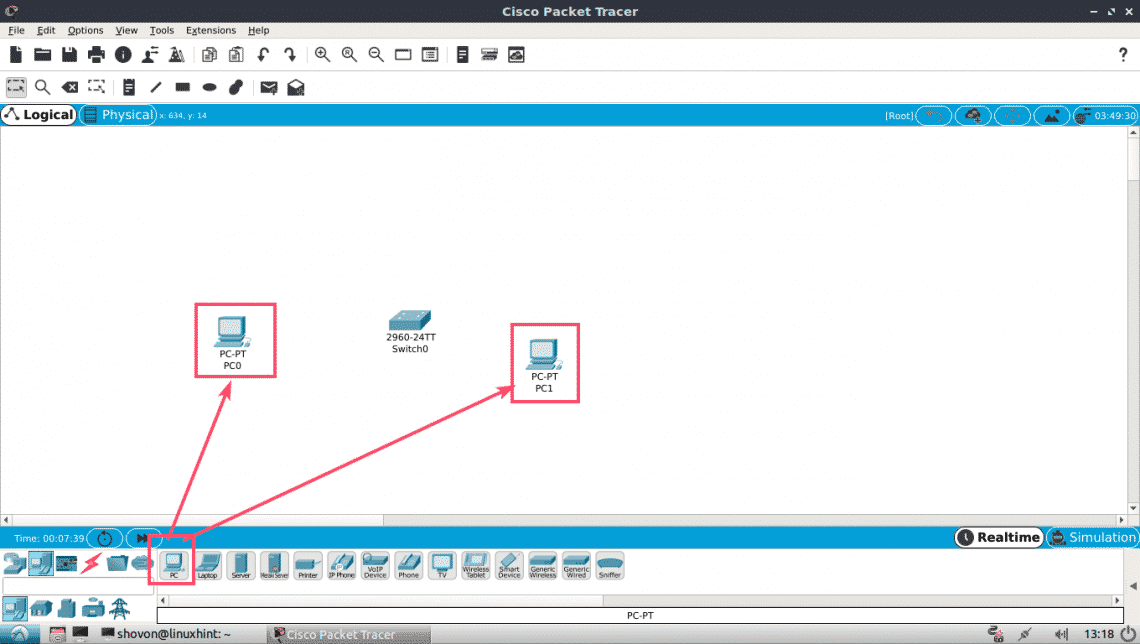
Now click on the End Devices icon. As you can see, a lot of end devices such as PC, Laptop, Server etc are listed.
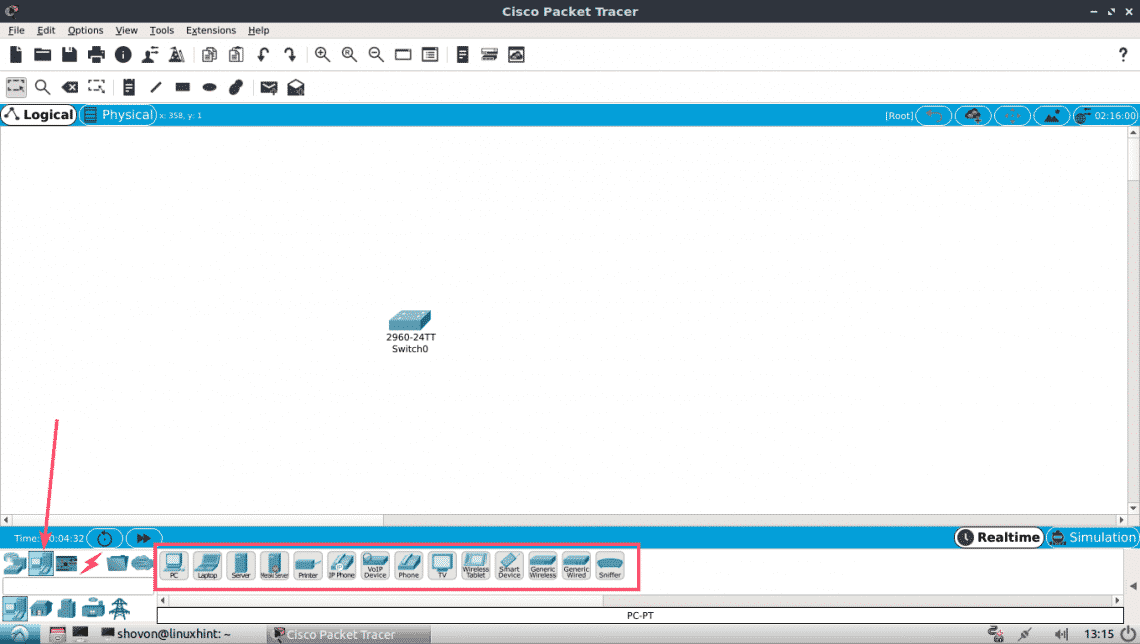
Now drag and drop 2 PCs to the project window.
Now click on the Cable icon.
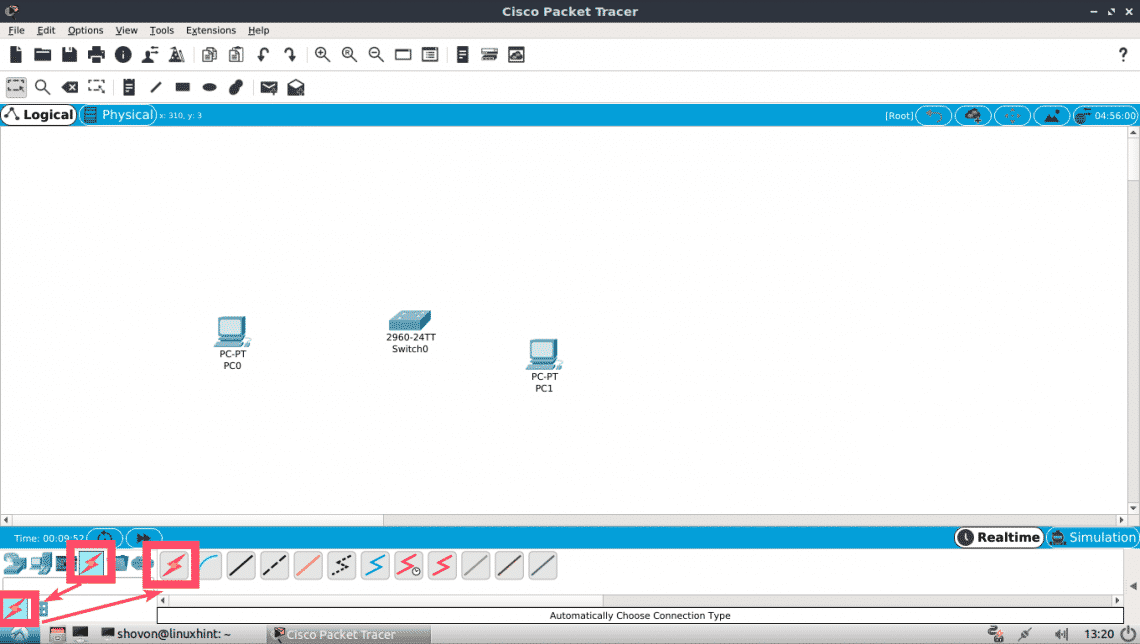
Then click on a PC and then on the Switch in your project window. They should be connected.
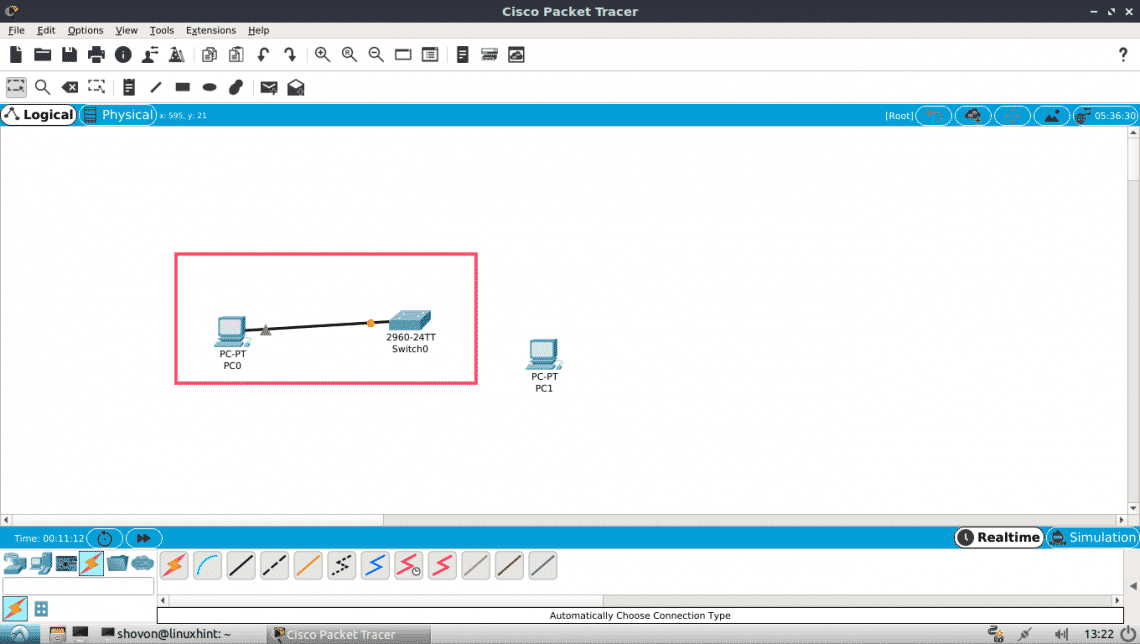
Connect the other PC to the switch the same way.

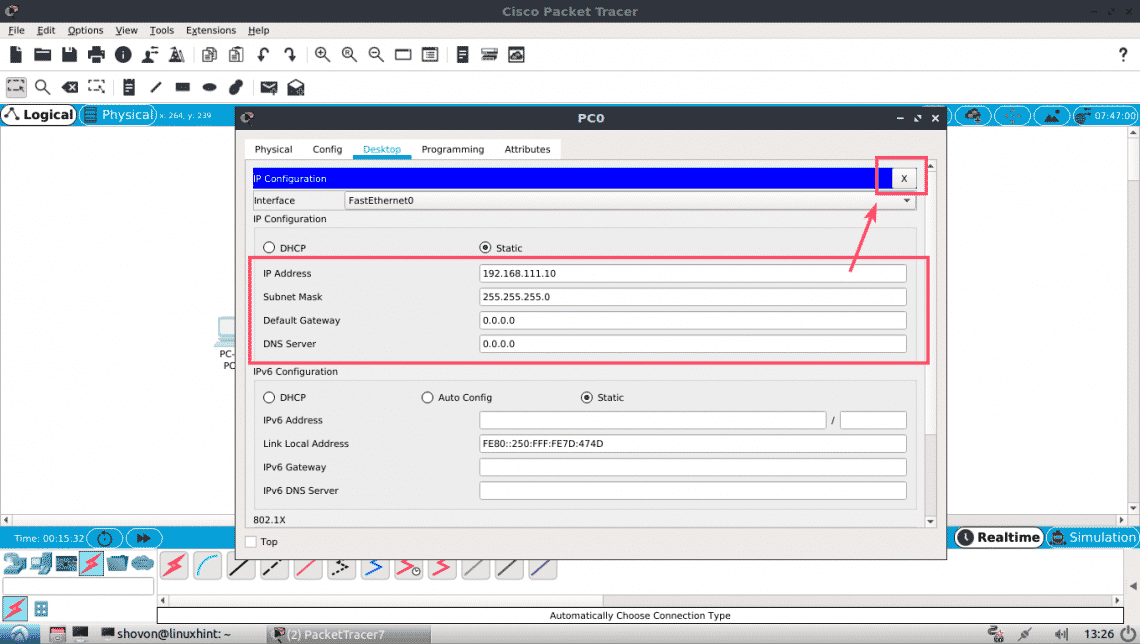
Now double click on any of the PC and you should see the following window. Go to the Desktop tab.
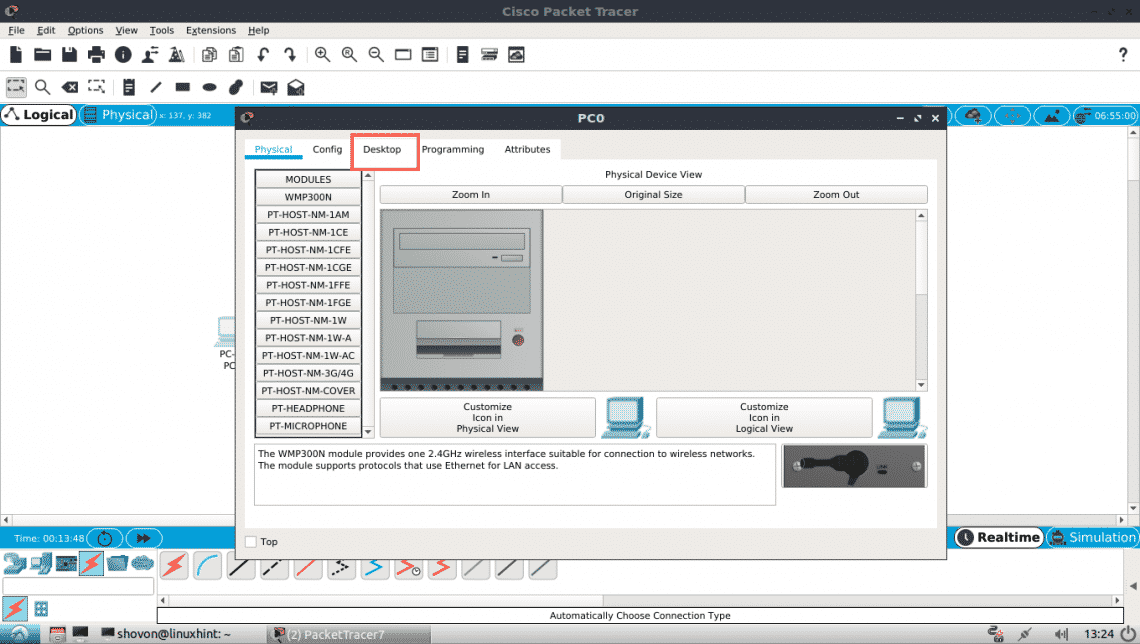
Now click on Configuration.

Now, fill in the IPv4 details as follows in one of the PCs and click on the X button once you’re done.
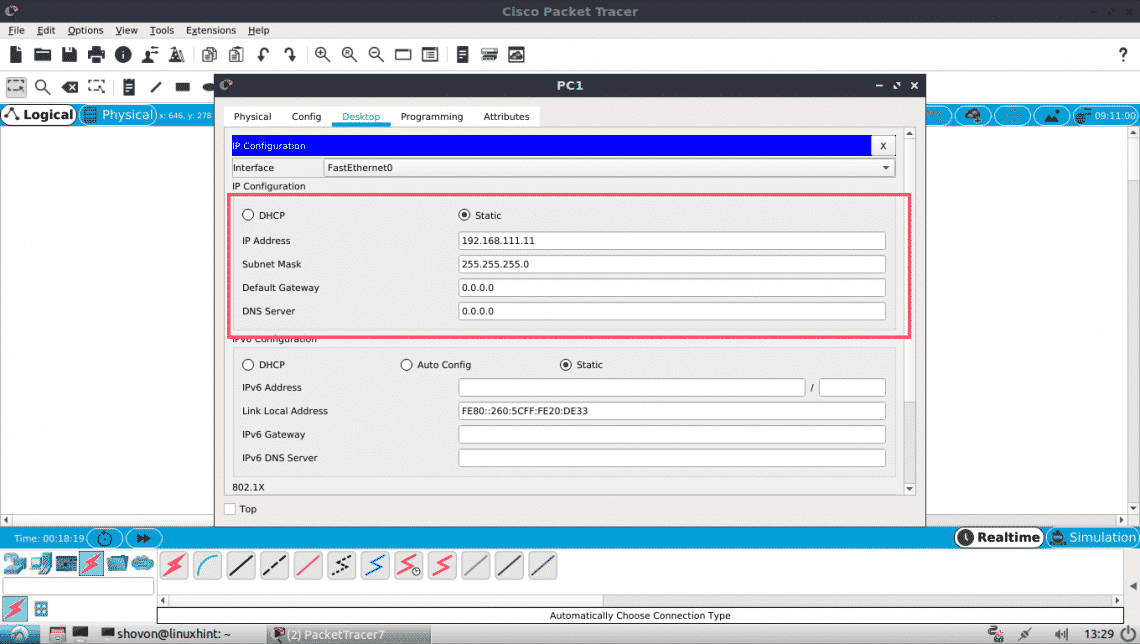
The same way, fill in the IPv4 details as follows in the other PC:
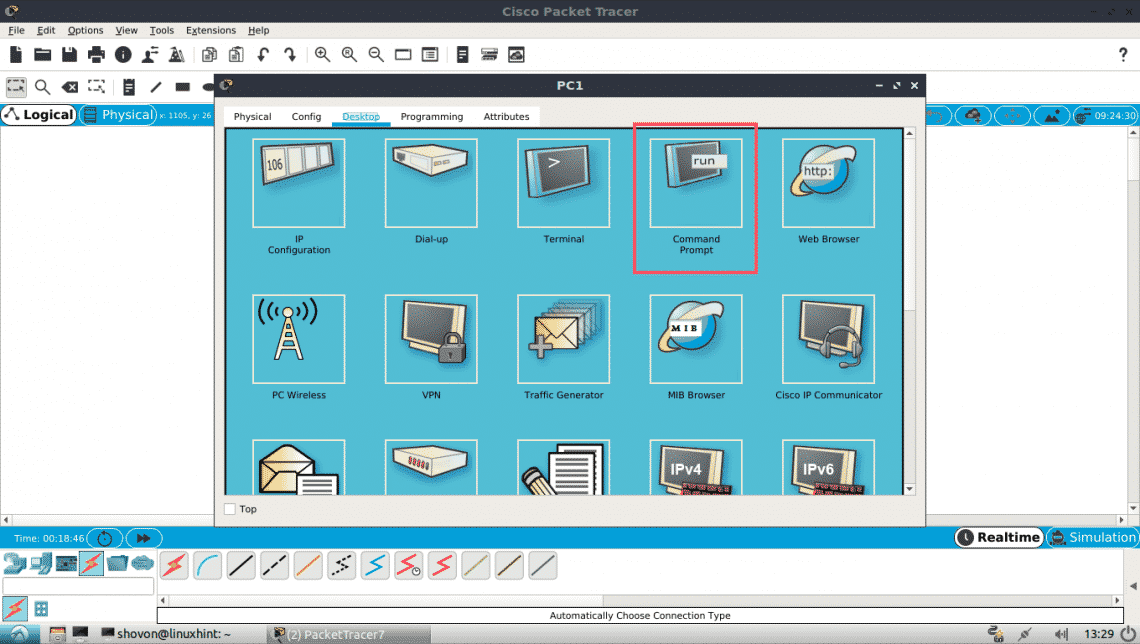
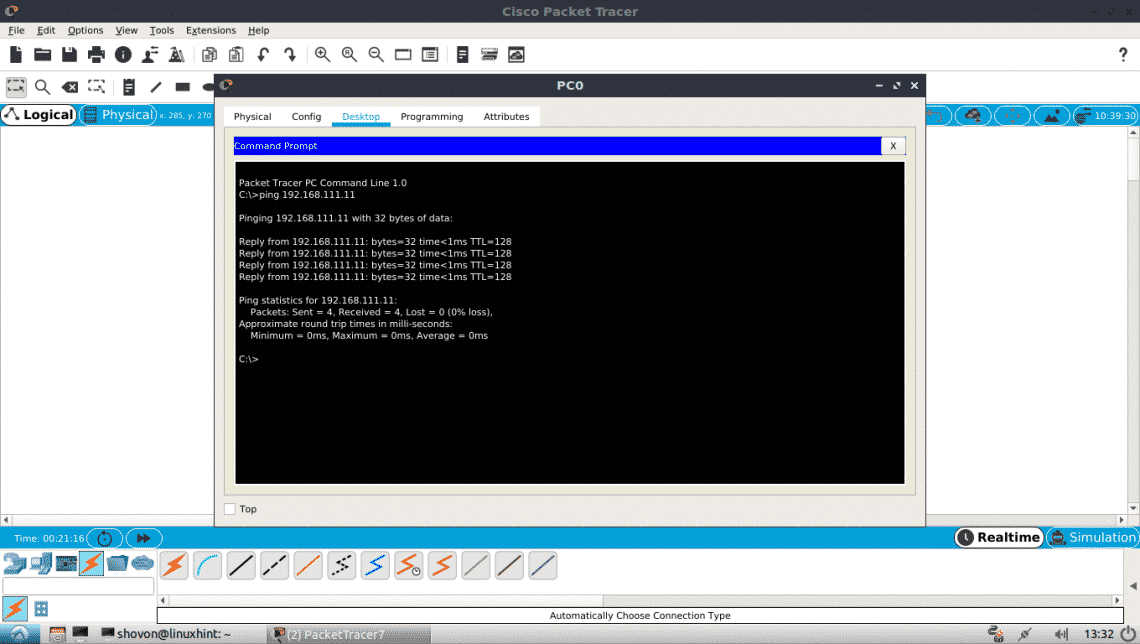
Now click on the Command Prompt icon on one of the PCs.
The command prompt should start. Now try to ping one PC from the other.
As you can see, the ping is working.
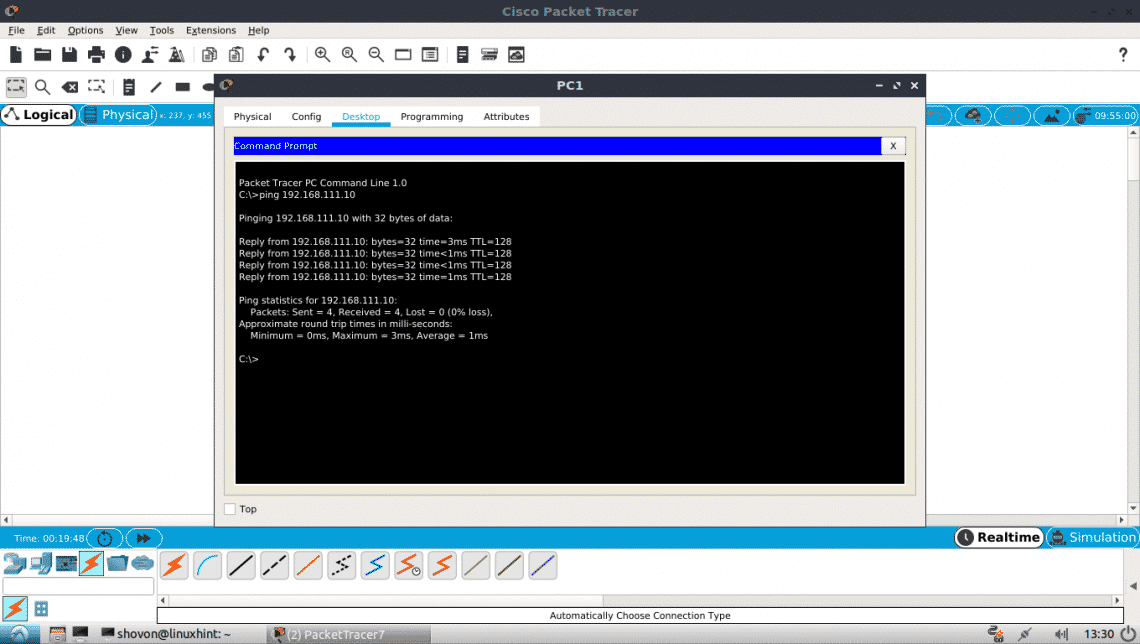
As you can see, the ping is working both ways. I can connect to one PC from the other.
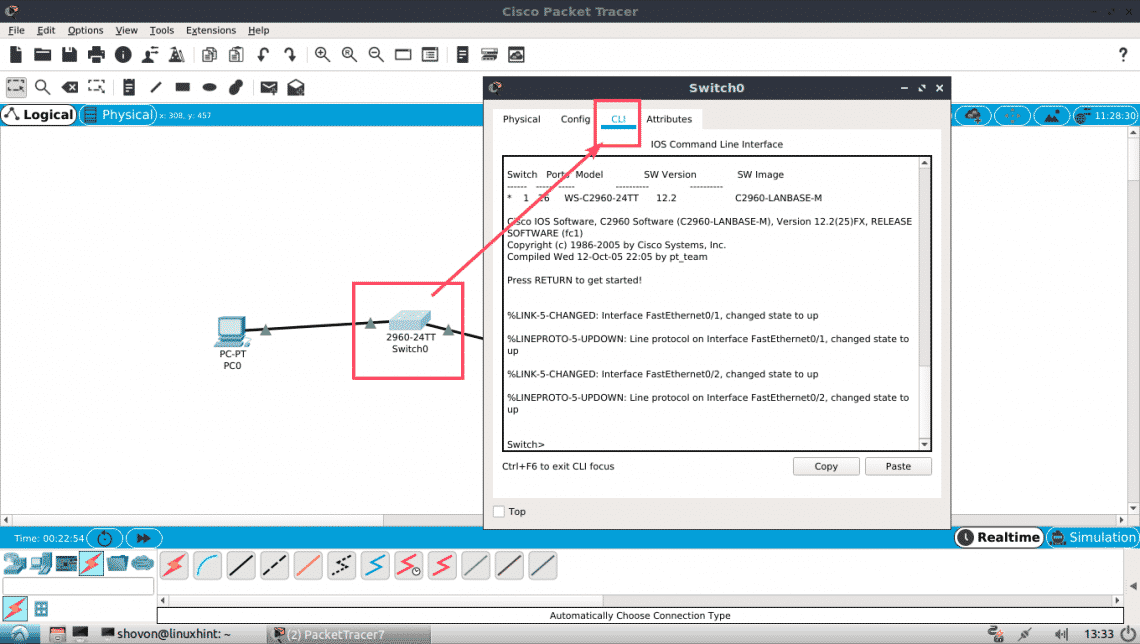
You can also login to the IOS console of your CISCO Switch. Just double click on the Switch in your project window and go to the CLI tab.
So that’s how you install and use Packet Tracer on Ubuntu 18.04 LTS. Thanks for reading this article.
Источник


