- Install PhpStorm
- System requirements
- Install using the Toolbox App
- Install the Toolbox App
- Install the Toolbox App
- Install the Toolbox App
- Standalone installation
- Silent installation on Windows
- Silent configuration file
- Install as a snap package on Linux
- Установка PHPStorm в Ubuntu 20.04
- Установка PhpStorm на Ubuntu 20.04
- 1. Центр приложений
- 2. Snap пакет
- 3. Официальный сайт
- 4. JetBrains Toolbox
- Настройка PhpStorm в Ubuntu
- Как удалить PhpStorm в Ubuntu
- Выводы
Install PhpStorm
PhpStorm is a cross-platform IDE that provides consistent experience on the Windows, macOS, and Linux operating systems.
System requirements
| Requirement | Minimum | Recommended |
|---|---|---|
| RAM | 2 GB of free RAM | 8 GB of total system RAM |
| CPU | Any modern CPU | Multi-core CPU. PhpStorm supports multithreading for different operations and processes making it faster the more CPU cores it can use. |
| Disk space | 2.5 GB and another 1 GB for caches | SSD drive with at least 5 GB of free space |
| Monitor resolution | 1024×768 | 1920×1080 |
| Operating system | Latest 64-bit version of Windows, macOS, or Linux (for example, Debian, Ubuntu, or RHEL) |
You do not need to install Java to run PhpStorm because JetBrains Runtime is bundled with the IDE (based on JRE 11).
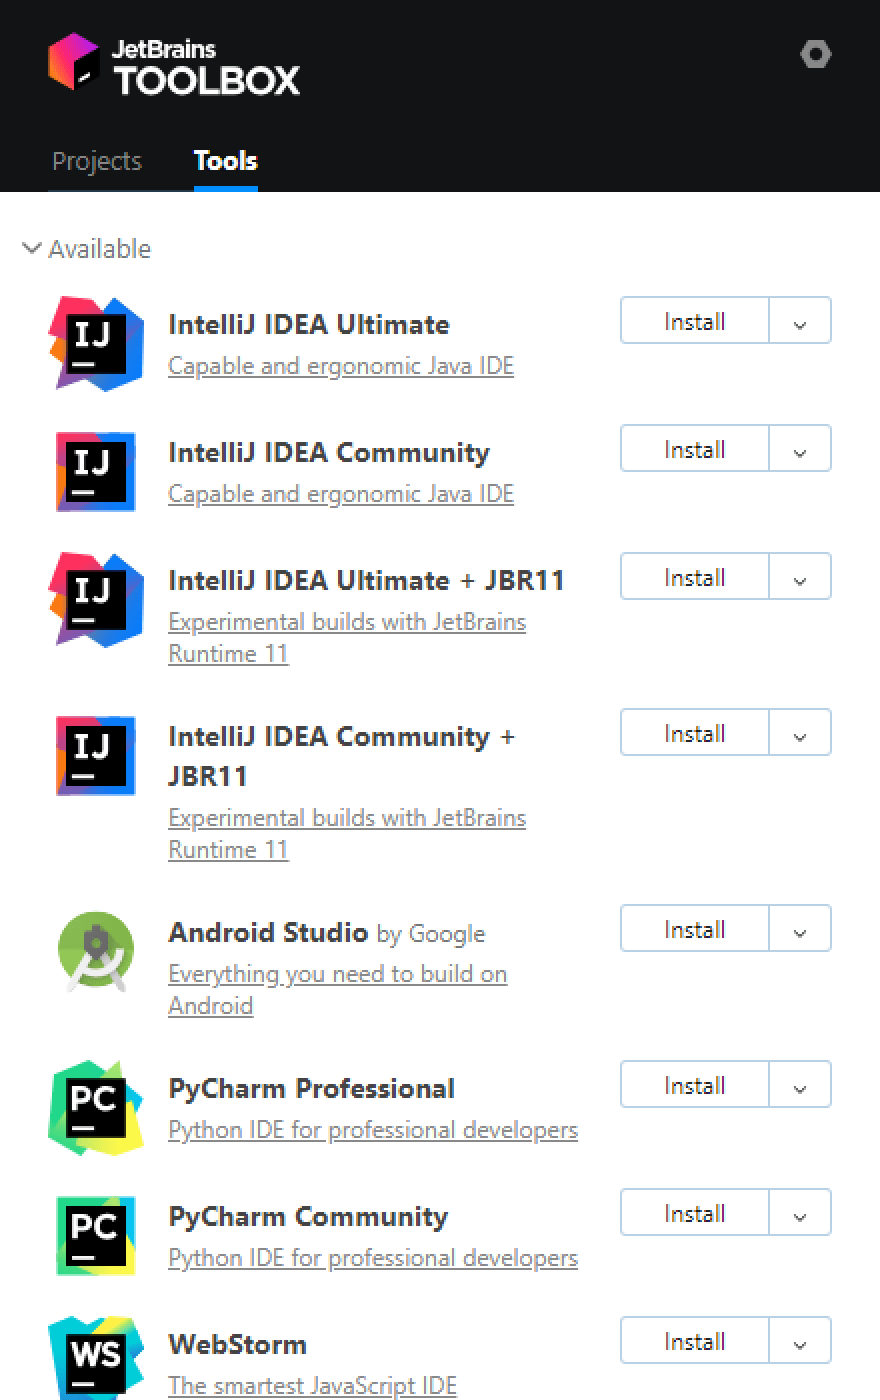
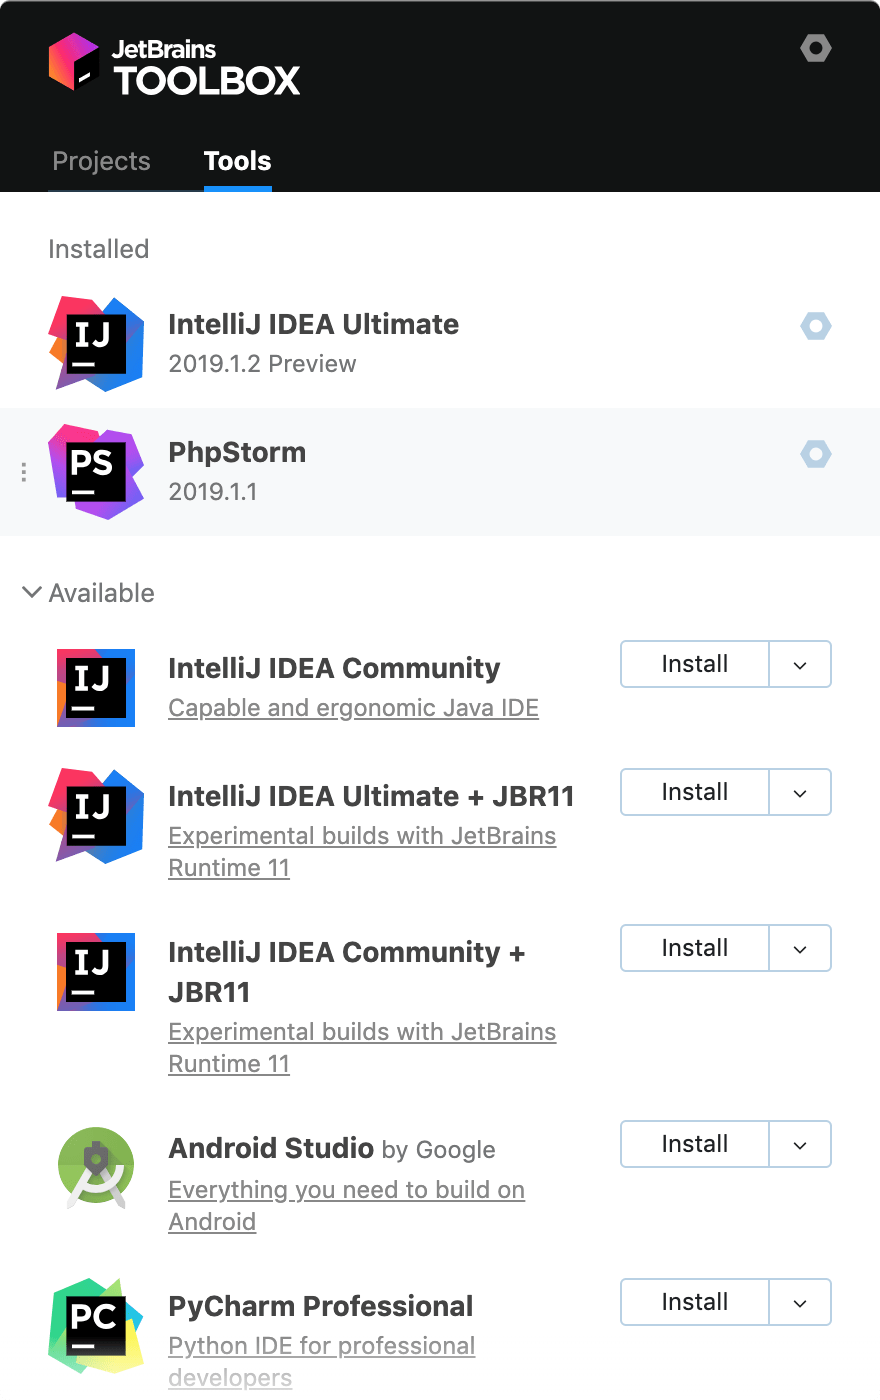
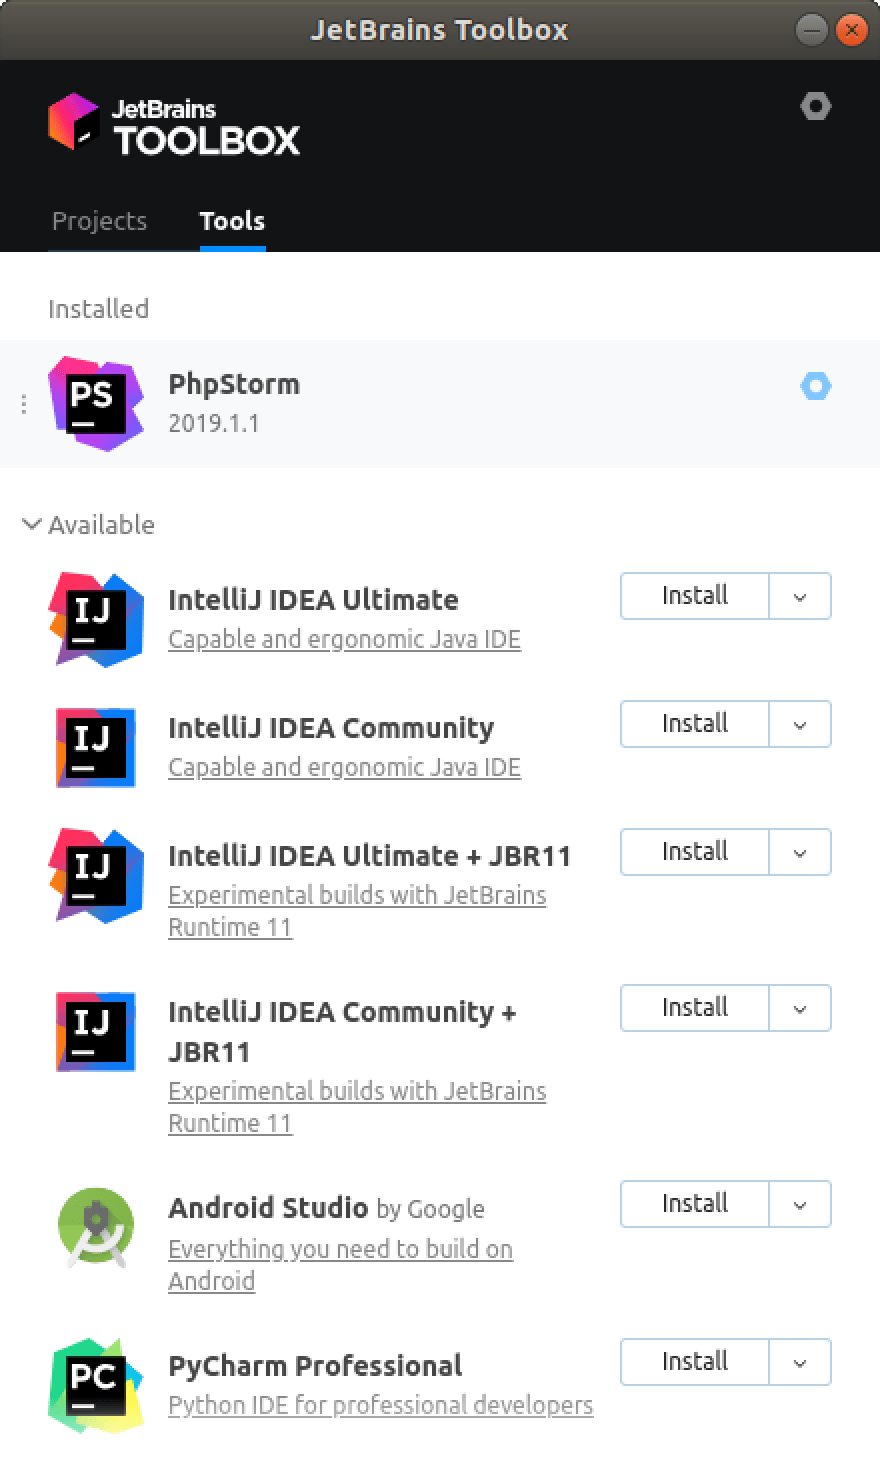
Install using the Toolbox App
The JetBrains Toolbox App is the recommended tool to install JetBrains products. Use it to install and manage different products or several versions of the same product, including Early Access Program (EAP) and Nightly releases, update and roll back when necessary, and easily remove any tool. The Toolbox App maintains a list of all your projects to quickly open any project in the right IDE and version.
Install the Toolbox App
Download the installer .exe from the Toolbox App web page.
Run the installer and follow the wizard steps.
After you run the Toolbox App, click its icon in the notification area and select which product and version you want to install.
Log in to your JetBrains Account from the Toolbox App and it will automatically activate the available licenses for any IDE that you install.
Install the Toolbox App
Download the disk image .dmg from the Toolbox App web page.
There are separate disk images for Intel and Apple Silicon processors.
Mount the image and drag the JetBrains Toolbox app to the Applications folder.
After you run the Toolbox App, click its icon in the main menu and select which product and version you want to install.
Log in to your JetBrains Account from the Toolbox App and it will automatically activate the available licenses for any IDE that you install.
Install the Toolbox App
Download the tarball .tar.gz from the Toolbox App web page.
Extract the tarball to a directory that supports file execution.
For example, if the downloaded version is 1.17.7391, you can extract it to the recommended /opt directory using the following command:
Execute the jetbrains-toolbox binary from the extracted directory to run the Toolbox App and select which product and version you want to install. After you run the Toolbox App for the first time, it will automatically add the Toolbox App icon to the main menu.
Log in to your JetBrains Account from the Toolbox App and it will automatically activate the available licenses for any IDE that you install.
You can use this shell script that automatically downloads the tarball with the latest version of the Toolbox App, extracts it to the recommended /opt directory, and creates a symbolic link in the /usr/local/bin directory.
Standalone installation
Install PhpStorm manually to manage the location of every instance and all the configuration files. For example, if you have a policy that requires specific install locations.
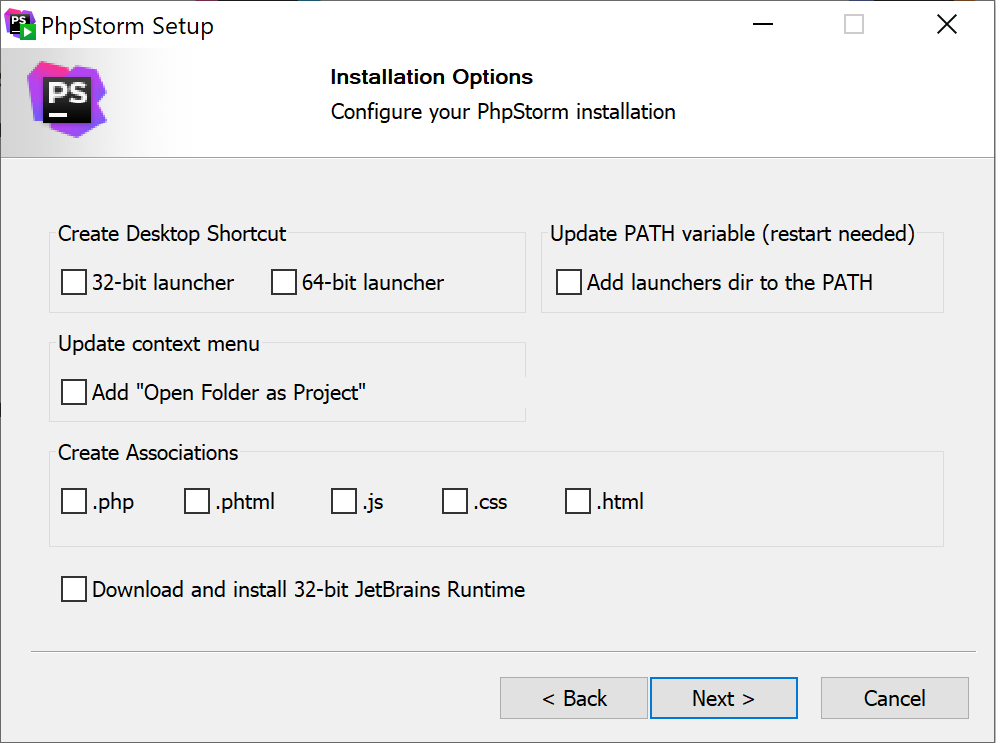
Run the installer and follow the wizard steps.
On the Installation Options step, you can configure the following:
Create a desktop shortcut for launching PhpStorm.
Add the directory with PhpStorm command-line launchers to the PATH environment variable to be able to run them from any working directory in the Command Prompt.
Add the Open Folder as Project action to the system context menu (when you right-click a folder).
Associate specific file extensions with PhpStorm to open them with a double-click.
To run PhpStorm, find it in the Windows Start menu or use the desktop shortcut. You can also run the launcher batch script or executable in the installation directory under bin .
There are separate disk images for Intel and Apple Silicon processors.
Mount the image and drag the PhpStorm app to the Applications folder.
Run the PhpStorm app from the Applications directory, Launchpad, or Spotlight.
Extract the tarball to a directory that supports file execution.
For example, to extract it to the recommended /opt directory, run the following command:
Do not extract the tarball over an existing installation to avoid conflicts. Always extract it to a clean directory.
Execute the PhpStorm.sh script from the extracted directory to run PhpStorm.
To create a desktop entry, do one of the following:
On the Welcome screen, click Configure | Create Desktop Entry
From the main menu, click Tools | Create Desktop Entry
When you run PhpStorm for the first time, some steps are required to complete the installation, customize your instance, and start working with the IDE.
For information about the location of the default IDE directories with user-specific files, see Directories used by the IDE.
Silent installation on Windows
Silent installation is performed without any user interface. It can be used by network administrators to install PhpStorm on a number of machines and avoid interrupting other users.
To perform silent install, run the installer with the following switches:
/S : Enable silent install
/CONFIG : Specify the path to the silent configuration file
/D : Specify the path to the installation directory
This parameter must be the last in the command line and it should not contain any quotes even if the path contains blank spaces.
To check for issues during the installation process, add the /LOG switch with the log file path and name between the /S and /D parameters. The installer will generate the specified log file. For example:
Silent configuration file
You can download the default silent configuration file for PhpStorm at https://download.jetbrains.com/webide/silent.config
The silent configuration file defines the options for installing PhpStorm. With the default options, silent installation is performed only for the current user: mode=user . If you want to install PhpStorm for all users, change the value of the installation mode option to mode=admin and run the installer as an administrator.
The default silent configuration file is unique for each JetBrains product. You can modify it to enable or disable various installation options as necessary.
It is possible to perform silent installation without the configuration file. In this case, omit the /CONFIG switch and run the installer as an administrator. Without the silent configuration file, the installer will ignore all additional options: it will not create desktop shortcuts, add associations, or update the PATH variable. However, it will still create a shortcut in the Start menu under JetBrains .
Install as a snap package on Linux
You can install PhpStorm as a self-contained snap package. Since snaps update automatically, your PhpStorm installation will always be up to date.
To use snaps, install and run the snapd service as described in the installation guide.
On Ubuntu 16.04 LTS and later, this service is pre-installed.
PhpStorm is distributed via two channels:
The stable channel includes only stable versions. To install the latest stable release of PhpStorm, run the following command:
The —classic option is required because the PhpStorm snap requires full access to the system, like a traditionally packaged application.
The edge channel includes EAP builds. To install the latest EAP build of PhpStorm, run the following command:
When the snap is installed, you can launch it by running the phpstorm command.
To list all installed snaps, you can run sudo snap list . For information about other snap commands, see the Snapcraft documentation.
Источник
Установка PHPStorm в Ubuntu 20.04
PhpStorm — это одна из лучших интегрированных сред разработки для языка программирования PHP. Она написана на Java и поддерживает все функции, которые должны быть у среды разработки. Кроме подсветки синтаксиса и очень удобного автодополнения кода, вы получаете поддержку отладки, профилирования, подсветку ошибок в реальном времени, интеграцию с Git, а также подсказки на основе документации PHP.
Но у PhpStorm есть один недостаток — программа проприетарная, и пользоваться ею бесплатно вы сможете только первый месяц. Для продолжения использования программы будет необходимо купить лицензию. В этой статье мы рассмотрим, как выполняется установка PhpStorm Ubuntu 20.04 и более ранних версиях.
Установка PhpStorm на Ubuntu 20.04
1. Центр приложений
Это самый простой способ установки программы. Вам достаточно открыть центр приложений Ubuntu и набрать в поиске PhpStorm:

Затем выберите найденный пакет, он будет только один в списке, и нажмите кнопку Установить.

Пакет программы весит достаточно много, поэтому загрузка может занять значительное время: в зависимости от скорости вашего интернета от 10 минут до получаса. После завершения загрузки вы можете запустить программу.
2. Snap пакет
Фактически, это тот же способ установки, что и в первом пункте, только здесь используется командная строка вместо центра приложений. Чтобы установить PhpStorm в Ubuntu 20.04, откройте терминал и выполните:
sudo snap install phpstorm —classic

Затем, после завершения установки, вы можете найти программу в главном меню системы:

3. Официальный сайт
Ещё возможна установка PhpStorm Ubuntu 20.04 из официального сайта программы. Так вы получаете возможность установить самую свежую на данный момент версию, но в то же время вы не получите обновлений. Откройте страницу загрузок программы и выберите версию для Linux. Нажмите кнопку Download:

Затем дождитесь завершения загрузки. После завершения загрузки распакуйте содержимое архива в папку /opt/:
/Downloads/PhpStorm-2020.3.3.tar.gz -C /opt/
Осталось создать ссылку на исполняемый файл программы в каталоге /usr/local/bin/, чтобы она была доступна в системе:
sudo ln -s /opt/PhpStorm-2020.3.3/bin/phpstorm.sh /usr/local/bin/phpstorm
4. JetBrains Toolbox
Если у вас есть лицензия на программу от JetBrains и вы используете ещё какие-нибудь инструменты этой компании удобнее всего установить её с помощью инструмента JetBrains Toolbox. Программа бесплатна и с помощью неё вы можете установить любой из продуктов компании. Примечательно, что лицензионный ключ достаточно ввести только один раз, для всех остальных программ лицензия подтянется автоматически. Ещё одно преимущество Toolbox — программа будет следить за выходом новых версий и устанавливать их прямо с официального сайта. Сначала загрузите ToolBox из официального сайта:

Распакуйте содержимое архива в какую-нибудь папку и запустите полученный исполняемый файл двойным кликом или с выполнив в терминале команду из папки с программой:
В открывшемся окне надо принять лицензионное соглашение:

Затем выберите нужную программу в списке. В данном случае PHPStorm и напротив неё нажмите Install:

Вверху списка программ будет отображен процесс загрузки. Поскольку архив с программой довольно большой, на загрузку и установку потребуется время:

После завершения установки программа останется вверху списка в секции Installed. Здесь вы можете её или удалить:

Запустить программу можно из главного меню.
Настройка PhpStorm в Ubuntu
После того, как программа установится, вы можете её запустить, например из главного меню или через терминал:
Сразу после запуска программа спросит, откуда нужно импортировать настройки. Если эта программа раньше не была у вас установлена, вы можете настройки не импортировать:

Затем необходимо выбрать вашу лицензию. На вкладке Activation code вы можете ввести ключ от программы. Или можно получить пробную версию на 30 дней выбрав Evaluate for free:

Стразу после этого можно переходить к использованию программы, открывать или создавать новые проекты.

Но перед этим программу можно немного настроить. На вкладке Customize можно выбрать цветовую схему:

На вкладке Plugins можно установить плагины, добавляющие поддержку технологий, которые вы собираетесь использовать. Например, можно установить поддержку PHP фреймворка Laravel и расширение для поддержки .env файлов:

После этого вернитесь на вкладку Projects и создайте или откройте новый проект. Вы можете выбрать путь к файлами проекта и если там уже есть исходники программа предложит создать проект из них:

Дальше можно переходить к программированию:

Как удалить PhpStorm в Ubuntu
Чтобы удалить PhpStorm, установленный с помощью центра приложений или snap-пакета, достаточно открыть центр приложений, найти программу и нажать кнопку Удалить. Также можете воспользоваться командой:
sudo snap remove phpstorm
Для удаления программы, установленной из официального сайта, достаточно удалить папку, в которую вы распаковали программу:
sudo rm -Rf /opt/PhpStorm*
Программа, установленная с помощью JetBrains ToolBox удаляется в этом же приложении.
Выводы
В этой статье мы рассмотрели, как установить PhpStorm Ubuntu 20.04, а также как запустить и настроить эту программу. Если вам нужна бесплатная альтернатива, то вы можете обратить внимание на такие редакторы, как Atom или Brackets или же можете попробовать интегрированную среду разработки Netbeans, которая тоже написана на Java, но совершенно бесплатна.
Источник


