- Использование меню Power User в системе Windows 10 – как настроить
- Проверьте ваше меню пользователя
- Скачать Win+X Menu Editor
- Персонализация меню опытного пользователя
- Удалить команду
- Изменить порядок
- Переместить в другую группу
- Добавить команду
- Настройте Power User по своему вкусу
- Power user windows rights
- Asked by:
- General discussion
- All replies
- User Rights Assignment
- We answer: What is Power User Menu in Windows 10 and how to use it?
- What is Power User Menu and how to use it?
- Run a System Scan to discover potential errors
Использование меню Power User в системе Windows 10 – как настроить
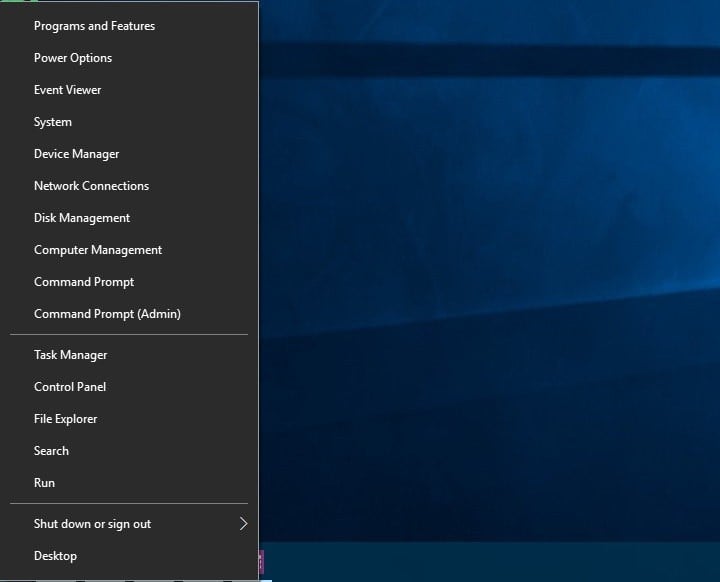
Щелкните правой кнопкой мыши кнопку «Пуск» в Windows 10, и появится всплывающее меню с командами для параметров электропитания, диспетчера устройств, диспетчера задач, проводника и др. Оно называется «Меню опытных пользователей», поскольку предлагает доступ одним нажатием к некоторым более мощным функциям Windows.
Но что, если команды, которые вы никогда не используете, занимают место в меню? Или что, если там не ваших любимых команд? Например, обновление Windows Creators удалило панель управления и заменило её командой открытия приложения «Параметры». Может быть, вы хотите вернуть панель управления.
Вы можете настроить Power User Menu, но есть предел того, сколько вы можете контролировать, и Microsoft не дает простых инструментов. Вместо этого вам лучше воспользоваться сторонней утилитой под названием Win+X Menu Editor.
Проверьте ваше меню пользователя
Во-первых, щелкните правой кнопкой мыши кнопку «Пуск», чтобы открыть меню «Опытного пользователя». В зависимости от того, какую версию Windows 10 вы используете, команды, которые вы видите в меню, могут немного отличаться.
Кроме того, изменения, внесенные в меню «Опытного пользователя», не появятся пока вы не выйдете из системы, а затем снова войдете в Windows (или не воспользуетесь специальной командой в редакторе меню Win+X).
Вы также можете использовать Win+X Menu Editor для настройки меню Power User в Windows 8.1.
Скачать Win+X Menu Editor
Вы можете загрузить редактор меню Win+X со страницы на веб-сайте Winaero. Прокрутите страницу и нажмите на ссылку Загрузить редактор меню Win+X, чтобы добавить или удалить пункты меню Win+X.
Загрузите и извлеките файл WinXMenuEditorRelease.zip. В извлеченной папке дважды щелкните файл WinXEditor.exe, чтобы запустить программу. Вы увидите три группы ярлыков в списках – Group3, Group2 и Group1. Эти три группы соответствуют трём разделам, отображаемым в меню «Опытный пользователь», идущим снизу вверх. Каждая папка содержит ярлыки для различных команд.
Персонализация меню опытного пользователя
Удалить команду
Давайте сначала попробуем удалить команду. Возможно, вы не используете «Просмотр событий» и хотите удалить эту команду. В папке Group3 щелкните правой кнопкой мыши ярлык Просмотр событий и выберите «Remove» во всплывающем меню. Также можно поступить с любым другим ярлыком.
Изменить порядок
Теперь, может быть, вы хотите изменить порядок некоторых команд. Щелкните правой кнопкой мыши по конкретной команде, которую вы хотите переместить. Во всплывающем меню нажмите «Move to Top», чтобы переместить его в верхнюю часть меню, «Move to Bottom», чтобы переместить его в нижнюю часть меню, «Move Up», чтобы переместить его на одно место вверх, или «Move Down», чтобы переместить его вниз на одно место.
Переместить в другую группу
Вы также можете переместить команду в другую группу. Возможно, вы хотите переместить команду из группы 3 в группу 1, чтобы поместить её в общее меню. Щелкните правой кнопкой мыши команду из группы 3, наведите курсор мыши на «Move to group» и выберите «Group 1».
Добавить команду
Теперь предположим, что вы хотите добавить команду. Возможно, вы хотите вернуть ярлык для Панели управления, который был удален в обновлении Creators. Щелкните правой кнопкой мыши на Group2 и наведите курсор мыши на «Add», а затем выберите «Add a Control Panel item».
В окне добавления элементов панели управления выберите «Все элементы панели управления» и нажмите кнопку Select .
Настройте Power User по своему вкусу
Вы можете продолжить изменять меню, удаляя, перемещая и добавляя элементы. Когда вы закончите и захотите увидеть своё новое творение, либо выйдите из системы, а затем снова войдите в Windows или просто нажмите кнопку «Перезагрузить проводник» в редакторе меню Win+X. Щелкните правой кнопкой мыши по кнопке «Пуск», и вы увидите новое и, надеюсь, улучшенное меню для опытных пользователей.
Если вам не нравятся сделанные вами изменения, вы можете вернуть меню к его состоянию по умолчанию, нажав кнопку Restore defaults в редакторе меню Win+X.
Power user windows rights
This forum has migrated to Microsoft Q&A. Visit Microsoft Q&A to post new questions.
Asked by:
![]()
General discussion
![]()
![]()
- Changed type MedicalS Microsoft contingent staff Friday, October 8, 2010 2:11 AM by design issue
All replies
![]()
![]()
In Windows XP , Power User referred to any user account that was a member of the Power Users group. Power User accounts had some, but not all, of the user rights that administrator accounts had. In these versions of Windows , the user groups have been simplified and the Power Users group no longer exists.
This posting is provided «AS IS» with no warranties or guarantees , and confers no rights.
![]()
![]()
Ok, I do understand what power users and the power user group is, I just wanted to know FOR sure if Windows 7 has dropped that group. Microsoft doesnt exactly make it crystal clear. They have this article: http://windows.microsoft.com/en-US/Windows7/What-happened-to-the-Power-Users-group, but when I go to compmgmt.msc on my win7 machine > groups, the power users group still exists.
So, if Microsoft has dropped the existence of Power Users (eventhough it technically exists), is there another same-solution that I can implement w/o giving the user/users local administrative rights? I am implementing a new domain, and like I said all Windows 7 Enterprise. These faculty need to install software frequently but as a limited user, we dont really have the staff to support installing software for them. My personal feelings is to keep them as a limited user, but I’d still like to consider other options.
Let me know if you have any ideas.. thanks
![]()
![]()
I think the best way to deploy applications using a domain is to remotely install the softwares using group policies.
You will need to create MSI Packs.
This posting is provided «AS IS» with no warranties or guarantees , and confers no rights.
User Rights Assignment
Applies to
Provides an overview and links to information about the User Rights Assignment security policy settings user rights that are available in Windows. User rights govern the methods by which a user can log on to a system. User rights are applied at the local device level, and they allow users to perform tasks on a device or in a domain. User rights include logon rights and permissions. Logon rights control who is authorized to log on to a device and how they can log on. User rights permissions control access to computer and domain resources, and they can override permissions that have been set on specific objects. User rights are managed in Group Policy under the User Rights Assignment item.
Each user right has a constant name and a Group Policy name associated with it. The constant names are used when referring to the user right in log events. You can configure the user rights assignment settings in the following location within the Group Policy Management Console (GPMC) under Computer Configuration\Windows Settings\Security Settings\Local Policies\User Rights Assignment, or on the local device by using the Local Group Policy Editor (gpedit.msc).
For information about setting security policies, see Configure security policy settings.
The following table links to each security policy setting and provides the constant name for each. Setting descriptions contain reference information, best practices for configuring the policy setting, default values, differences between operating system versions, and considerations for policy management and security.
We answer: What is Power User Menu in Windows 10 and how to use it?

- Download Restoro PC Repair Tool that comes with Patented Technologies (patent available here).
- Click Start Scan to find Windows issues that could be causing PC problems.
- Click Repair All to fix issues affecting your computer’s security and performance
- Restoro has been downloaded by 0 readers this month.
Windows 8 made some major changes in terms of user interface, but it also brought some new features, such as Power User Menu. This was such well-received feature that it has made its way to Windows 10, and today we’re going to explain you what is Power User Menu and how to use it on Windows 10.
As you probably know, Windows 8 removed the Start Menu completely, and this is why Microsoft implemented a somewhat hidden feature in Windows 8 called the Power User Menu. Although Power User Menu is no Start Menu replacement, it’s still rather useful since it provides access to some of the advanced features of Windows.
With Windows 10 we got Start Menu back, but since Power Menu turned out to be such a popular feature, it’s still present in Windows 10. In fact, in many of our how to articles we mentioned the Power User Menu, so you might be already familiar with it.
What is Power User Menu and how to use it?
Power User Menu gives users a quick way to access some of the most commonly used tools and features in a matter of seconds. This menu is rather useful, since it makes some of the most popular tools available at your fingertips, and you can easily access them with a single keyboard shortcut.
If you want to access Power User Menu, you just need to right click the Start Button or press the Windows Key + X on your keyboard.
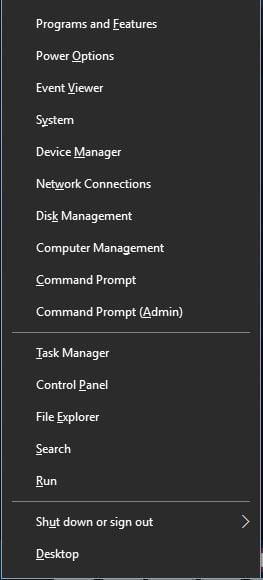
As you can see, Power User Menu offers quick access to some of the popular tools on Windows 10, and we’ll explain quickly what each of these tools does.
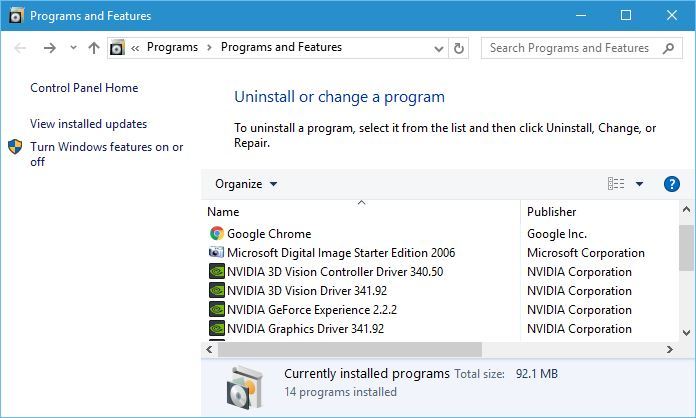
First is Programs and Features, and this tool is used to remove installed software, but you can also use it to view and remove installed Windows Updates or to turn certain Windows features on or off.
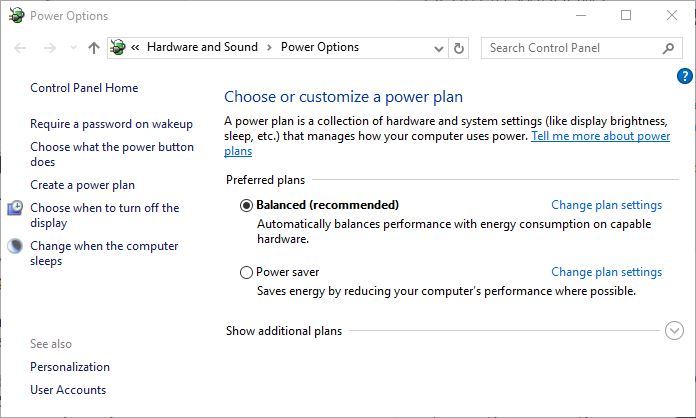
Next on our list is Power Options. Using Power Options you can change your power plan, which is rather useful if you’re using a laptop, change what the power button does, or set your PC or monitor to turn itself off after a certain time of inactivity.
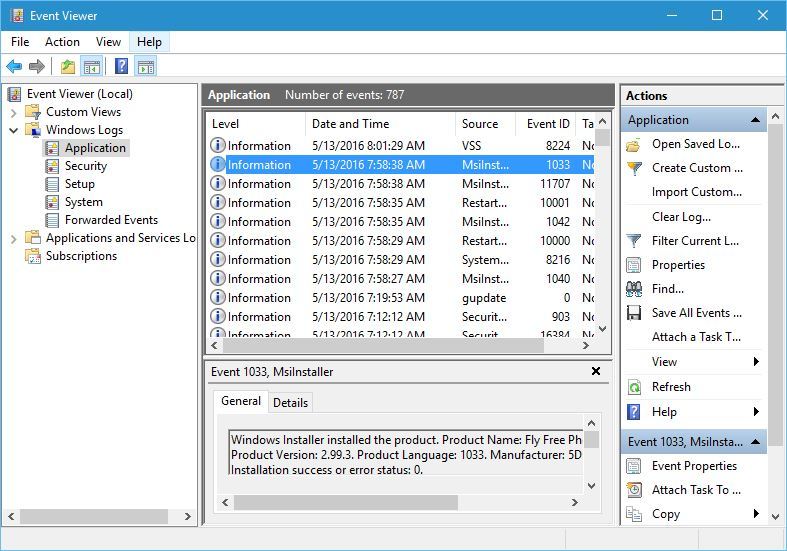
Event Viewer is an advanced tool that lets you see log of events that happened on your PC. You can use this tool to see when your PC was turned on or off, or you can use it to see when and why certain application crashed. Event Viewer is one of more complex tools on our list, and it’s and due to its complexity, it might not be suitable for basic users.
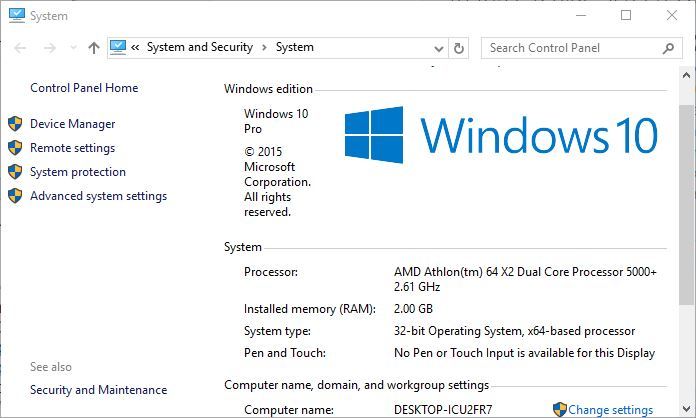
Next we have System, and by using this shortcut you can see some of the basic system information, such as the version of Windows 10 that you’re running, amount of RAM or the CPU that you’re using.
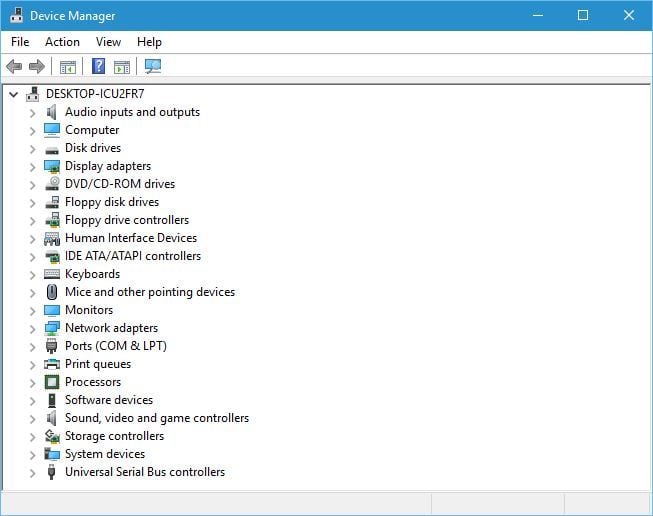
Device Manager is a tool we mention and use rather often. This tool will allow you to view all your installed devices and uninstall or update their drivers. In addition, Device Manager allows you to change the properties of installed devices, so it can be rather useful tool.
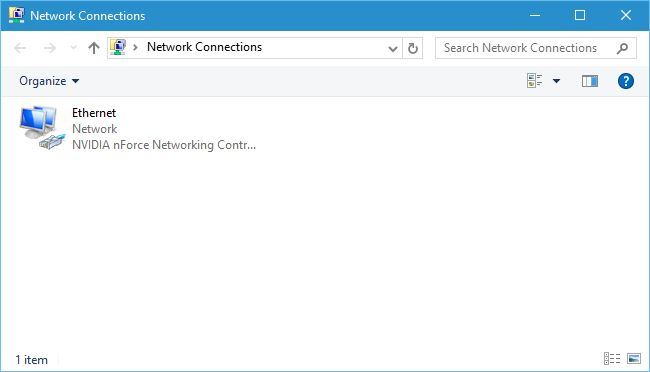
Network Connections will allow you to see all network adapters on your PC. By using this shortcut you can easily change the properties of your network adapter or even disable it completely.
Run a System Scan to discover potential errors


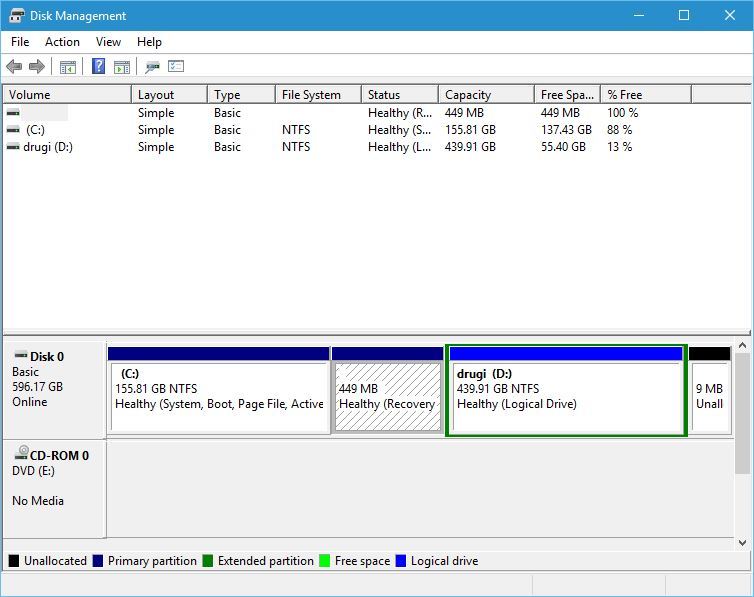
Disk Management is another advanced tool that allows you to create new partitions or to change the size of hard drive partitions. This tool can delete entire partitions, so be extra careful if you’re going to use it.
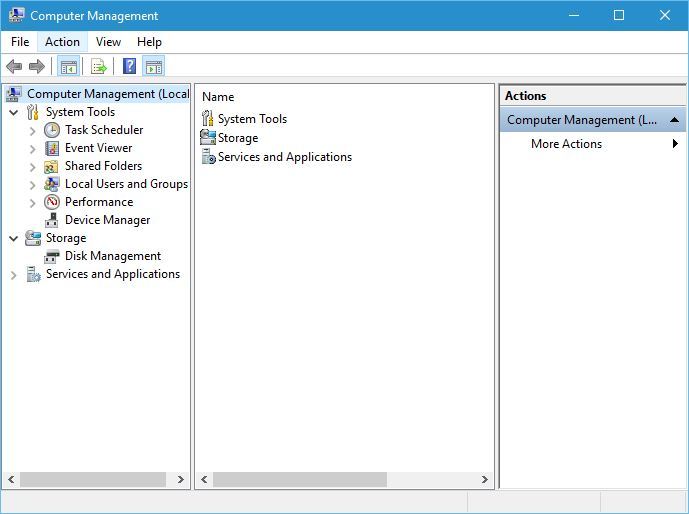
Computer Management is a tool that lets you access many hidden Windows 10 features. In fact, you can even use Computer Management to access some tools that are available in Power User Menu. Since this tool can be used to access many other advanced features and tools, you should be careful if you’re going to use it.
Command Prompt and Command Prompt (Admin) are the same tool, but they come with different privileges. Command Prompt comes in a form of command line, and you can use it to create files, delete folders, check your network adapter properties, create new users, or even format your hard drive.
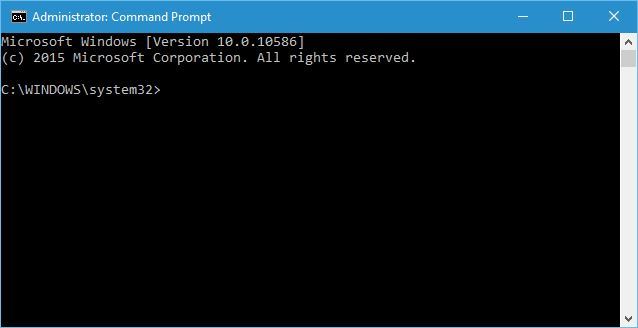
There are countless ways you can use Command Prompt, but not all of the advanced features are available in regular Command Prompt, so you’ll have to use Command Prompt (Admin) that has full administrator privileges.
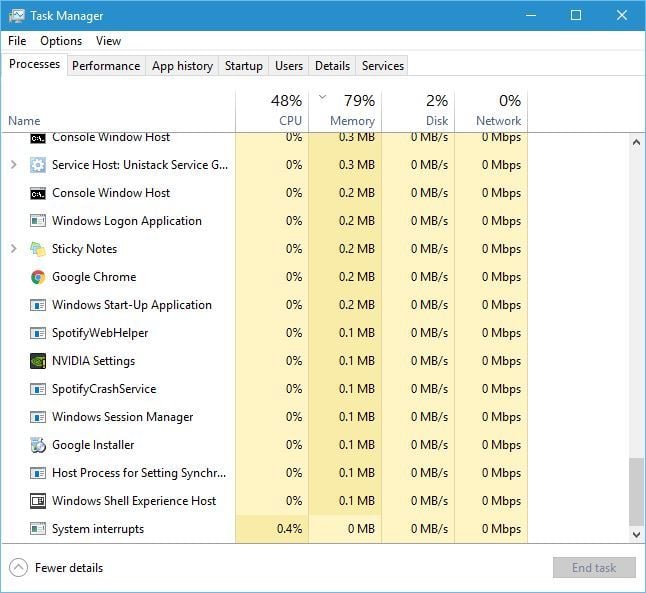
Next on our list is Task Manager, and you are probably familiar with this tool, so we won’t go into much detail. You can use Task Manager to view all your currently running applications and close them instantly if they stop responding. In addition, you can set which applications will start alongside Windows 10 every time you start your PC.
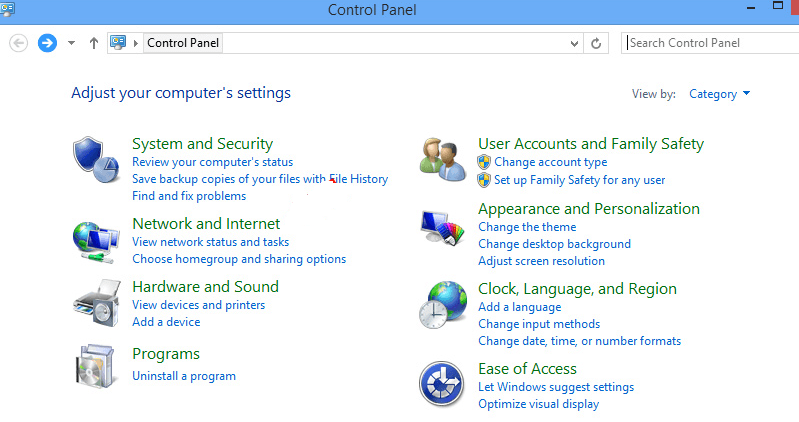
If you used any previous version of Windows, you’re probably familiar with Control Panel and you know that you can use it to change almost any setting on your PC.
File Explorer and Search options don’t offer access to any advanced features, and instead they work as a shortcuts to File Explorer and Search.
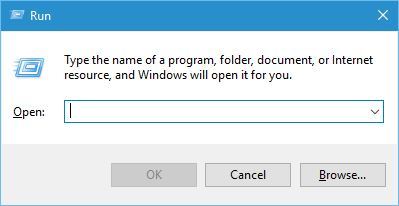
Run option will open a Run dialog that allows you to run almost any application from your PC. You can use this feature to run tools such as Command Prompt or Registry Editor by simply entering the name of the file in the input field.
Shutdown or sign out option allows you to quickly turn off or restart your computer, so you might use this option from time to time. Last option on our list is Desktop, and by using this option you will minimize all open windows and instantly show your Desktop.
As you can see, Power User Menu offers shortcuts to some of the most used and most powerful features on Windows 10. It’s also worth mentioning that you can access any of these options by using a simple keyboard shortcut. When you press Windows Key + X shortcut, you should see Power User Menu, and each option on the list will have an underline under a certain character, and you can simply press that character on your keyboard to quickly access a specific tool. For example, if you press Windows Key + X and then press T, you’ll open Task Manager. These shortcuts are available for all options on the list, thus making these features easier to access.
Power User Menu is rather useful and it can be used to access many tools and features of Windows 10 quickly. Bear in mind that some of these tools are rather powerful, so use them with caution.


