- Печать файлов PDF и изображений в приложении «Просмотр» на Mac
- Как распечатать в PDF в Mac OS X 2021
- 🏃💨 Subway Surfers — Official Launch Trailer
- Печать в PDF-файл на Mac
- Print to PDF
- Video tutorial: Print to PDF
- Print to PDF (Windows)
- Print to PDF (Mac OS)
- How to Print to PDF in Mac OS X
- Printing to a PDF File on a Mac
- How to Print PDF Files on Mac OS X
- Part 1. The Best Way to Print a Secured PDF on Mac (10.15 Catalina included)
- Step 1. Import and Edit Secured PDF
- Step 2. Unlock Protected PDF
- Step 3. Print Your Protected PDF
- Why Choose PDFelement Pro for Mac to Print Secured PDFs
- Part 2: The Way to Print Secured PDF on Windows
- Step 1. Open the secured PDF File
- Step 2. Convert the PDF to be Printed
- Step 3. Print Protected PDF
- Part 3. What’s a Secured PDF File?
Печать файлов PDF и изображений в приложении «Просмотр» на Mac
Приложение «Просмотр» позволяет напечатать отдельные страницы файла PDF или весь файл, напечатать несколько изображений на одном листе бумаги, а также настроить печать комментариев.
В приложении «Просмотр» можно открыть и распечатать документ, даже если он был создан в другом приложении.
В приложении «Просмотр»  на Mac откройте файл PDF или изображение, которые Вы хотите напечатать.
Если нужно напечатать несколько файлов, можно открыть их все в одном окне приложения «Просмотр».
Если нужно напечатать только некоторые изображения или файлы PDF, выберите «Вид» > «Миниатюры», затем, удерживая клавишу Command, выберите миниатюры страниц для печати.
Выберите пункт меню «Файл» > «Напечатать».
Выберите нужные параметры печати (если они не отображаются, нажмите «Подробнее»).
Печать только выбранных миниатюр. Нажмите «Выбранные страницы в боковом меню» или «Выбранные изображения в боковом меню».
Печать одного и того же изображения или страницы несколько раз на одном листе бумаги. Откройте всплывающее меню «Копий на страницу» и выберите нужное количество.
Печать нескольких страниц на одном листе бумаги. Нажмите всплывающее меню «Просмотр», затем выберите «Макет». Выберите количество страниц, которое нужно напечатать на каждом листе, во всплывающем меню «Страниц на листе».
Автоматический поворот изображений или страниц для наилучшего заполнения бумаги. Включите параметр «Автоповорот».
Изменение масштаба изображения или страницы. Выберите «Масштаб», затем введите значение в процентах.
Чтобы заполнить как можно больше пространства на листе бумаги, выберите «Подогнать масштаб под размер», затем нажмите «Напечатать изображение полностью» (если нужно, чтобы изображение не обрезалось) или «Заполнить полностью» (если нужно, чтобы изображение было обрезано по размеру бумаги).
Печать заметок, отображаемых в окне файла PDF. Выберите «Показать заметки», чтобы они были видны при печати.
Источник
Как распечатать в PDF в Mac OS X 2021
🏃💨 Subway Surfers — Official Launch Trailer

Хотите сохранить документ или веб-страницу в виде файла PDF, но у вас нет Adobe Acrobat? Нет проблем, вы можете печатать документы, веб-страницы или почти все в формате PDF, это означает, что он создает файл PDF непосредственно в Mac OS X, используя встроенную функцию, без необходимости какого-либо дополнительного программного обеспечения или приложений. Фактически, этот прием работает практически с любым приложением Mac, и, в основном, если вы можете распечатать документ или файл с помощью обычных функций «Печать», это означает, что вы также можете превратить это в документ PDF с помощью этого метода.
Печать в PDF-файл на Mac
По сути, вы экспортируете файл в формате PDF через службу печати Mac. Это может показаться сложным, но на самом деле это довольно просто. Вот как печатать PDF-файлы, если вы раньше не делали этого в Mac OS X:
- Откройте документ, веб-страницу или файл, который вы хотите распечатать в PDF
- Откройте меню «Файл» и выберите «Печать» или просто нажмите Ctrl + P
- Найдите кнопку «PDF» в нижнем левом углу, нажмите на это выпадающее меню и выберите «Сохранить как PDF»
- Нажмите «Сохранить» в диалоговом окне «Сохранить» и сохраните файл в любом месте («Документы» по умолчанию).
Найдите получившийся документ в Finder или в другом приложении, он будет отображаться как уникальный файл PDF, и нет, он не будет перезаписывать или изменять исходный файл, из которого он был создан.
Вот пример того, как подменю выглядит в большинстве приложений для Mac, обратите внимание, что есть и другие варианты сохранения PDF, но мы стремимся сделать это «Сохранить как PDF», который эффективно печатает документ точно так, как он выглядит в документе PDF. :
При сохранении вы можете выбрать несколько параметров, указать местоположение, отличное от «Документы», если необходимо, и вы можете заполнить информацию об авторе, название документа PDF, тему, ключевые слова для поиска в документе и даже указать пароль и параметры редактирования. выбрав «Опции безопасности», если вы хотите защитить файл от посторонних, имеющих к нему доступ:

Вот и все, теперь у вас будет файл PDF, созданный мгновенно с помощью функции печати. Затем вы можете просмотреть его позже, использовать свой любимый редактор PDF для Mac (или Windows / Linux), чтобы редактировать PDF, распространять его в Интернете с помощью чего-то вроде Amazon, ScribD, Google Docs или чего-то еще, для чего вам нужно.
Обратите внимание, что некоторые приложения, такие как Google Chrome, имеют отдельное окно «Печать», и вы найдете «Сохранить как PDF» в качестве опции флажка в Chrome наряду с опциями «Назначение». В остальном все то же самое, и вы все равно получите открытый документ или веб-страницу, сохраненные в виде файла PDF через механизм виртуального принтера Mac OS X. Кроме того, некоторые приложения имеют встроенные встроенные функции «Экспорт в PDF». непосредственно в них, хотя использование этих функций не пропускает исходный документ через механизм принтера Mac OS X и, следовательно, может привести к несколько иным результатам.
Эта возможность была в Mac OS в течение очень долгого времени, но в старых версиях Mac OS X она выглядит несколько иначе, а некоторые вещи имеют немного другой язык и опции. Тем не менее, общая идея та же самая, и у вас не должно возникнуть проблем с ее разработкой, независимо от того, какую версию MacOS или Mac OS X вы используете.
Хотя это еще не встроенная функция в iOS, вы можете настроить букмарклет для достижения той же функции с веб-страницами, если вы заинтересованы в том же на iPad или iPhone.
Источник
Print to PDF

Quickly convert Word to PDF online.
You can select Adobe PDF in almost any Windows or macOS application while printing. Print to PDF creates an electronic copy of your file that you can save to disk. Printing a file to PDF using the Adobe PDF printer flattens the file.
Ensure that Acrobat is installed on your computer, otherwise, the Adobe PDF printer or the Save As Adobe PDF option won’t appear. Don’t have Acrobat? Try Acrobat for free.
Video tutorial: Print to PDF
Watch this video tutorial to use the Adobe PDF Printer to create PDFs from almost any application.
Video (03:34) | Contributers: lynda.com, Claudia McCue
Print to PDF (Windows)
Open a file in a Windows application.
Choose File > Print.
Choose Adobe PDF as the printer in the Print dialog box.
To customize the Adobe PDF printer setting, click the Properties (or Preferences) button. (In some applications, you may need to click Setup in the Print dialog box to open the list of printers, and then click Properties or Preferences.)
Click Print. Type a name for your file, and click Save.
For more information on Adobe PDF printer settings, see Using the Adobe PDF printer.
Print to PDF (Mac OS)
The Adobe PDF printer is not available on Mac. However, you can use the Save As Adobe PDF option to print a file to PDF on Mac.
In macOS Mojave (v10.14), when you try to print a document to PDF using the System Print Dialog > Save As Adobe PDF, the following error message is displayed: «This workflow contains the action Save As Adobe PDF, which is provided by a third party. Third party actions must be explicitly enabled.»
Источник
How to Print to PDF in Mac OS X
 Want to save a document or web page as a PDF file, but you don’t own Adobe Acrobat? No problem, you can print documents, webpages, or nearly anything as a PDF, this means it creates a PDF file directly in Mac OS X using a built-in feature, without the need for any additional software or apps. In fact, this trick works with almost any Mac app, and basically if you can print a document or file through the normal “Print” functions, then that means you can also turn that into a PDF document through this method.
Printing to a PDF File on a Mac
What you’re essentially doing is exporting the file as a PDF through the Macs print service. That may sound complicated but it’s actually quite simple. Here is exactly how to print PDF’s if you haven’t done so before in Mac OS X:
- Open the document, web page, or file you want to print to a PDF
- Click the File menu and select “Print”, or just hit Command+P
- Look for the “PDF” button in the lower left corner, click on that pull-down menu, and select “Save as PDF”
- Click “Save” in the save dialogue box, and save the file to whatever location you want (Documents is default)
Locate the resulting document in the Finder or with another app, it’ll appear as a unique PDF file, and no, it will not overwrite or alter the origin file it was created from.
Here is an example of what the submenu looks like in most Mac apps, note there are other PDF saving options too but what we’re looking to do is “Save as PDF” which effectively prints the document precisely as it appears into a PDF document:
Going to save gives you a few options, specify a location other than Documents if desired, and you can fill out author information, the title of the PDF document, subject, keywords for searching within the document, and even specify a password and editing options by choosing “Security Options” if you want to protect the file from others having unauthorized access to it:
That’s all there is to it, you will now have a PDF file created instantly by the print function. You can then view it later, use your favorite PDF editor for Mac (or Windows/Linux) to edit the PDF, distribute it online with something like Amazon, ScribD, Google Docs, or whatever else you need it for.
Note that some apps like Google Chrome have a separate Print window, and you’ll find “Save as PDF” as a checkbox option in Chrome alongside “Destination” options. All else is the same though, and you’ll still wind up with the open document or web page being saved as a PDF file through the virtual printer engine of Mac OS X. Additionally, some applications have native “Export to PDF” functions built directly into them, though using those functions does not pass the origin document through the printer engine of Mac OS X and thus can have slightly different results.
This ability has been in Mac OS for a very long time, but it looks slightly different in older versions of Mac OS X and some things have slightly different language and options. Nonetheless, the general idea is the same and you shouldn’t have a problem working it out, whatever version of MacOS or Mac OS X you’re using.
Though this is not yet a native feature in iOS, you can set up a bookmarklet to achieve the same function with webpages if you’re interested in doing the same thing on an iPad or iPhone.
Источник
How to Print PDF Files on Mac OS X

Ivan Cook
Users might secure PDF files by using a password to prevent the receivers from opening, editing, copying or printing the files. In some cases, you might really have to print secured PDF documents for signature or filling in information, but you will only find that it won’t let you print. Don’t panic. Here is the solution on how to print a secured PDF with PDFelement Pro.
Part 1. The Best Way to Print a Secured PDF on Mac (10.15 Catalina included)
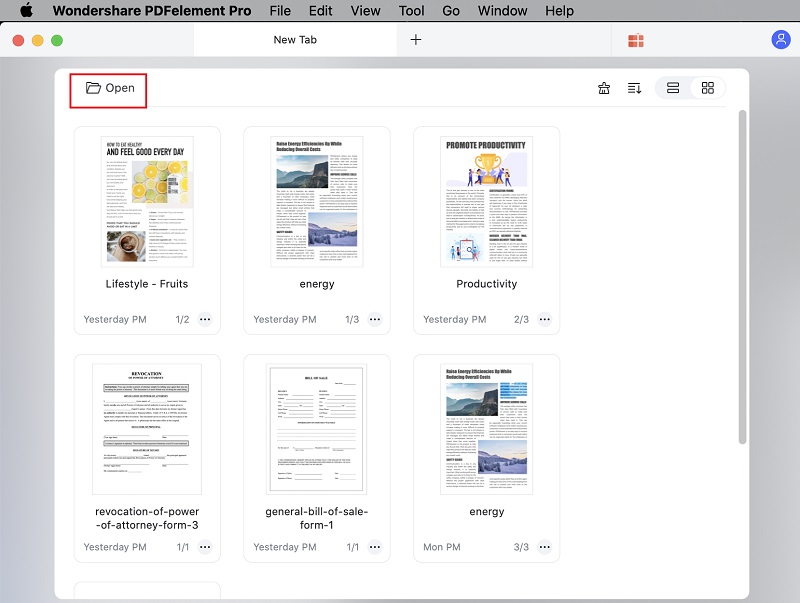
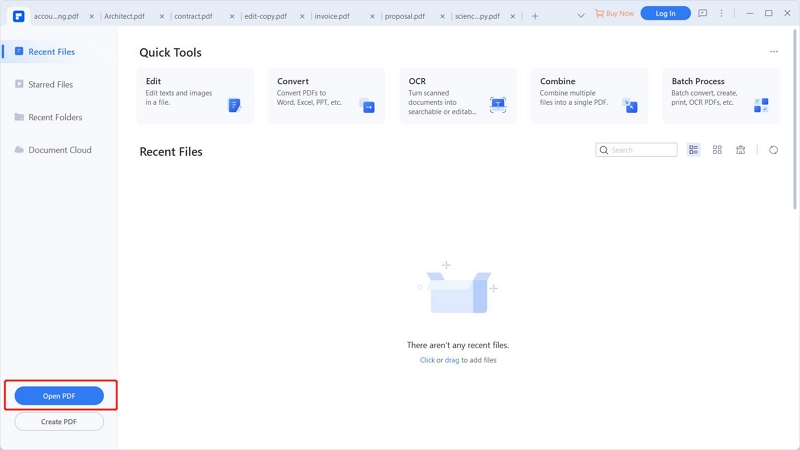
To print secure PDF documents, you need a special application that can decrypt the PDF files and enable the printing function. The one I highly recommend here is PDFelement ProPDFelement Pro. Click the «Free Download» button for Mac, the program file will be downloaded to your local folder immediately. After that, double click the application icon and follow up installation menu to install PDF Editor. Then follow below step-by-step tutorial to start printing a secured PDF file on Mac (10.15 Catalina included).
Step 1. Import and Edit Secured PDF
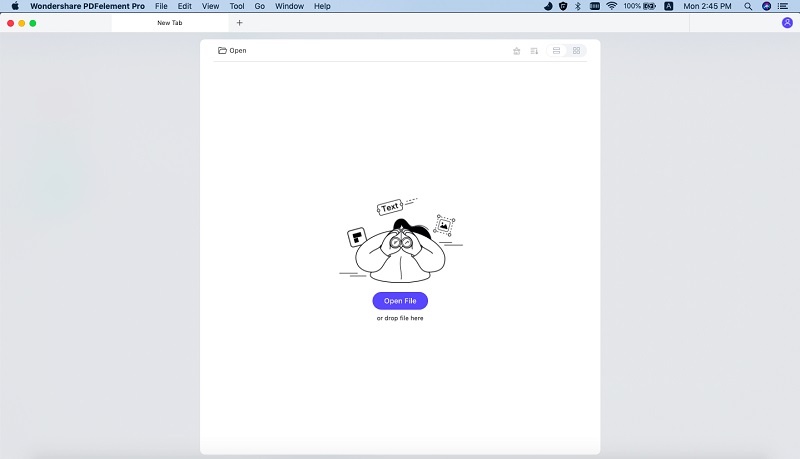
Launch the program. Click the «Open File» button. The file will be opened with this program. Now you can do any editing on the PDF file. You can just add or delete texts, highlight, underline or strikethrough any words. If necessary, add signature or annotation to the PDF. Then save your changes.
Step 2. Unlock Protected PDF
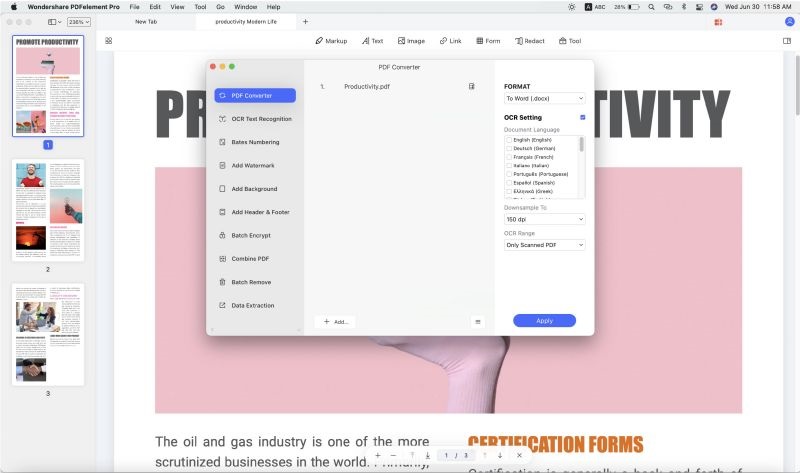
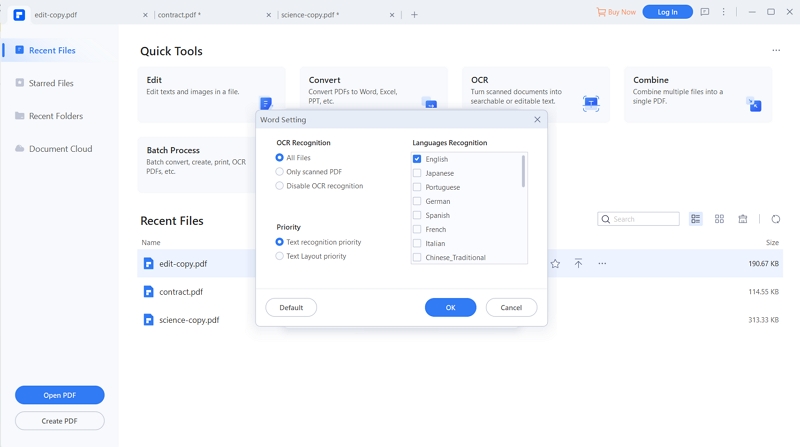
Now, click the «Convert» button on the top toolbar to open the conversion window. Add the secured PDF file, and then select the output format as Microsoft Office Word format and select the page ranges that you want to print. Lastly, click the «Convert» button to start converting the PDF file.
When the conversion is finished, you can open the converted file and process printing directly.
Step 3. Print Your Protected PDF
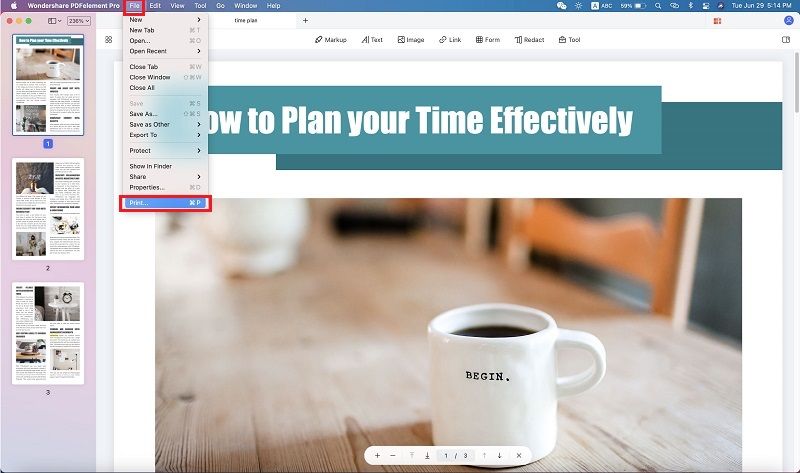
And then you can go to «File» > «Print», and open the print setting window. And select the printing options to start printing your secured PDF.
Why Choose PDFelement Pro for Mac to Print Secured PDFs
Some users may find many applications allowing you to print secured PDF. However, only a few of them stand out. PDFelement Pro for Mac (Compatible with macOS 10.15 Catalina) is the best one for you. This program can easily unlock the encrypted PDF document and allow you to edit the file with various editing tools, as well as copying or printing it without any fuss.
Key Features of This PDF editor:
- Easily Print ann manage your PDF files.
- Edit the text, images, links in your PDF with ease.
- Convert PDF to Word, Excel and more formats and batch convert multiple PDFs.
- Create PDF from other formats and create PDF forms easily.
- Add watermark, notes, sign and shapes into PDF files easily.
Part 2: The Way to Print Secured PDF on Windows
Just like any other form authentication that requires you to unlock the PDF file to get authority, printing secured PDF files also requires you to unlock the PDF to be able to print the file. You may have been all over the Internet looking for a way to print secured PDF on Windows. Here is a solution for you. Download the magnificent PDFelement ProPDFelement Pro for Windows. With this software you will be able to encrypt PDF files with password.
PDFelement Pro for Windows lets you convert the PDF files to Word, PowerPoint, Excel thus letting you edit, annotate texts, delete, add images and successfully print the document. It does not only allow to split PDF files but also merge them. If you want to create PDF files then this is the right choice for you. Another outstanding feature about this software is that it comes with OCR technology besides its accuracy and speed.
Are you worried on how to go about? Do not panic join me and learn how to print a secured PDF on windows without hiring an expert.
Step 1. Open the secured PDF File
Install PDF Editor on your computer and open it. To open a PDF on your editor window, click on «Open» to browse your file.
You can now make any necessary changes that you require such as editing texts, adding signature or even images.
Step 2. Convert the PDF to be Printed
After importing the file, you should convert it to a desired output format to remove the printing restriction. Now click «Home» and you will see the option «To Word» or «To Others». Then choose a desired format from the options provided such as HTML and many others. After the conversion is finished, you can freely print the document.
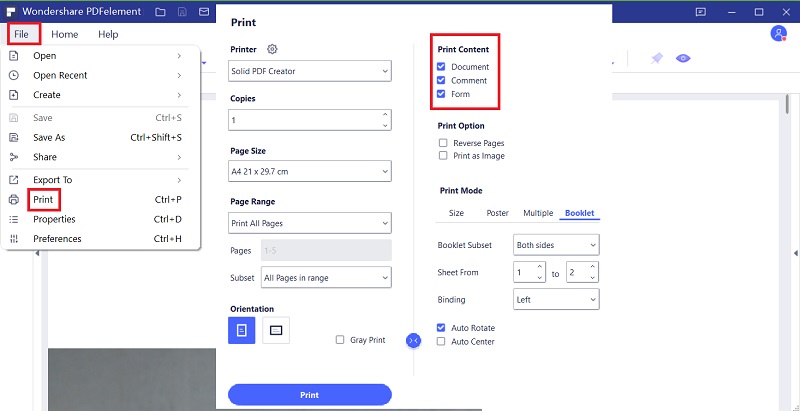
Step 3. Print Protected PDF
Now go to «File» and select the «Print» option, and confirm the print settings. And then start printing your secured PDF.
Part 3. What’s a Secured PDF File?
Most of us have Adobe Reader pre-installed on our computer, but you have to upgrade to Adobe Acrobat to combine PDF files. Below is the detailed guide to do so.
When you get a PDF document with the file name like «filename.pdf(SECURED)», it means that this PDF document has been encrypted. Or if you open a PDF file with Adobe Reader and find that there is a lock icon on the main interface, then the PDF file has been protected by password. Normally, there are two ways to secure a PDF file, which is open restriction and permission restriction.
Open restrictionmeans that the PDF owner has set a password to protect others to open the file. So even you get the file, you are not able to open it and view the contents. What you need is the password or the encryption-breaking software.
Permission restrictionmeans that the PDF file has been secured to prevent from copying, printing, signing or editing. You can also open and view the PDF, but cannot do any other actions on it.
Источник


