- Print sharing windows server
- Что такое сервер печати
- Сервер печати windows server 2012
- Share your network printer
- Share the printer on the primary PC
- Connect the shared printer to another PC
- Set up Sharing settings
- Find your PC name
- SMB: File and printer sharing ports should be open
- Issue
- Impact
- Resolution
- To open the firewall ports to enable file and printer sharing
Print sharing windows server
Добрый день уважаемые читатели блога сегодня мы с вами разберем вопрос, как производится настройка сервера печати windows server 2012 R2. Мы с вами уже устанавливали сервер печати в Windows Server 2008 r2 и эта статья чем, то на нее похожа. Думаю для начинающих системных администраторов она окажется полезной в организации новой инфраструктуры и имеющей немного улучшенный функционал, все вопросы по данной теме я жду в комментариях, готов максимально развернуто на них ответить.
Что такое сервер печати
Как вы понимаете это сервер или виртуальная машина, на которой стоит роль и с помощью нее идет централизованное администрирование и распространение принтеров на устройства и пользователей в локальной сети. Ниже представлен пример, как это выглядит.

Сервер печати windows server 2012
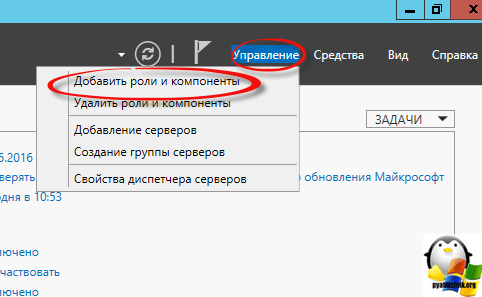
Приступим к настройке, делать я это буду на контроллере домена так как данный функционал совсем не нагружает сервак, первым делом вам необходимо открыть Диспетчер сервера и в правом верхнем углу нажать Управление > Добавить роли и компоненты, в 2012 да и в 2008 r2, все ставилось через данные мастера.
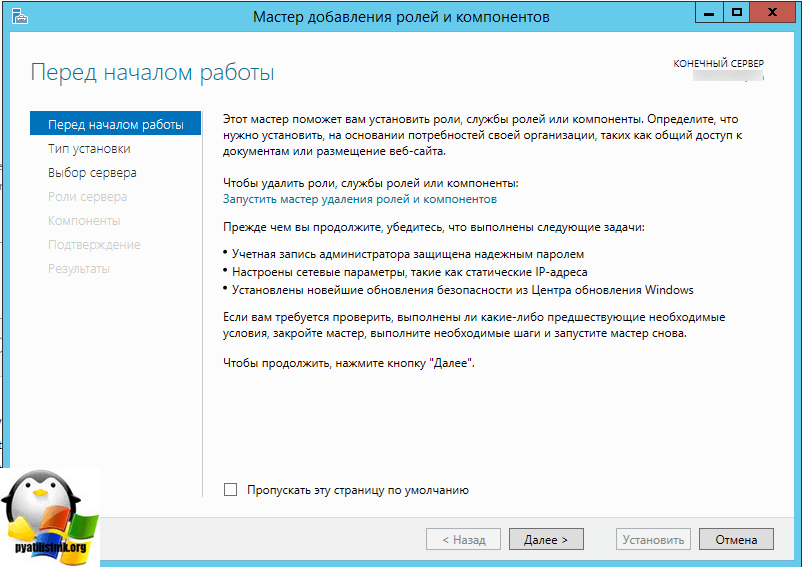
У вас откроется мастер добавления ролей и компонентов, на первом окне можете ничего не читать, там одна вода, жмем далее.
Оставляем выбор на Установка ролей и компонентов, так как мы будем ставить на один сервак

Выбираем сервер для инсталляции.

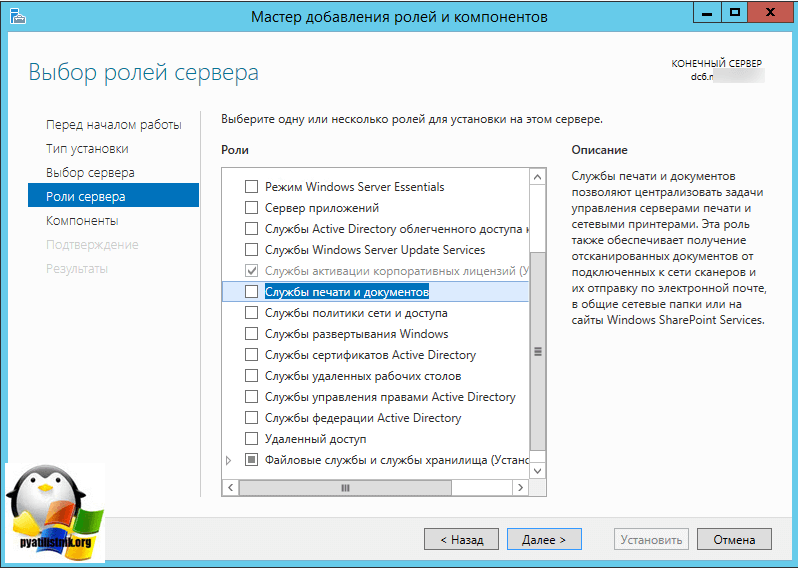
ставим галку на против Слыжбы печати и документов и жмем далее.
Дополнительных компонентов ставить не нужно, так что этот шаг просто пропускаем.
На этом шаге мастер вам расскажет более подробно про сервер сетевой печати, если интересно, то почитайте.

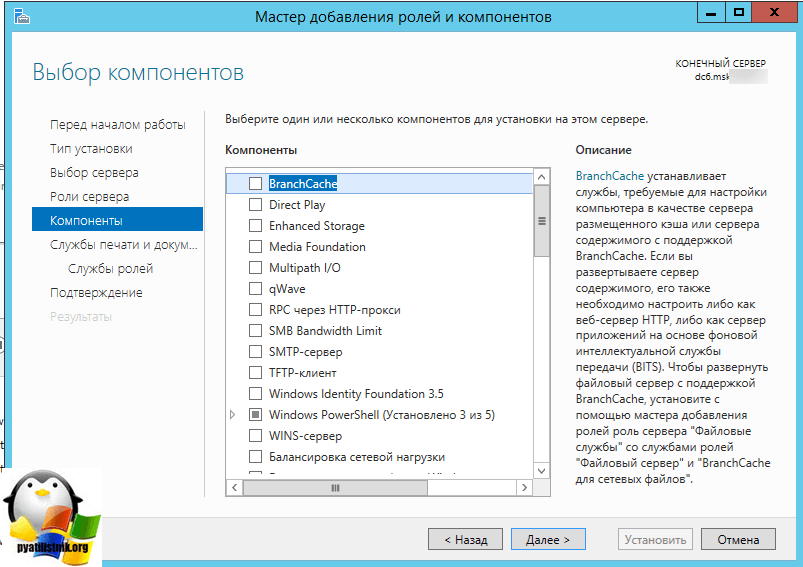
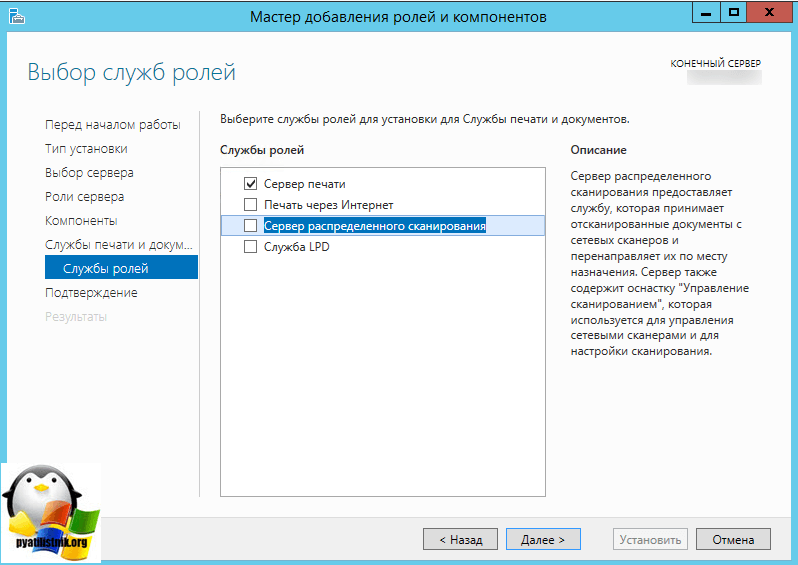
Теперь у вас на выбор будет 4 галки
- Сервер печати > ее выбирает, так как наша роль
- Печать через интернет > тут как бы все понятно из названия
- Сервер распределенного сканирования
- Службы LPD > Для Linux платформ
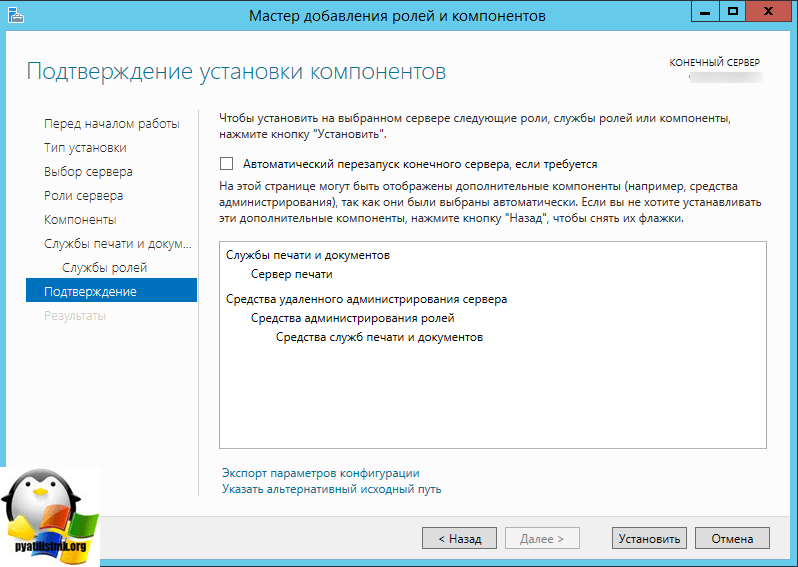
Все жмем установить.
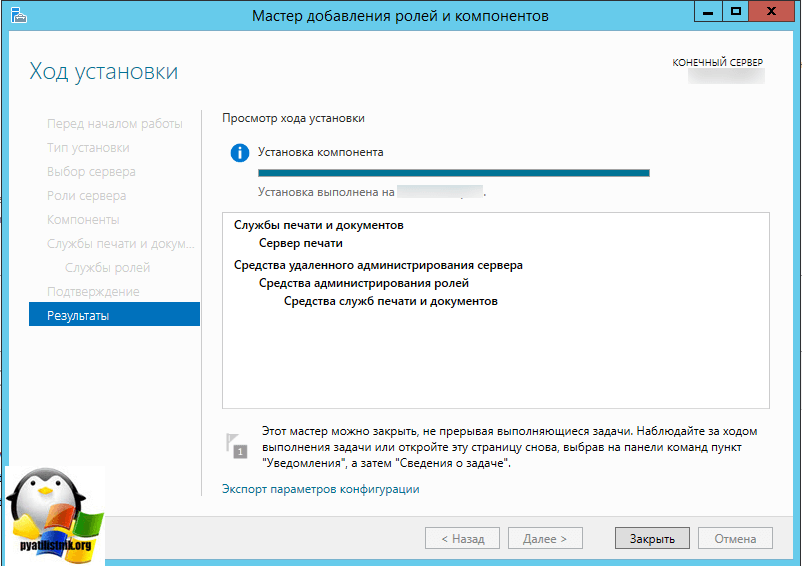
Процесс довольно таки быстрый.

Обратите внимание, что по завершению вас не попросят перезагружаться.
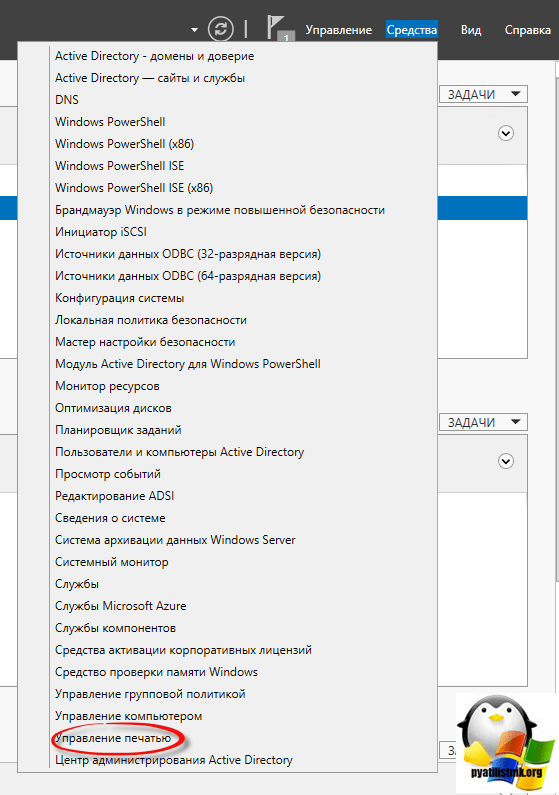
все роль установилась, открываем Средства в диспетчере сервера и далее Управление печатью.
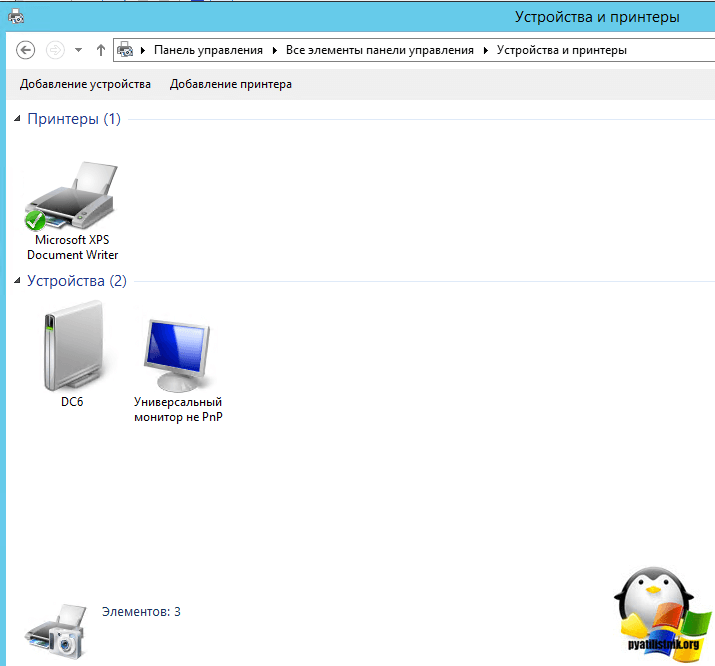
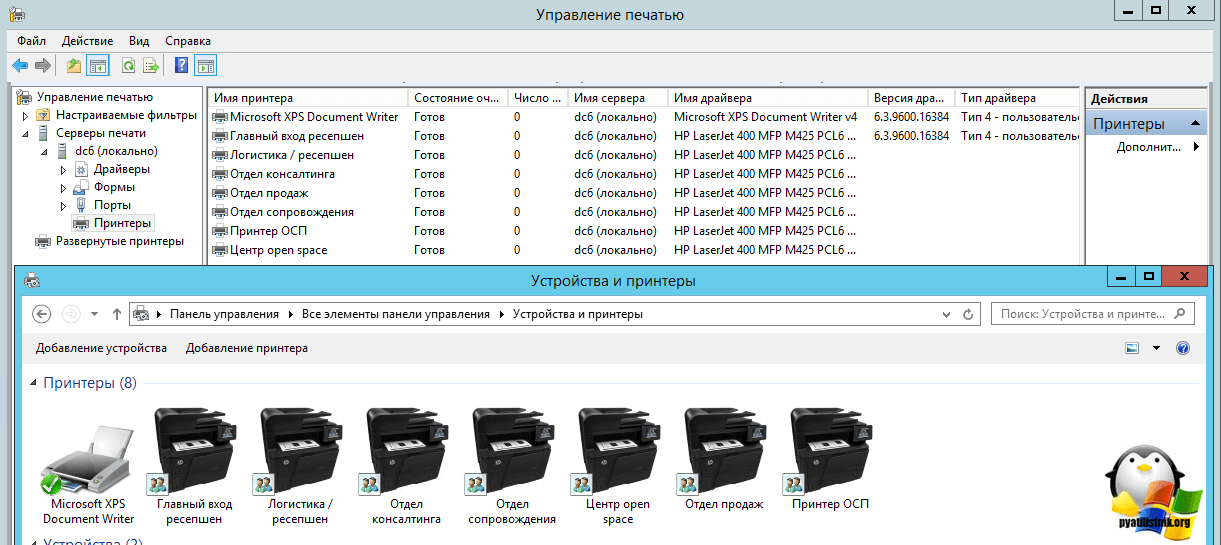
Продолжаем делать наш сервер печати windows server 2012. В открывшейся оснастке mmc откройте Серверы печати > далее ваш > Принтеры. Как видите у вас только стандартный Microsoft XPS принтер. Логично, что вам нужно поставить все ваши сетевые принтеры. У меня в сети настроена пачка сетевых принтеров HP LaserJet 400 MFP M425dn

Открываем панель управления > Устройства и принтеры. Жмем вверху Добавление принтера.
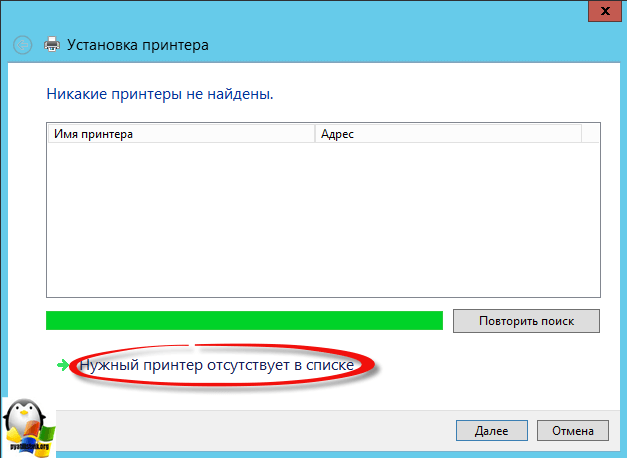
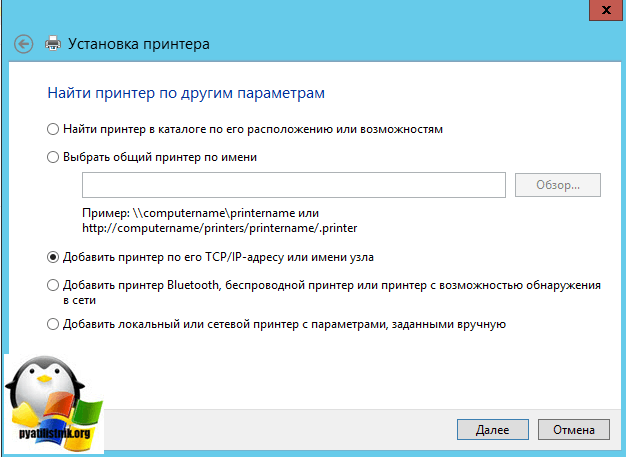
В открывшемся окне, будет произведен поиск доступных принтеров в Active directory. если у вас ничего не нашло, то жмем Нужный принтер отсутствует в списке.
Теперь настройка сервера печати windows попросит вас добавить локальный или сетевой принтер от имени администратора.
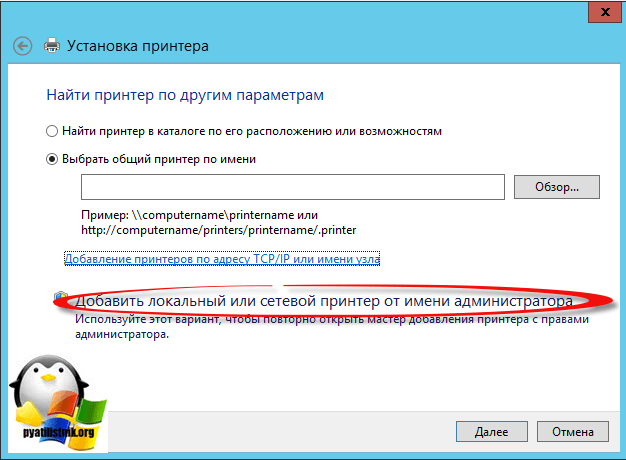
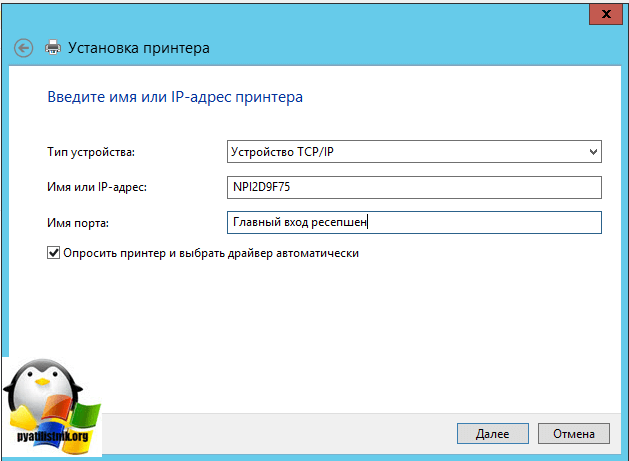
Выбираем добавить принтер по его TCP/IP адресу или имени. Советую всегда использовать dns имена и не привязываться к ip адресам.
- Тип устройства > Устройство TCP / IP
- Имя или Ip адрес > DNS имя
- Имя порта > что угодно понятное вам, у меня это расположение в офисе
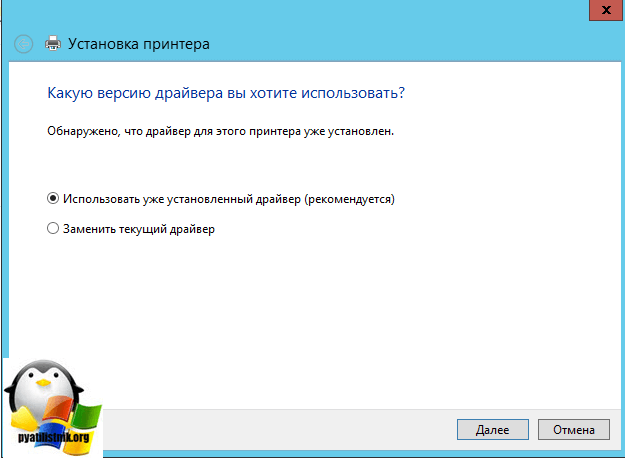
Теперь будет произведена установка драйвера, можете поставить свой, но мне достаточно было использовать рекомендуемый.
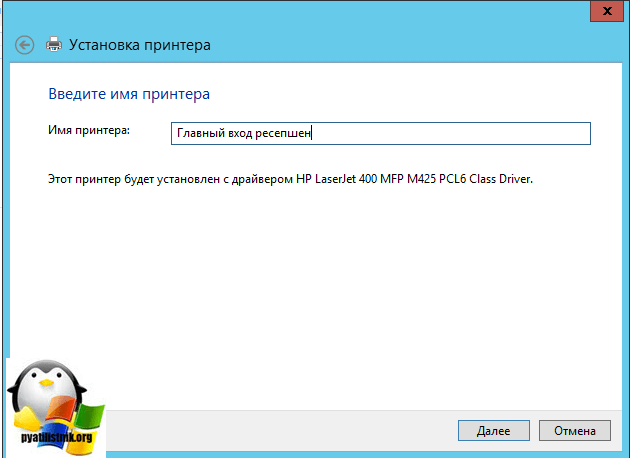
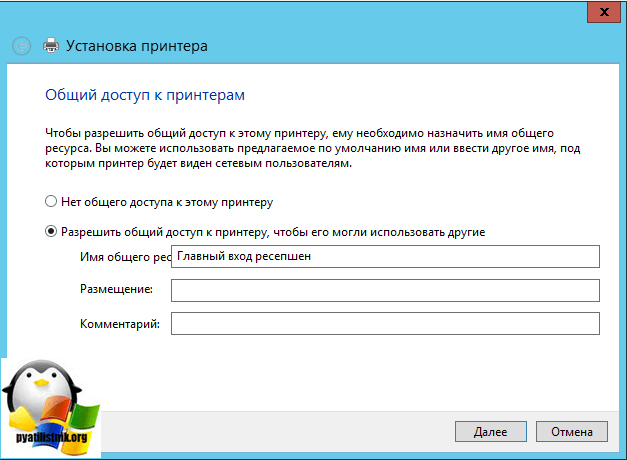
И зададим имя, по которому его смогут искать.
Указываем есть ли до него общий доступ или нет.
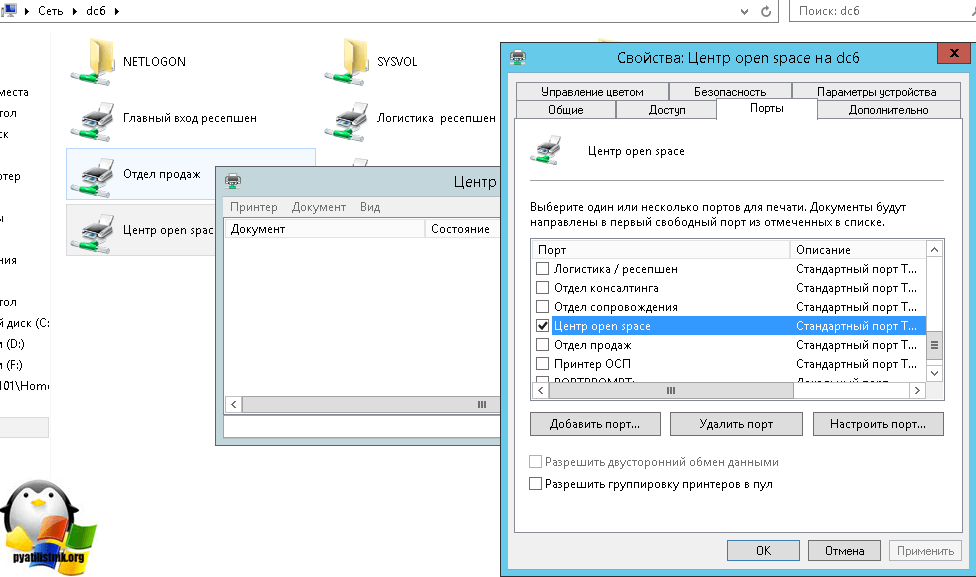
Вот так вот выглядит мой список,
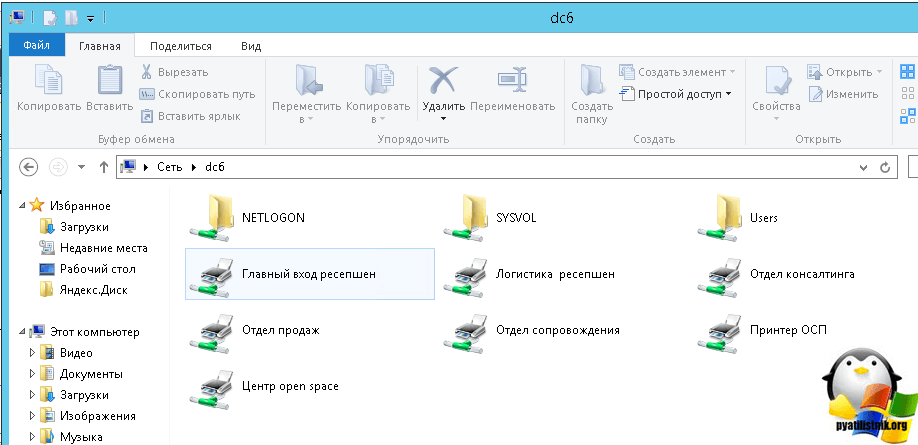
Откройте теперь проводник и введите \\имя вашего сервера и вы получите список всех принтеров что на нем есть.
Щелкаем по любому из них двойным кликом и начнется установка.
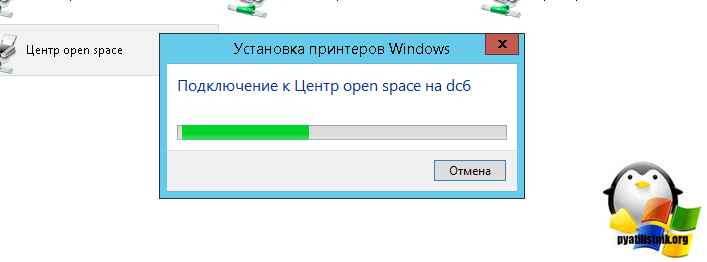
Все как видите у меня появился нужный мне сетевой принтер.
в следующей статье я вам расскажу как эти принтеры можно назначить с помощью групповых политик, так как в ручную можно поставить когда требуется единовременно или одному человеку, а вот если мы говорим про отделы, то тут GP просто не заменима.
Share your network printer
In Windows 10, you can share your printer with many PCs on your network. To share a printer from the PC that the printer is connected to (the primary PC) with secondary PCs that the printer is not connected to, you must set up sharing settings for the printer, connect the printer to the primary PC (either wirelessly or by using a USB cable), and then turn on the printer. Also make sure the primary PC is turned on, connected to the printer, and connected to the network.
Note: When sharing a printer, make sure that sharing settings are set up on the primary and secondary PCs. Also, make sure you know the name of the primary PC. For more info, see the Set up Sharing settings and Find your PC name sections at the end of this topic.
Share the printer on the primary PC
There are two ways to share your printer: using Settings or Control Panel.
Share your printer using Settings
Select the Start button, then select Settings > Devices > Printers & scanners.
Choose the printer you want to share, then select Manage.
Select Printer Properties, then choose the Sharing tab.
On the Sharing tab, select Share this printer.
If you want, edit the share name of the printer. You’ll use this name to connect to the printer from a secondary PC.
Share your printer using Control Panel
In the search box on the taskbar, type control panel and then select Control Panel.
Under Hardware and Sound, select View devices and printers.
Select and hold (or right-click) the printer you want to share, select Printer properties, and then choose the Sharing tab.
On the Sharing tab, select Share this printer.
If you want, edit the share name of the printer. You’ll use this name to connect to the printer from a secondary PC.
Select the Start button, then select Settings > Devices > Printers & scanners.
Choose the printer you want to share, then select Manage.
Select Printer Properties, then choose the Sharing tab.
On the Sharing tab, select Share this printer.
If you want, edit the Share name of the printer. You’ll use this name to connect to the printer from a secondary PC.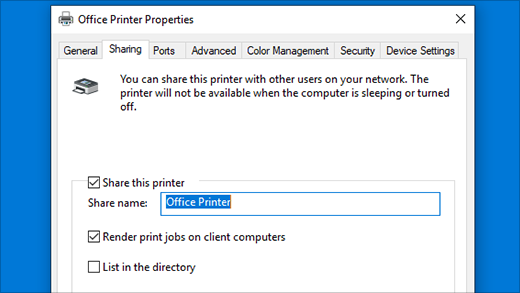
In the search box on the taskbar, type control panel and then select Control Panel.
Under Hardware and Sound, select View devices and printers.
Select and hold (or right-click) the printer you want to share, select Printer properties, and then choose the Sharing tab.
On the Sharing tab, select Share this printer.
If you want, edit the share name of the printer. You’ll use this name to connect to the printer from a secondary PC.
Connect the shared printer to another PC
There are two ways to connect a shared printer to another PC: using Settings or Control Panel.
Select the Start button, then select Settings > Devices > Printers & scanners.
Under Add printers & scanners, select Add a printer or scanner.
Choose the printer you want, and then select Add Device.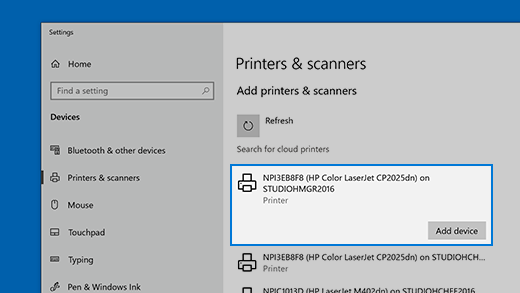
If you don’t see the printer you want, select The printer that I want isn’t listed.
In the Add printer dialog box, select Select a shared printer by name, and then enter the computer or device name of the primary PC and the share name of the printer using one of these formats:
When prompted to install the printer driver, select Next to complete the installation.
For more info about the computer or device name, see the Find your PC name section in this topic. By default, you need the user name and password of the primary PC to access the printer.
In the search box on the taskbar, type control panel and then select Control Panel.
Under Hardware and Sound, select View devices and printers, and then select Add a printer.
Select the printer you want, select Next. When prompted, install the printer driver.
If you don’t see the printer you want, select The printer that I want isn’t listed.
In the Add a device dialog box, select Select a shared printer by name, and then enter the computer or device name of the primary PC and the share name of the printer using one of these formats:
When prompted to install the printer driver, select Next to complete the installation.
For more info about the computer or device name, see the Find your PC name section in this topic. By default, you need the user name and password of the primary PC to access the printer.
Set up Sharing settings
The settings you use to share devices is often turned on by default. If not, follow the steps in this section to turn settings on using settings or Control Panel.
Select the Start button, then select Settings > Network & Internet > Wi-Fi.
Under Related settings, select Change advanced sharing options.
In the Advanced sharing settings dialog box, expand the Private section. Next, under Network discovery, select Turn on network discovery.
Under File and printer sharing, select Turn on file and printer sharing.
In the search box on the taskbar, type control panel and then select Control Panel.
Select Network and Internet > Network and Sharing Center > Change advanced sharing settings.
In the Advanced sharing settings dialog box, expand the Private section. Next, under Network discovery, select Turn on network discovery.
Under File and printer sharing, select Turn on file and printer sharing.
Find your PC name
You’ll need the name of your primary PC, also called the computer name or device name, to connect the secondary PC to the printer.
In the search box on the taskbar, type computer name.
Select View your PC name.
Under Device name, you’ll see the PC (computer) name.
In the search box on the taskbar, type control panel and then select Control Panel.
Select System and Security > System > See the name of this computer.
Under Computer name, you’ll see the PC (computer) name.
SMB: File and printer sharing ports should be open
Updated: February 2, 2011
Applies To: Windows Server 2019, Windows Server 2016, Windows Server 2012 R2, and Windows Server 2012, Windows Server 2008 R2
This topic is intended to address a specific issue identified by a Best Practices Analyzer scan. You should apply the information in this topic only to computers that have had the File Services Best Practices Analyzer run against them and are experiencing the issue addressed by this topic. For more information about best practices and scans, see Best Practices Analyzer.
Operating System
Product/Feature
Severity
Category
Issue
The firewall ports necessary for file and printer sharing are not open (ports 445 and 139).
Impact
Computers will not be able to access shared folders and other Server Message Block (SMB)-based network services on this server.
Resolution
Enable File and Printer Sharing to communicate through the computer’s firewall.
Membership in the Administrators group, or equivalent, is the minimum required to complete this procedure.
To open the firewall ports to enable file and printer sharing
Open Control Panel, click System and Security, and then click Windows Firewall.
In the left pane, click Advanced settings, and in the console tree, click Inbound Rules.
Under Inbound Rules, locate the rules File and Printer Sharing (NB-Session-In) and File and Printer Sharing (SMB-In).
For each rule, right-click the rule, and then click Enable Rule.


